Forums Latest Members

On My Bench - Seiko 6139-6002 - The First Automatic Chronograph

  1. JimInOz Melbourne Australia Mar 13, 2020

    Posts
    15,467
    Likes
    32,304
    Al is spot on.

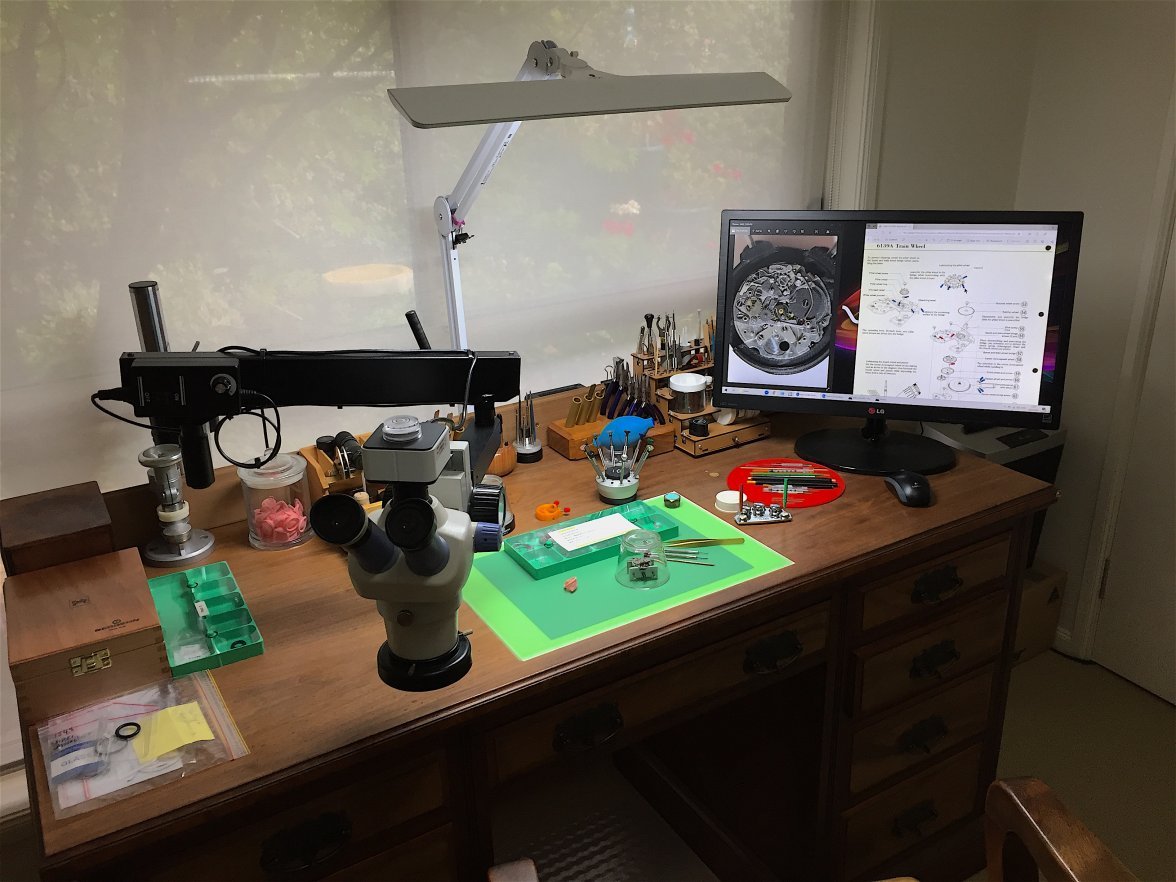
    While I spend nowhere near the amount of time that he does at the workbench, I use a good pair of 3X for general work, a flip down Asco 5X loupe for closer stuff, and a couple of higher power Asco loupes as well as a 4X/40X microscope for high detail work like oiling.

    Lighting is another point that Al mentioned and I had a similar experience. I used to have a three tube fluoro worklight, but after one tube and ballast died I upgraded to a multi array LED worklight and the difference was like night and day (ha ha ha). I also have my bench at a window with a diffuser blind so natural light helps a great deal.

    As to general eye health, it's no different to the norm, i.e: don't stare at the sun, maintain body hydration and if your eyes feel "tired", give them a rest.

    If I find that I'm squinting or losing focus from too much concentration I take a break or have a coffee (or if it's after 18:00, a Lagavulin as Jim noted ;)).
     
    valkyrie_rider and Larry S like this.
  2. JimInOz Melbourne Australia Mar 13, 2020

    Posts
    15,467
    Likes
    32,304
    Enough silliness. Back to work.

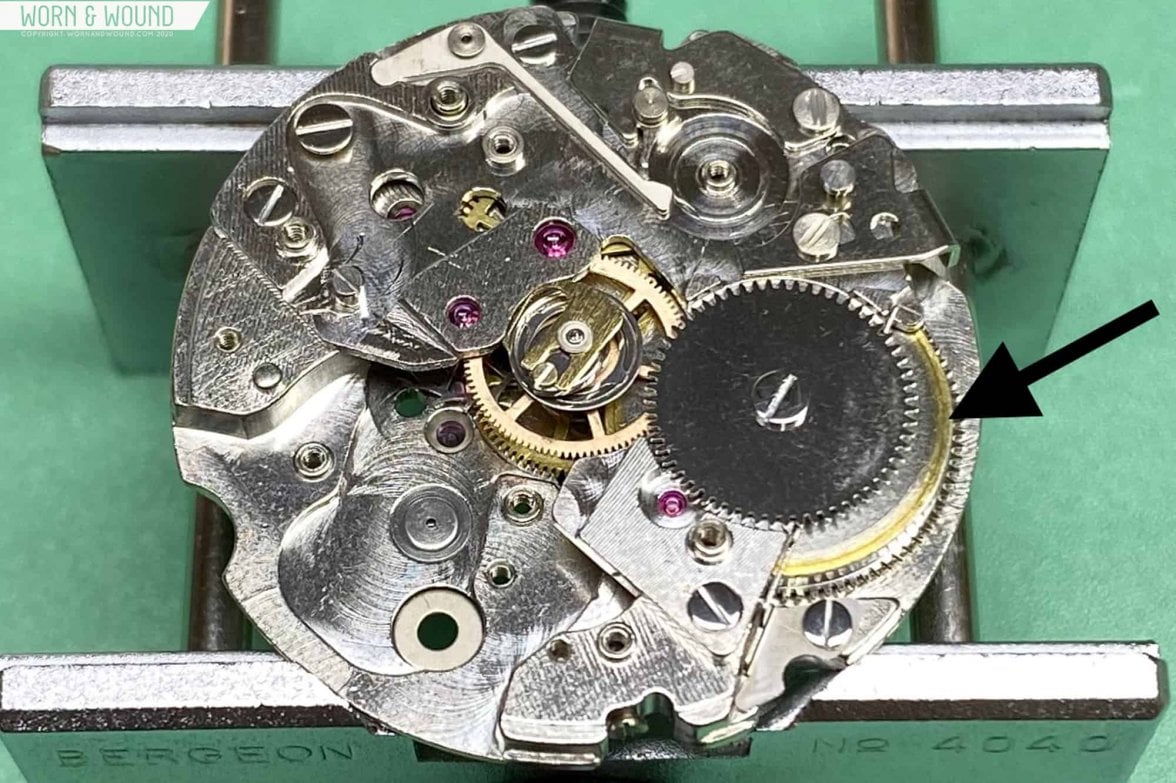
    Arbor now has rust removed from the bottom and the surface polished up a bit.

    ArborCleaned.jpg

    A quick test fit of the arbor in the jewel I fitted the other day.

    UpperArborJewel.jpg

    Now I'll ream the arbor hole in the bottom plate and fit the other jewel.

    ..........
     
  3. studeb Mar 19, 2020

    Posts
    307
    Likes
    289
    how do make sure the jewels on the two plates are aligned on top of each other?
     
  4. JimInOz Melbourne Australia Mar 19, 2020

    Posts
    15,467
    Likes
    32,304
    The bottom plate has pins that locate the barrel bridge.
    The bridge jewel is simply set in the hole where the original bush was.
    The jewel for the plate is set in the original hole after reaming to 0.50mm, broaching and smoothing to diameter for interference fit.
     
  5. studeb Mar 22, 2020

    Posts
    307
    Likes
    289
    Okay, so not much material is removed when reaming, then the axis should remain perpendicular to the plate.

    Thanks!
     
  6. JimInOz Melbourne Australia Mar 22, 2020

    Posts
    15,467
    Likes
    32,304
    It's actually a lot of material in watchmaking terms. The original hole in the plate is 1.00mm and this is opened out with a succession of reamers until 1.59mm, it's then broached and smoothed to accept the jewel.
     
  7. Archer Omega Qualified Watchmaker Mar 22, 2020

    Posts
    26,438
    Likes
    65,393
    When boring or reaming out a worn hole, keeping it centered is key. If the hole is worn oval, it tends to have a new centerline that deviates from the original, so just running a reamer through a worn hole will not bring it back to center. The reamer will follow the worn hole unless it's constrained somehow to follow the original hole. You need to make sure you center on the original hole before you ream it out, or you risk putting the new enlarged hole off center.

    The videos posted by Ashton on page 2 show this done in the lathe. There are other ways to do this also, but keeping the centerline of the original hole is critical to keeping the barrel arbor perpendicular to the plate.
     
    ChrisN and JimInOz like this.
  8. studeb Mar 24, 2020

    Posts
    307
    Likes
    289
    Yes, that is why I was asking how the barrel arbor is kept perpendicular to the plate. I went back and watched the video, doing it in a lathe would seem to be the most accurate, if you can chuck the plate correctly.I guess you could line up on part of the original hole, then put the new drill bit on and enlarge. Thanks for the explanation.
     
  9. Archer Omega Qualified Watchmaker Mar 24, 2020

    Posts
    26,438
    Likes
    65,393
    Ideally you want to center on a good hole, so for example if I'm needing to ream out the hole of a barrel bridge, I locate using the opposite hole in the main plate if that hole is good. If it's not, I try to have a good main plate and a good barrel bridge on hand for the movements I have to repair this way often, so I have a known good hole to locate from.

    How you go about locating that hole depends on what you are using to ream the hole. On the lathe some faceplate chucks have a centering pin in them to help center the workpiece. But if it doesn't you can use a wobble stick, or if you have it a centering scope.

    I'm actually working on a way to do this using a Seitz jewelling tool - making custom locators for the bottom of the tool that are precisely fit to the hole in the plate or bridge, that will accurately locate the movement in the proper place in the tool, so I can use that to ream out the holes. I currently have an old Valjoux 7750 (not the ETA version) that needs bushing installed, so I have turned the first locator, but the reamers are too long. Have some replacement reamers coming that I hope to cut down to use to open up the worn hole to remove the out of round condition, then I can just use the tool in the normal way to open the hole up enough to fit a bushing. This will be far quicker than setting it up in the lathe, provided the idea gets me the results I want.

    Cheers, Al
     
  10. studeb Mar 24, 2020

    Posts
    307
    Likes
    289
    We are getting off-topic, i apologise to Jim, but are there small CNC that would be useful for this? I am thinking with an overhead camera to locate and set positions.It would make the location setting easier, and after time you would have a pre-set coordinates to use. Load, punch in and go?
     
  11. Archer Omega Qualified Watchmaker Mar 24, 2020

    Posts
    26,438
    Likes
    65,393
    Hopefully Jim doesn't mind the slight diversion...it is related to his work in a way...

    Doing this with hand tools at the bench that I already own would be the better option. I don't have, nor do I want to buy a CNC machine of any kind, and since it's probably been 30 years since I last programmed one, I don't really want to spend my time learning all those G-codes again to be honest. Maybe if I show how I do one bridge now it will help explain what I am working on....this is an 861 Speedmaster movement:

    [​IMG]

    The barrel arbor (steel) rides in a simple hole that is made in the large barrel and wheel train bridge (brass) but the arbor doesn't go all the way through the bridge - it's maybe half way. When the soft brass is worn away, the resulting hole looks like this:

    [​IMG]

    Since only a portion of the hole is worn oblong, I can use the unworn portion to ream the hole larger for a bushing, without doing any centering on a lathe - the good part of hole will keep the center of that hole if I ream from the top of the bridge using my Seitz tool, like so:

    [​IMG]

    Once I've reamed it large enough, I press in a bushing using the Horia tool:

    [​IMG]

    That bushing is then reamed to the exact size required for the barrel arbor:

    [​IMG]

    [​IMG]

    Here it is in the movement being assembled again:

    [​IMG]

    The whole thing isn't visible due to other parts for the chronograph:

    [​IMG]

    This is a repair I do all the time on vintage 861's, and even on some 1861's. This process is very quick and accurate, and I'm looking to duplicate that sort of ease at the bench by making a small locator that fits in the base of the Seitz tool shown above. So here is what I've done so far - I've machined a locator with very close tolerances to fit into the Seitz tool, and to fit the hole in the main plate of the movement. Here it is in the base of the Seitz tool (this is near my lathe where I was turning this locator, so it's a bit messy):

    [​IMG]

    Here is the barrel bridge I need to bush the hole - it is mounted to a brand new 7750 main plate, so the smaller hole you see through the bridge is in perfect shape, and will be used to locate this assembly for reaming:

    [​IMG]

    Here it is mounted in the Seitz tool - the only issue is that the reamers I have are very tapered, and long, so they bottom out before cutting the hole in the barrel bridge:

    [​IMG]

    Once I'm able to get some spares in to cut down, I'll be ready to give this a try. Once I know it works, I'll simply turn locators for other applications. The first one will be one for this 7750 barrel bridge, so I can invert what you see here and install a bushing in the main plate. If it works, this will be as quick and as accurate as the Speedmaster bridge, and will save me a lot of time.

    Cheers, Al
     
  12. tomkenmag Mar 24, 2020

    Posts
    19
    Likes
    15
    This thread is amazing, looking forward to seeing the final results!
     
  13. JimInOz Melbourne Australia Apr 7, 2020

    Posts
    15,467
    Likes
    32,304
    How time flies. There's been some severe disruptions to everyones work schedules, mine included.
    Hopefully we can get back on track with this one now that I've finished the Seiko 7548 and the foggy Seamaster is out of the way for the moment.

    The last thing I did was replacement of a bush with a jewel.
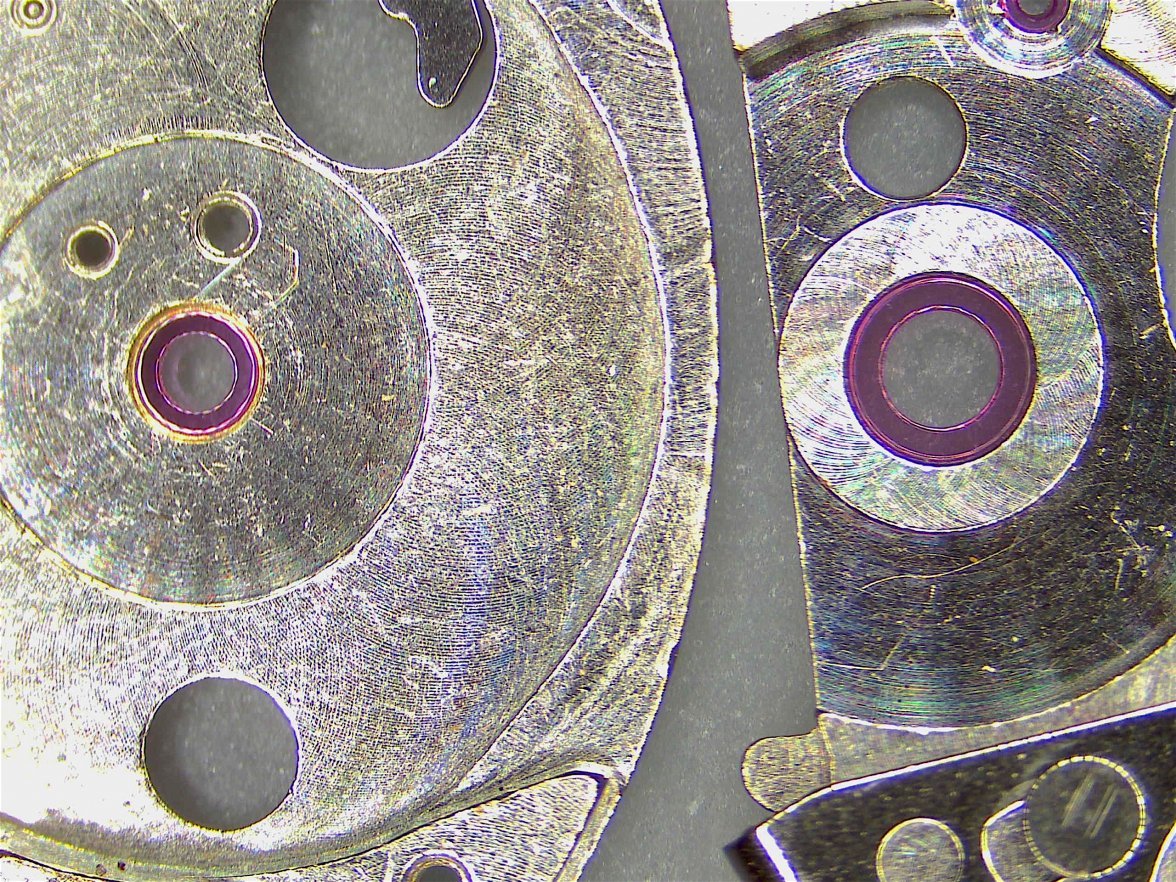
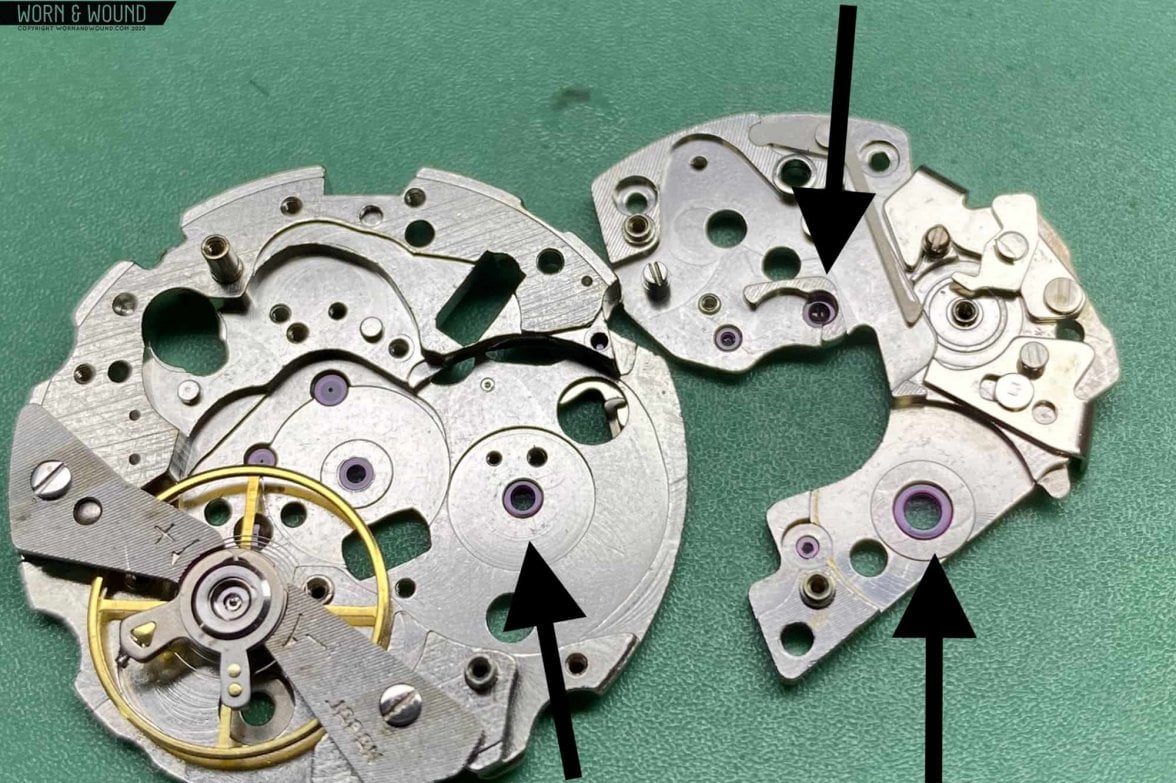
    This time I need to put a jewel in the main plate, but there is no bush to replace so the hole must be made larger to accommodate the jewel.
    Not having some of the tools suggested above, I have to proceed "freehand" and keep things as perpendicular to the plate as I can.

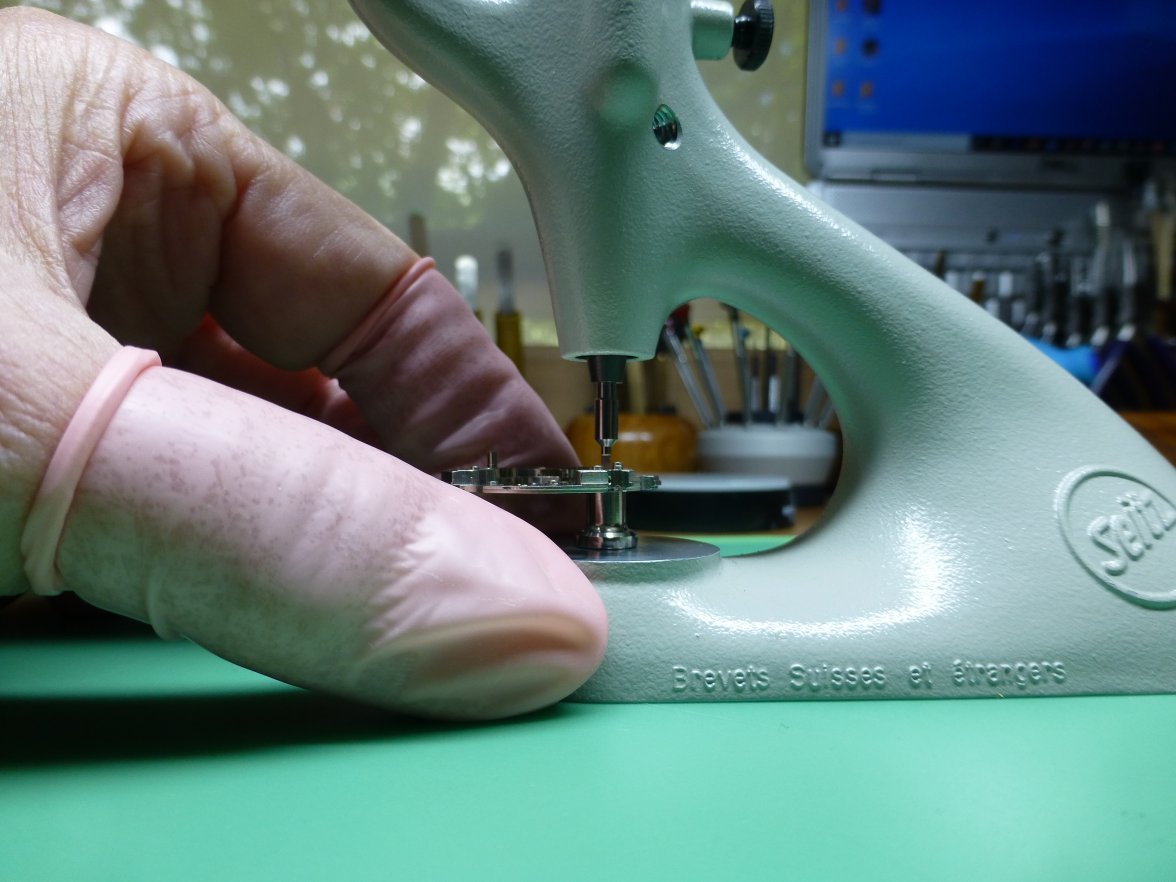
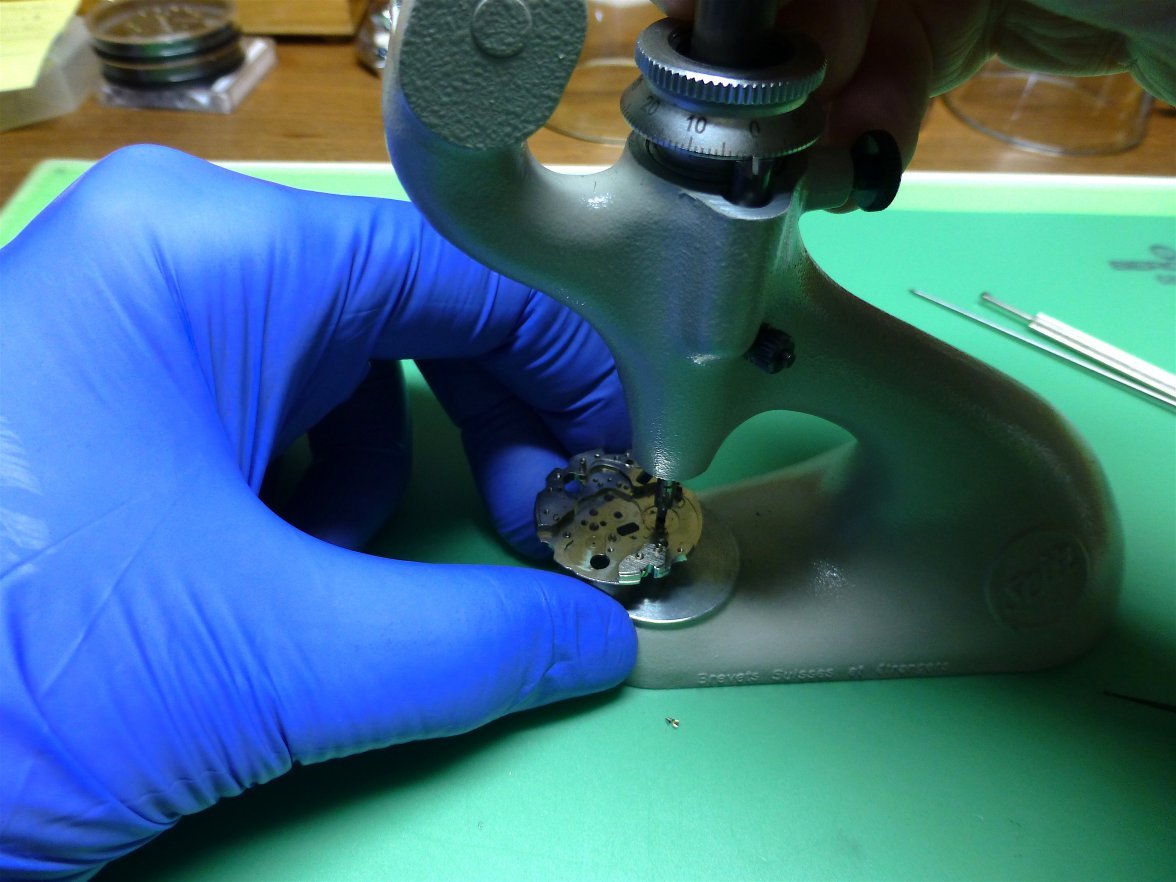
    The first step is to select a suitable size reamer and anvil for the jeweling tool, and then ream the hole to 1.59mm ø.

    1 Reaming.JPG

    Next step is to use a cutting broach to enlarge the hole ever so slightly.

    <sorry, forgot to capture this, just imagine it.>

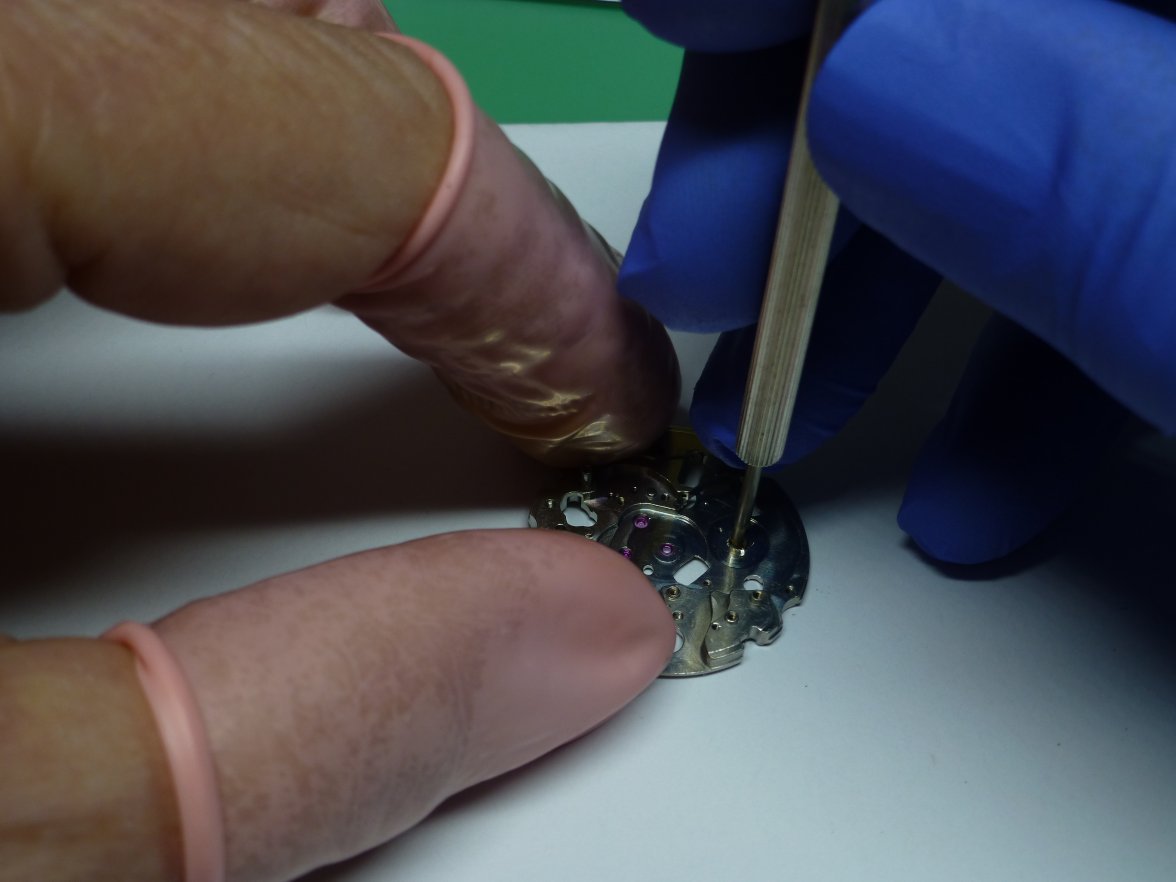
    Then a countersink tool is used to remove burrs from both sides of the hole and make a small countersink in the plate.

    2 Countersinking.JPG
    Another broach is used. This time a smoothing broach is used to clean the hole and bring it to size for the jewel.

    3 Smoothing.JPG

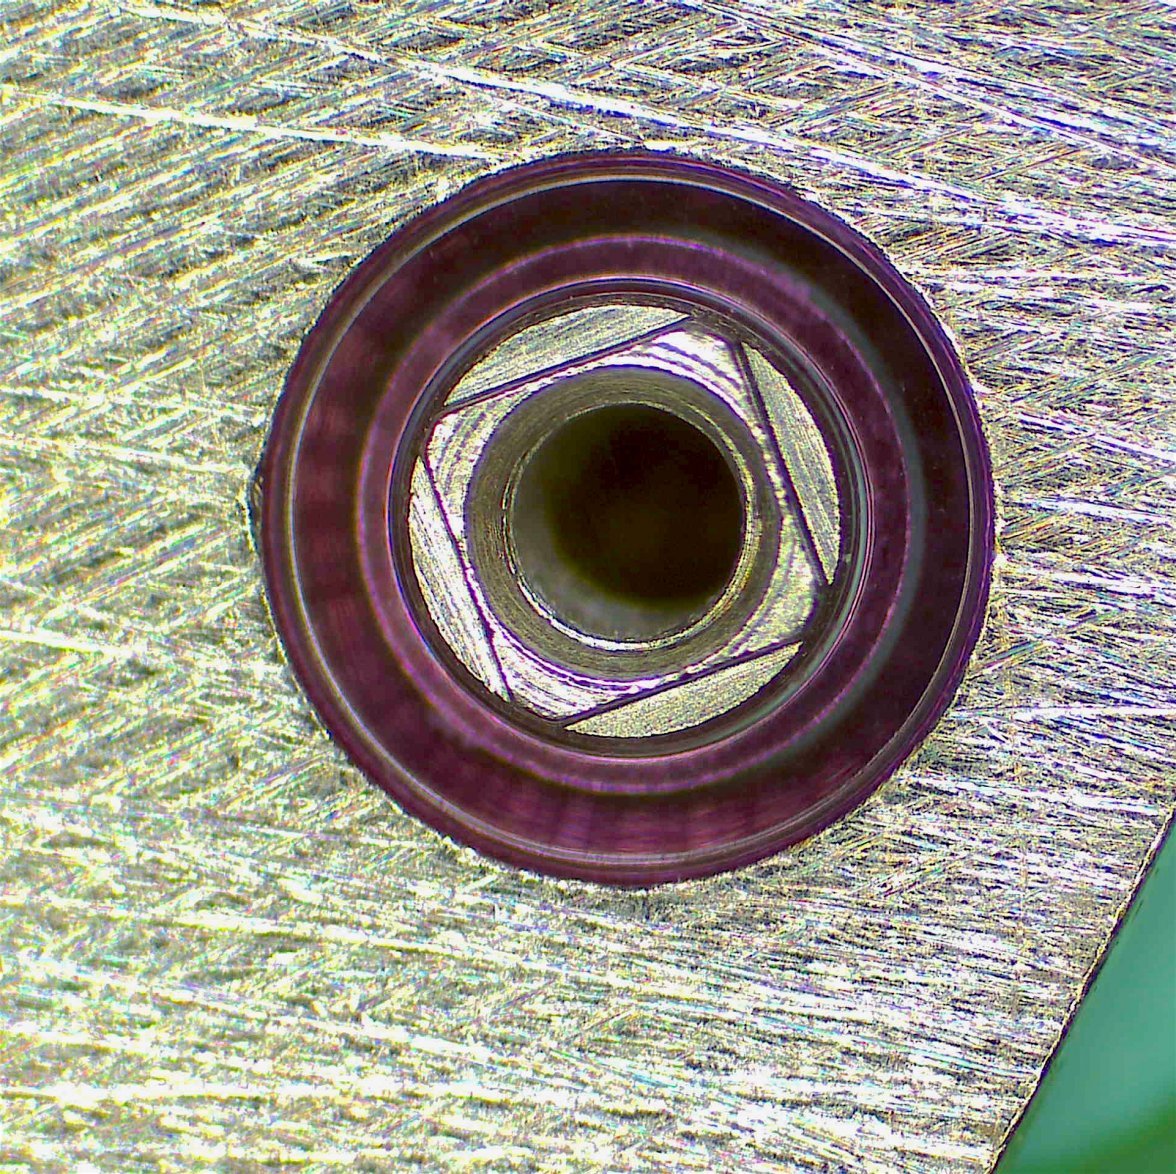
    Satisfied with the hole I set the jewelling tool up to press in the new jewel. This is a two (hopefully) stage process where the jewel is pressed, and then parts are assembled and the barrel checked for freedom, alignment and end shake. Here is the jewel being pressed into the plate.

    4 Setting.JPG

    And at the end of the task we have two jewels which will increase reliability and reduce friction and wear .

    JewelsFinal.jpg

    I think I can sit back and relax now. The next part will be assembly and adjusting.

    5 Completed.JPG
     
    Edited Apr 8, 2020
    omegaswisst and valkyrie_rider like this.
  14. JimInOz Melbourne Australia Apr 7, 2020

    Posts
    15,467
    Likes
    32,304
  15. Archer Omega Qualified Watchmaker Apr 7, 2020

    Posts
    26,438
    Likes
    65,393
    The front looks okay. What I can't see in a ton of detail is the taper that goes into the headstock. One view looks okay, but the one that shows only 1/2 of the keyway shows it being a little dinged up. Certainly possible that you could stone it to clean it up.
     
  16. Archer Omega Qualified Watchmaker Apr 7, 2020

    Posts
    26,438
    Likes
    65,393
    As long as the original hole for the arbor isn't worn oval, using a reamer and following that hole should keep things centered just fine. From what I recall the holes were in pretty good shape in this watch, so in this case the work is more preventative than being required from a repair perspective.

    Just to update my own related project...here is the bridge before the repairs:

    [​IMG]

    And the main plate before:

    [​IMG]

    Shot of the worn hole in the barrel bridge - note you can see the plating has worn off and brass is showing:

    [​IMG]

    My plan worked great, and cutting down the new reamers was the trick. so here is the repaired main plate:

    [​IMG]

    Not much material there to work with, but the bushing fits well. Here is the repaired barrel bridge:

    [​IMG]

    Worn holes repaired, and the balance amplitudes have come up. Will still likely need to replace the balance staff, but this has made a noticeable improvement.

    Cheers, Al
     
  17. oscilloscope Apr 7, 2020

    Posts
    4
    Likes
    1
    Hi Ashton

    I want to give this a go for my 6139 movements. What size arbor do you use for the main plate hole? I've tried to use the VTA bushings that are 1.6mm by opening the hole with a 1.59mm Seitz tool, but I have now destroyed 3 bushings and I am convinced that my skills and knowledge reached their limits. Any advice would be great.
     
  18. JimInOz Melbourne Australia Apr 8, 2020

    Posts
    15,467
    Likes
    32,304
    You are OK using the 1.59 reamer, but then you have to open the hole with a cutting broach.
    Measure the jewel and the hole (I used a smoothing broach), measure the diameter of the broach where it fits the hole. Then open the hole slightly and measure again. Only take minute cuts and you should be OK.
     
  19. JimInOz Melbourne Australia Apr 8, 2020

    Posts
    15,467
    Likes
    32,304
    Managed to get this back on track. Spent a couple of hours on it (Yes! I know, I'm slow). The train is all assembled and running smoothly.

    Bench08APR20.JPG

    The next group to fit is the balance/pallet. However there will be a slight delay.

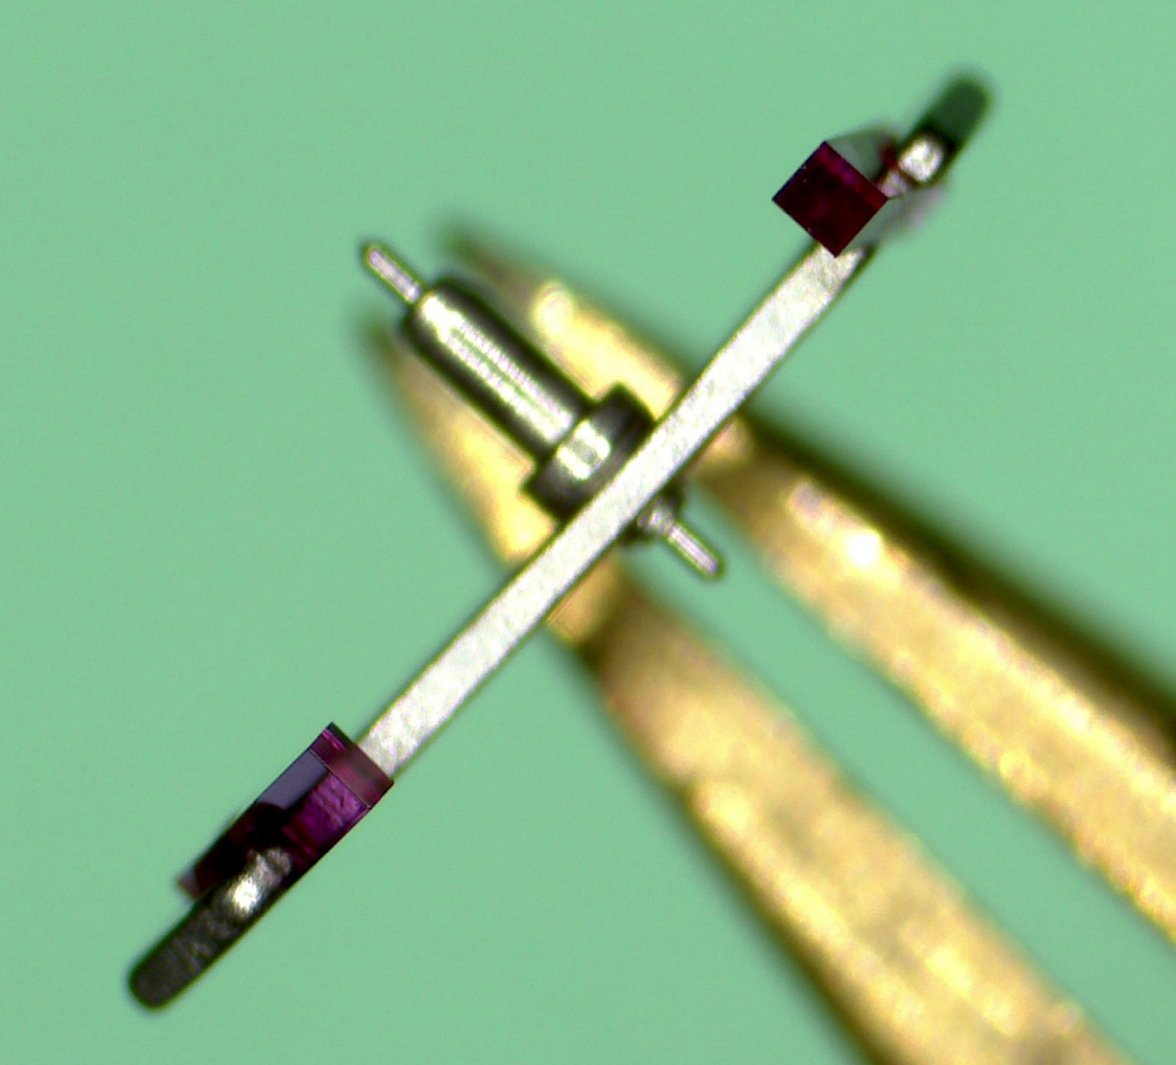
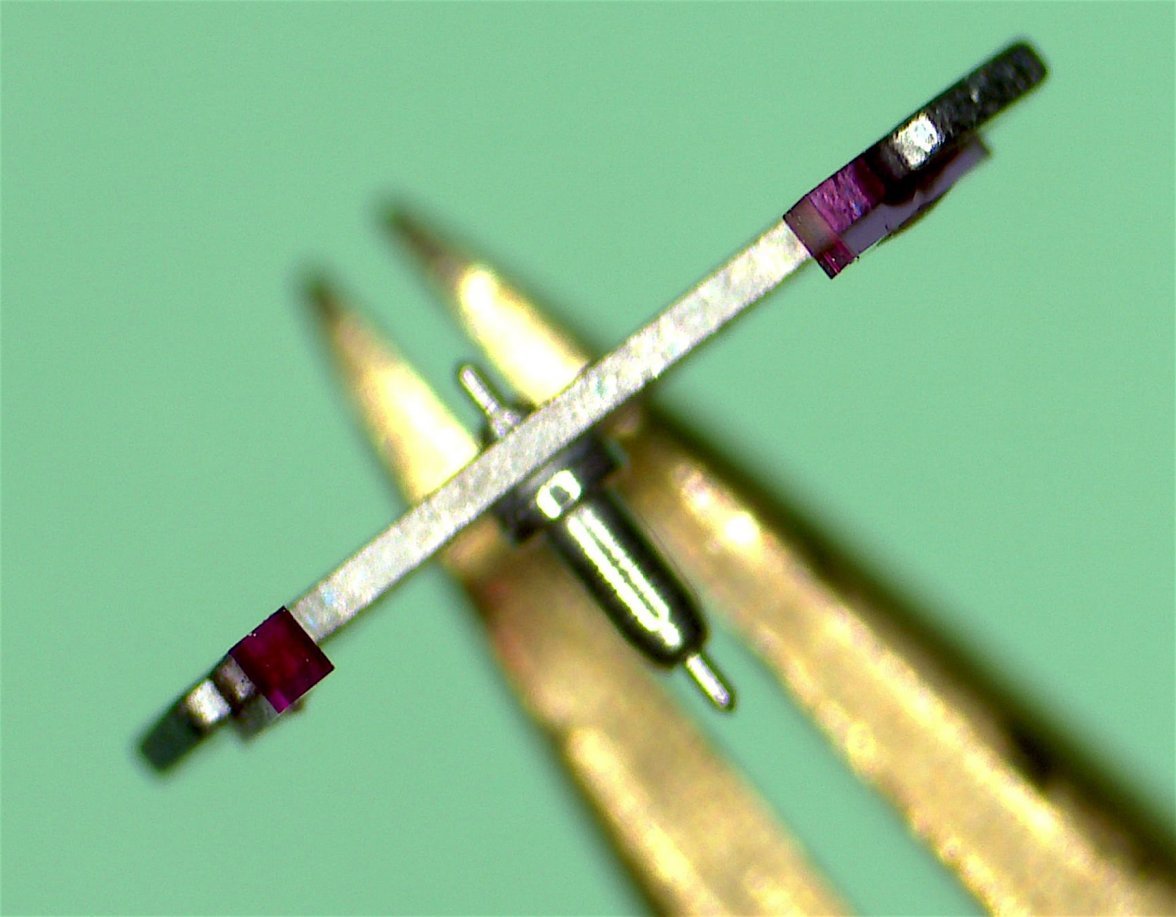
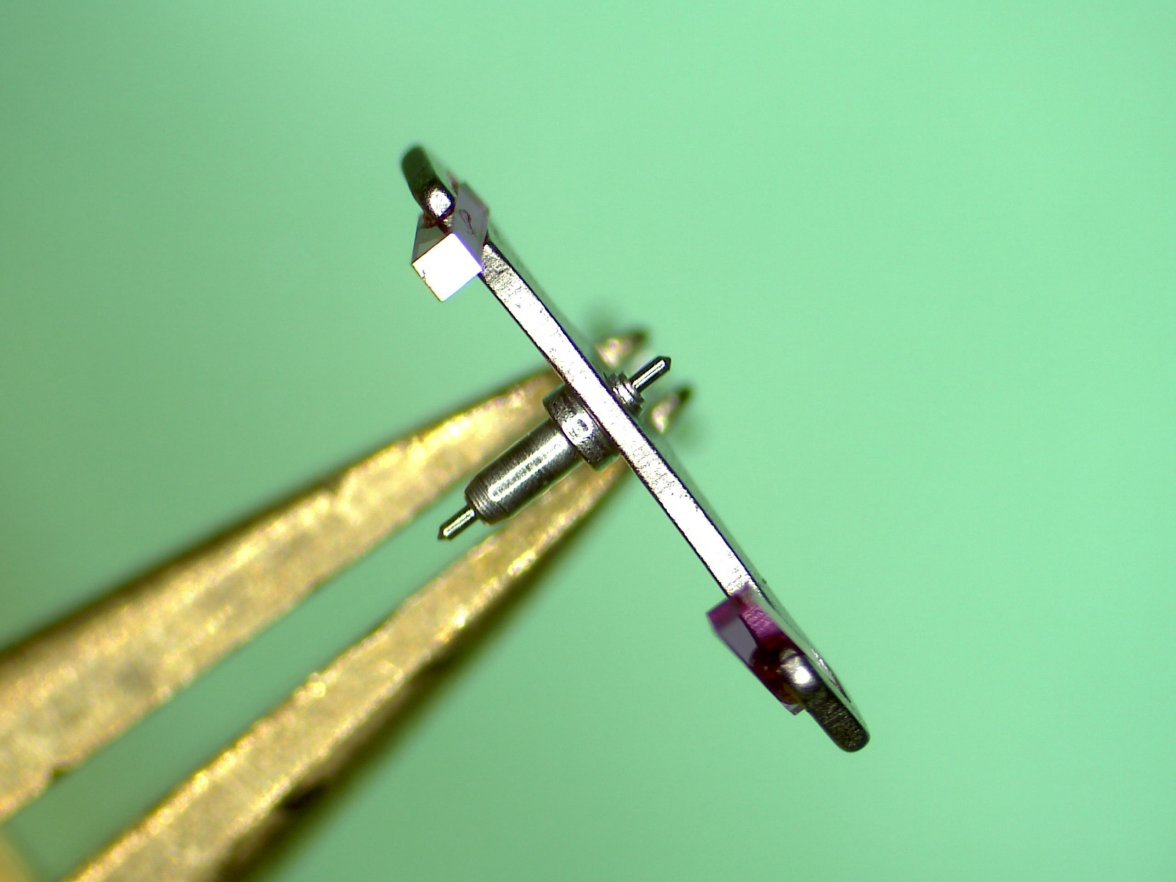
    Upon checking the pallet stones I think I found part of the reason for the crazy Timegrapher plots. Check out the entry stone.

    Scope-001.jpg Scope-003.jpg

    I found a decent one in my donor box, so I'll clean it, treat it with Epilame and use it to replace the cock eyed one.

    Scope-002.jpg
     
    valkyrie_rider and omegaswisst like this.
  20. jsducote Apr 8, 2020

    Posts
    899
    Likes
    1,211
    Stupid question:
    Is it possible (or even desirable) to "upgrade" some/many/most movements by adding jewels/stones where the manufacturer did not? For example, can an Omega 1861 movement be made into a 21 or higher jeweled movement and would it improve any performance measures?
     
    Engee likes this.