Forums Latest Members

On My Bench - Seiko 6139-6002 - The First Automatic Chronograph

  1. JimInOz Melbourne Australia Feb 26, 2020

    Posts
    15,492
    Likes
    32,385
    Update - Project on hold for a few days.

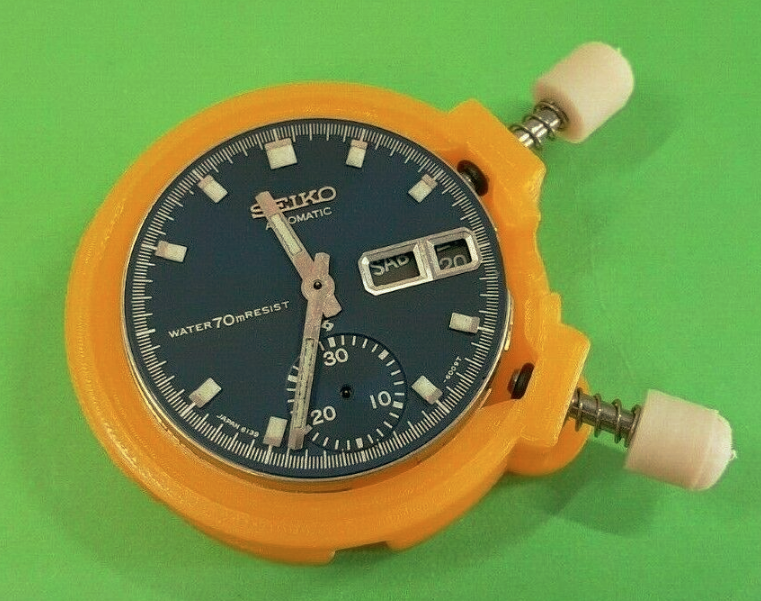
    While on eBay ordering parts, I happened to browse the sellers other listings (who doesn't do that :D) and noticed that he had an upgraded/improved movement holder for the 6139 so I ordered one.

    Screen Shot 2020-02-26 at 6.54.31 PM.png

    Adrian at VTA makes these on his 3D printer.

    Unfortunately his 3D printer blew up in January and fried almost everything on the circuit board, so he was only able to resume production a day ago, so my new toy and the parts for the 6139 will take a day or two.

    But don't panic, I have another little job in progress to keep me off the streets.
     
    Benbradstock and Als 27 like this.
  2. Engee Feb 26, 2020

    Posts
    1,539
    Likes
    3,236
    Why would a 6139 (or any movement for that matter) need a bespoke movement holder?
     
  3. JimInOz Melbourne Australia Feb 26, 2020

    Posts
    15,492
    Likes
    32,385
    I'm sure @Archer can answer that much more eloquently and factually than me, but here I go.

    Some simple movements require a special holder with a spigot in the base to support the shafts of the movement when pressing hands on to those shafts.

    With a chronograph, the support function is also important, but the other reason is to enable starting and stopping (and holding) the chrono mechanism so that the hands can be fitted in their correct position. It also allows testing of the movement with hands prior to re-casing.

    I only have a few, mainly the 3D printed type for Seiko chronographs and a proper one for 7750s.
     
    Als 27 and Engee like this.
  4. Engee Feb 26, 2020

    Posts
    1,539
    Likes
    3,236
    Thanks, I understand!
     
  5. Archer Omega Qualified Watchmaker Feb 27, 2020

    Posts
    26,470
    Likes
    65,621
    Movements come in different sizes, so some holders are geared towards a specific range of sizes. Smaller holders work better with smaller movements and larger holders with larger movements. Here are some of mine:

    [​IMG]

    When working on the wheel train side of the watch, a standard Bergeon 4040 movement holder (mine is in the second row from the top, and is the middle holder) works for most watches. When you are working on the dial side, and in particular when you are installing hands, the jewels need to be supported when pressing the hands on. This style of holder tends to be round and of course not adjustable for the diameter of the watch, so you can see many of those in my photo. You will see in many of those there are supports coming up from the bottom of the holder, and those can be adjusted to support the jewels where the hands are being pressed on.

    I also have several variations of chronograph movement holders shown, and those can actuate all aspects of the movement they are designed for. For example the one for the regular Speedmaster movement (321, 861, 1861, 1866) is the very first one in the top row on the left side. You can see the two long pushers out one side that are for stopping and starting the chronograph, and the two smaller pushers on the opposite side are for actuating the moon phase and date functions on the Cal. 1866 moon phase caliber. All these need to be actuated during the service process for testing purposes and setting on of hands.

    There are also holders there for specific tasks related to servicing co-axial watches, since the escapement must be cycled during the lubrication process, and these are very caliber specific.

    You tend to gather these from various locations, and the reason I have some duplicates is that I recently bought some items from a watchmaker's estate, so you end up with spares, which is not a bad thing.

    In the end, these are tools needed to do the job properly. They can range in price from just a few dollars to many hundreds of dollars. I won't add up how much I've spent on them...but it's a lot....but they all make the job more efficient and help prevent problems in servicing.

    Cheers, Al
     
  6. Engee Feb 27, 2020

    Posts
    1,539
    Likes
    3,236
    Thank you Al, this is all really fascinating for me. Man, I love this thread!
     
  7. ATracyWatches Feb 29, 2020

    Posts
    227
    Likes
    668
    Hi Jim,

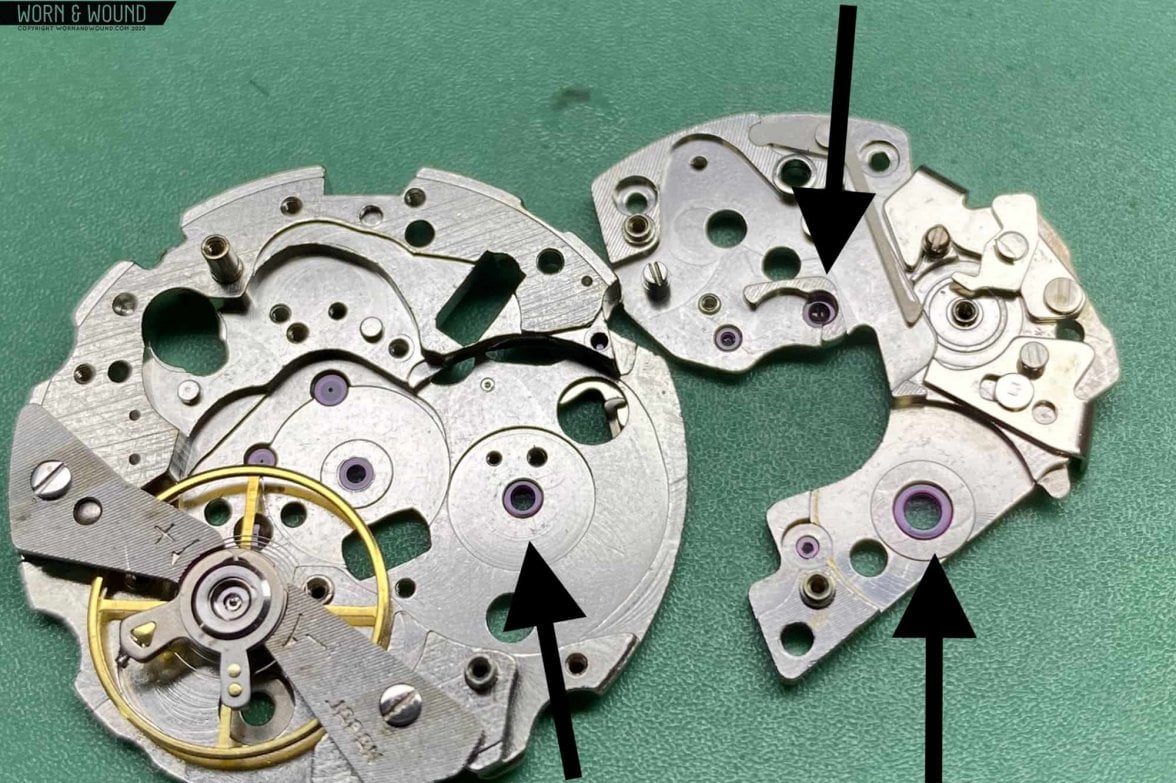
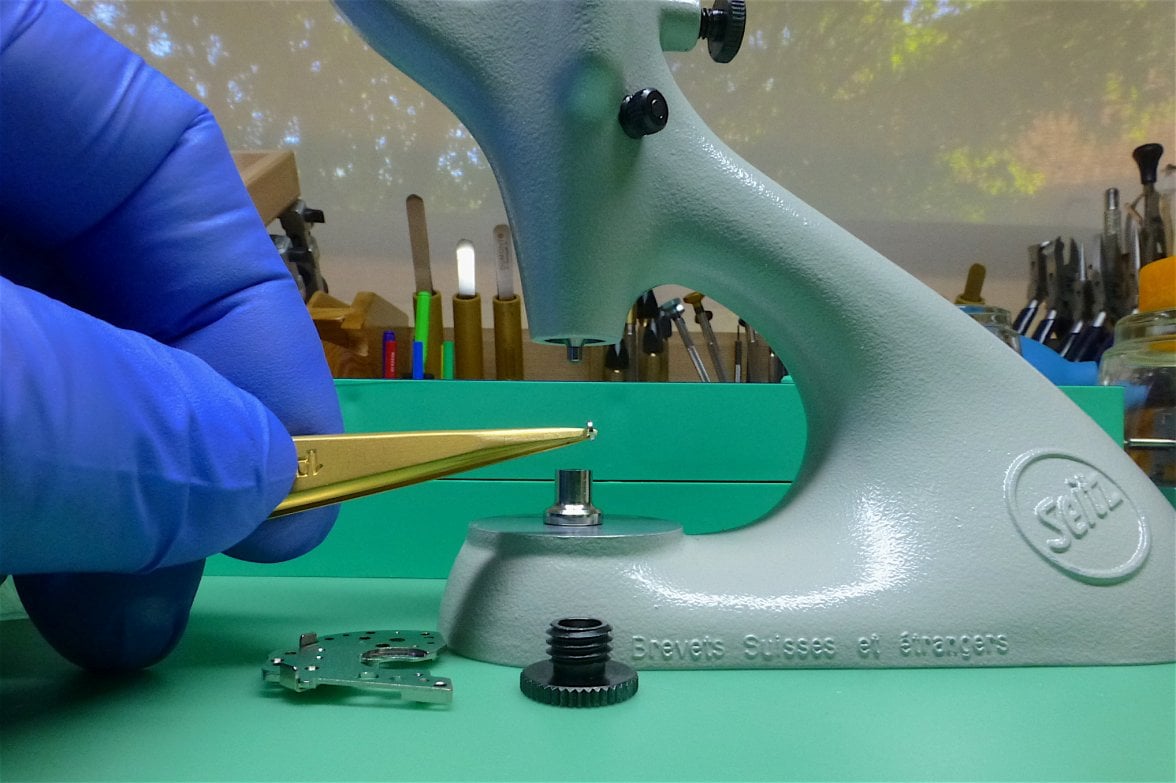
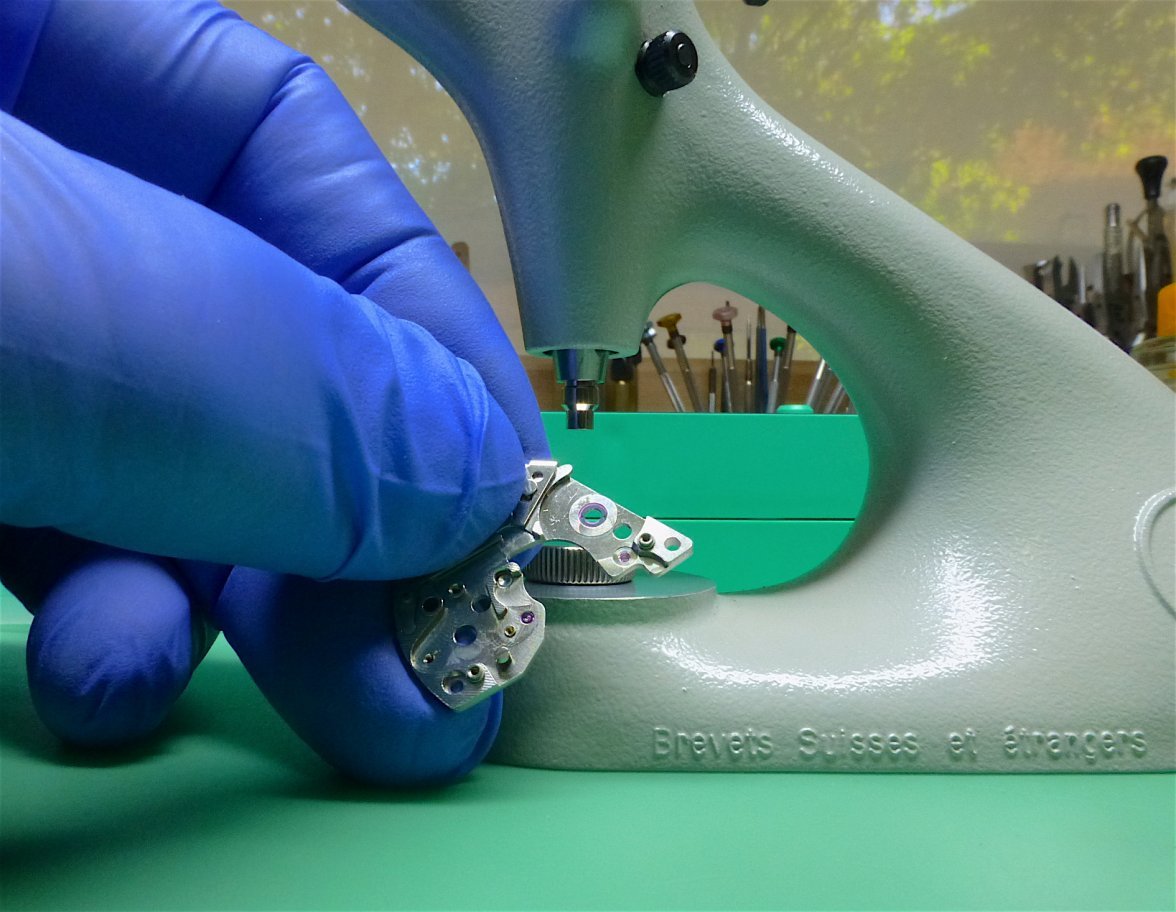
    I thoroughly recommend upgrading the jewels on both the barrel bridge and the mainplate. I wouldn't bother with doing just the barrel bridge, the mainplate needs to be done as well. A note on movement holders: the 6139 jewel pops out of the plate very easily when trying to set the hands s oa movement holder is an absolute must.

    Here is a mainplate and barrel bridge that I gave the jewle upgrade to.

    Seiko-6139-breakdown-9.jpg

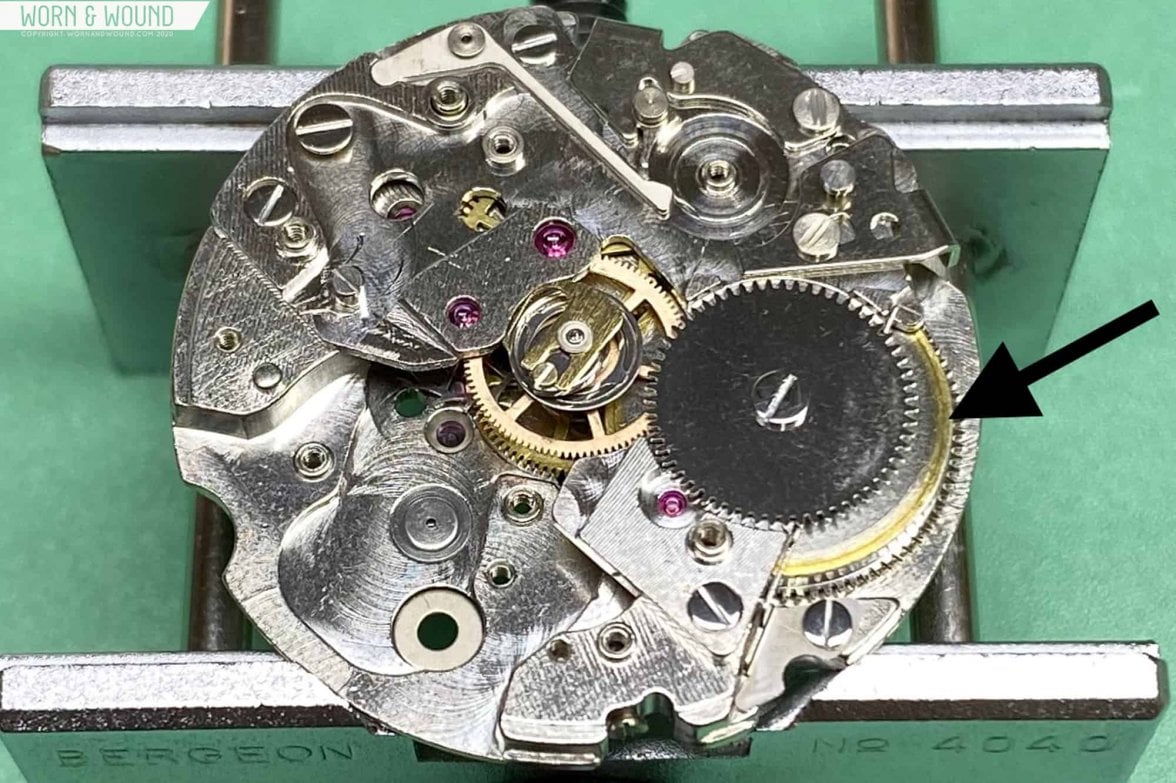
    Here is an example of what wear on the barrel looks like from sloppy holes in the plates.

    Seiko-6139-wear-on-barrel.jpg

    If you need any questions answered about these Jim, let me know. I do a lot of them.

    Ashton
     
  8. JimInOz Melbourne Australia Feb 29, 2020

    Posts
    15,492
    Likes
    32,385

    Thanks Ashton, I have jewels on the way.
    One question I was thinking over was about setting the jewels. My jewelling tool only has pushers that go up to 2.95 and the jewels look to be bigger than that. I think that the mainplate needs to be reamed to approx 1.6 so I intend to use a 1.59 reamer.

    Any advice on setting these two jewels is appreciated.

    Cheers
    Jim
     
  9. ATracyWatches Feb 29, 2020

    Posts
    227
    Likes
    668
    I can’t remember the size of the barrel bridge jewel but just use the pusher they fire best.

    For the mainplate use the 1.59 reamer as you have stated. I like to set it up in the face plate of my lathe and find the center with a wobble stick. I mount the reamer in the drilling tails rock and do it that way.

    You’ll then need a smoothing broach to ream it to size. Clean up the surrounds of the hole with a countersink cutter and press the jewel in.

    Make sure you feel this part out. If the resistance seems too great back off a little and ream out with a smoothing broach a little more and then try again. If you don’t the jewel could crack.
     
    JimInOz likes this.
  10. JimInOz Melbourne Australia Mar 3, 2020

    Posts
    15,492
    Likes
    32,385
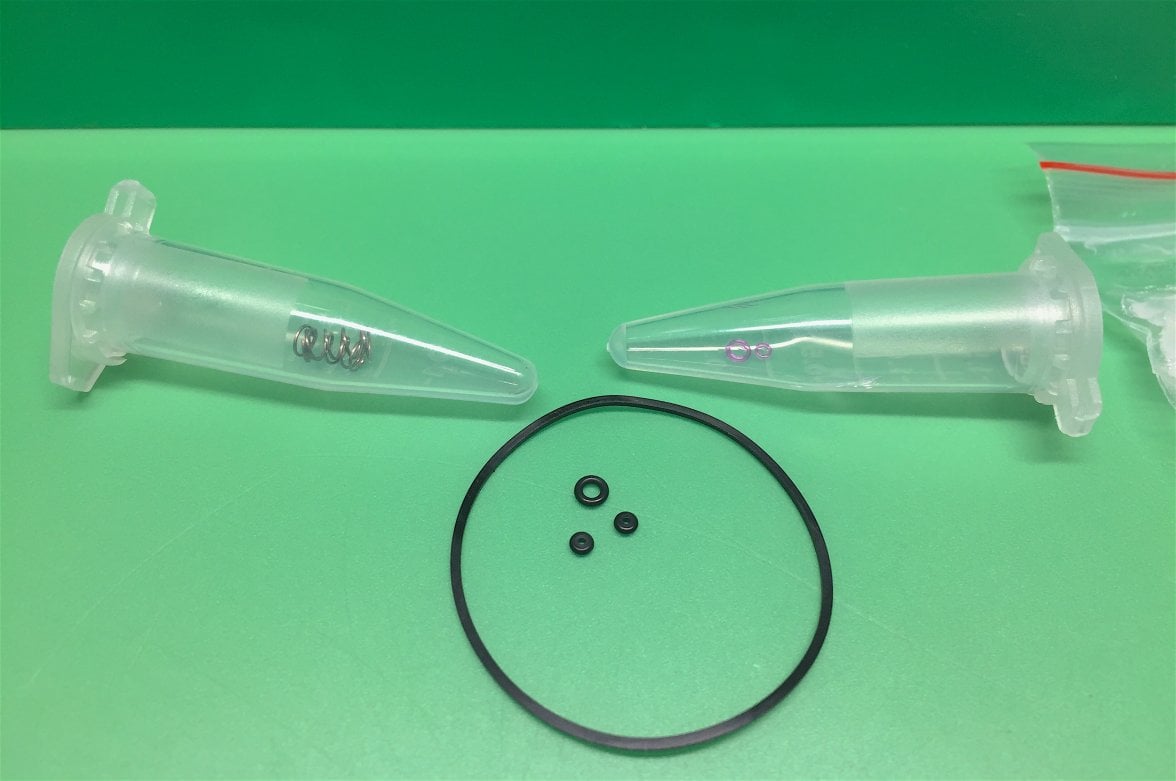
    Woo Hoo......parts are here at last ::psy::.

    PartsHere.JPG

    Now I can get the plate and bridge ready to re-assemble.
    As soon as I put jewels in for the barrel arbor.

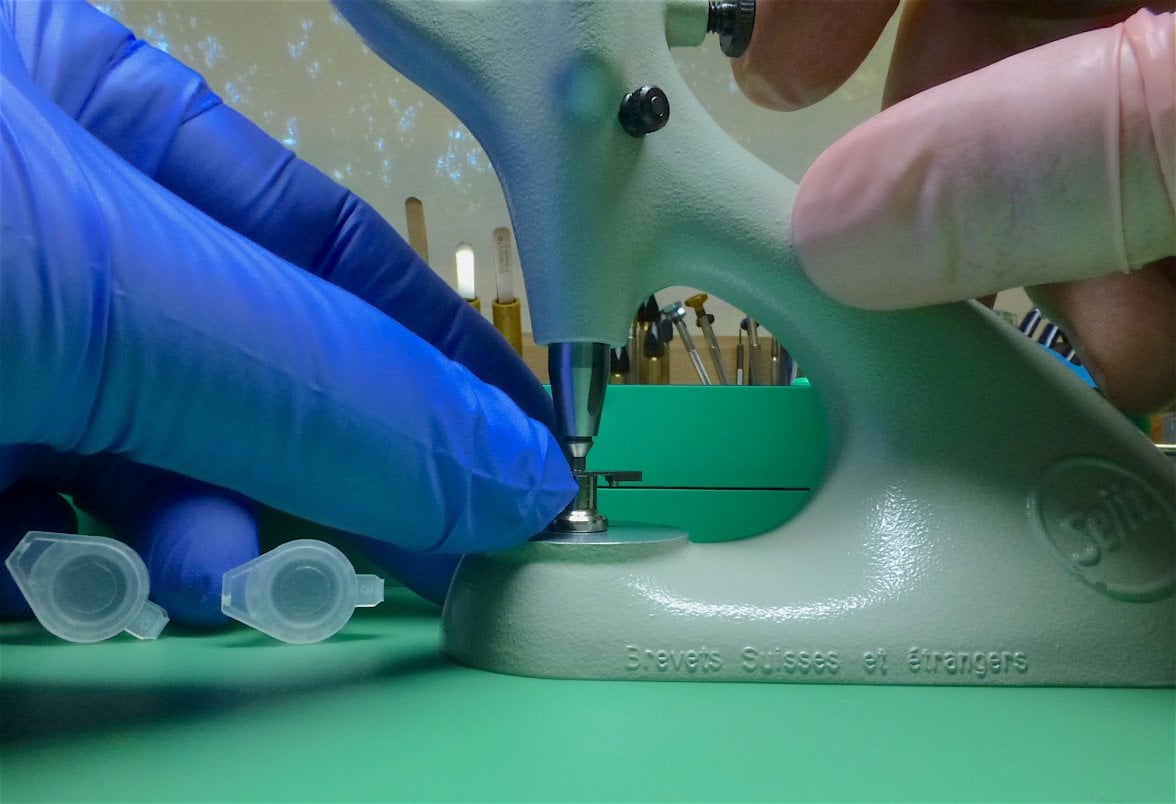
    First thing, after selecting the right size pushers and anvil, we remove the bushing from the barrel bridge.

    BushPressing.JPG

    And here it is, to be replaced by a jewel.

    BushOut.JPG

    Sorry, no pics of setting the jewel, it took both hands and a lot of focus, but here is a pic of the jewel in the bridge.

    JewelSet.JPG

    That'll be all for the moment, It's almost beer o'clock here so time to stop work and relax.

    PS: And to answer the question "why are you wearing gloves/cots?".
    Have you seen jewelling / staking sets that have been handled by sweaty fingers?
     
  11. Jeeper Mar 3, 2020

    Posts
    354
    Likes
    756
    This is a great thread, thanks JiminOz, I cant wait to see the finished article.

    Jeeper
     
  12. ATracyWatches Mar 3, 2020

    Posts
    227
    Likes
    668
    These are helpful too and give you a better idea of everything needed, Jim.
     
    Eve, gogo000, valkyrie_rider and 3 others like this.
  13. ATracyWatches Mar 3, 2020

    Posts
    227
    Likes
    668
     
  14. ATracyWatches Mar 3, 2020

    Posts
    227
    Likes
    668
    A small caveat to my video - you will most likely need to ream the mainplate out slightly with a smoothing broach before installing the jewel.
     
    JimInOz likes this.
  15. JimInOz Melbourne Australia Mar 13, 2020

    Posts
    15,492
    Likes
    32,385
    Been a while. Had some of life's interruptions, but back to this project.

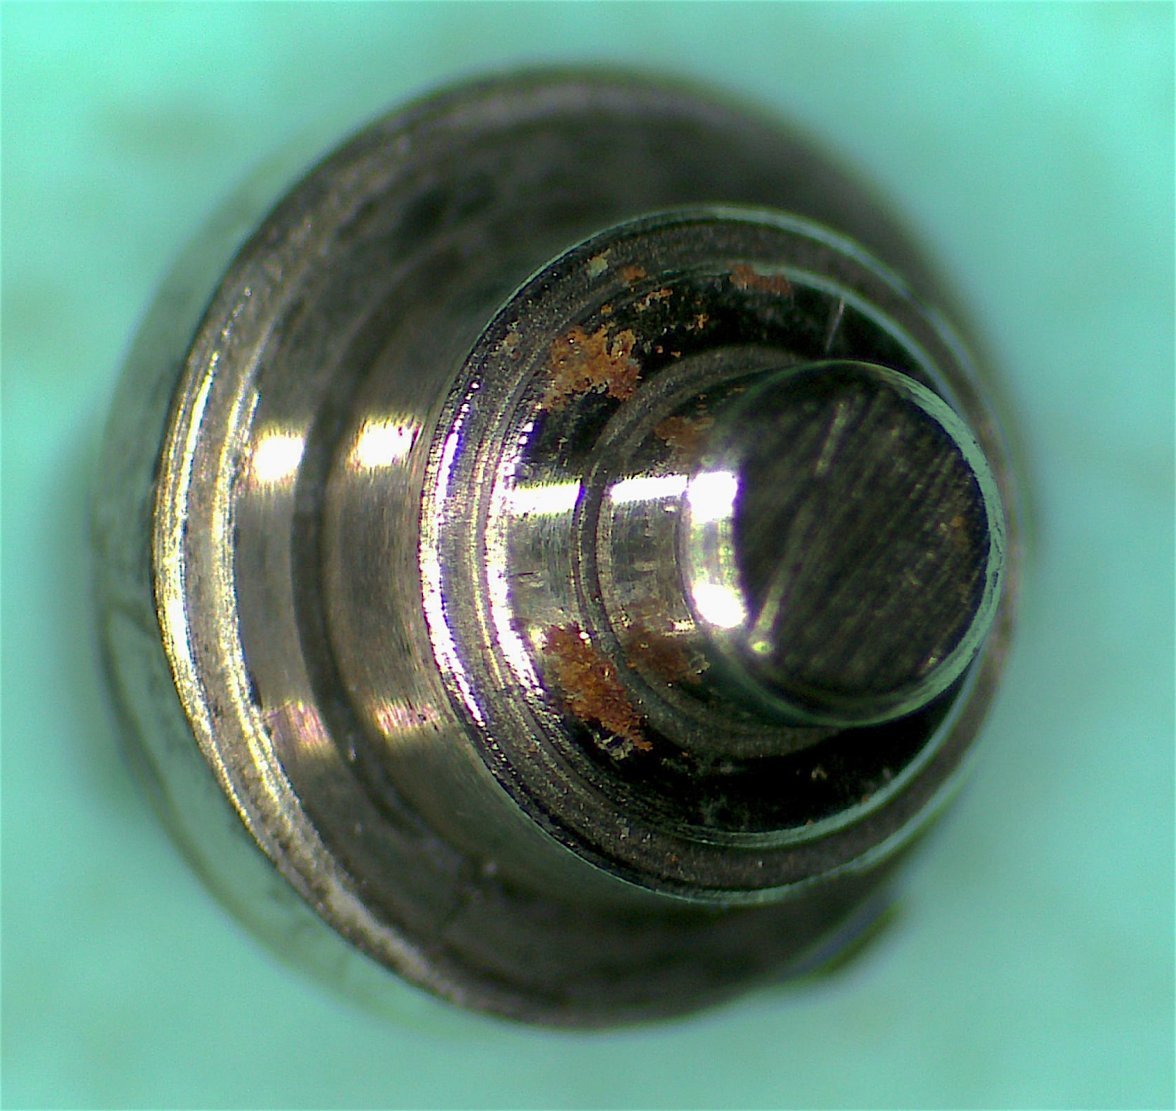
    With new jewels being put in the plate/bridge, I'll need to check end shake, so a good look at the barrel arbor (the mainspring "axle") is needed.

    The bottom of the arbor shows signs of rust that need to be rectified.

    BA_Rust.jpg

    Therefore, tomorrow morning (unless the weather is good for a ride), I'll deal with the arbor and clean it up.

    Hopefully I'll be able to get back to this one if I don't get distracted by "new arrivals" :D.
     
  16. sxl2004 Mar 13, 2020

    Posts
    2,317
    Likes
    6,069
    :)So new arrivals are life interruptions.......
    Good to know. :)
     
  17. Larry S Color Commentator for the Hyperbole. Mar 13, 2020

    Posts
    12,542
    Likes
    49,812
    I have a question for all you seasoned watchmakers. I love, love love these articles but they make my “ seasoned citizen “ eyes hurt. How do you care for your vision health?
     
  18. UncleBuck understands the decision making hierarchy Mar 13, 2020

    Posts
    3,420
    Likes
    7,746
    I believe Jim uses Lagavulin to reduce eye strain and his special Lady is very easy on the eyes!

    I think he looks great!

    index.jpg
     
    Yellowjacket, Als 27, ChrisN and 2 others like this.
  19. sxl2004 Mar 13, 2020

    Posts
    2,317
    Likes
    6,069
    Quality reading glasses and loupes.
     
  20. Archer Omega Qualified Watchmaker Mar 13, 2020

    Posts
    26,470
    Likes
    65,621
    First, take care of your general health. The only watchmaking specific things that are generally needed are good lighting, and good optics in your magnification.

    For example there is a world of difference in the clarity of a single lens 10X loupe, and a good quality aplanatic 10X loupe. Spherical aberration in cheaper optics can cause a lot of eye strain, headaches, and increased fatigue when working at the bench all day. If you are only working for short periods of time, you might not be affected, but if you are spending many hours a day at the bench, paying the money required for good optics is a worthwhile investment.

    For lighting, it took me a while to find a light that worked for me. I started with a simple "Dazor" 2 lamp fluorescent, and thankfully it broke...I replaced it with a much better Arbe fluorescent lamp, that was much brighter, but it created a huge amount of heat in the room. Also, fluorescent lamps create small amounts of UV radiation. At "normal" distances where the light in on your ceiling, this is not a concern, but when the light is in your face shining on your hands, head, and in your eyes all day long at close range, I was also concerned about possible long term effects of that on skin and eyes.

    From everything I had read LED lighting produces less UV, so I switched to an Arbe UV lamp. It produces very little heat compared to the previous lamps, can be dimmed, and is a wonderful lamp all around.

    So eye health isn't complicated for the most part, but does take a little bit of thought.

    Cheers, Al
     
    omegaswisst, sxl2004, ChrisN and 2 others like this.