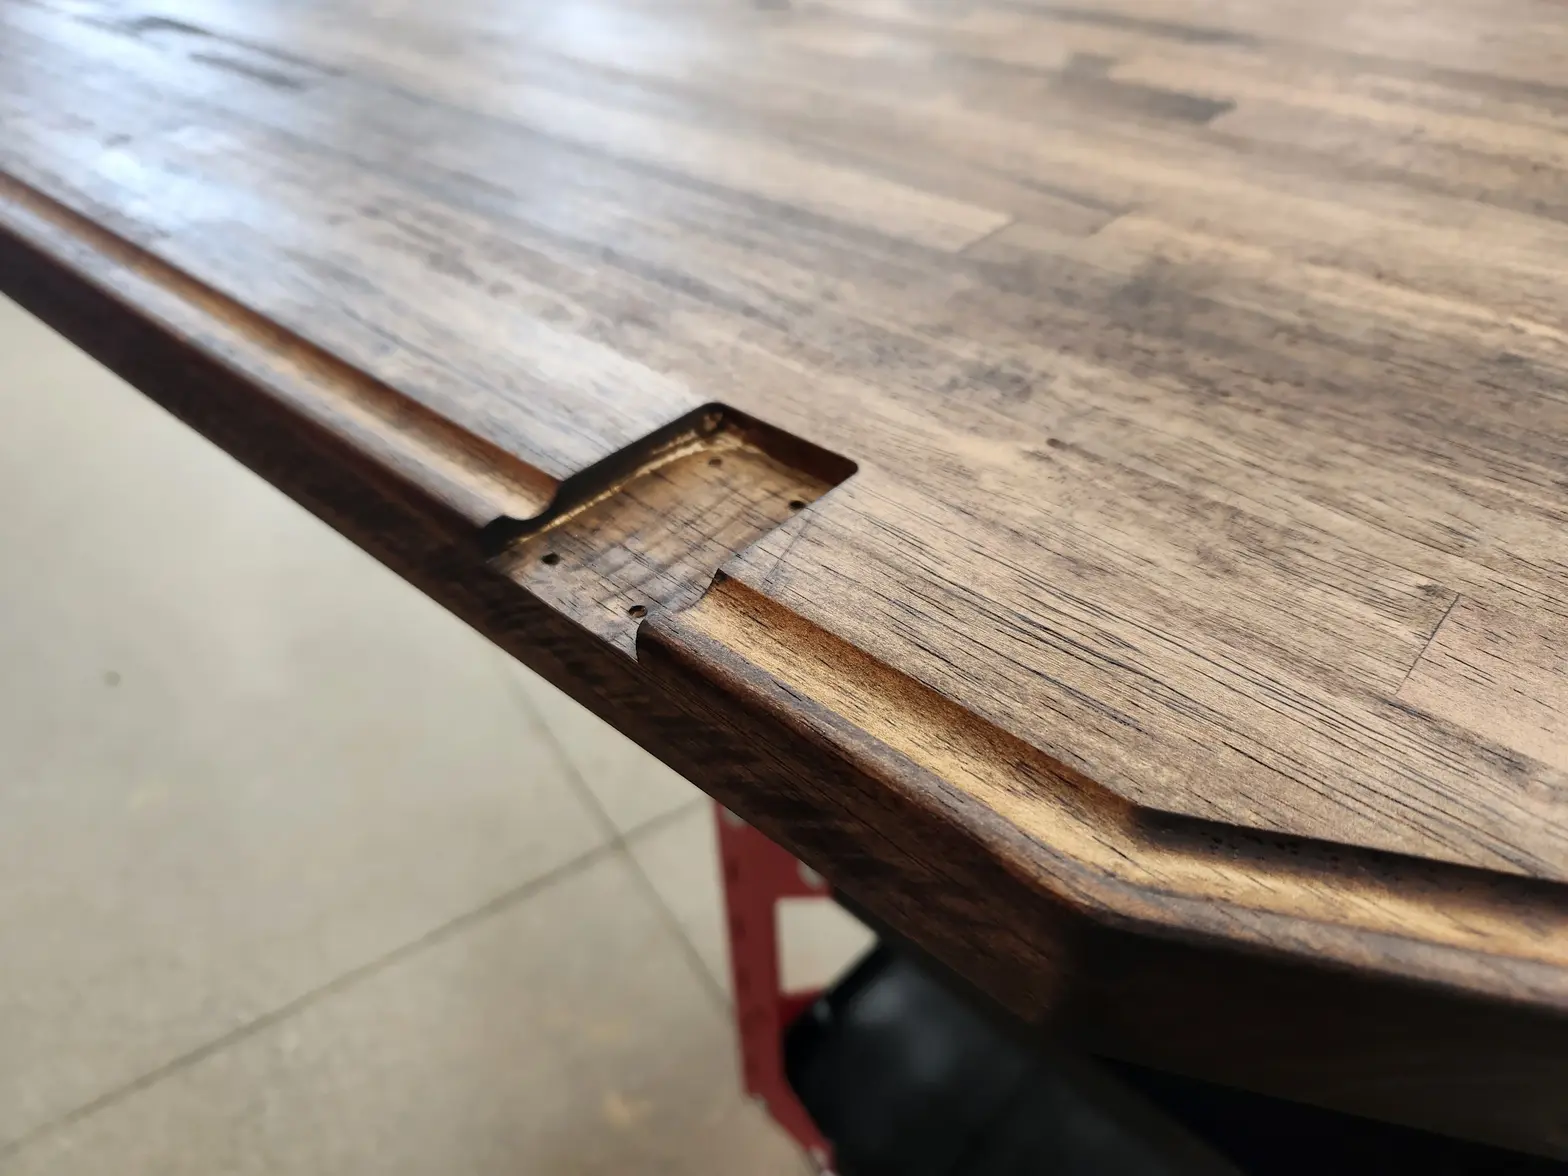
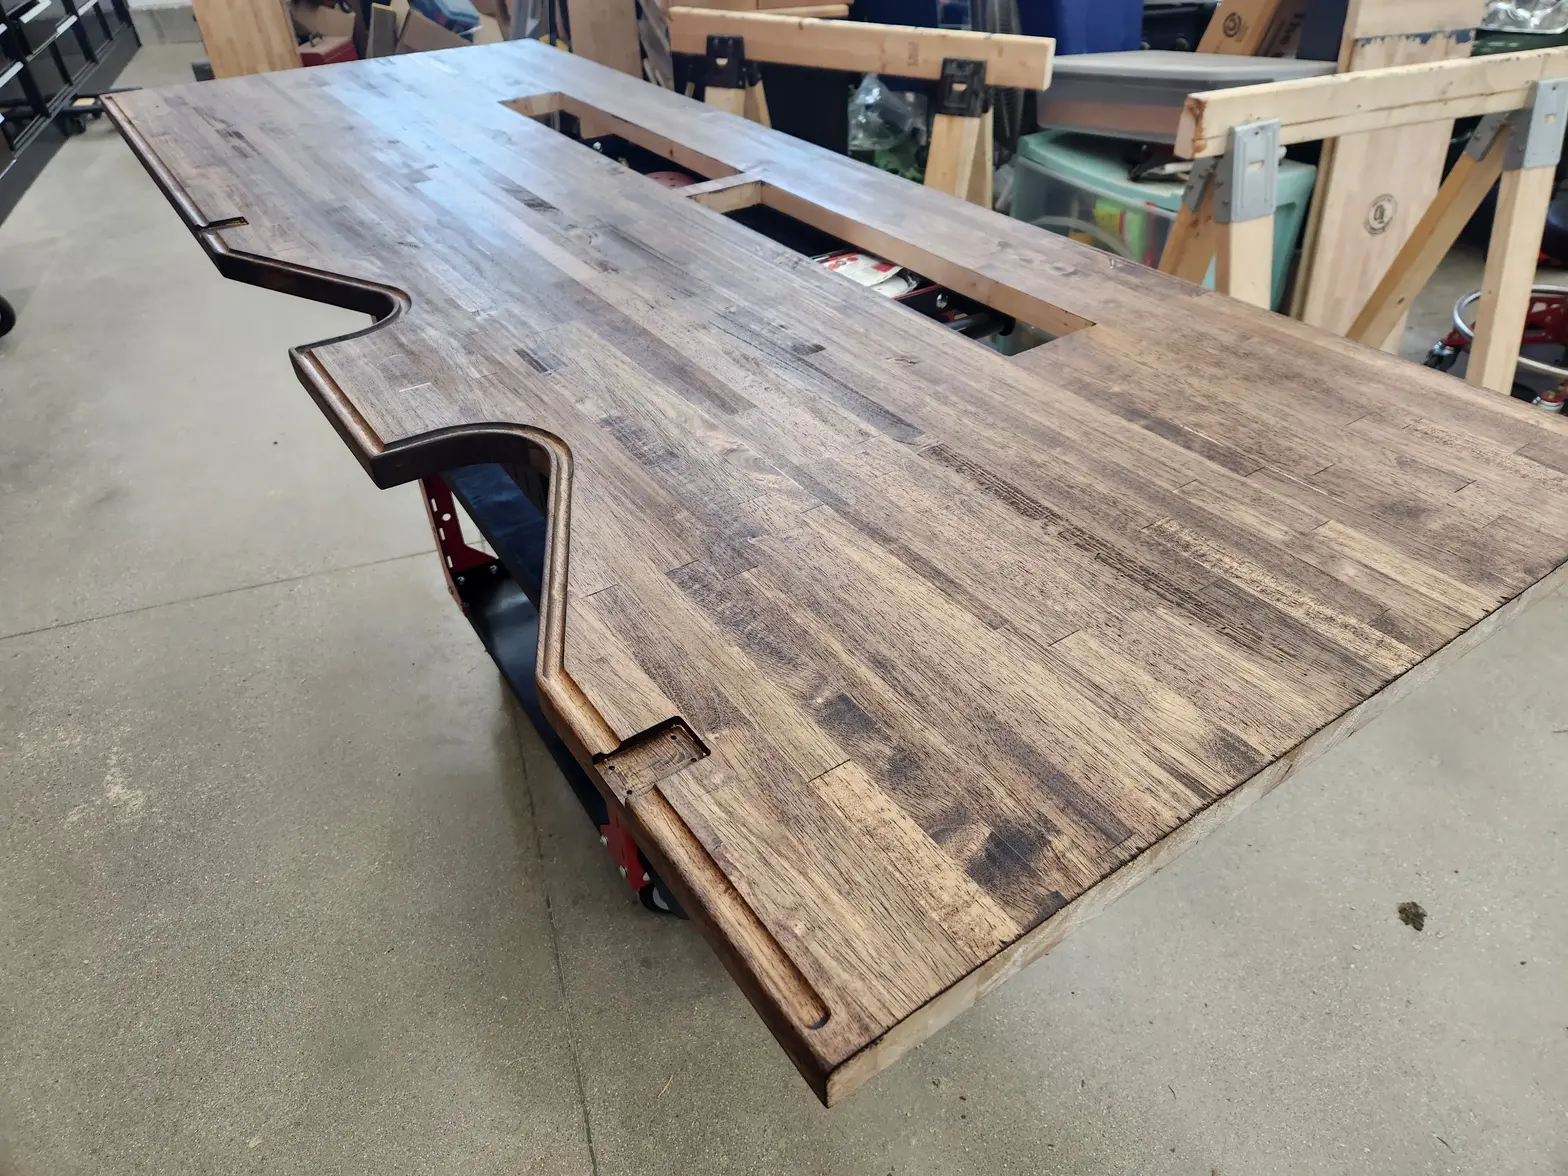
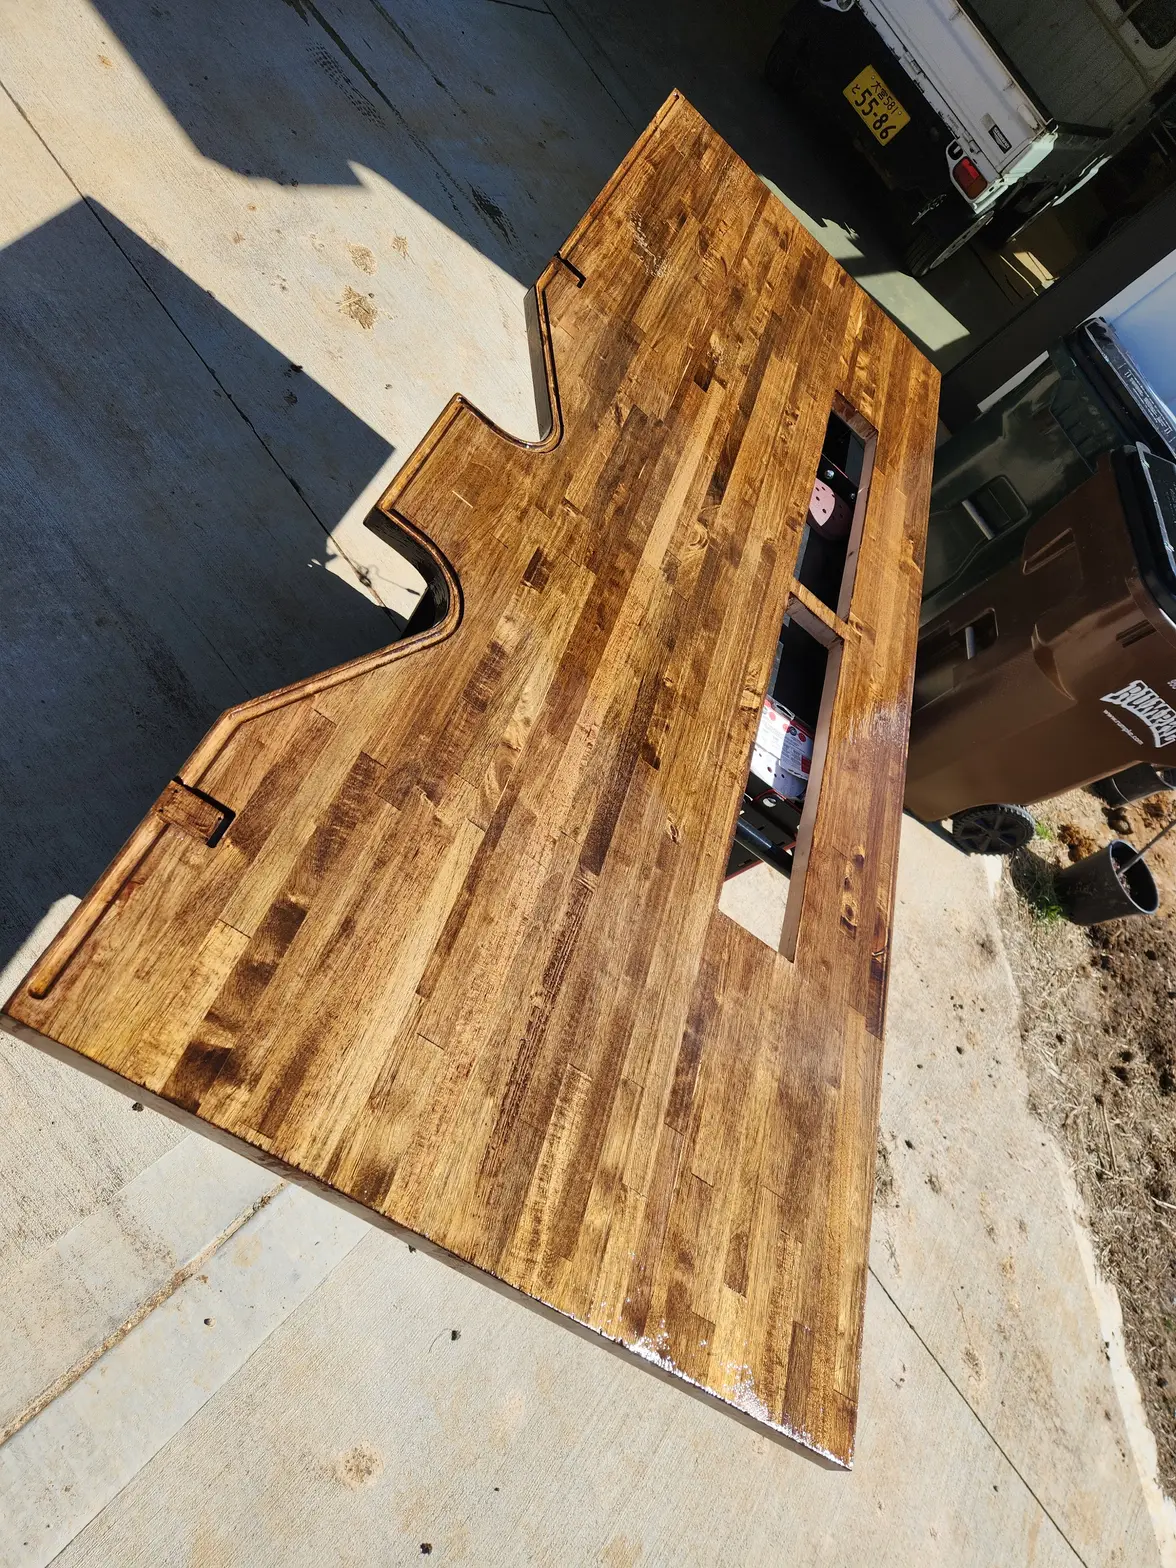
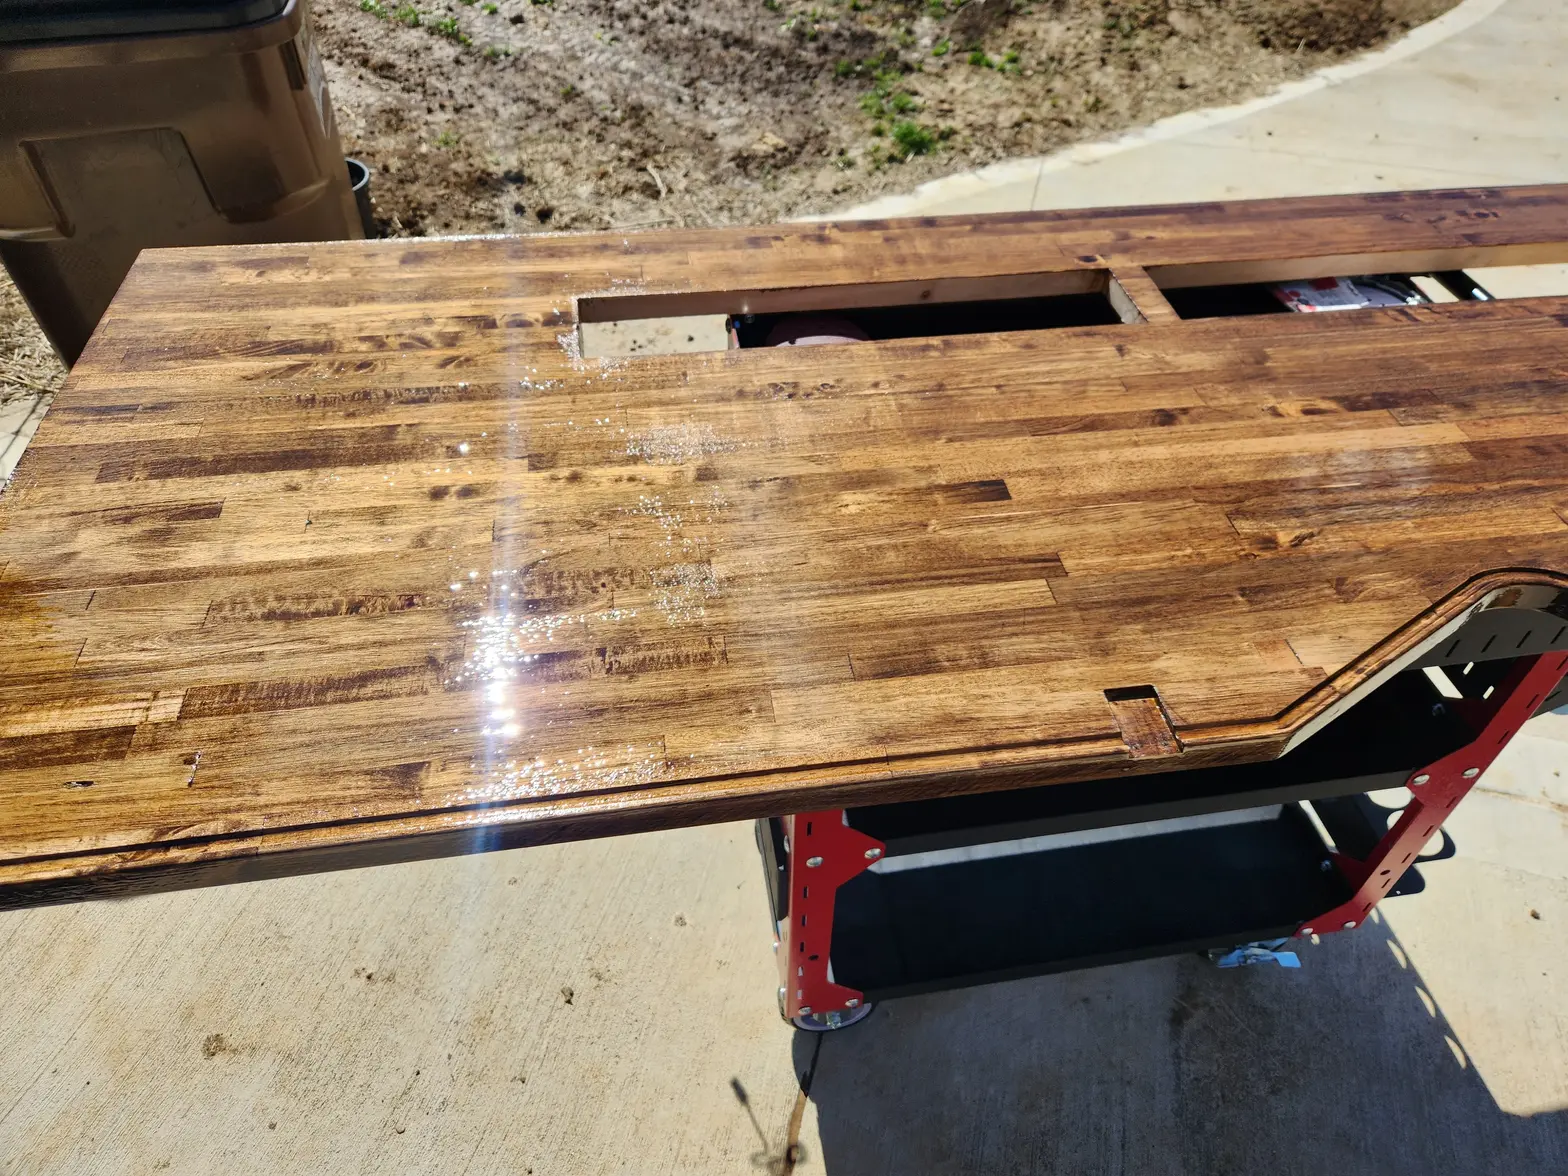
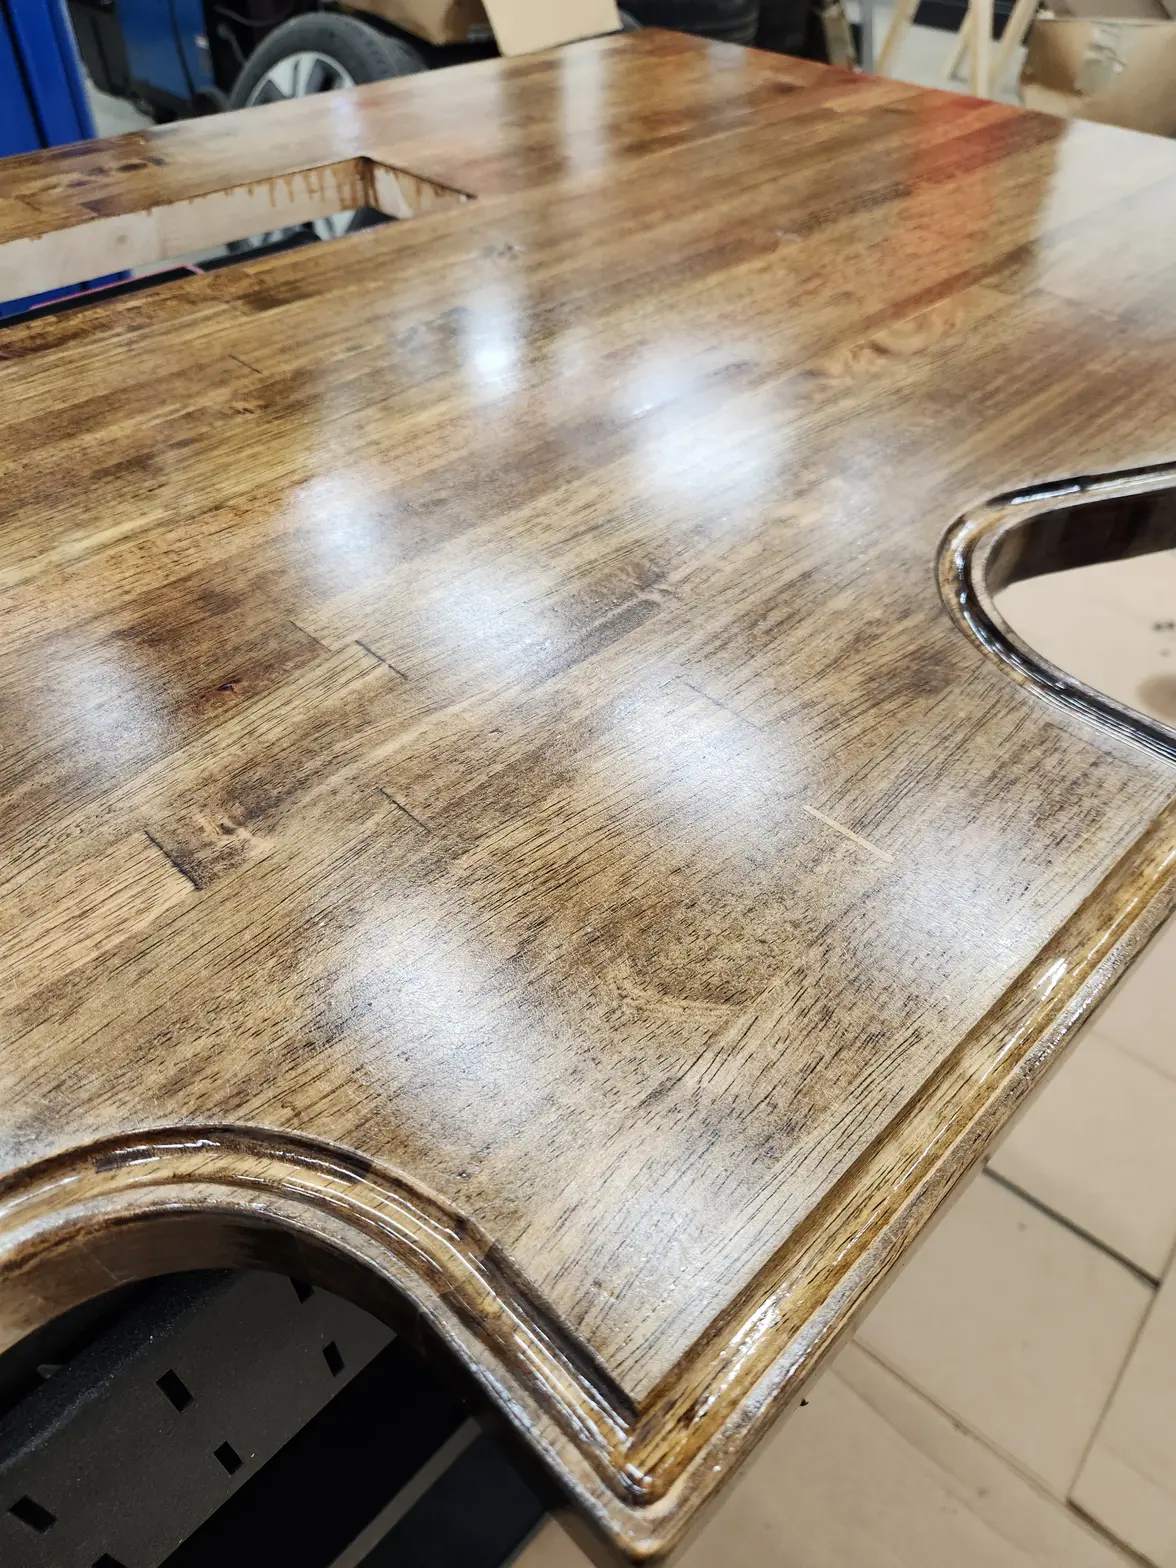
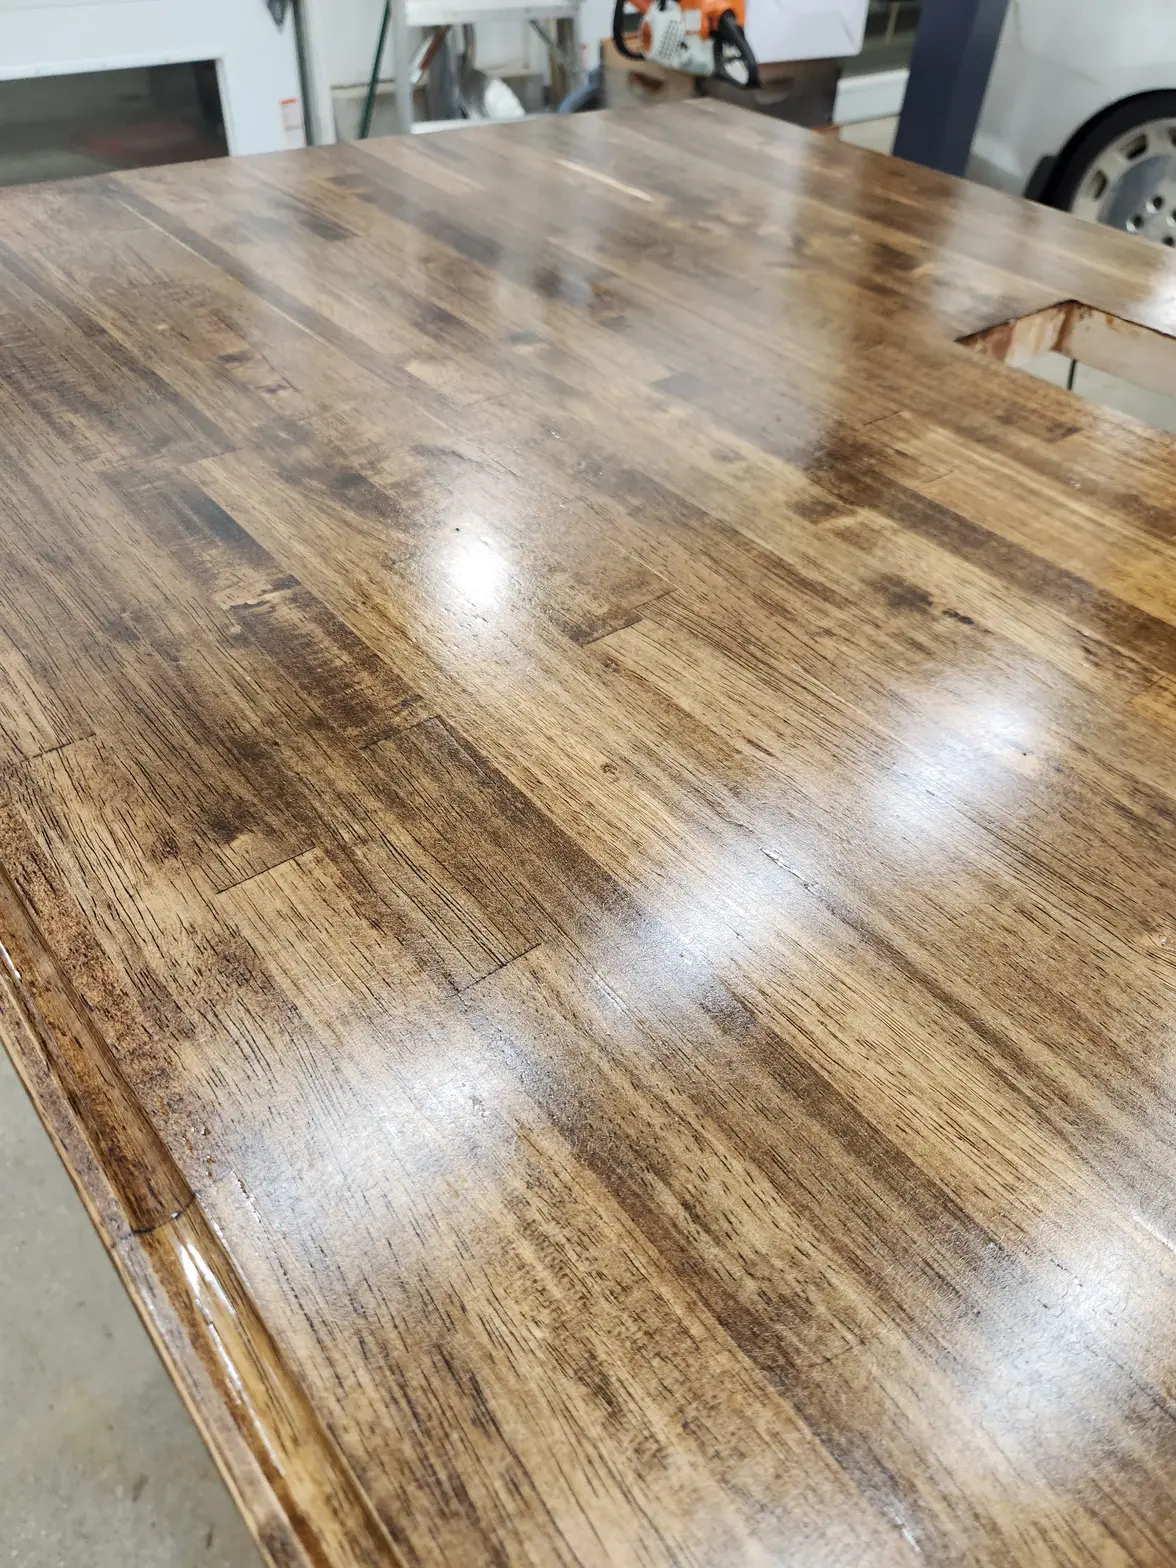
My custom DIY watchmakers bench (pic heavy)
samweldspoorly
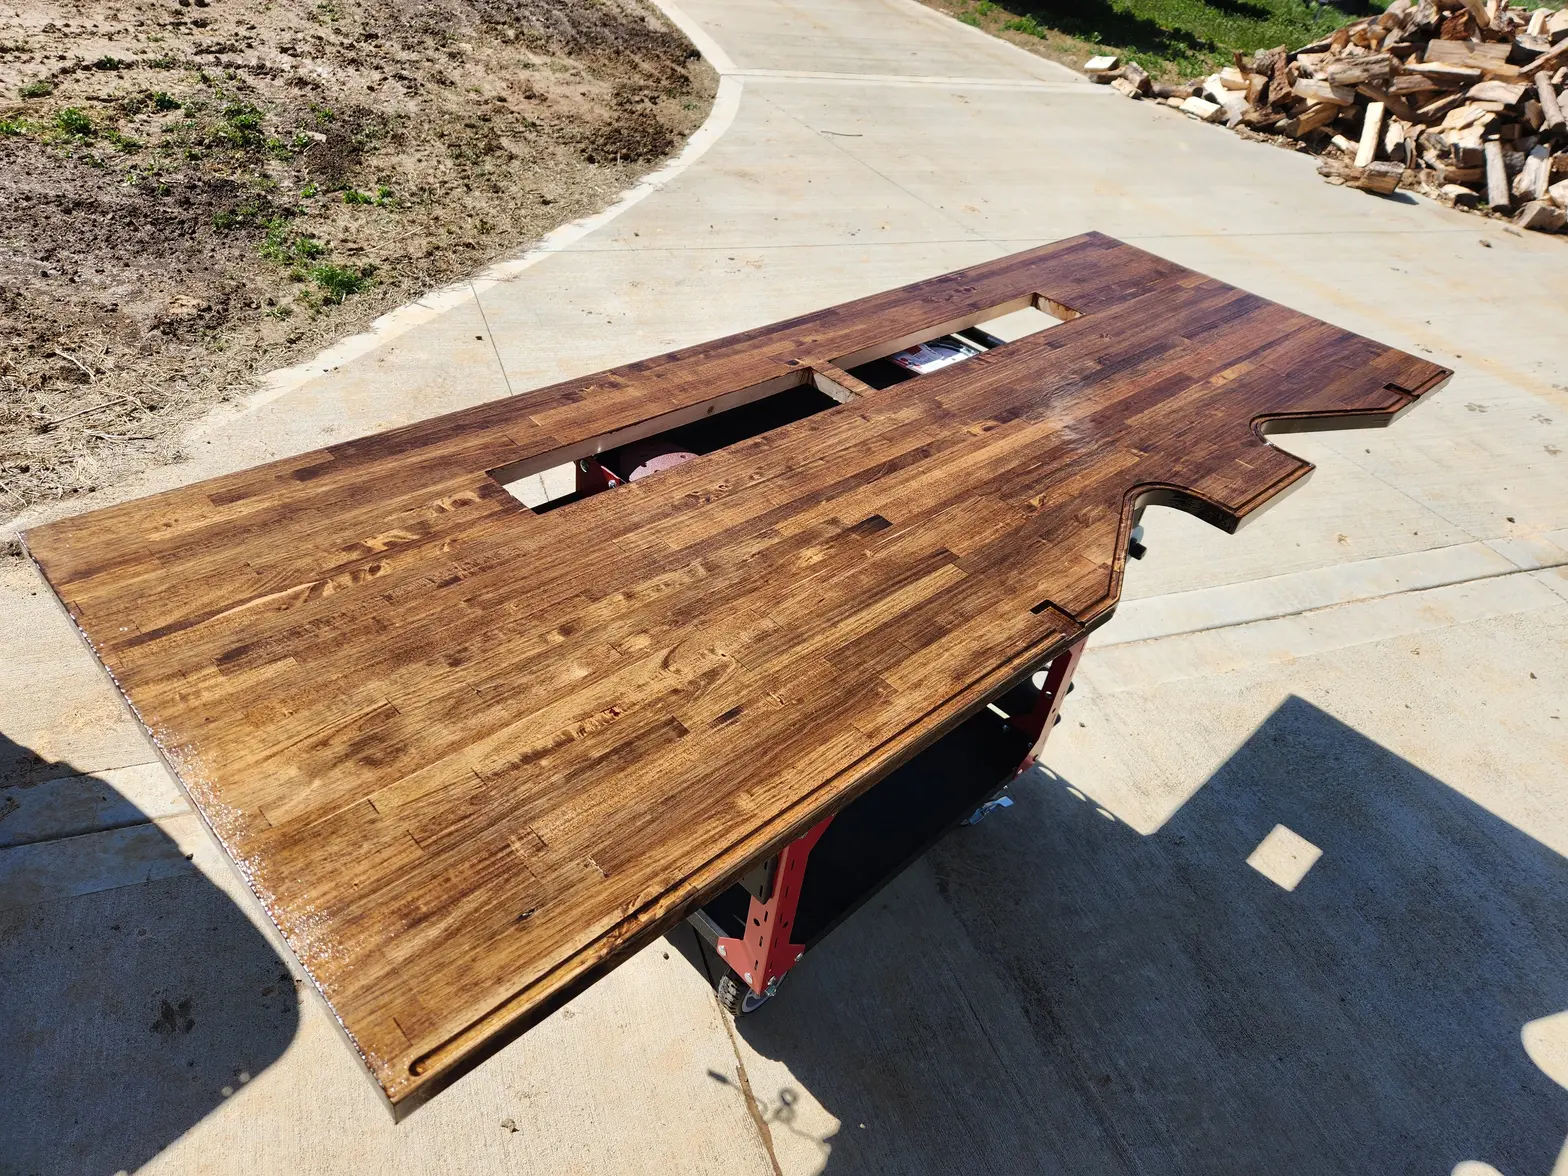
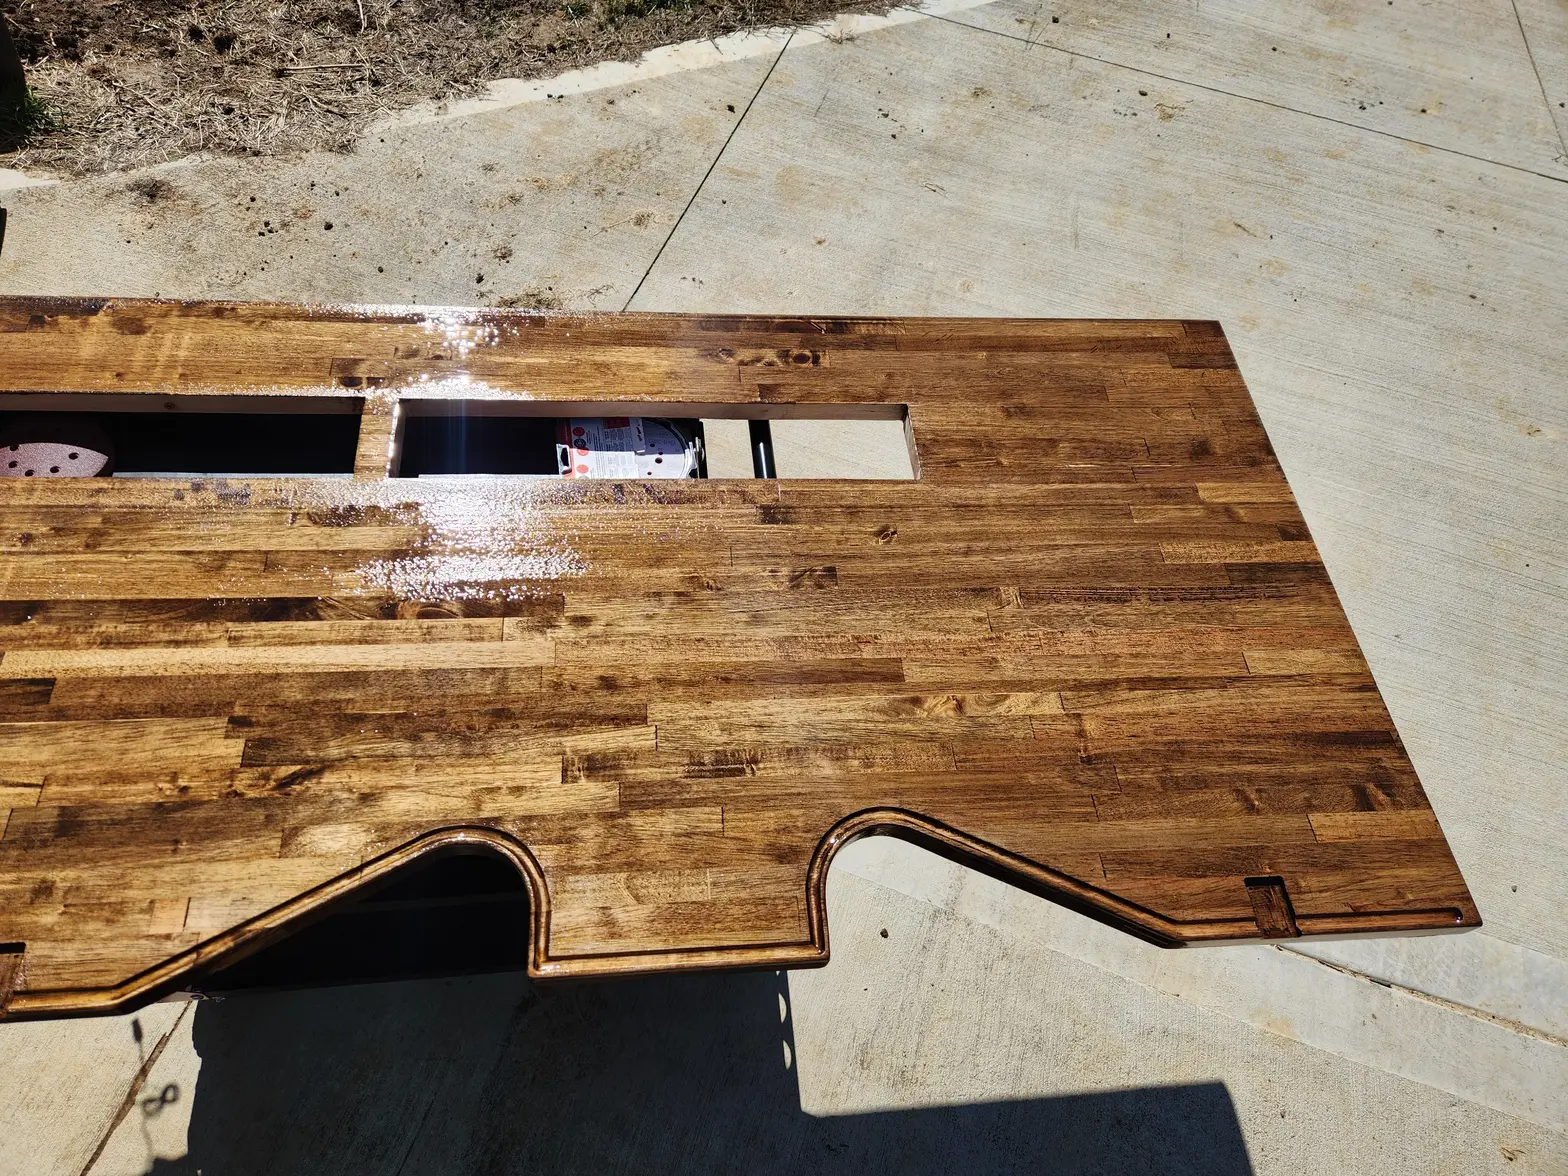
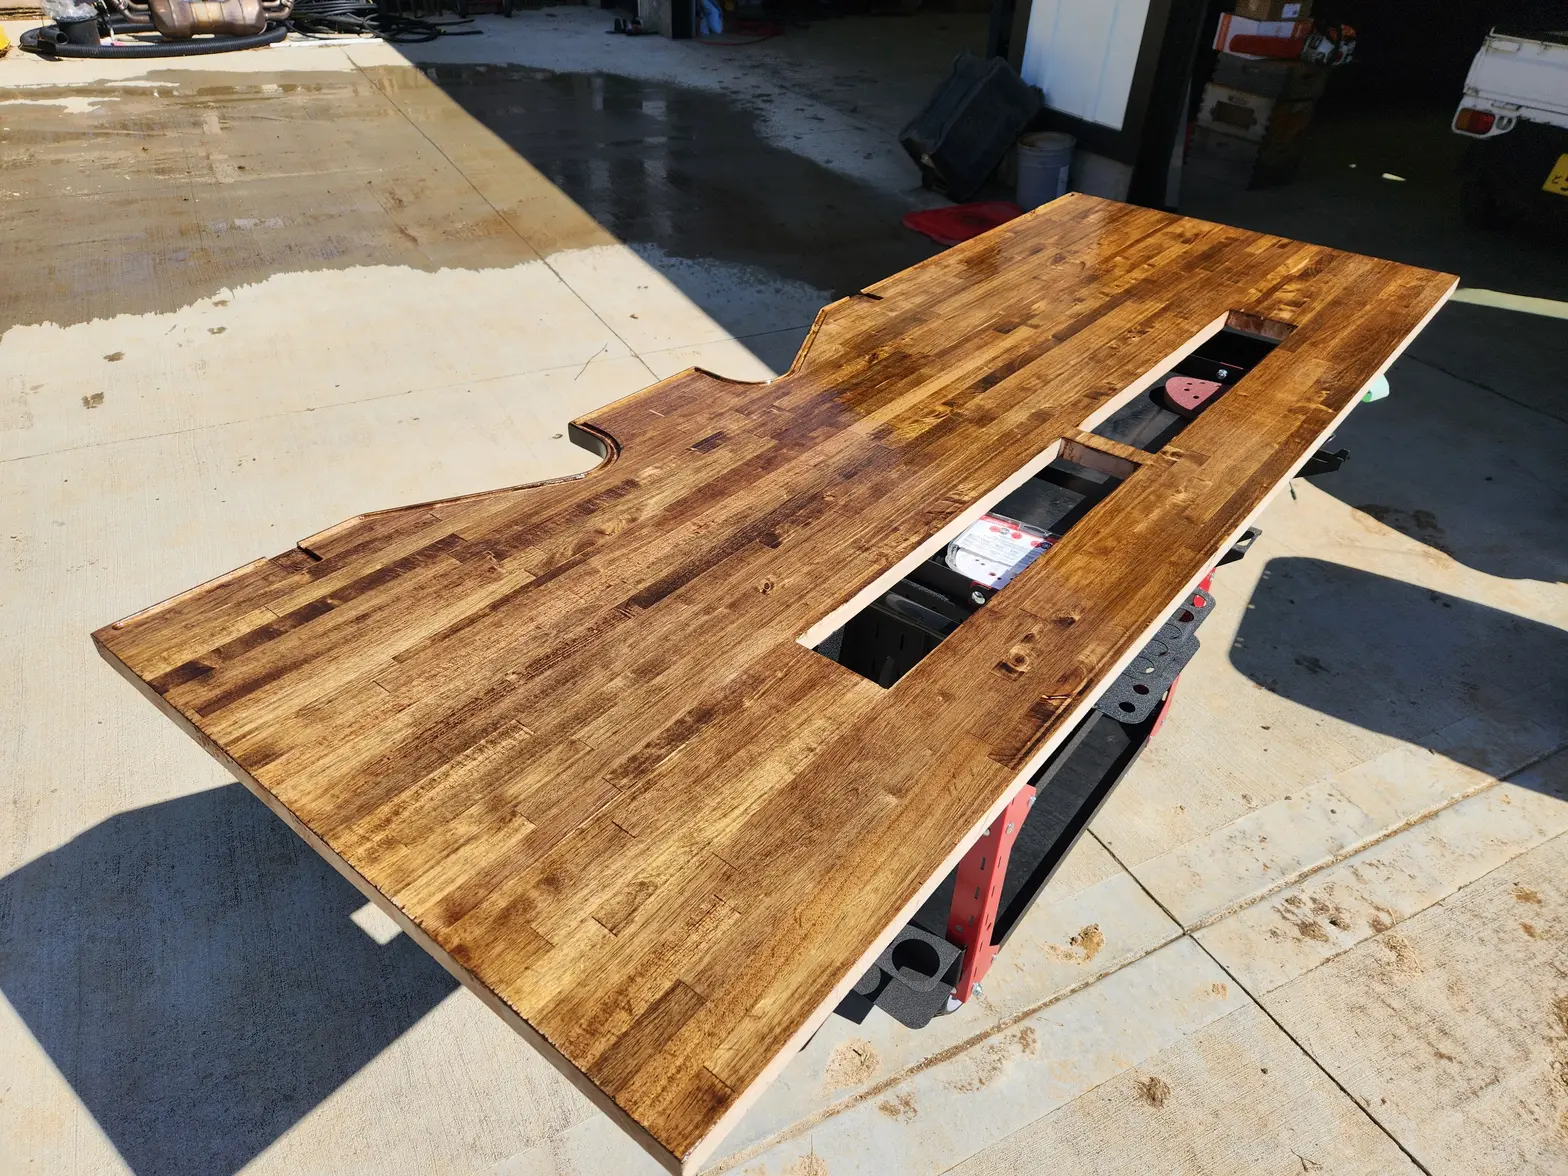
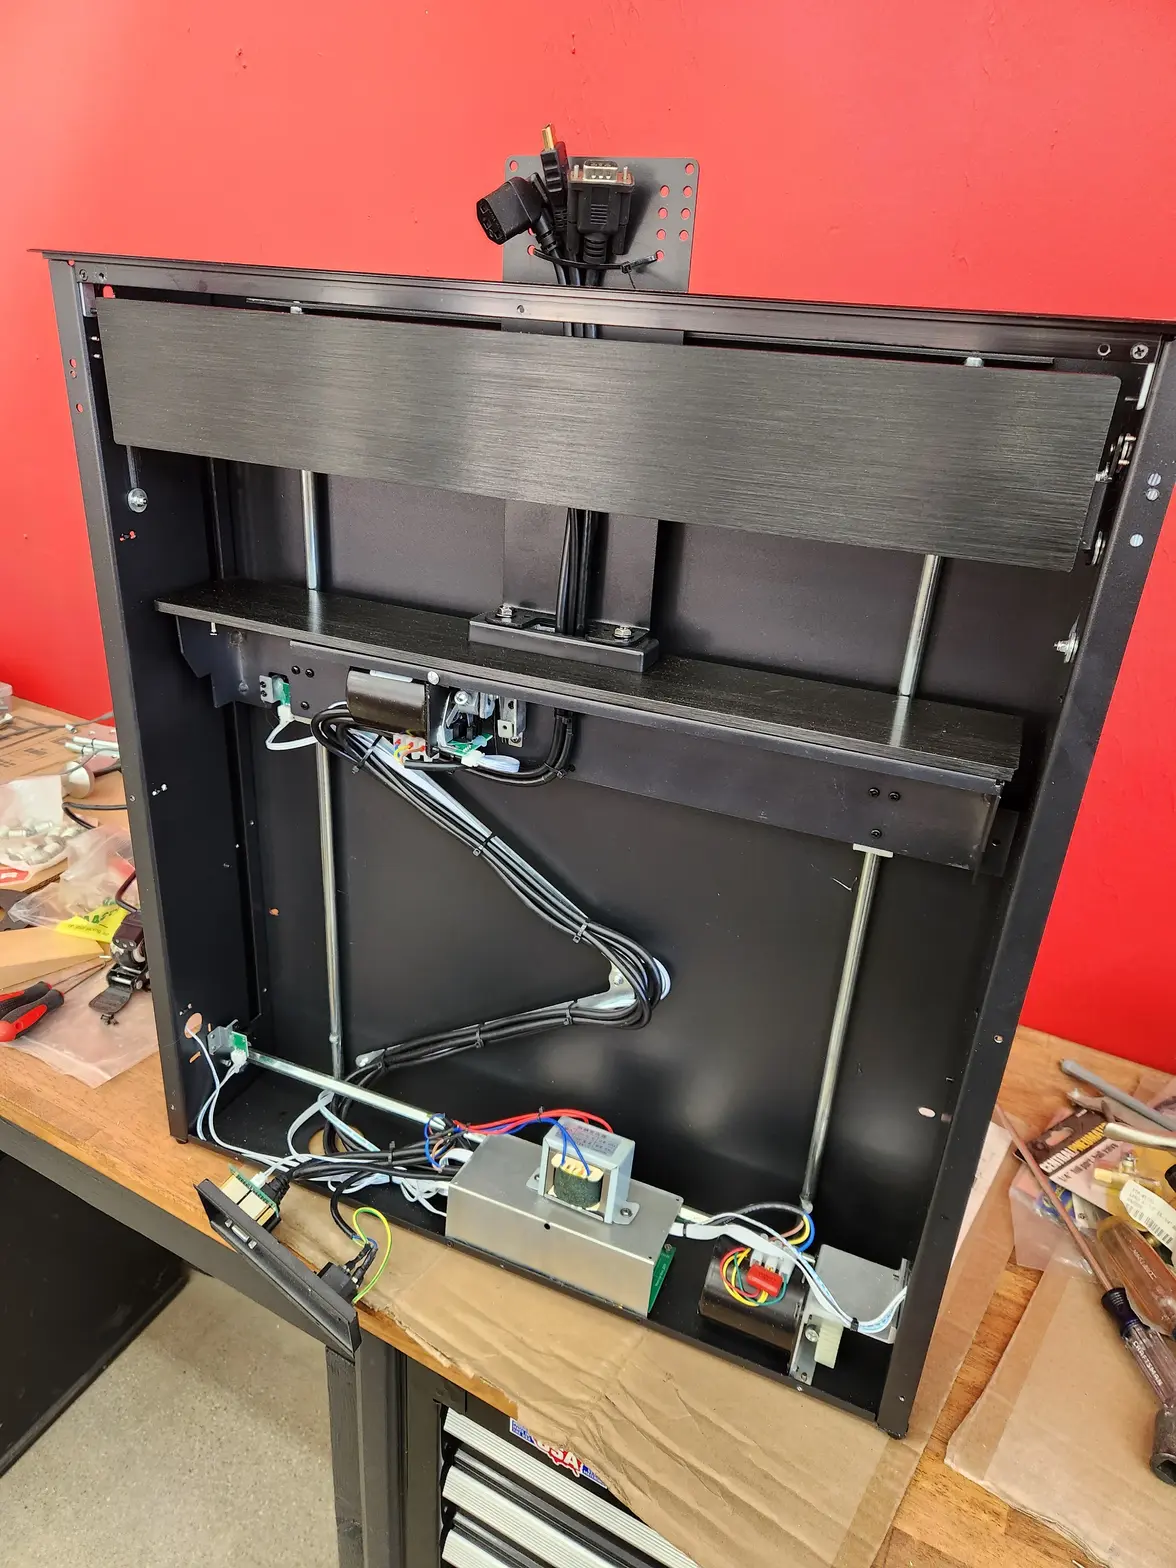
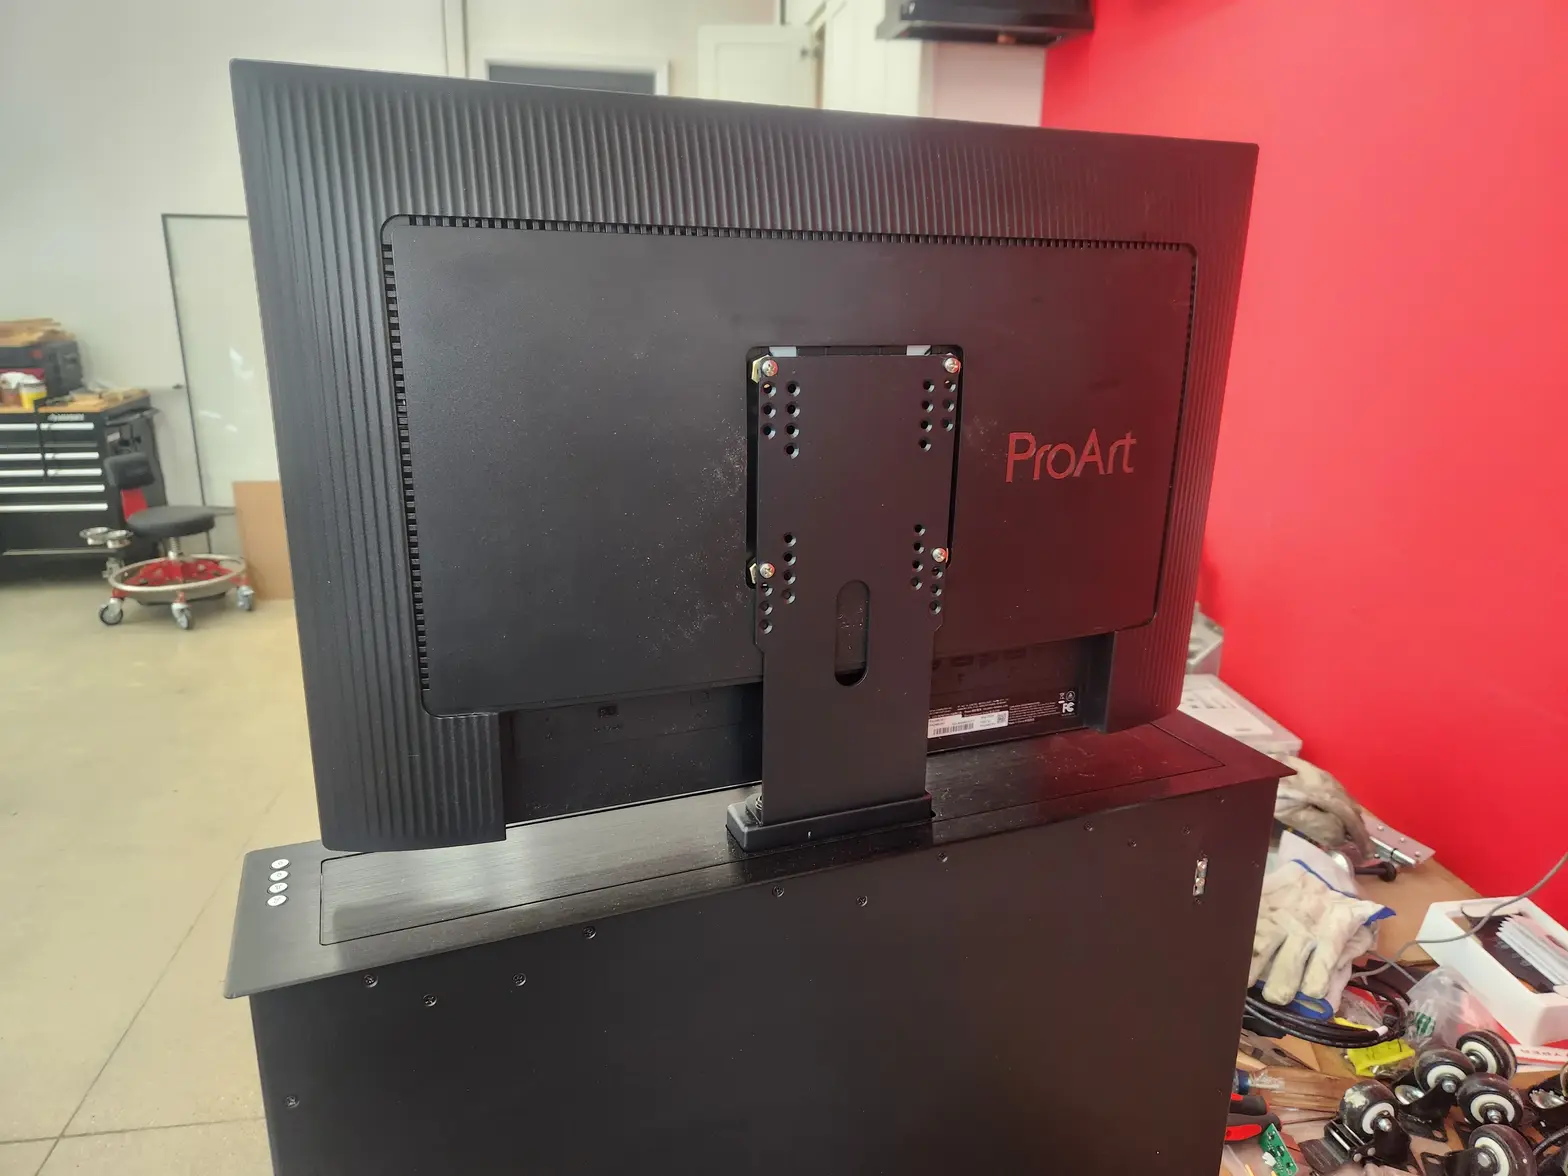
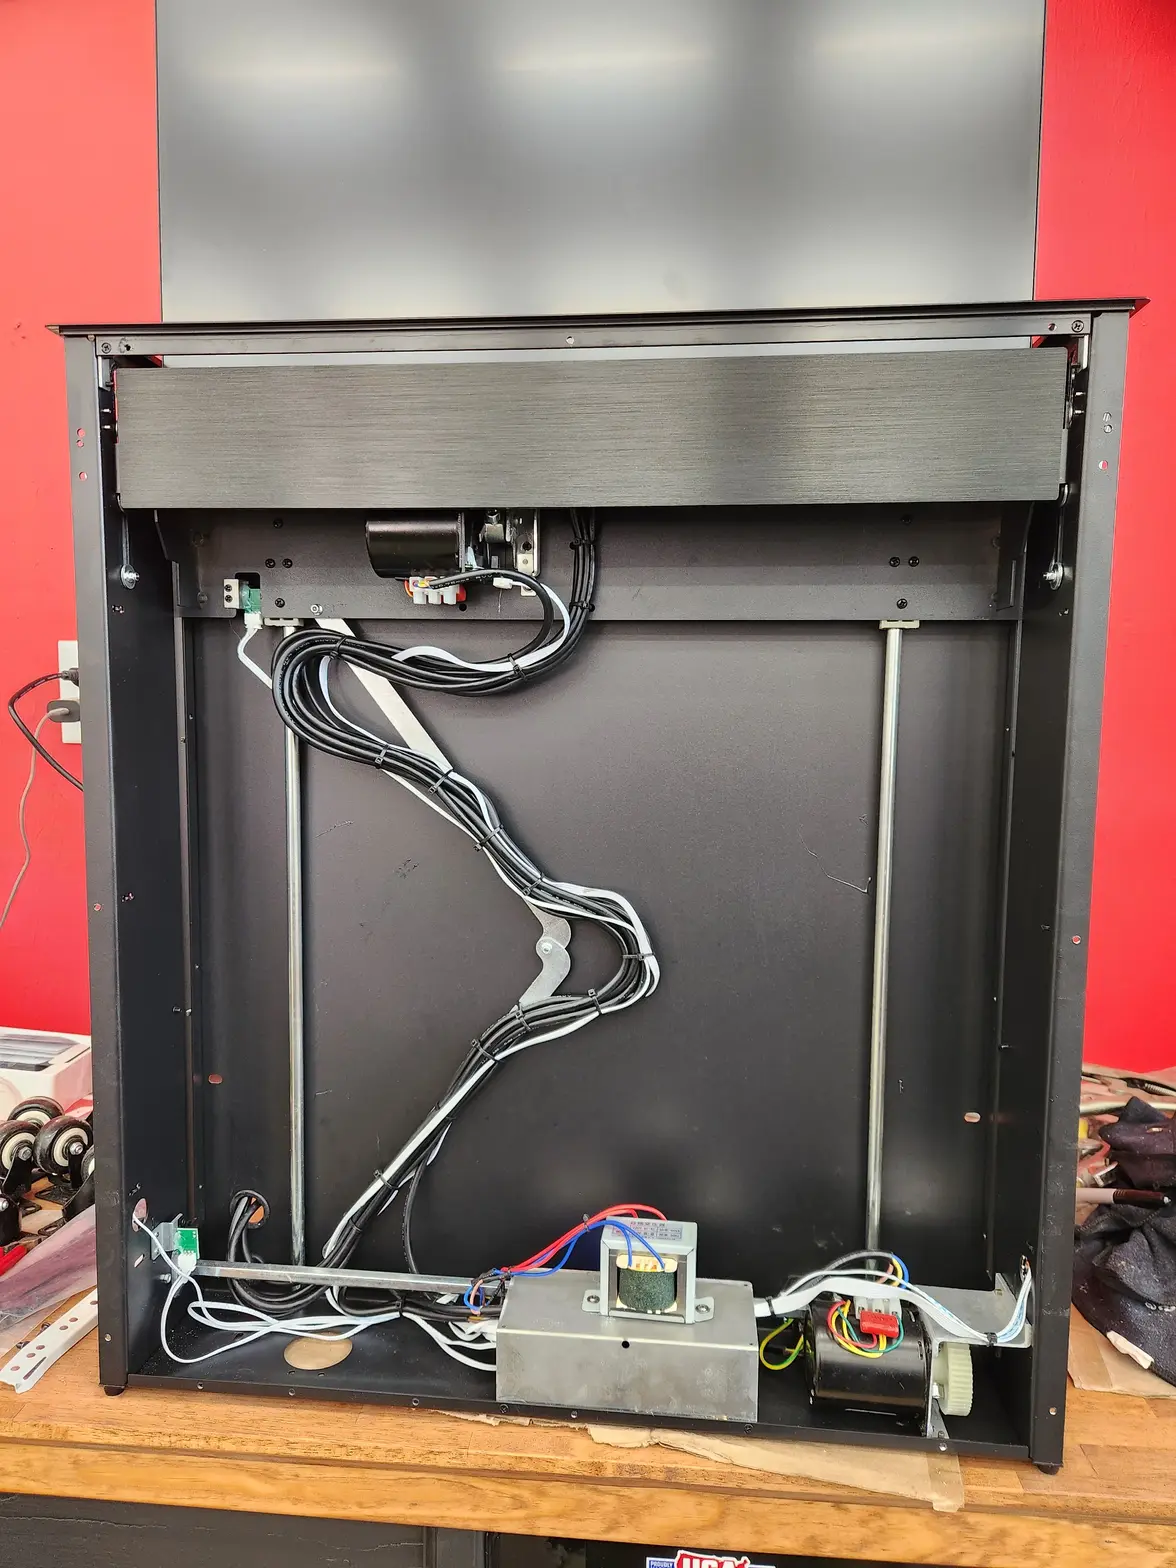
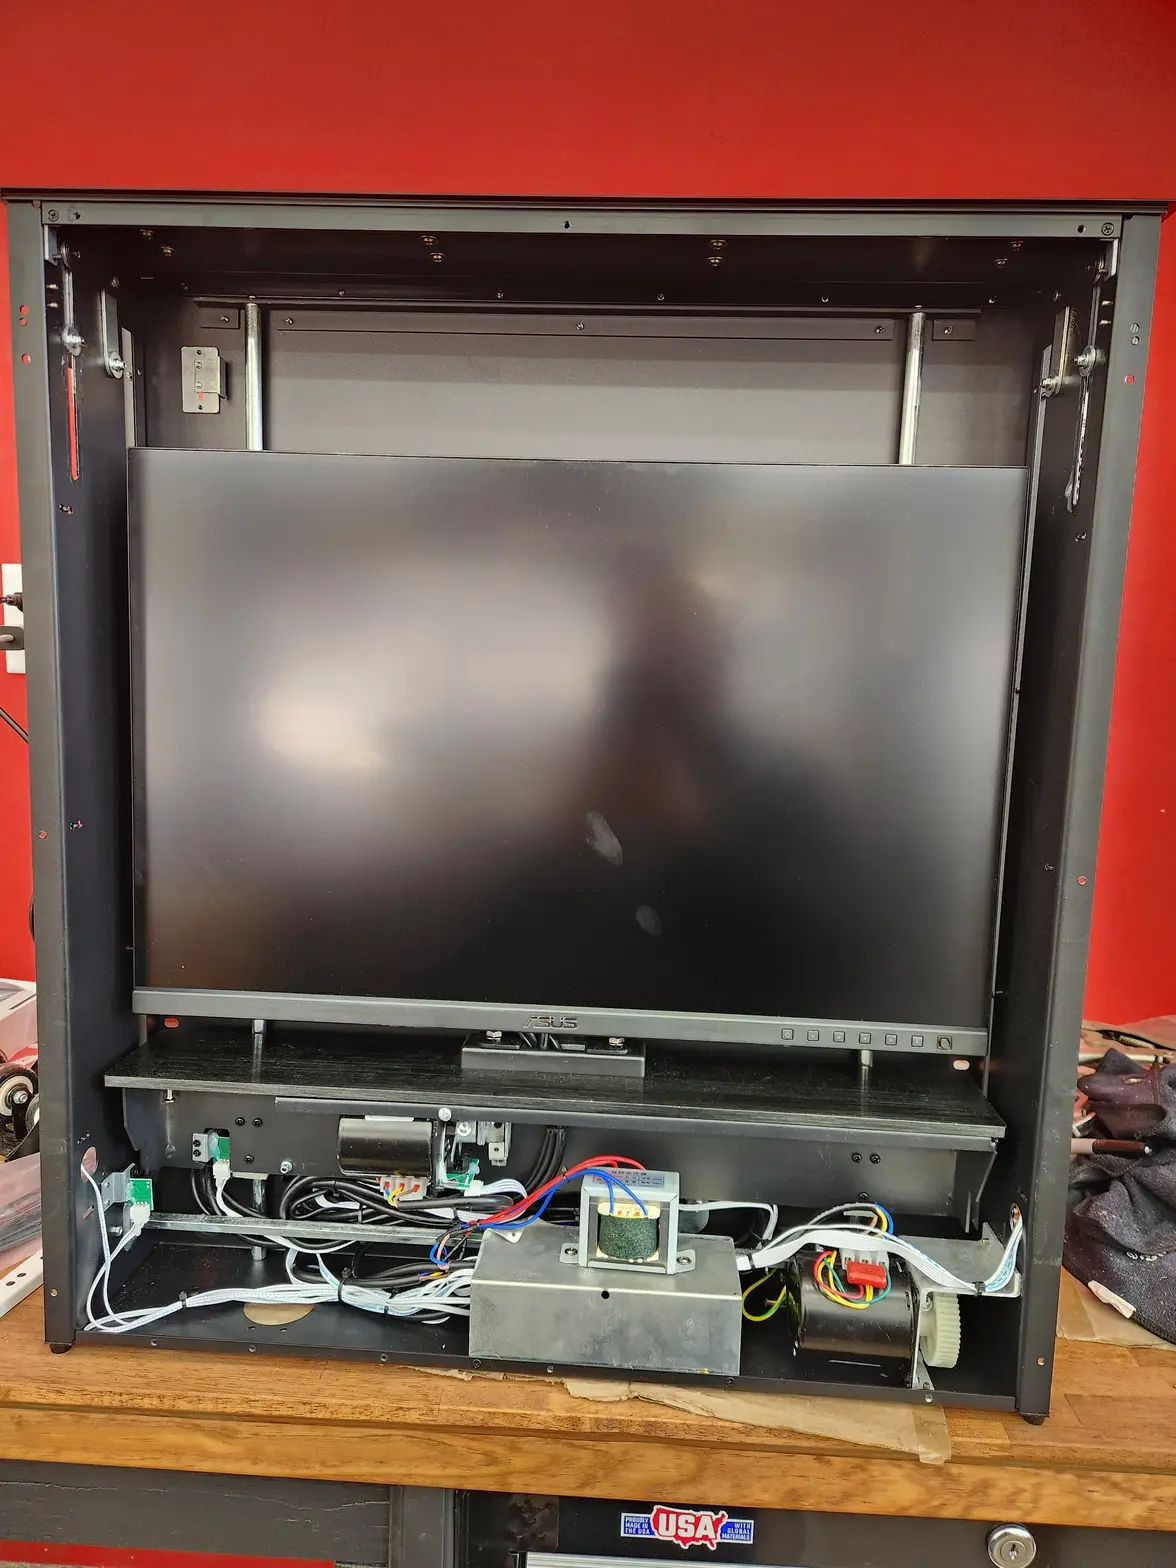
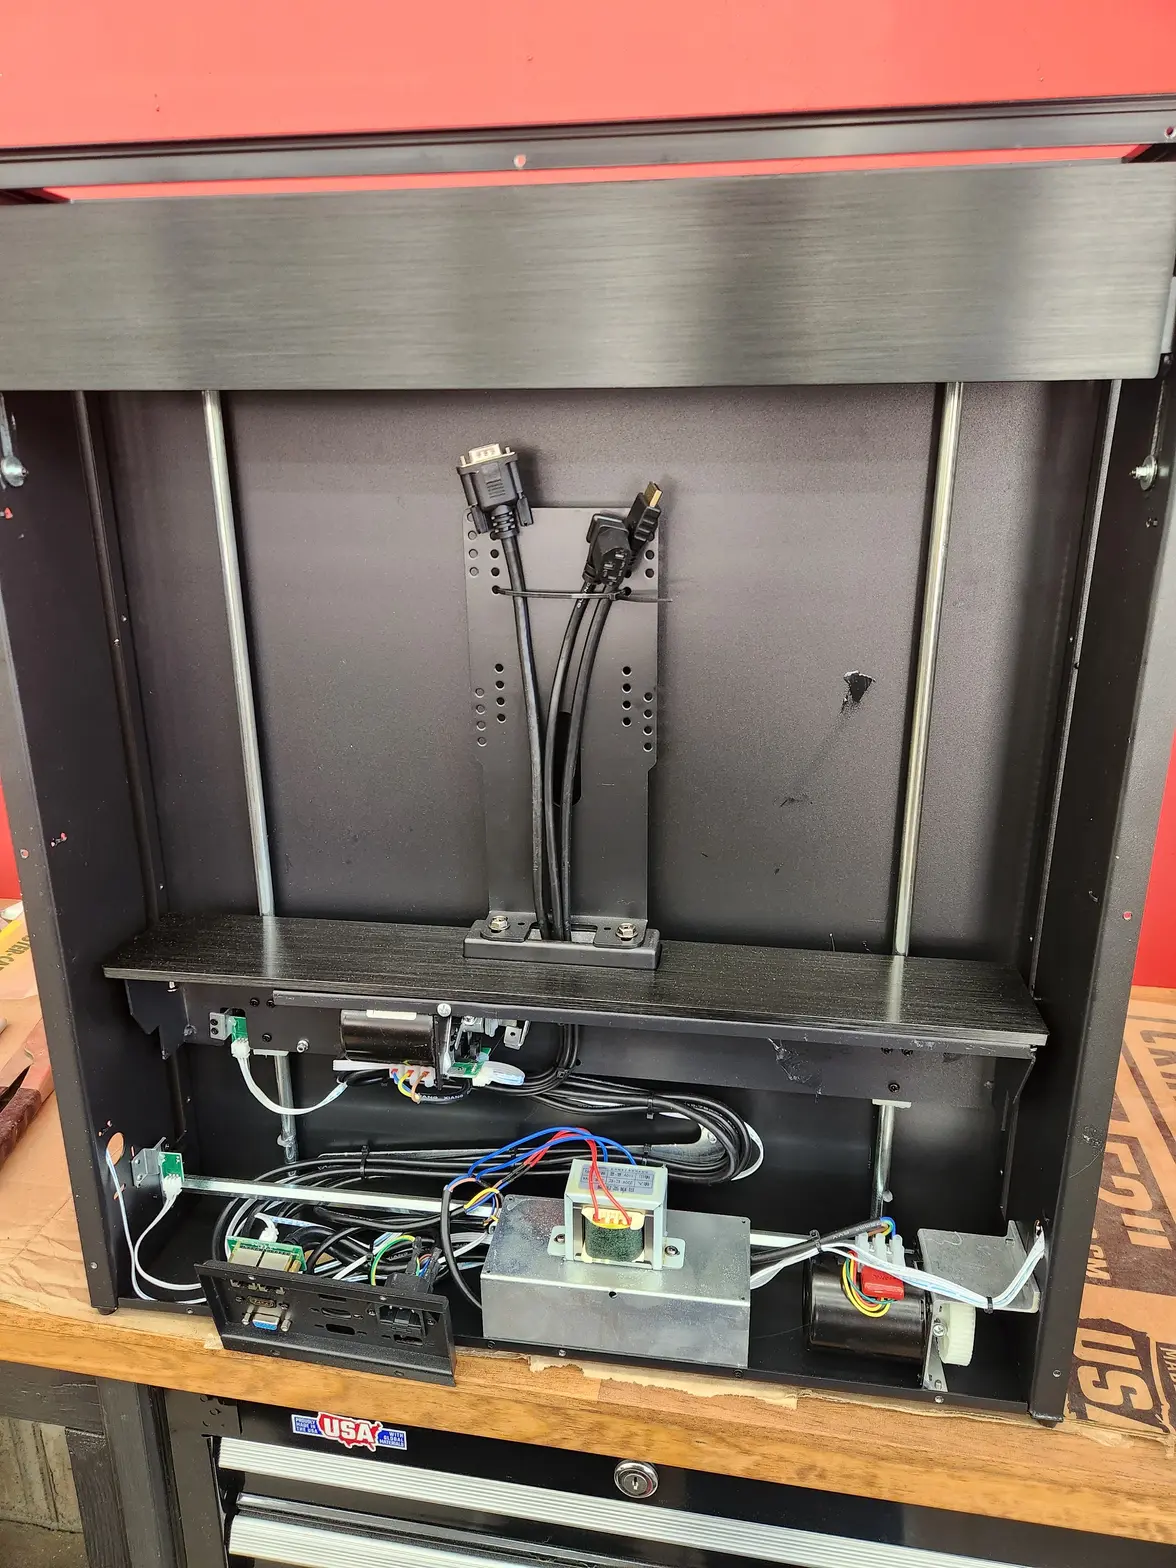
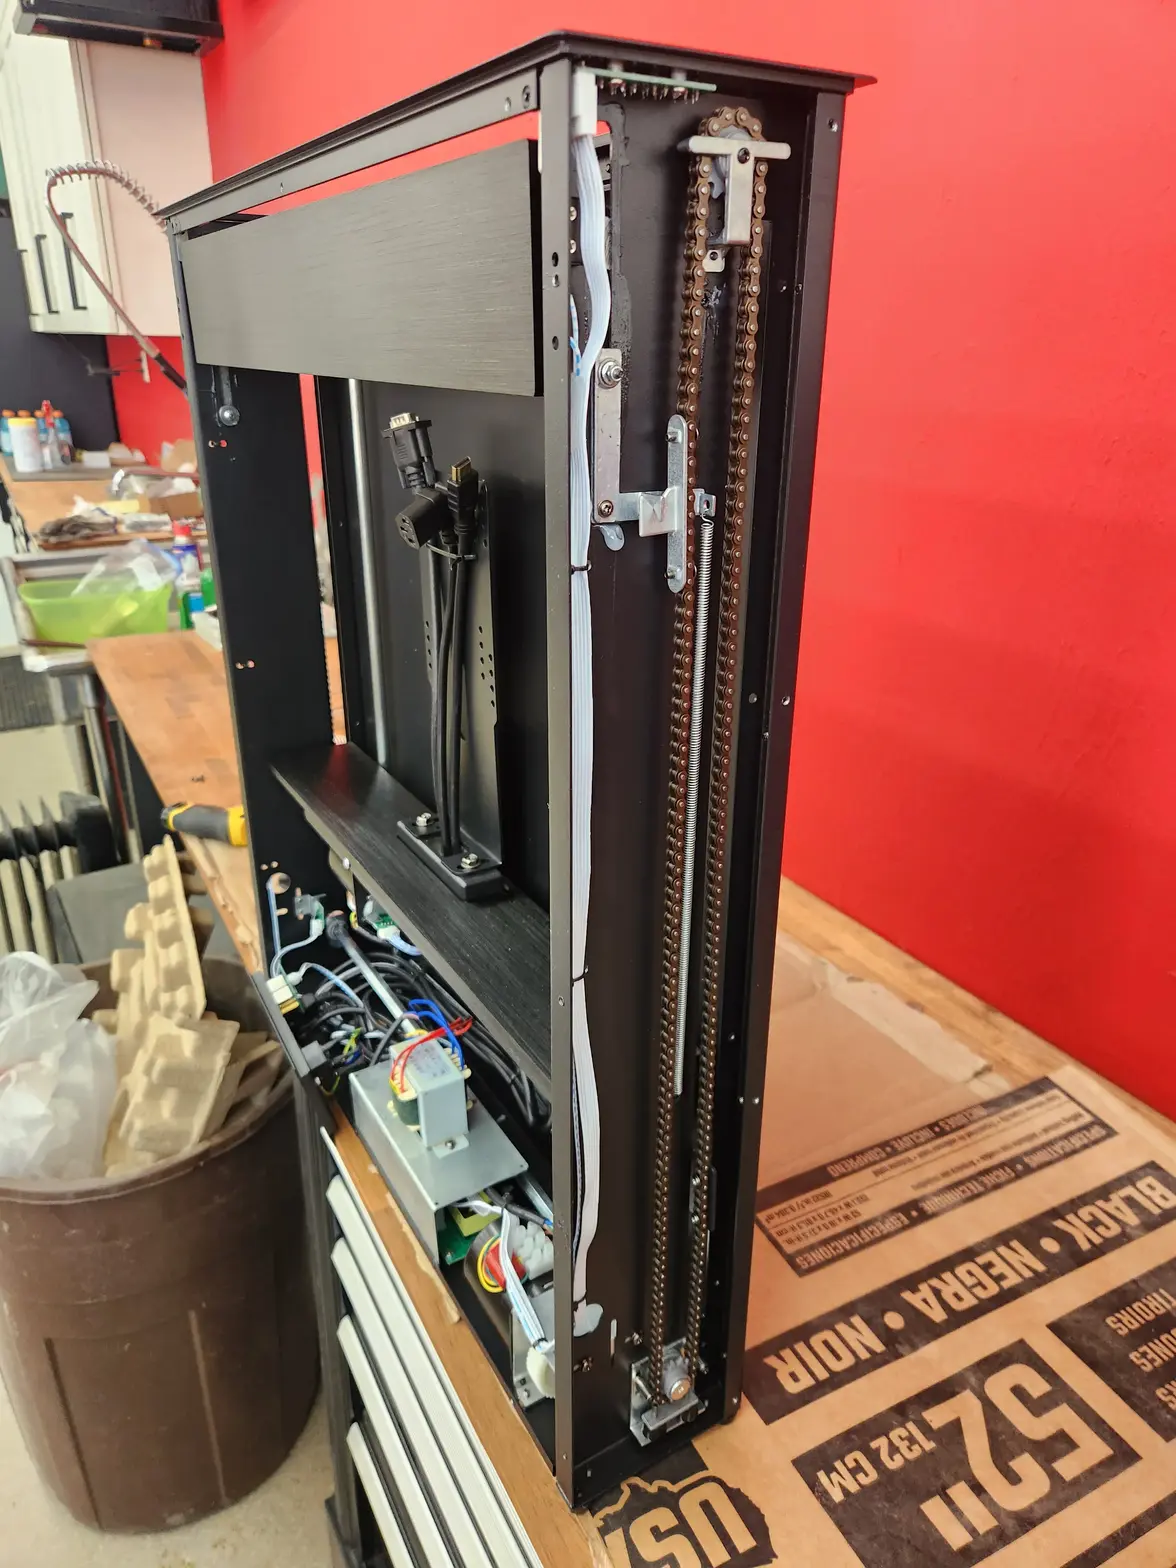
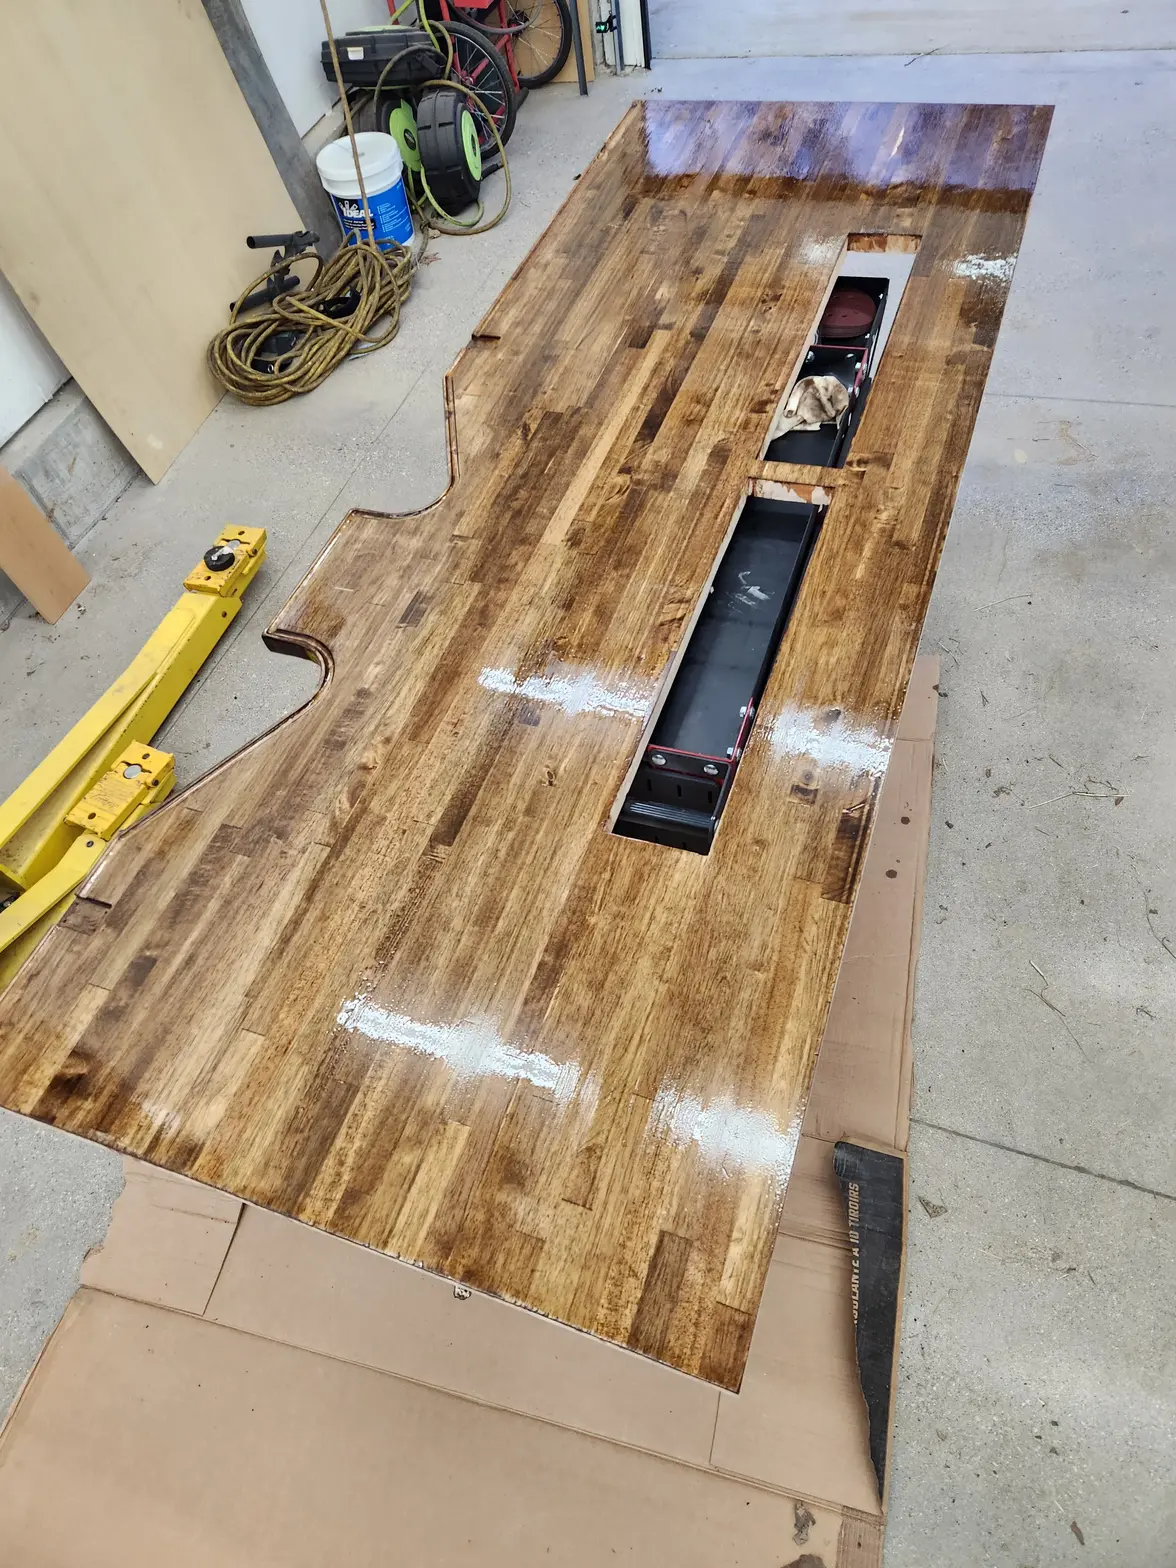
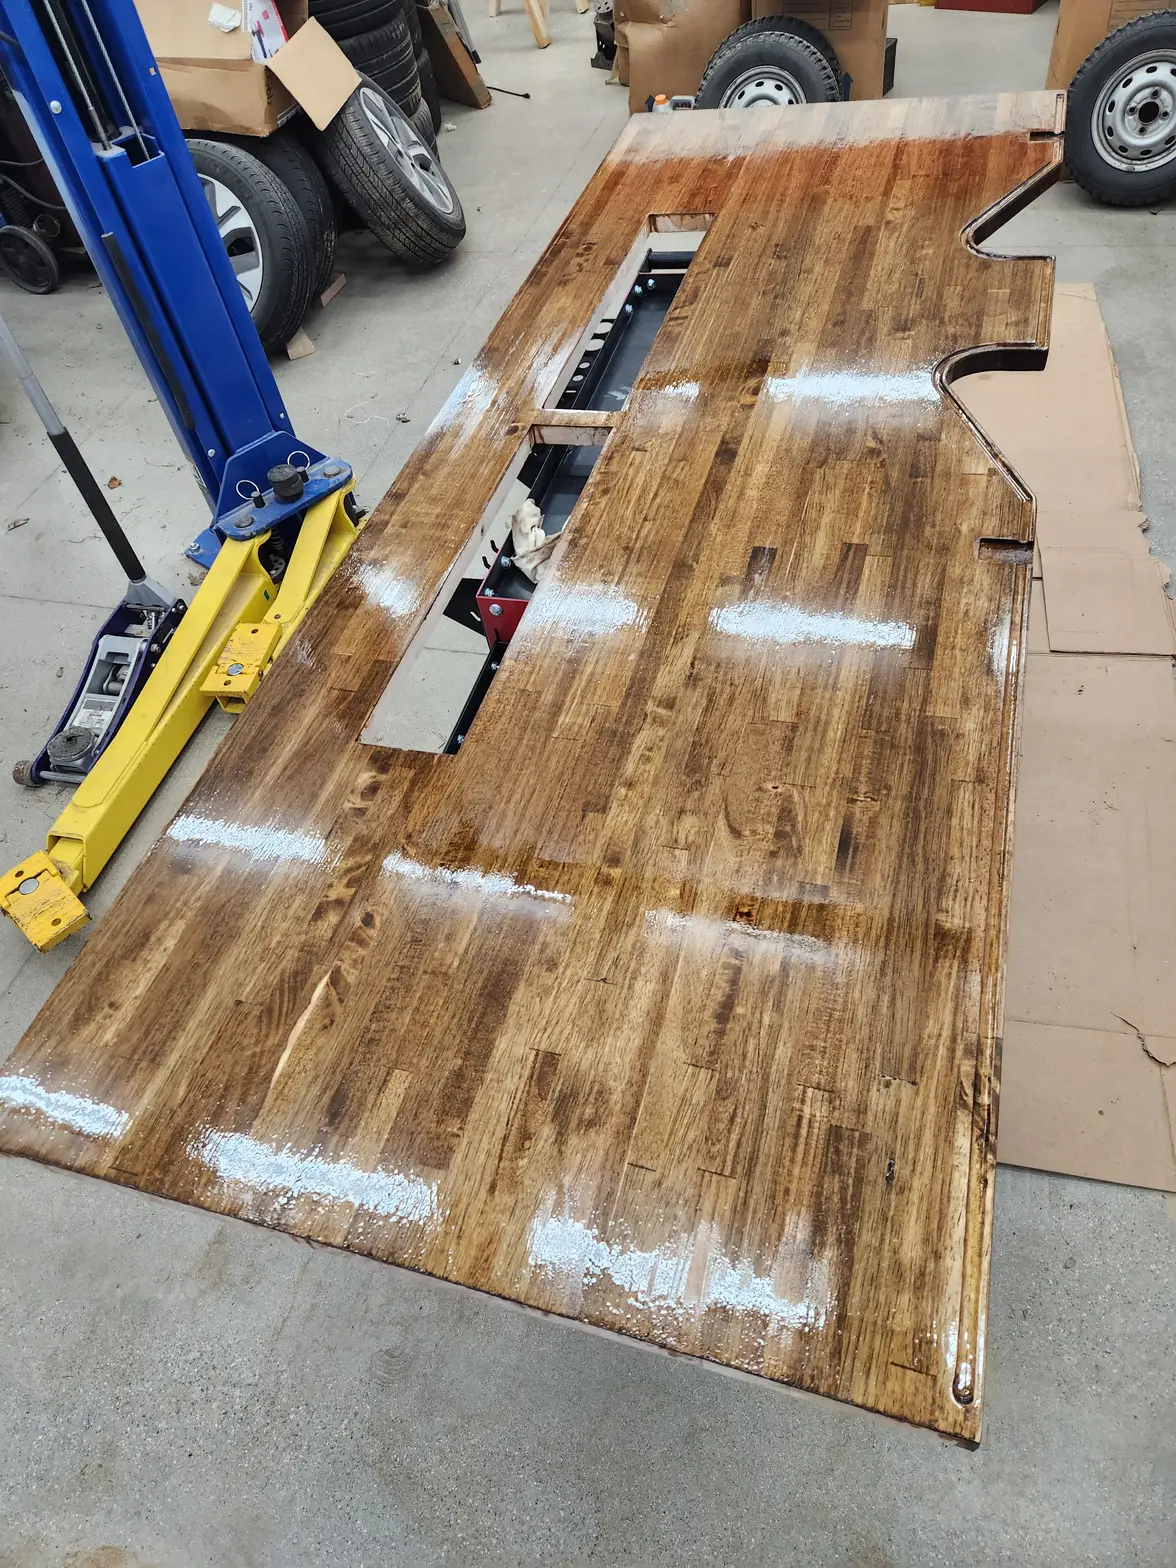
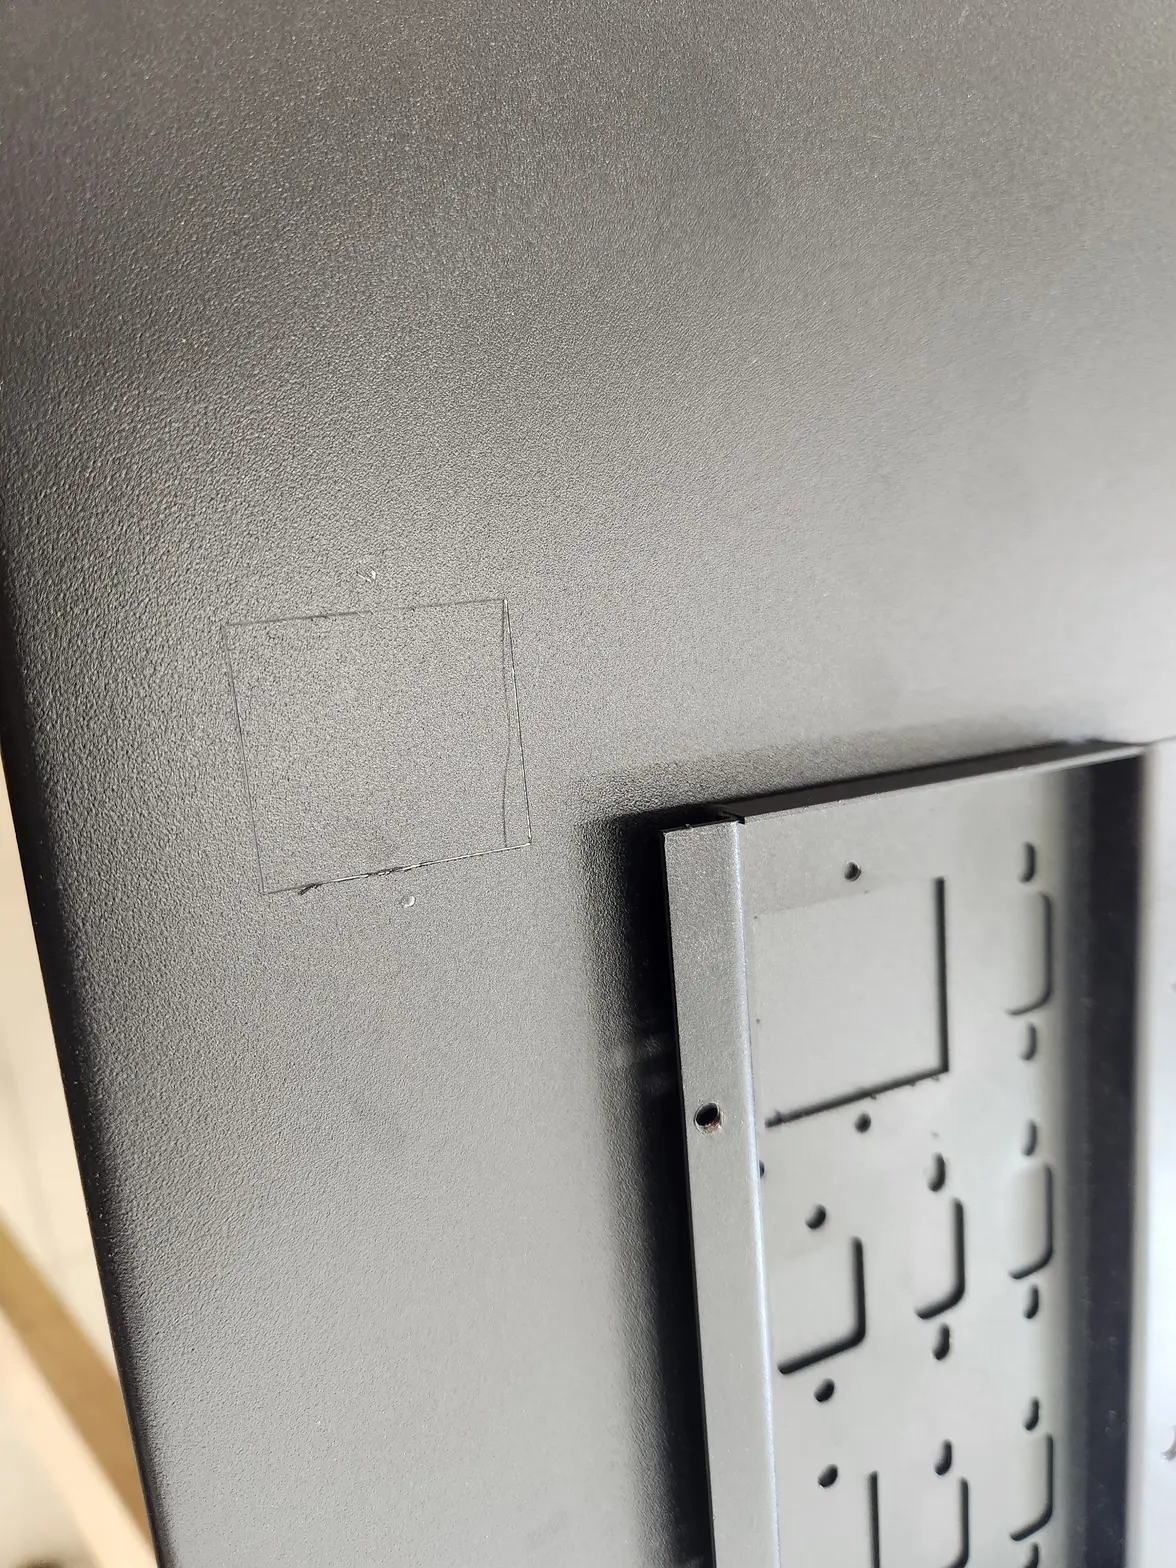
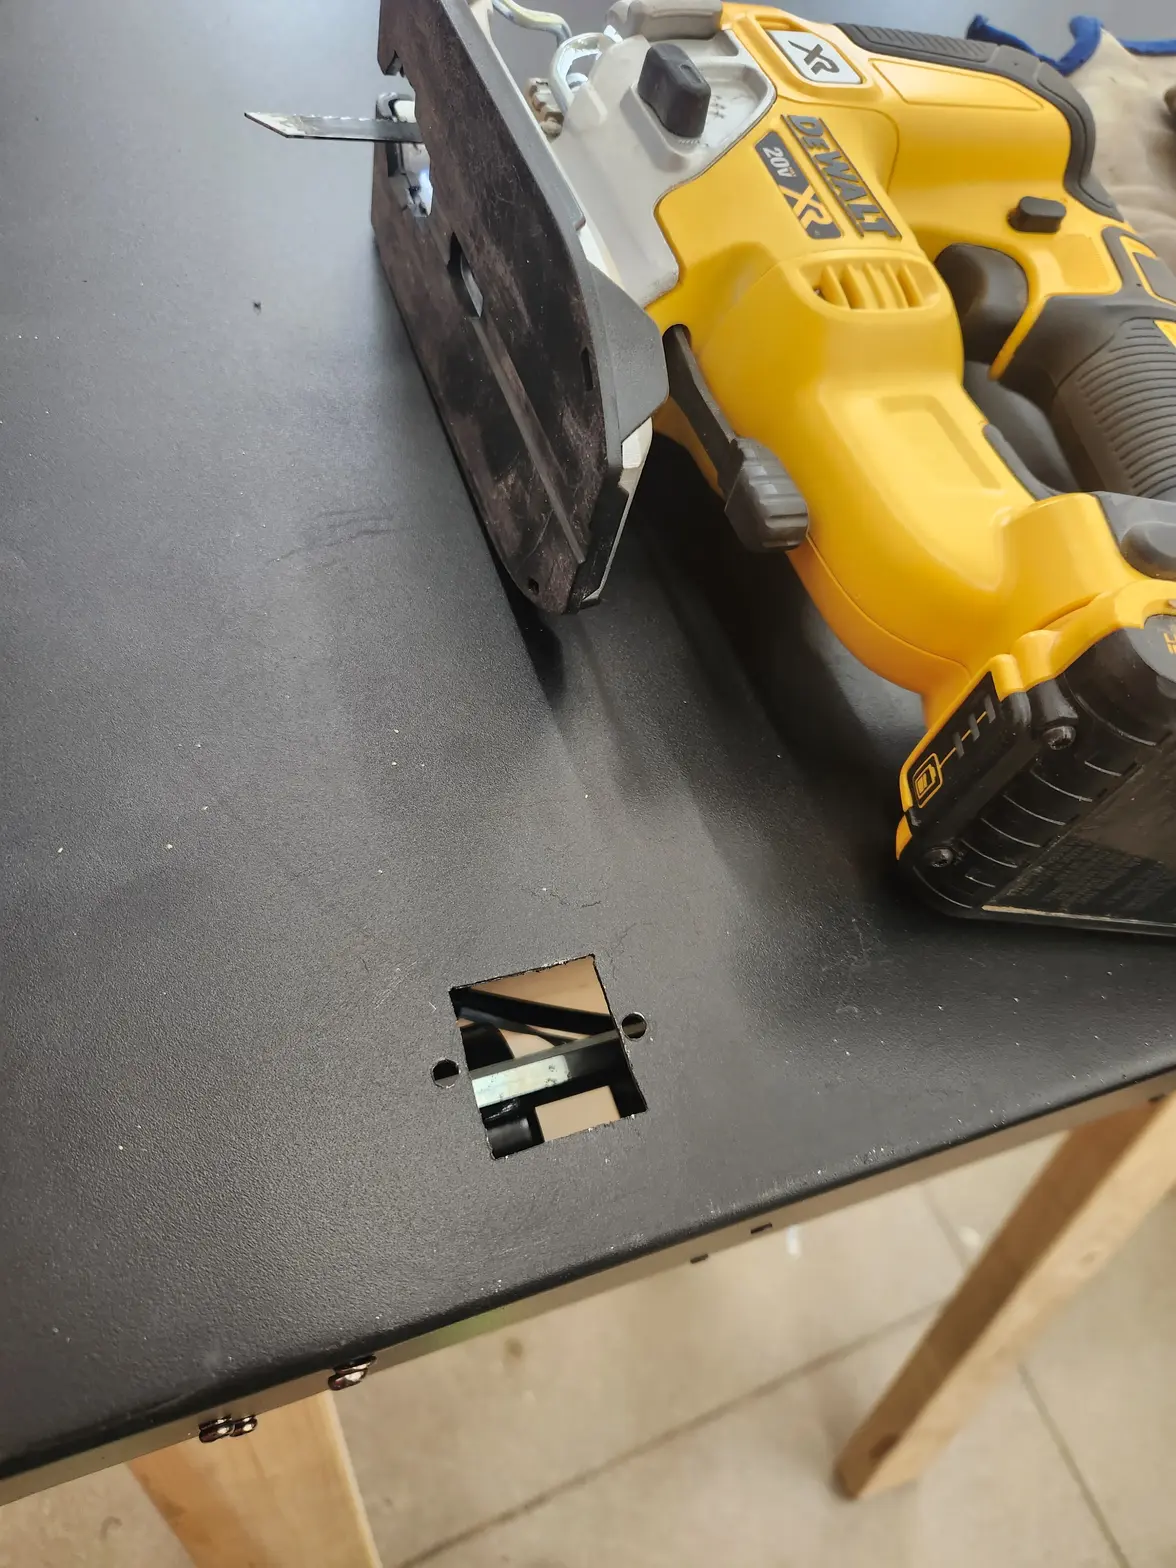
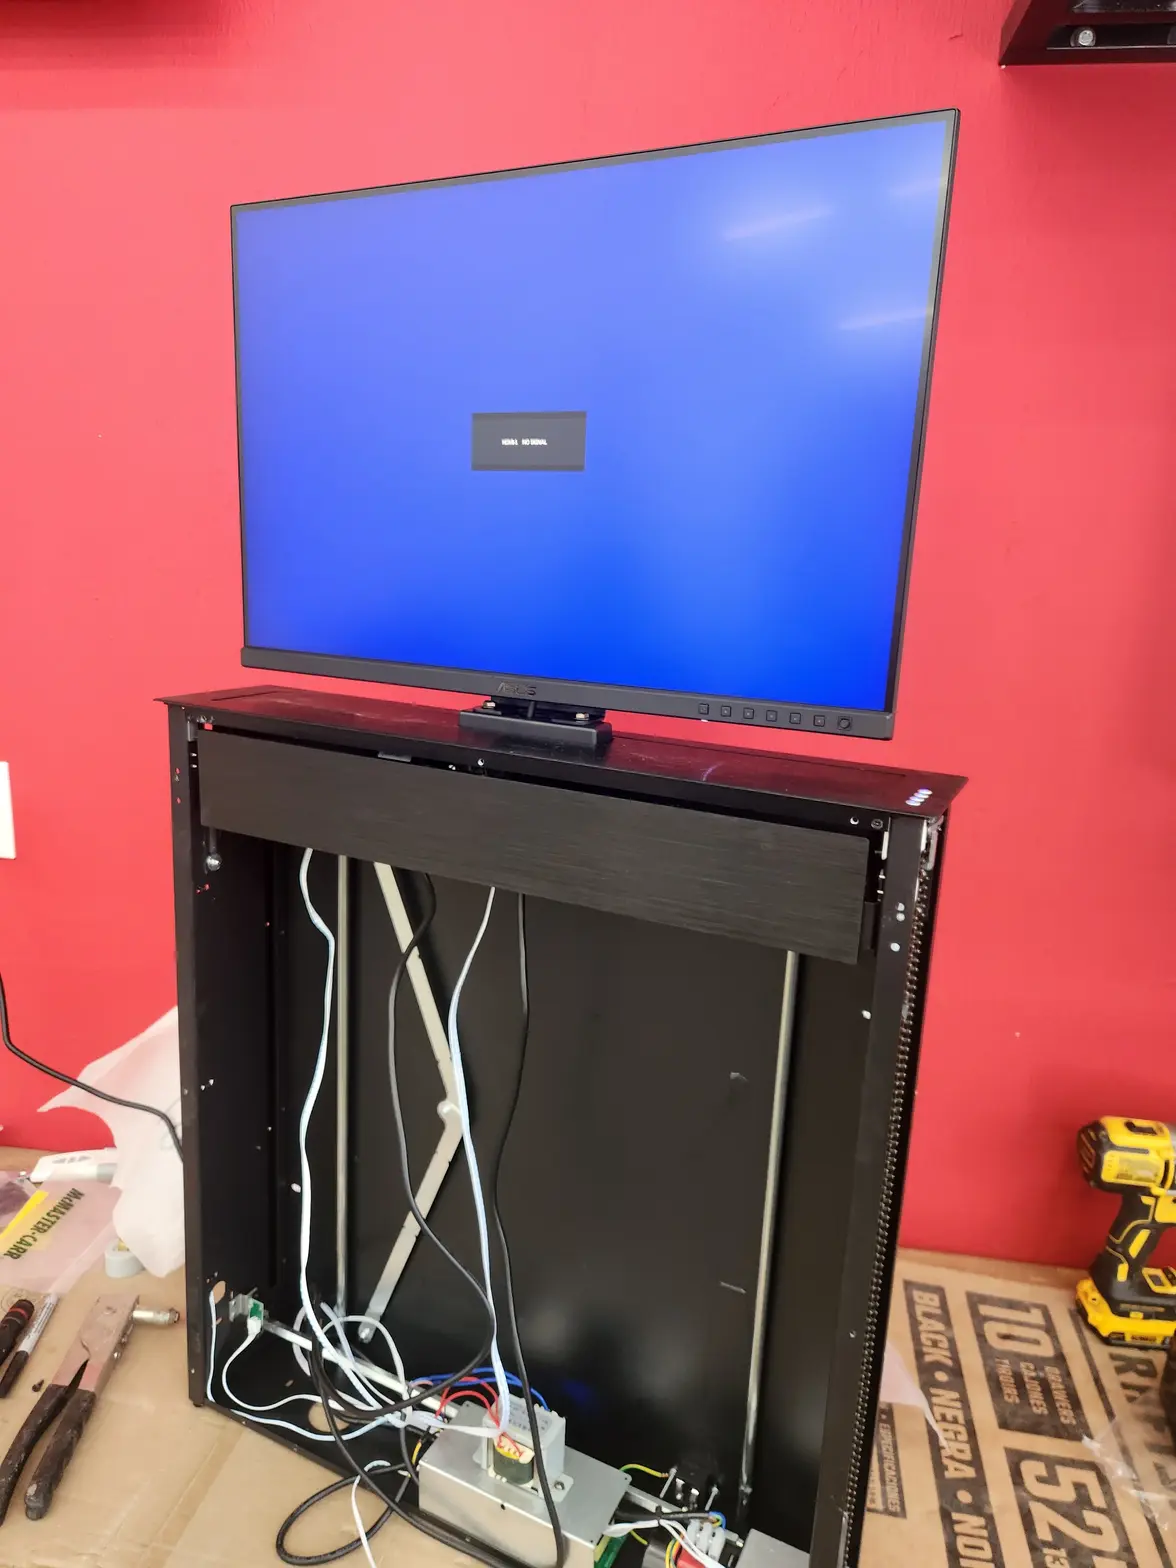
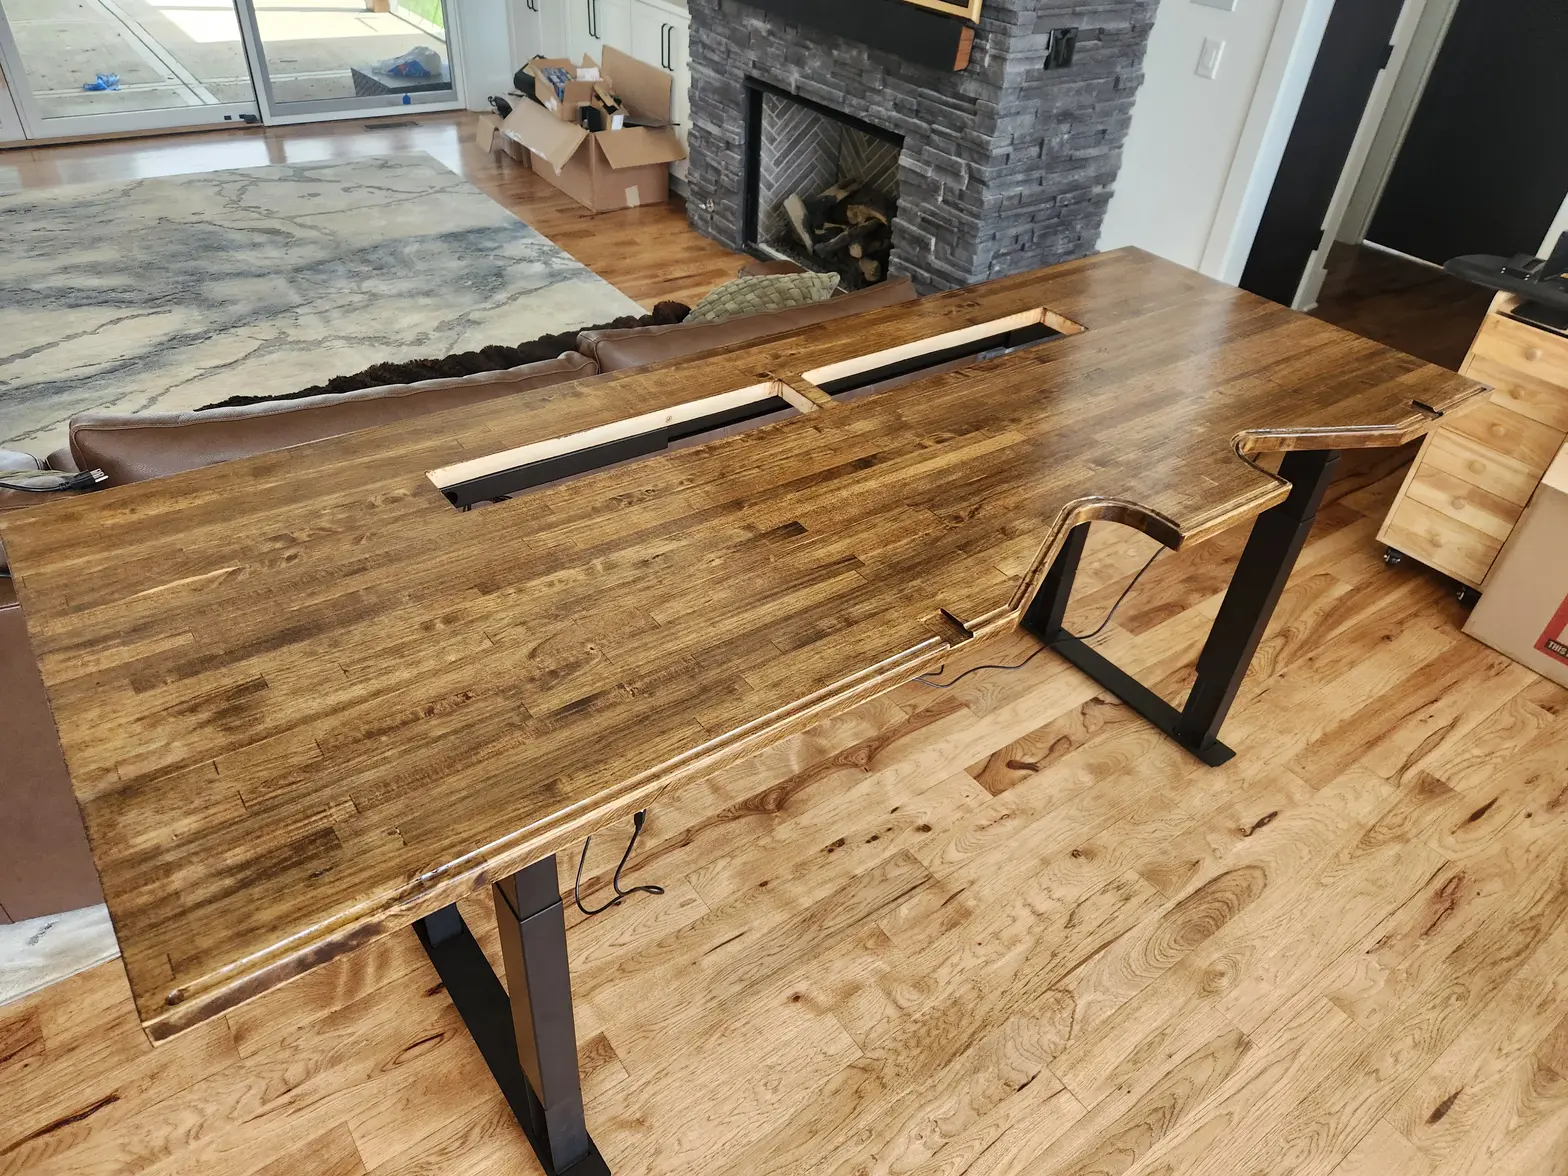
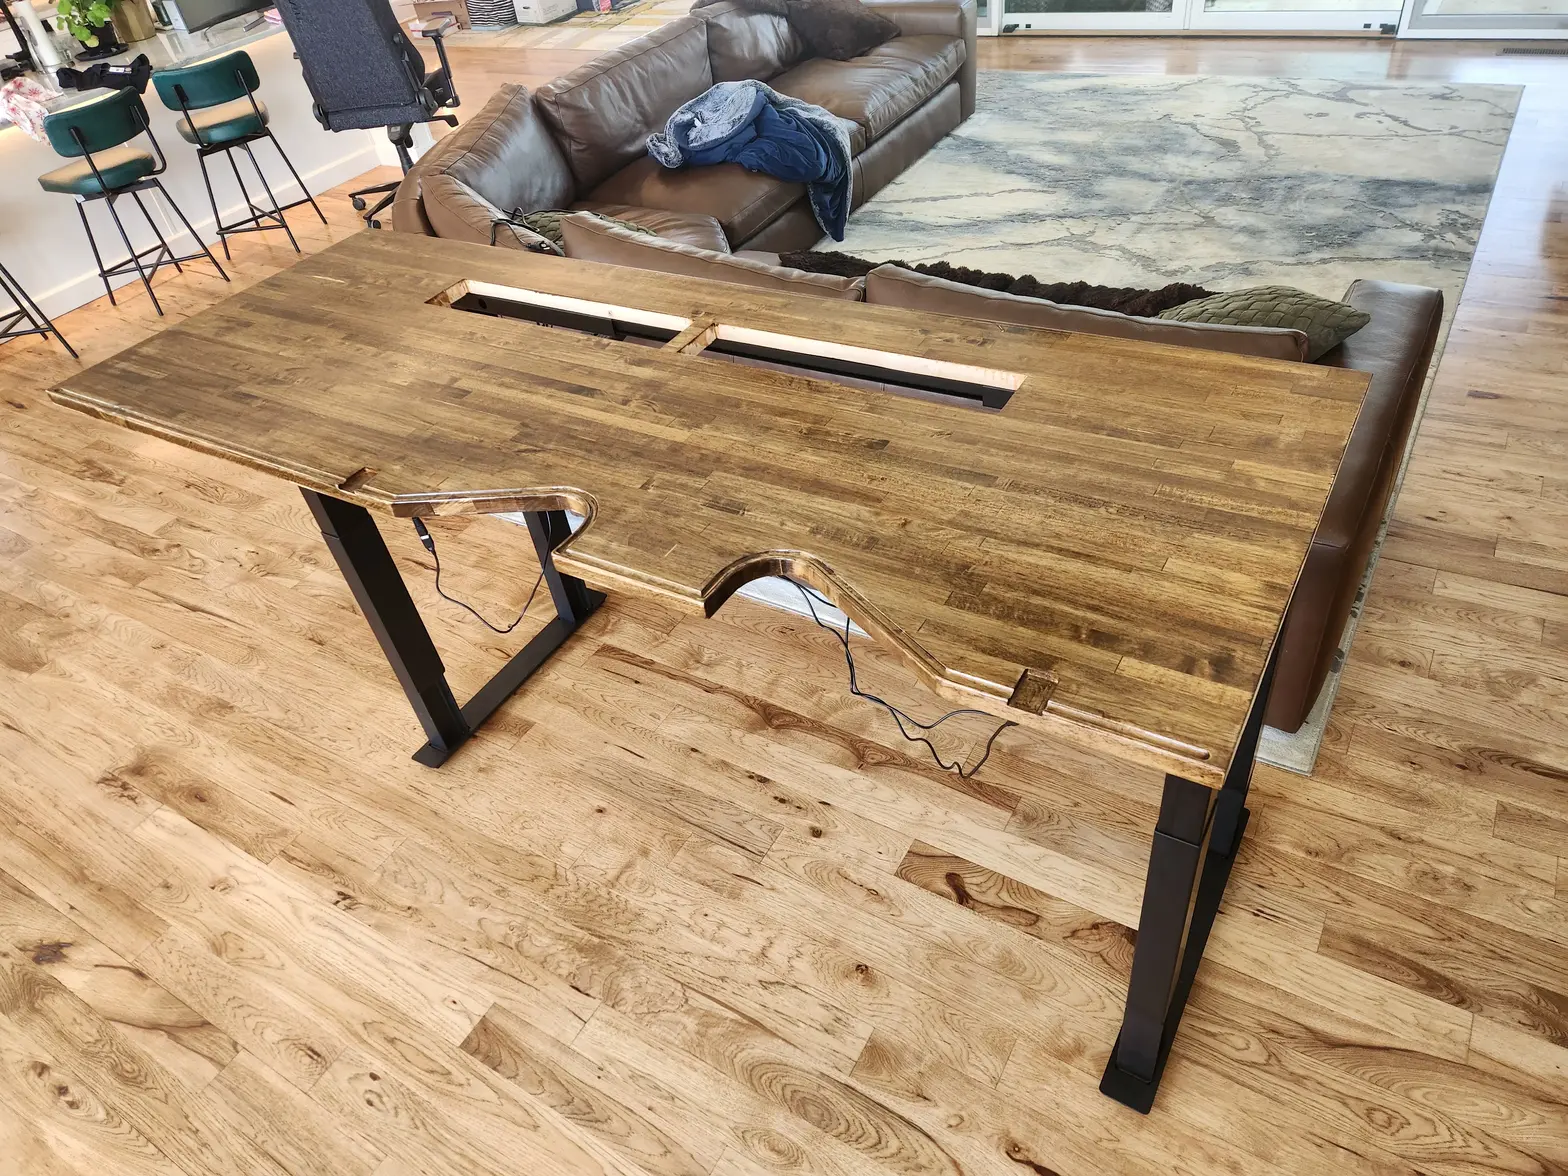
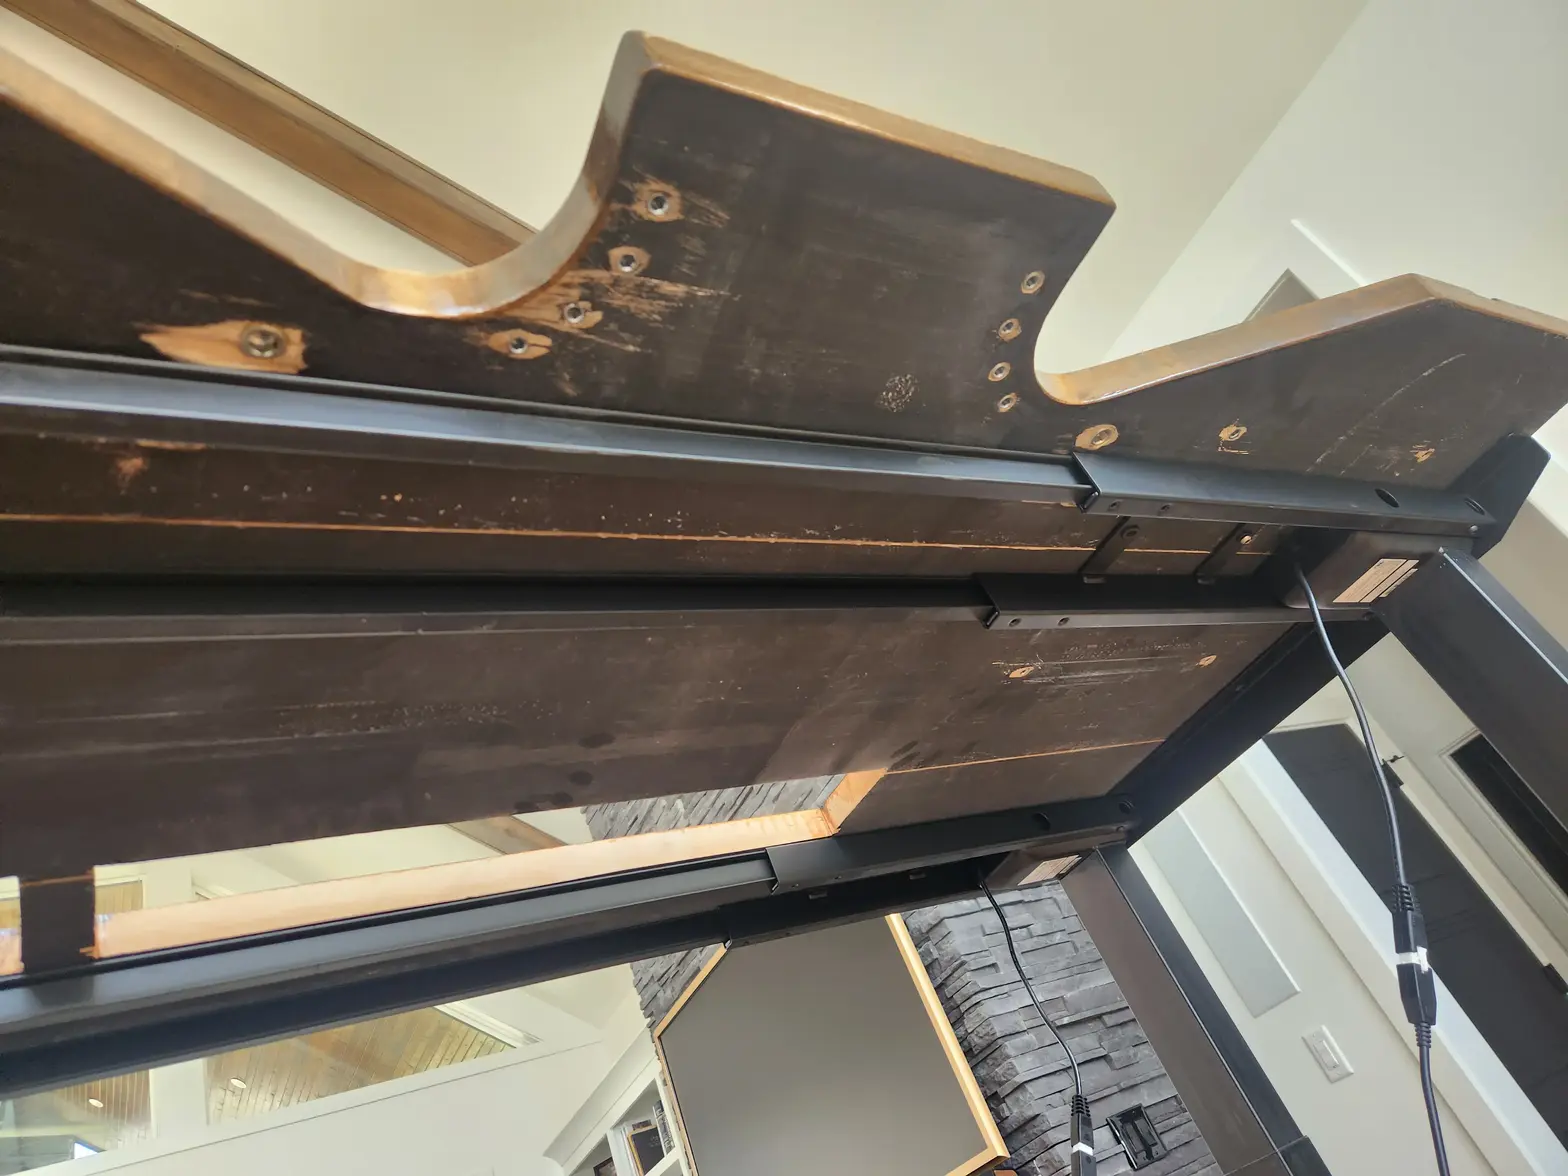
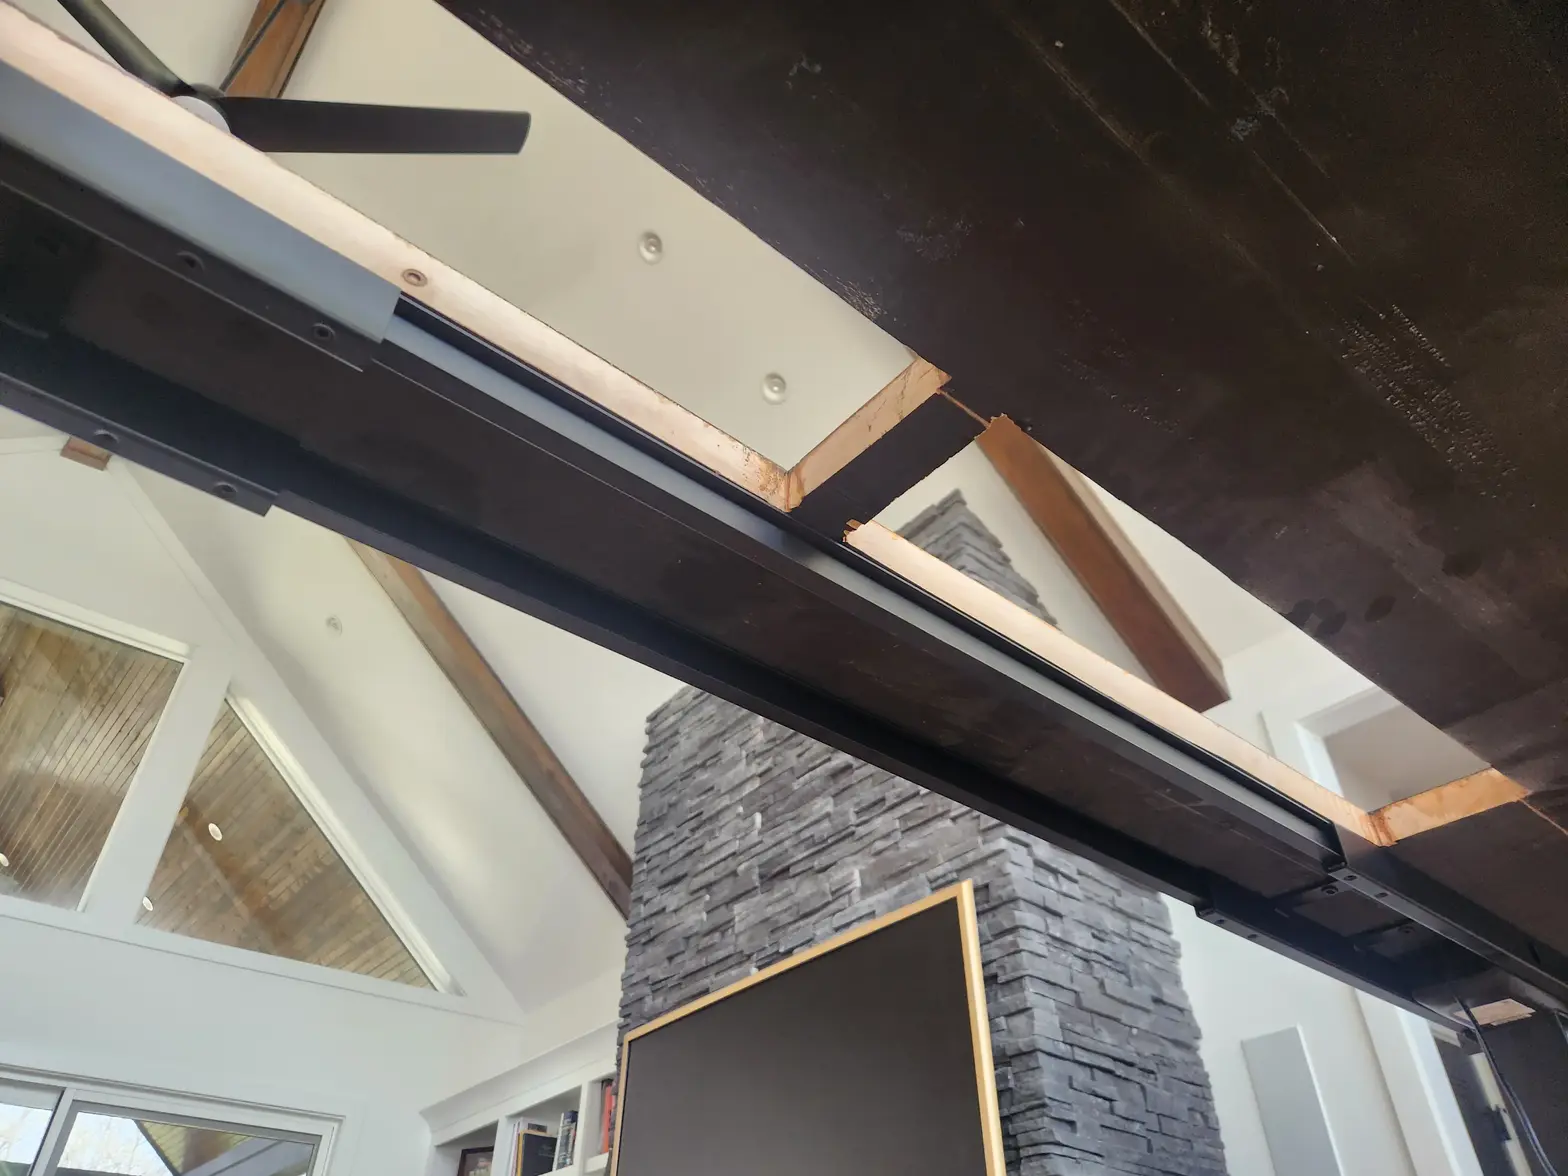
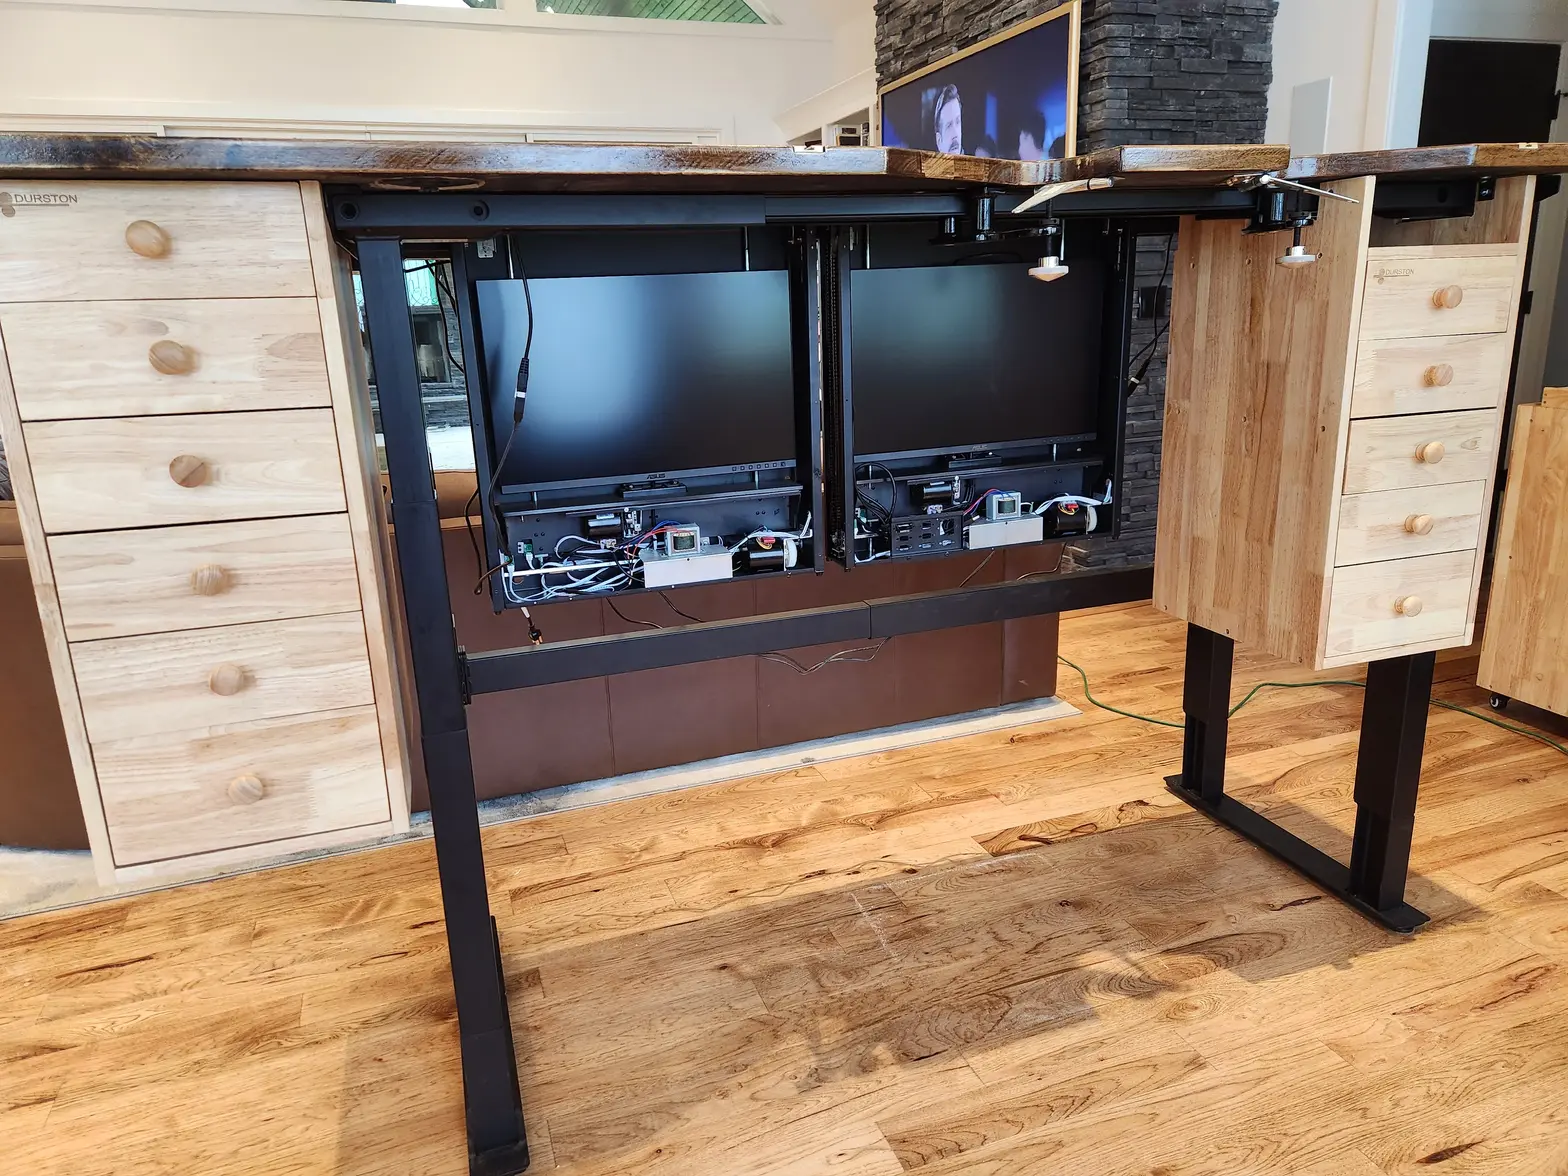
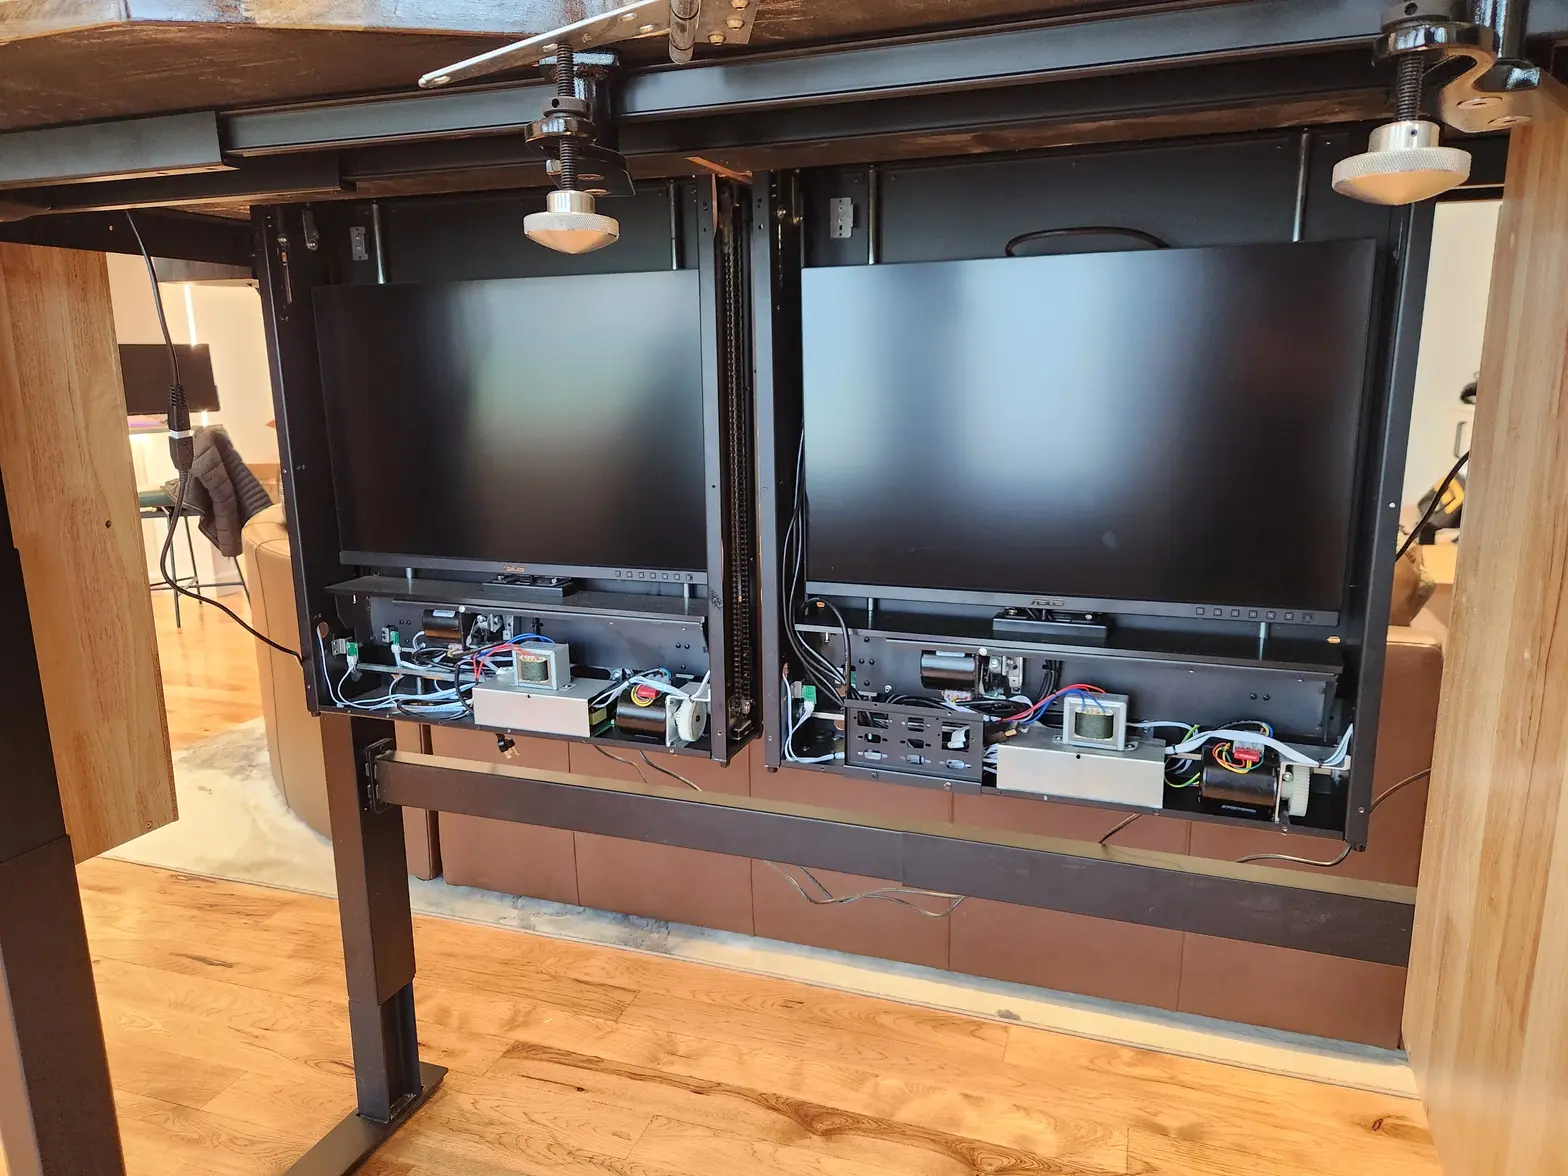
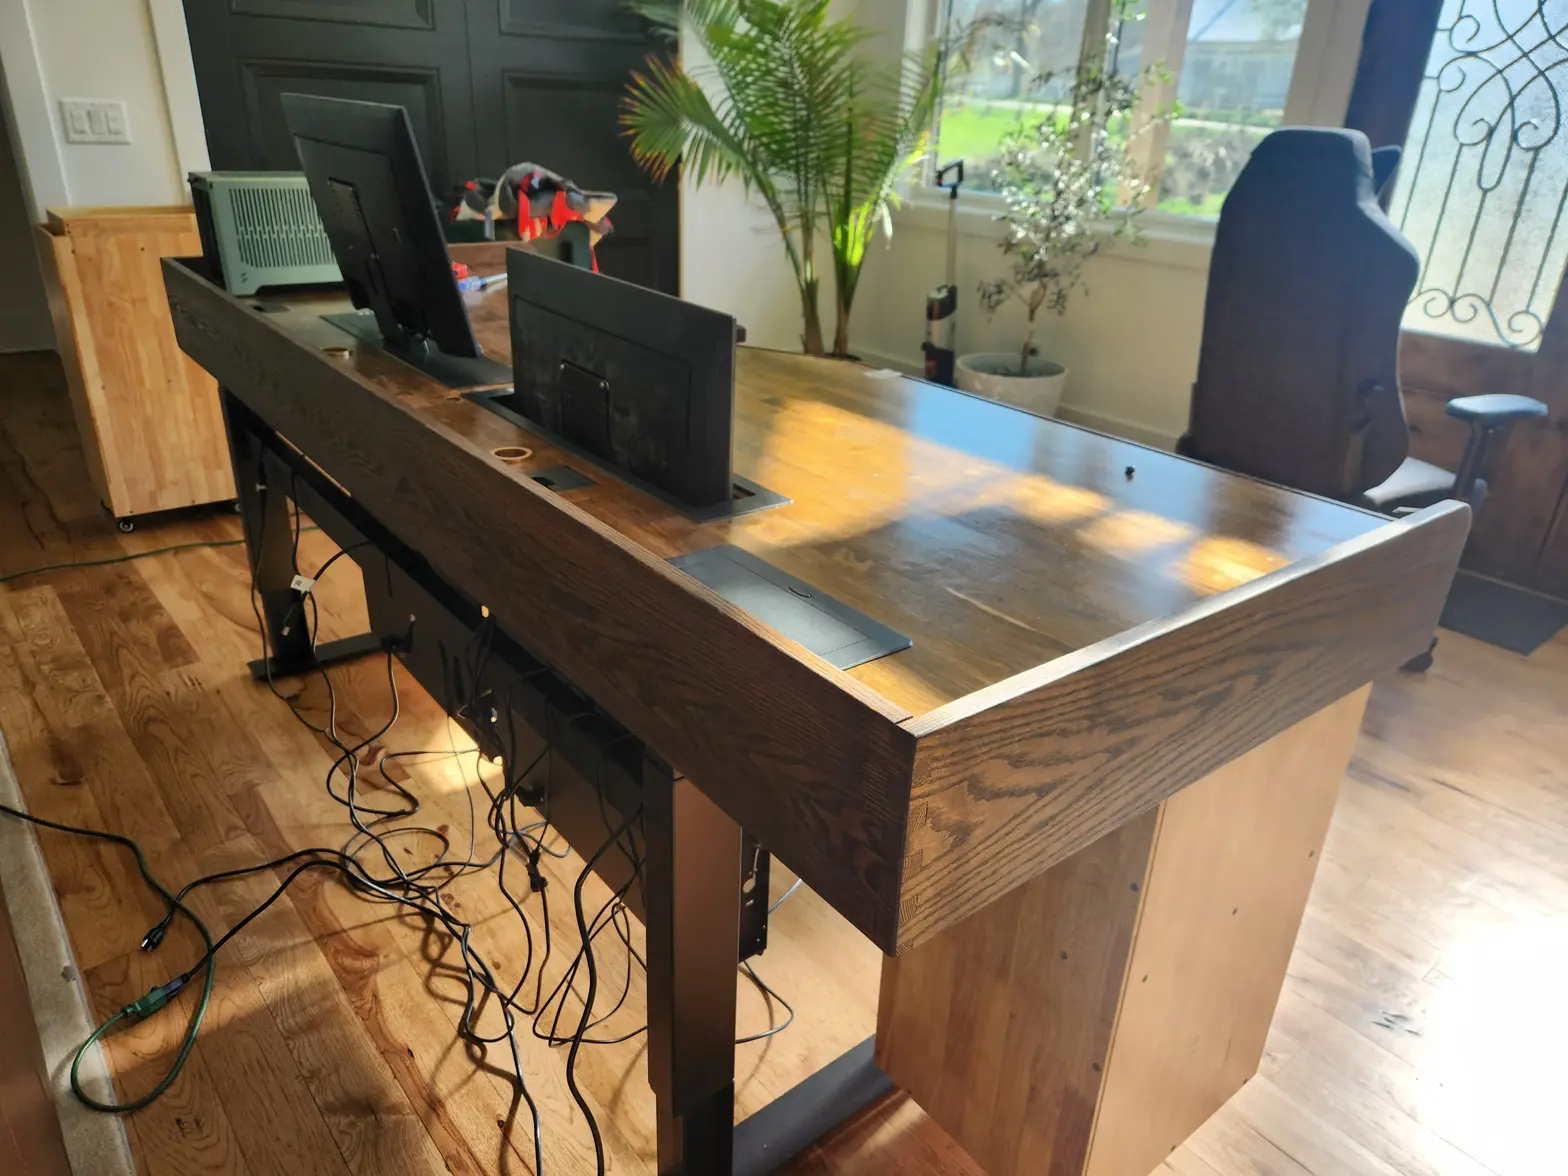
·While the top is drying, lets work on the casettes. Its kinda dumb how these are laid out electrically. All of the IO and power is front facing. I dont want to look at or constantly kick cables so I relocated the power and ripped out a lof of the preloaded AV wiring. These monitors are DP-daisy chainable. I want to have a spare HDMI input for a trinocular scope, but the main inputs would be a single DP from my SFF build and a lightning bolt 4 USB-C cable when I use my work laptop. These monitors also double as USB 3.2 hubs which is nice from a KVM and periphery standpoint. Monitors are pa248crv linky
samweldspoorly
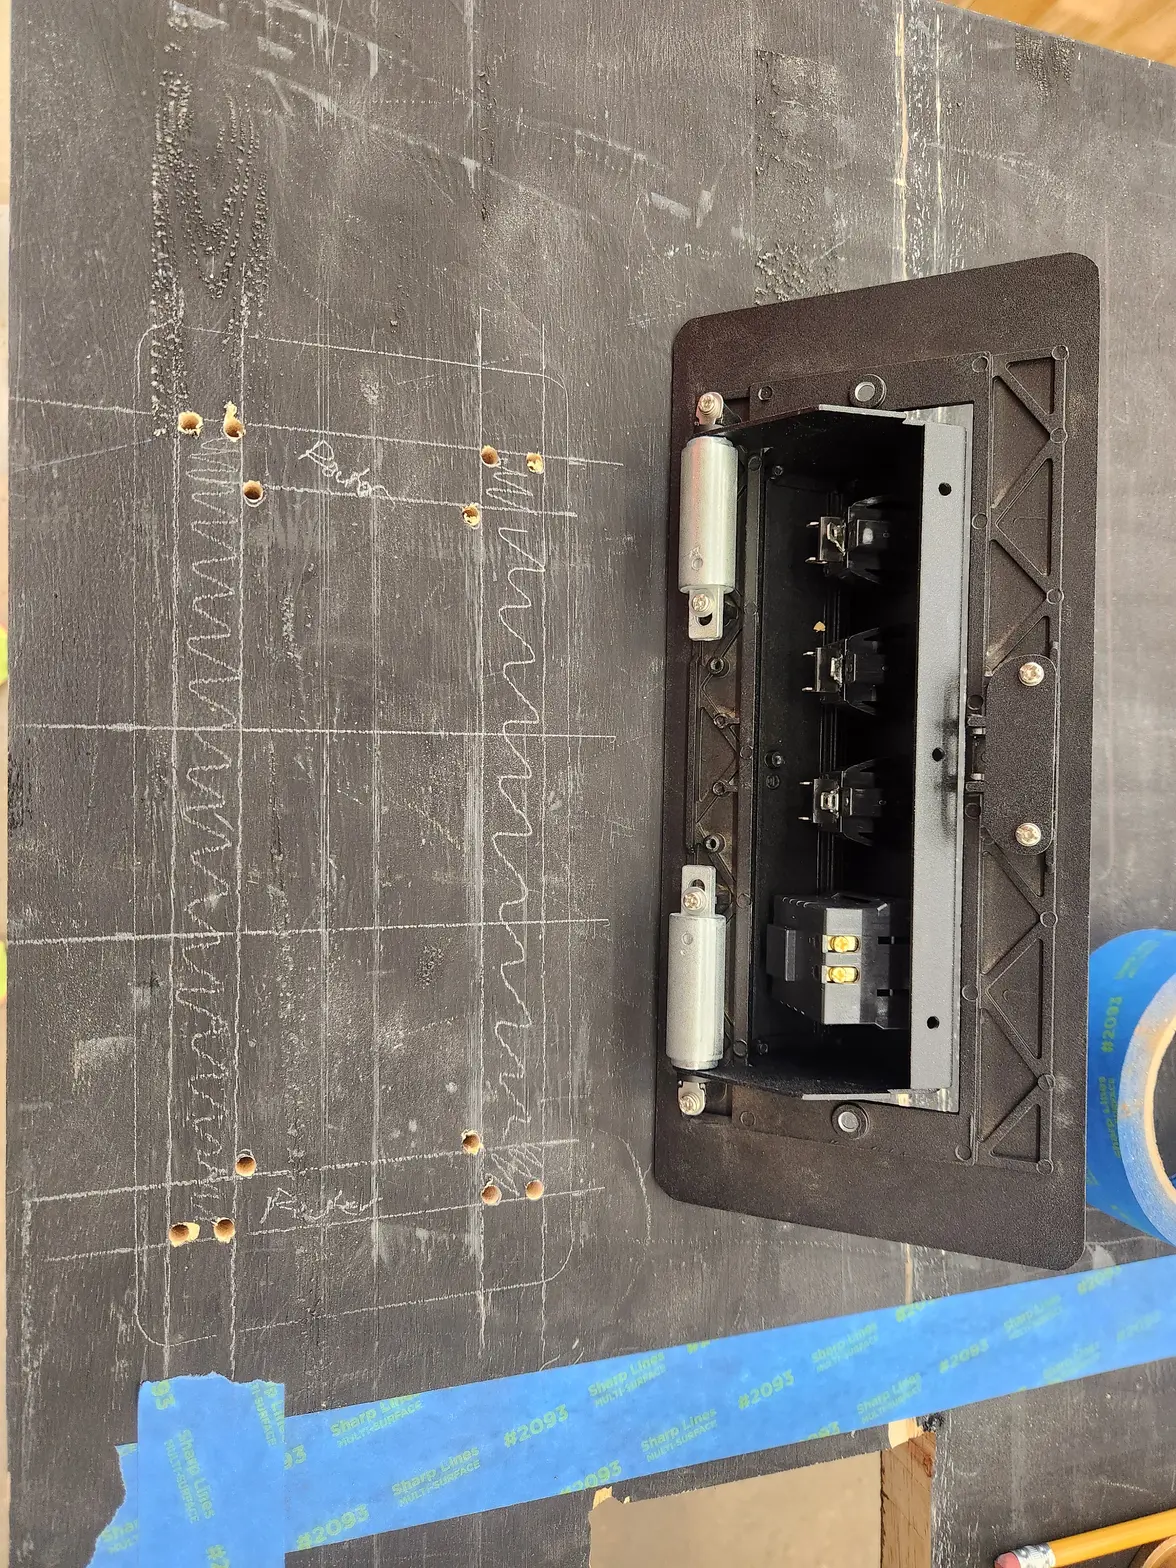
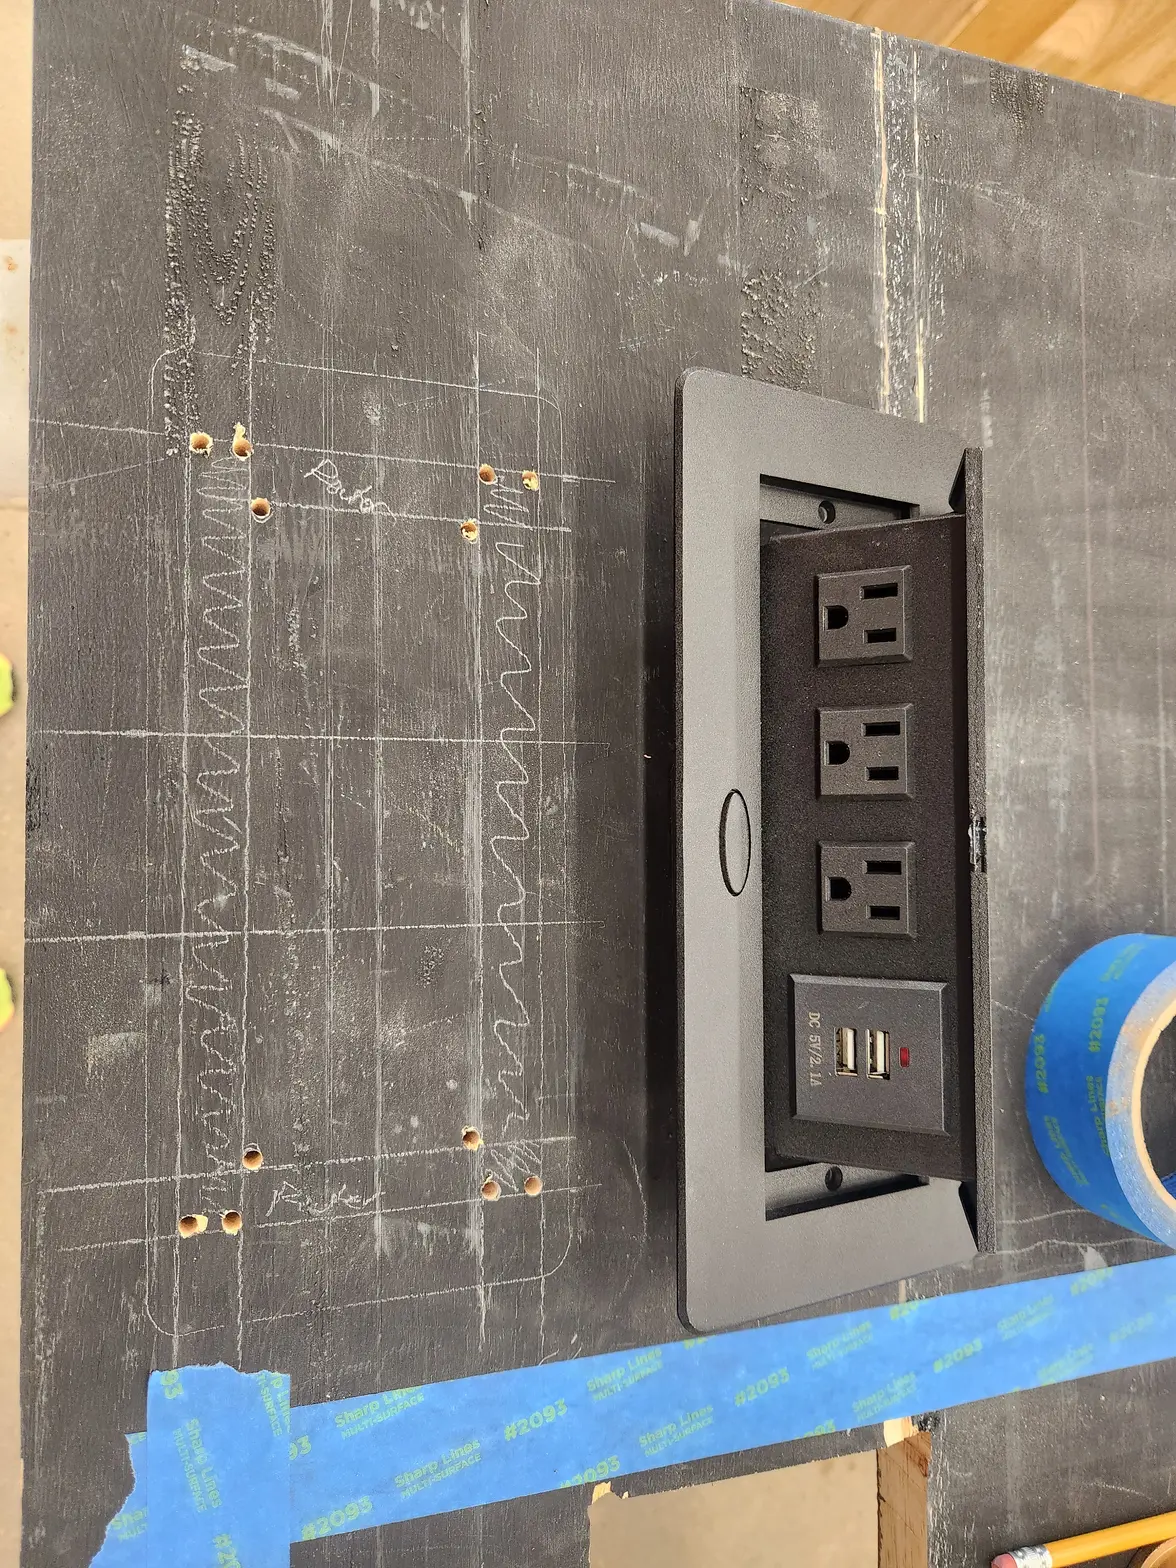
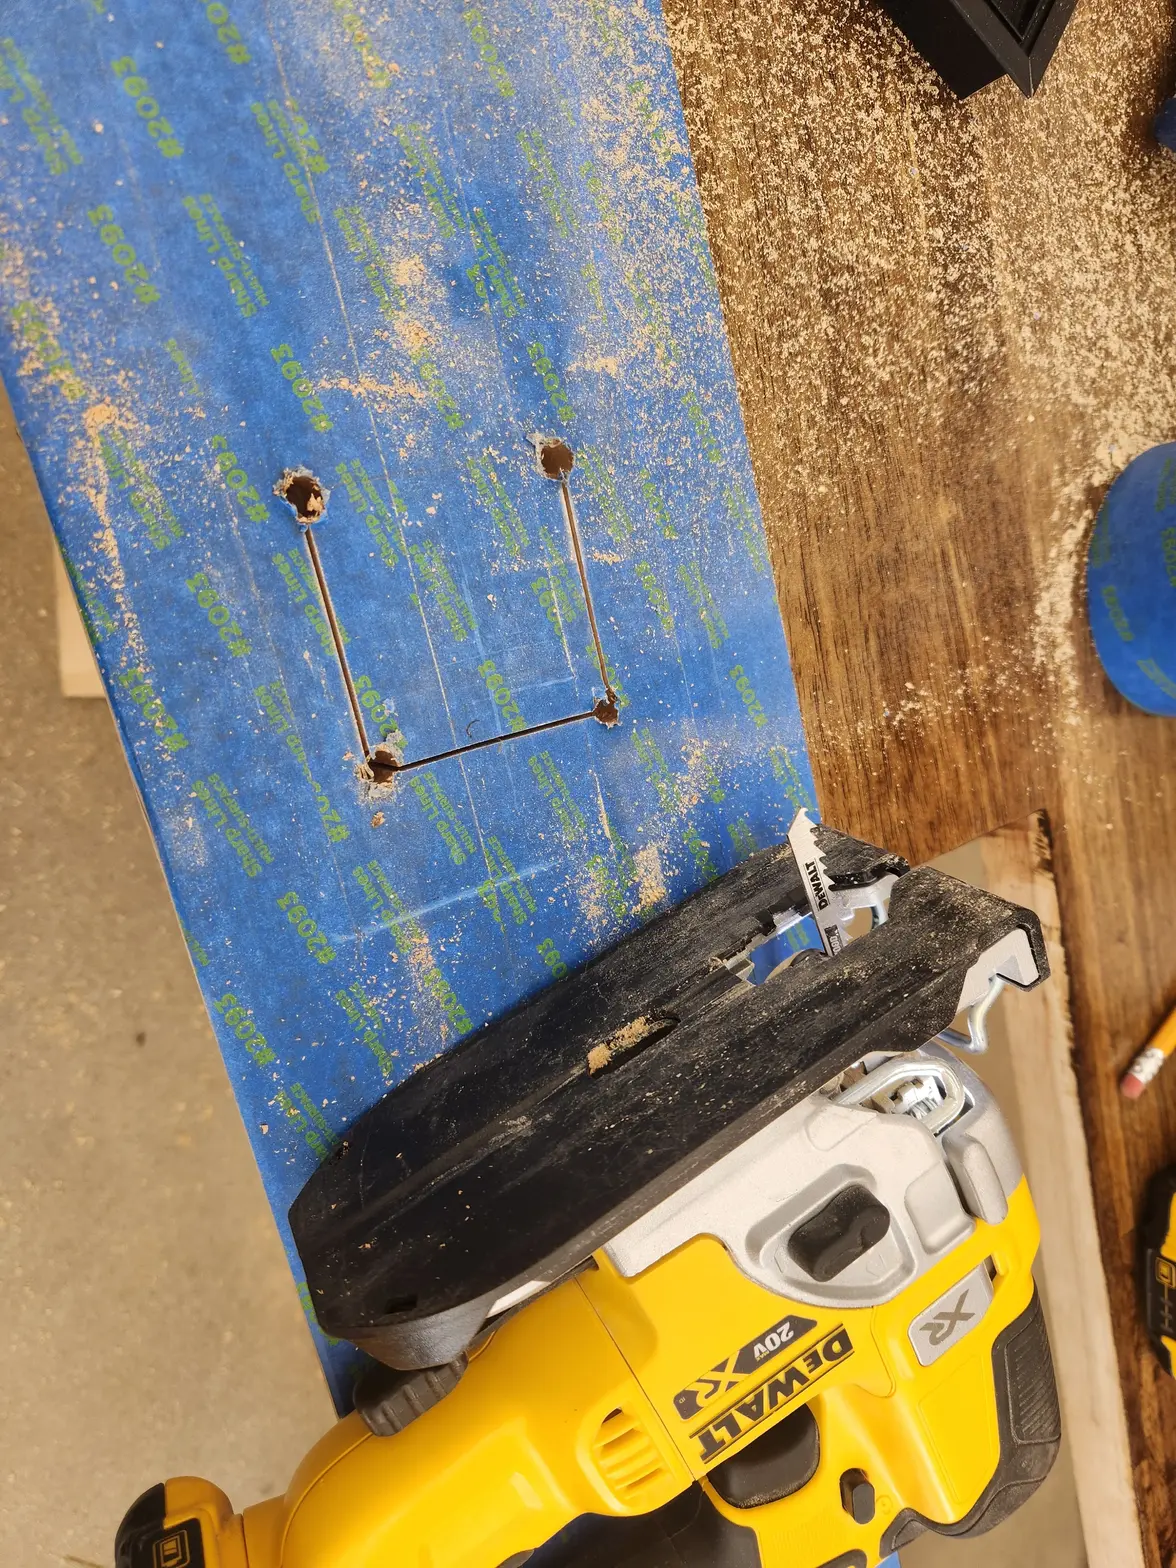
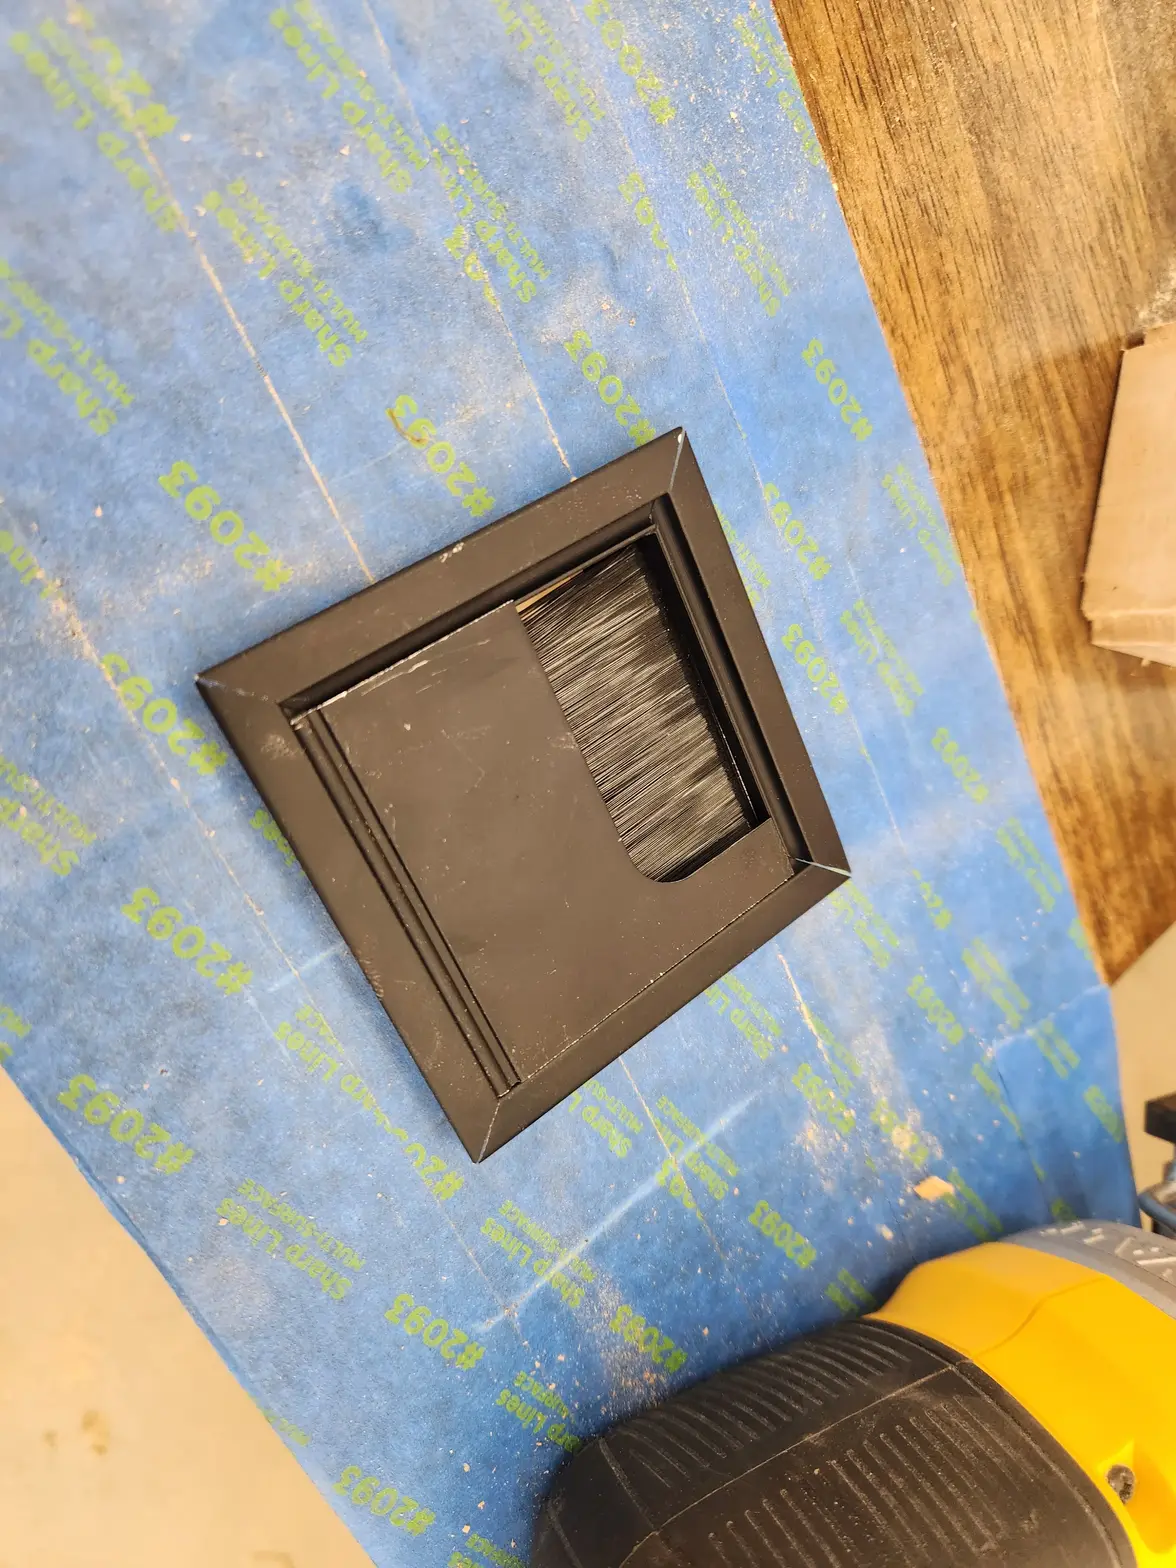
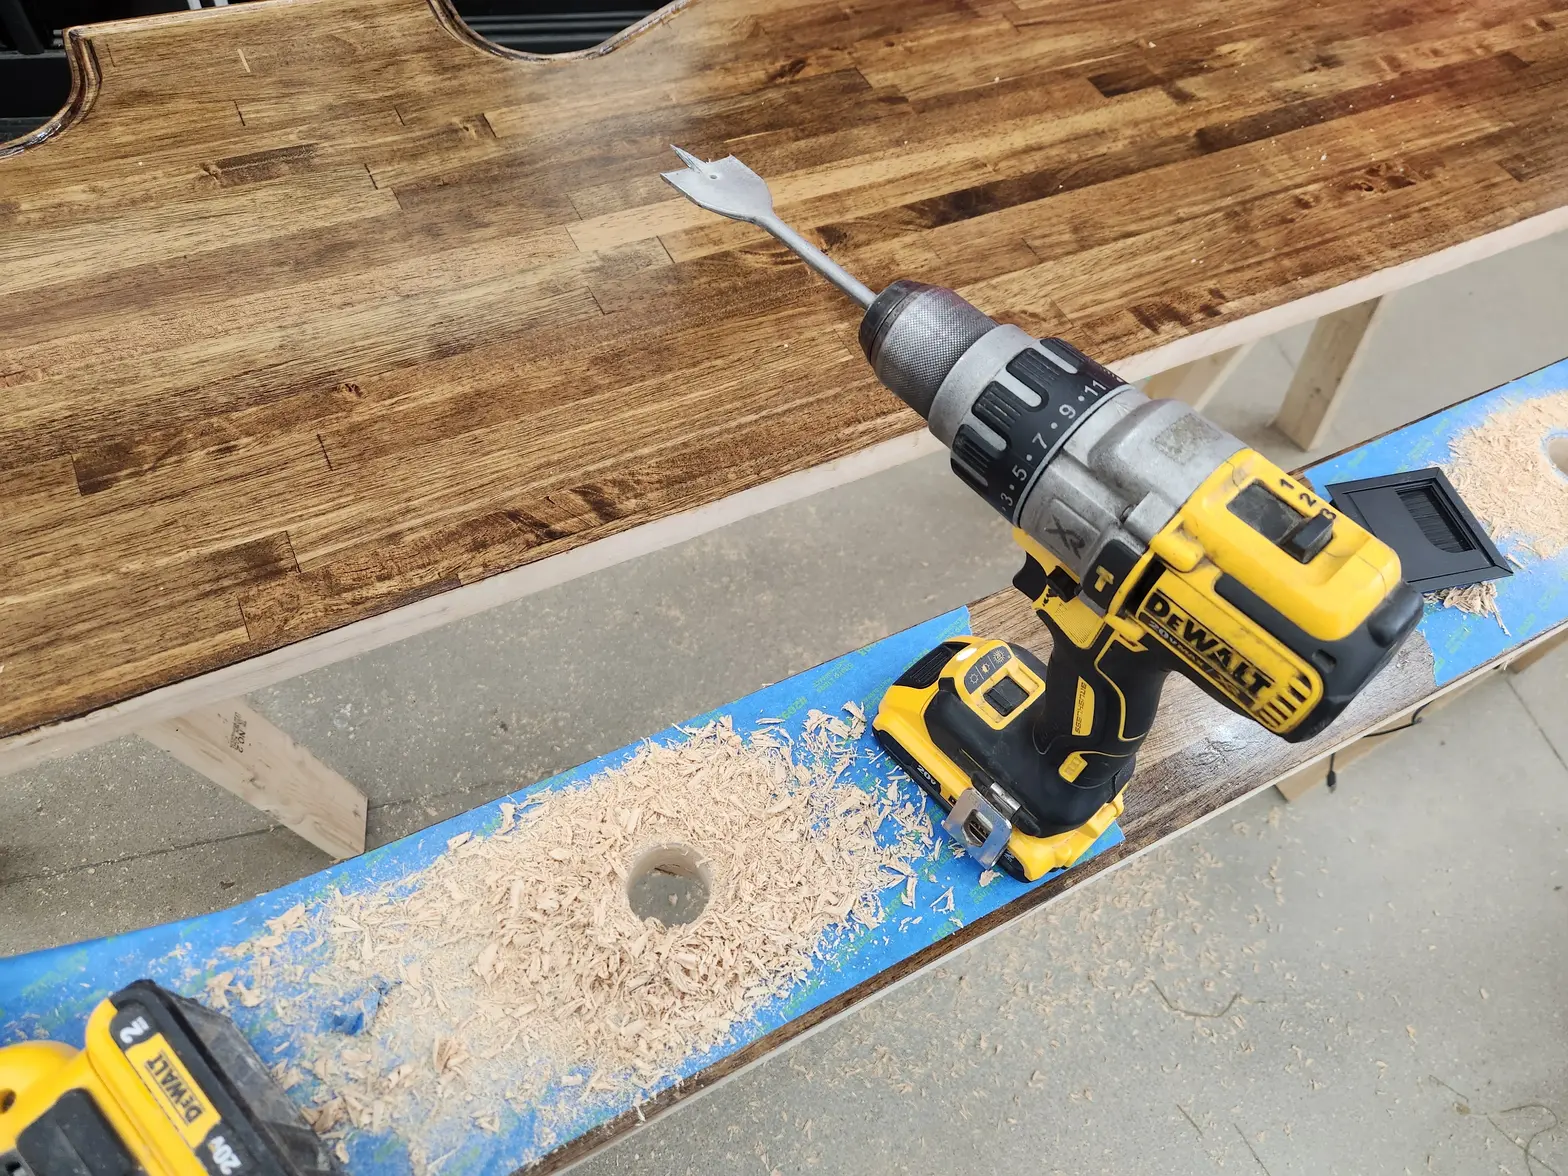
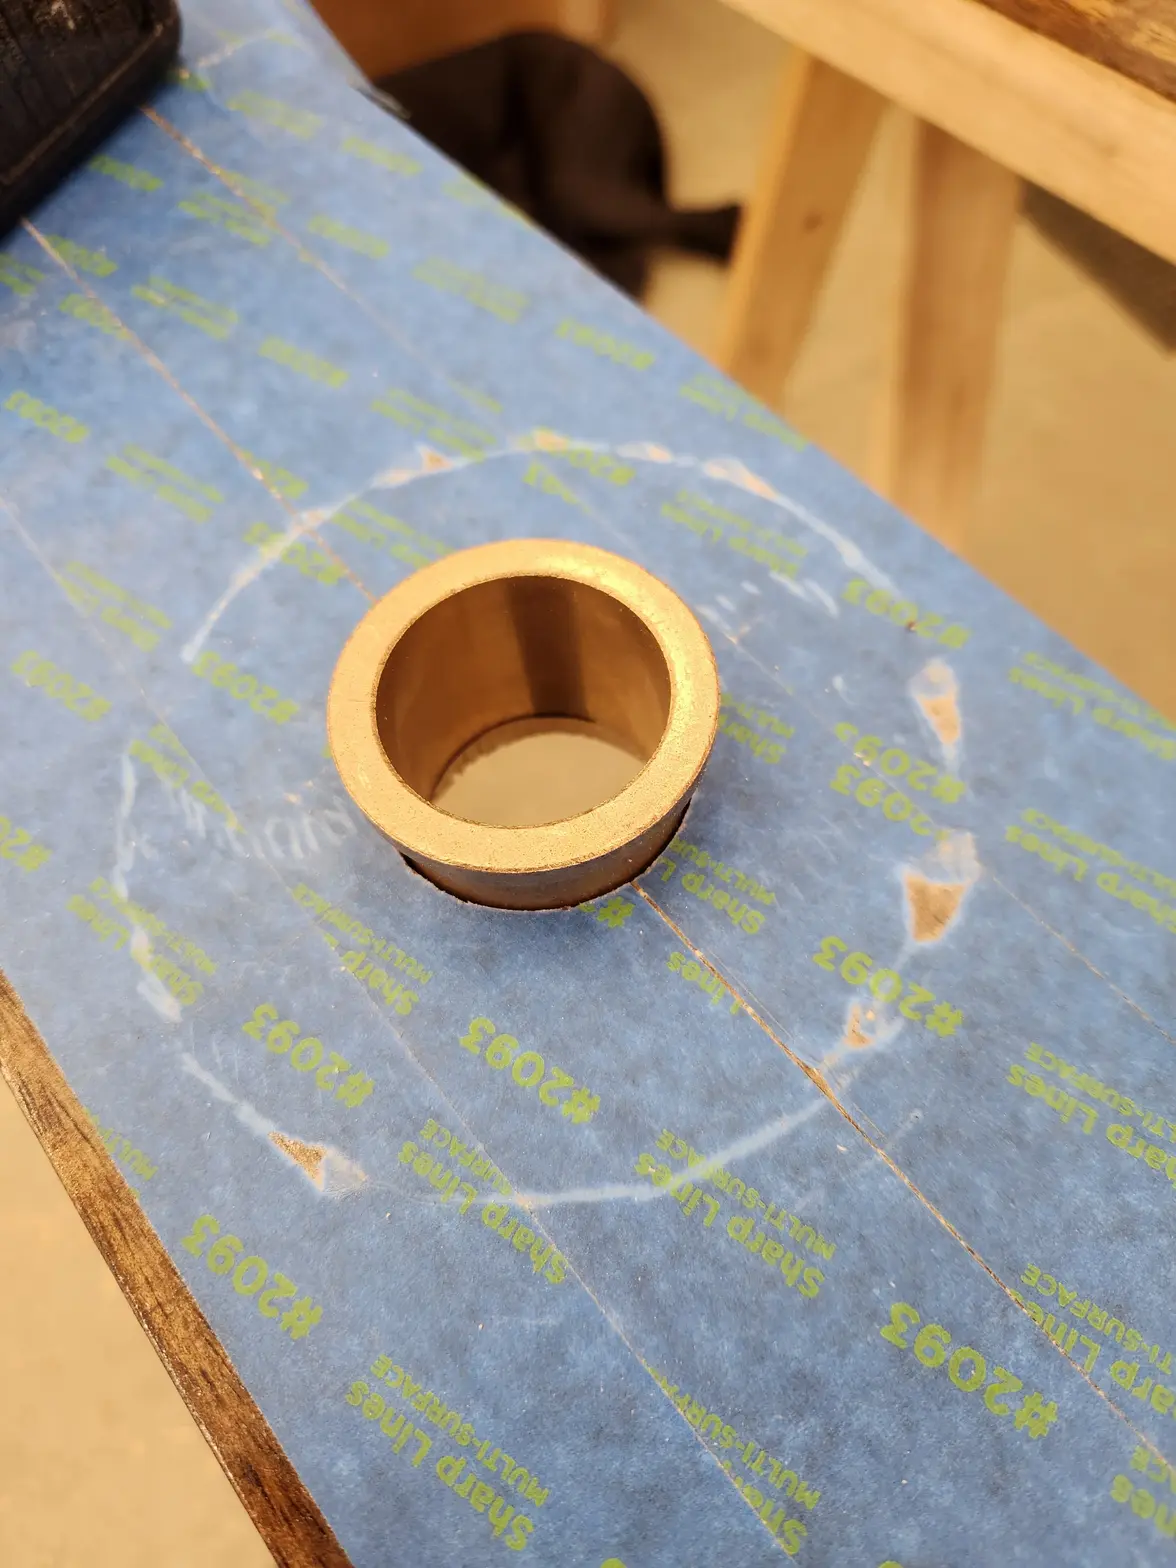
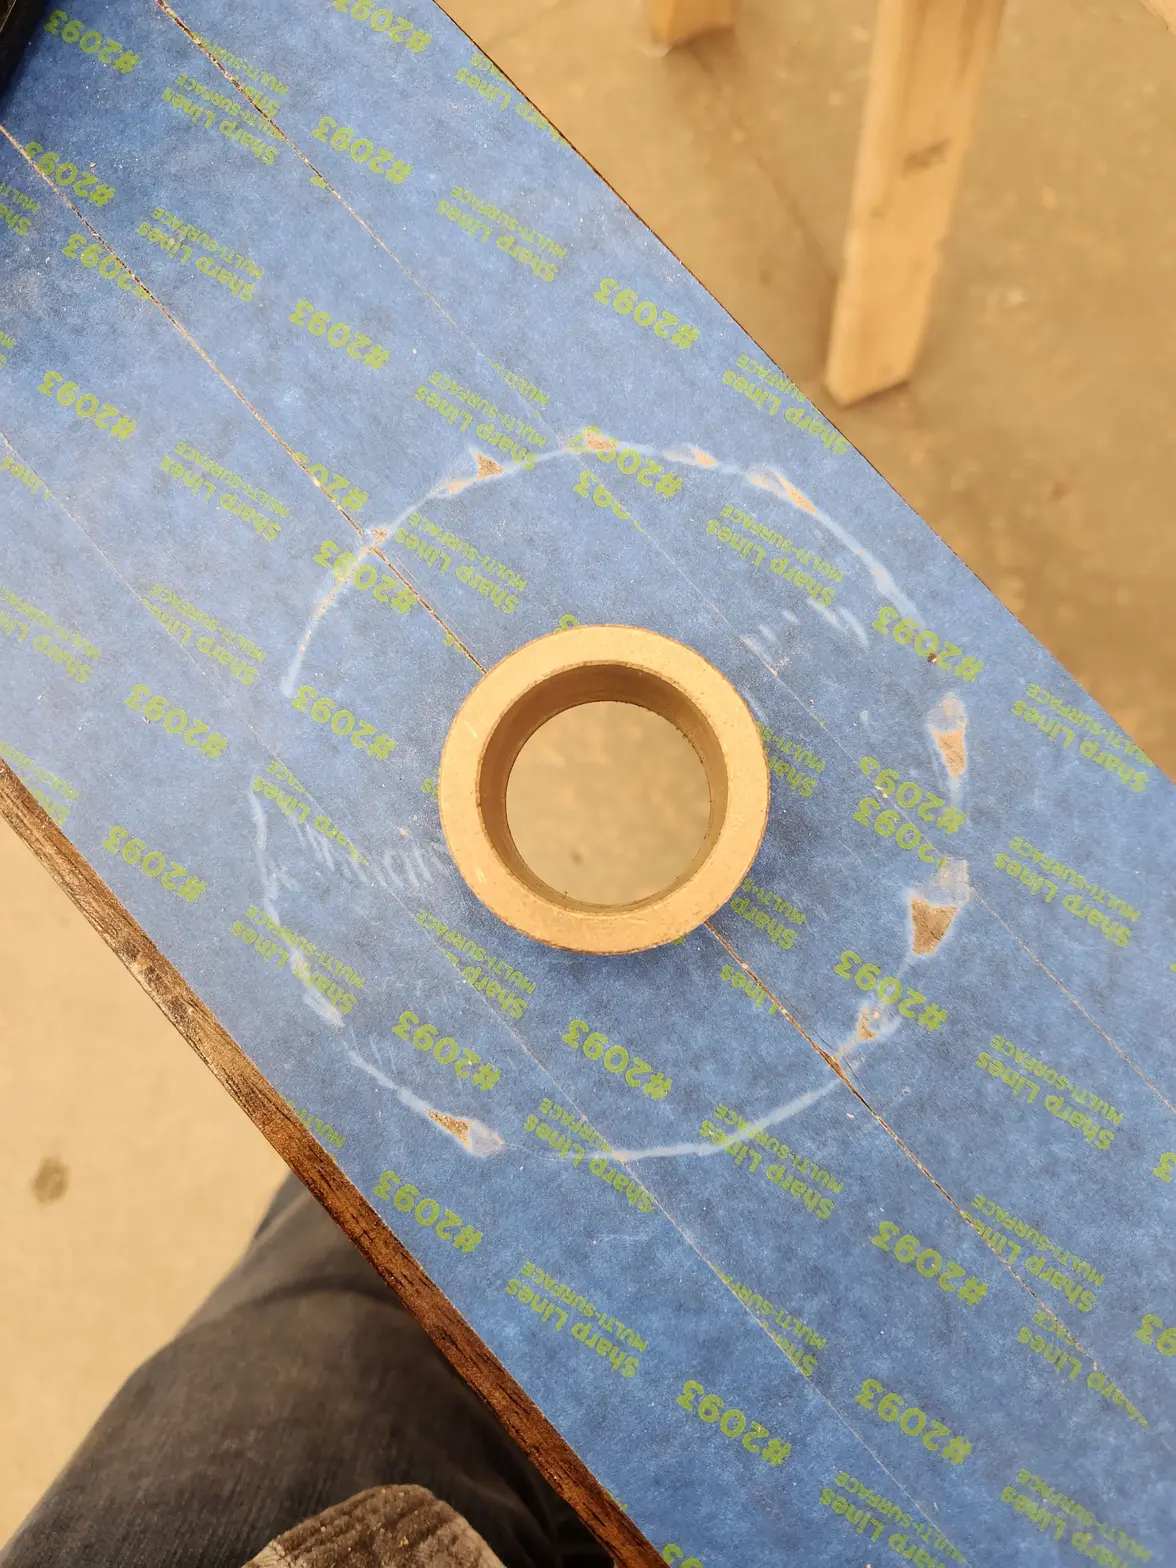
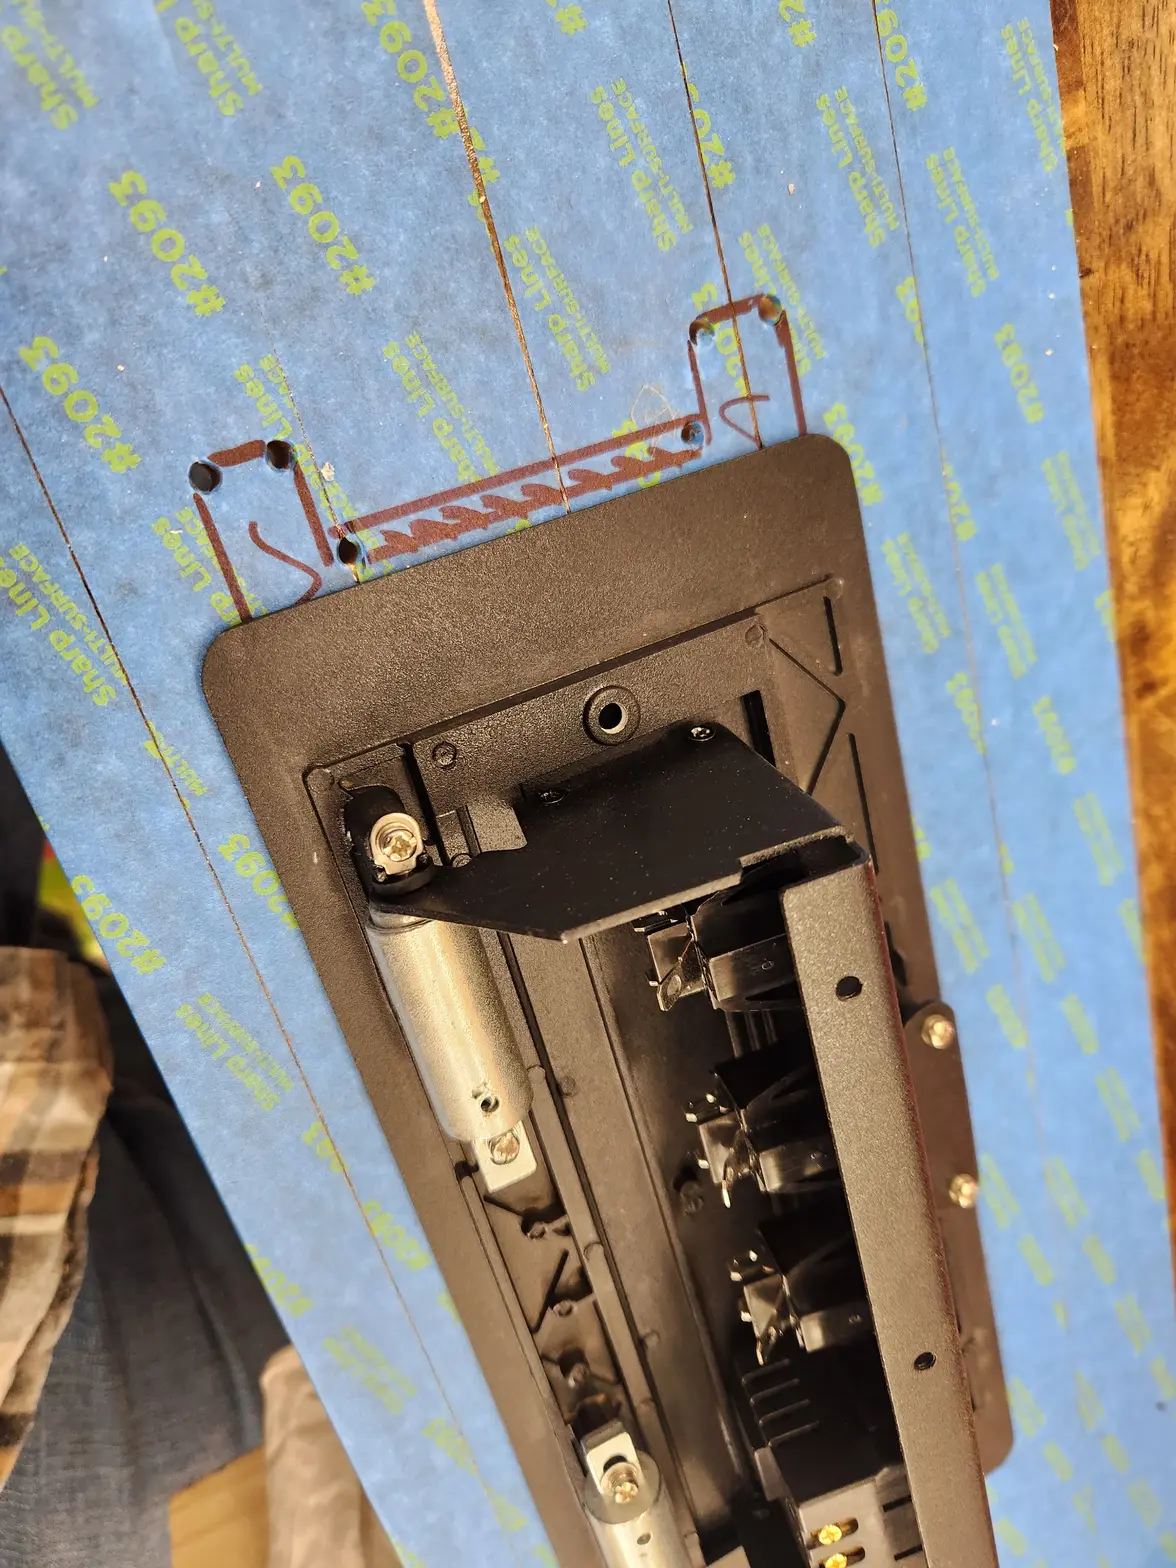
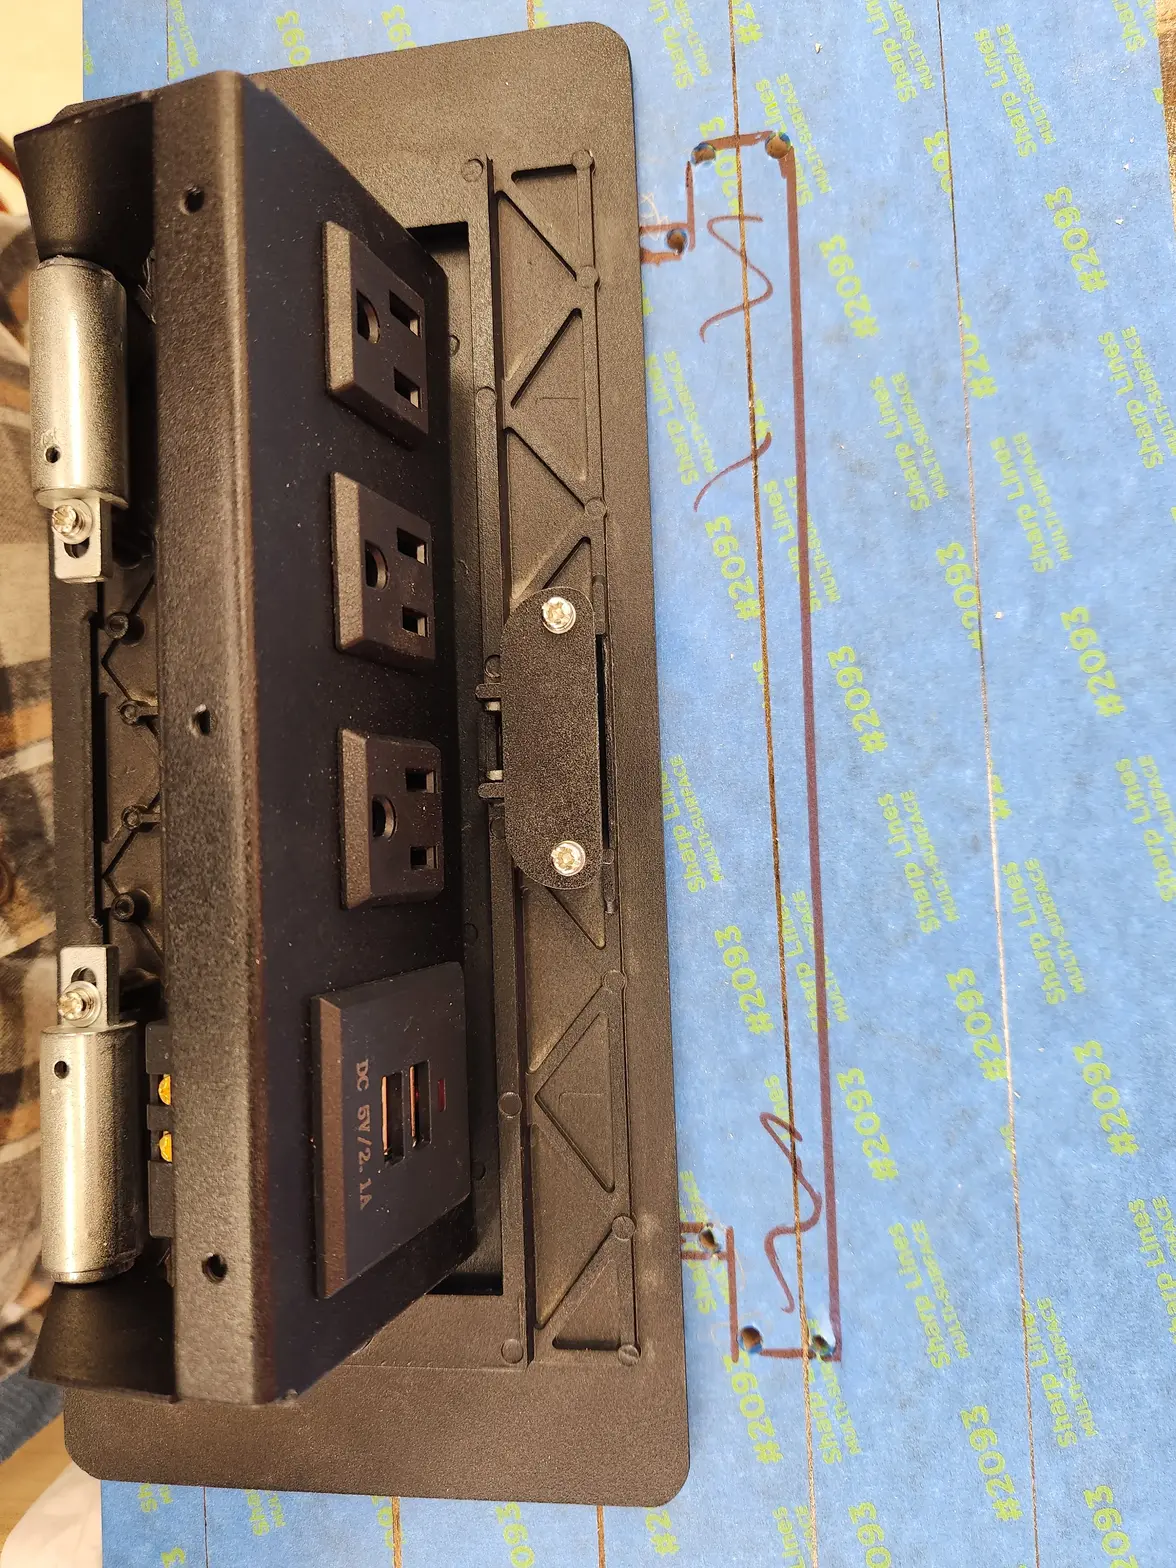
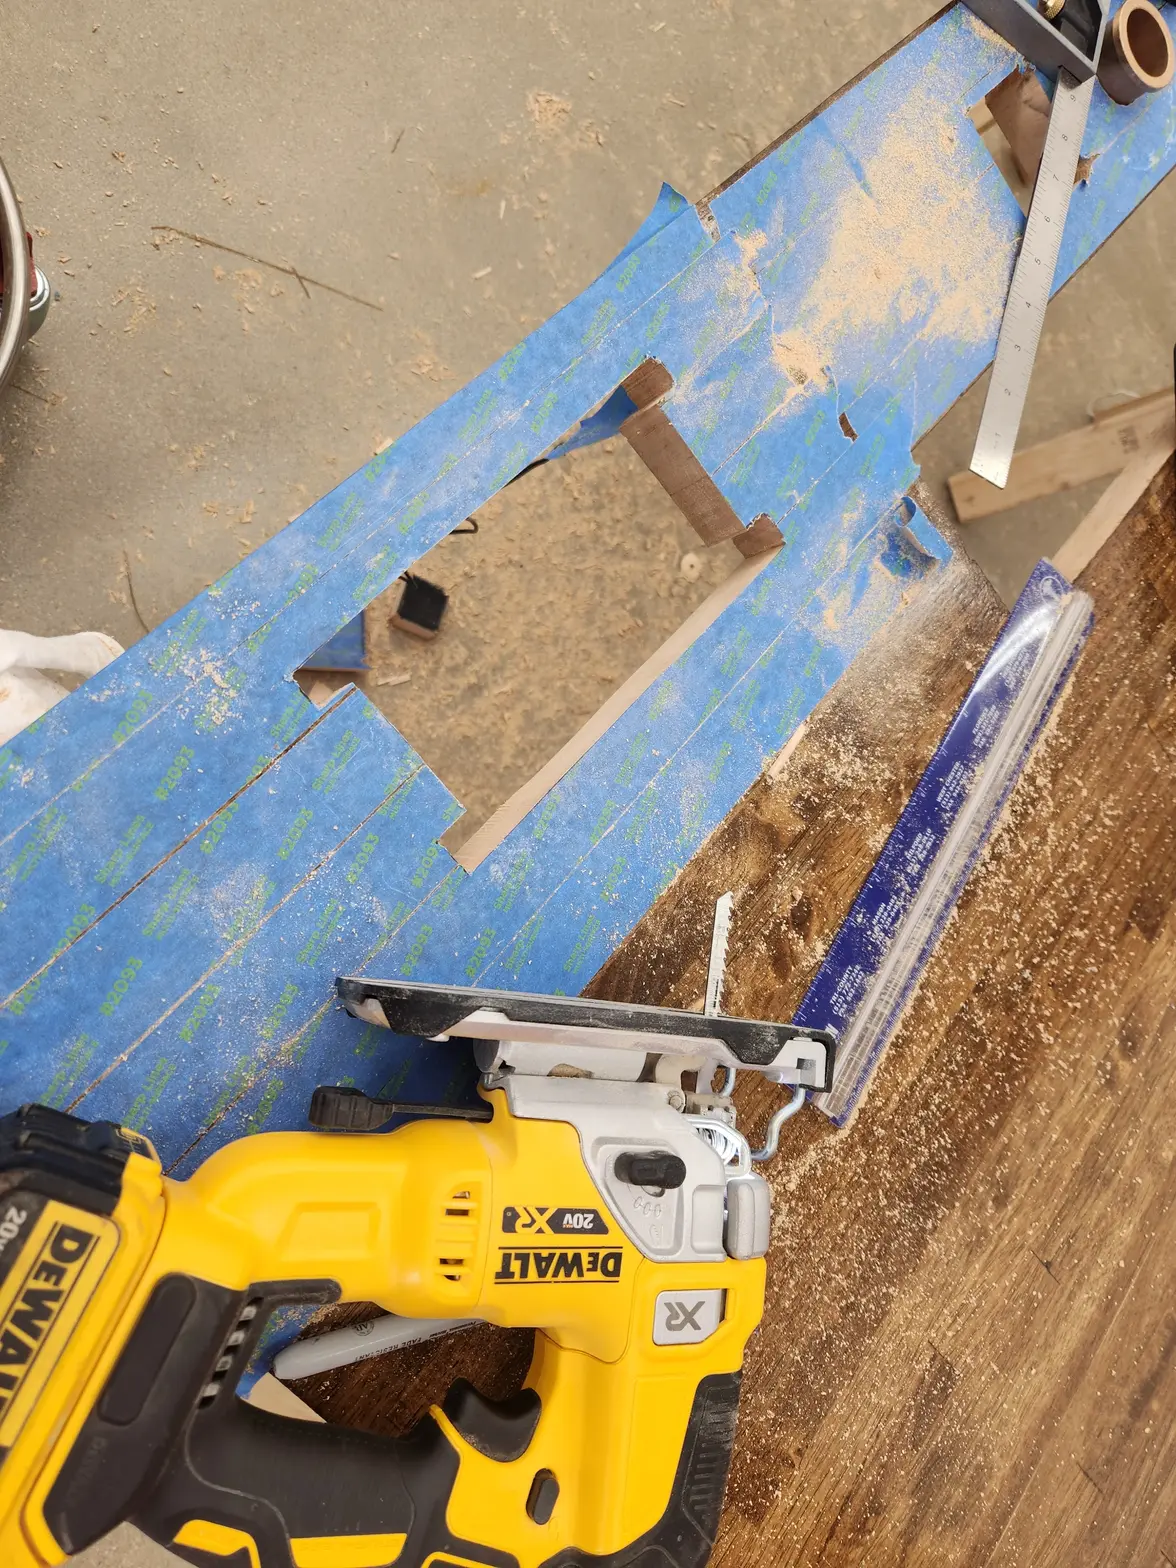
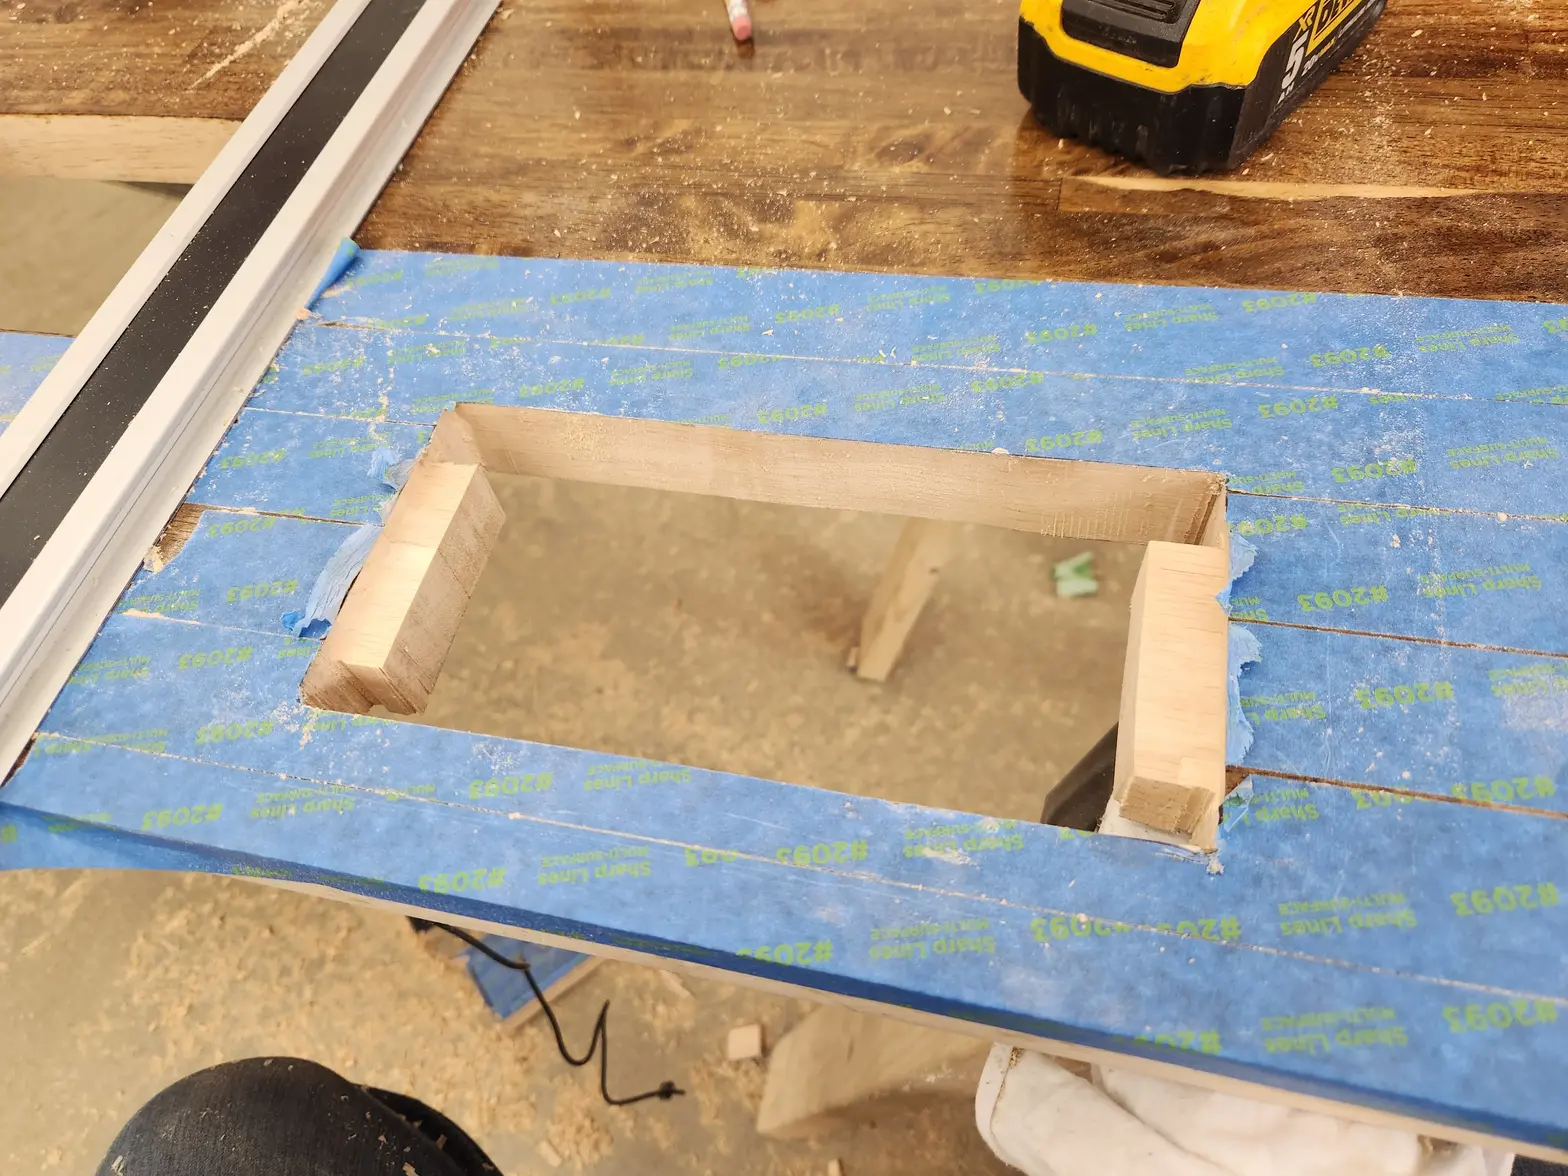
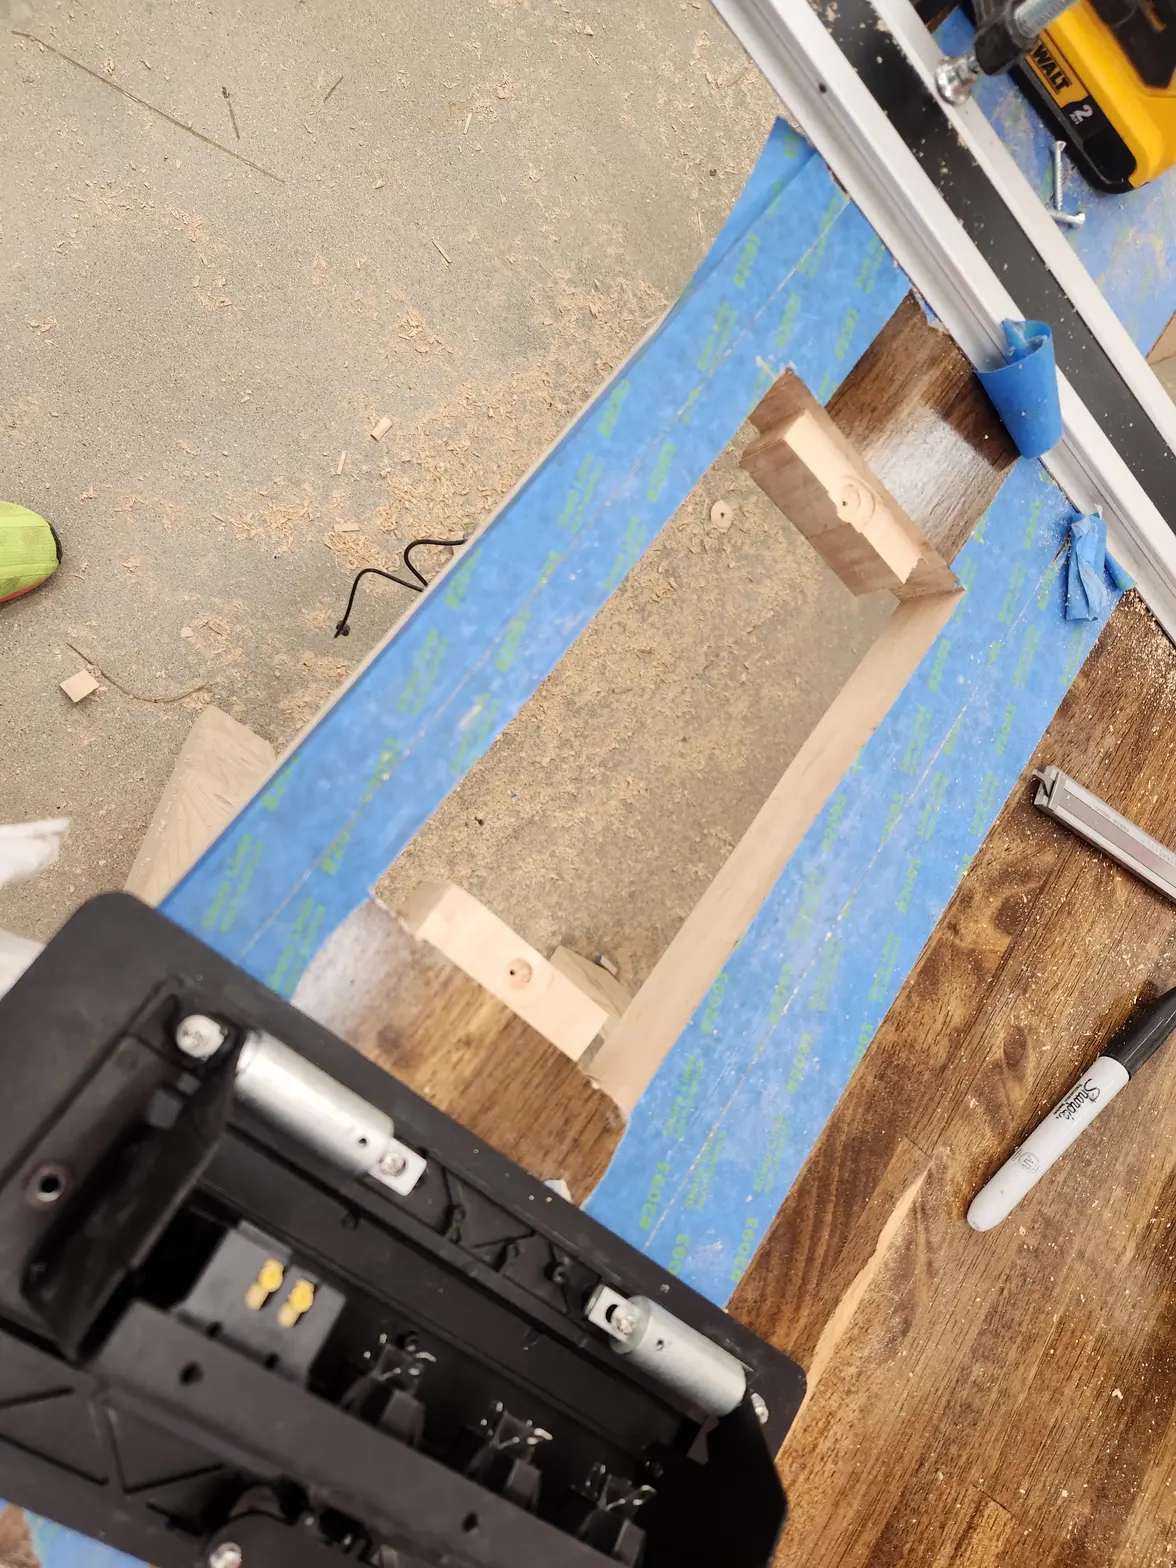
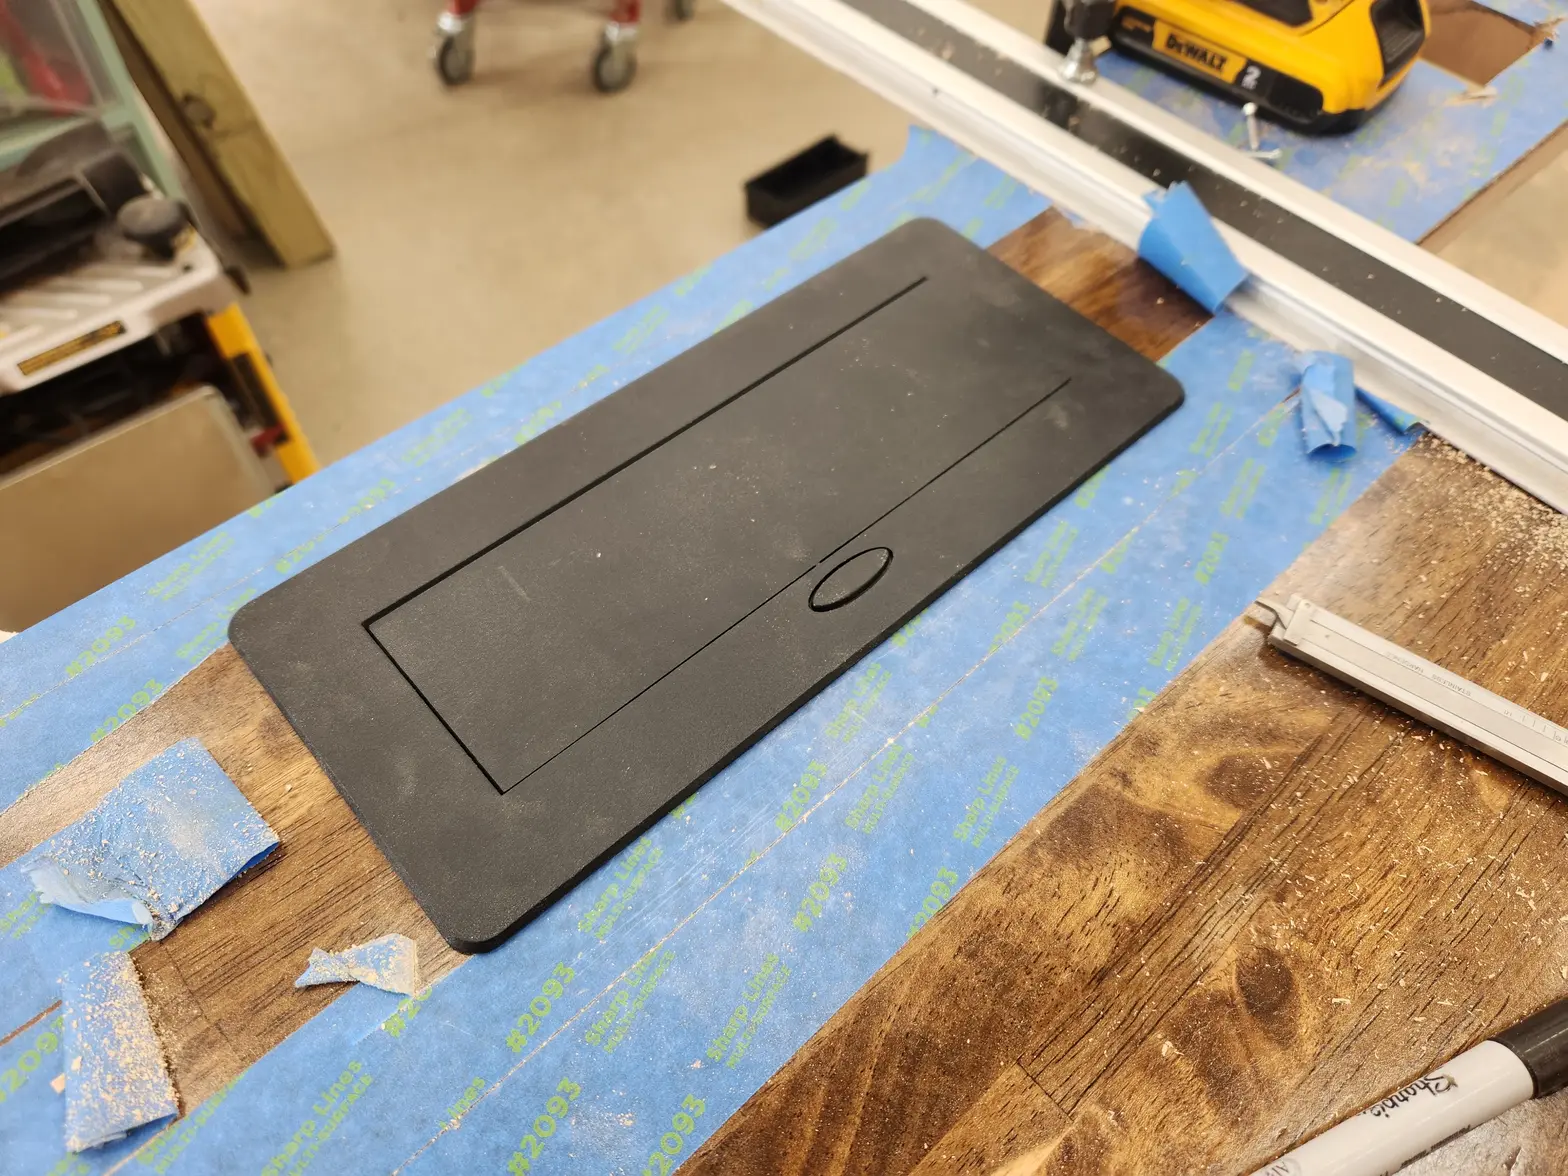
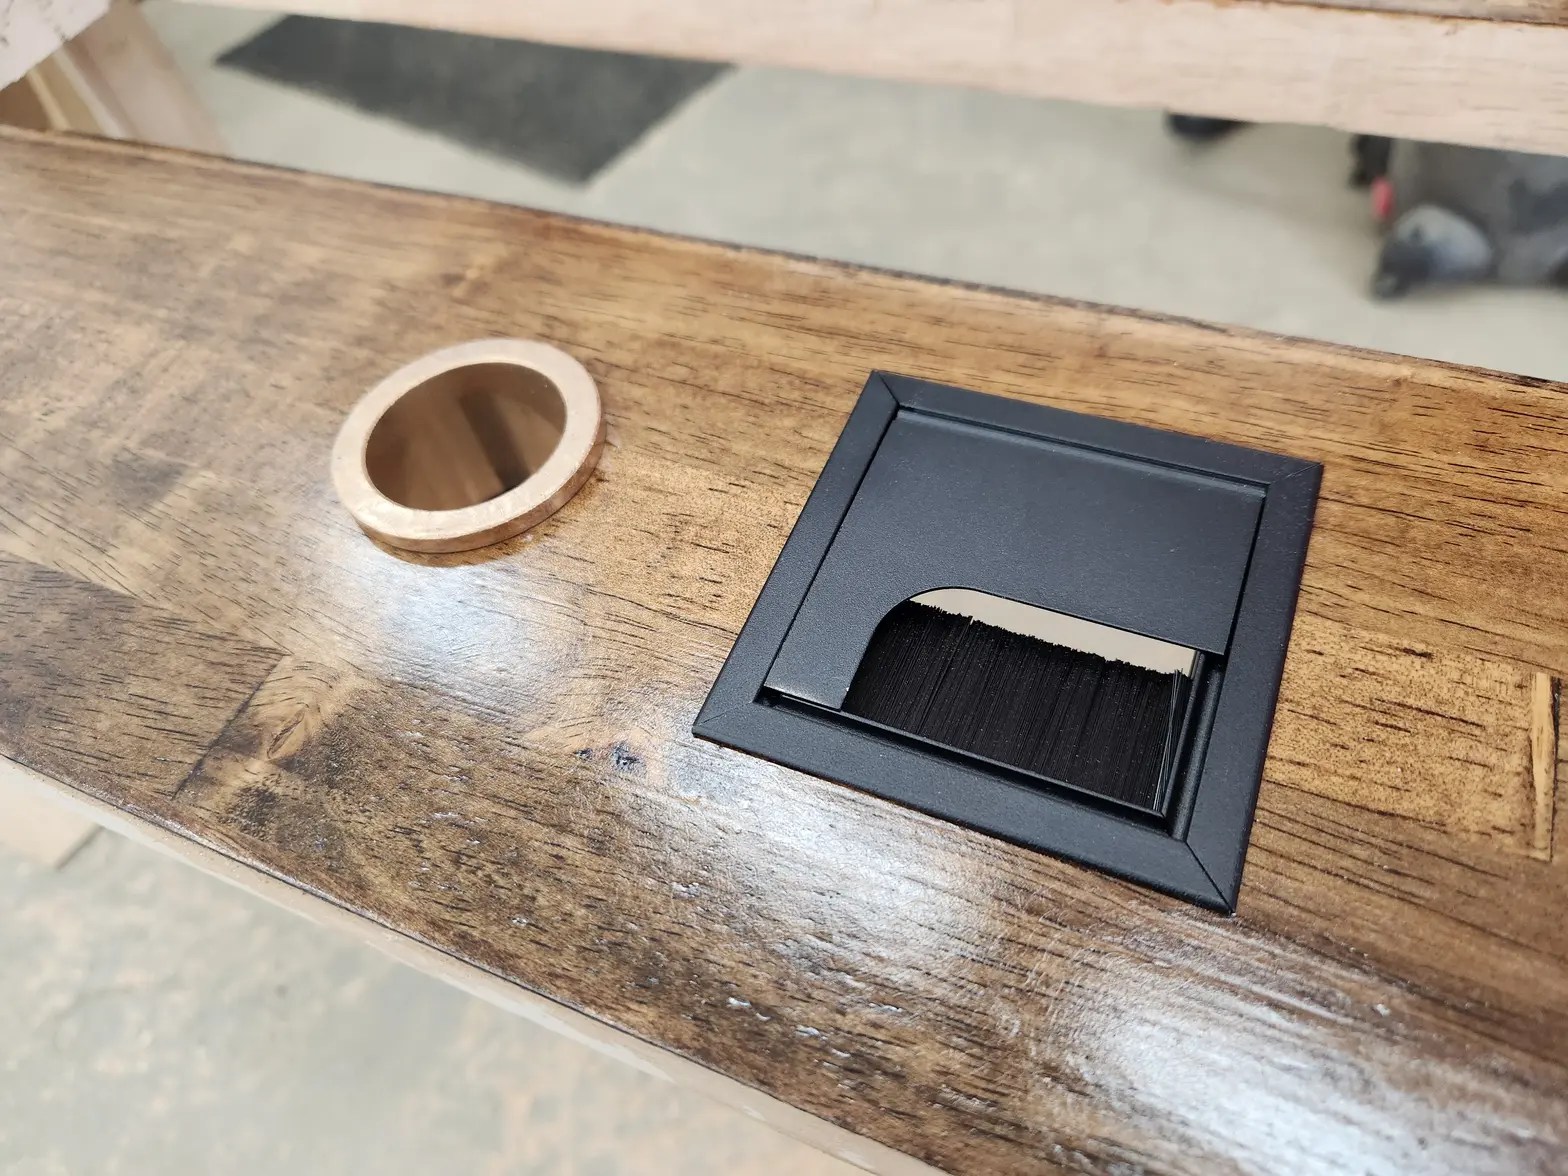
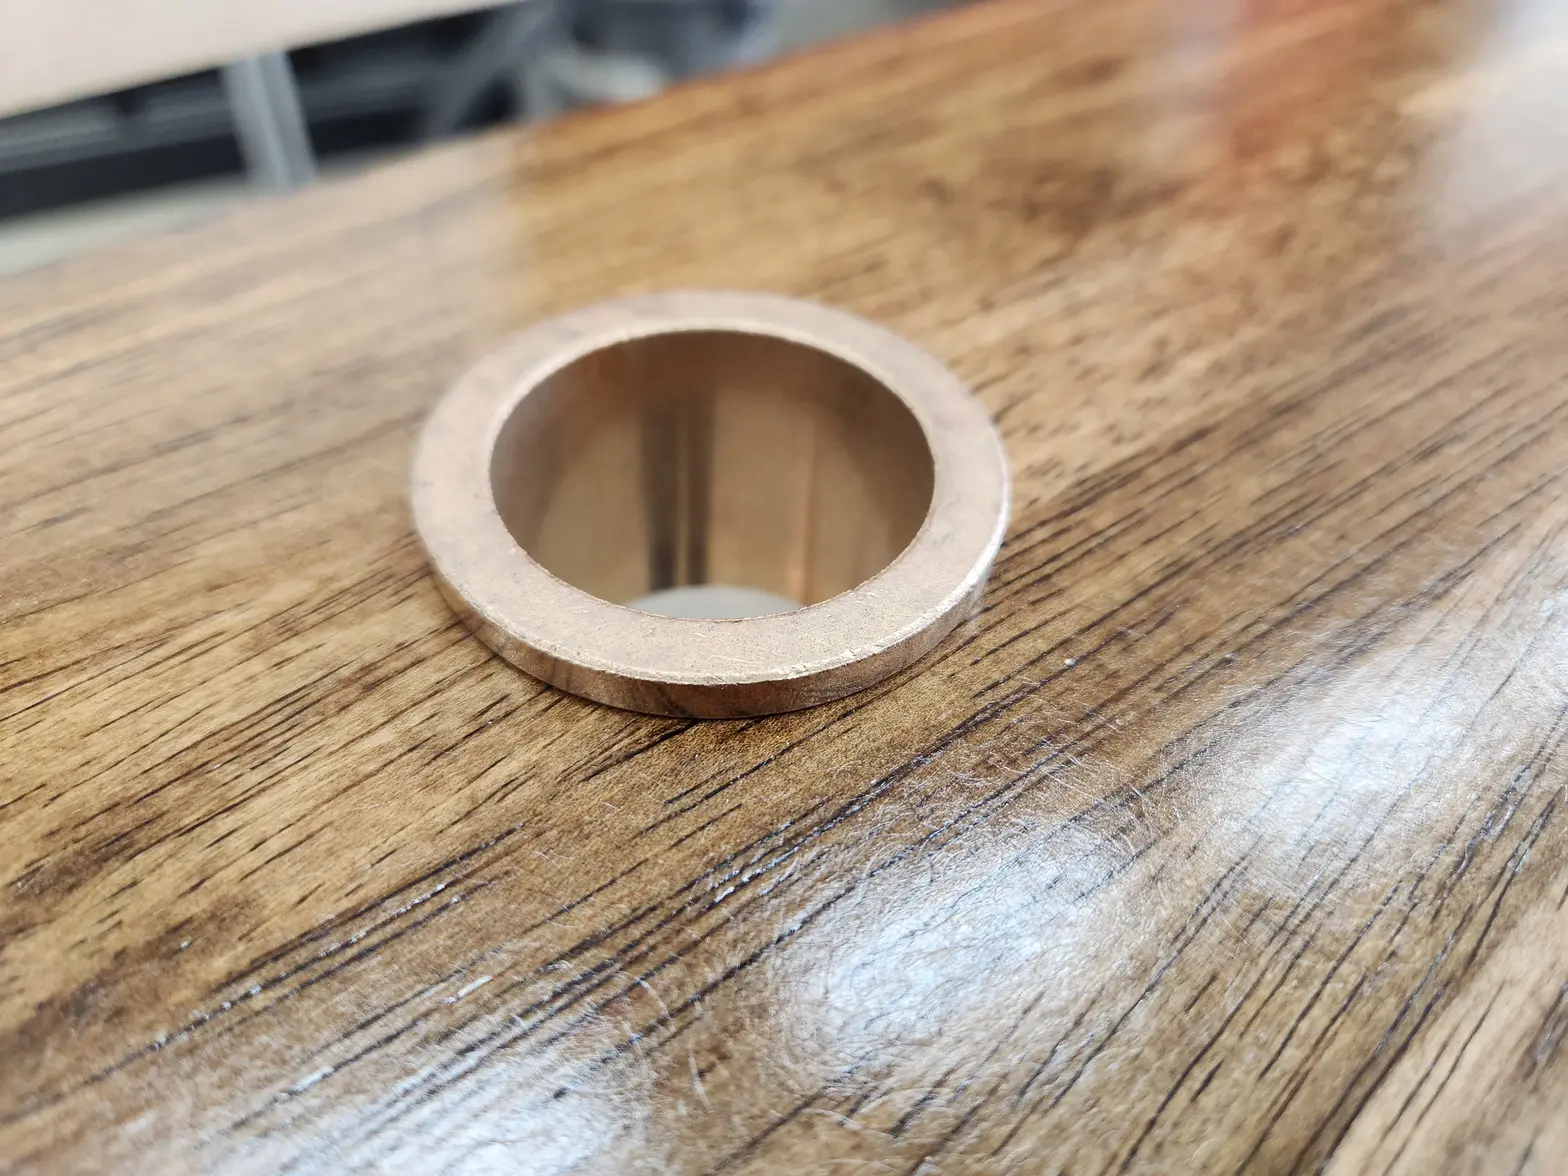
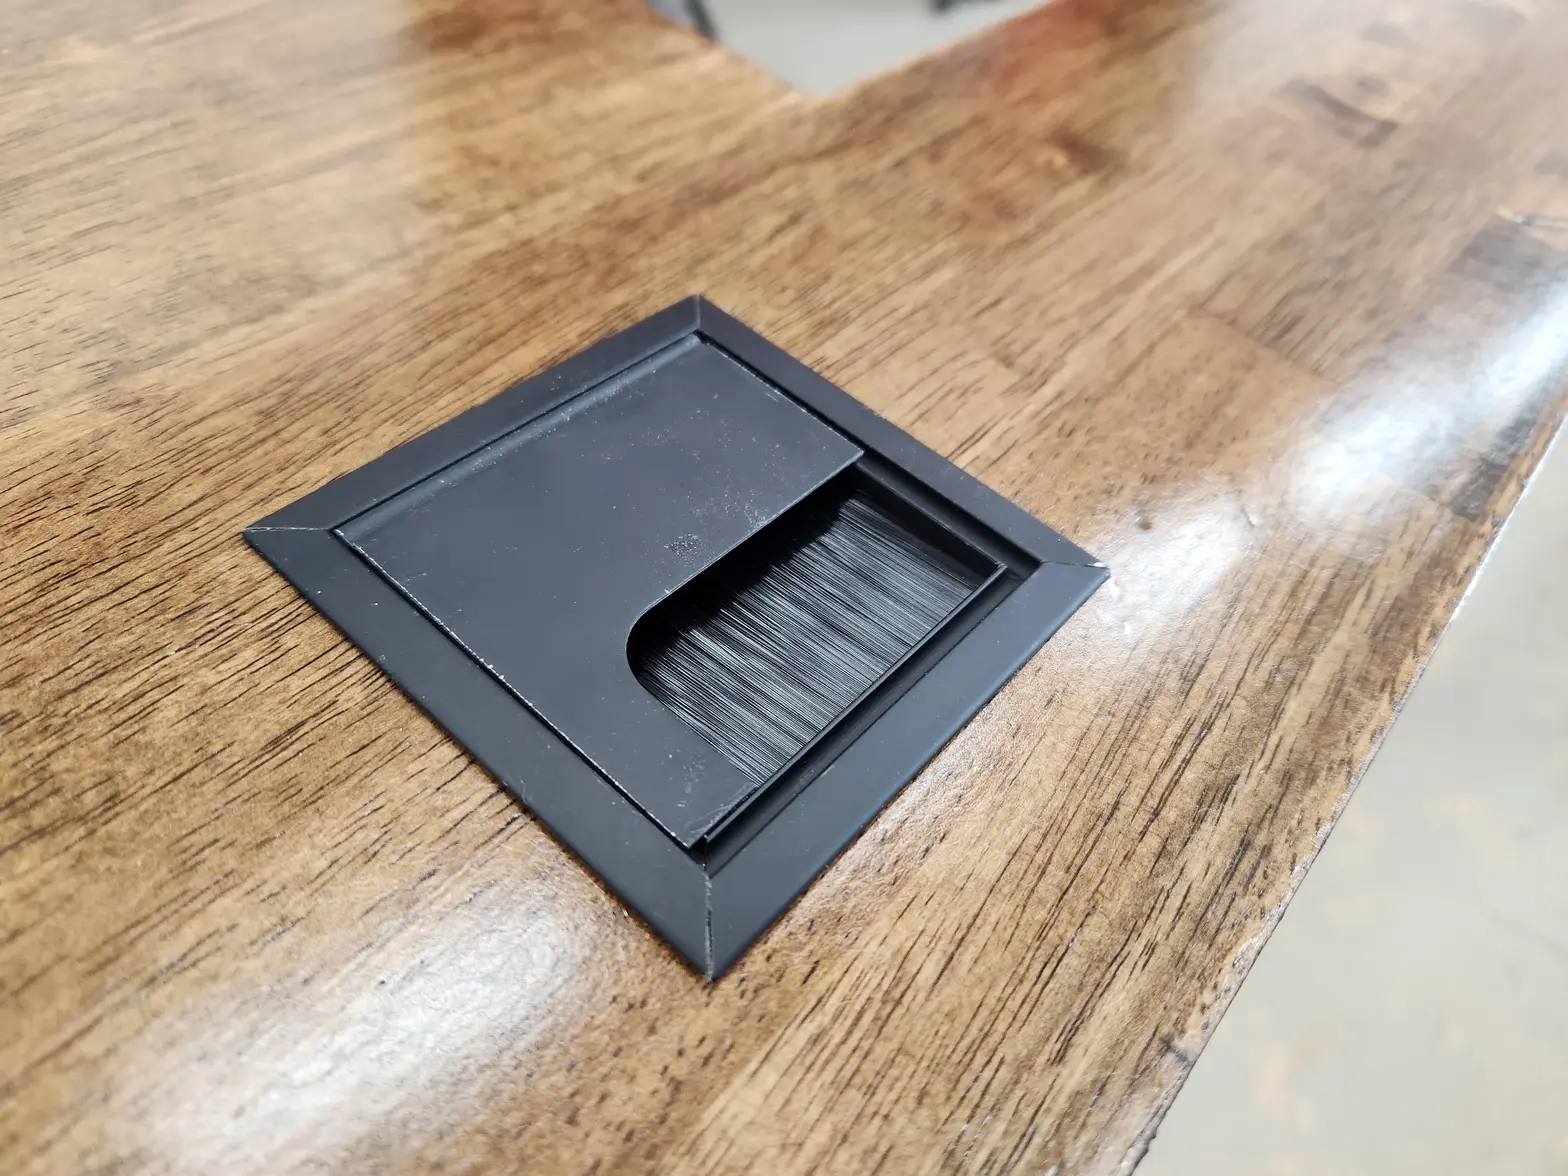
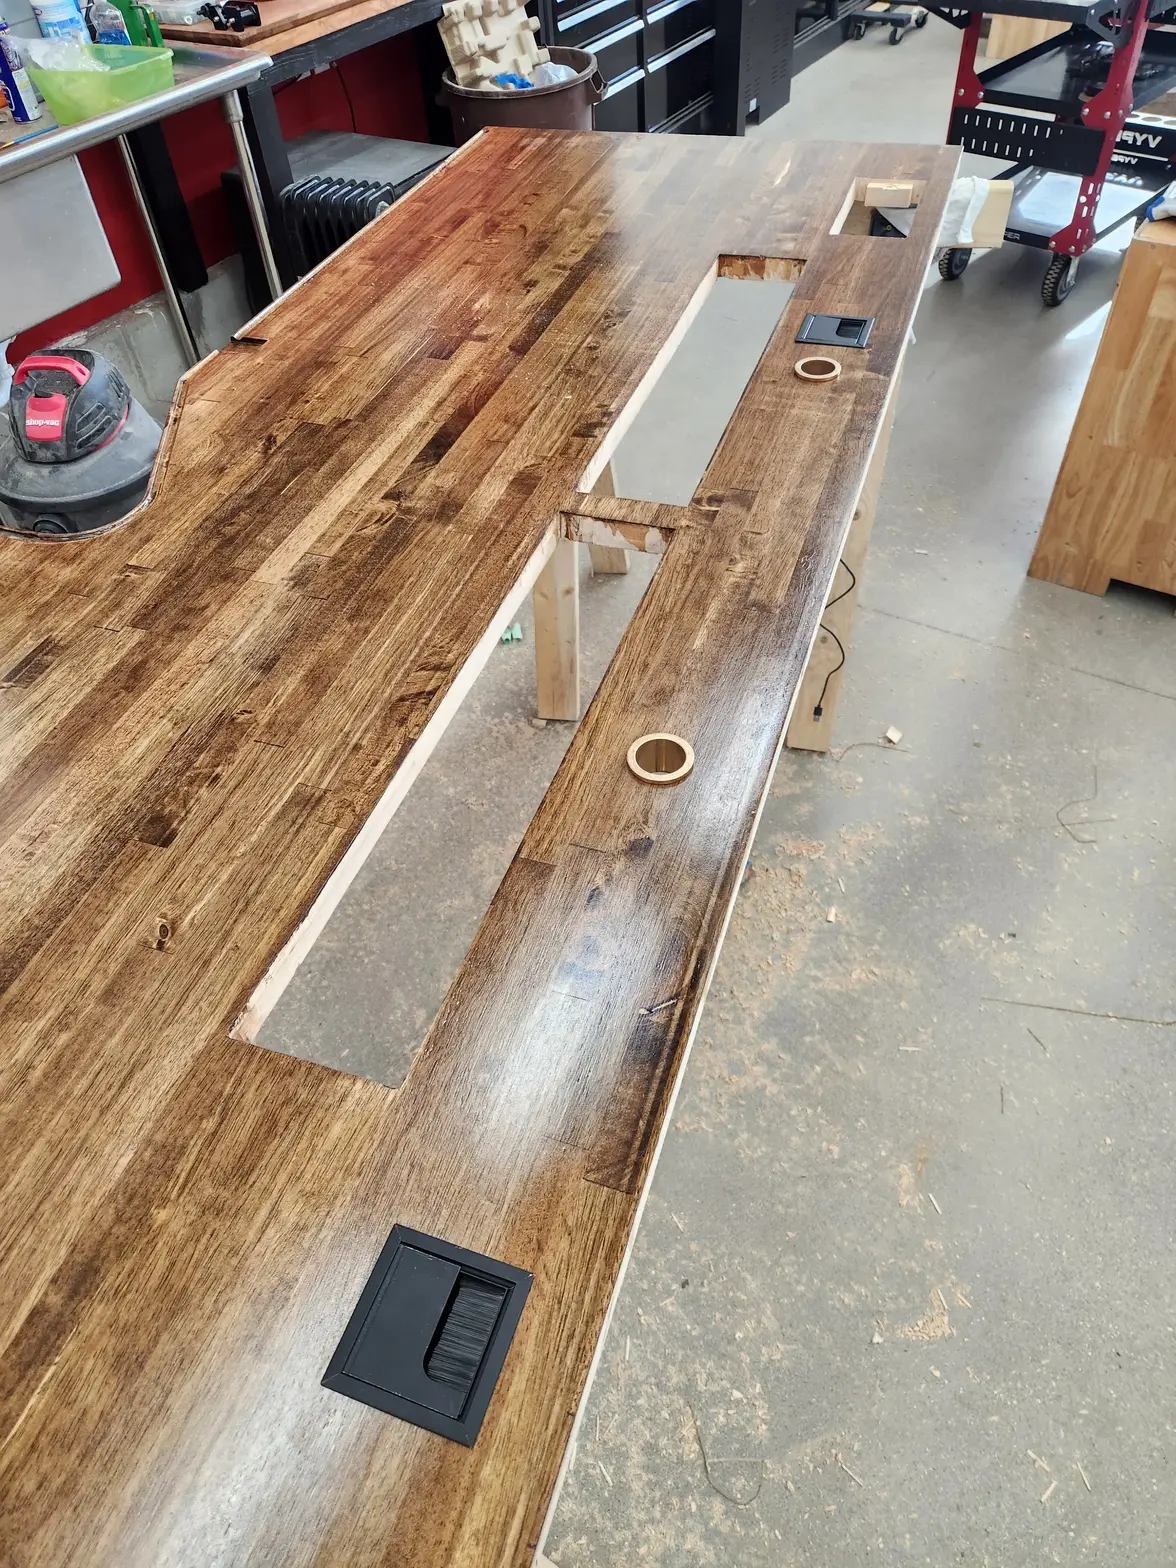
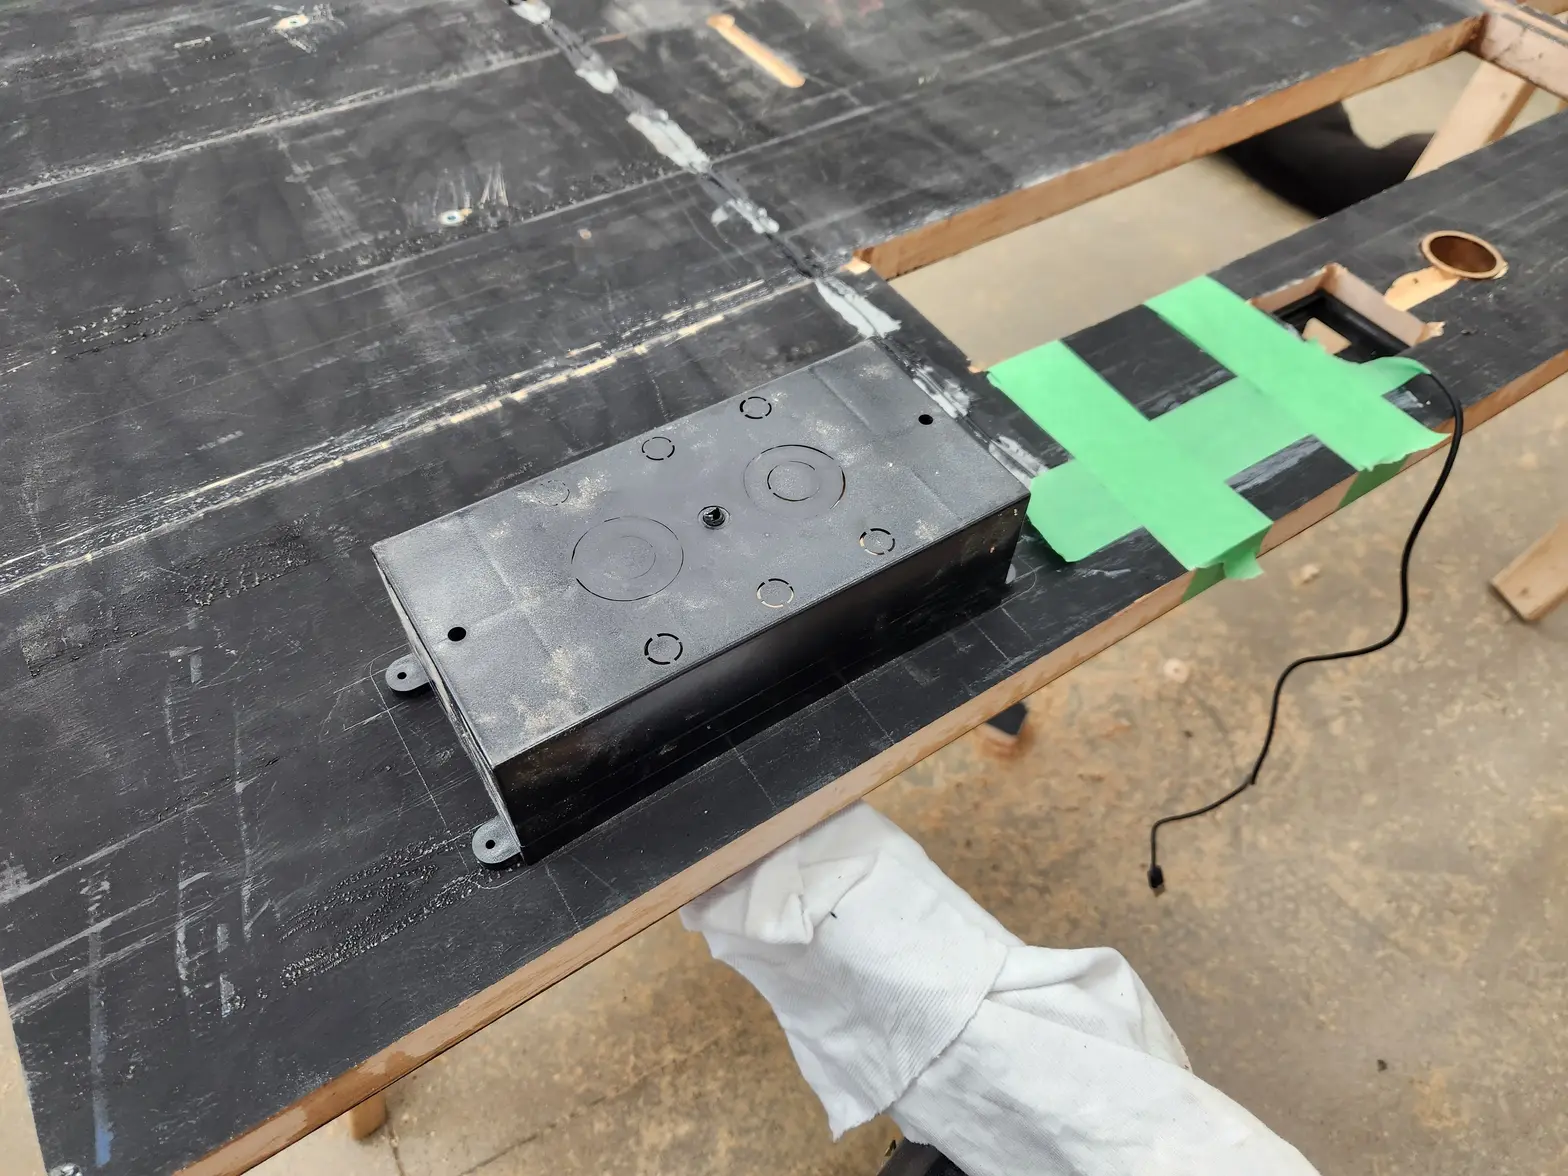
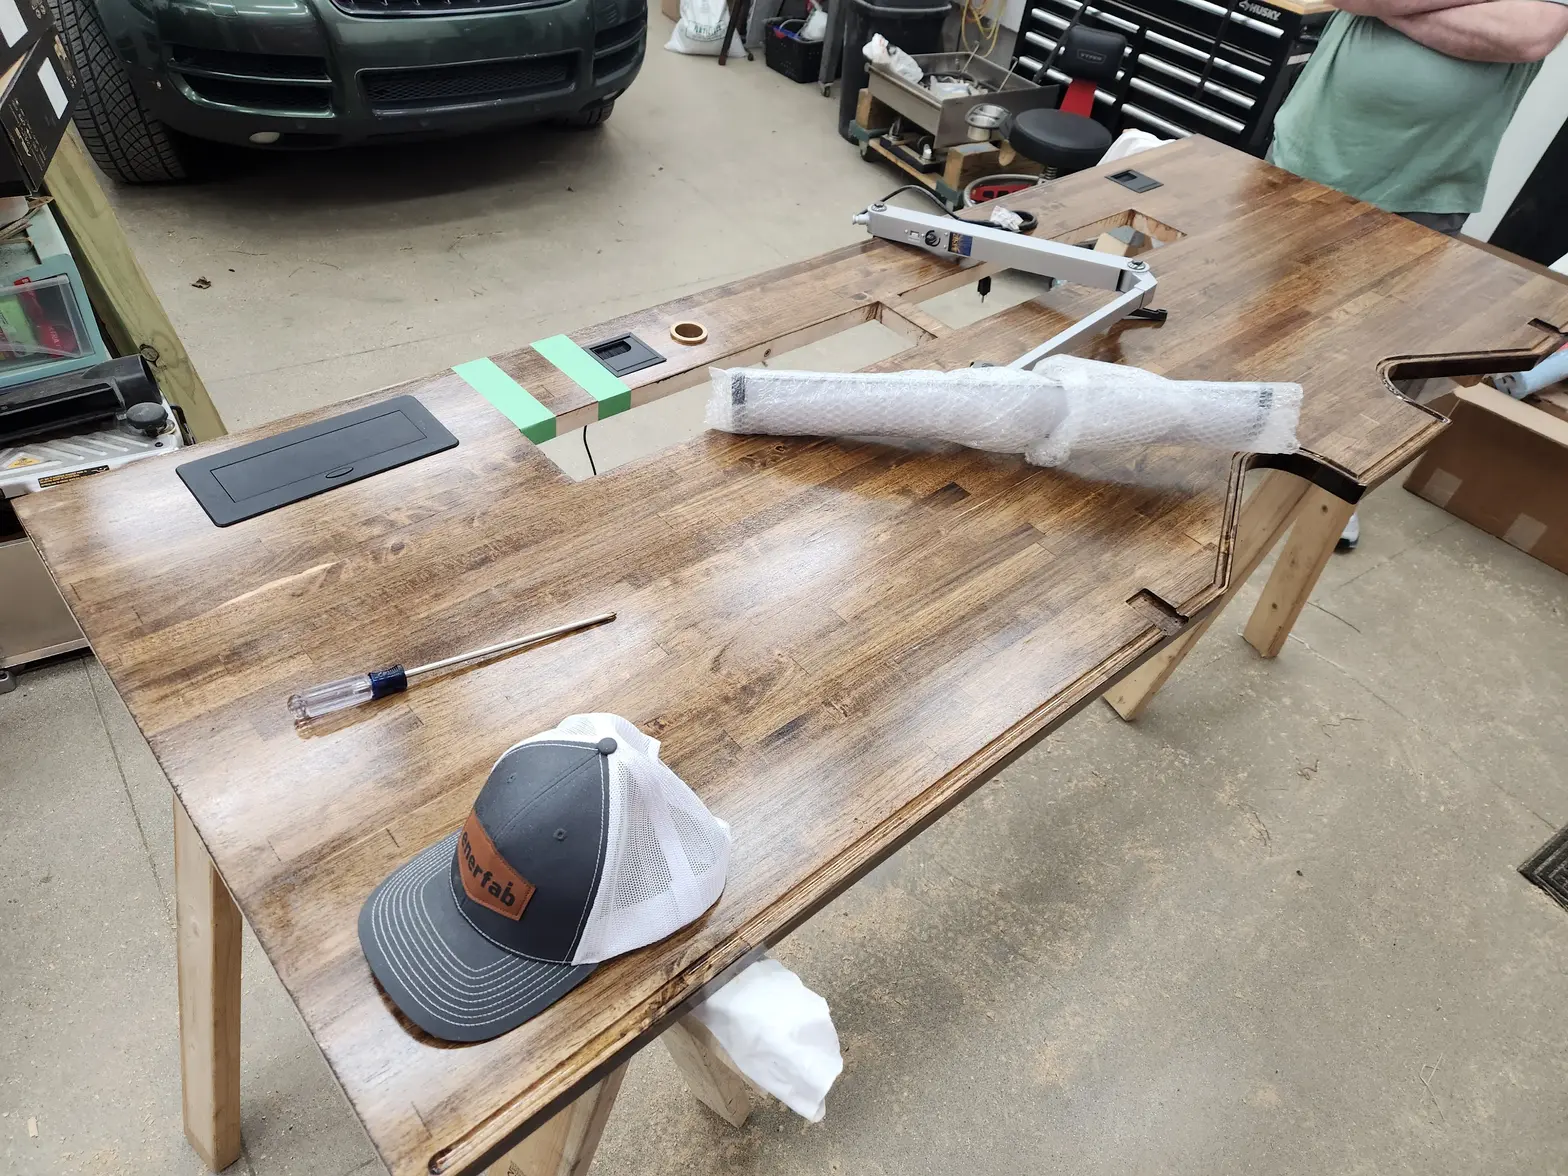
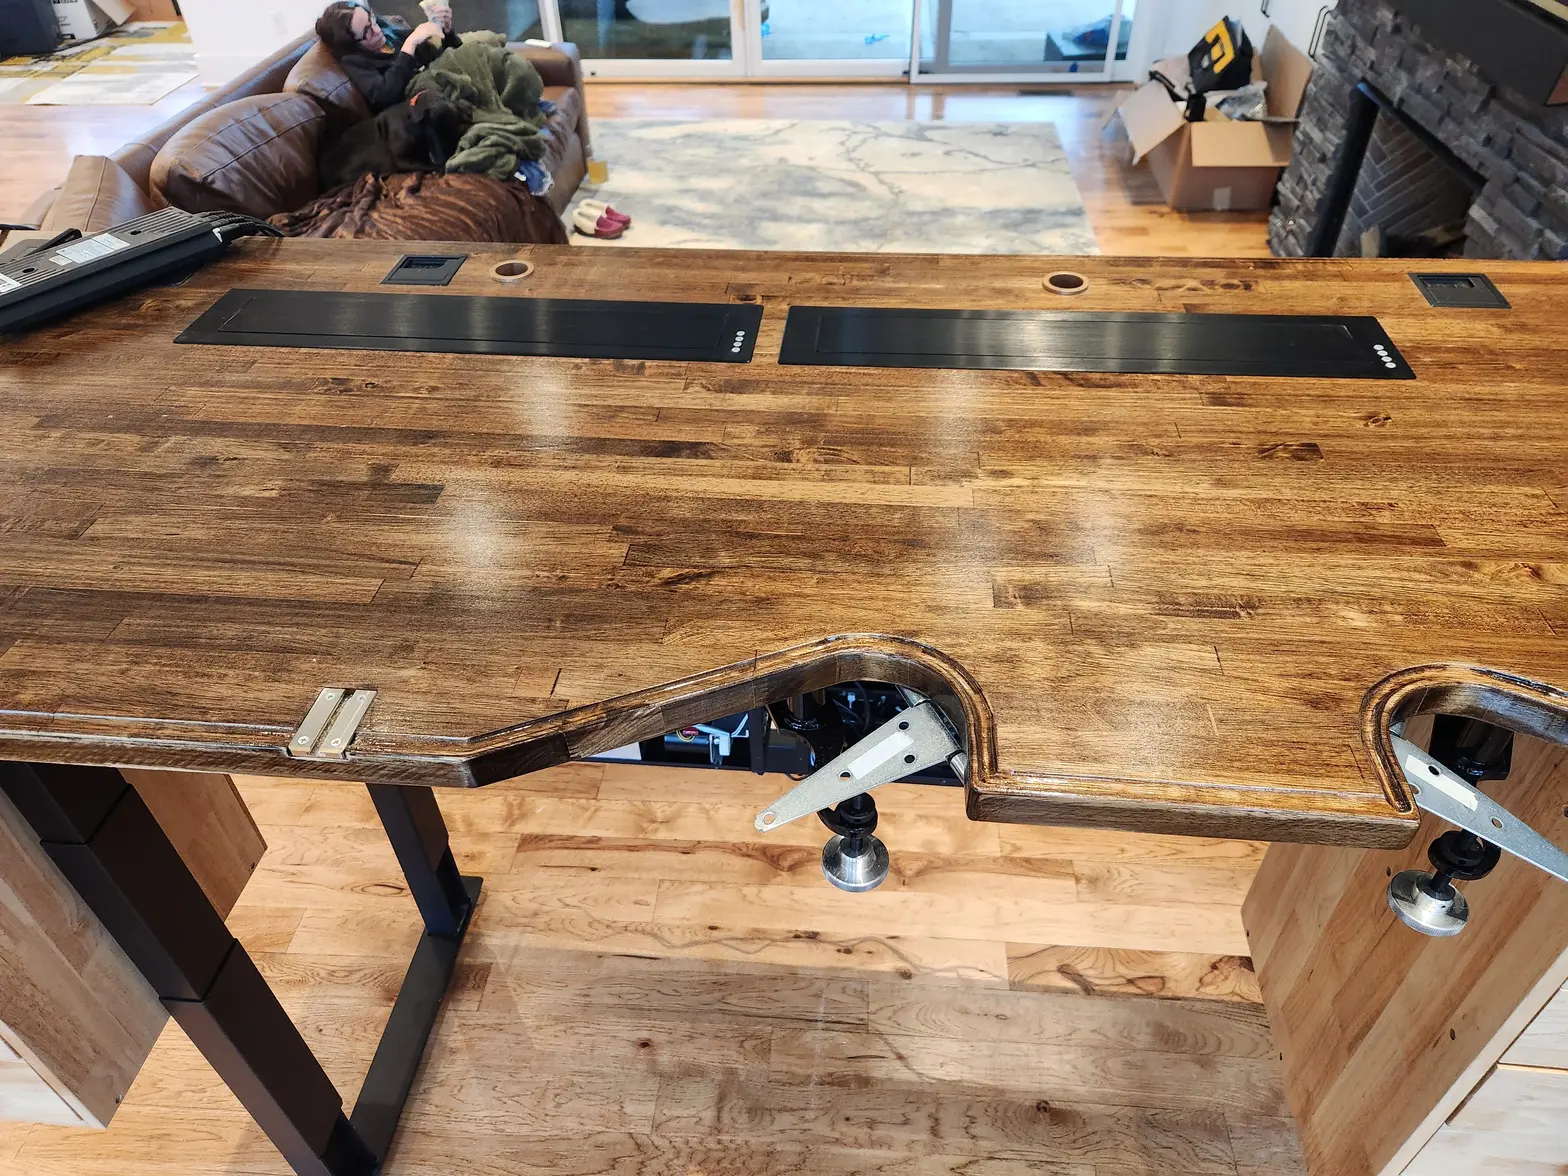
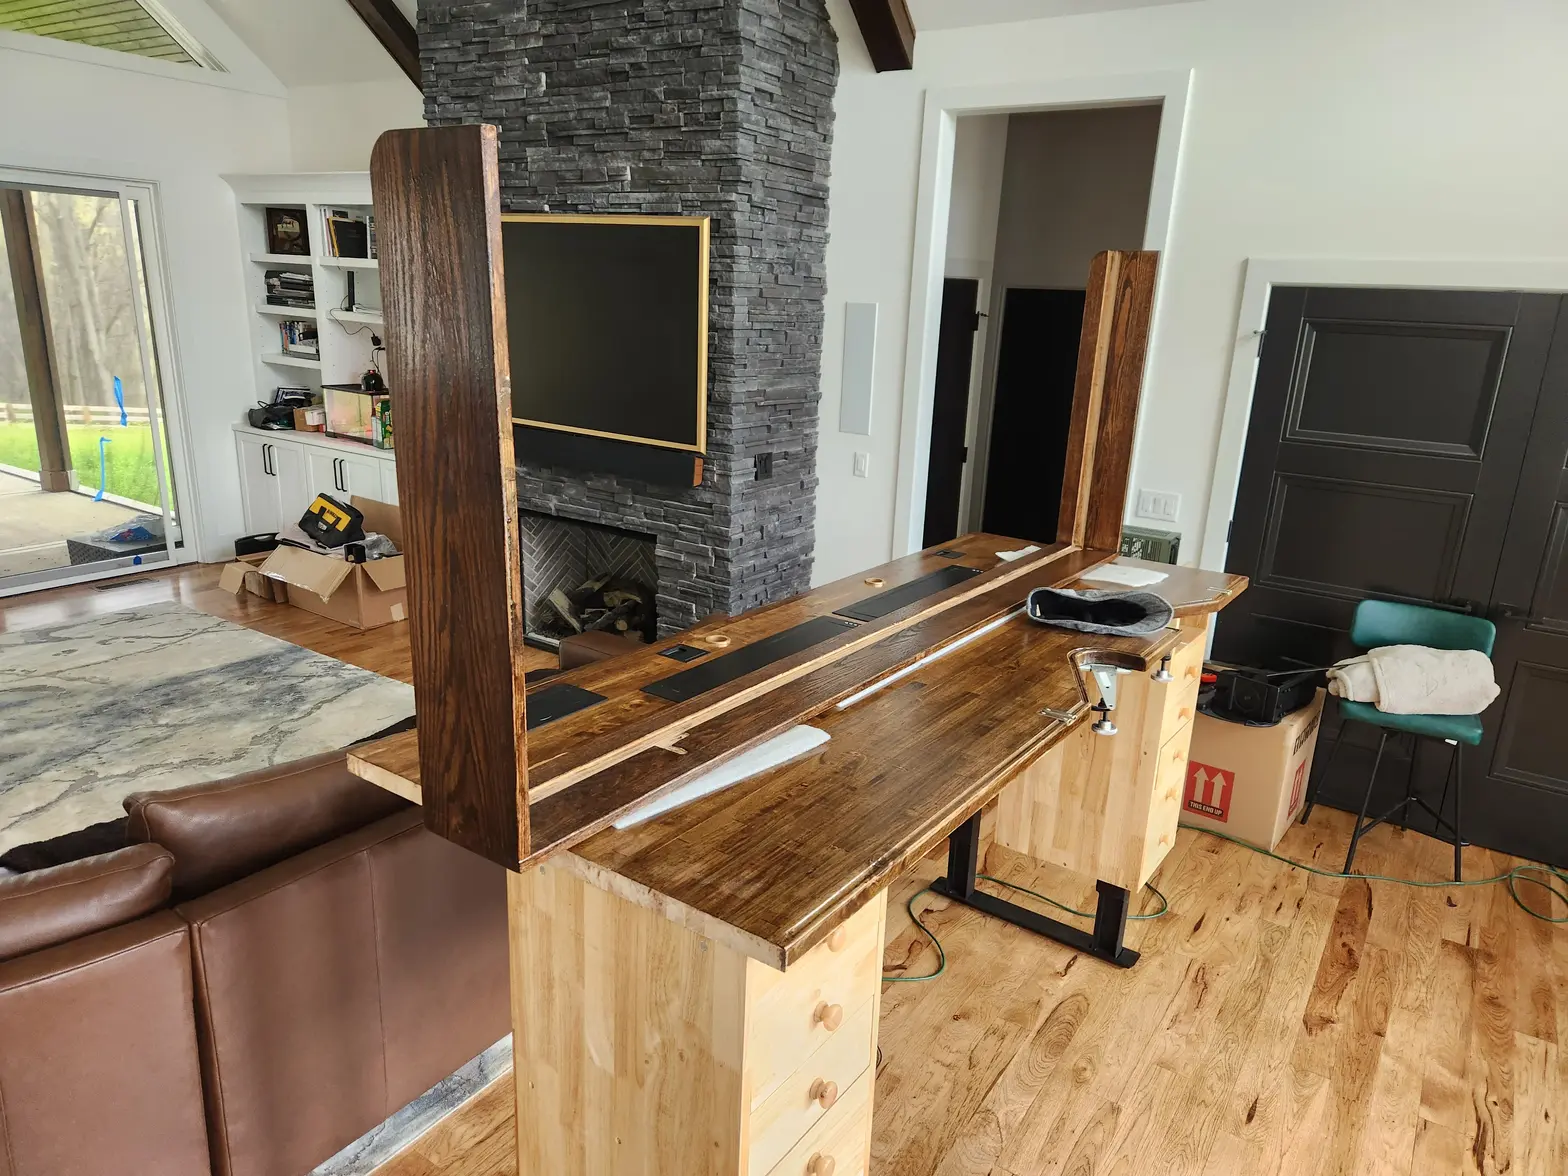
·Probably should have done these extras before I stained and finished but its fine. Lets add some life improvement components. These components can be found an Amazon for expected pricing. I think the popup power outlet was like $27 and this box cable management tray was like $11. On Aliexpress these identical same components were $9 and $2.77. Both shipped from US warehouses and delivered by Amazon trucks. <smart>
M'Bob
·Amazing journey, so nice of you to share. Great to see someone skilled with their hands, other than on a phone keyboard…
samweldspoorly
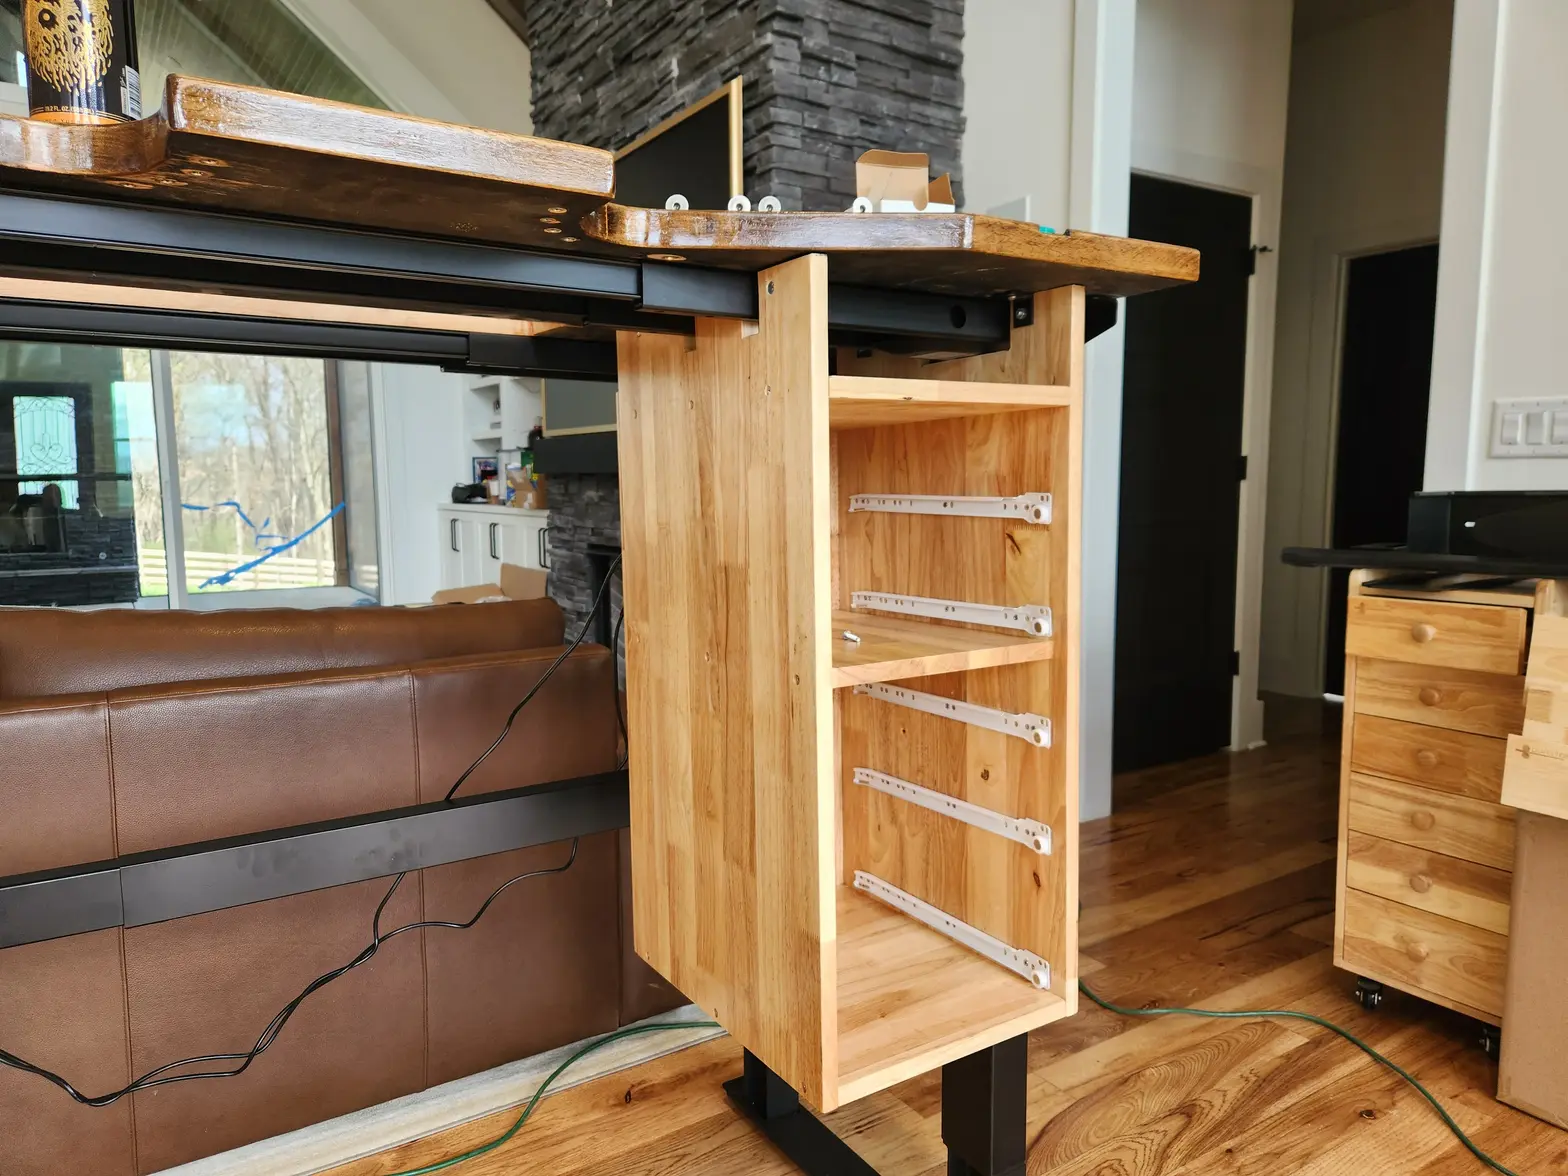
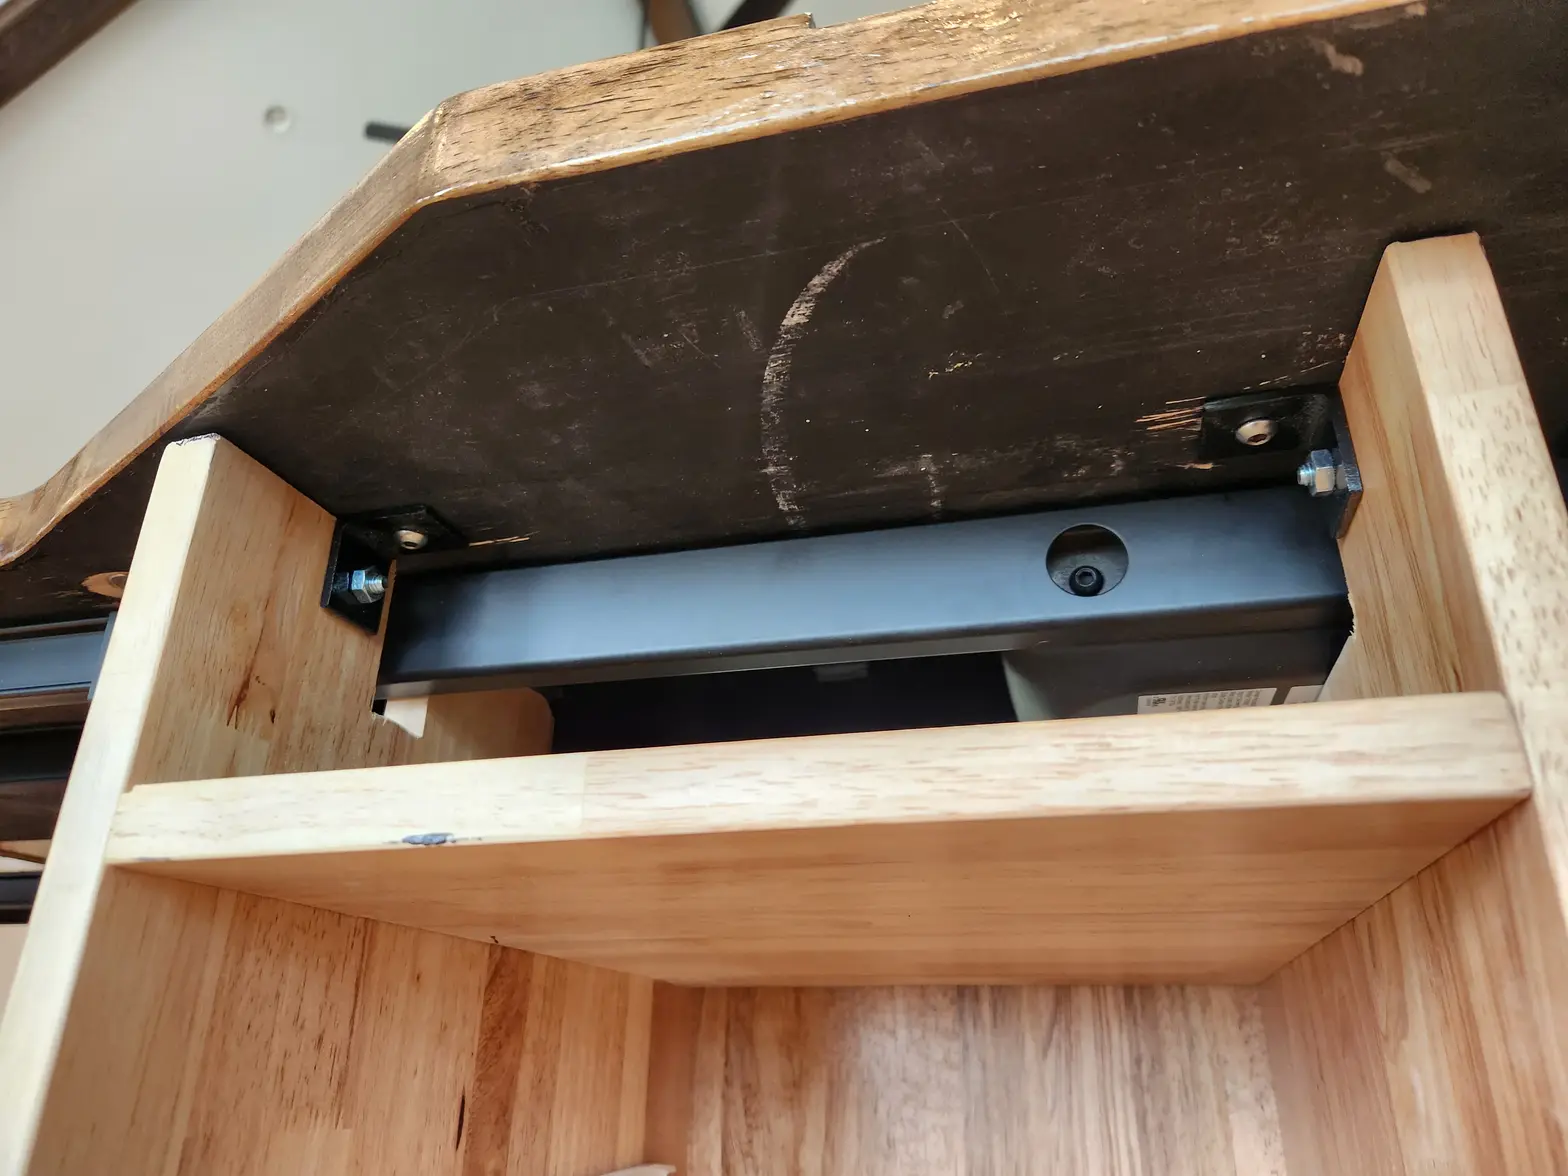
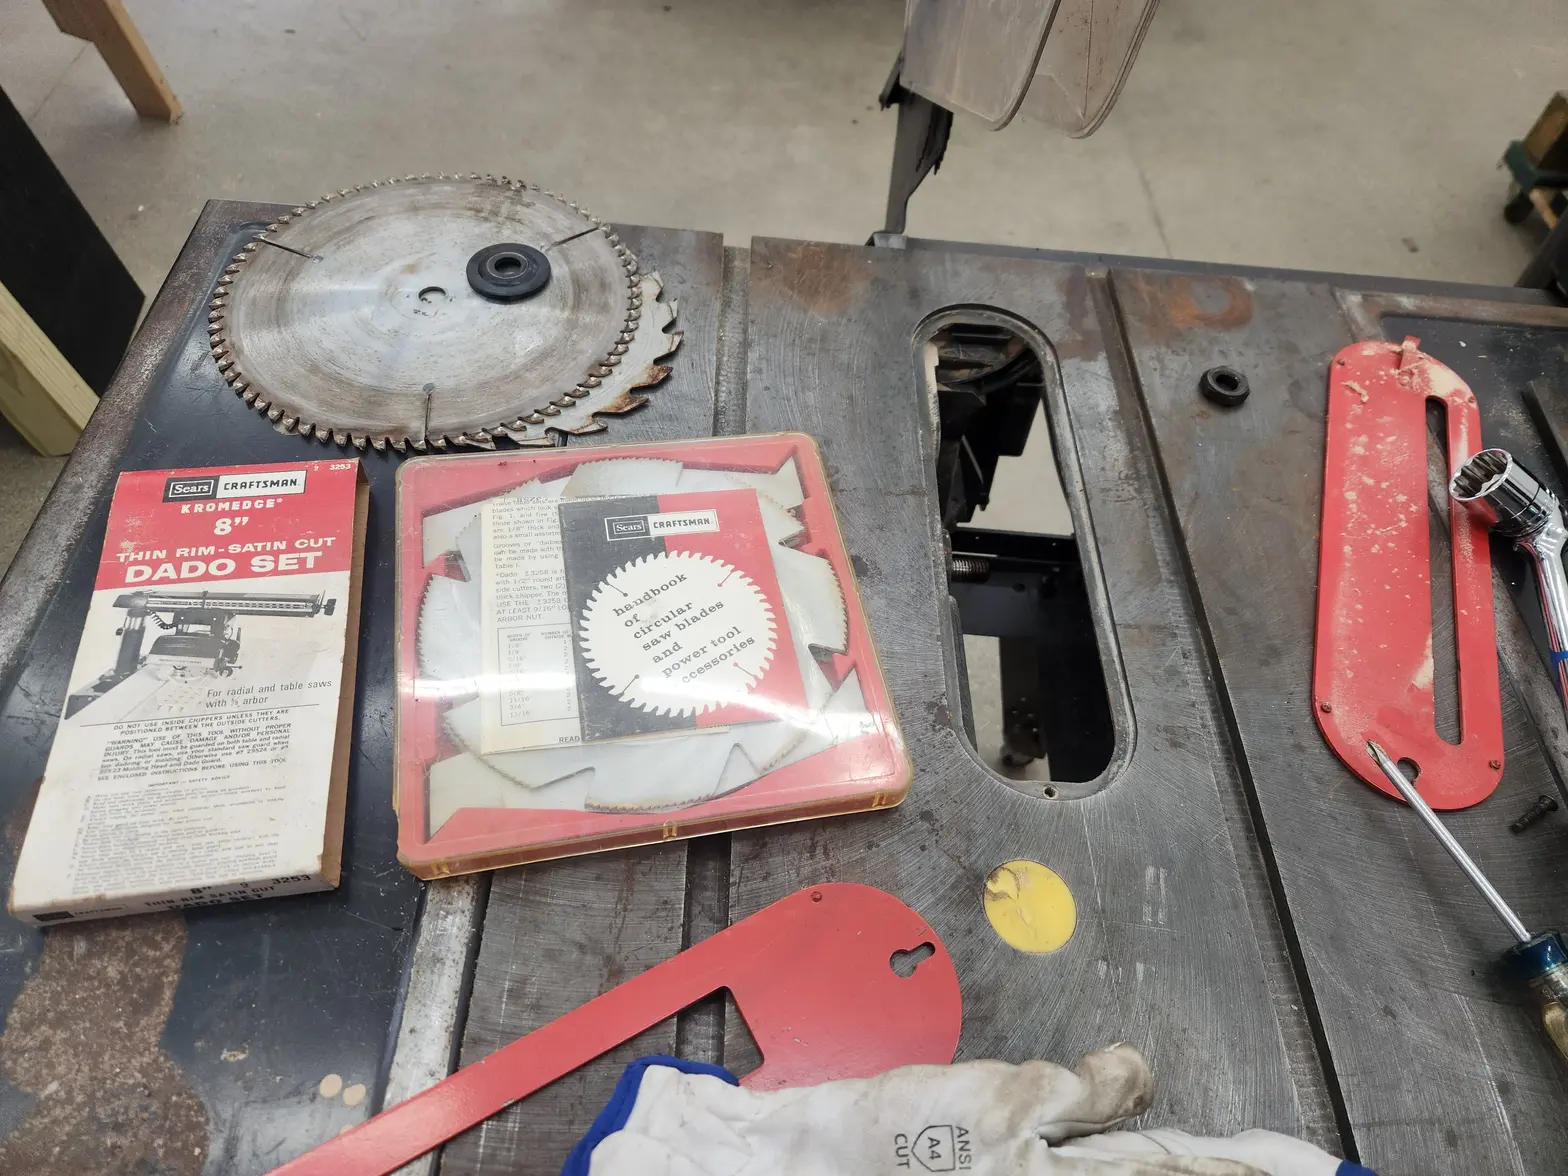
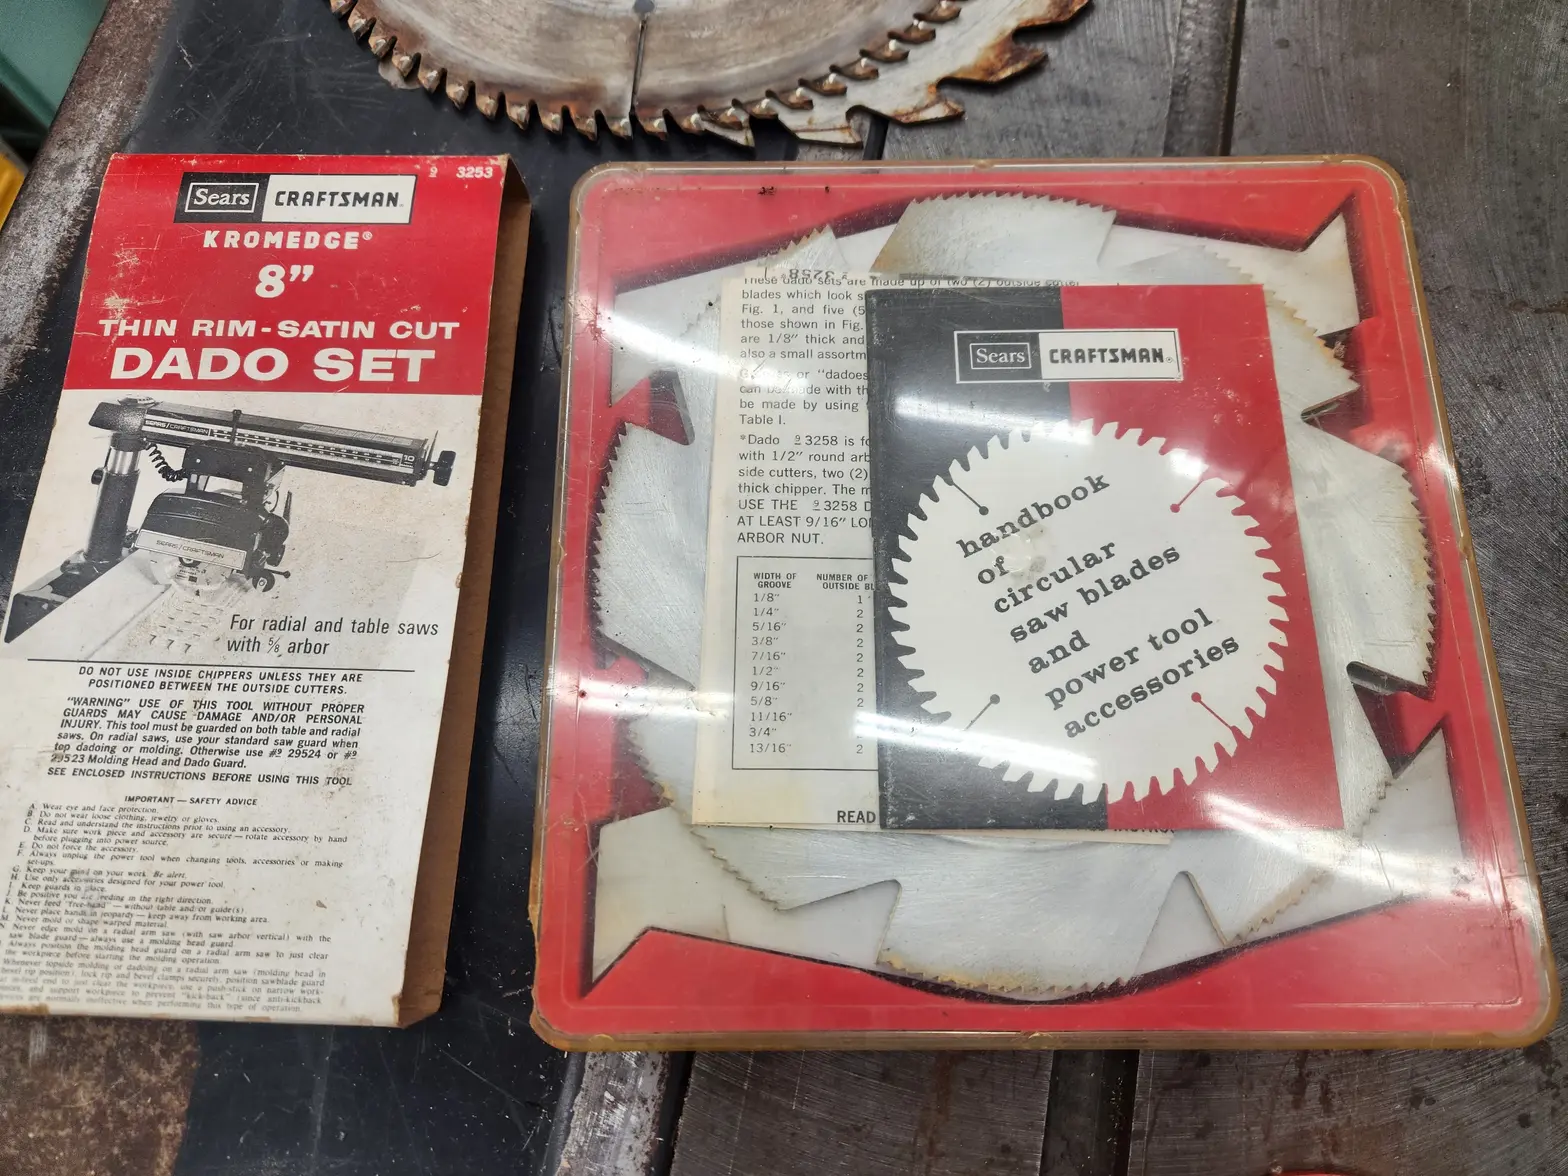
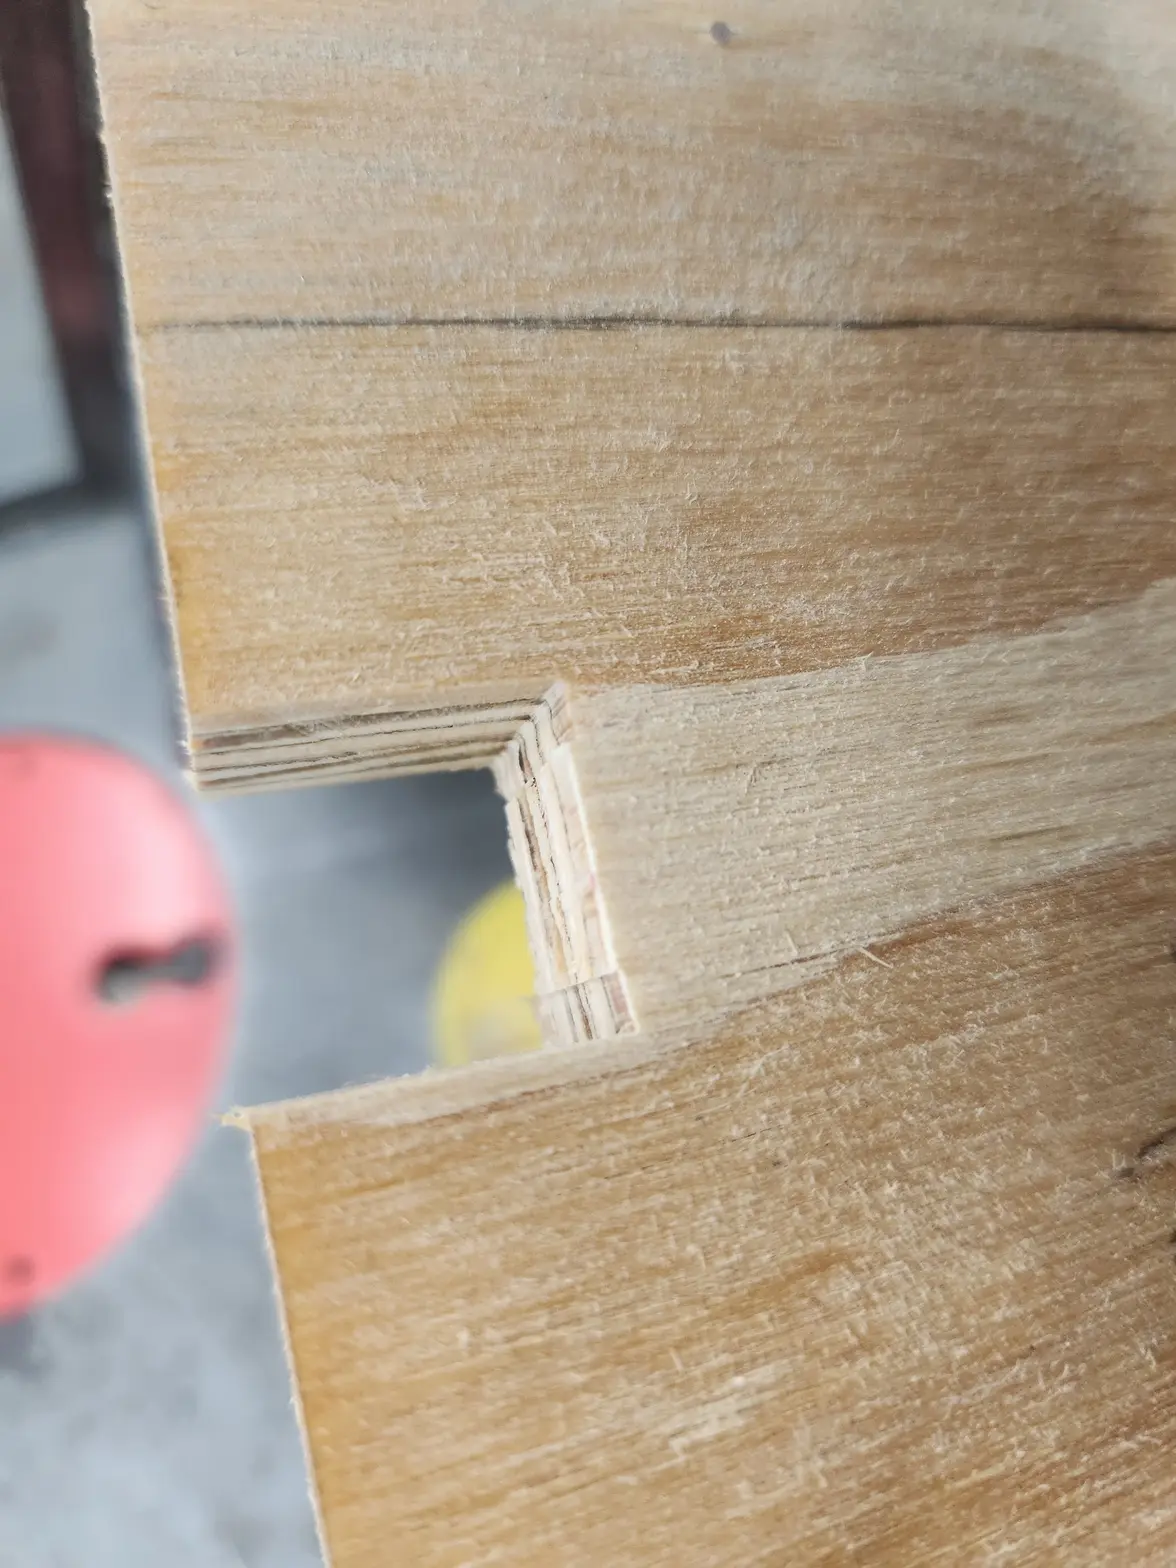
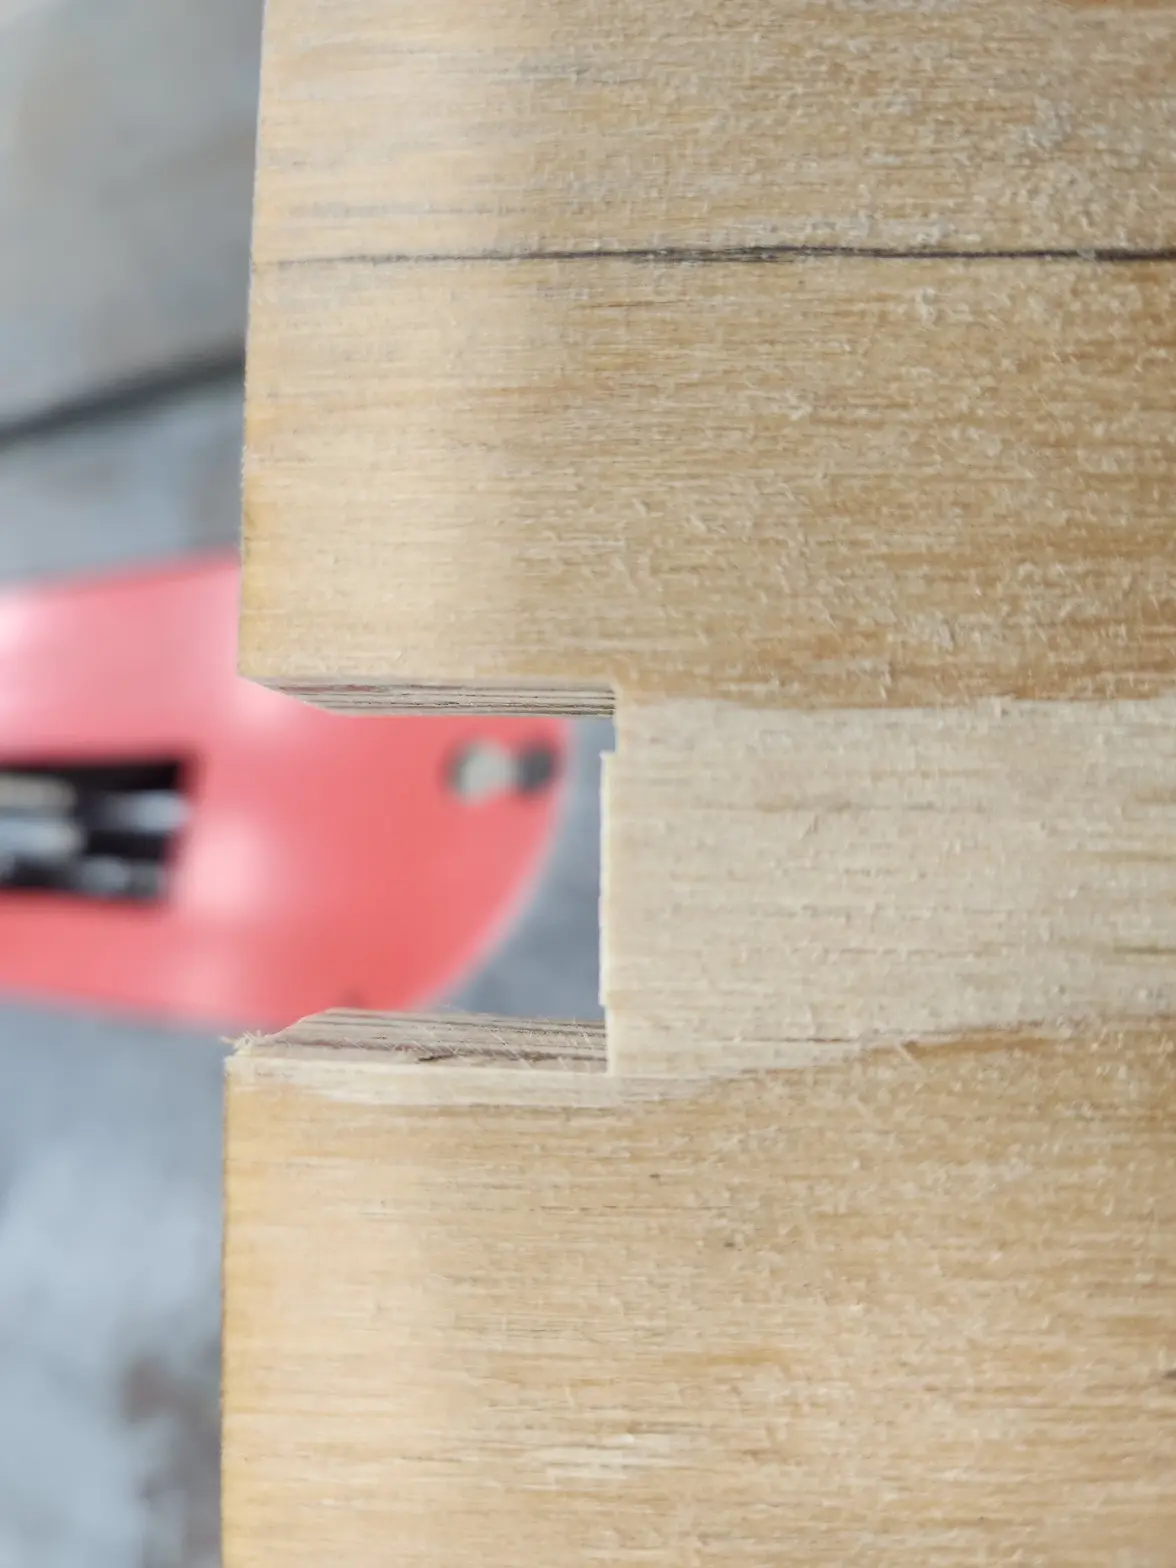
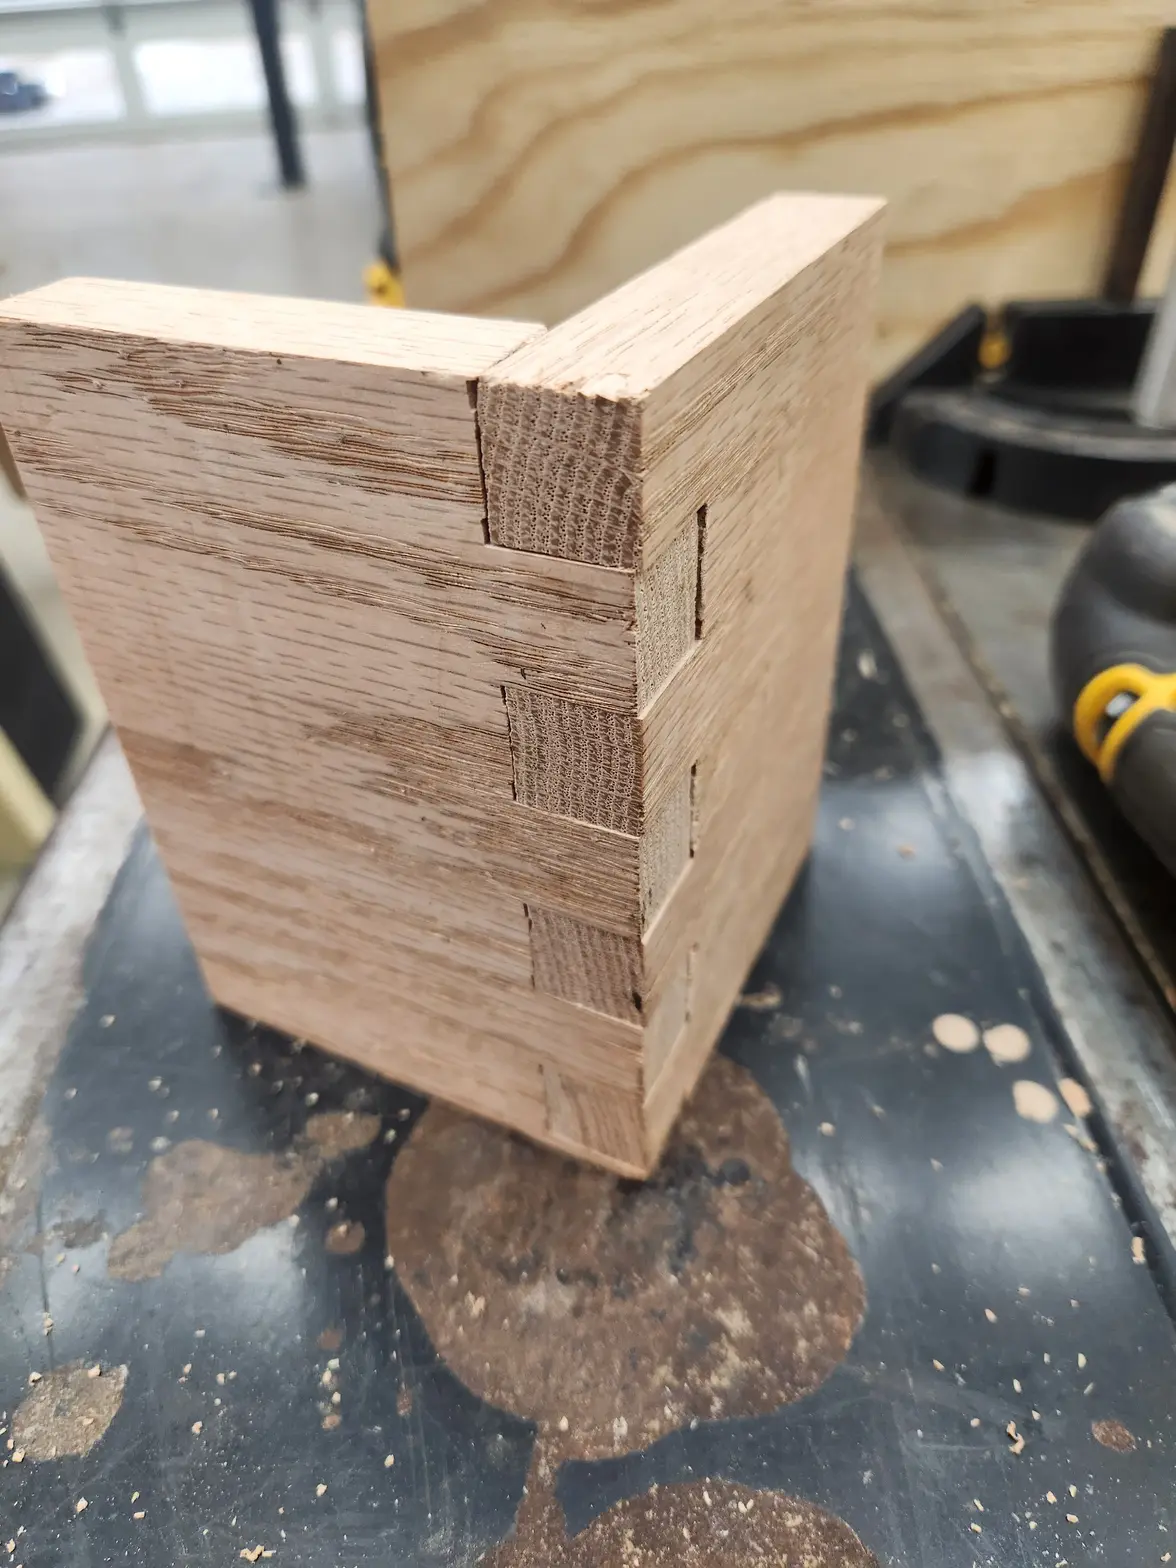
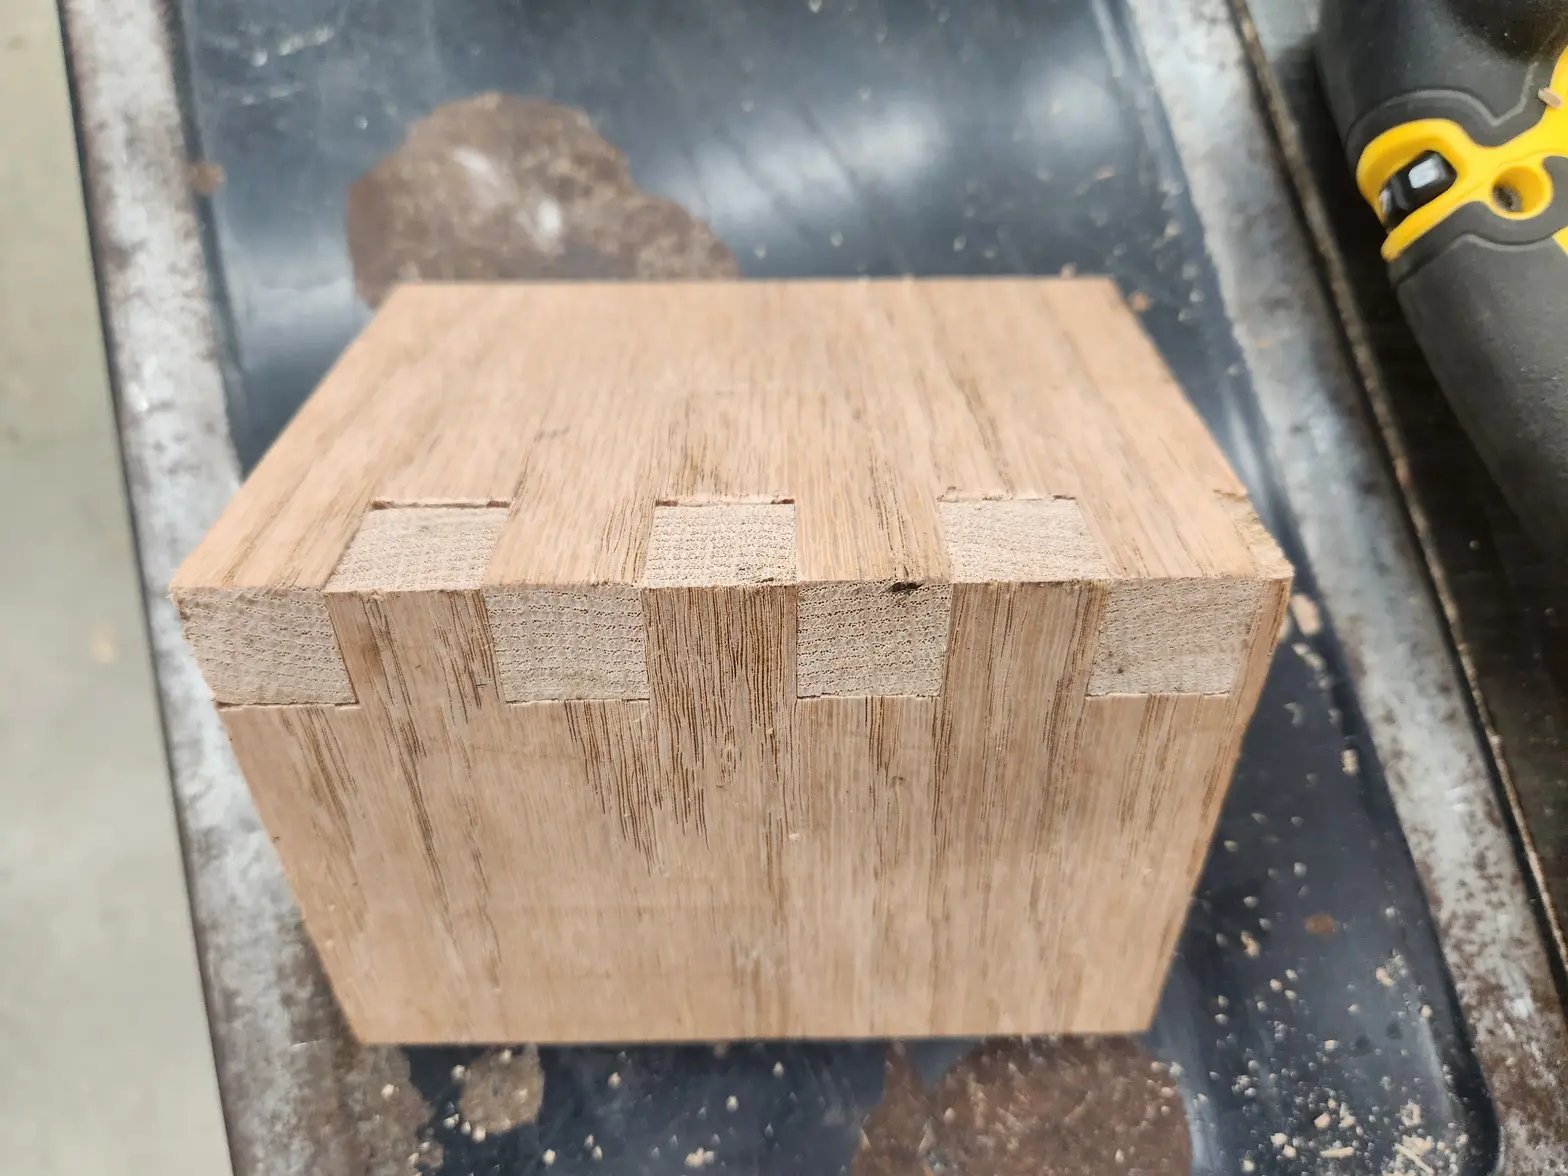
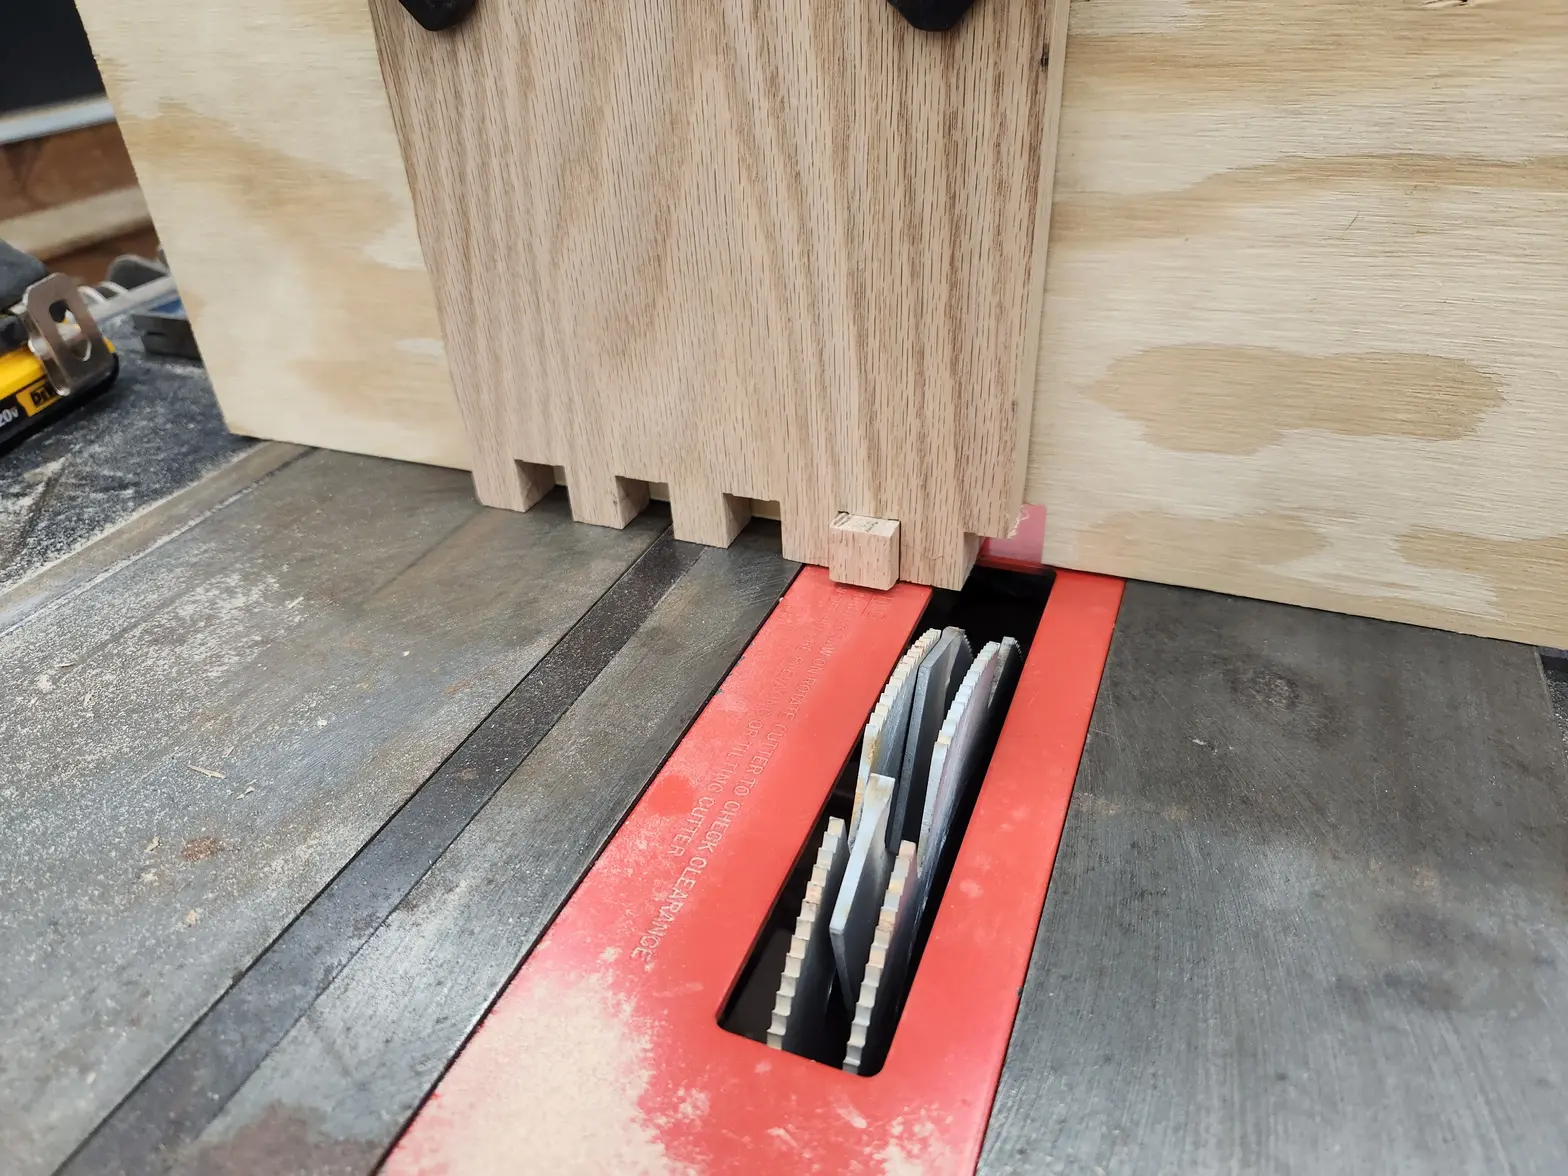
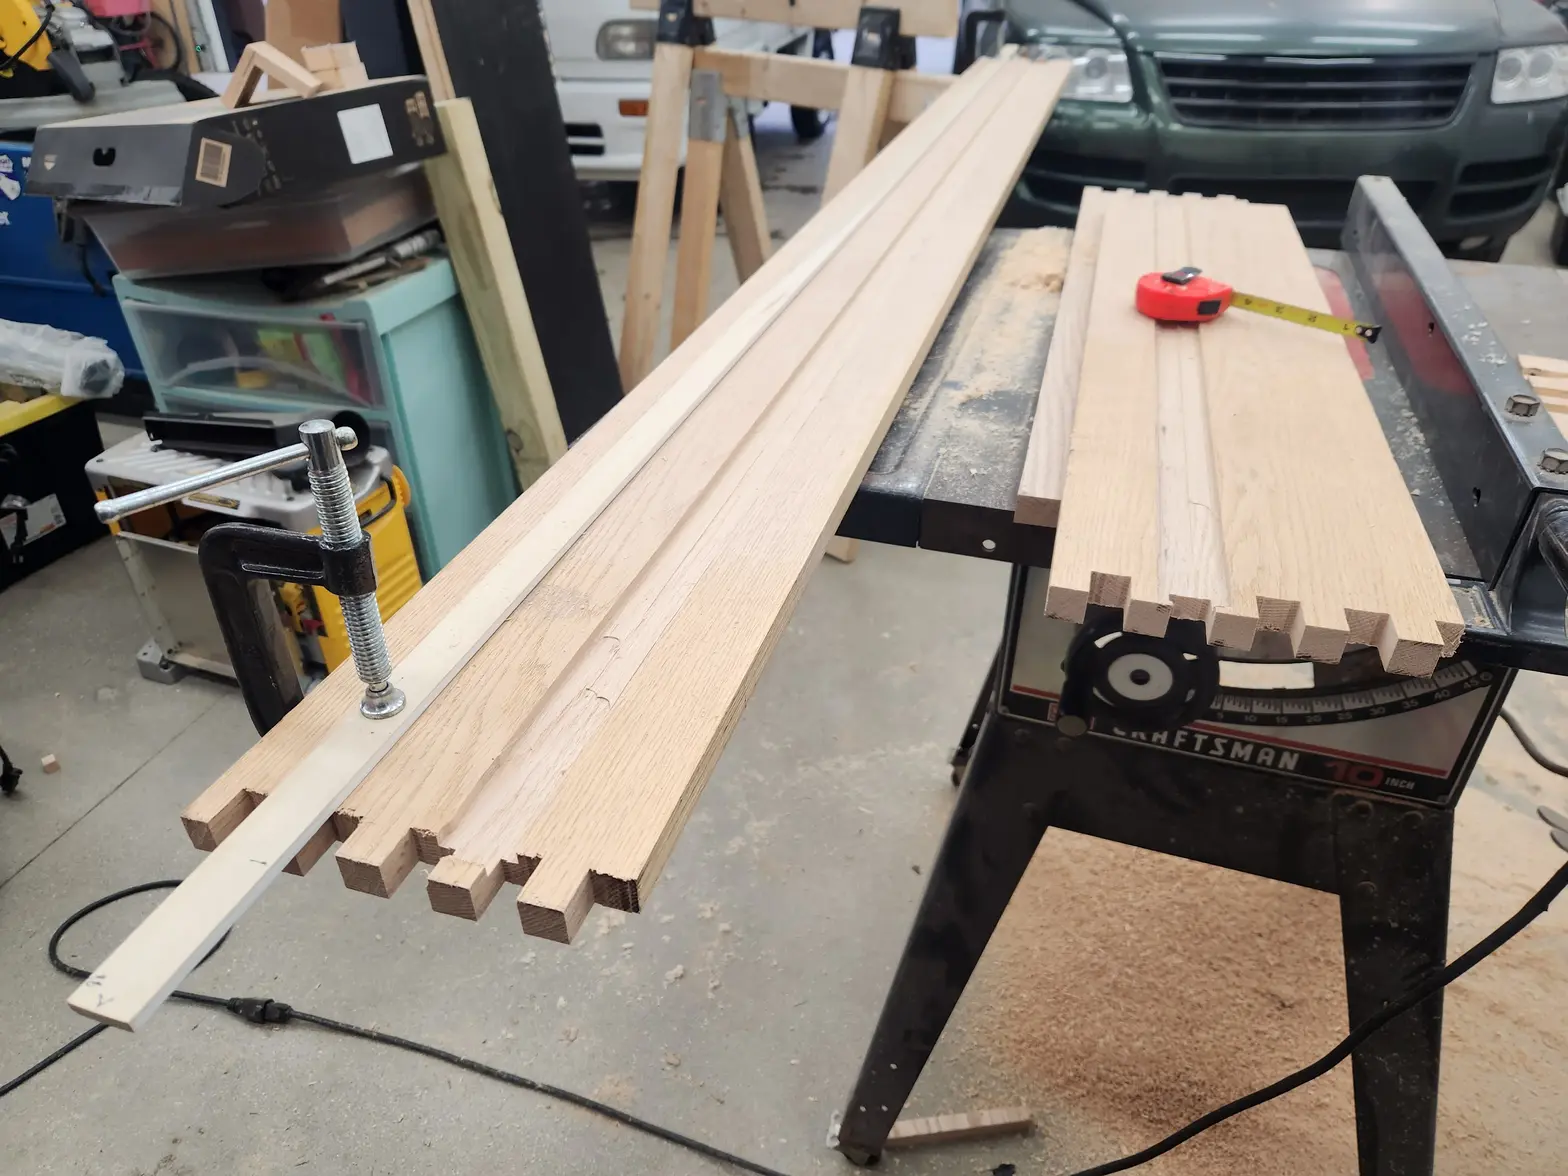
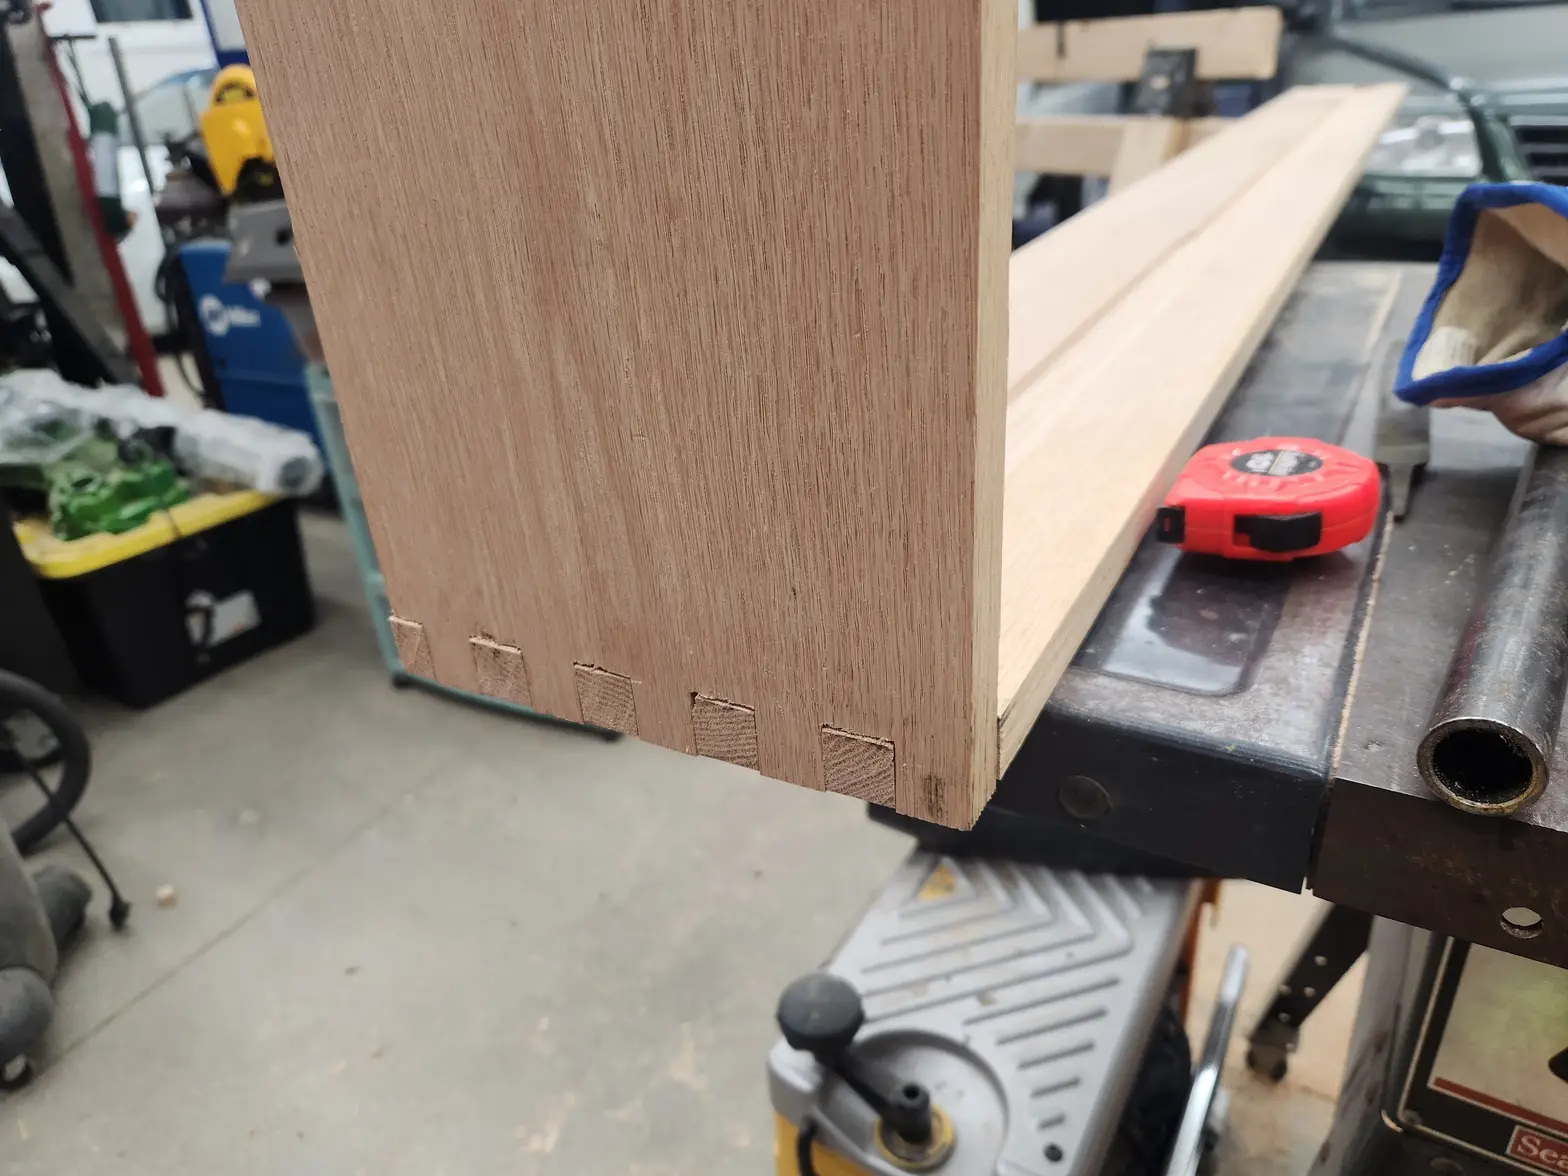
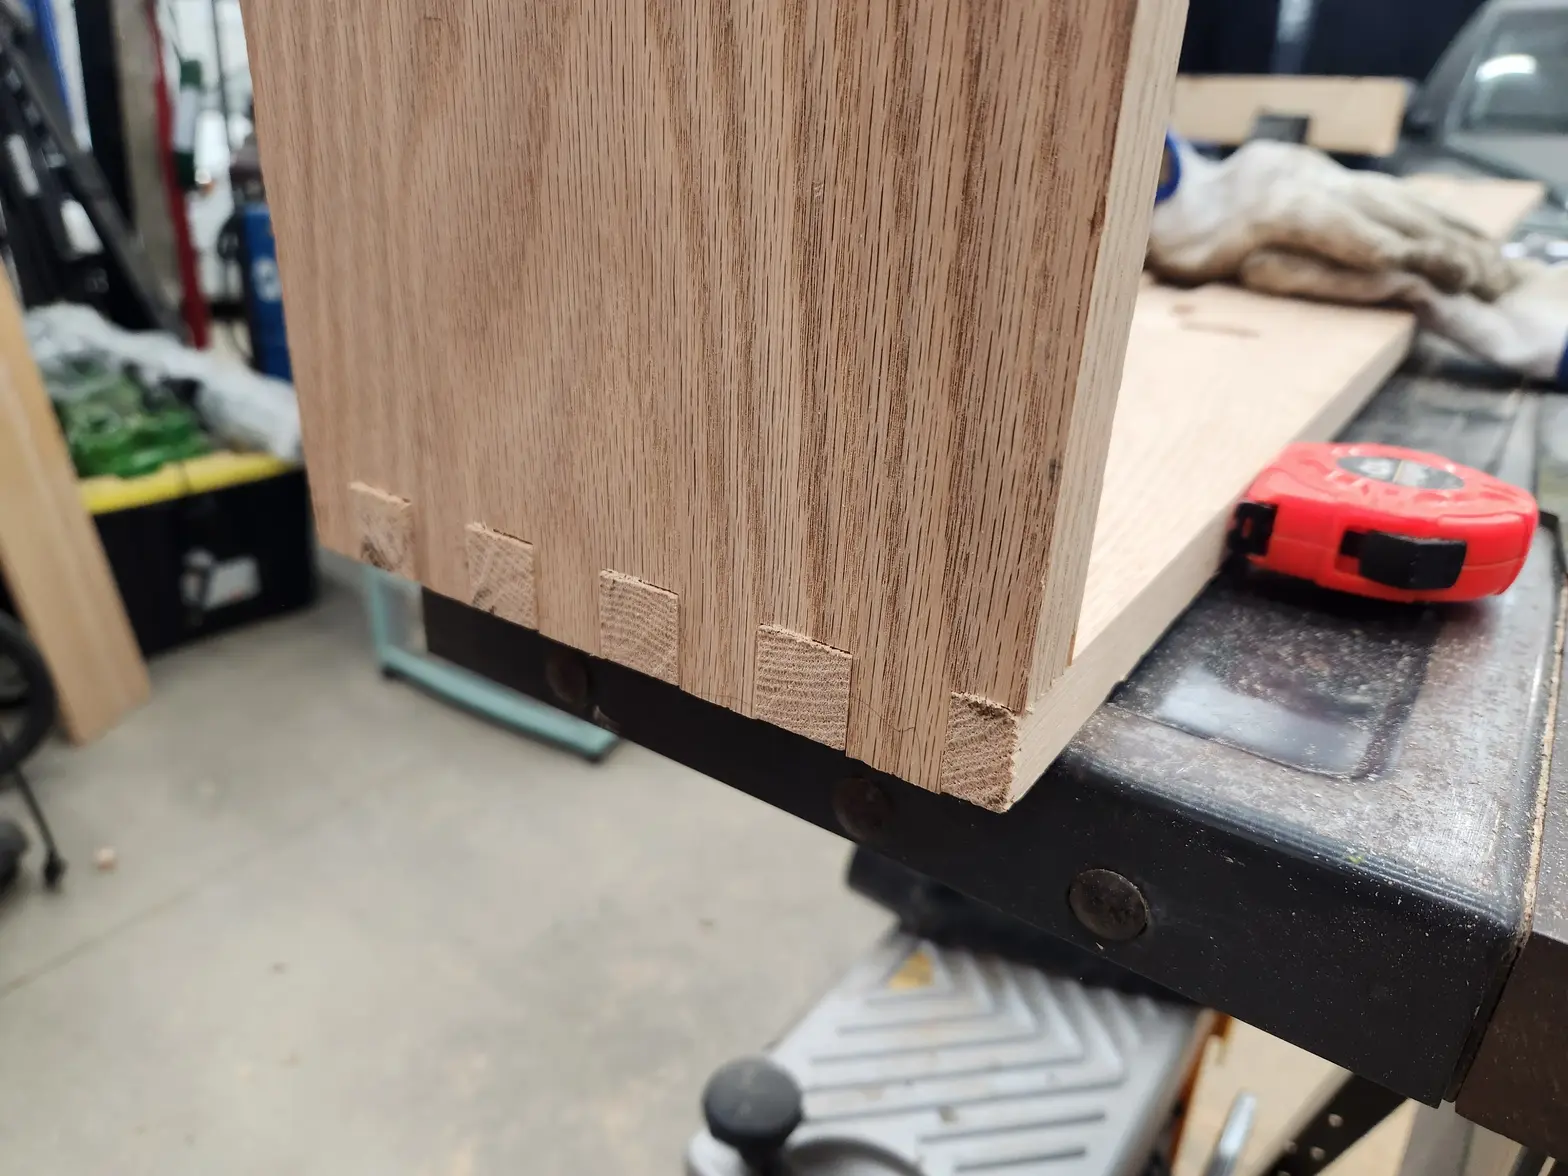
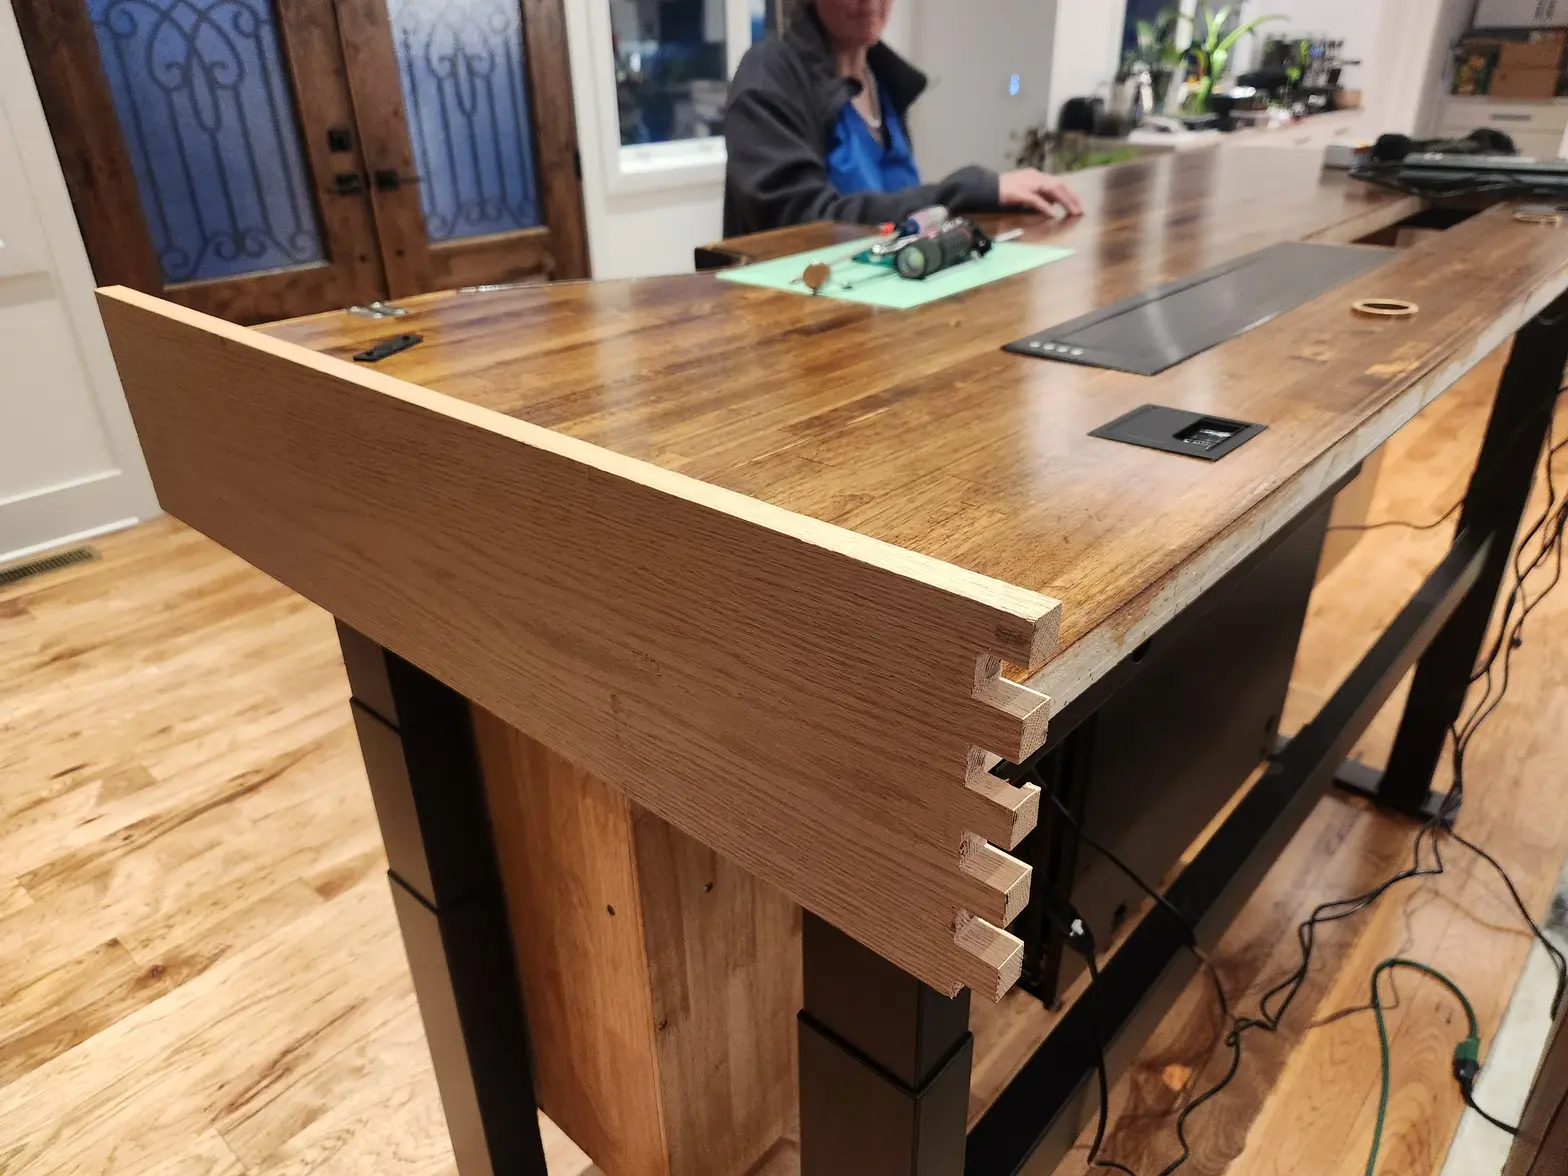
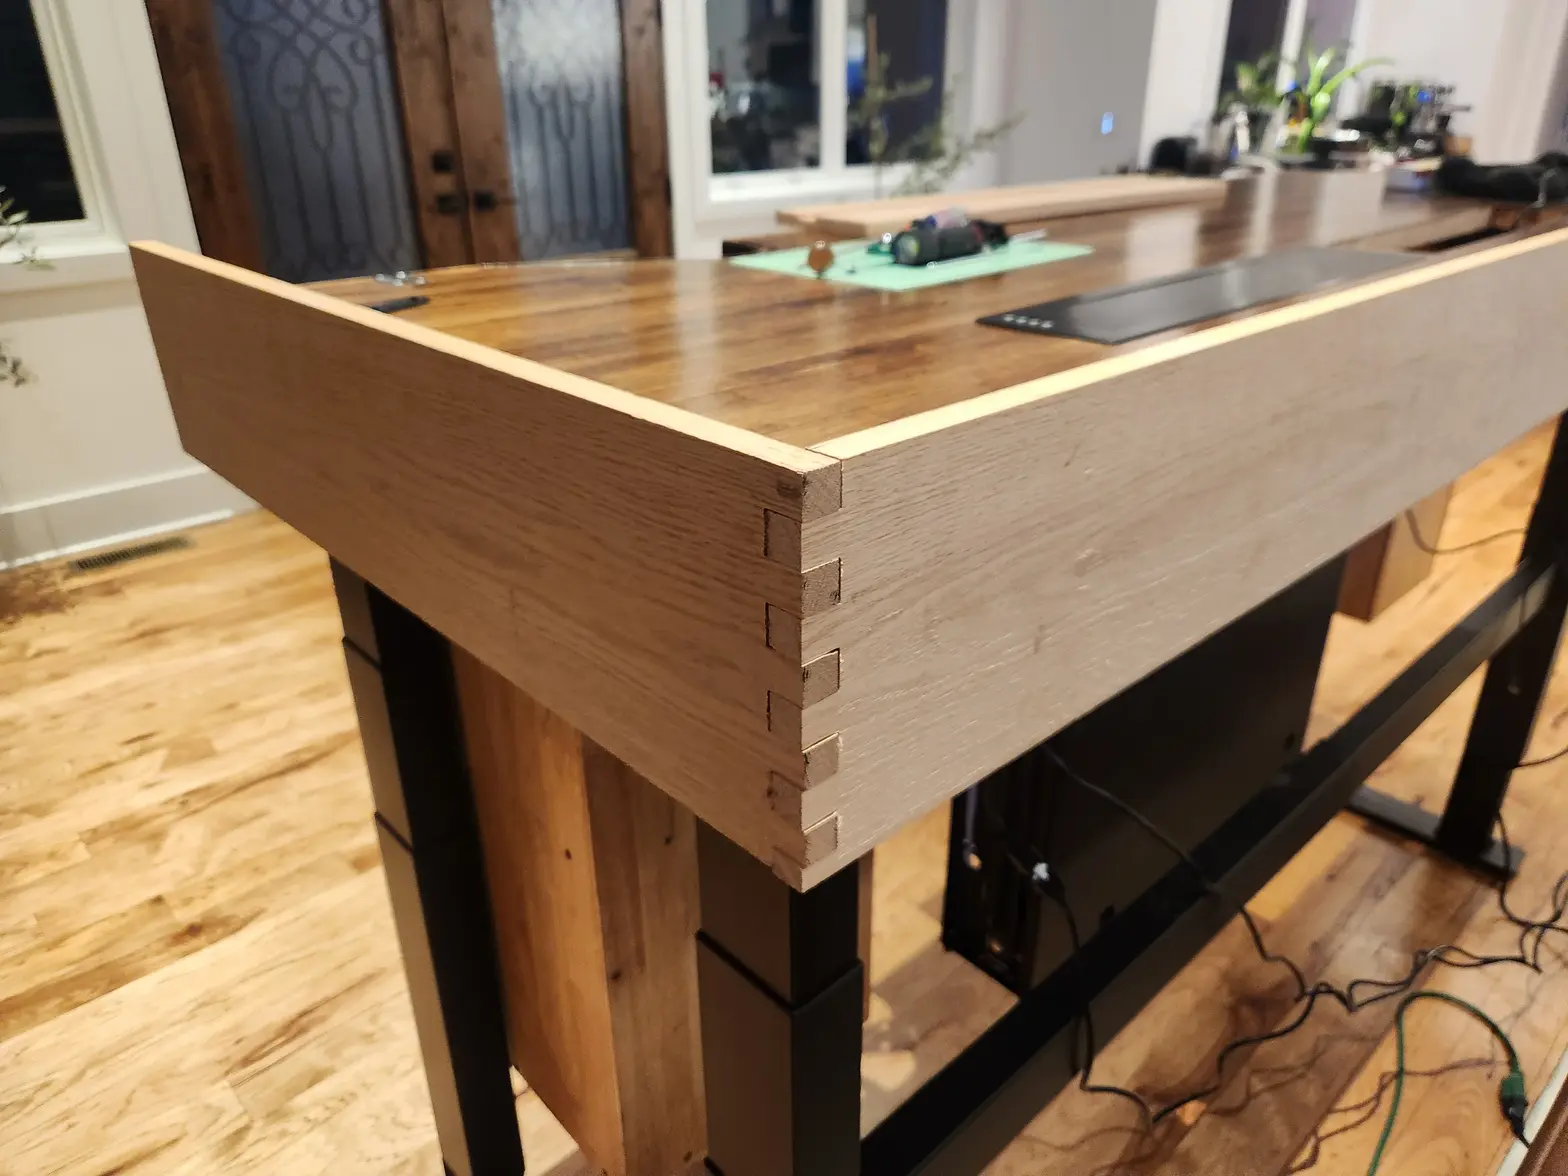
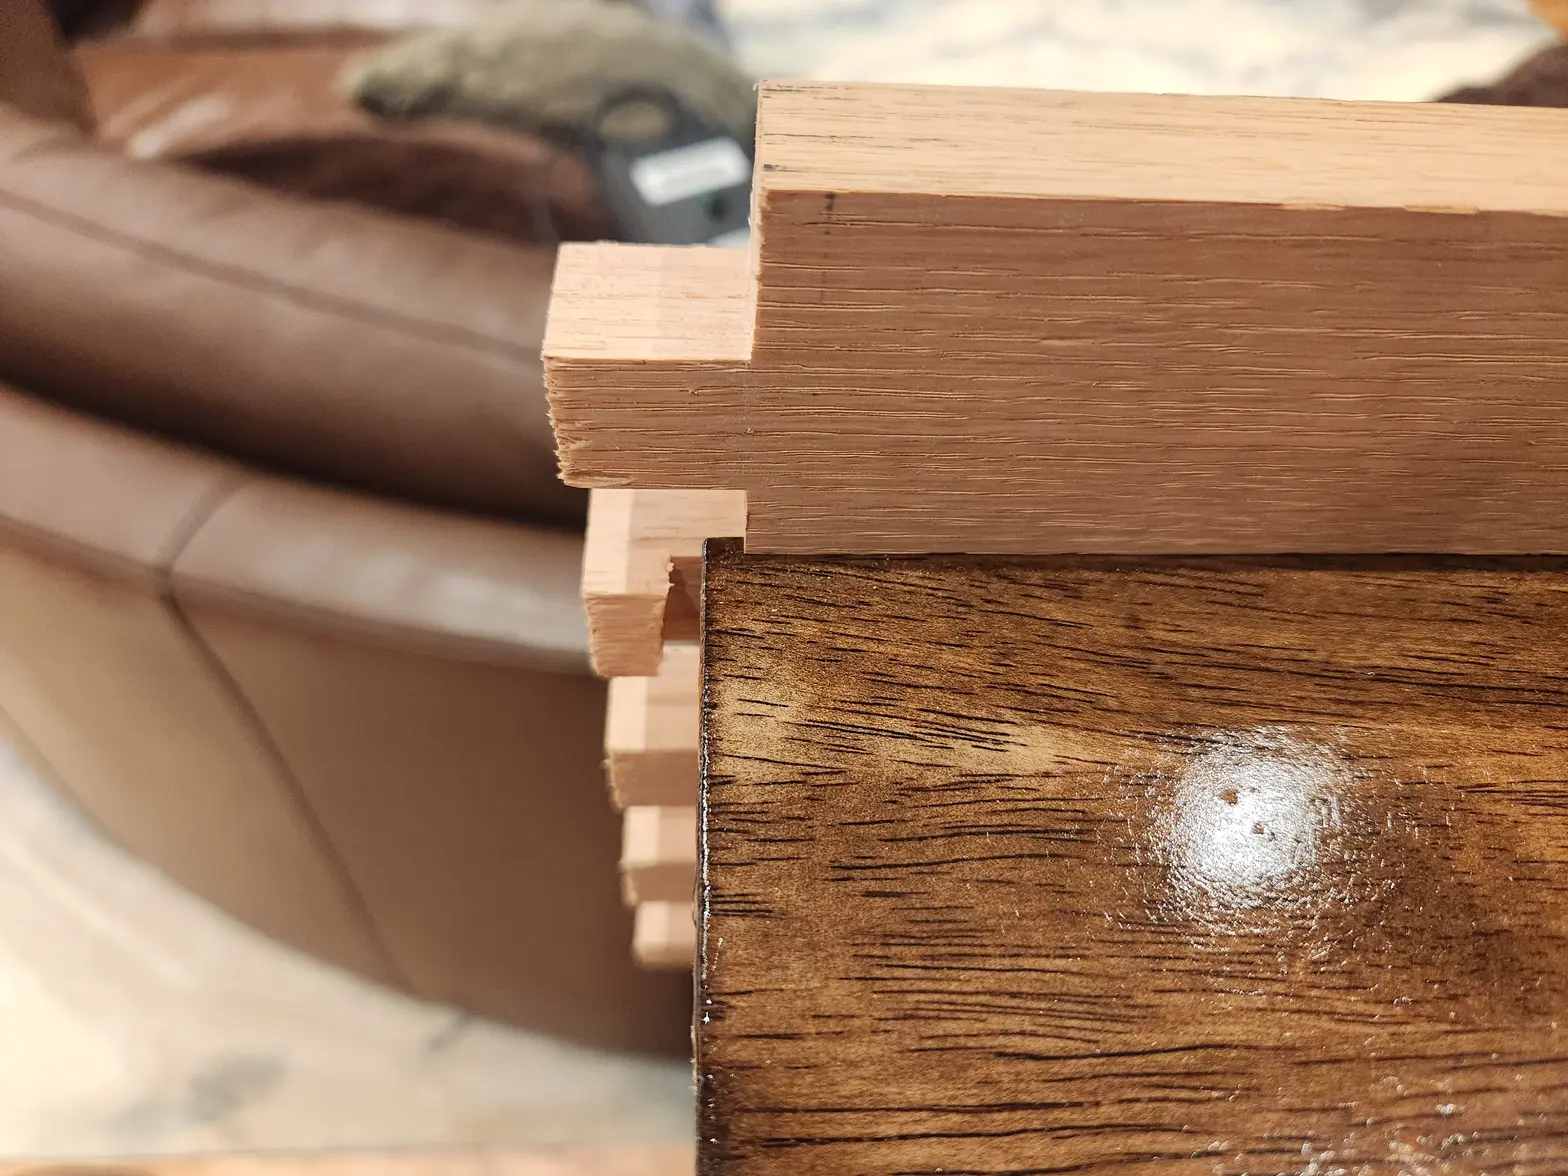
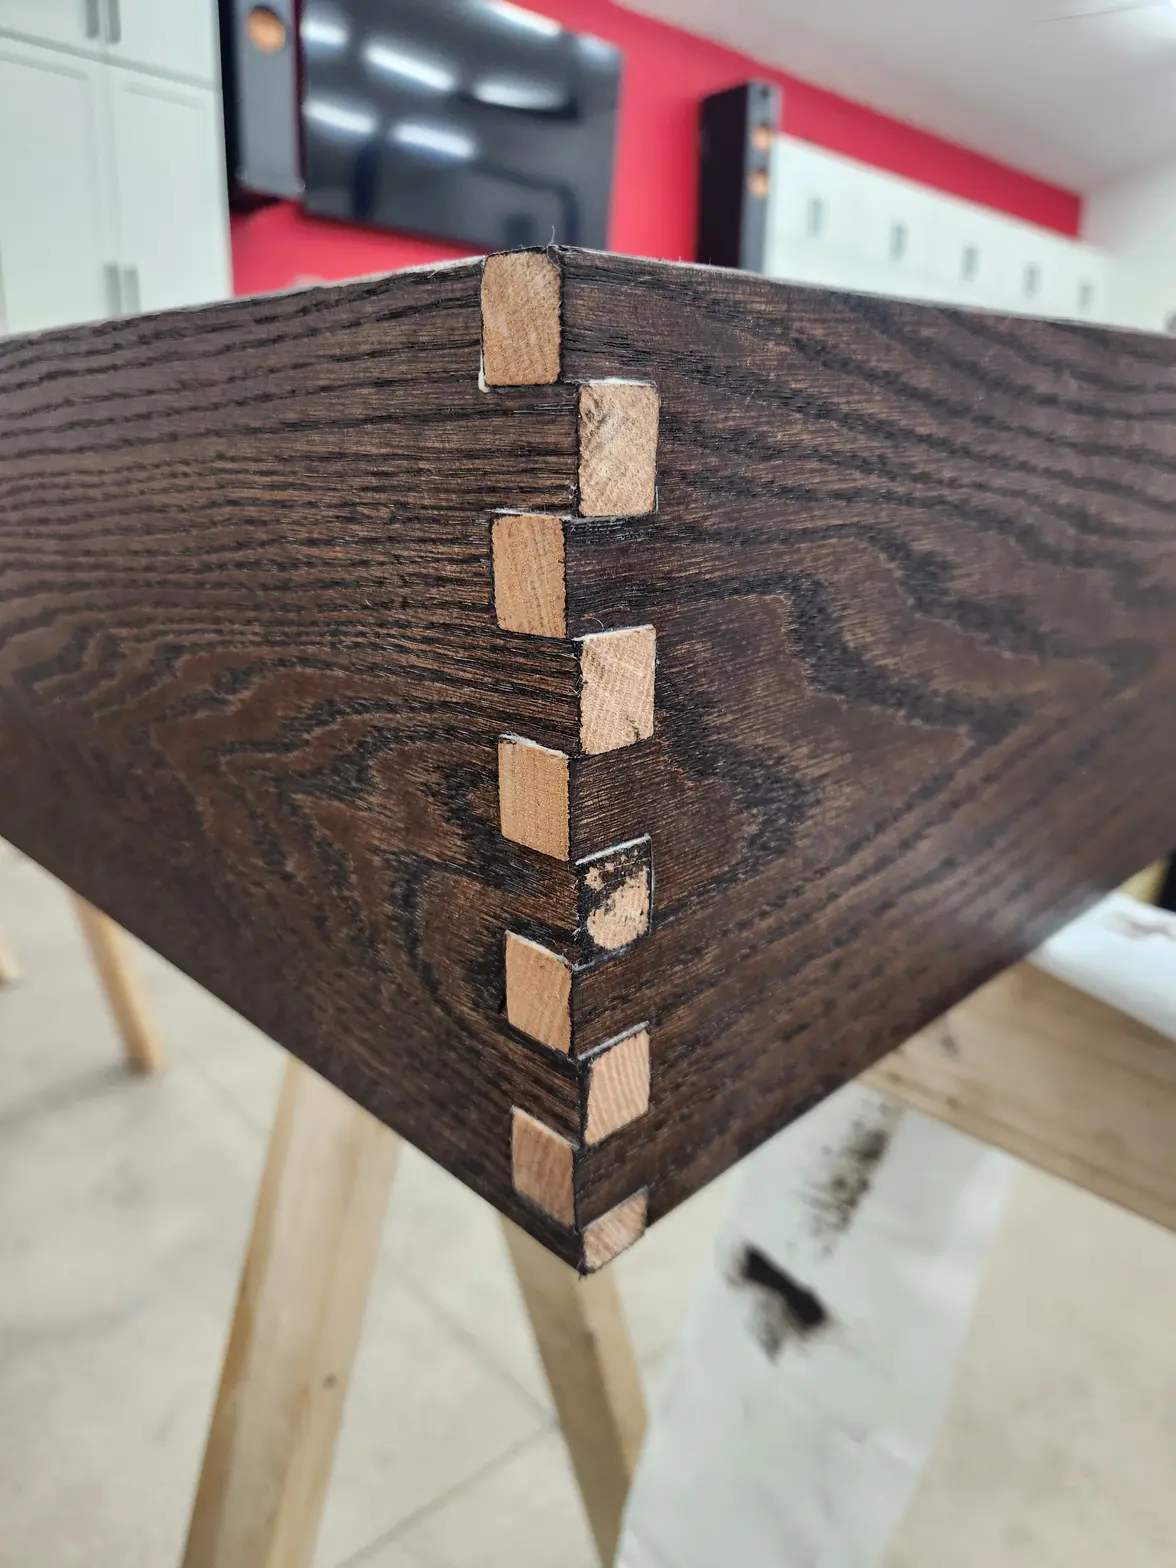
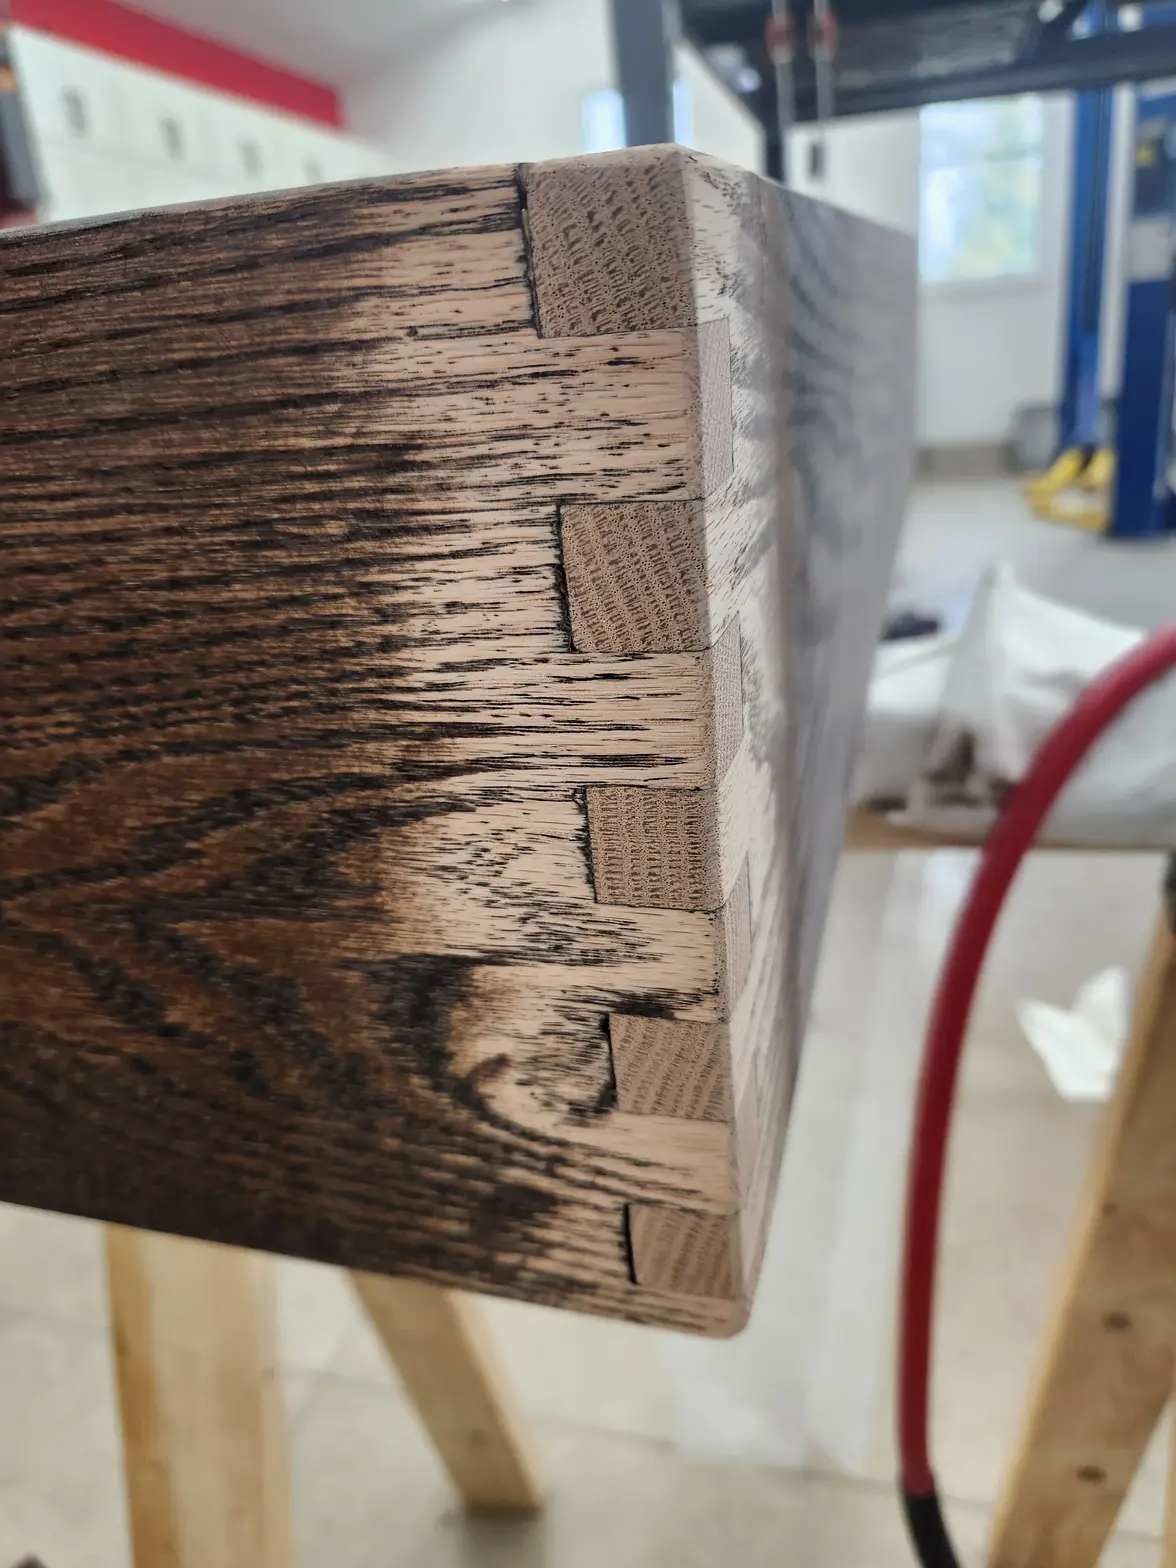
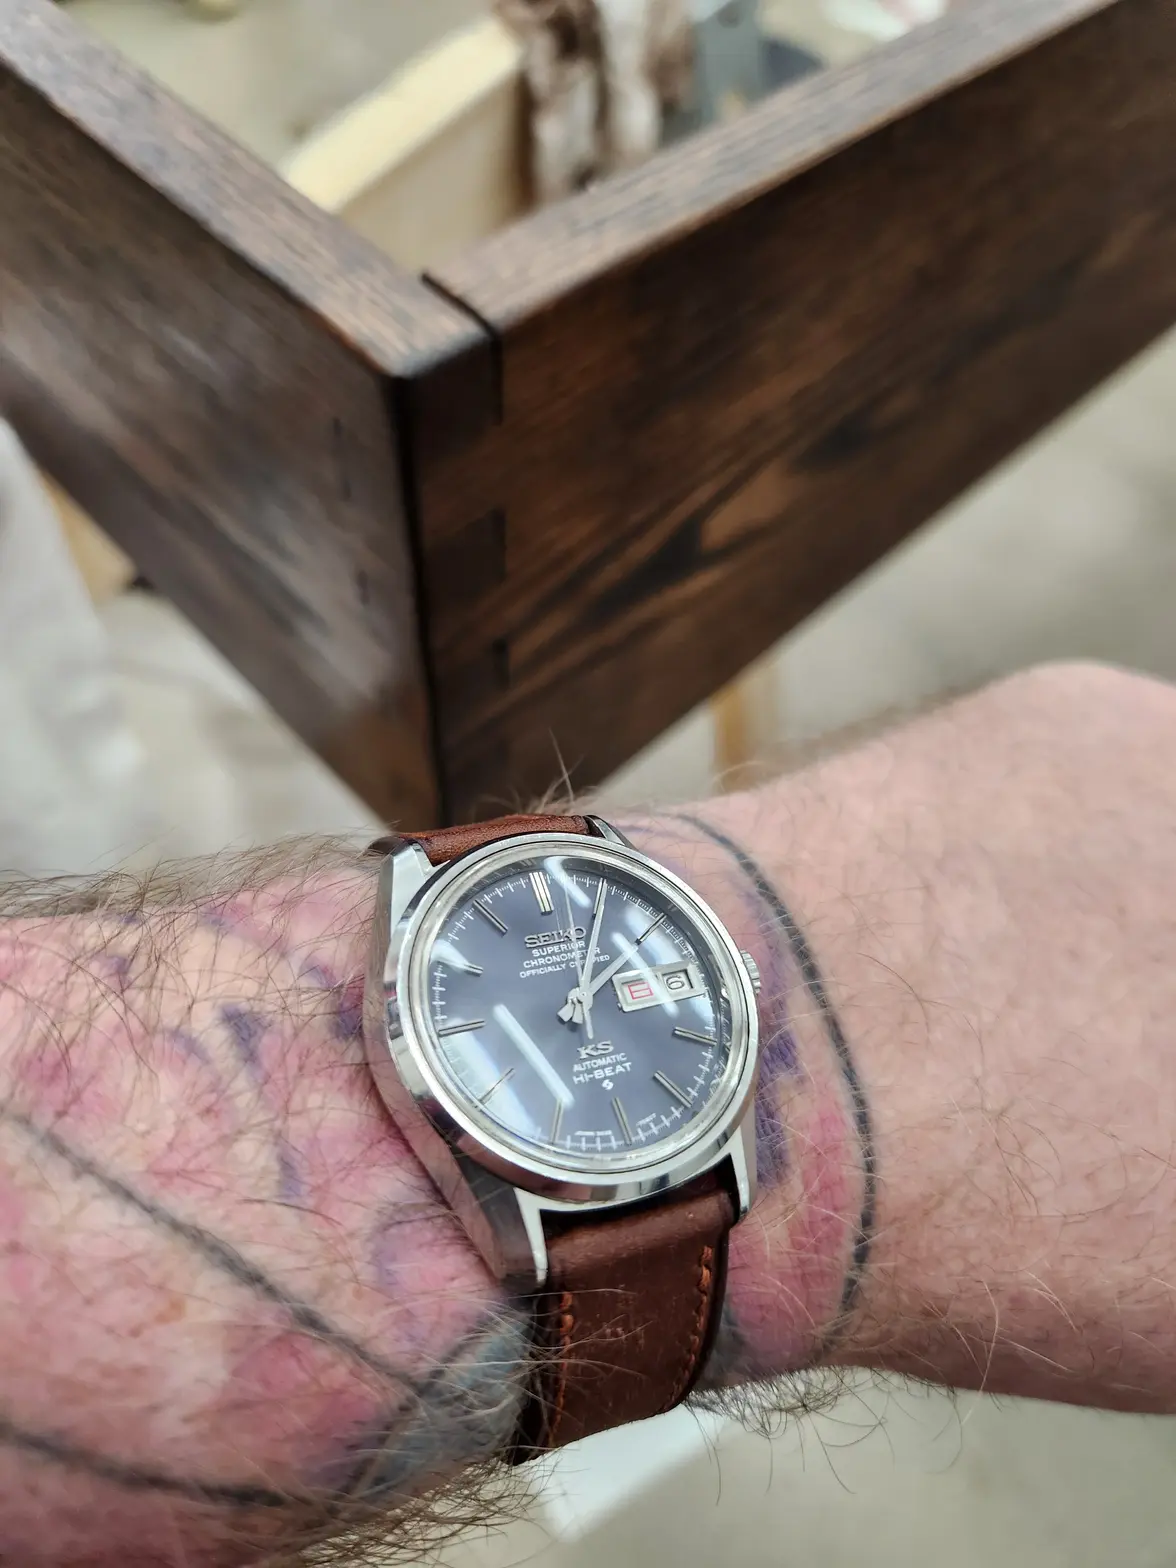
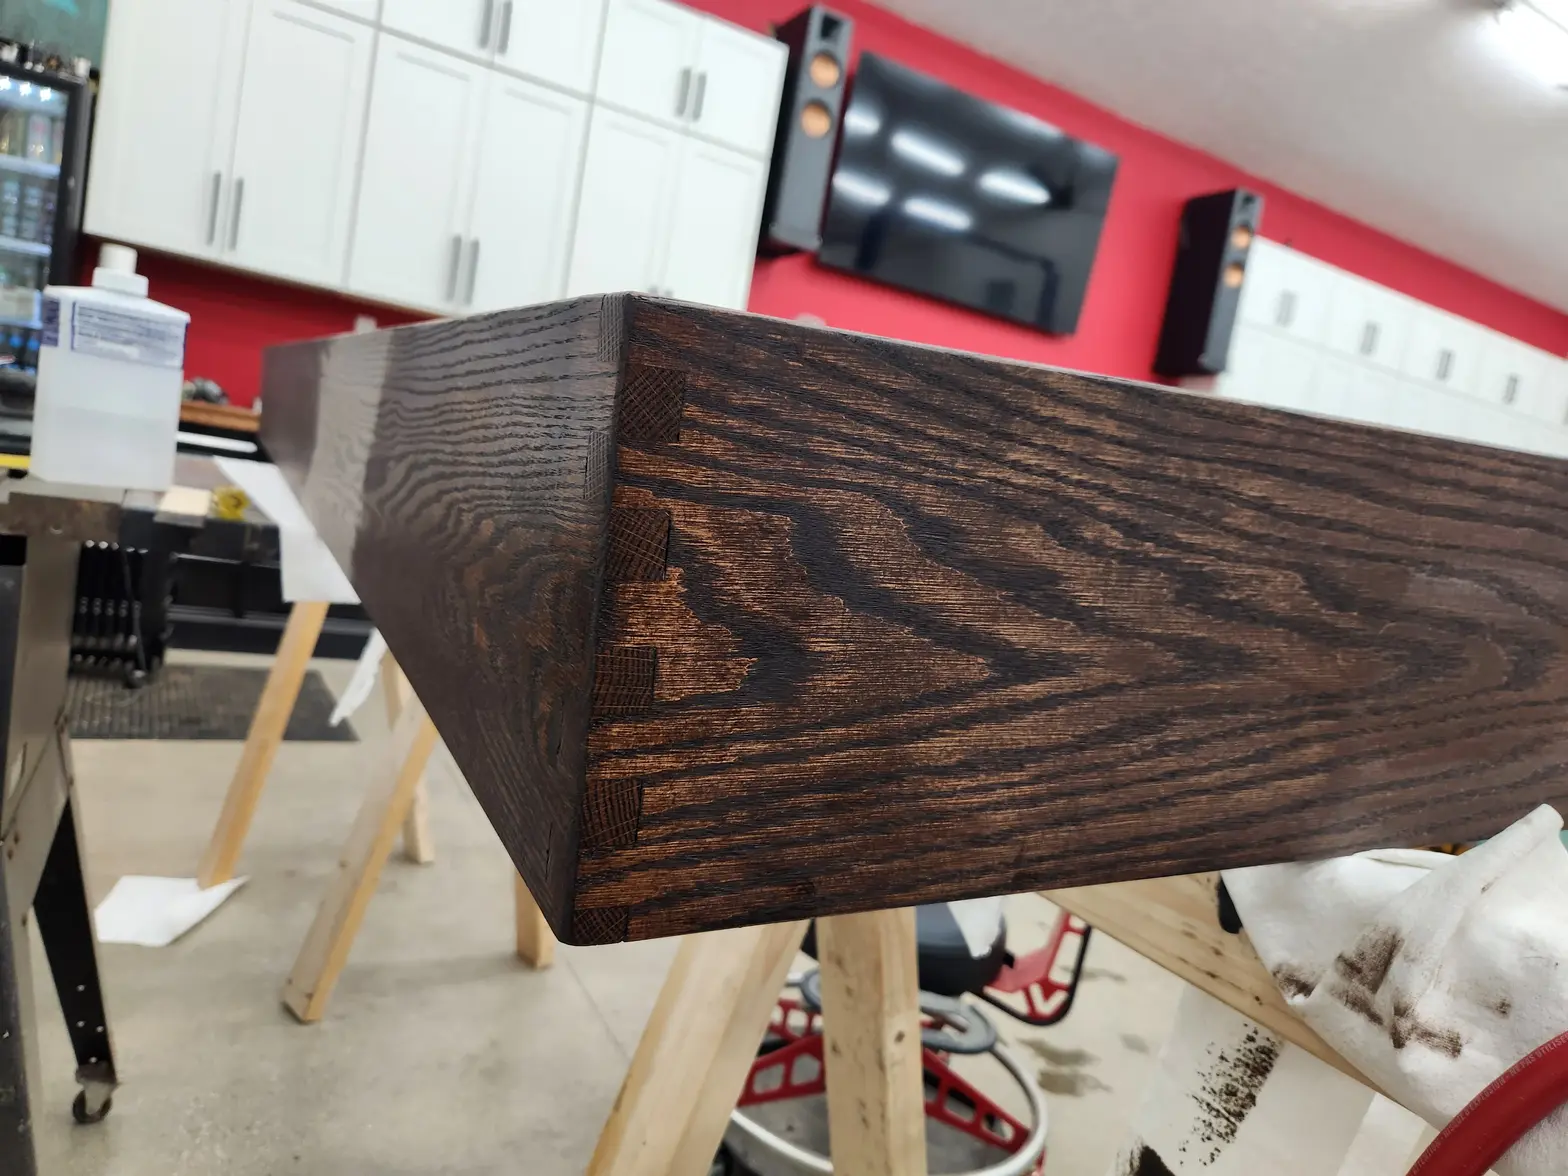
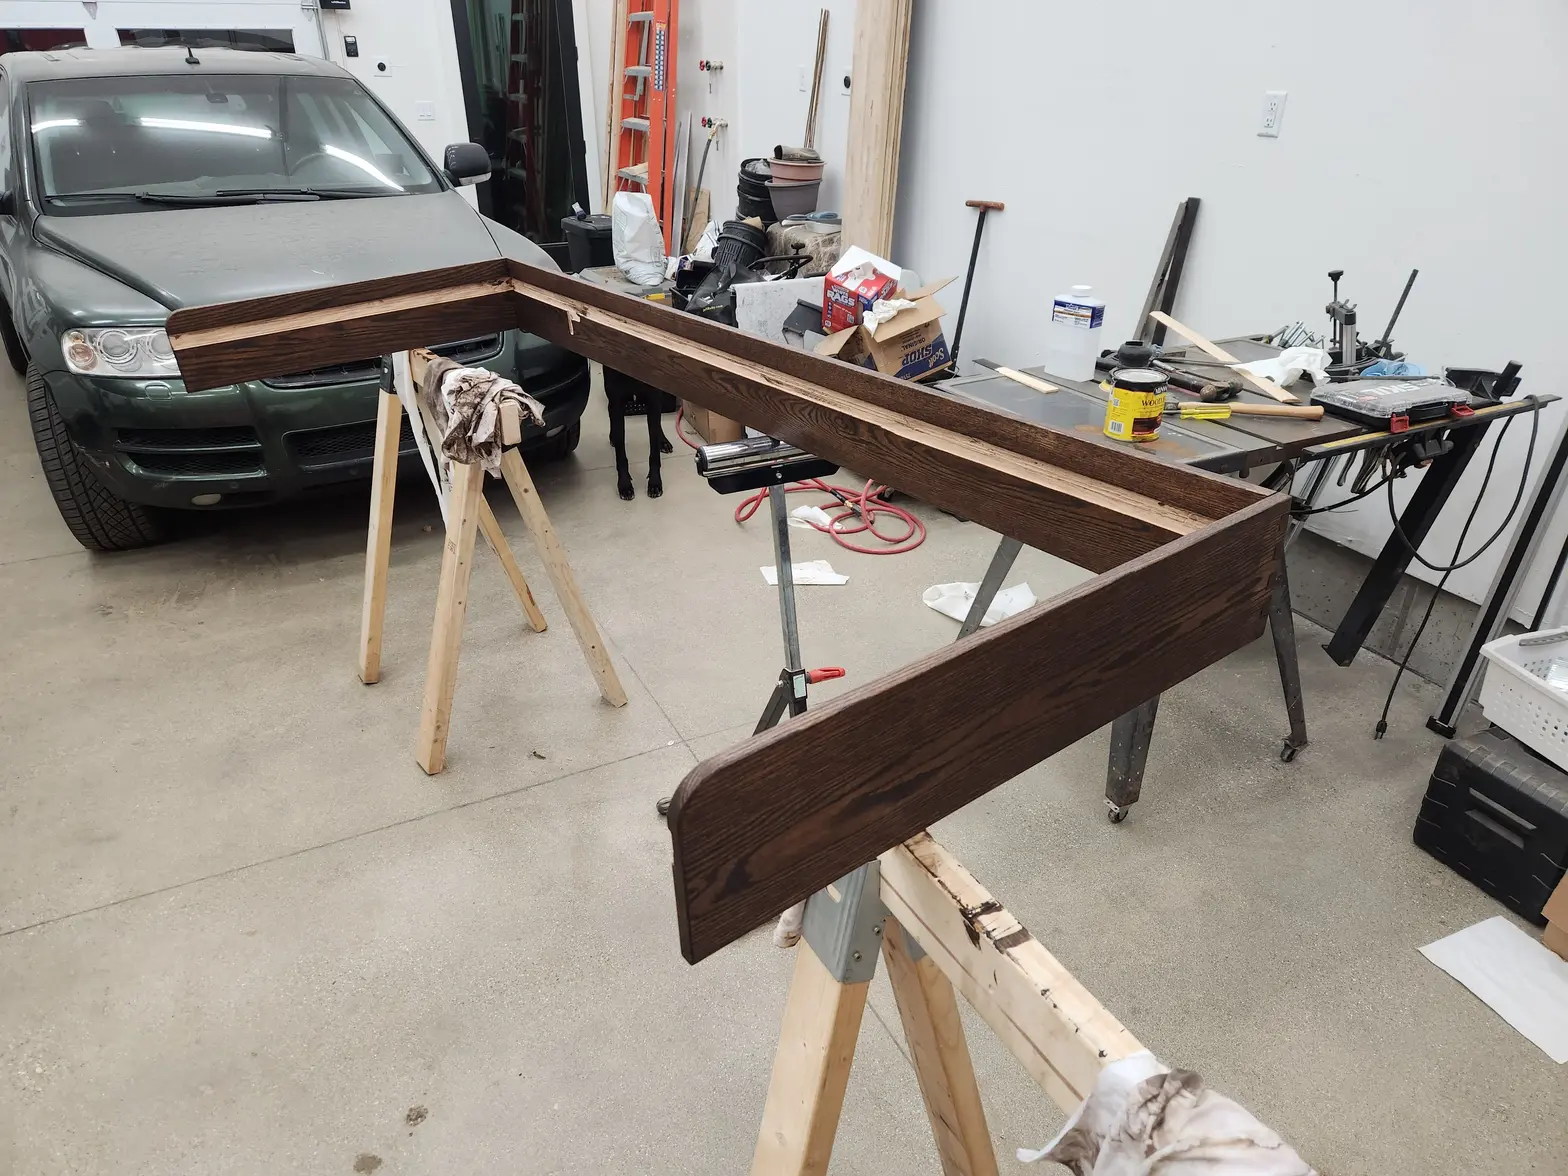
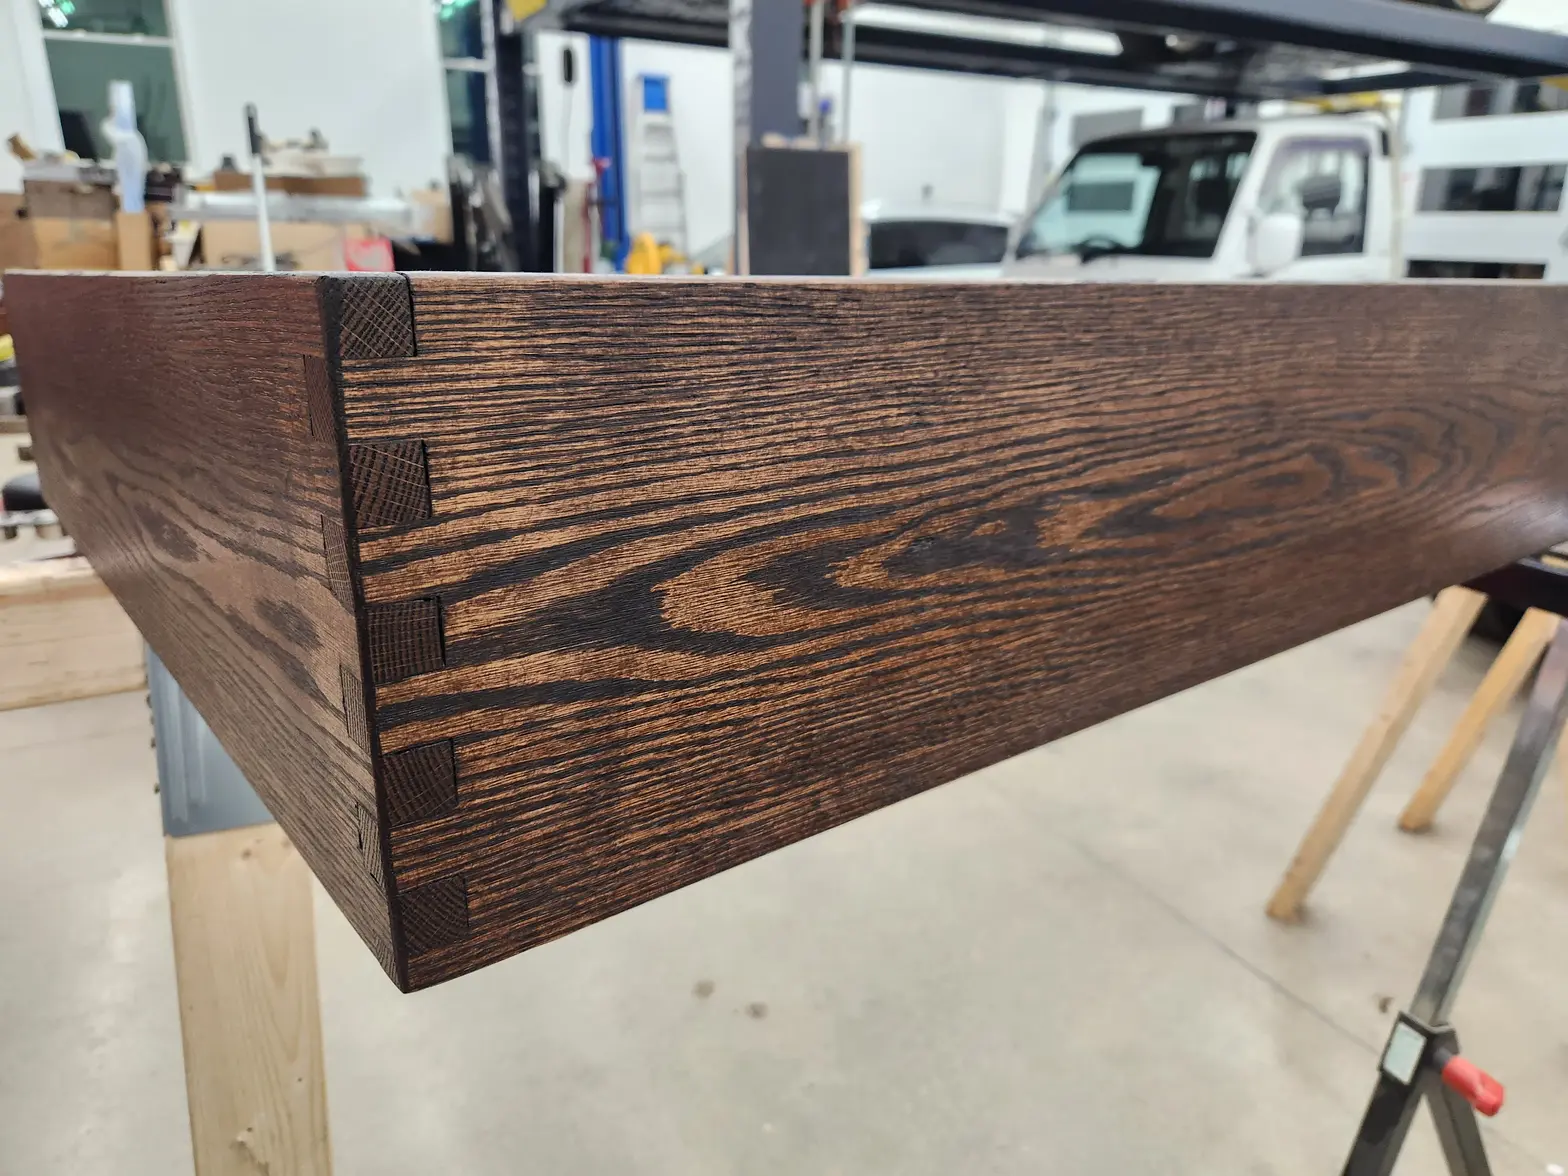
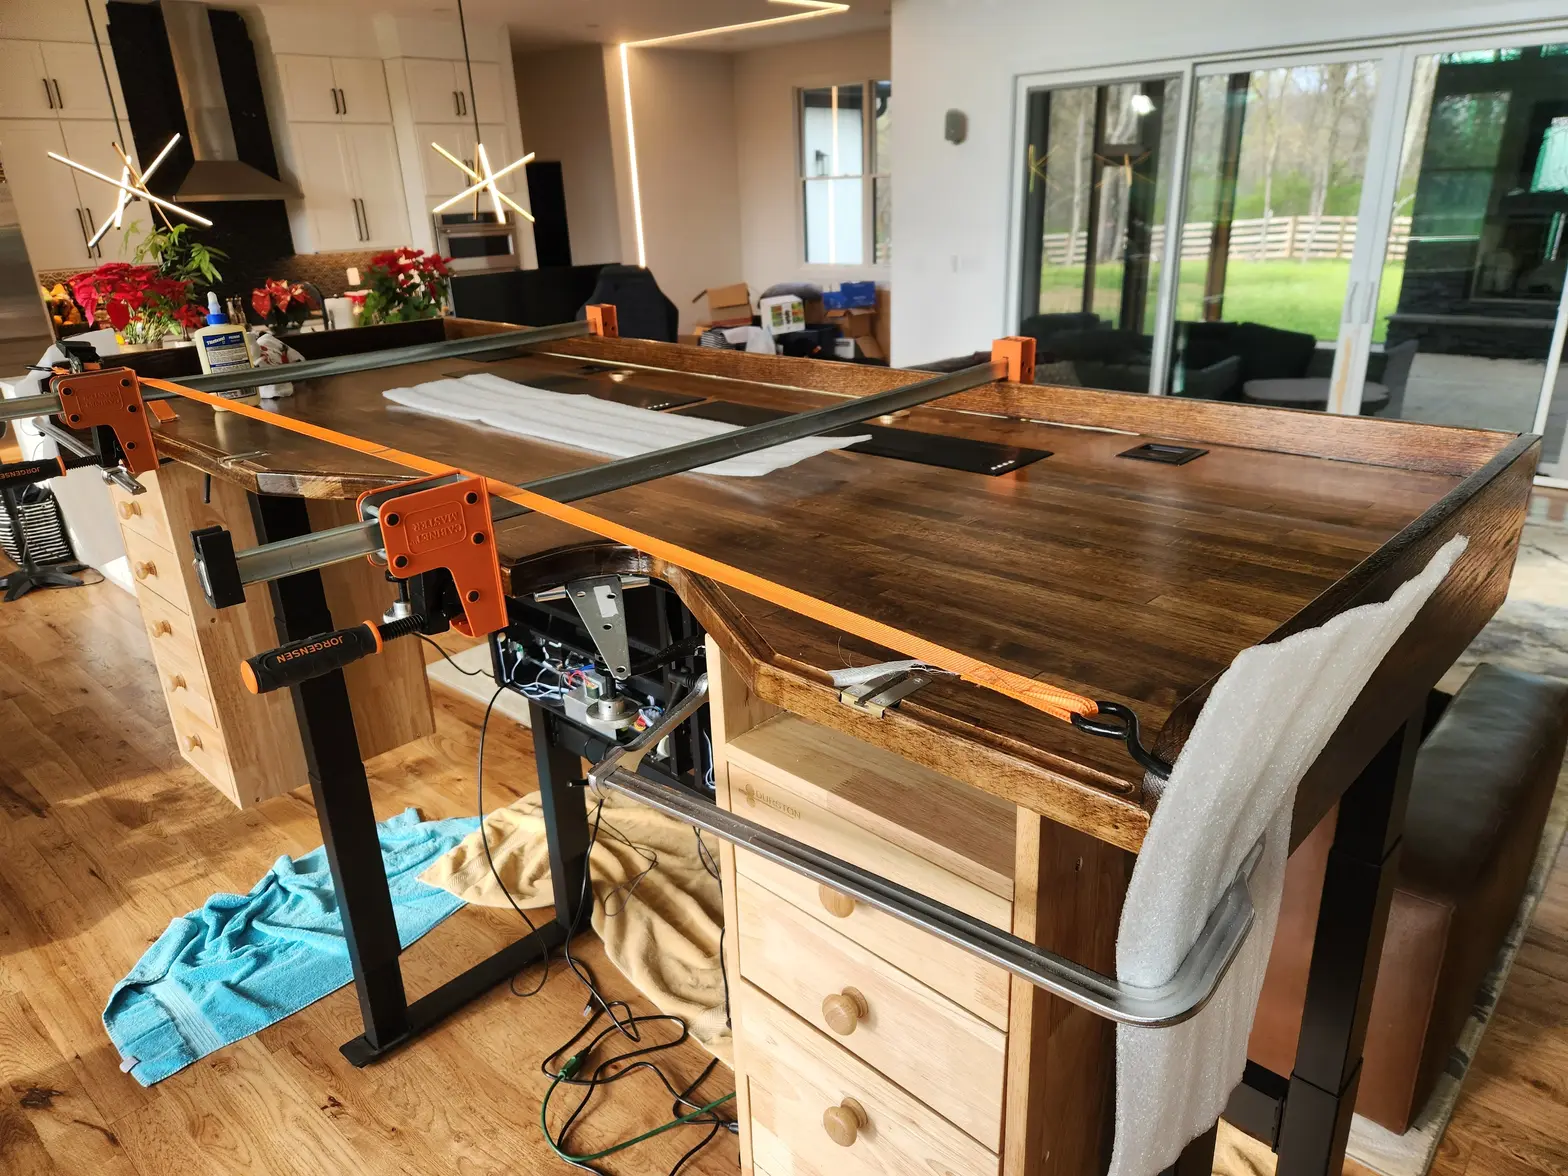
·Lets make a skirt for this benchtop. Im using my fathers hand me down Craftsman table saw and vintage carbide dado set purchased in the late 50s early 60s (I think). Did I mention Im not a carpenter? I am going to try to setup a box joint or finger joint for the skirt to maximize strength. and then I want to dado a slot in the skirt that hugs the benchtop from 3 side from both the top, bottom, and vertical surfaces. This will add a lot of stiffness into this kinda floppy top. When I raise and lower the desk as it sits, I can see deflection caused the weight of the cabinets. This would only get worse after I add all of my tools into the drawers. Pictured is my very first ever box joint I have made using a homebrew box joint jig (thanks university of YouTube carpentry)
samweldspoorly
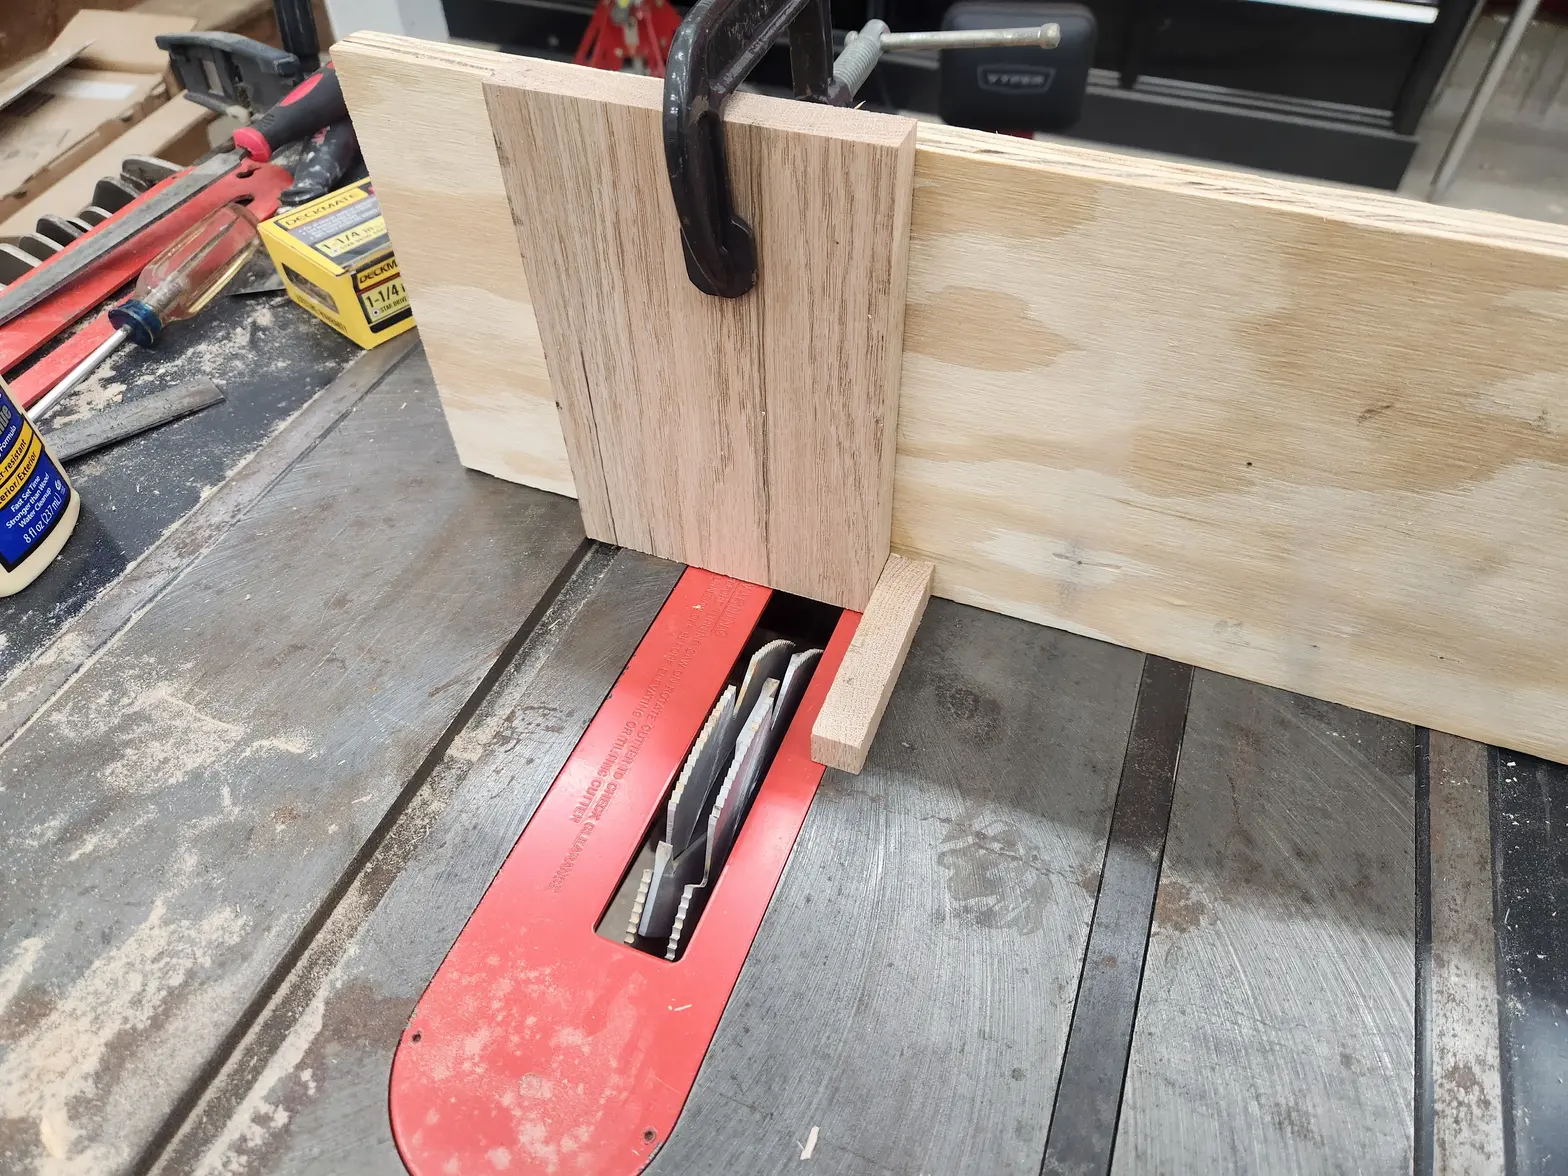
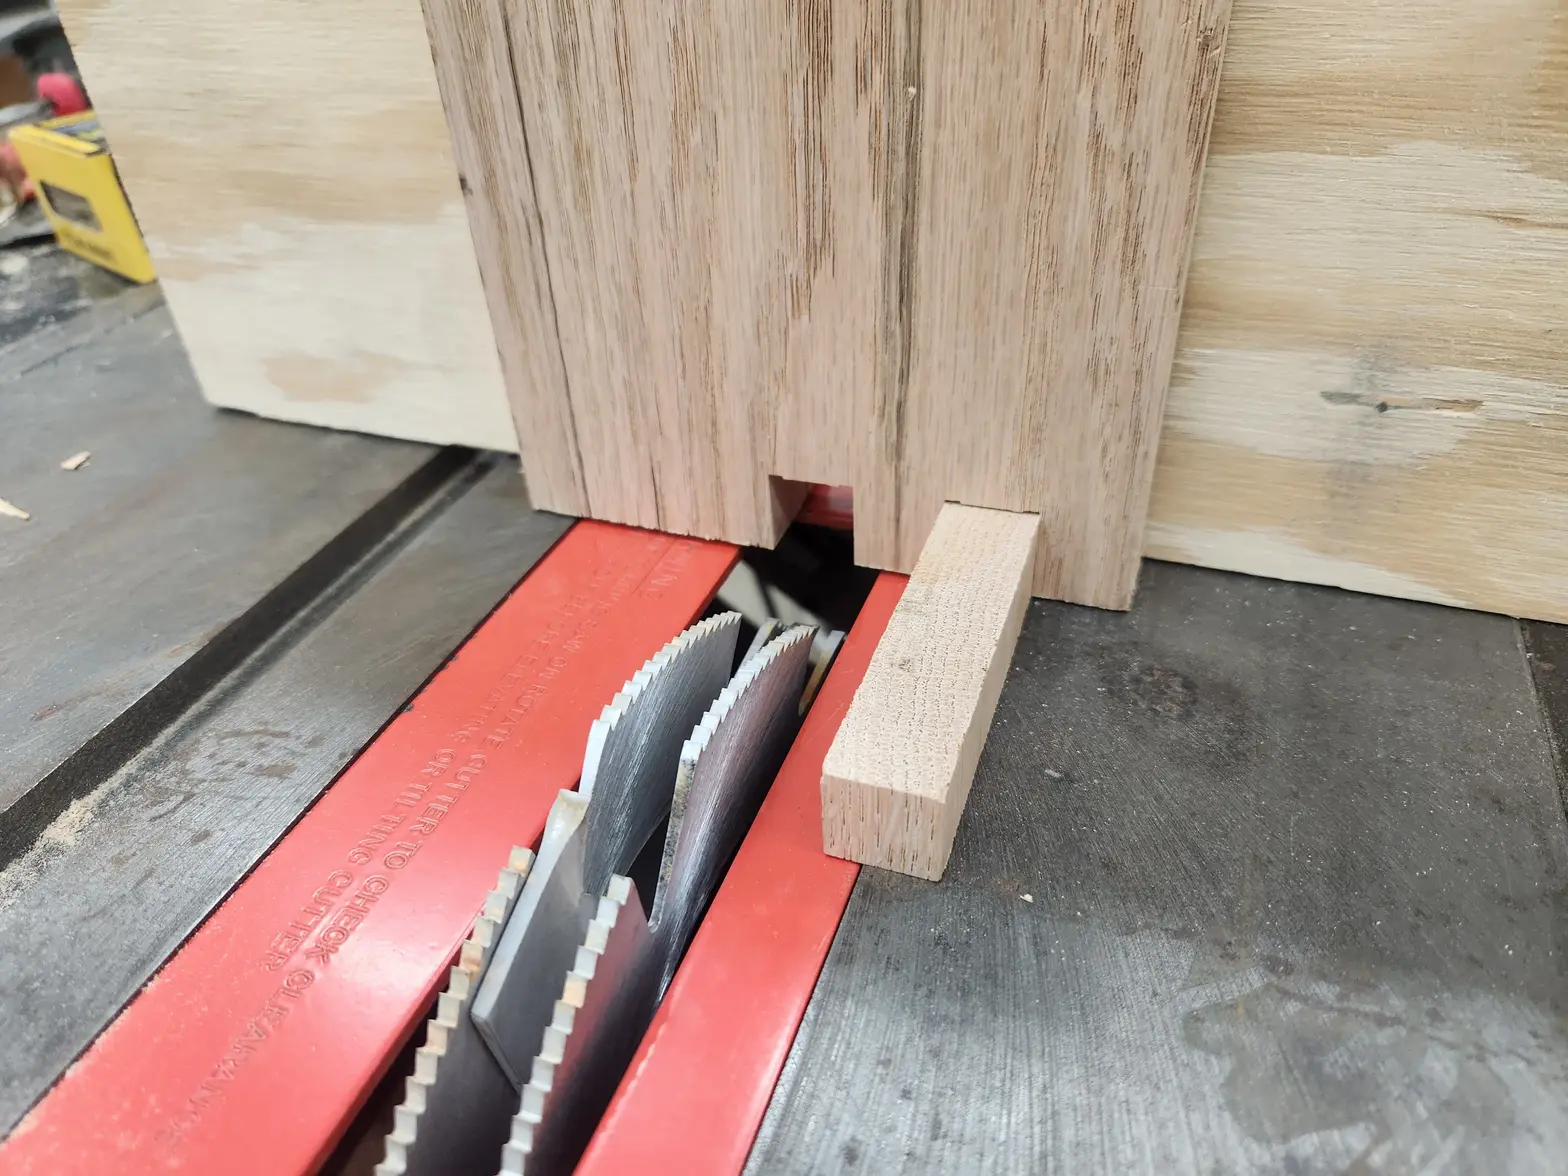
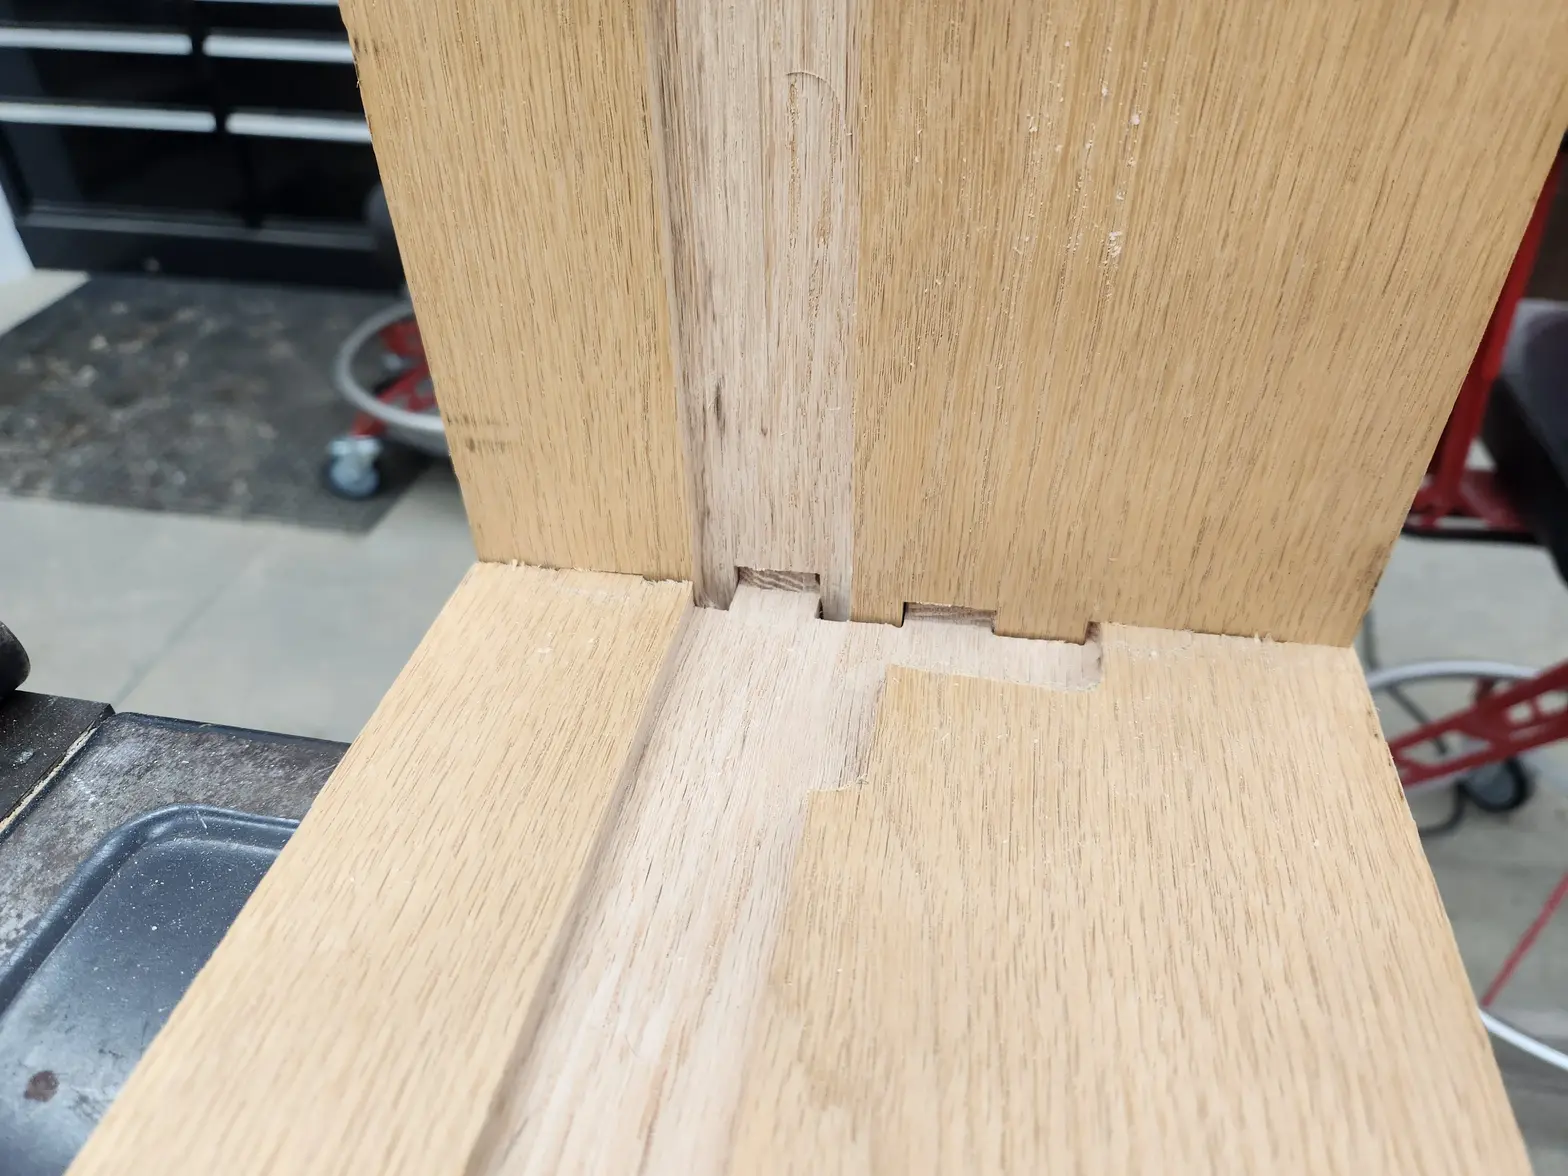
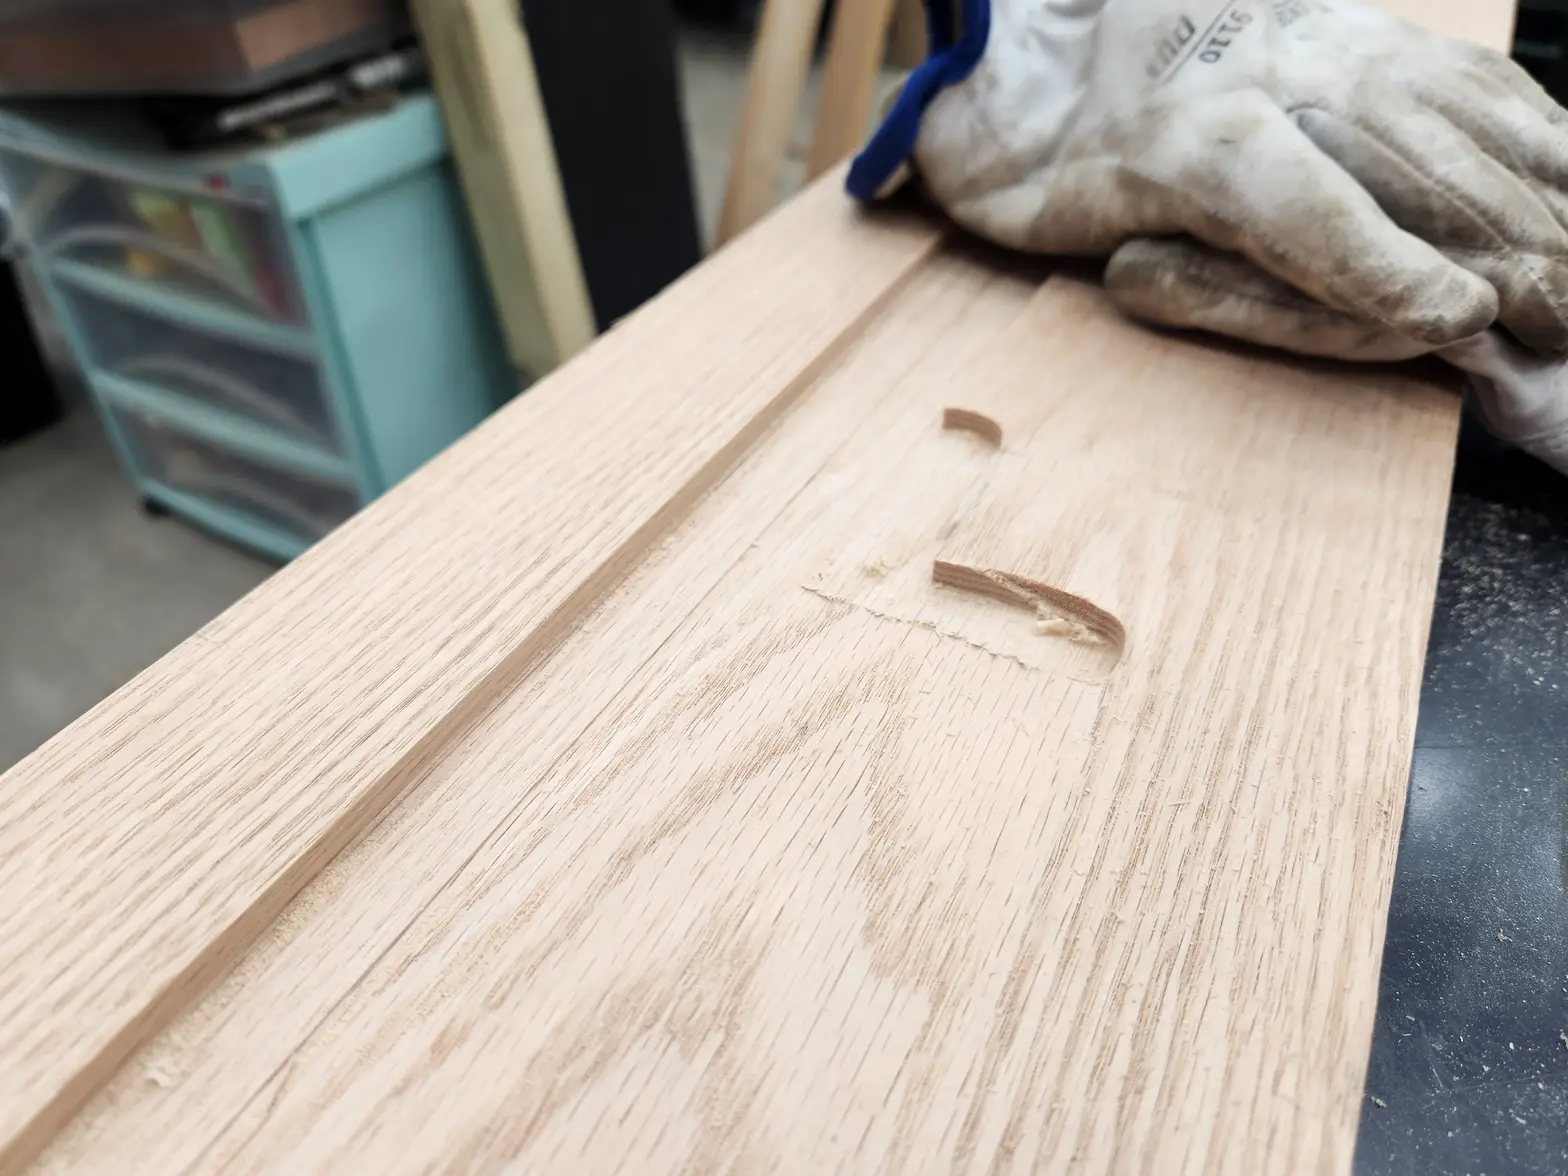
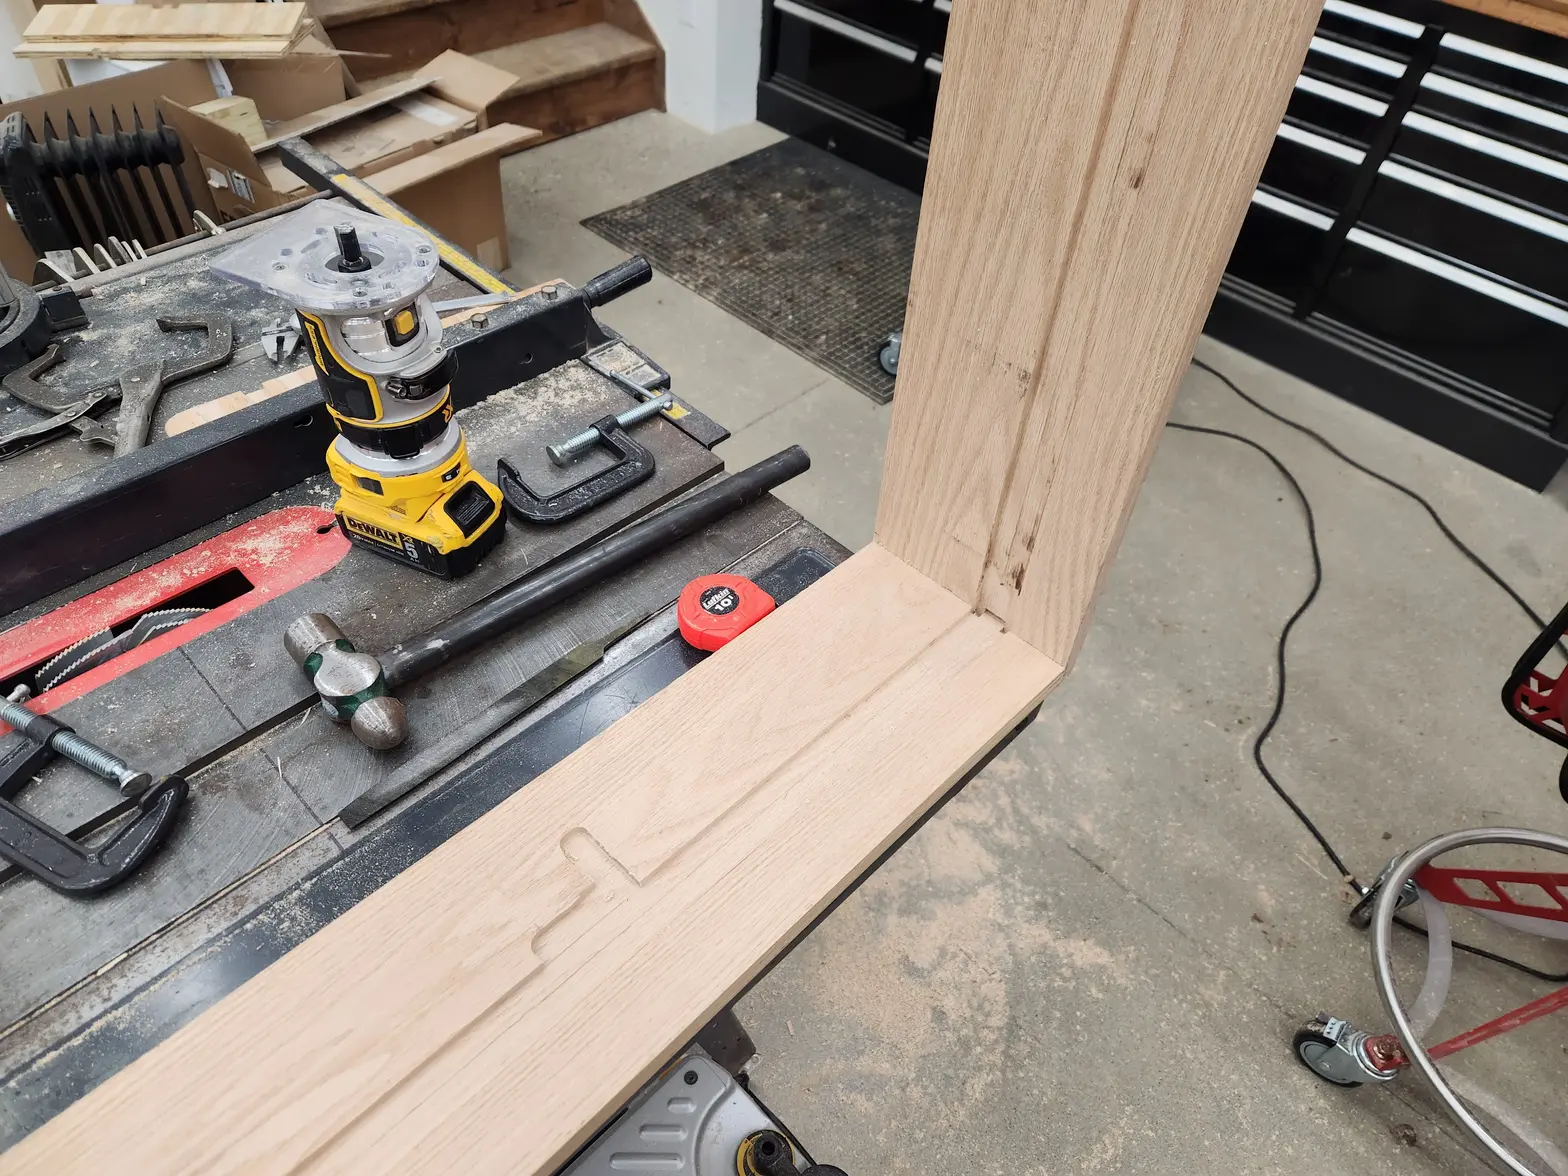
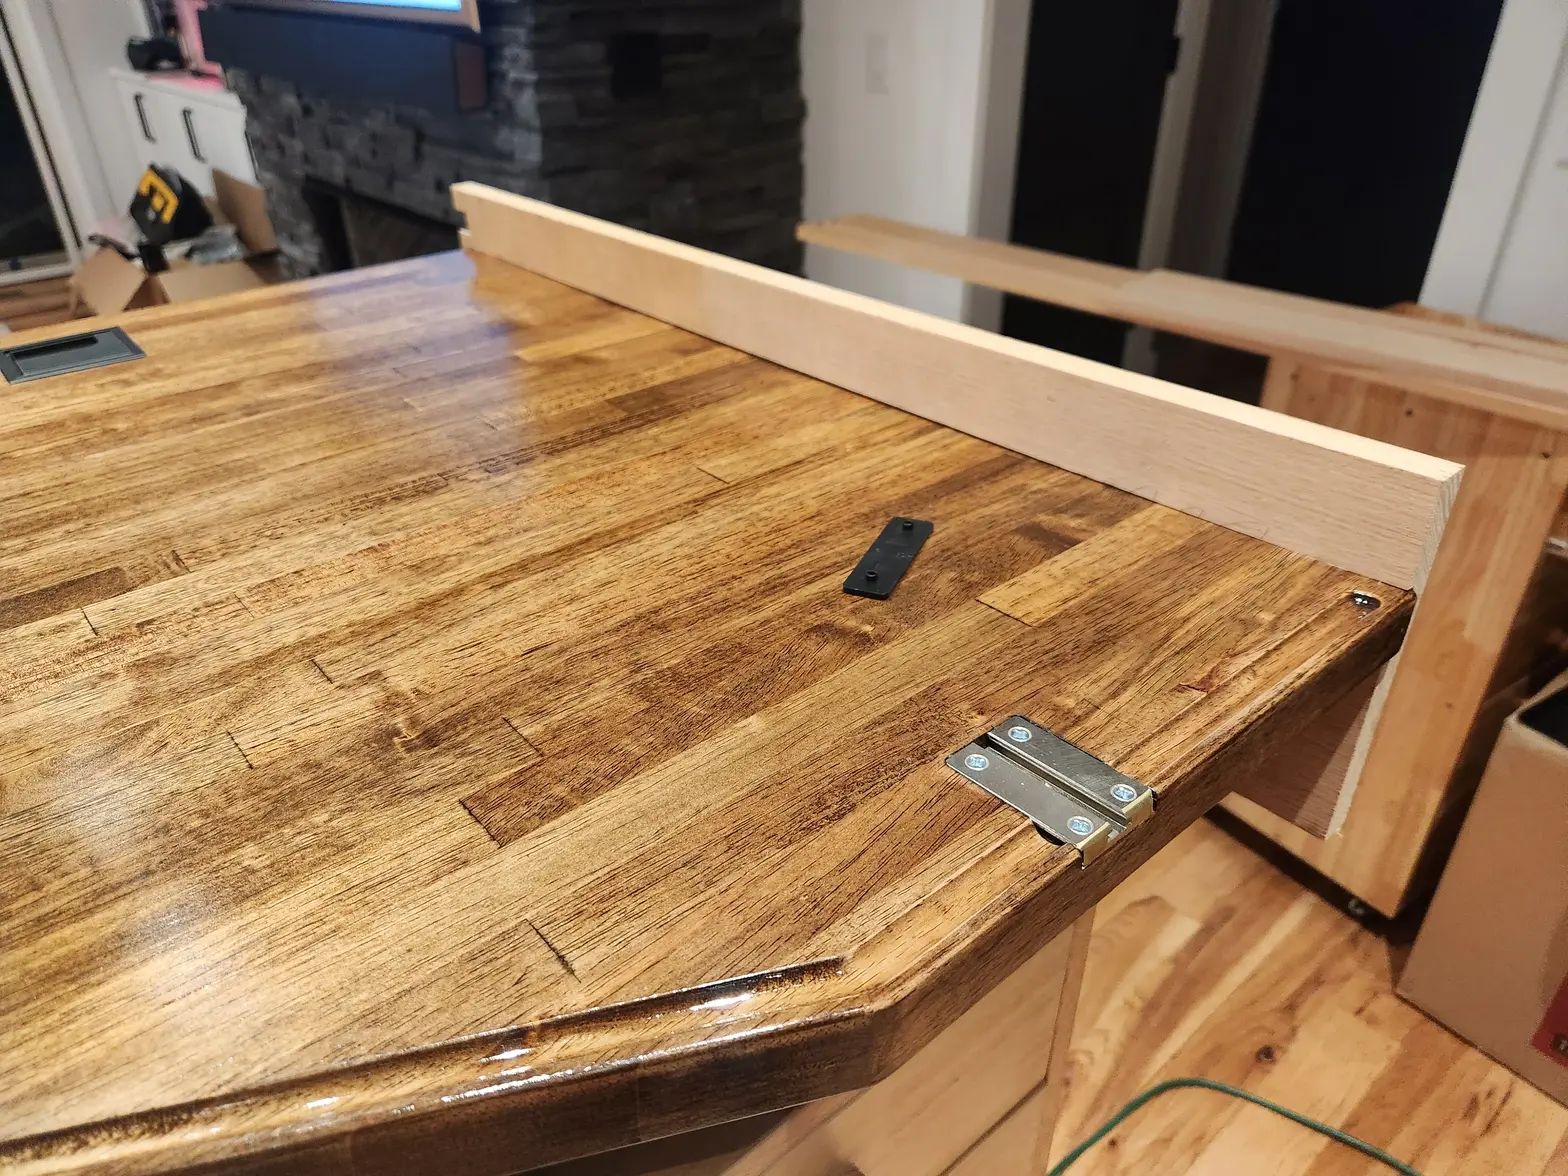
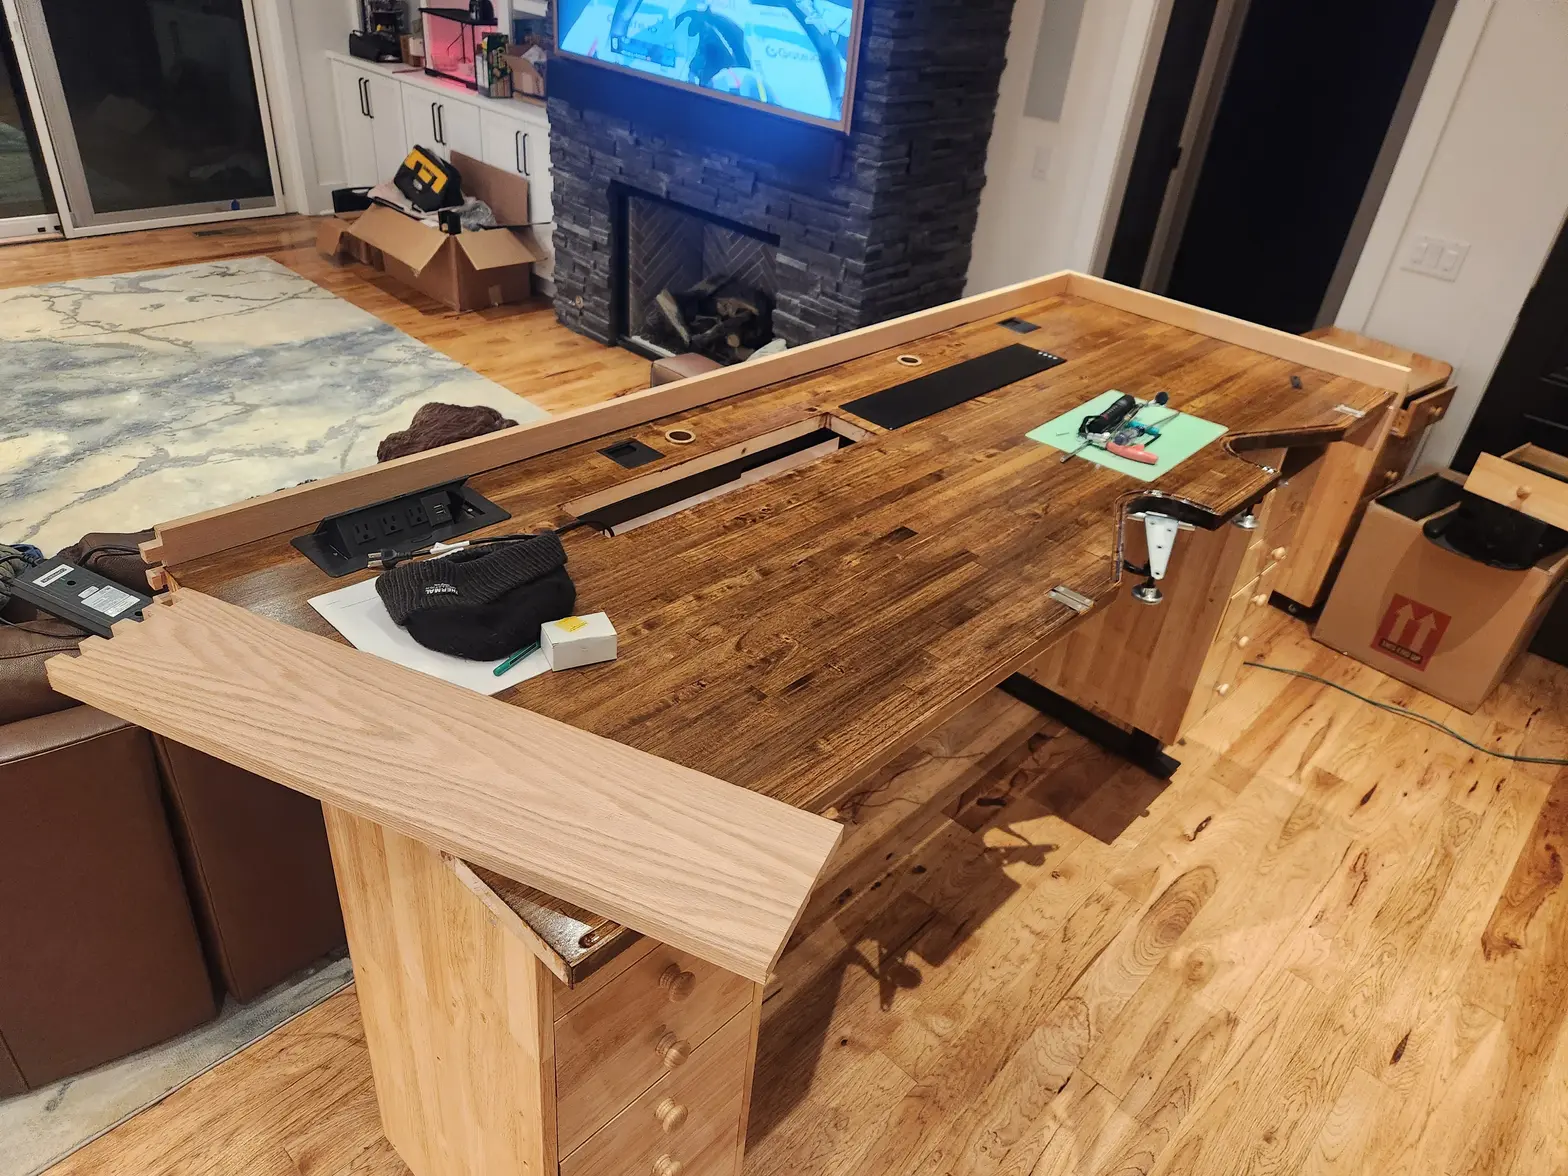
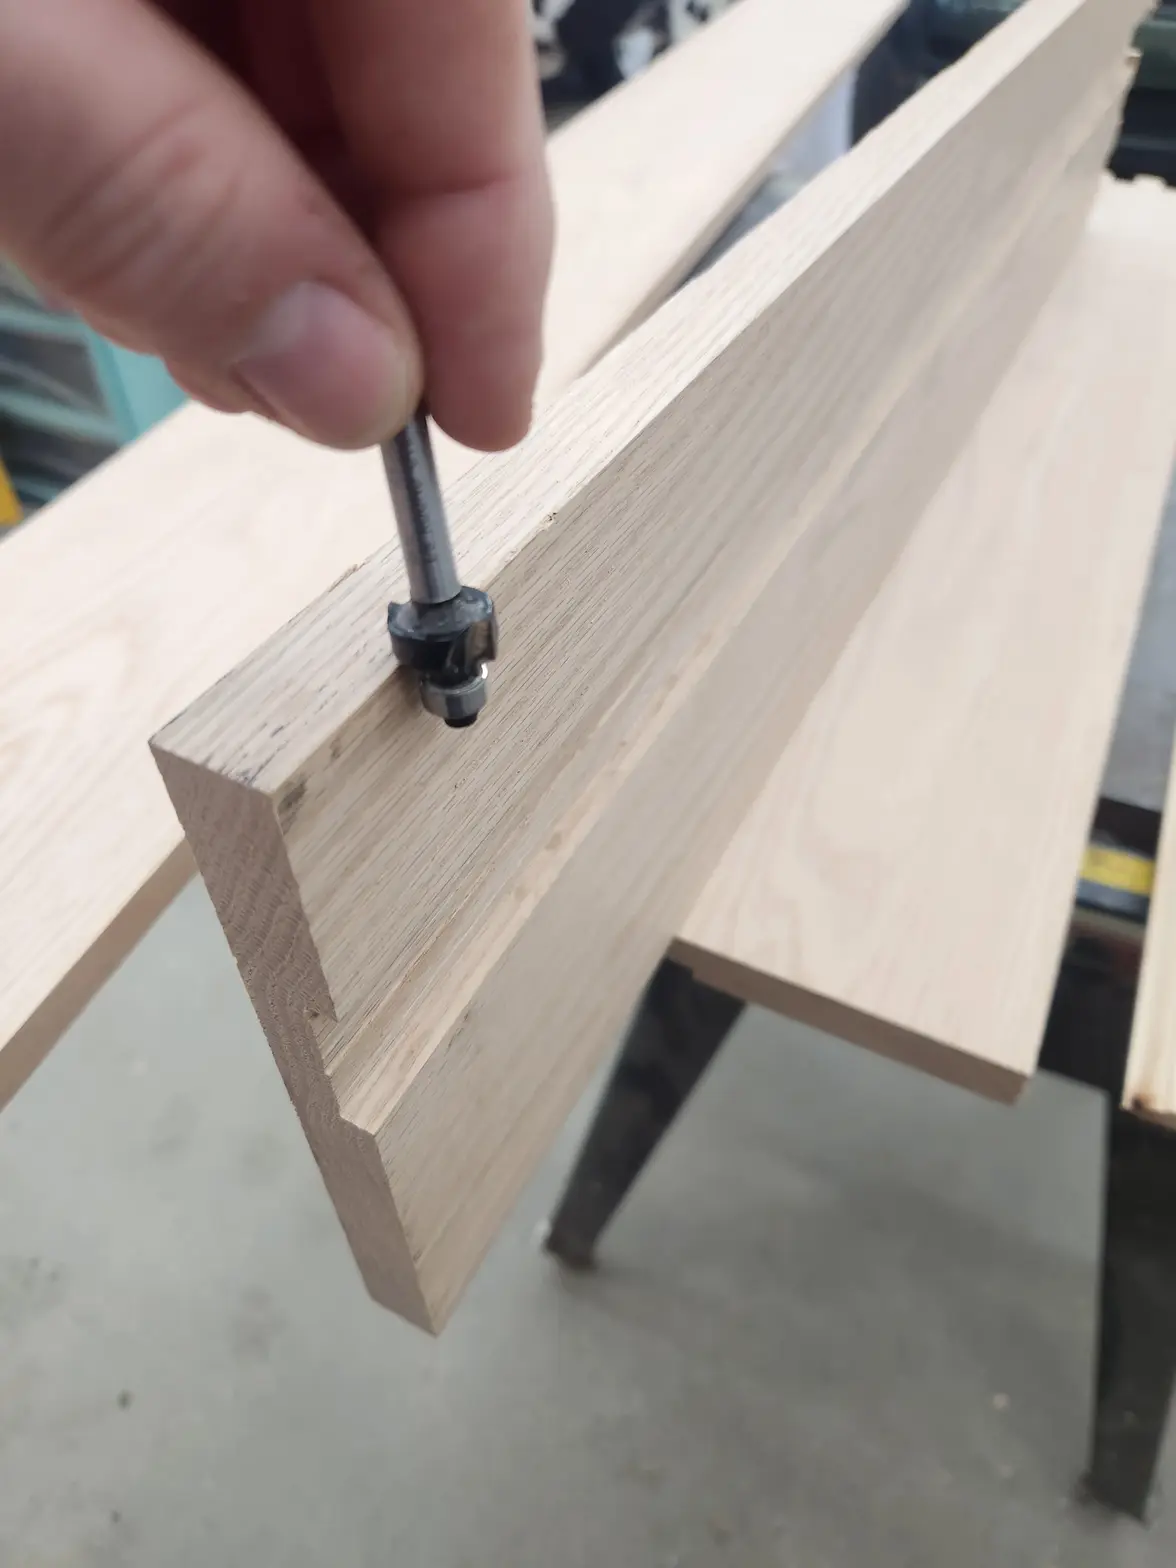
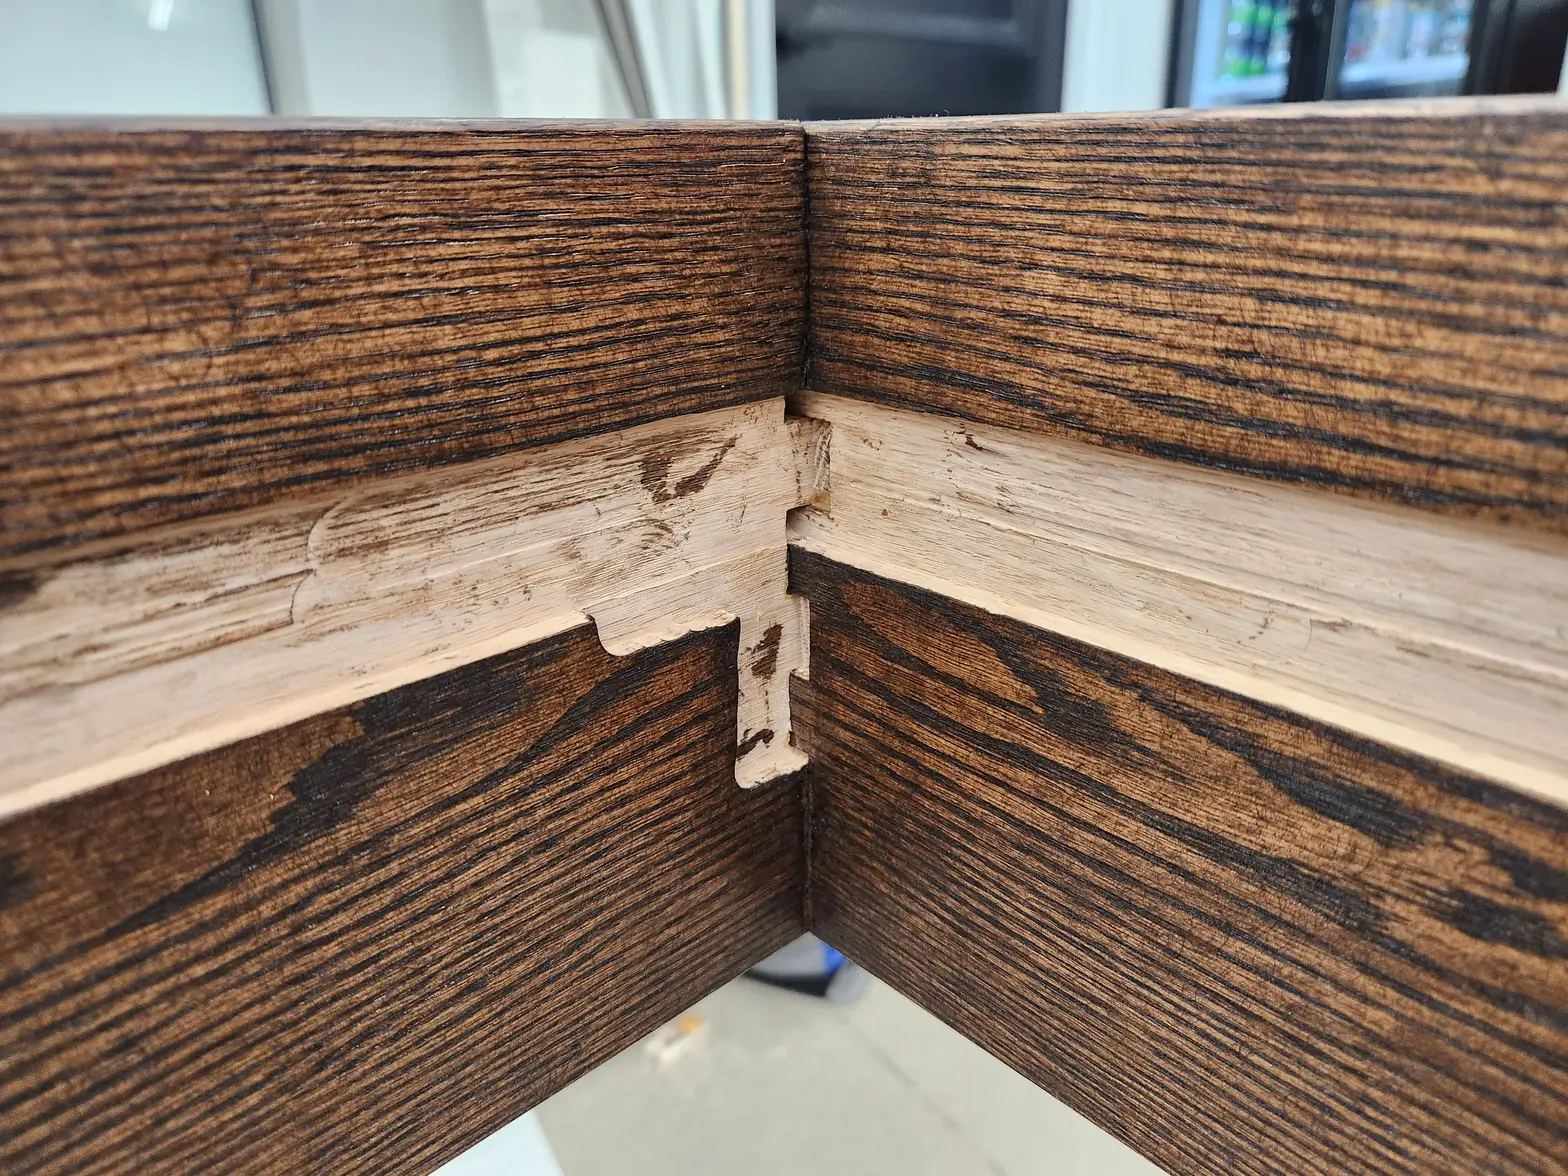
·Avert your eyes from the sketchy shit happening in this garage. 🫣 I know this cant be the best way to do this. But its a good learning opportunity. I didnt want to change my jig setup because I was getting good tight fitups. Then I dado'd a slot (or groove? Or mortis? idfk). Then fit tested pieces to the desk to find where I needed to route reliefs for clearance. This is big box store maple again. Spendy. I need to find a better local lumberyard.
samweldspoorly
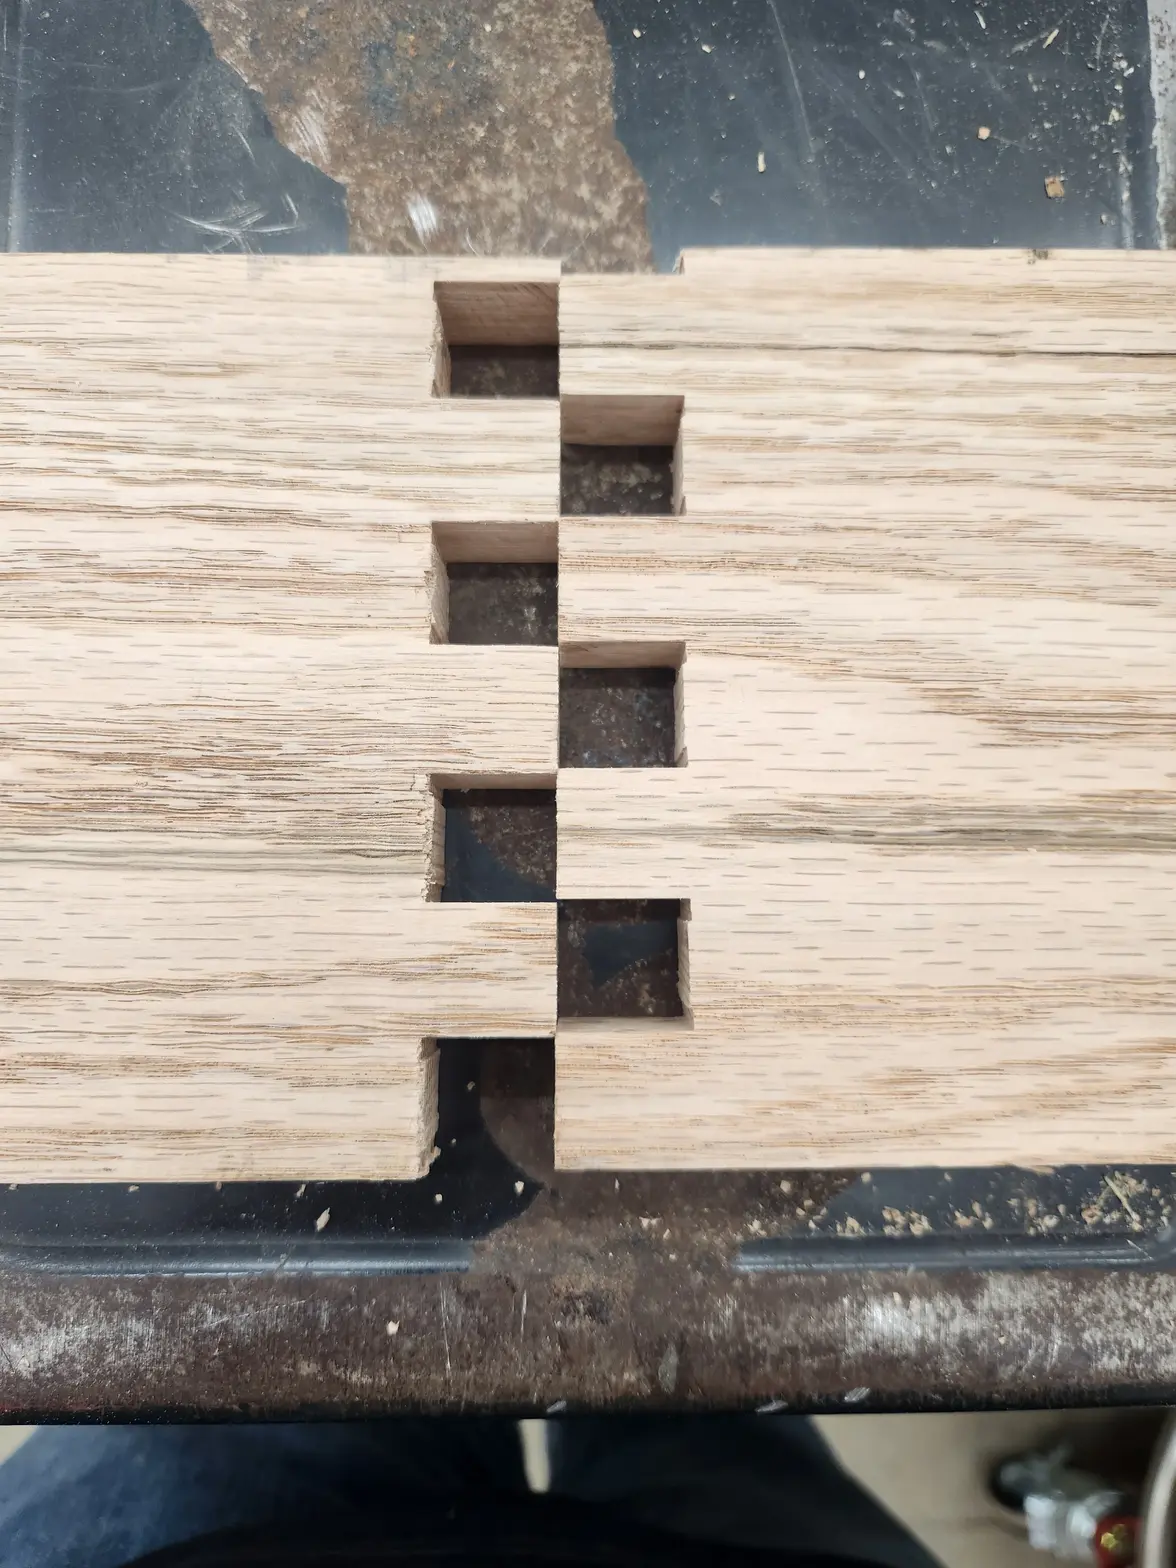
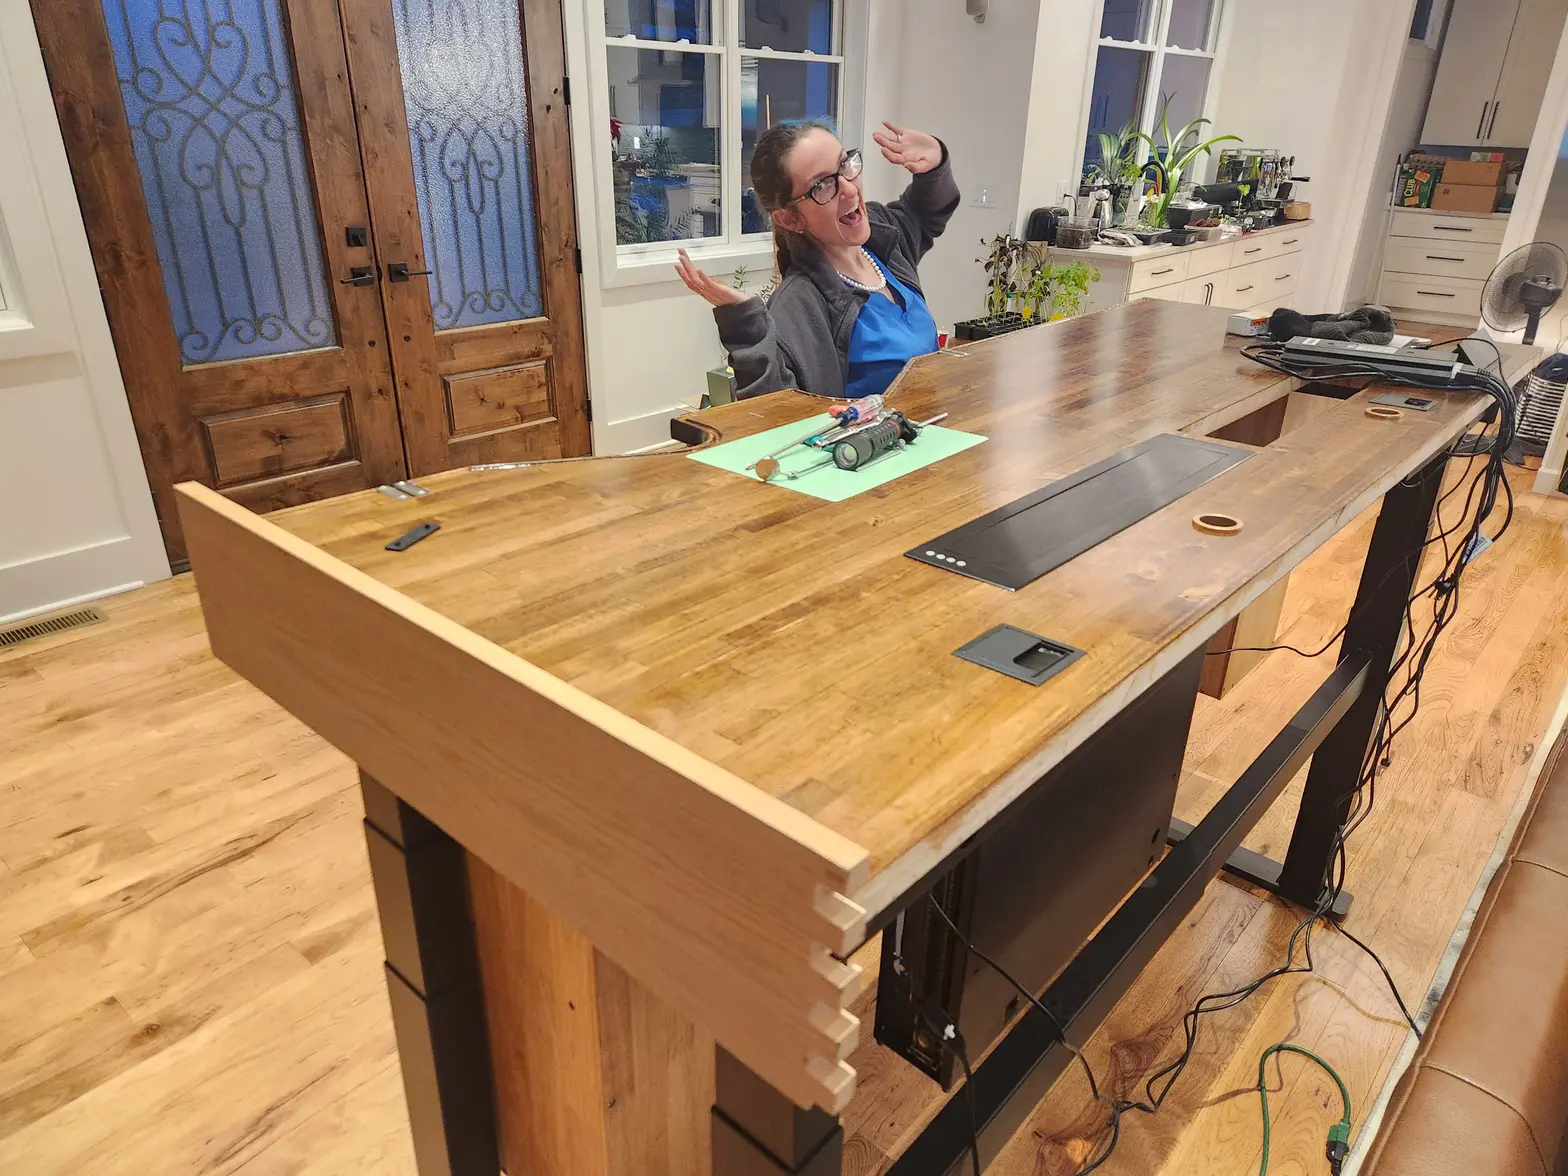
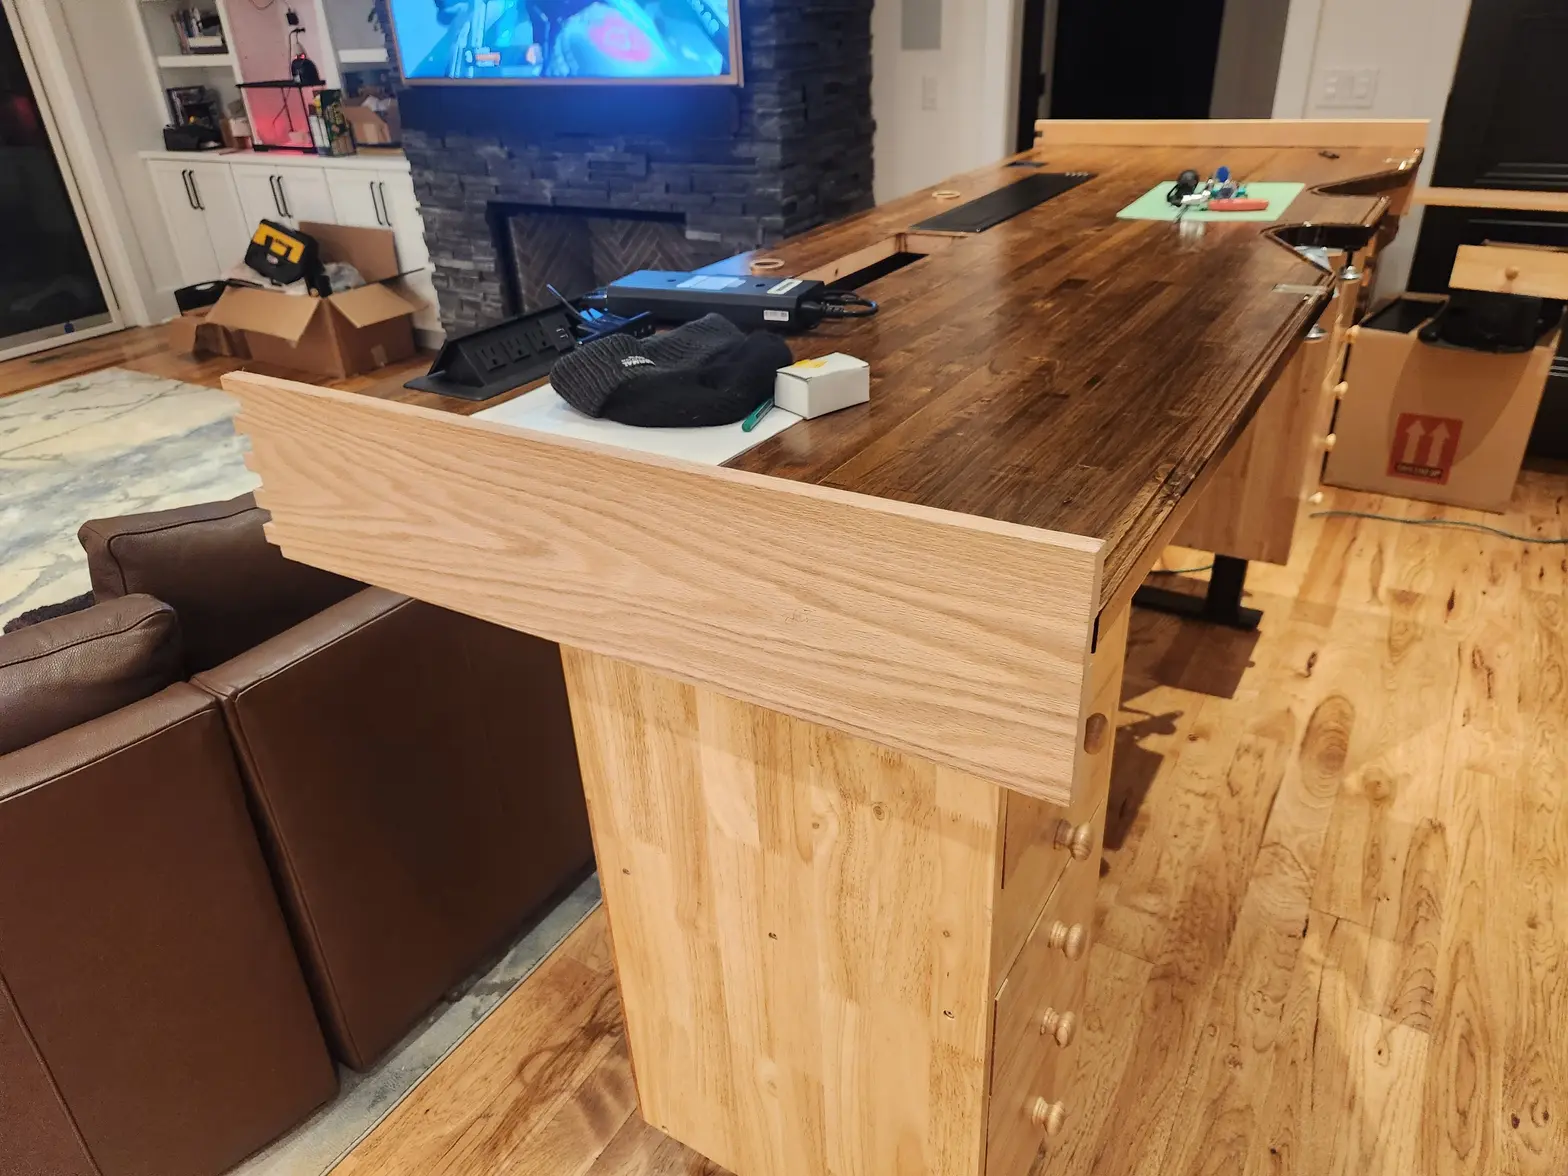
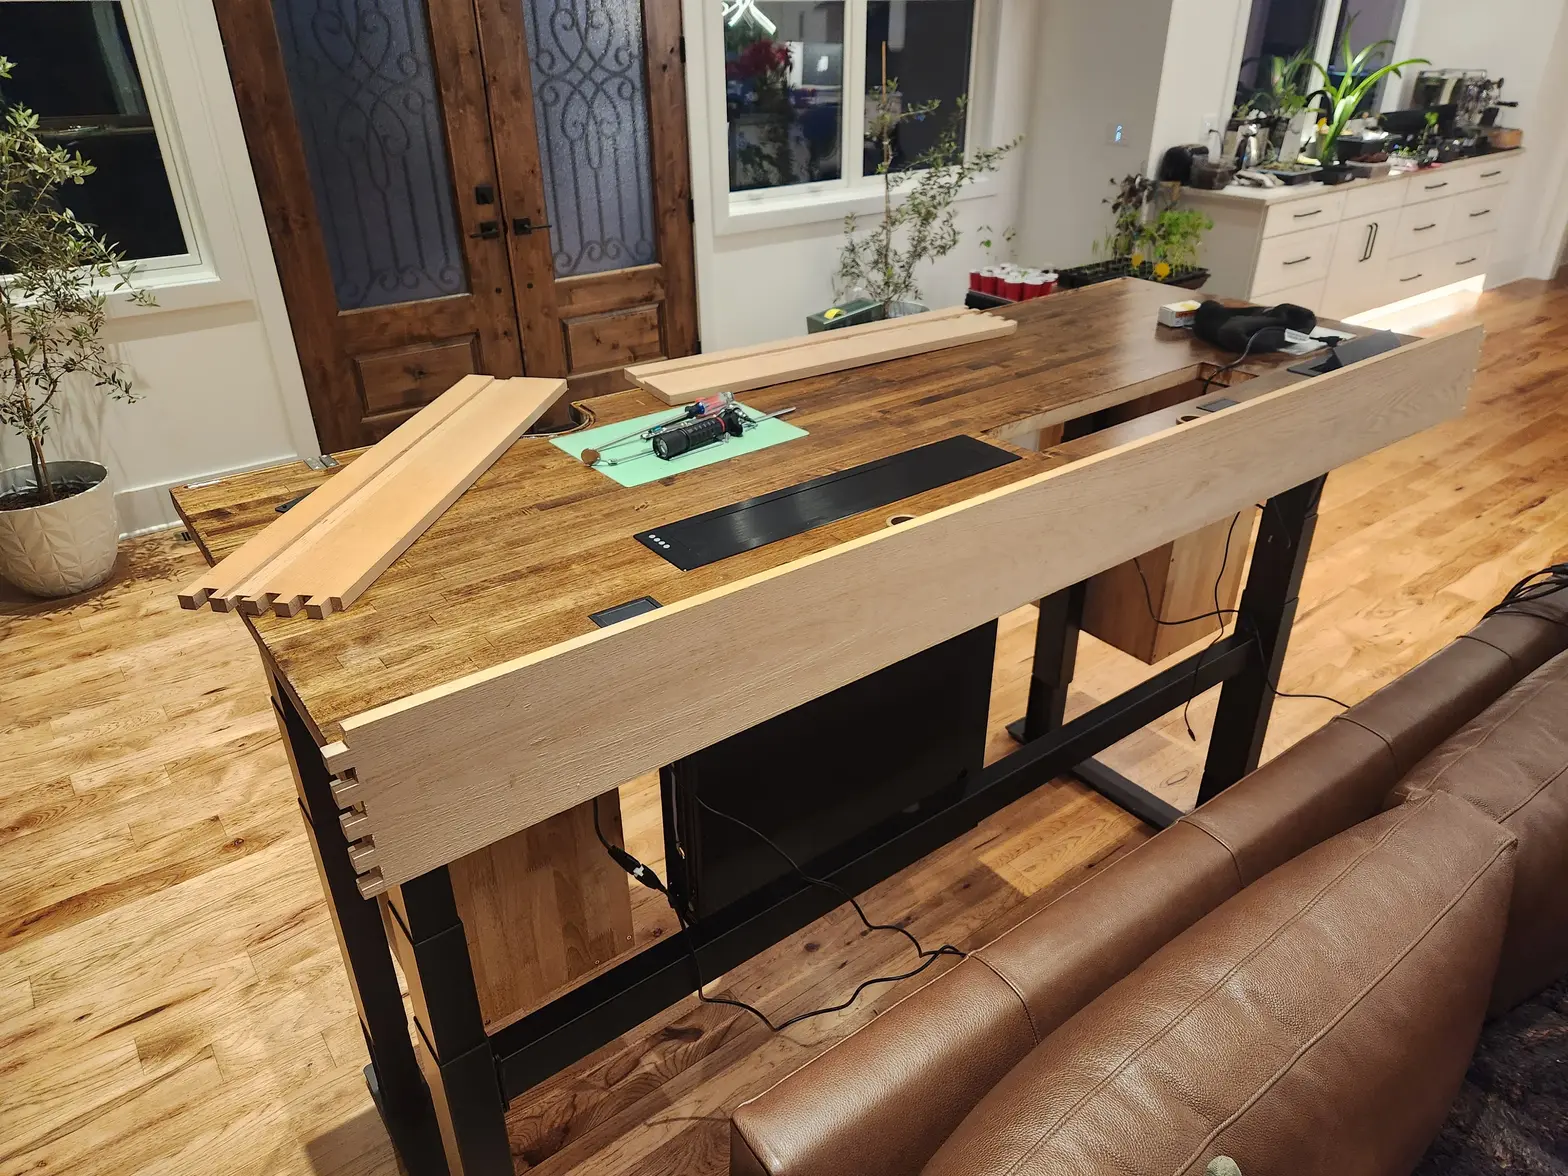
·Fit check, fit check, fit check. This involved quite a bit of math to get the OAL correct. The depthing of the grooves in the long piece had to be pretty exact or I would get gaps in either the finger groove joint (from being too short) or gaps in the fitup to the tabletop (from being too long). I swear I measured this like 10 times before I cut this. Came out just right. I left a little stock in the finger setup to sand down flush. Better to have proud material to sand away than to have not enough it be shallow.
samweldspoorly
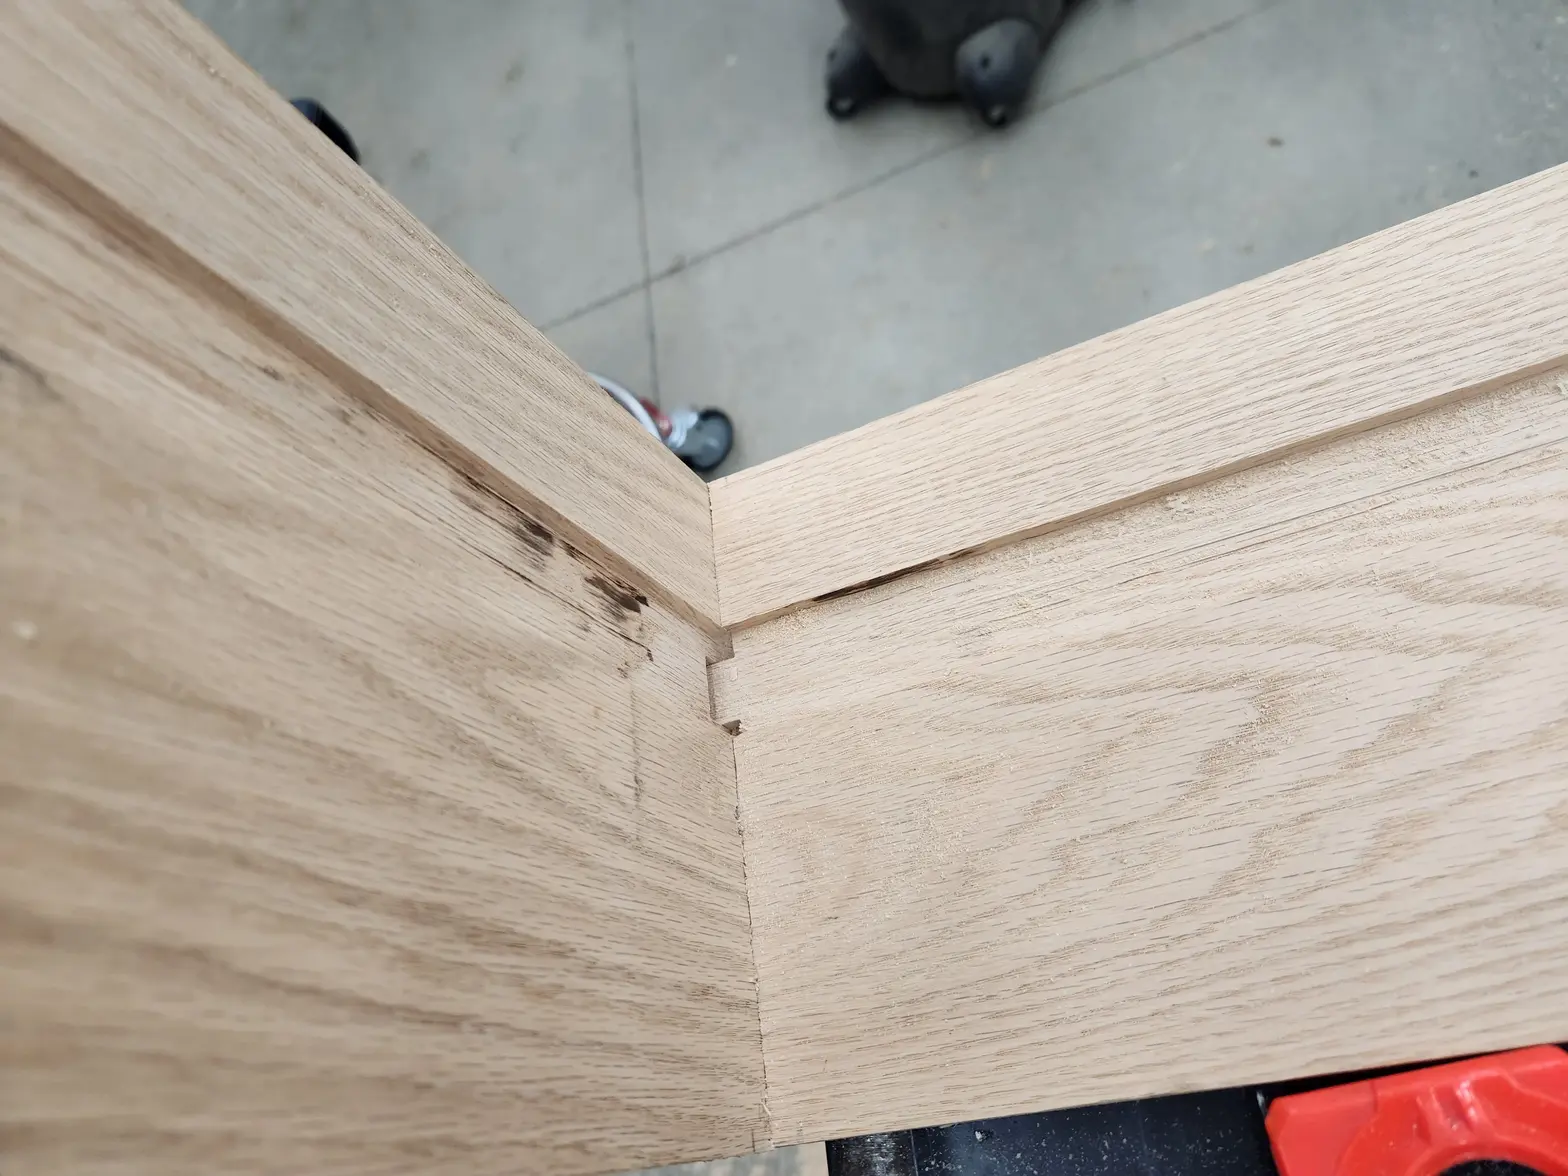
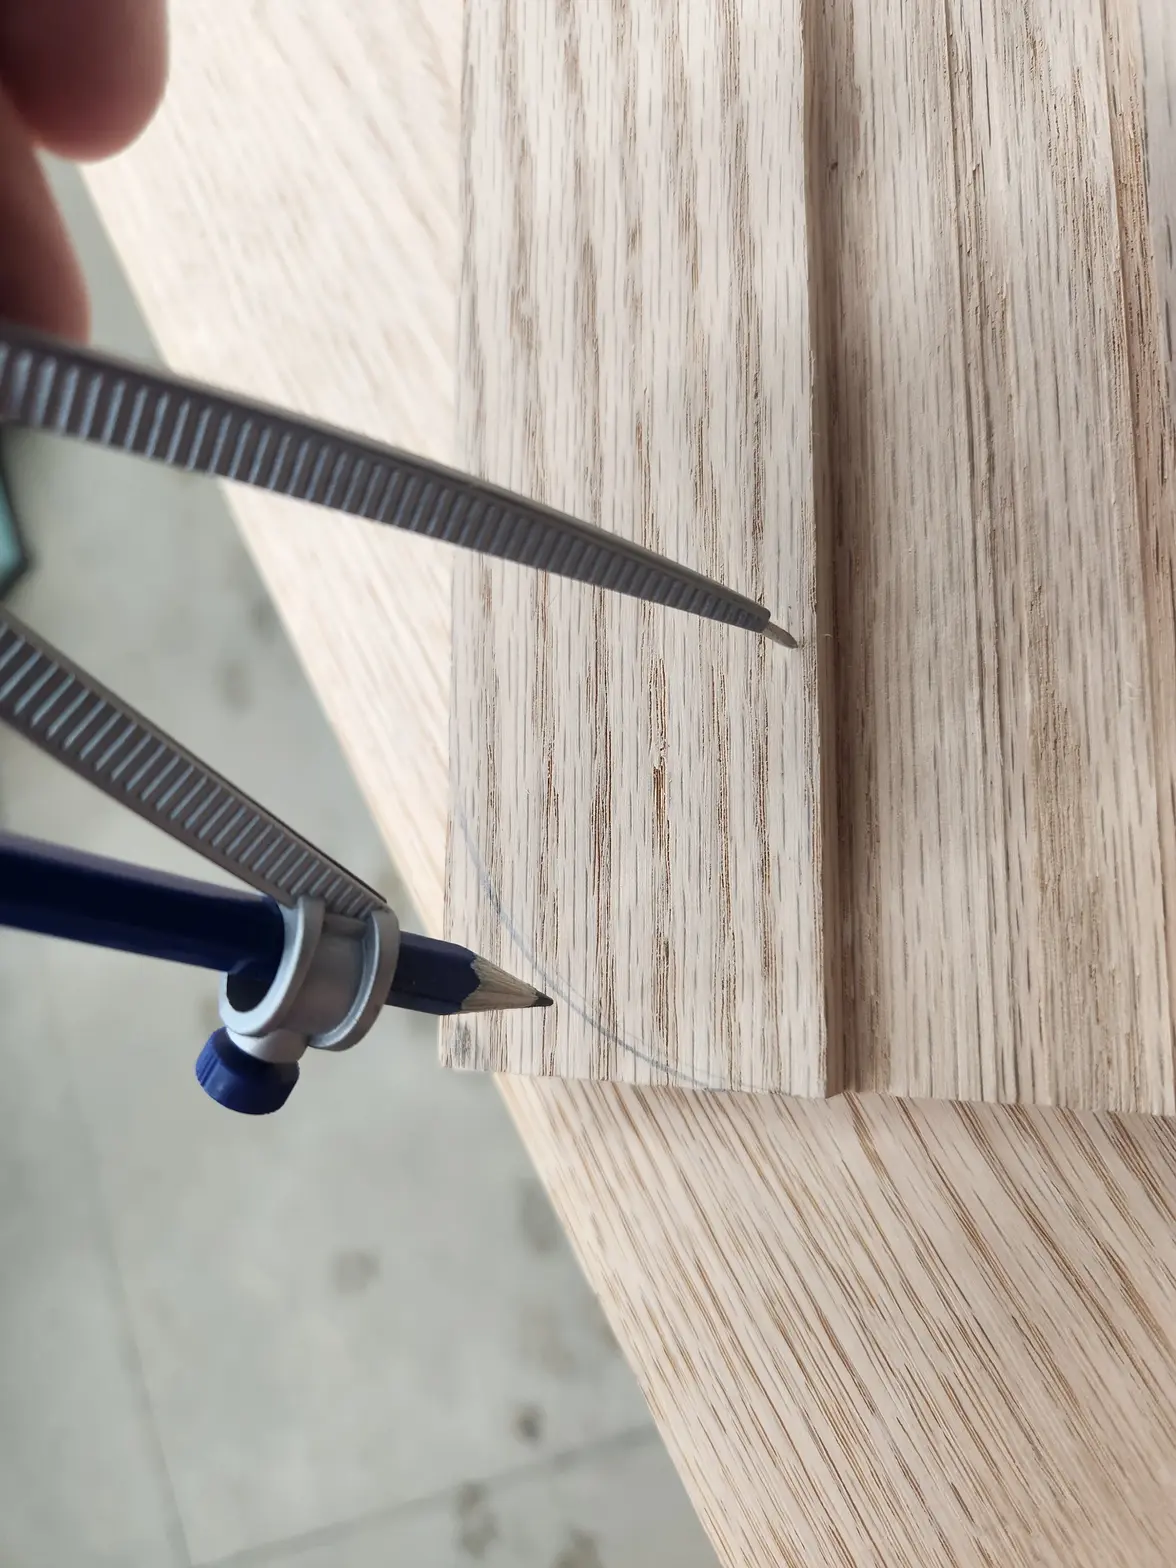
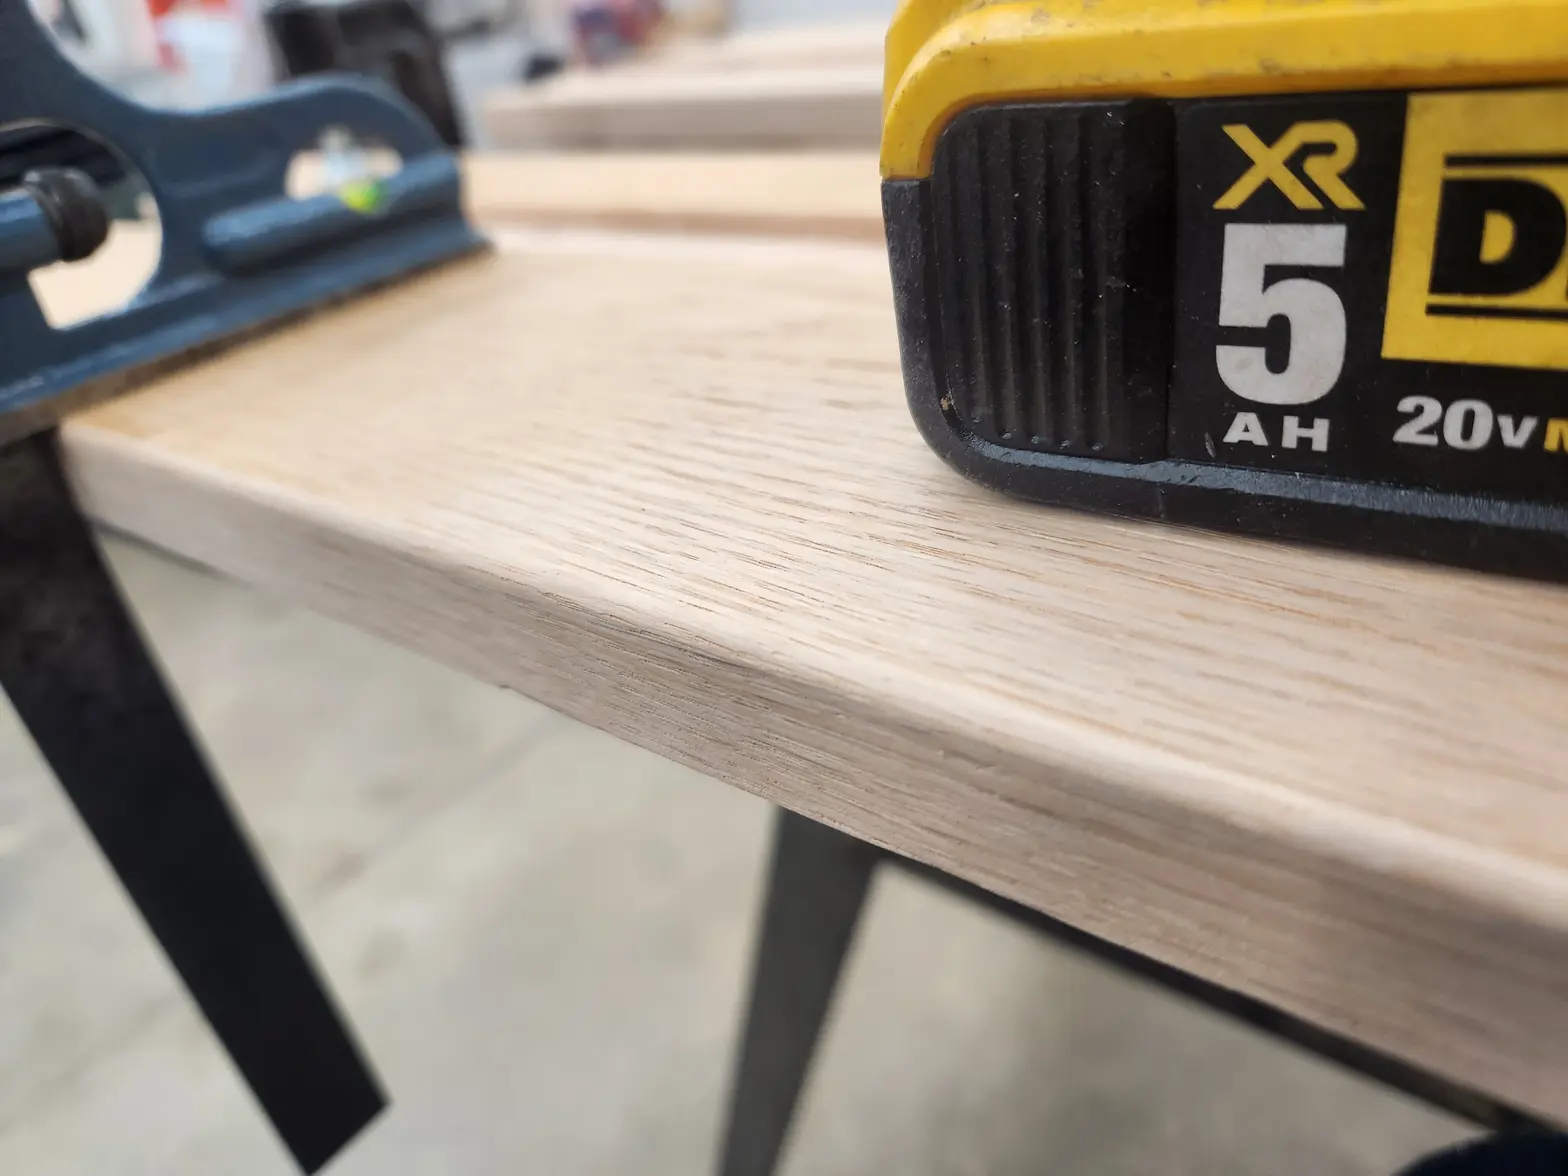
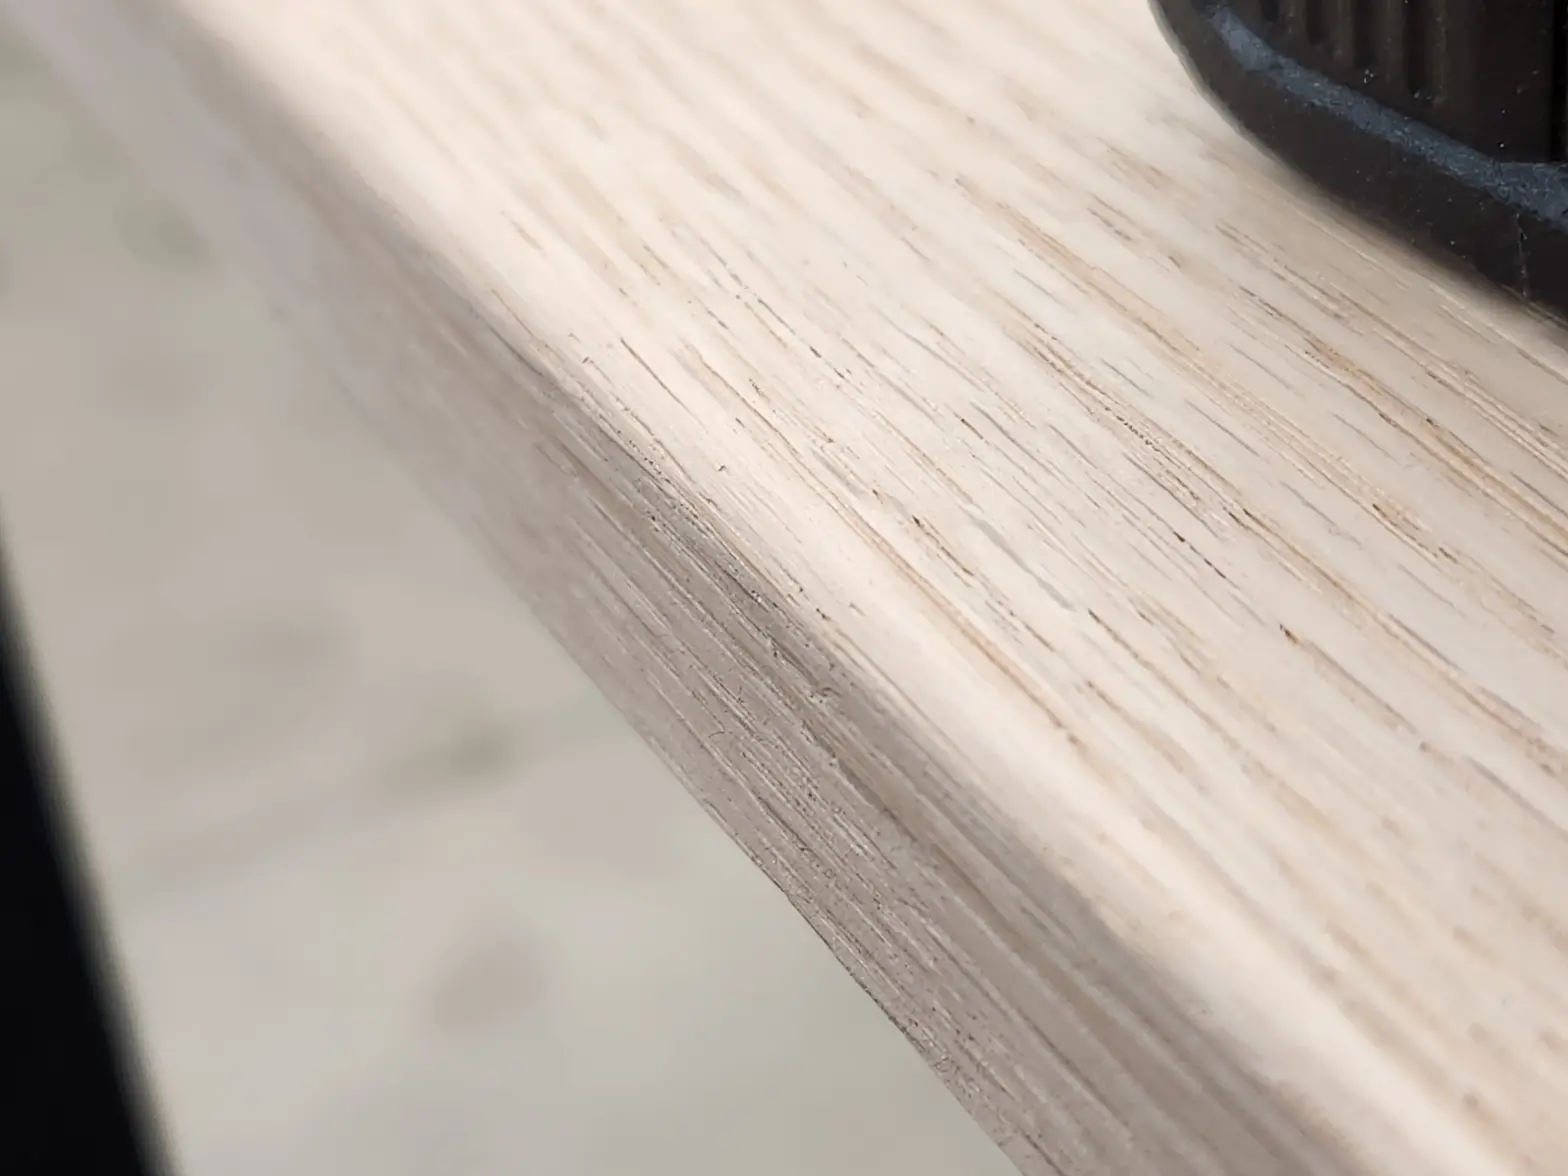
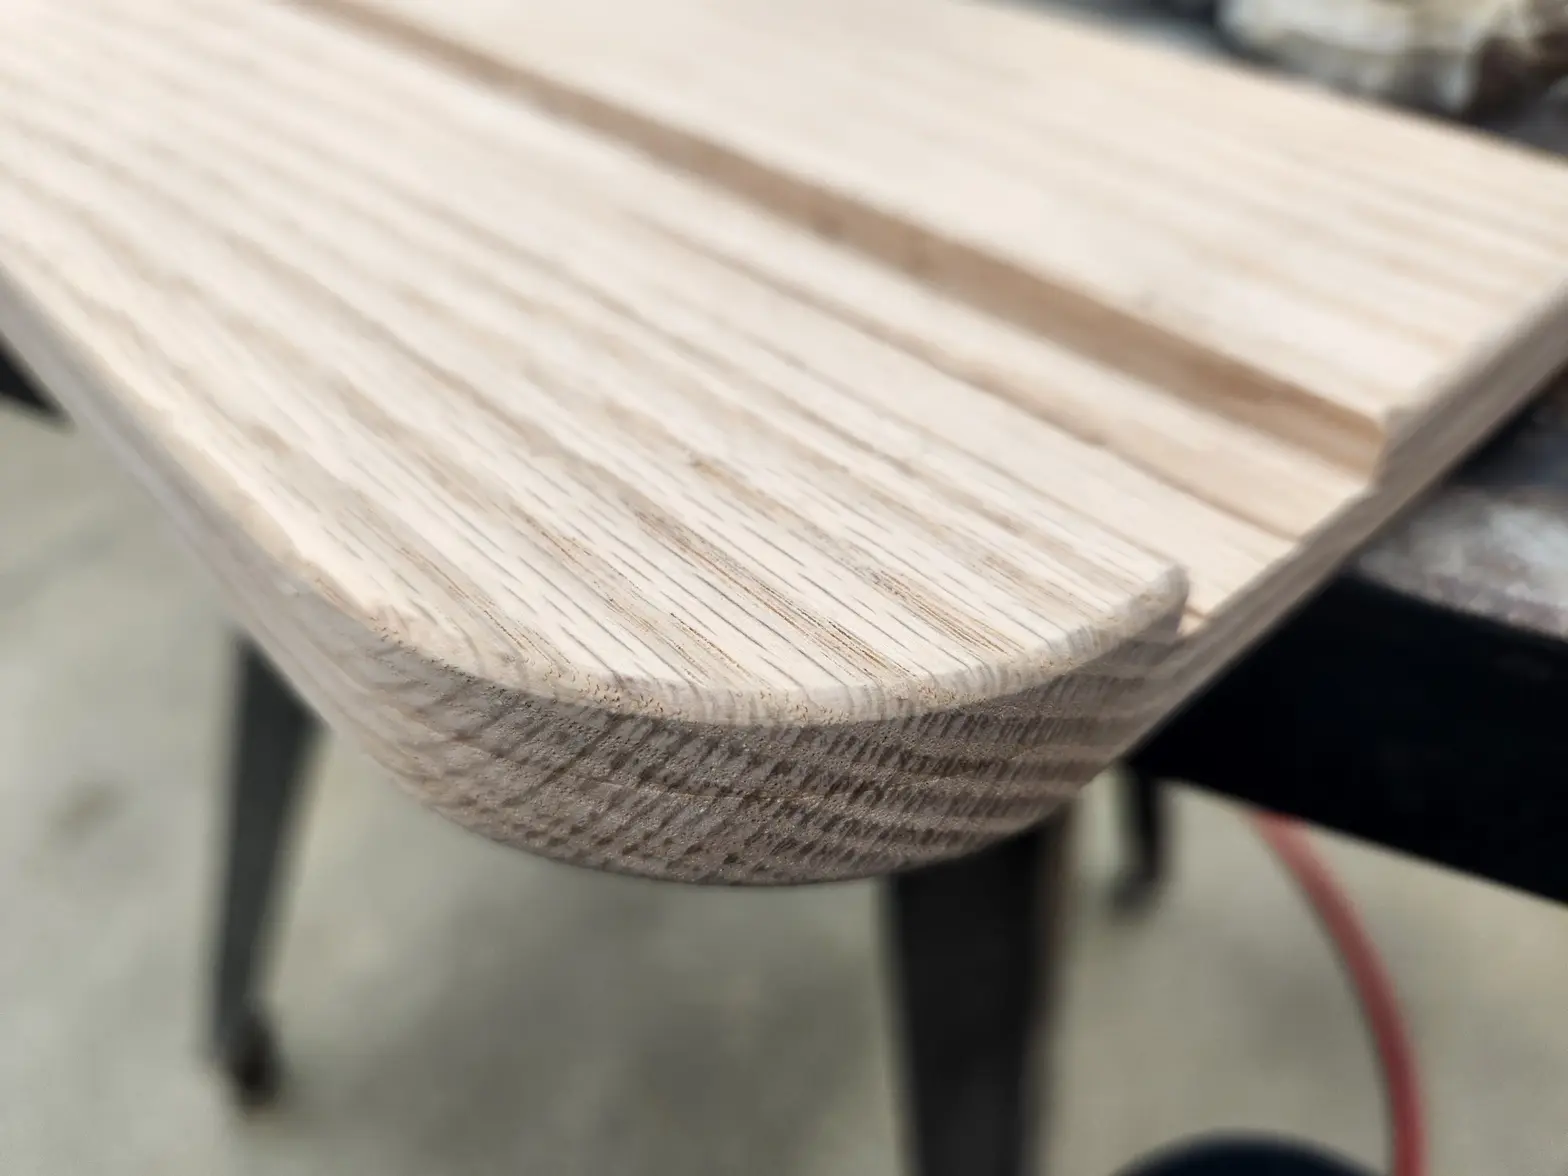
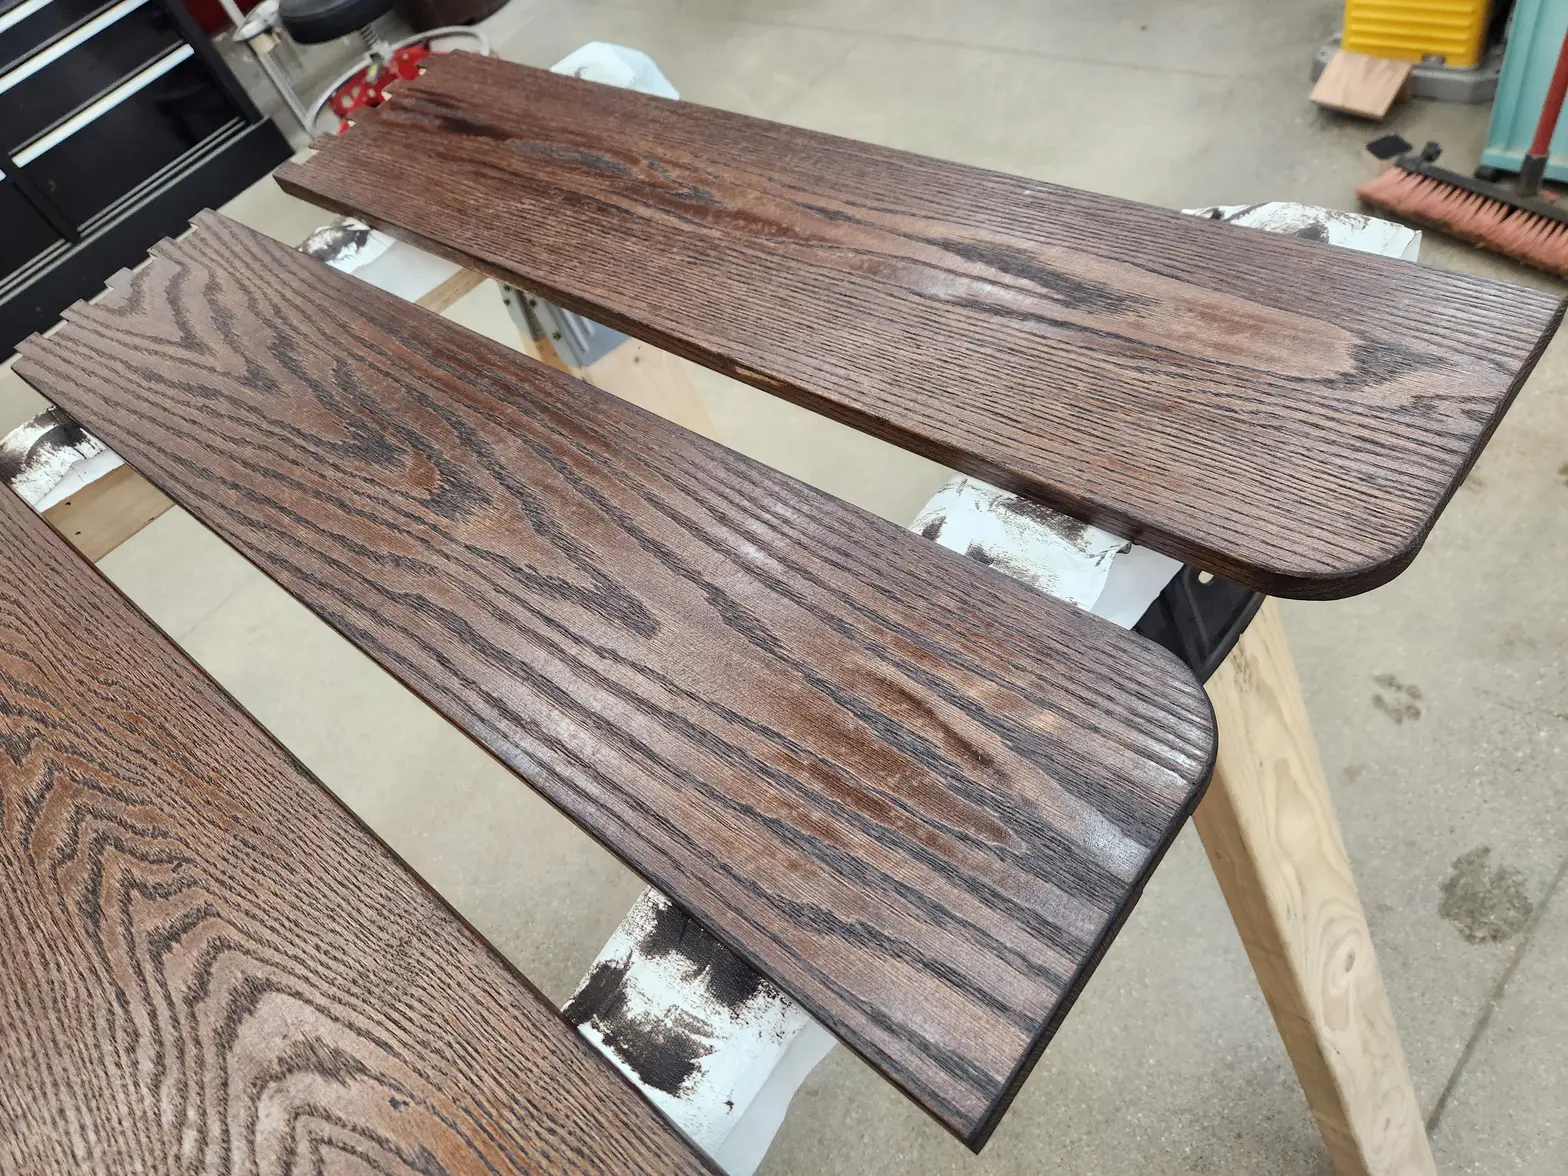
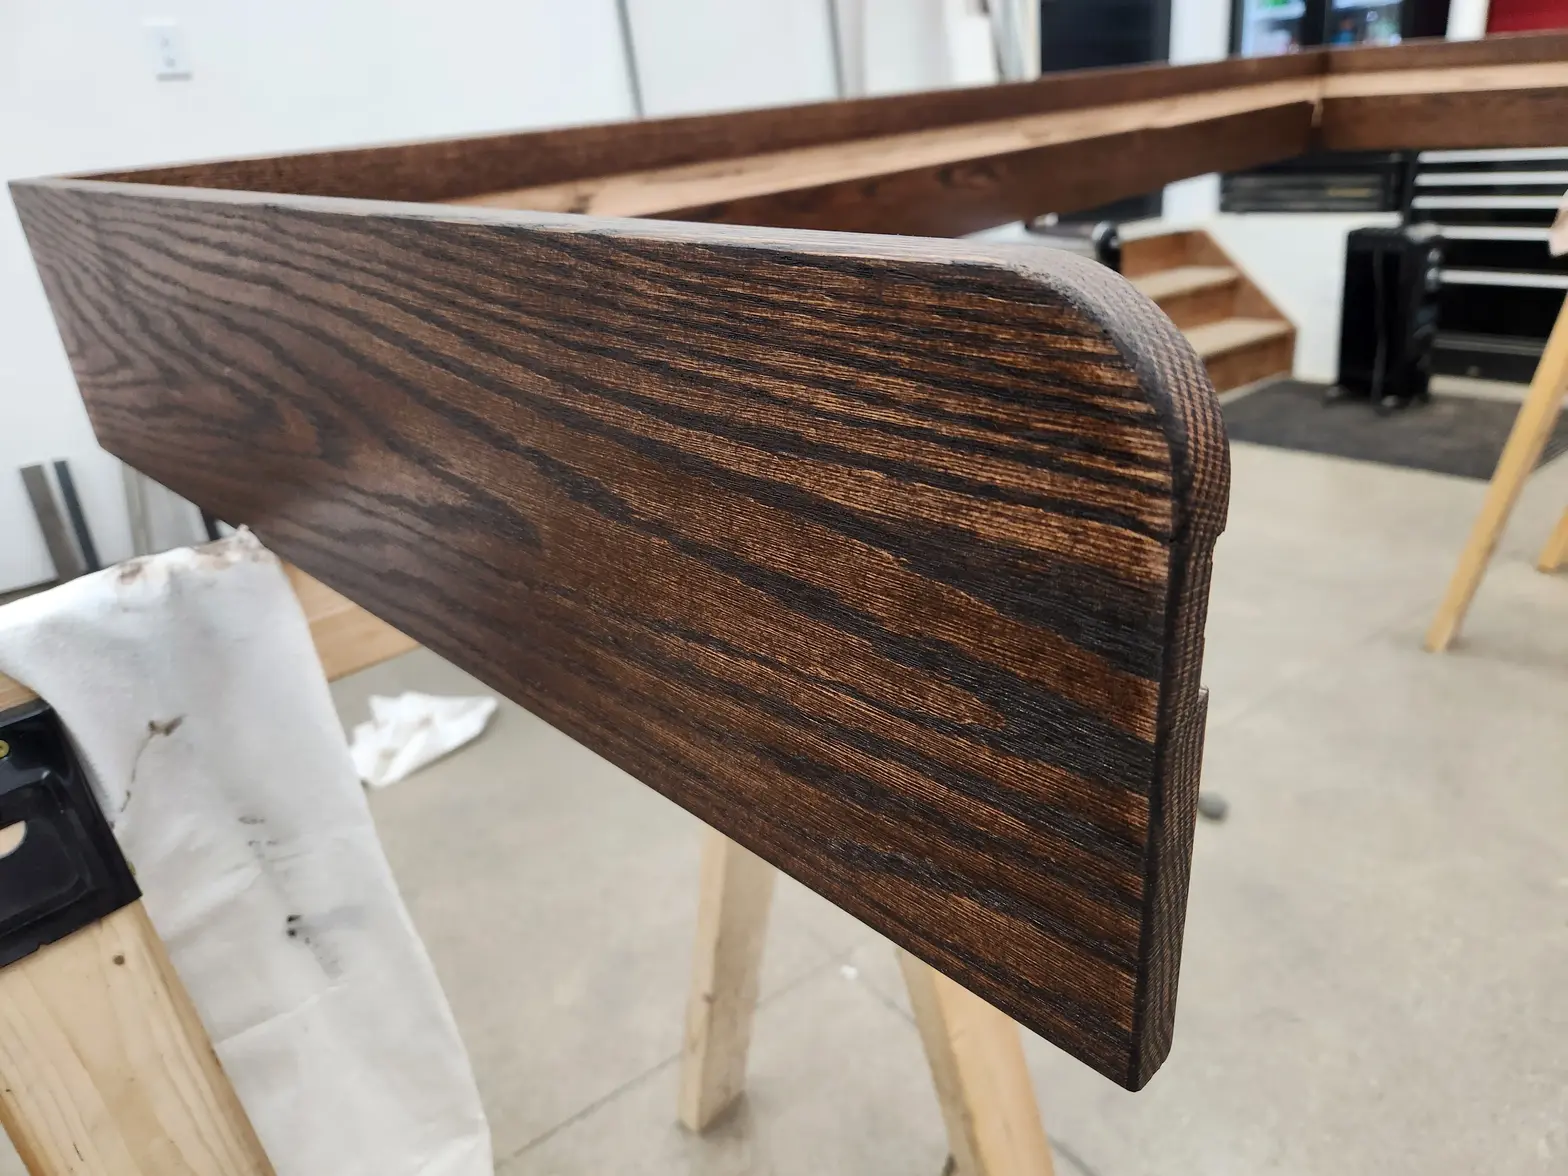
·Lets make these a little bit more corner friendly. A mistake I made here which I didnt recognize until recently was that I shouldnt have put a 1/8" radius on EVERY corner. Where the boards join at the corners, I should have left a boards width square and unchamferred because now there is a weird radius in the corner that shouldnt be there. If I had to make this again, it would be done correctly. But spilled milk, I'm moving on.
samweldspoorly
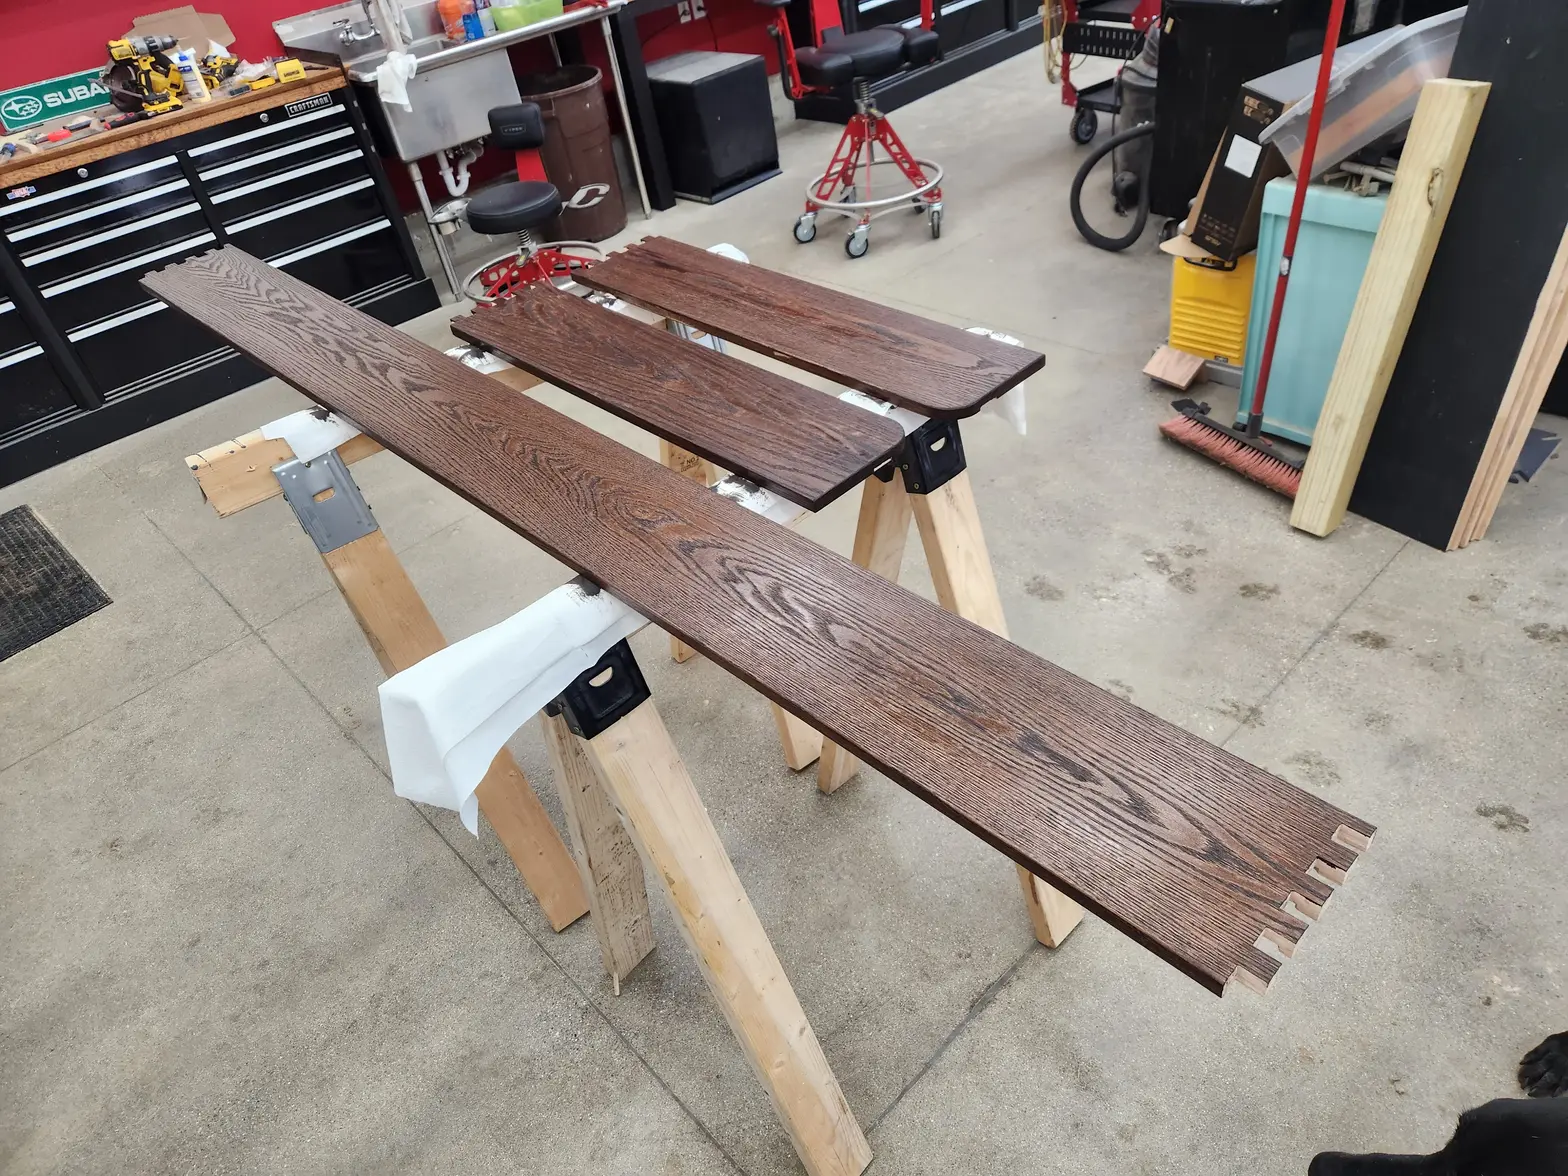
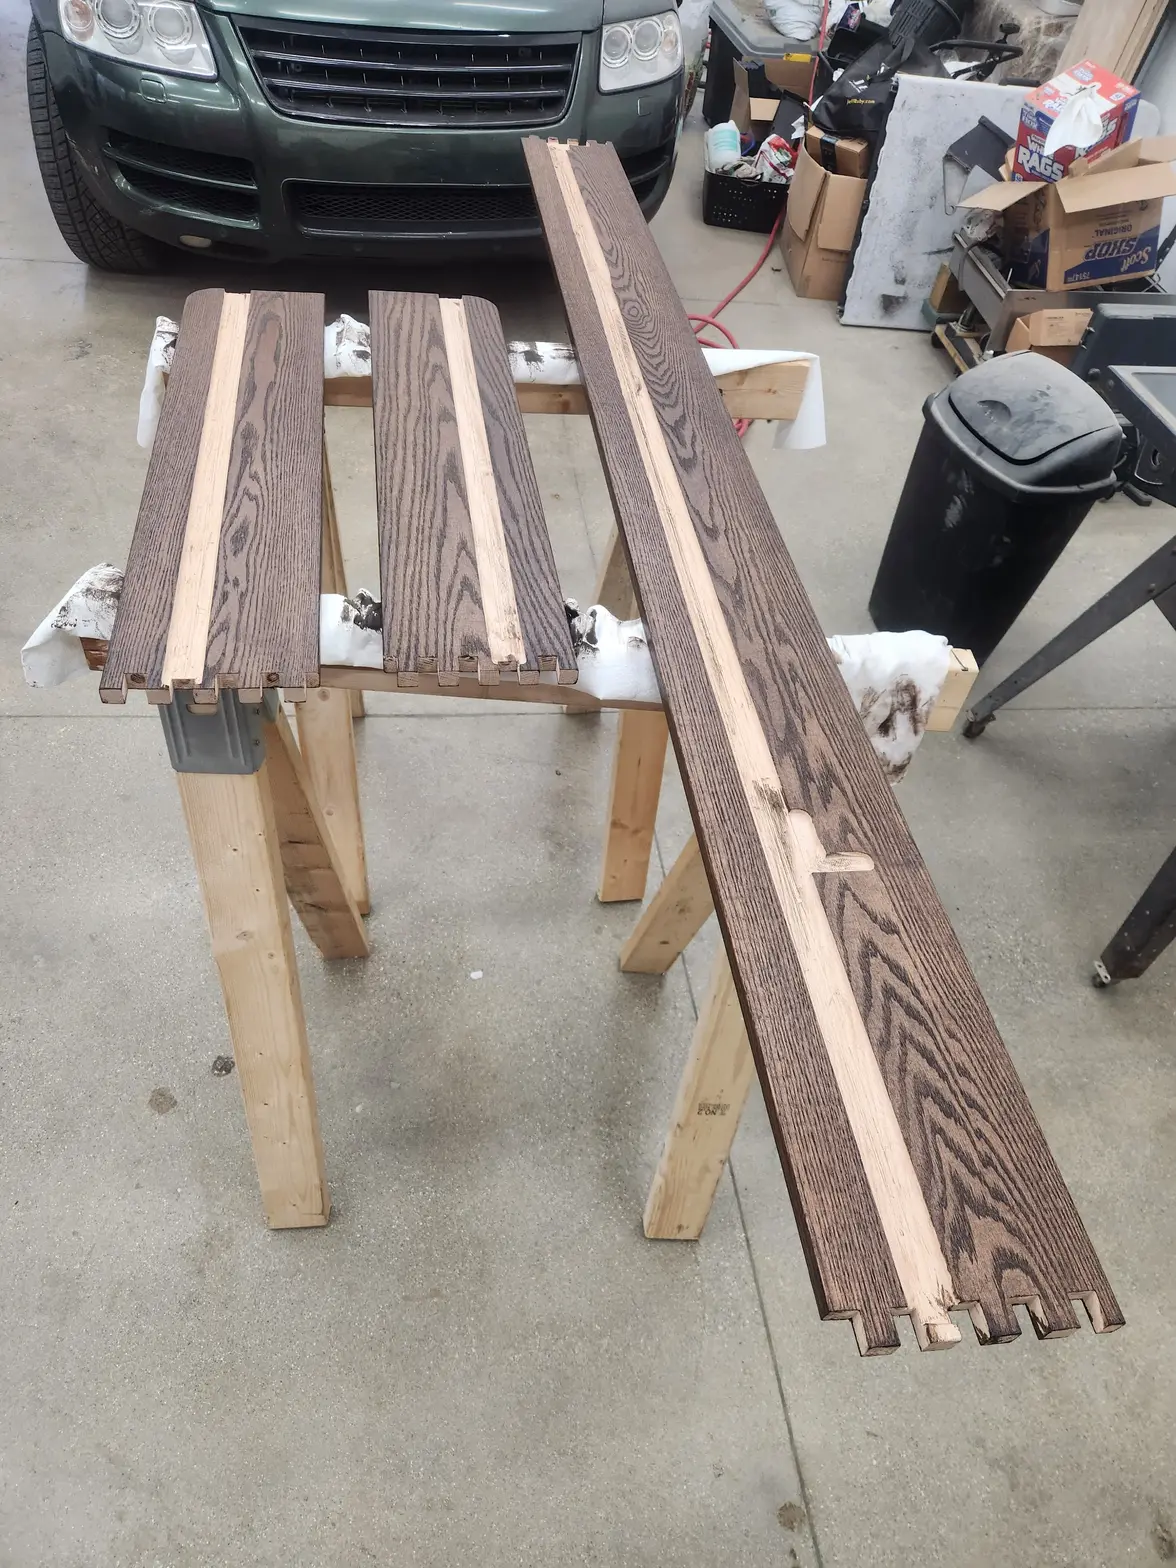
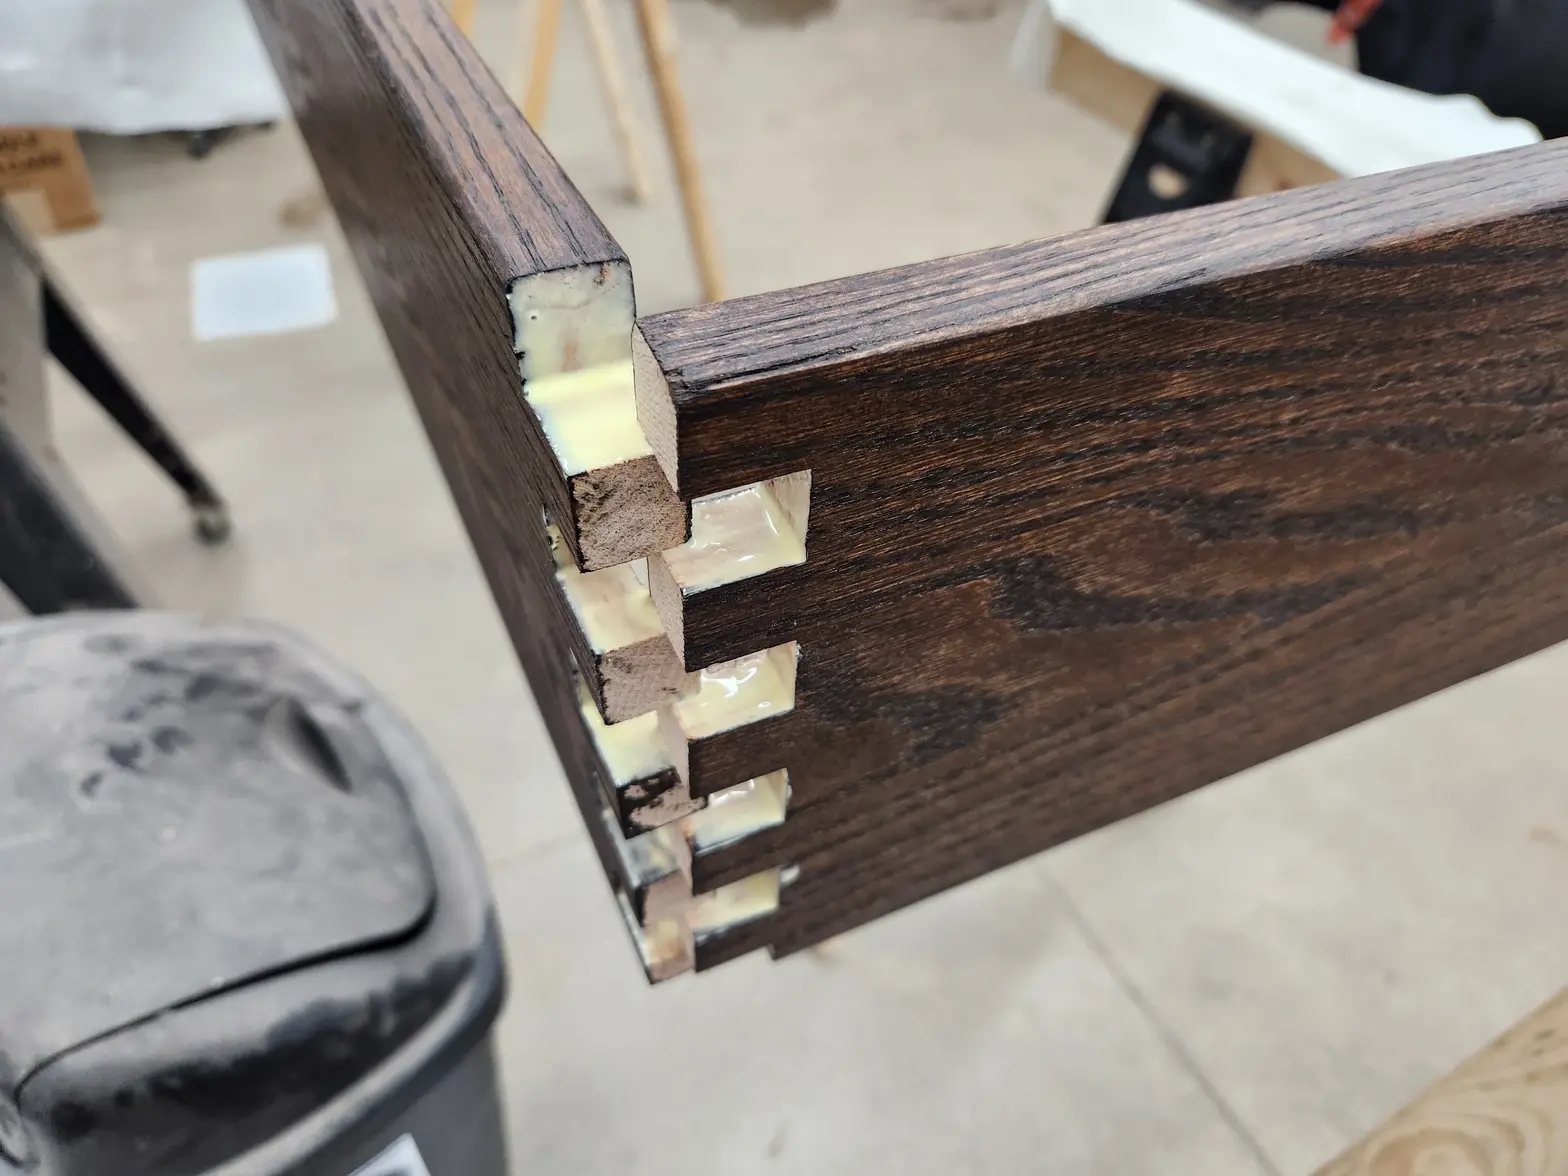
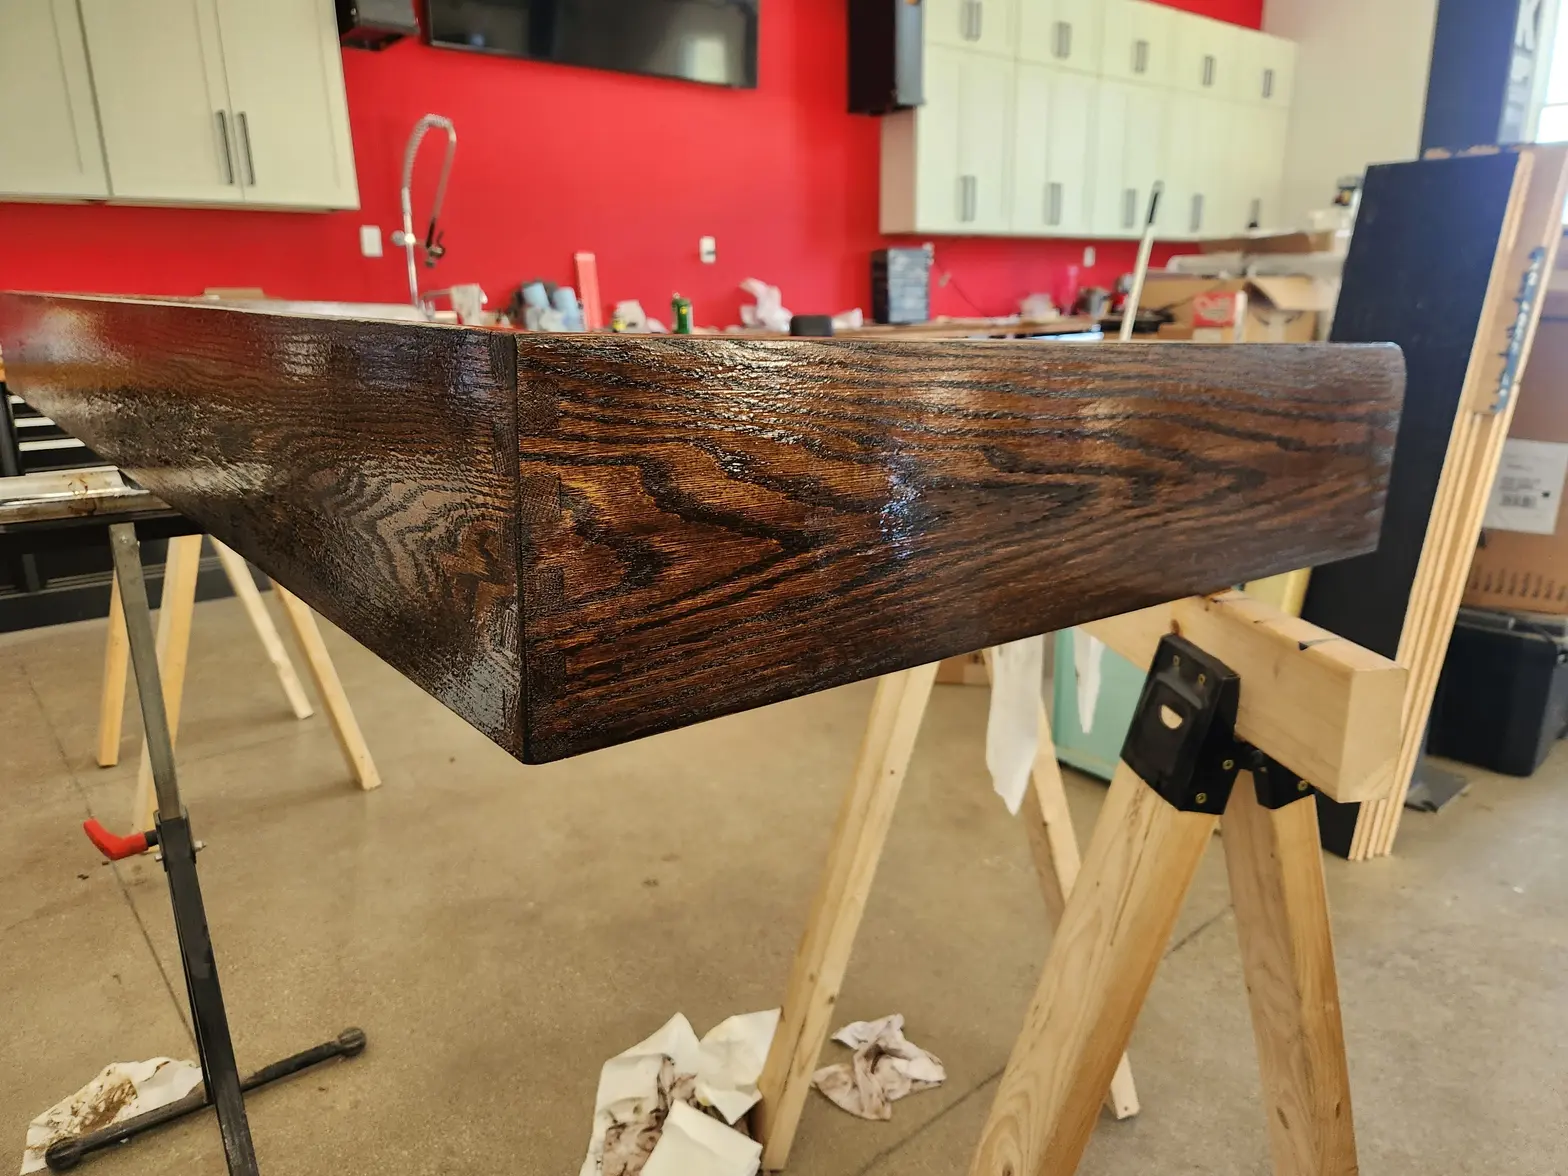
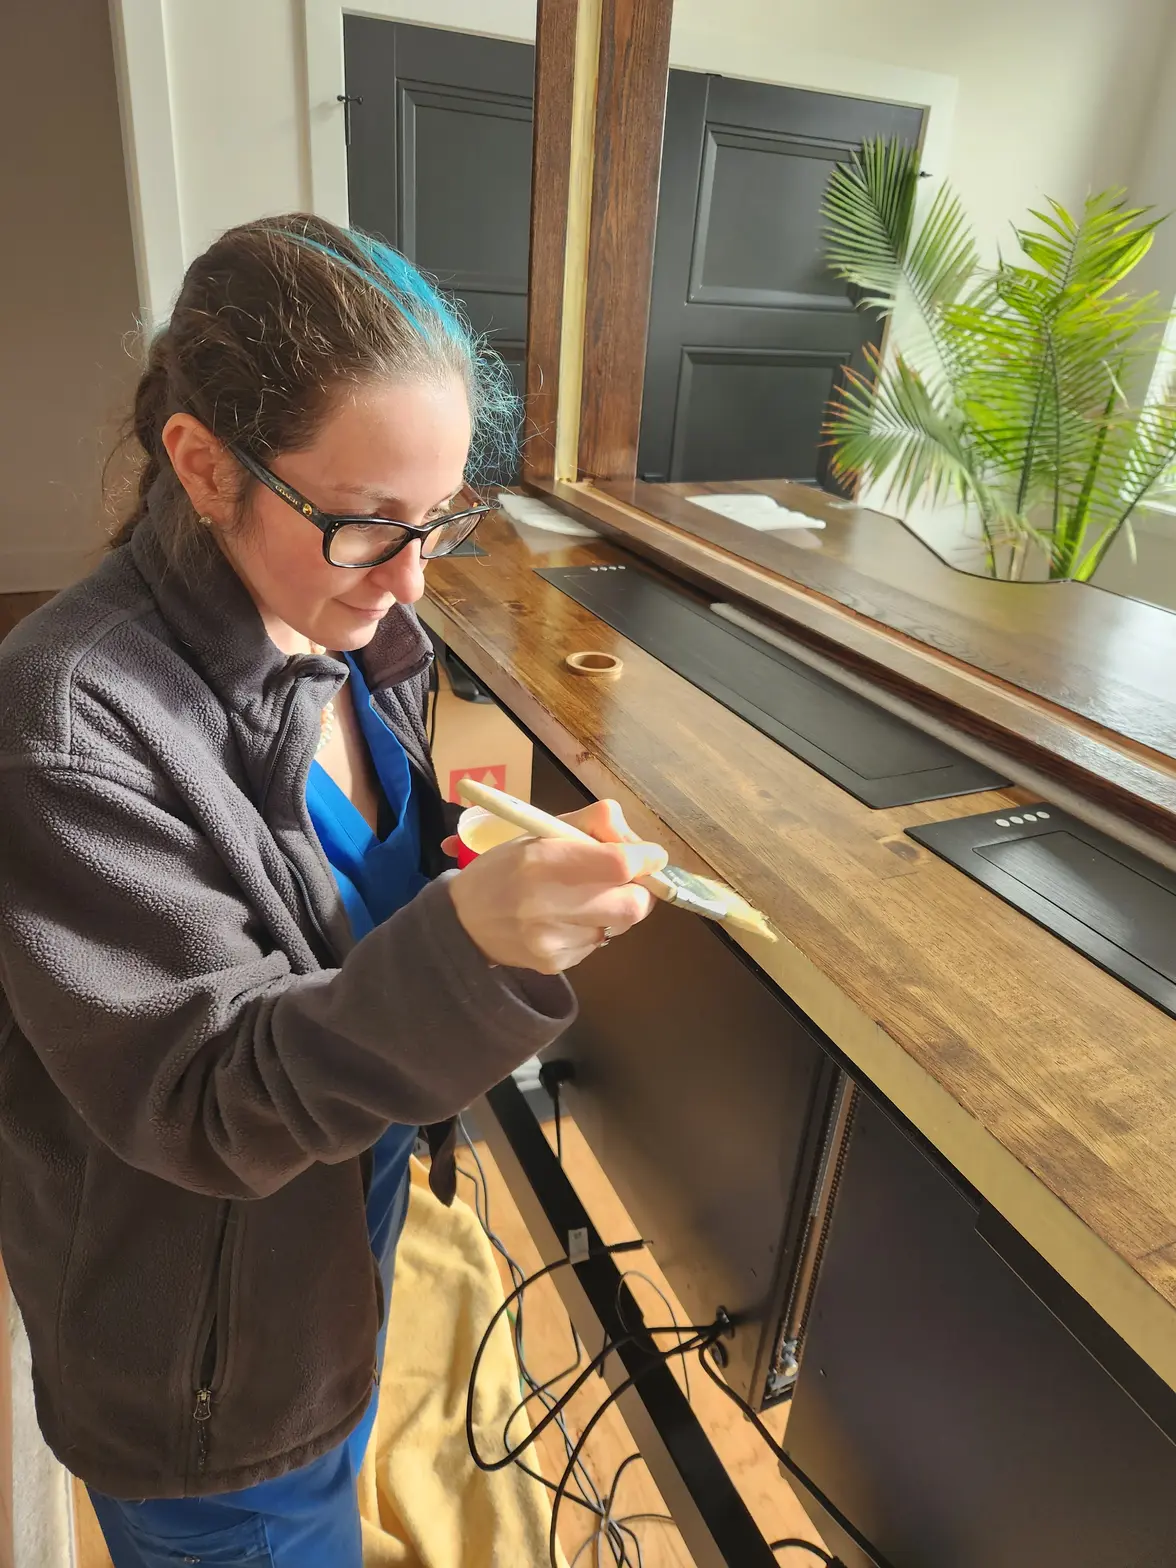
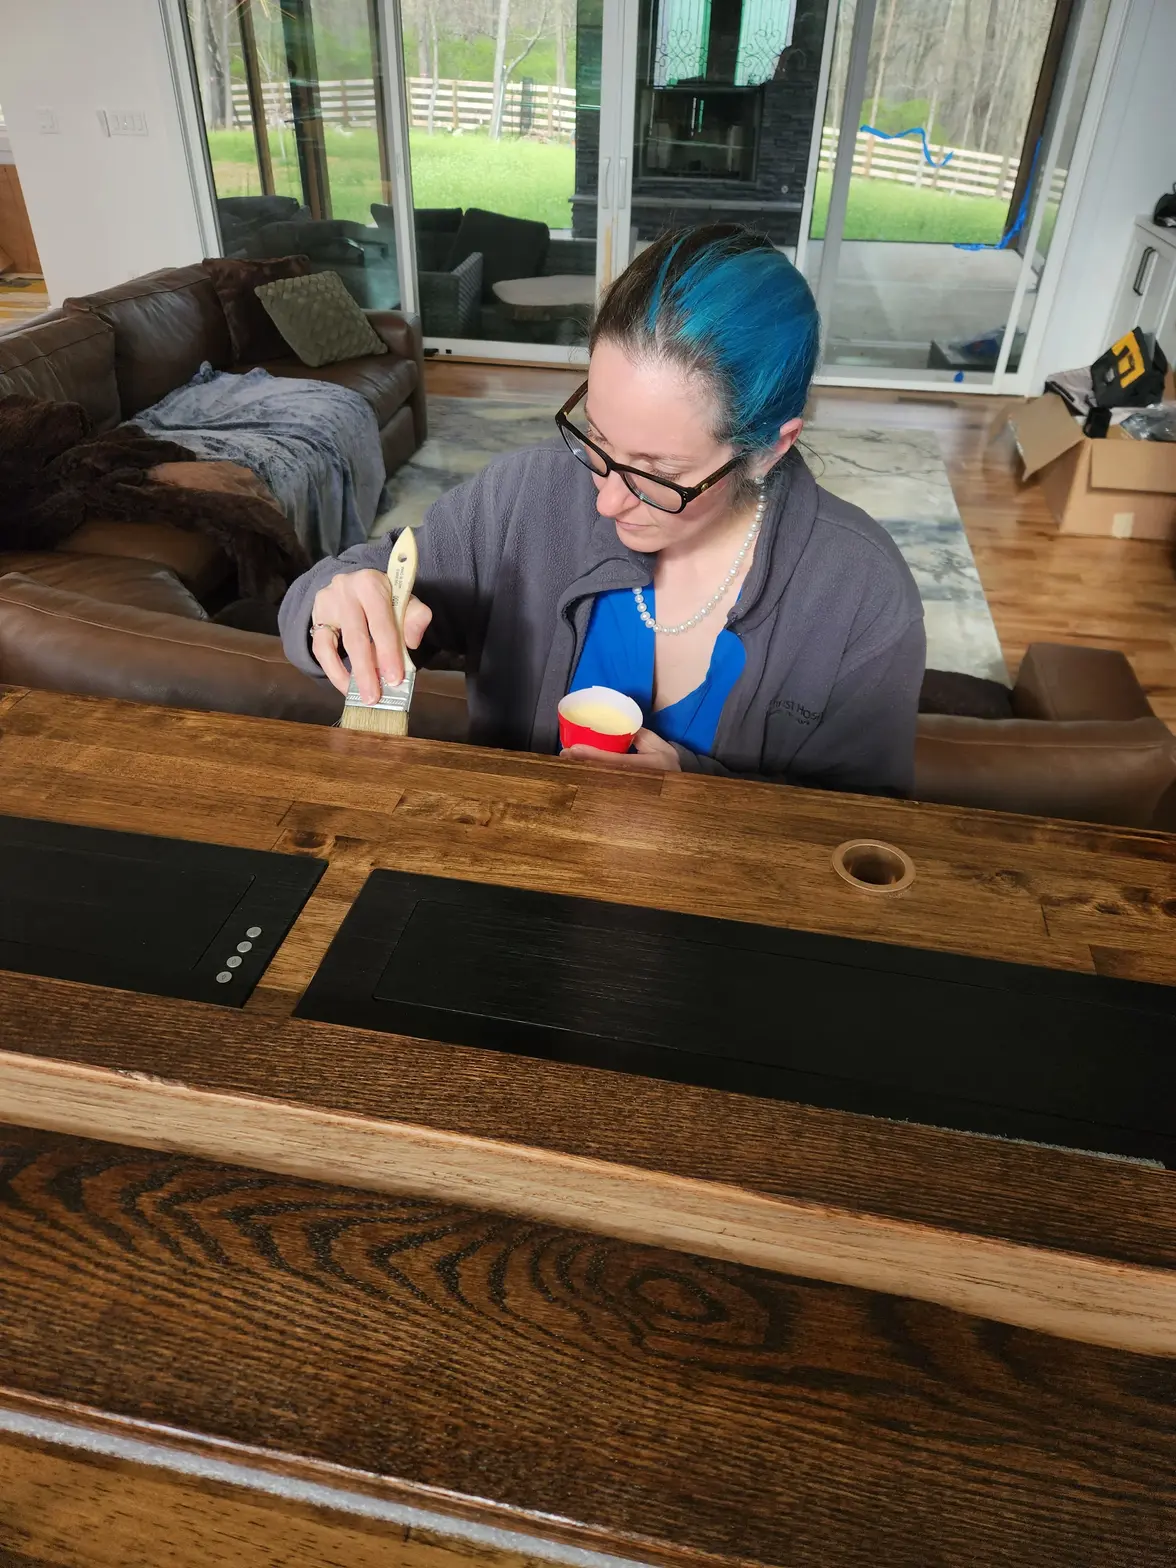
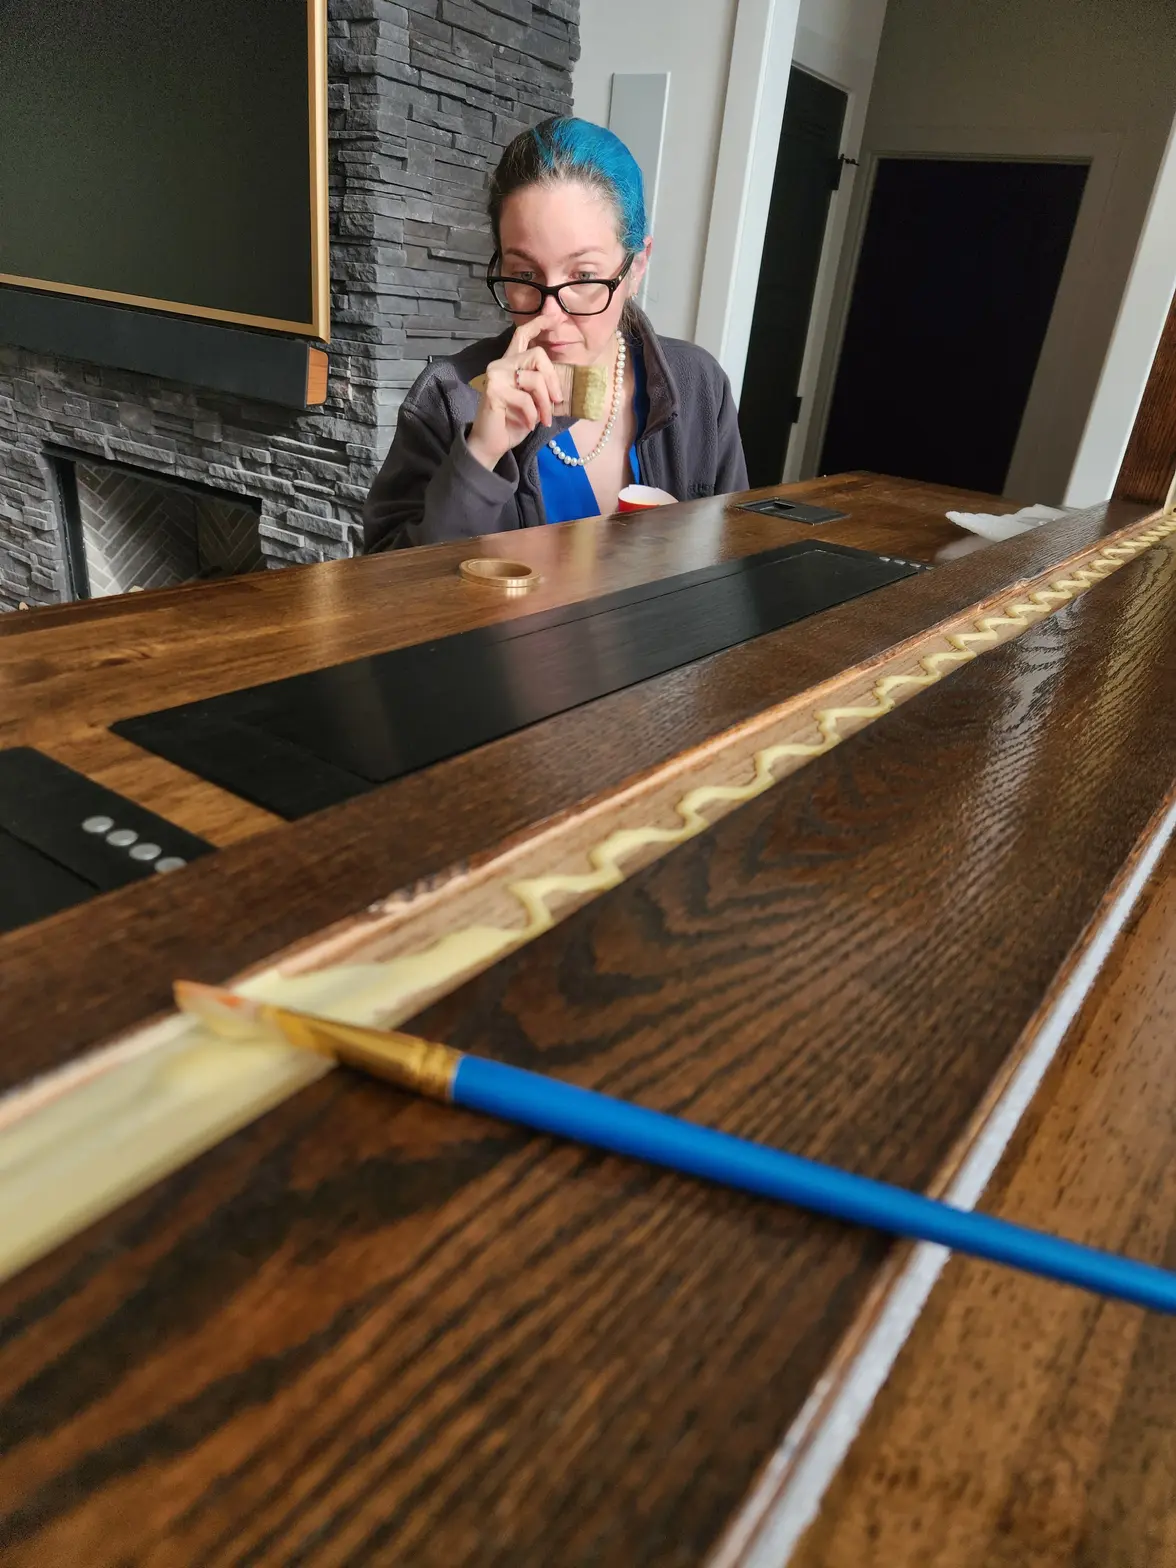
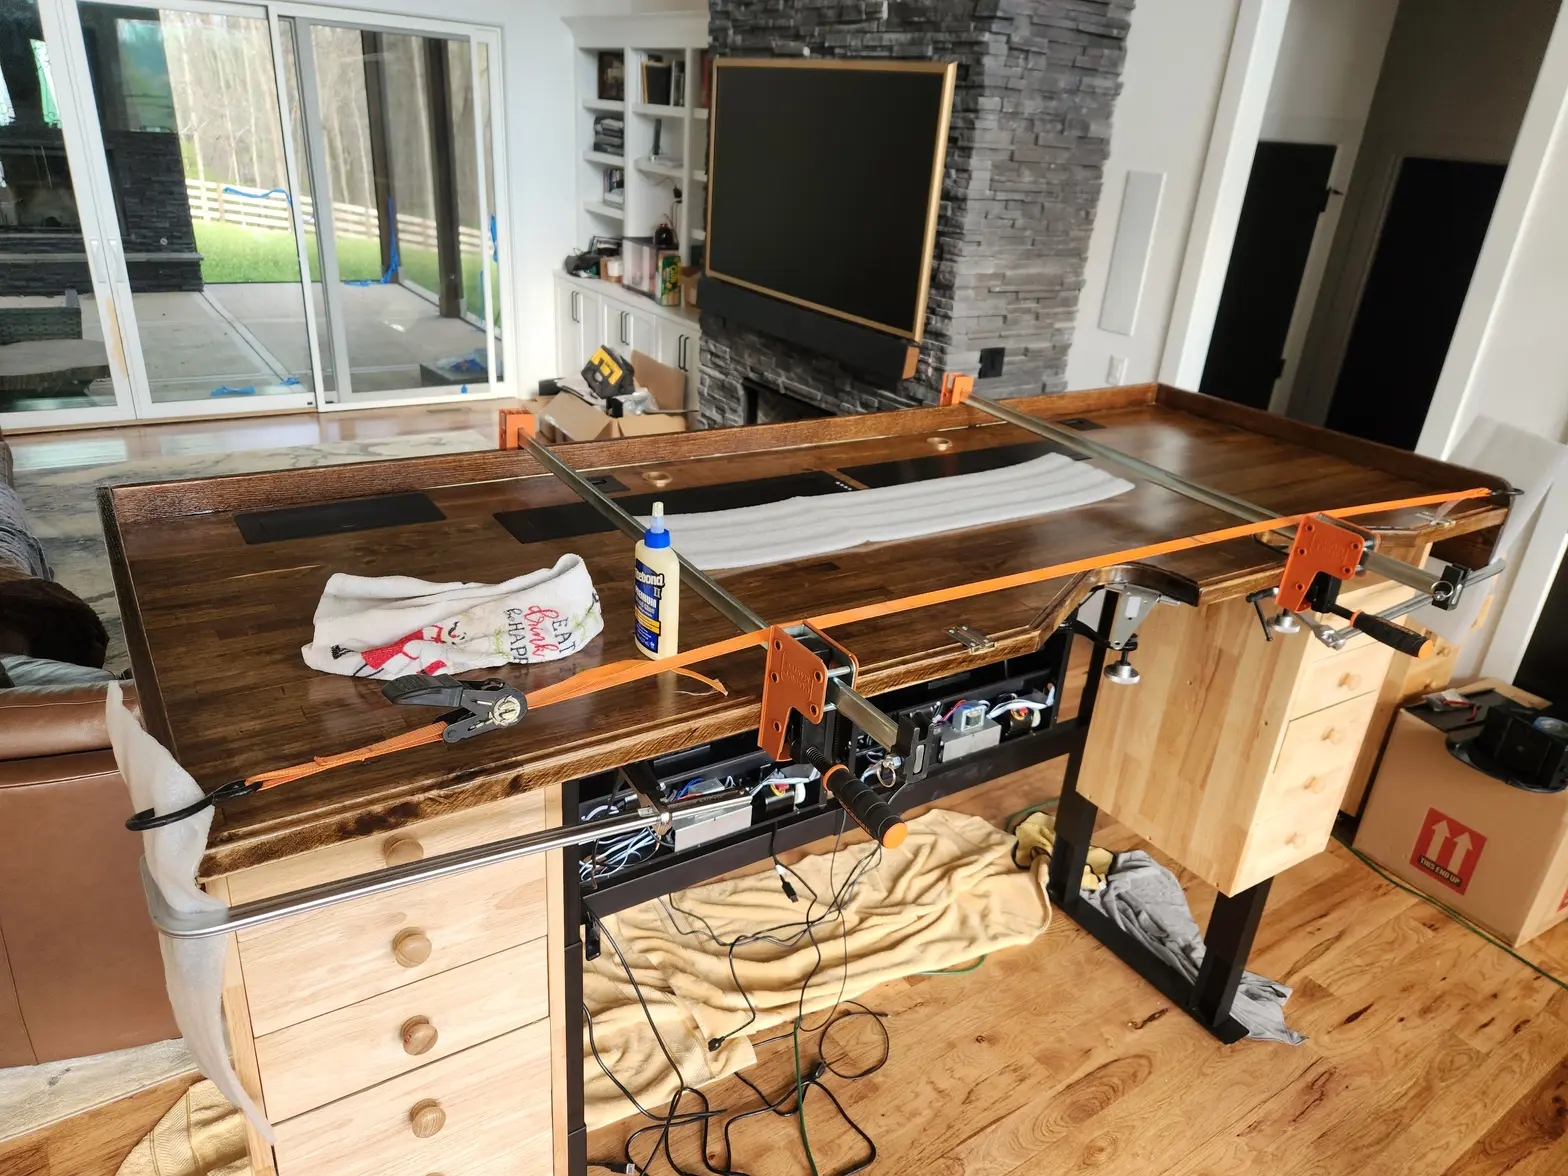
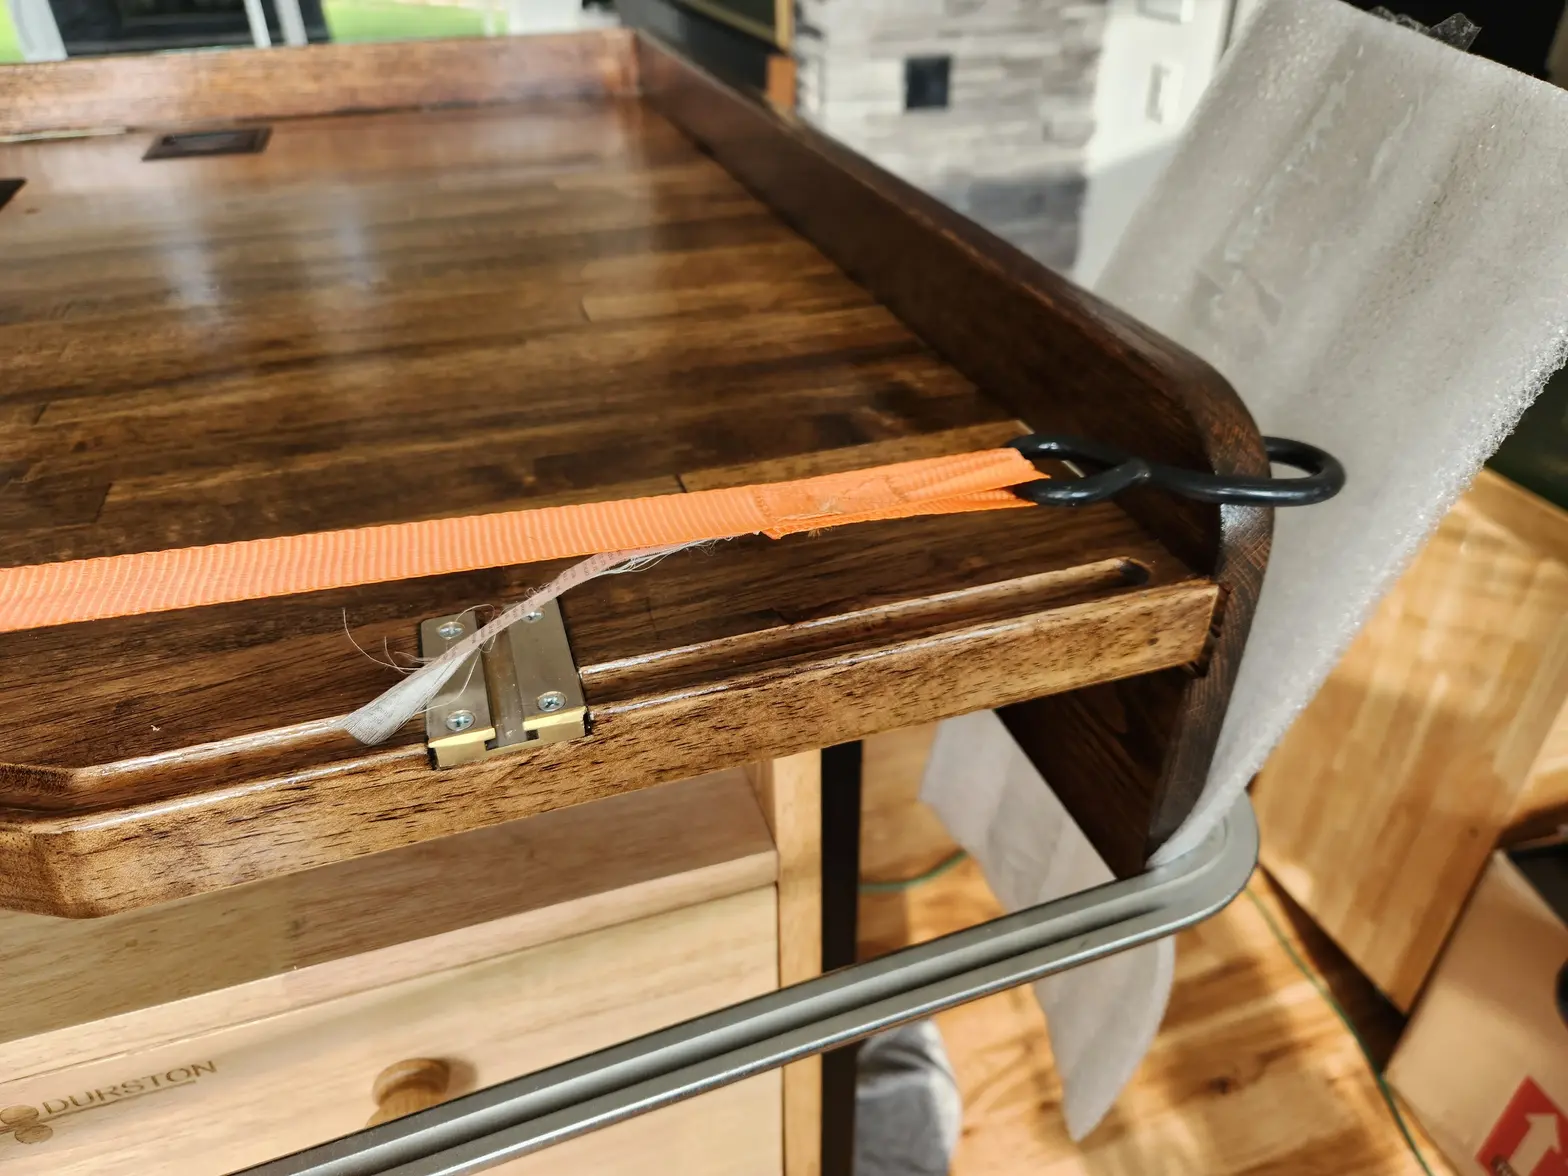
·Lets do some prestaining before we get carried away. I am nervous that if I get glue on bare wood around this joint that it wont stain properly? After glue up was completed, I sanded down the proud fingers and finished the staining.
You bet your best roll of nickles I knocked this on the floor when the glue was still wet and panicked and had to strip everything back down and reglue. I really should hire a carpenter. Im sure there is a better way to have made this. But this is the way I made it.
You bet your best roll of nickles I knocked this on the floor when the glue was still wet and panicked and had to strip everything back down and reglue. I really should hire a carpenter. Im sure there is a better way to have made this. But this is the way I made it.
samweldspoorly
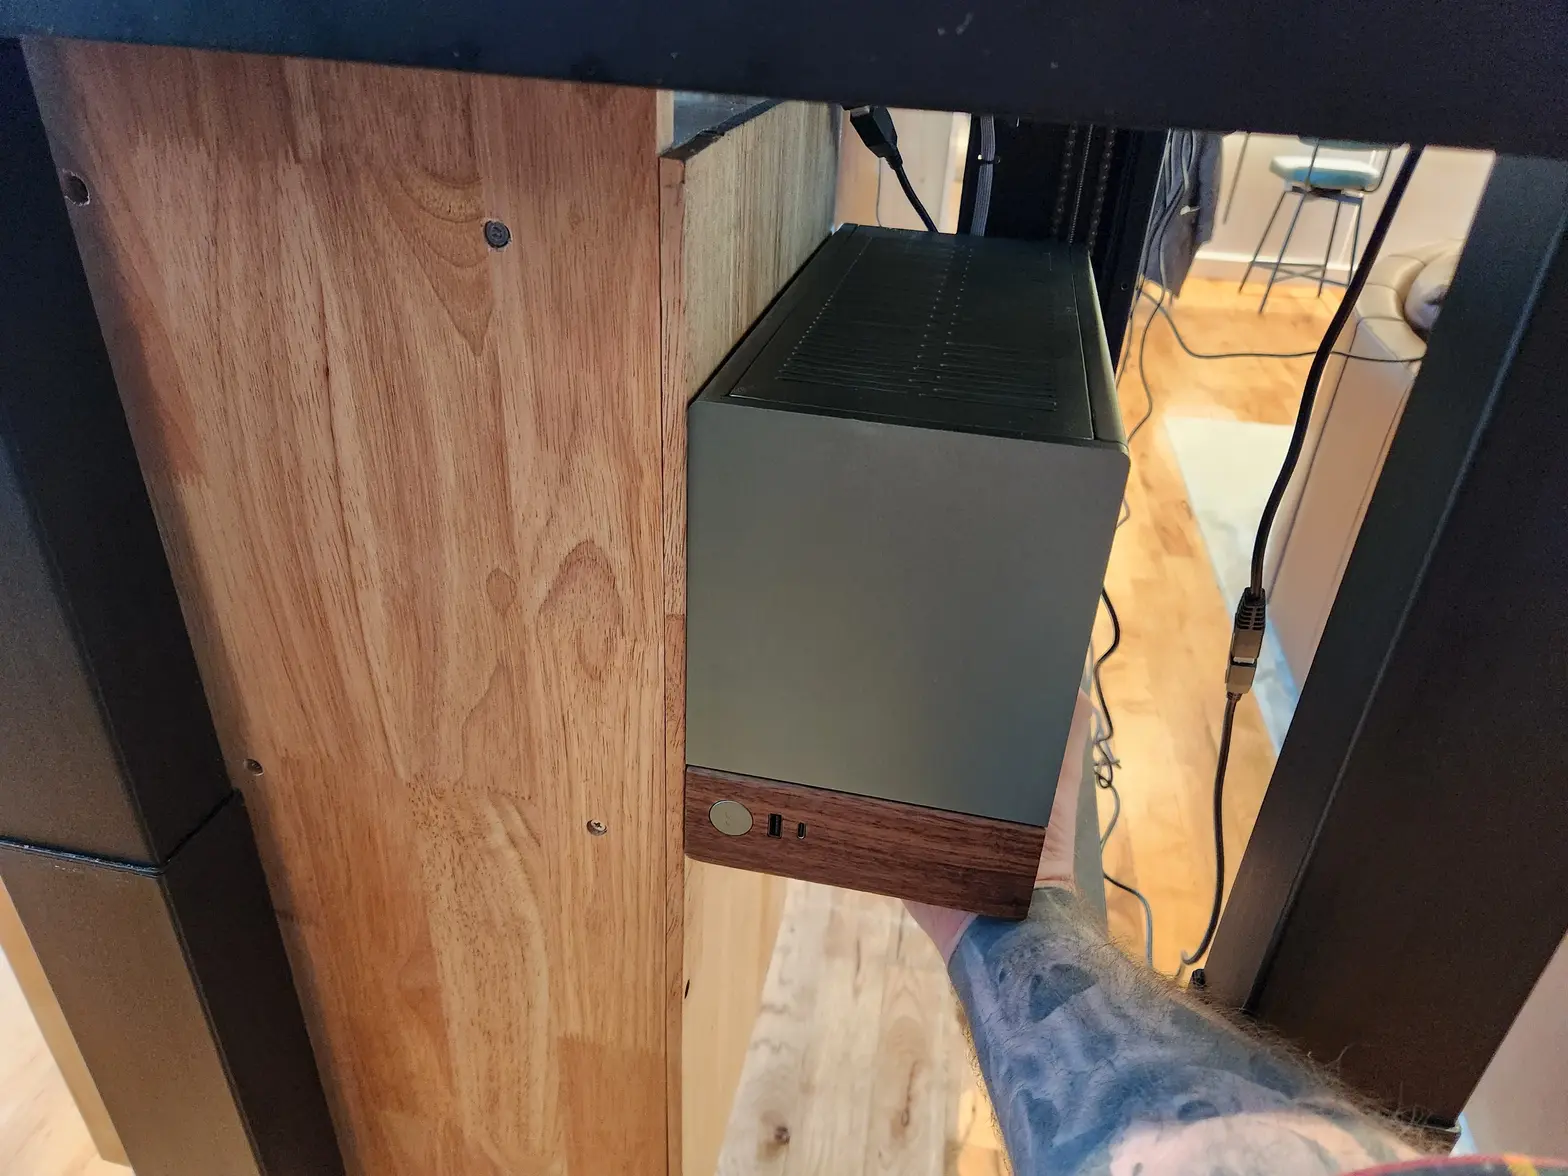
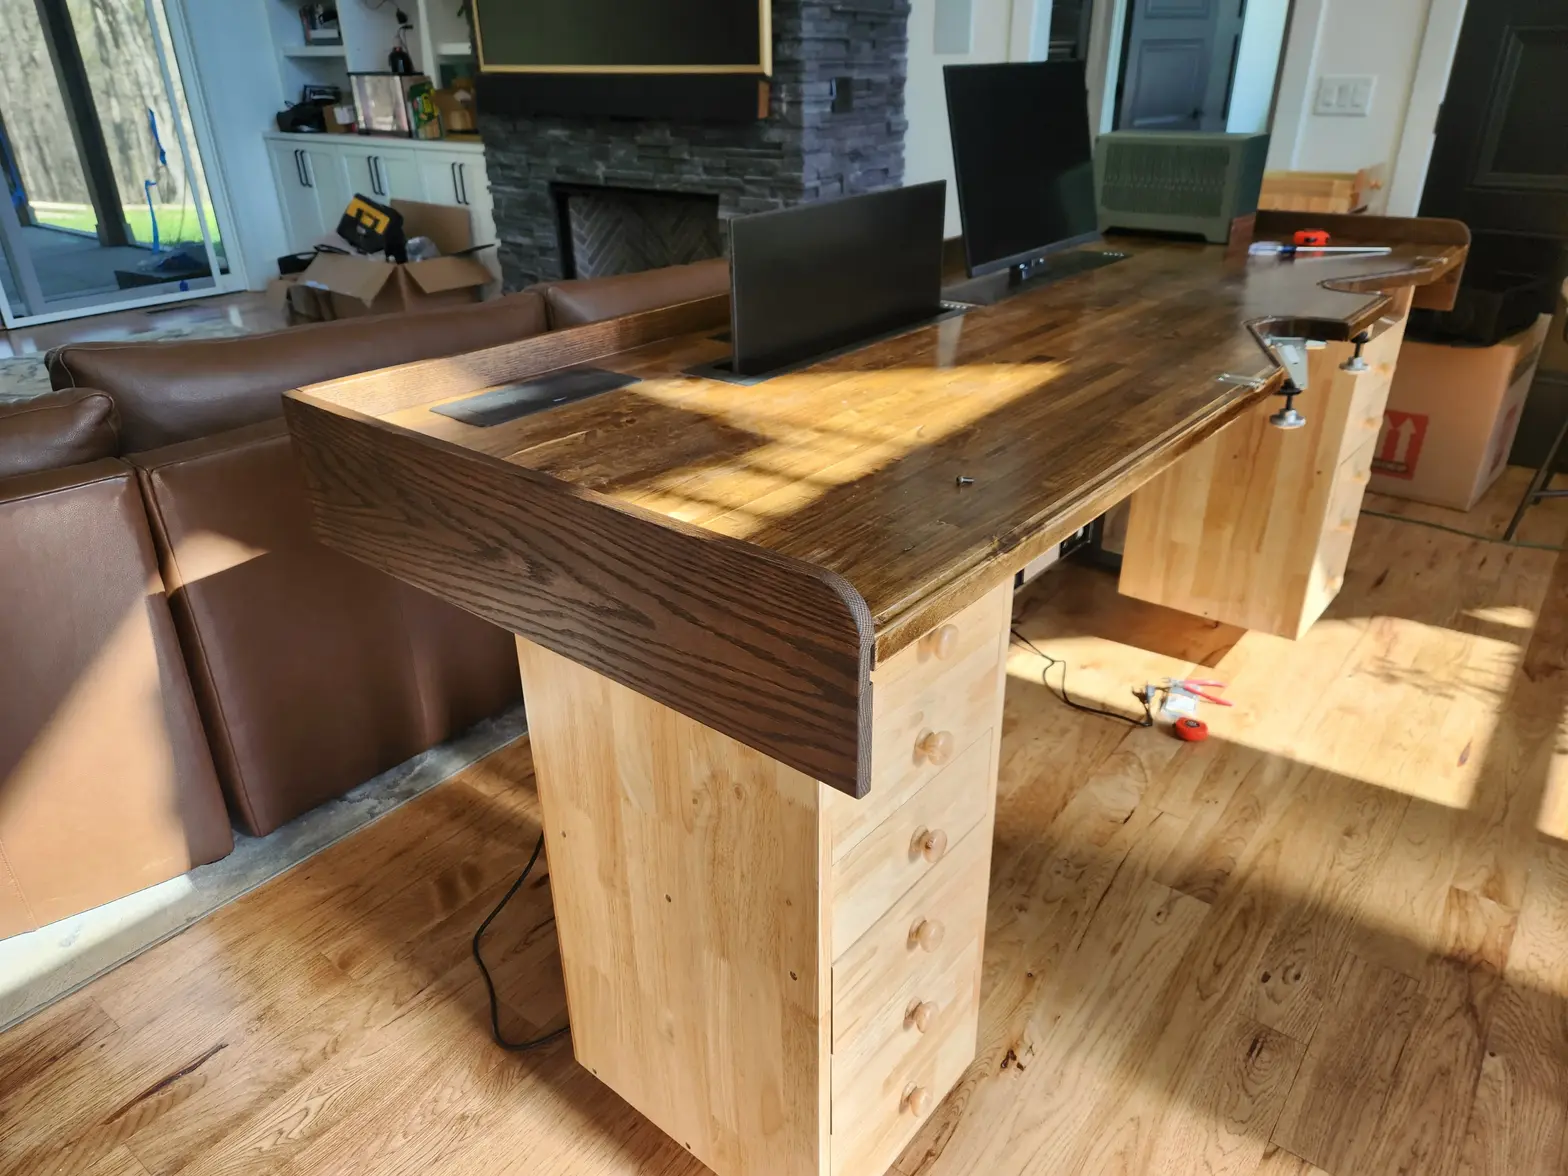
·Dropped both monitor casettes in and started hard wiring. Trying to figure out the best place for this Fractyl Terra SFF build to live. I think I need a little shelf. UpLift has a nice Computer rack on a sliding bracket but its kinda clunky. Dont think Ill use it. Got the skirt on to test fit one last time before glue up.
samweldspoorly
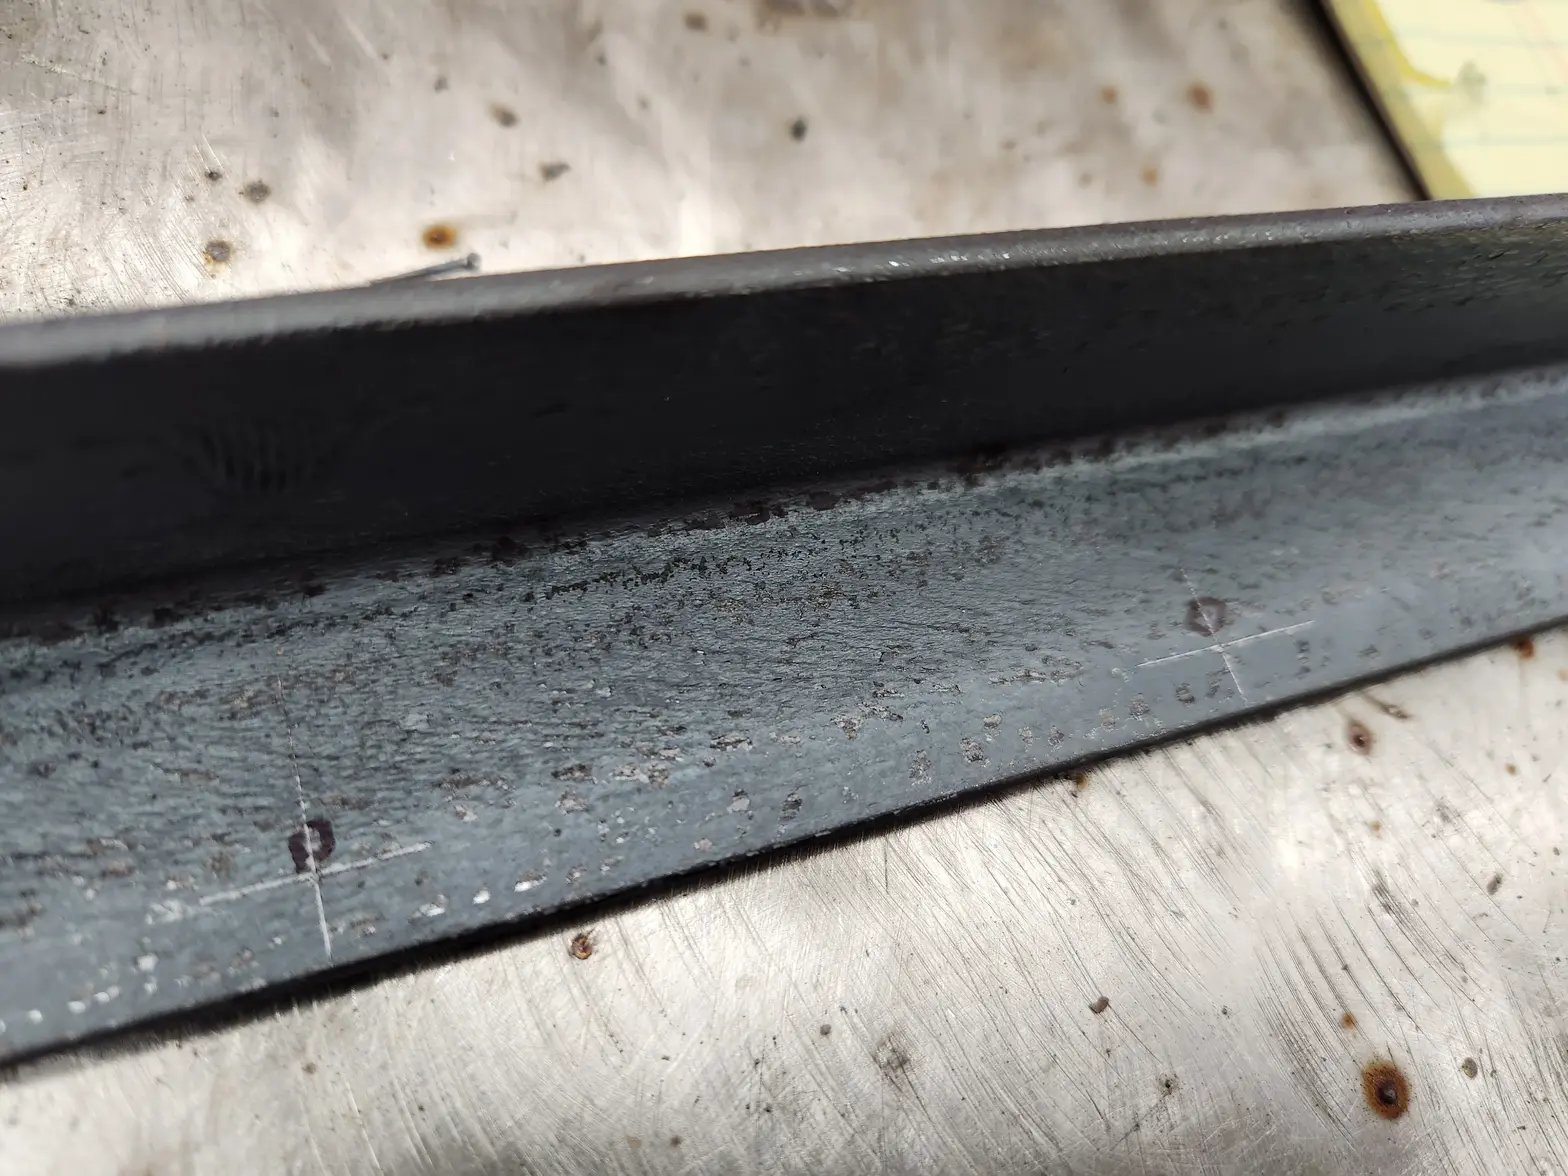
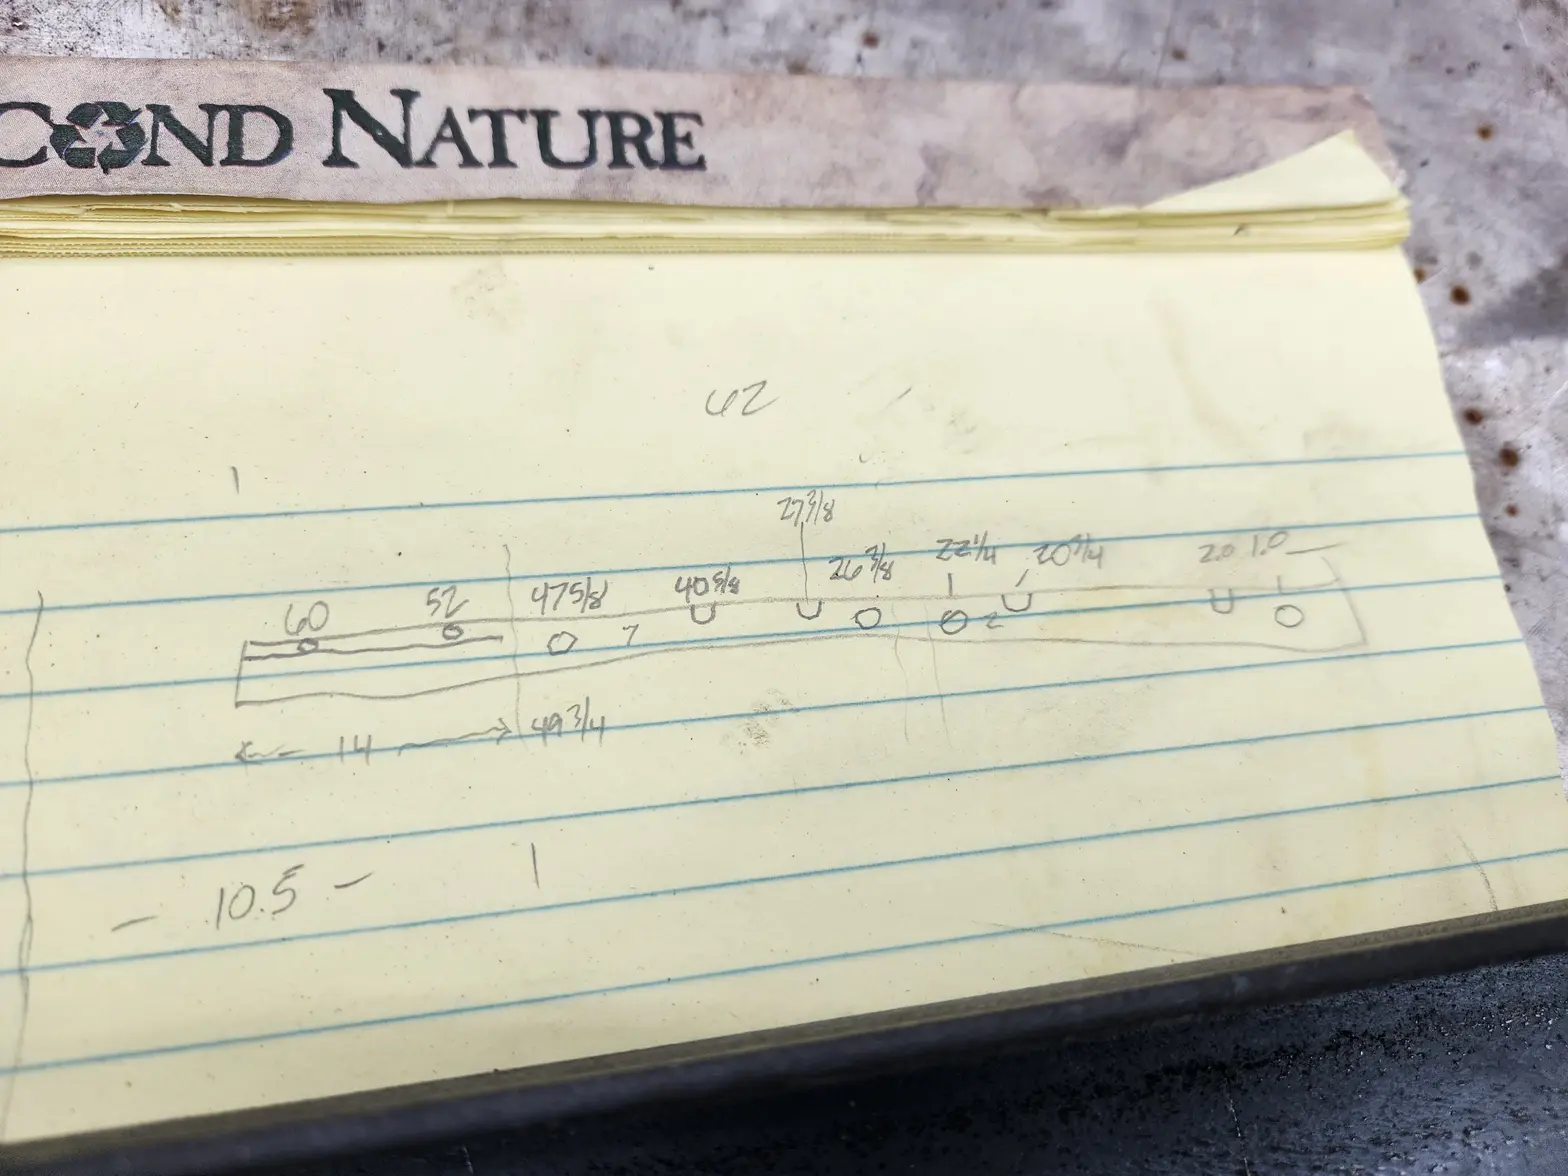
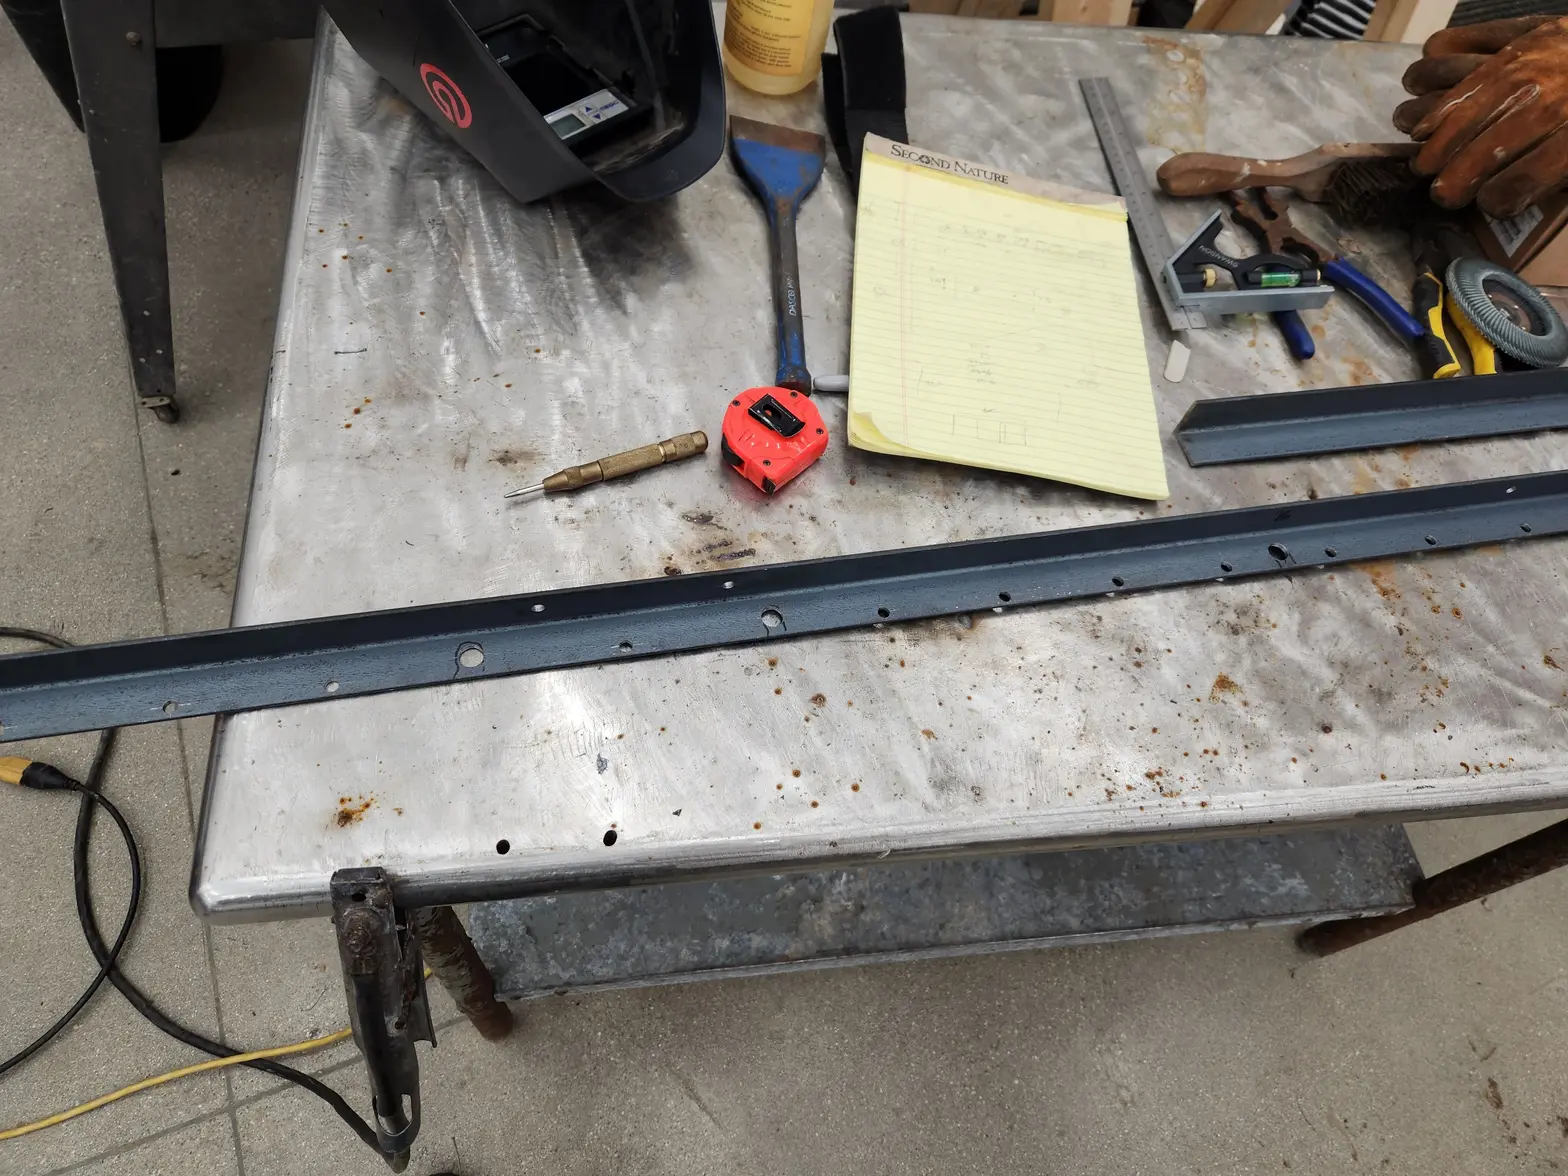
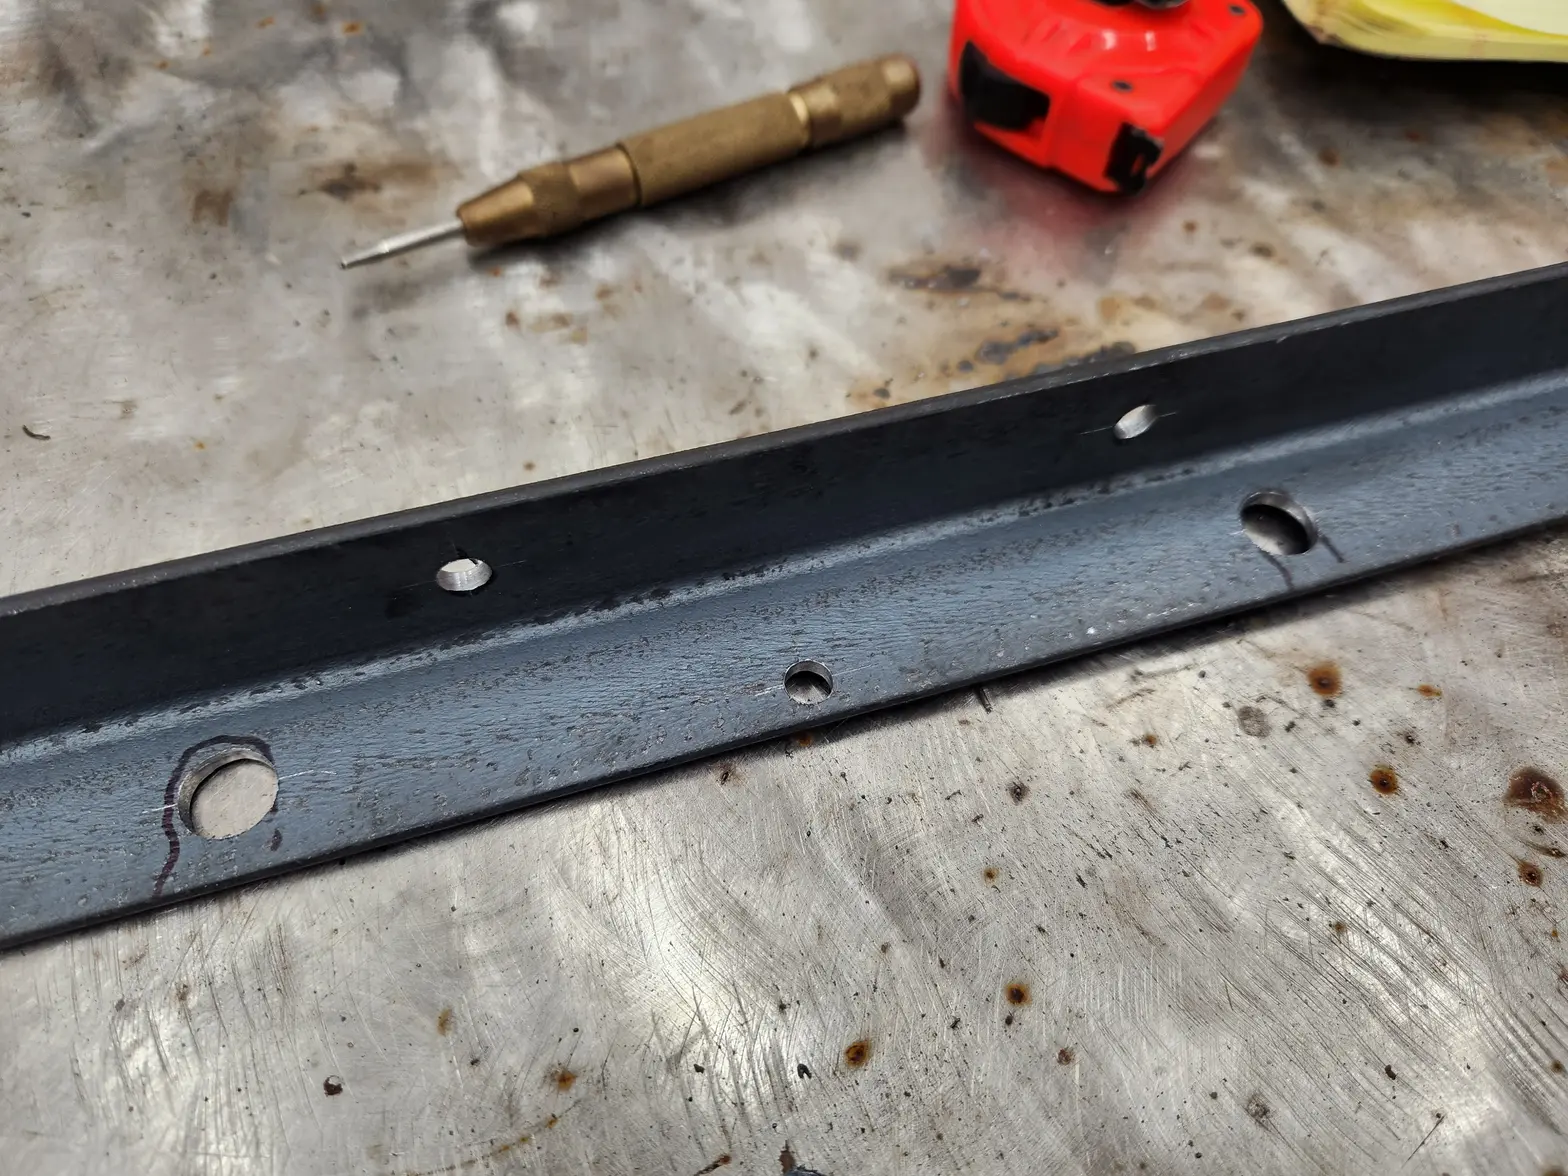
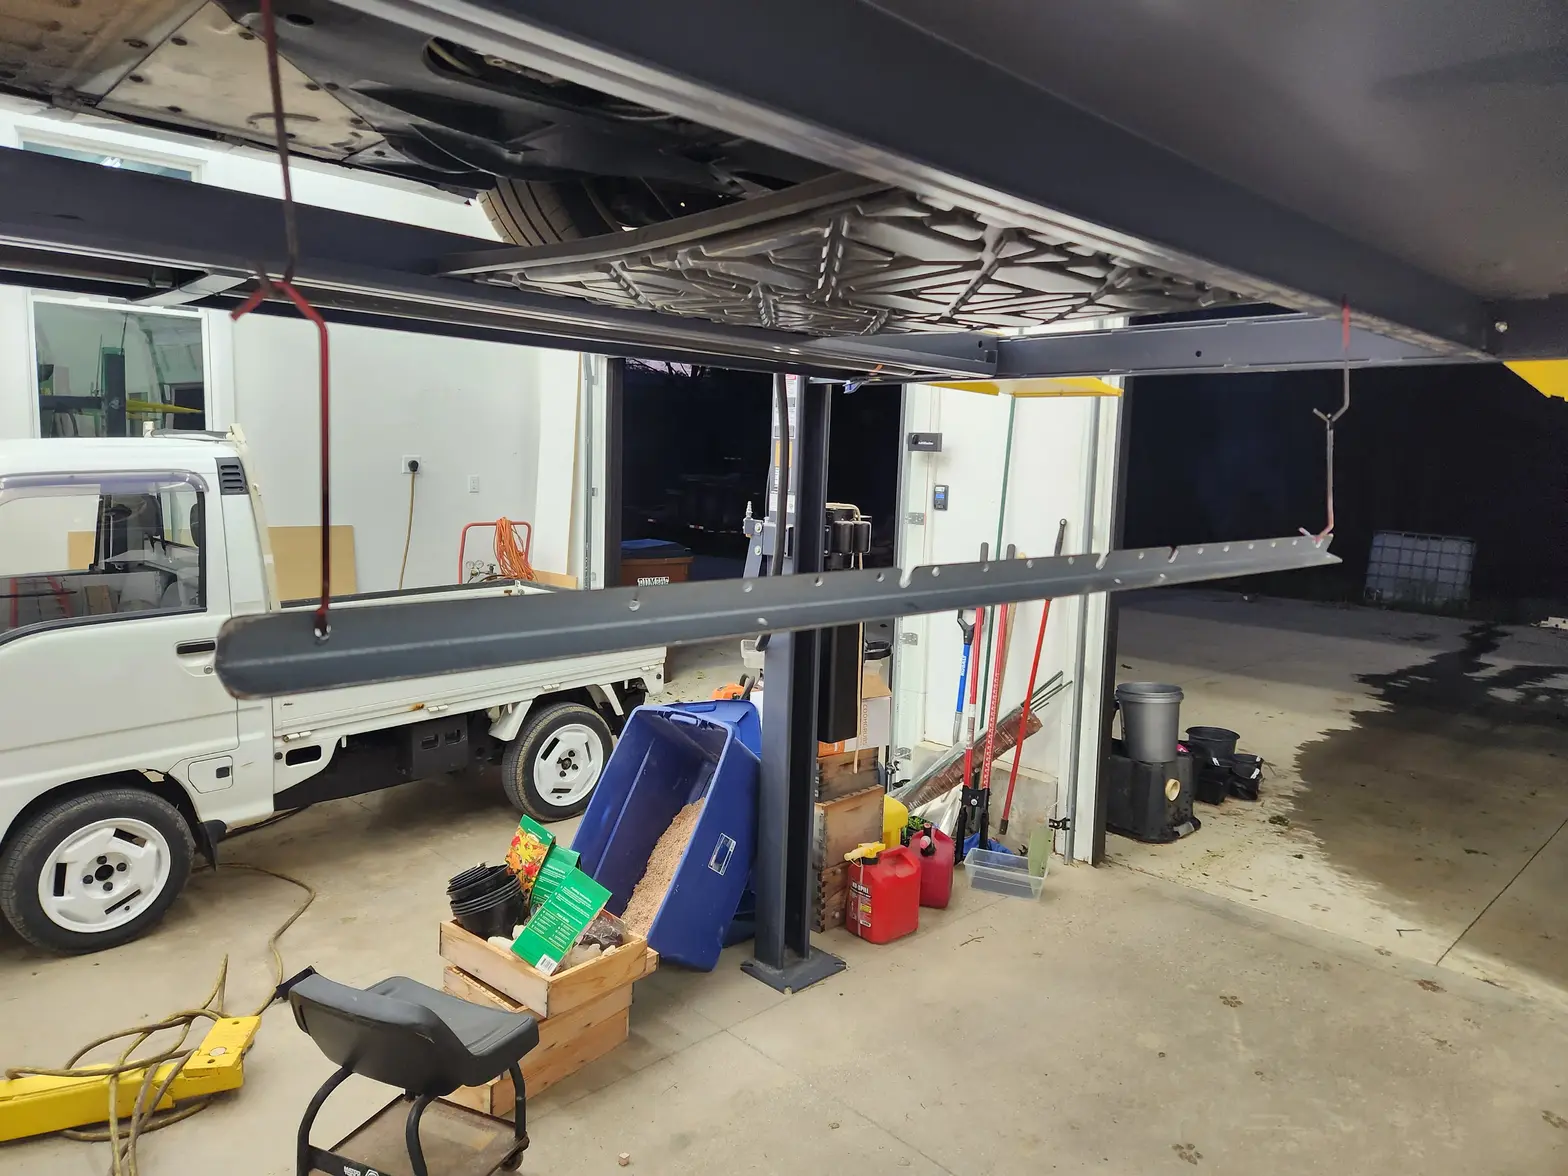
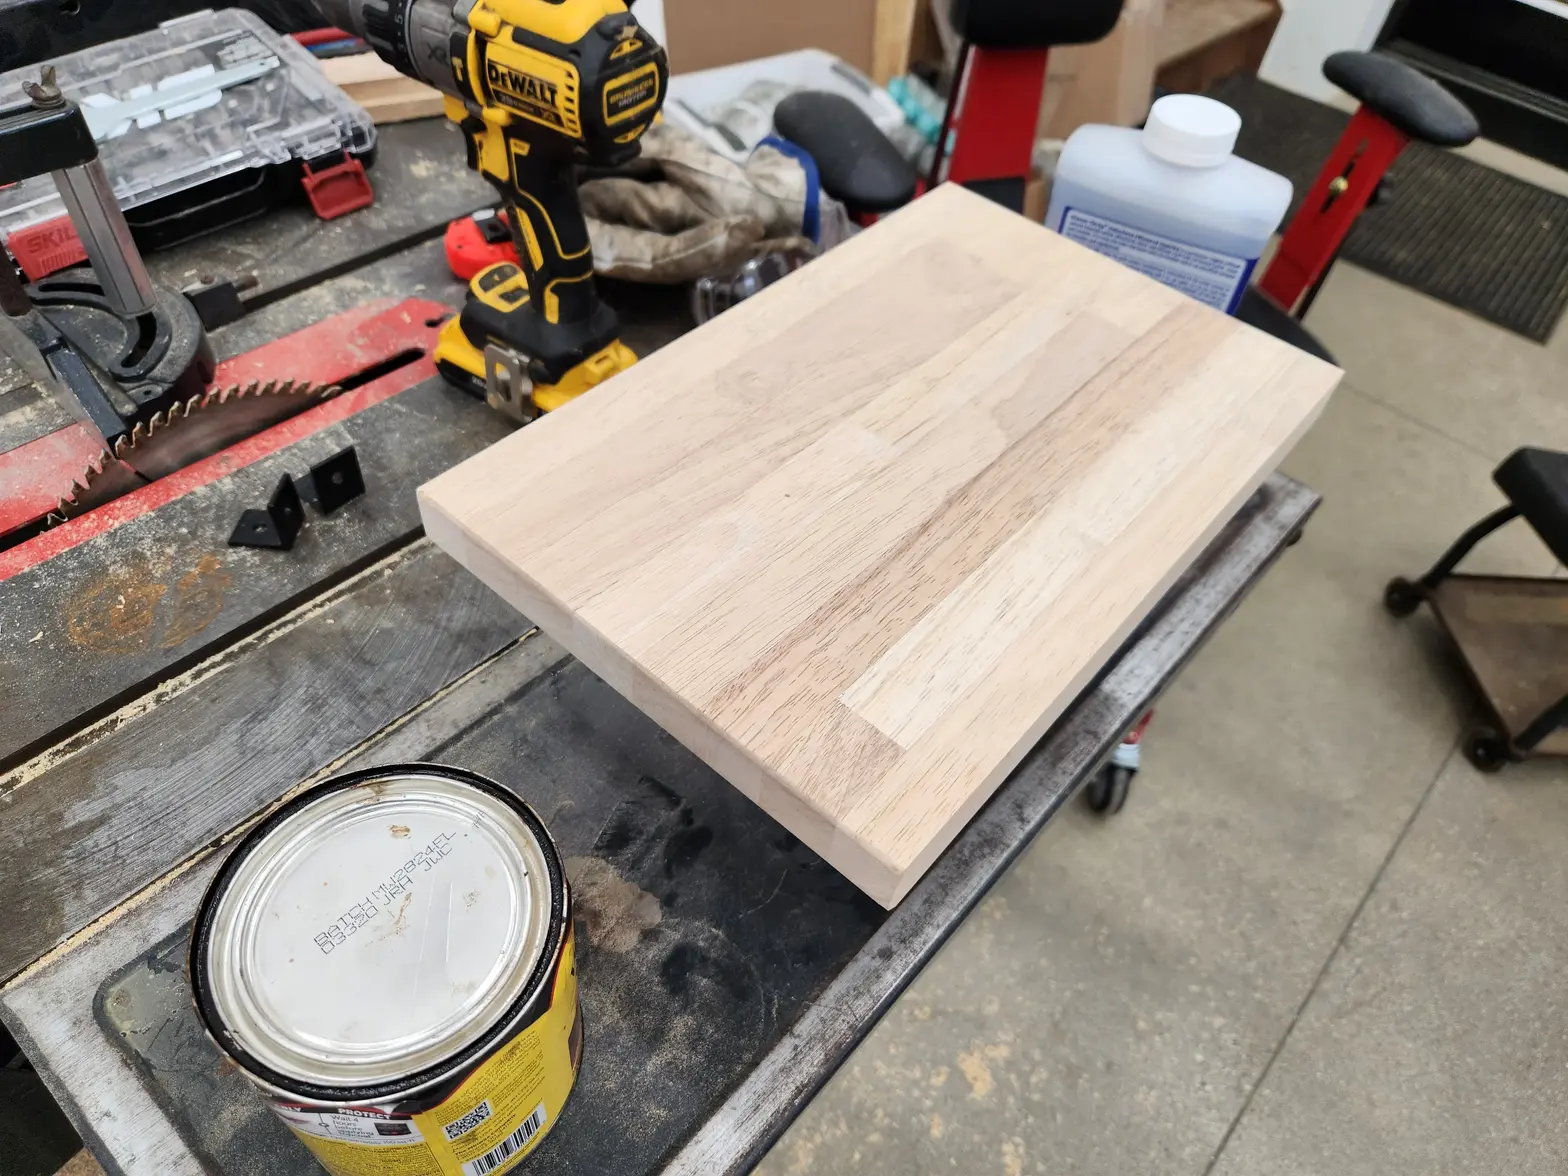
·These monitor cassettes are too shakey and move around more than I want them to. Lets stiffen them up with a long tie bracked that will bolt to both backsides, mount to the cabinets, act as shelf mounting points, and help with cable management. A lot of work for a stick of 1.5" angle iron, but its up for the task. Then lets make a shelf for the Fractal Terra small form factor case. Im just going to use an off cut of the same poor mans butch block. Nothing crazy here.


