My custom DIY watchmakers bench (pic heavy)
samweldspoorly
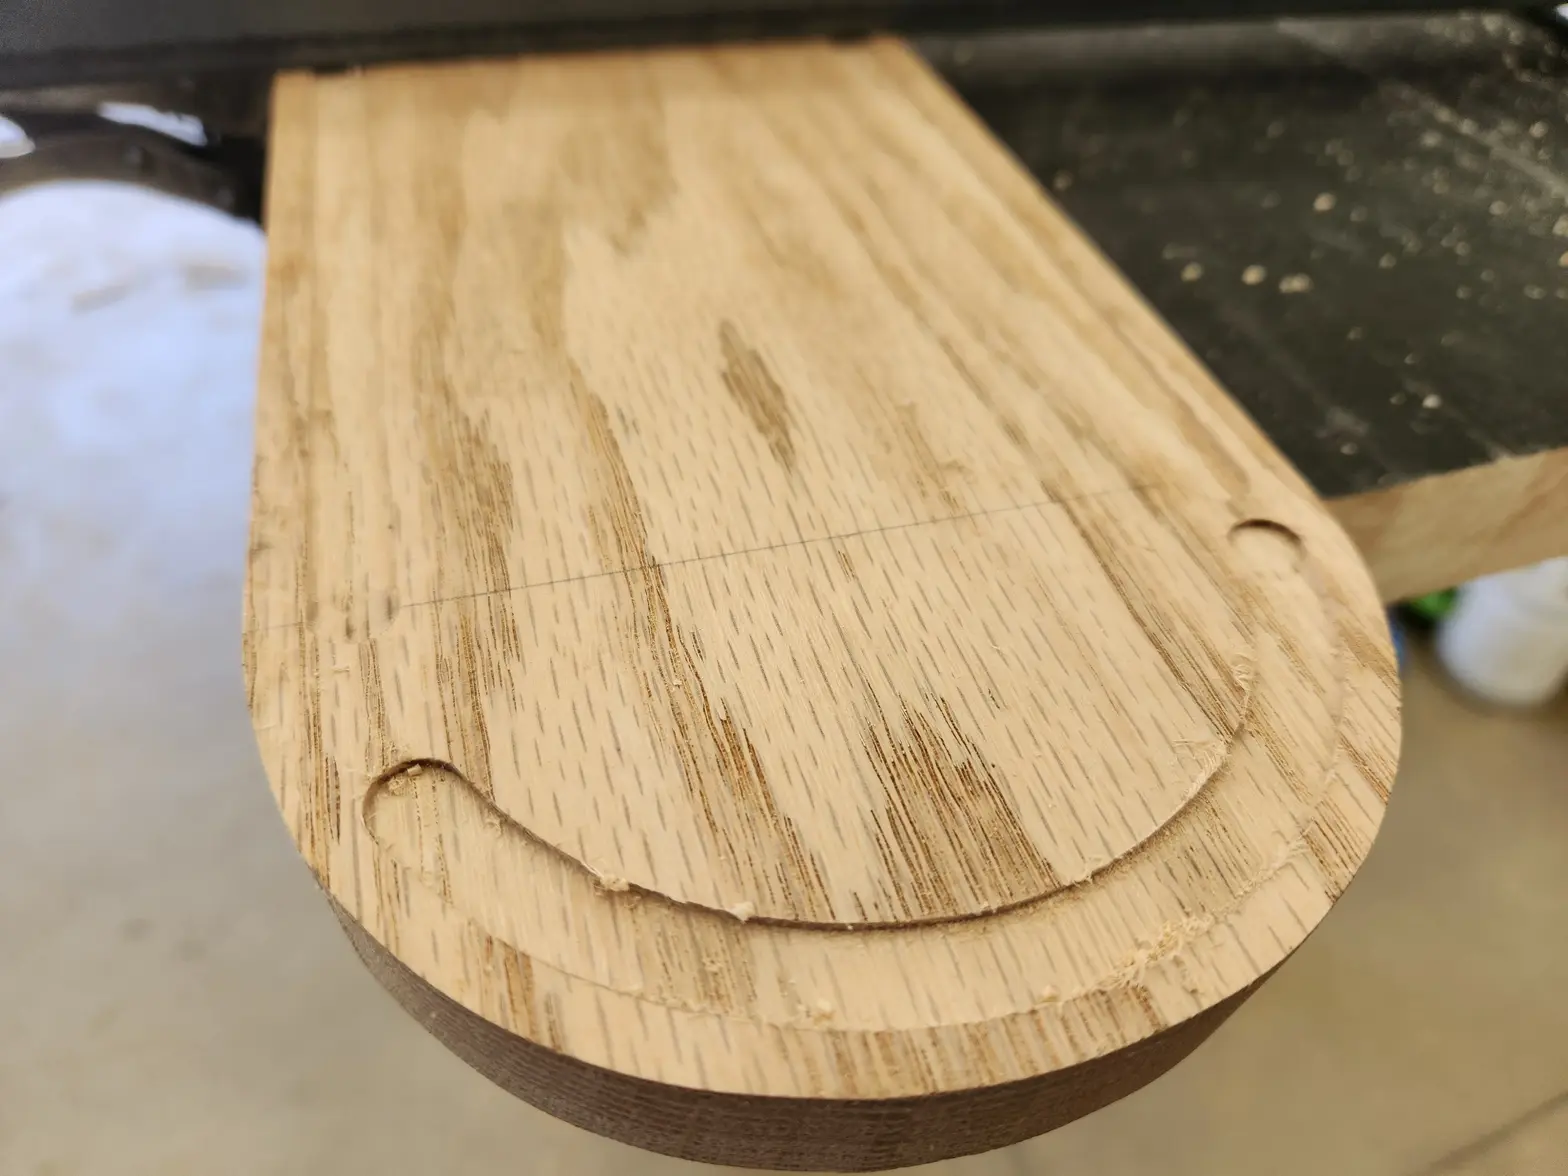
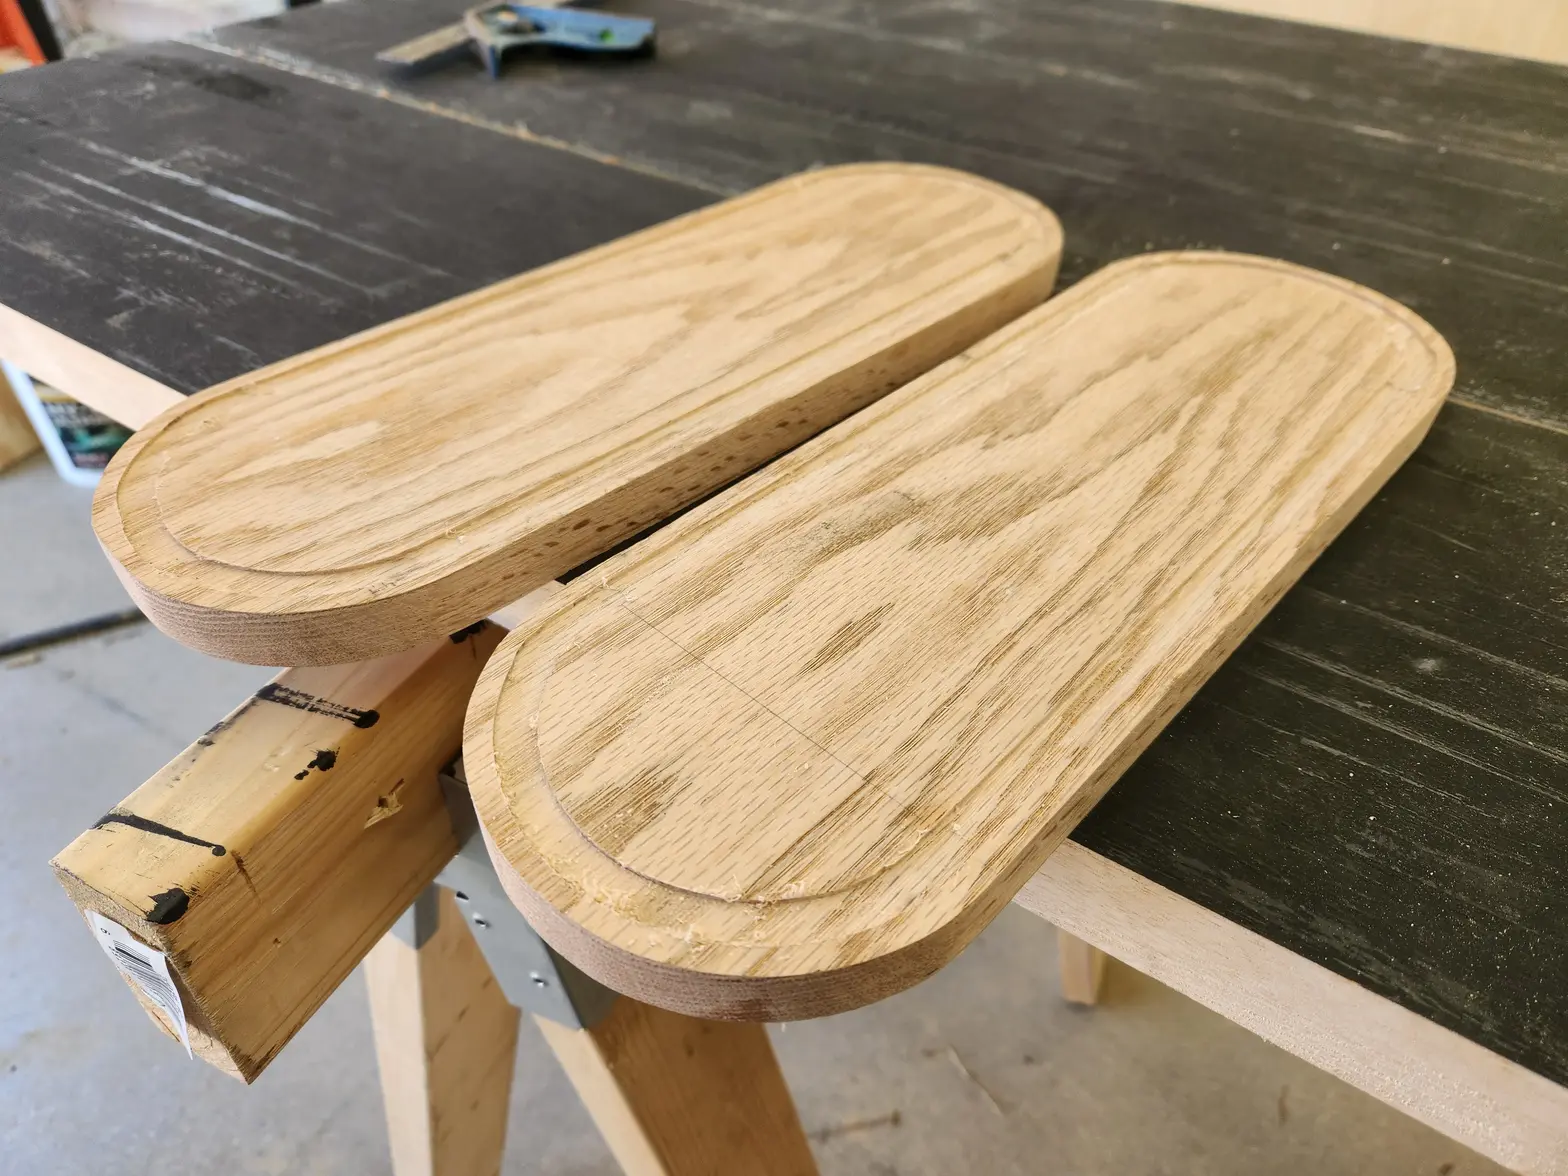
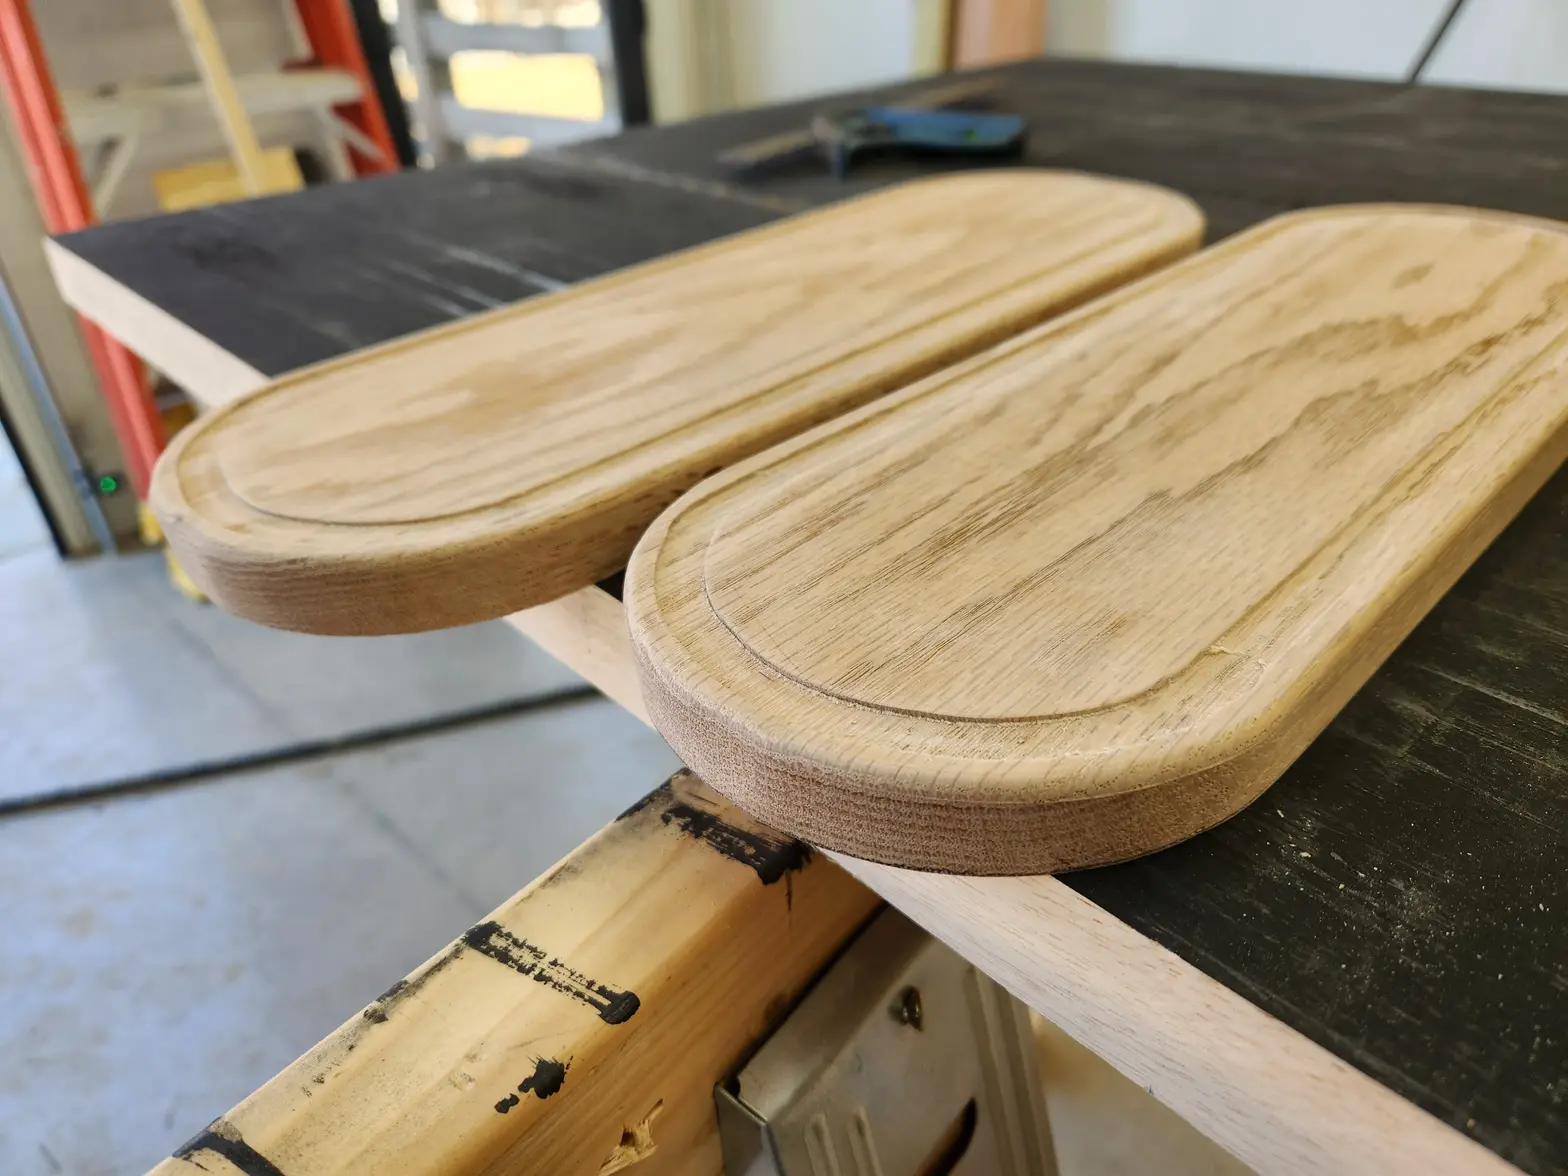
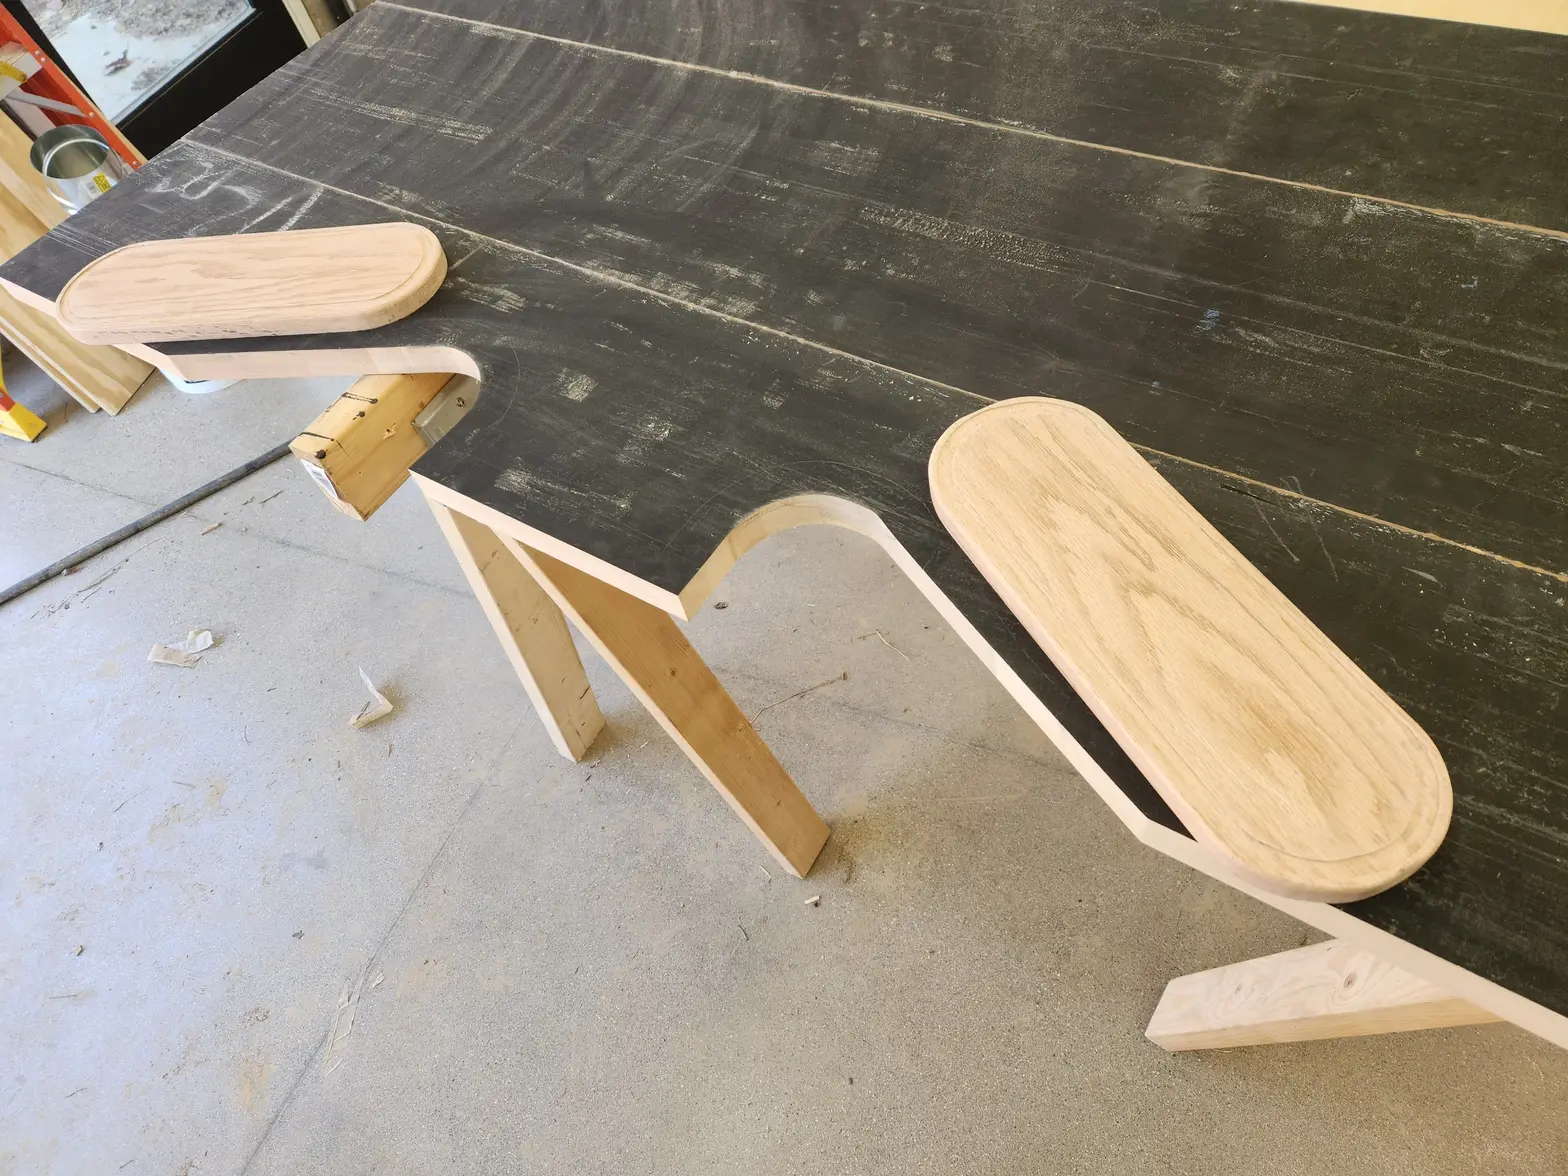
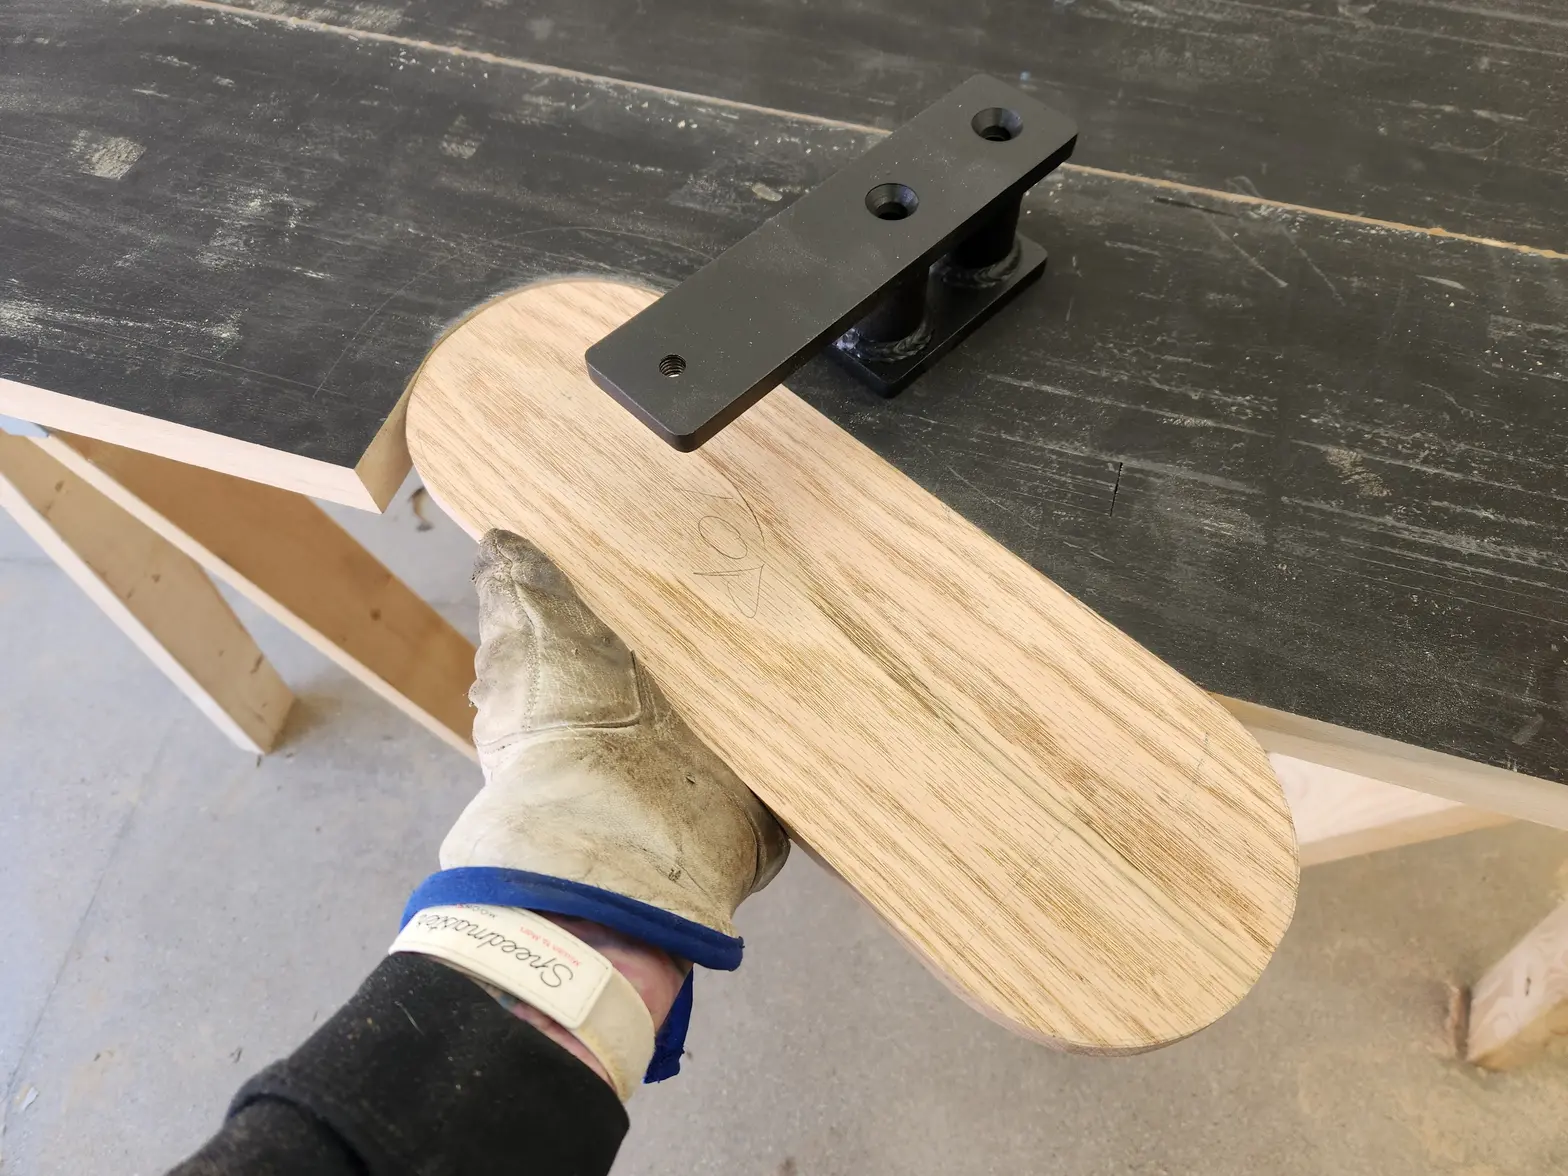
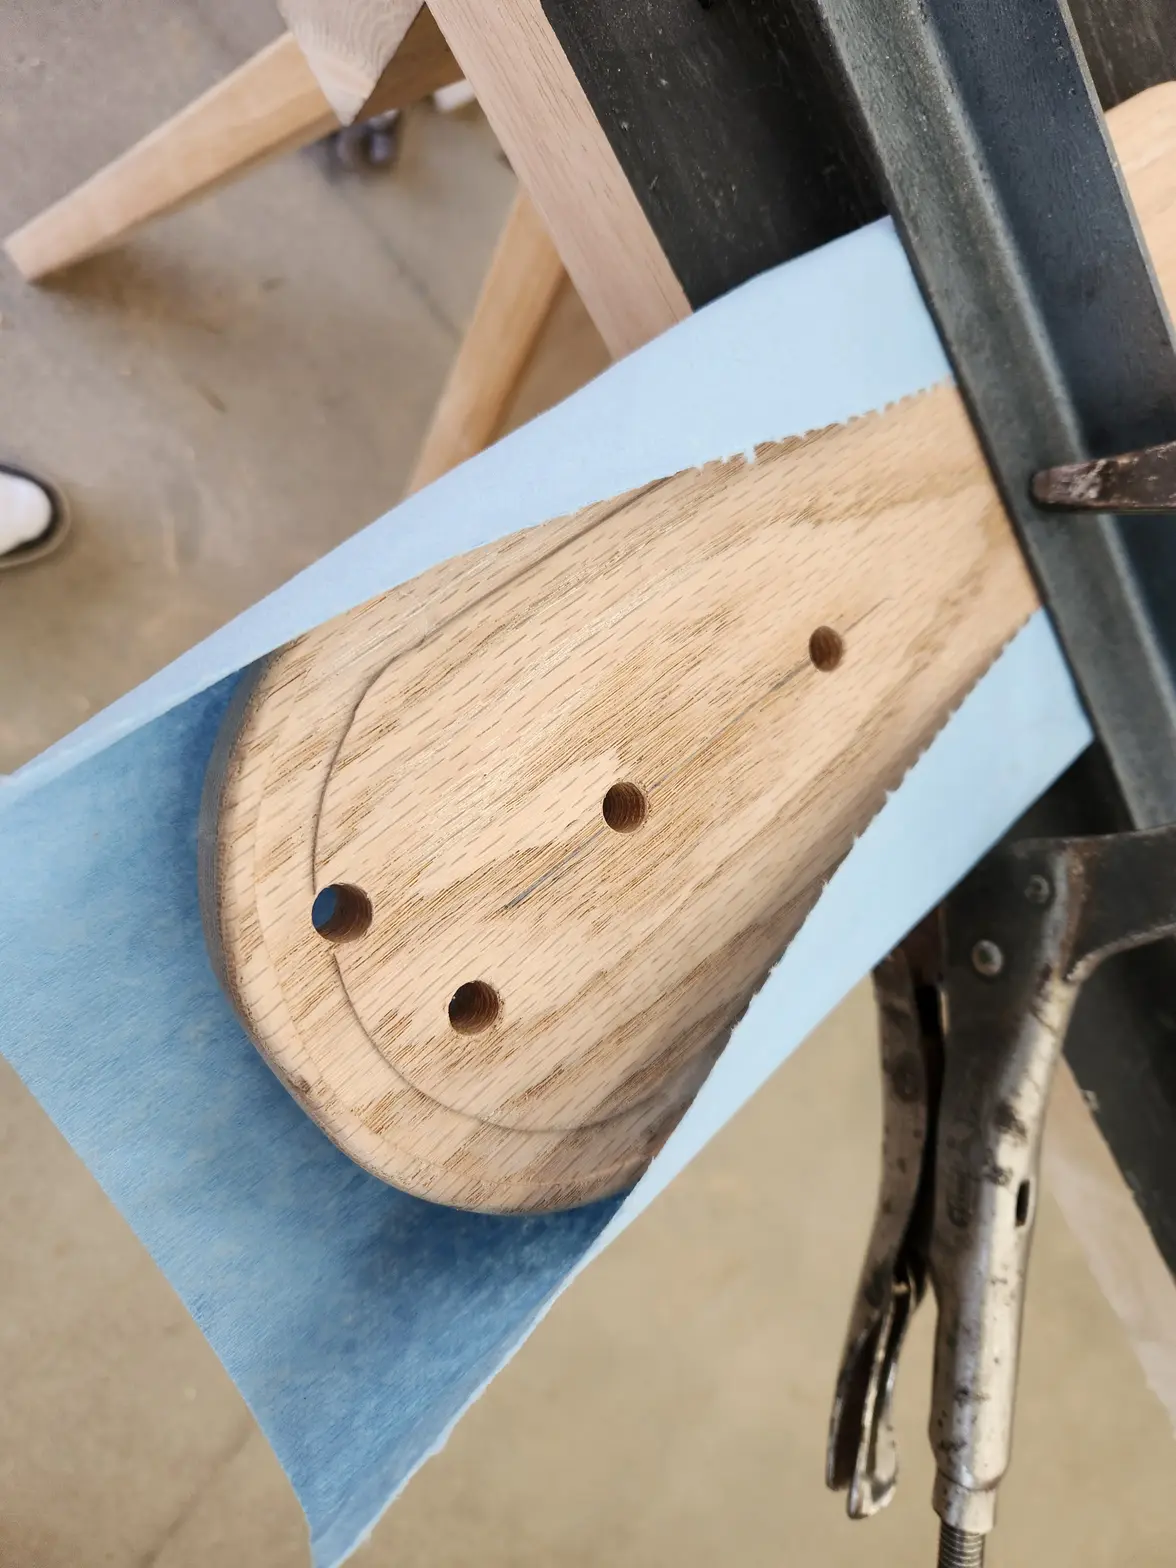
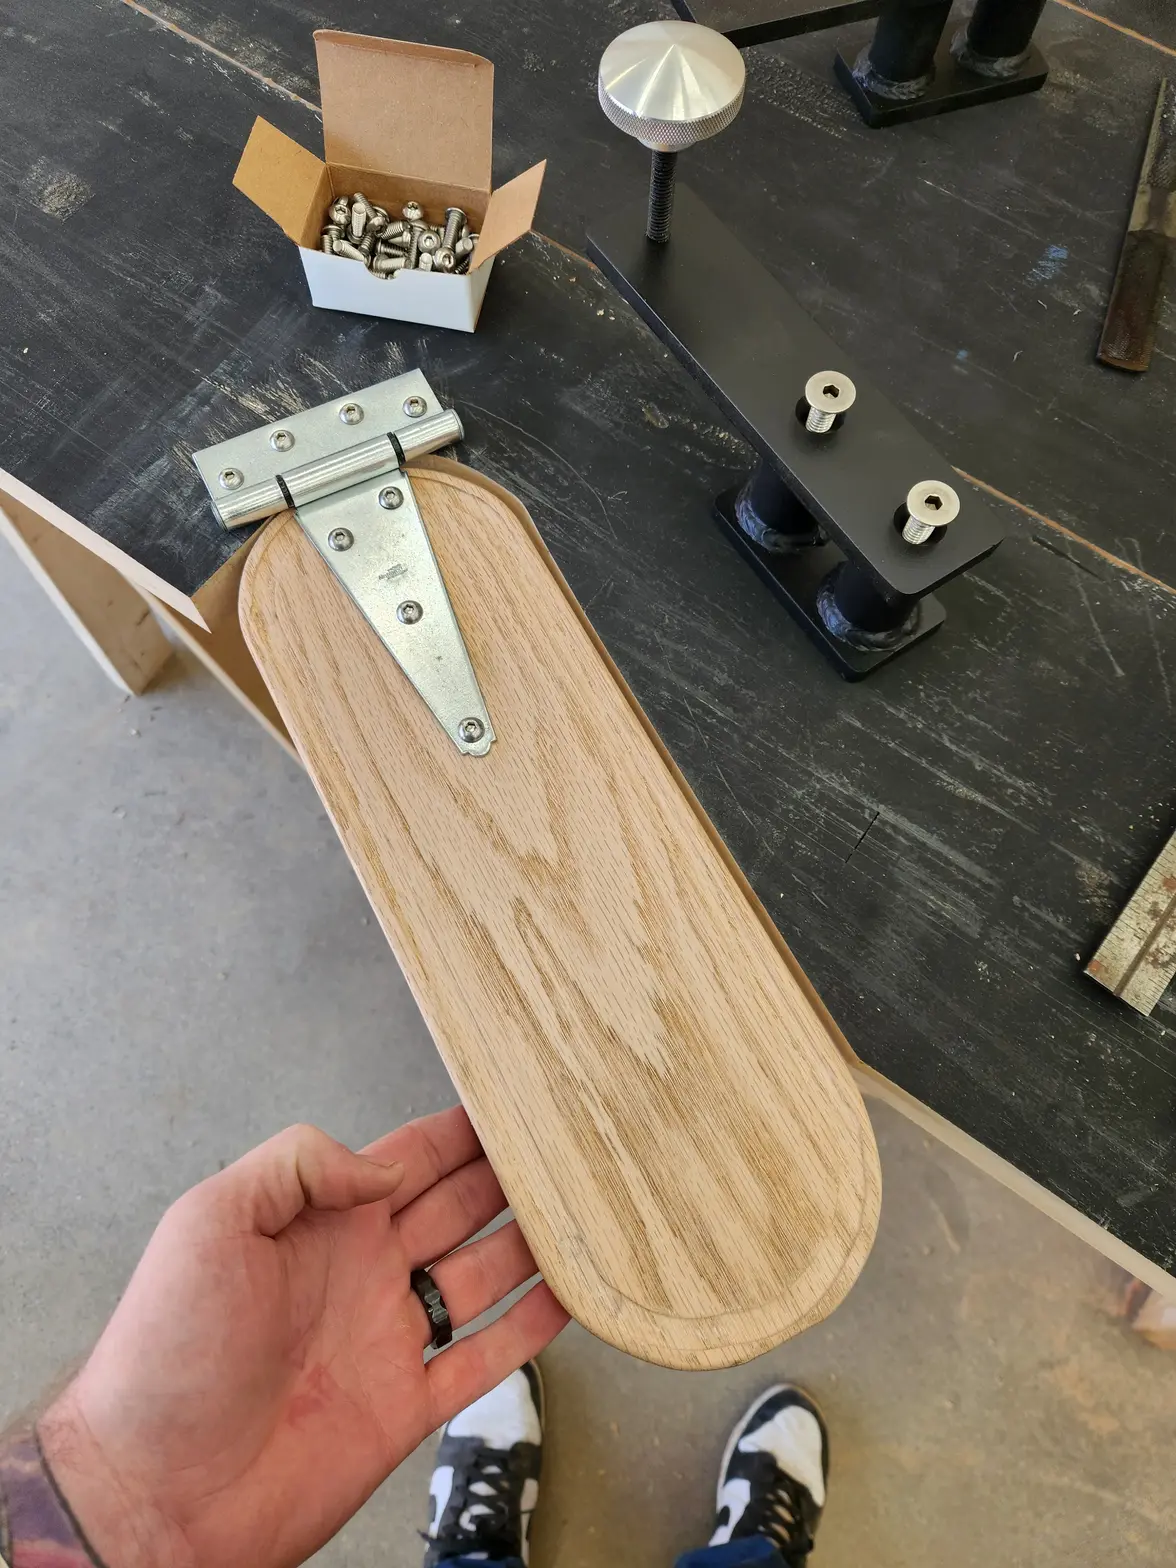
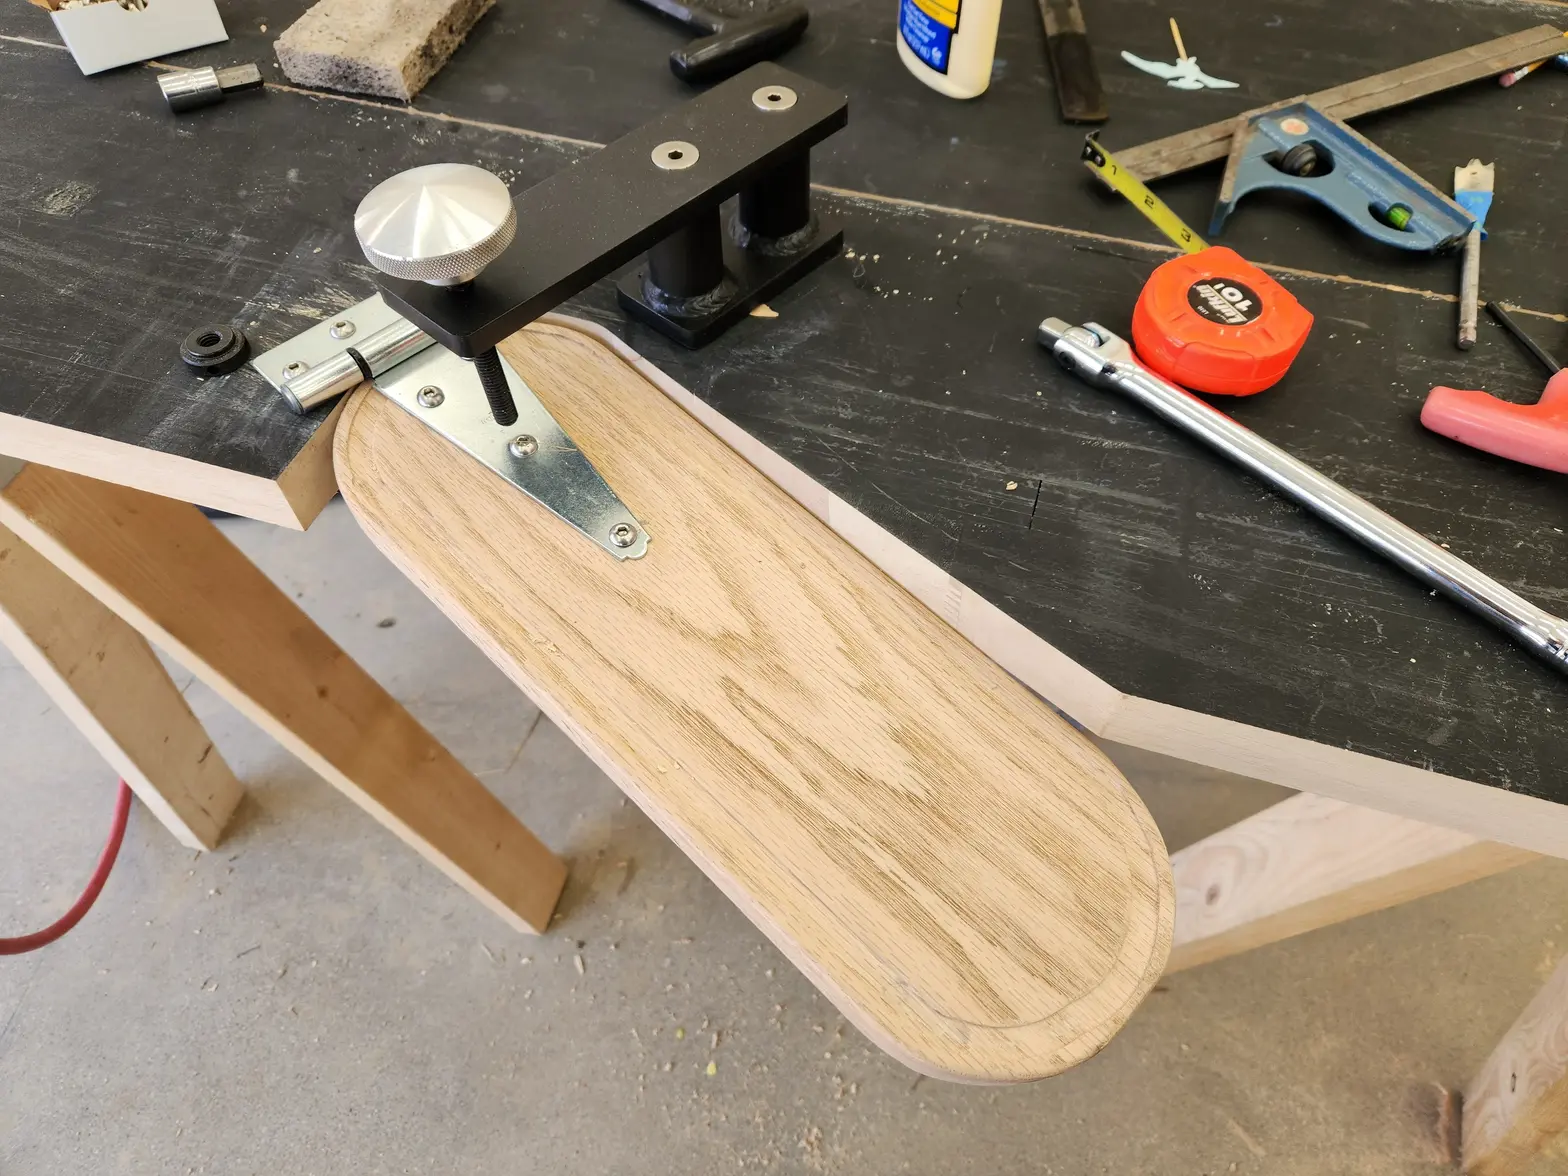
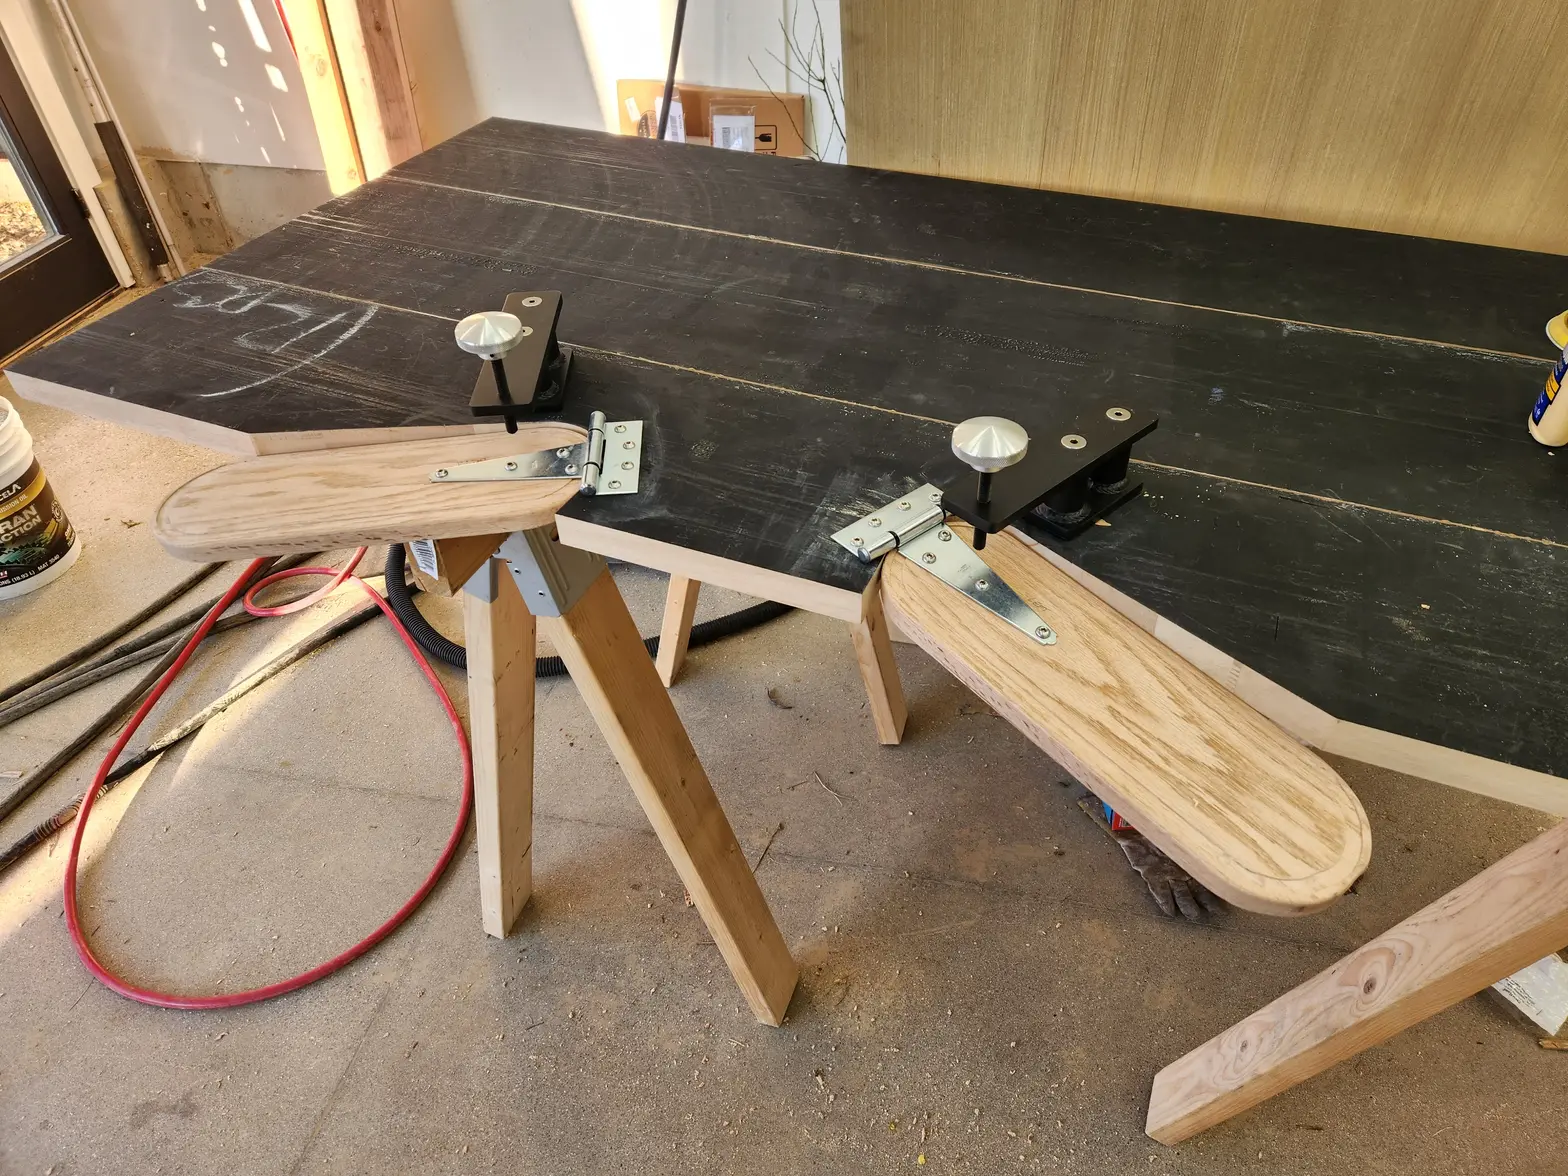
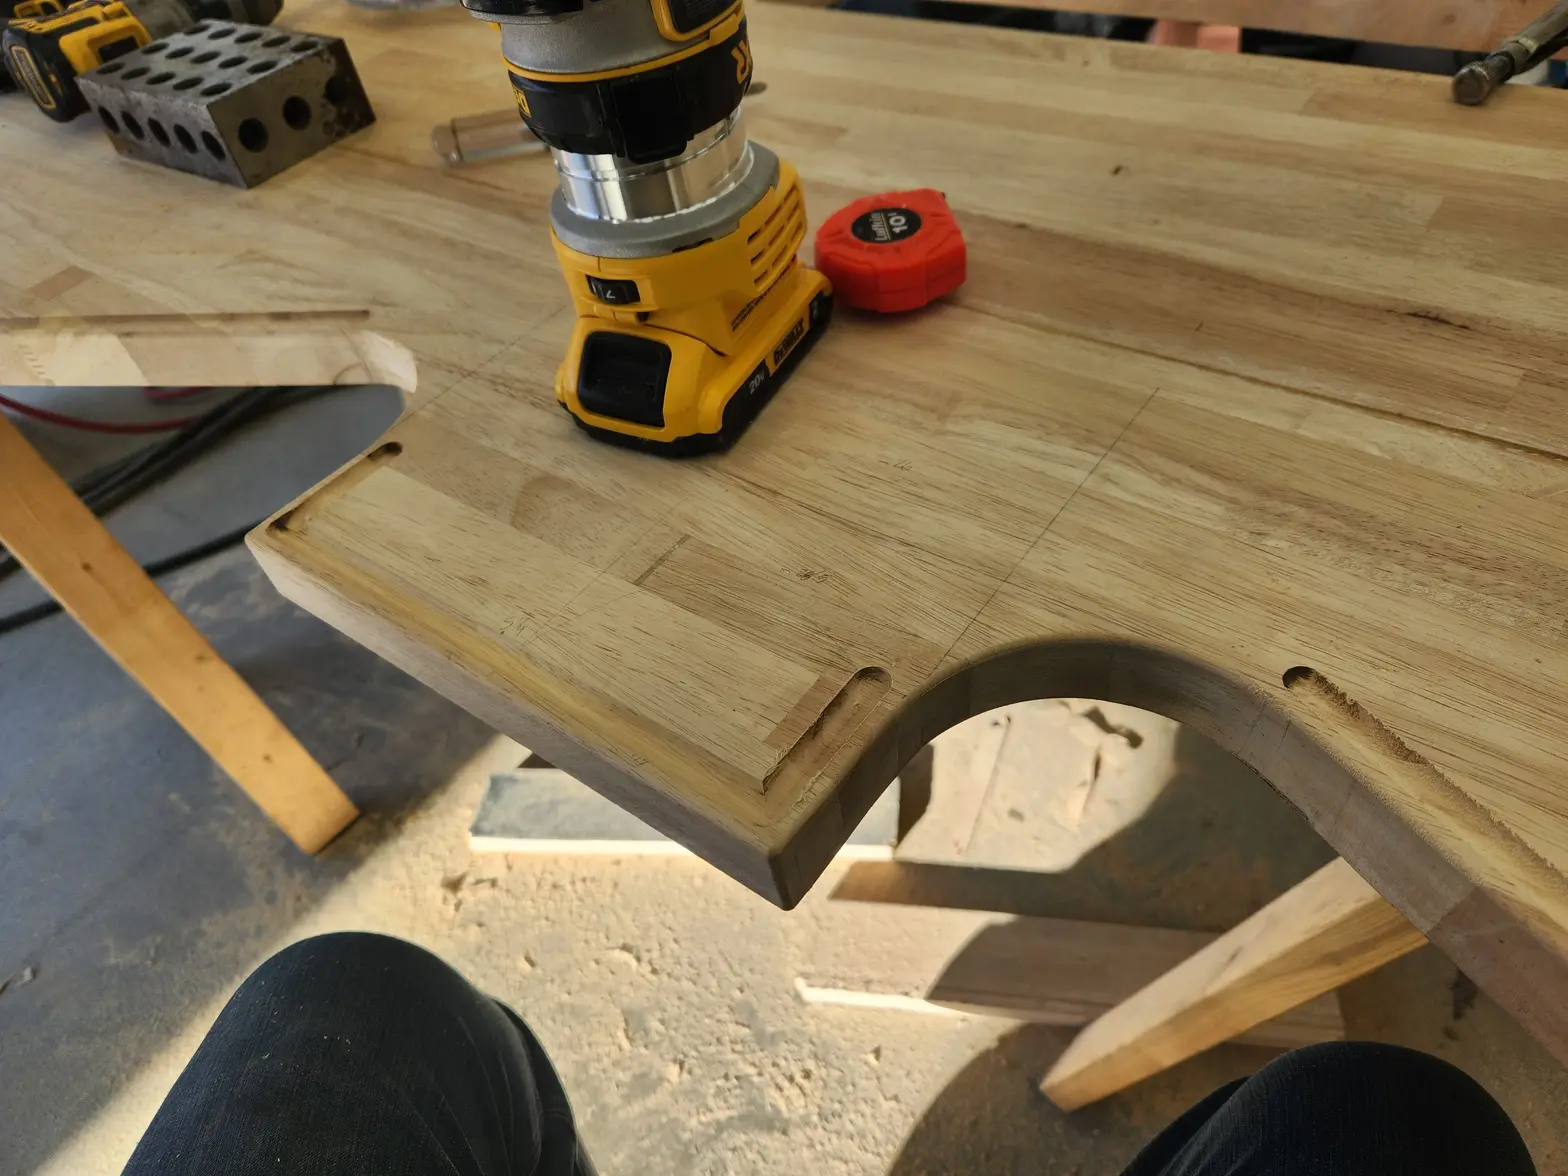
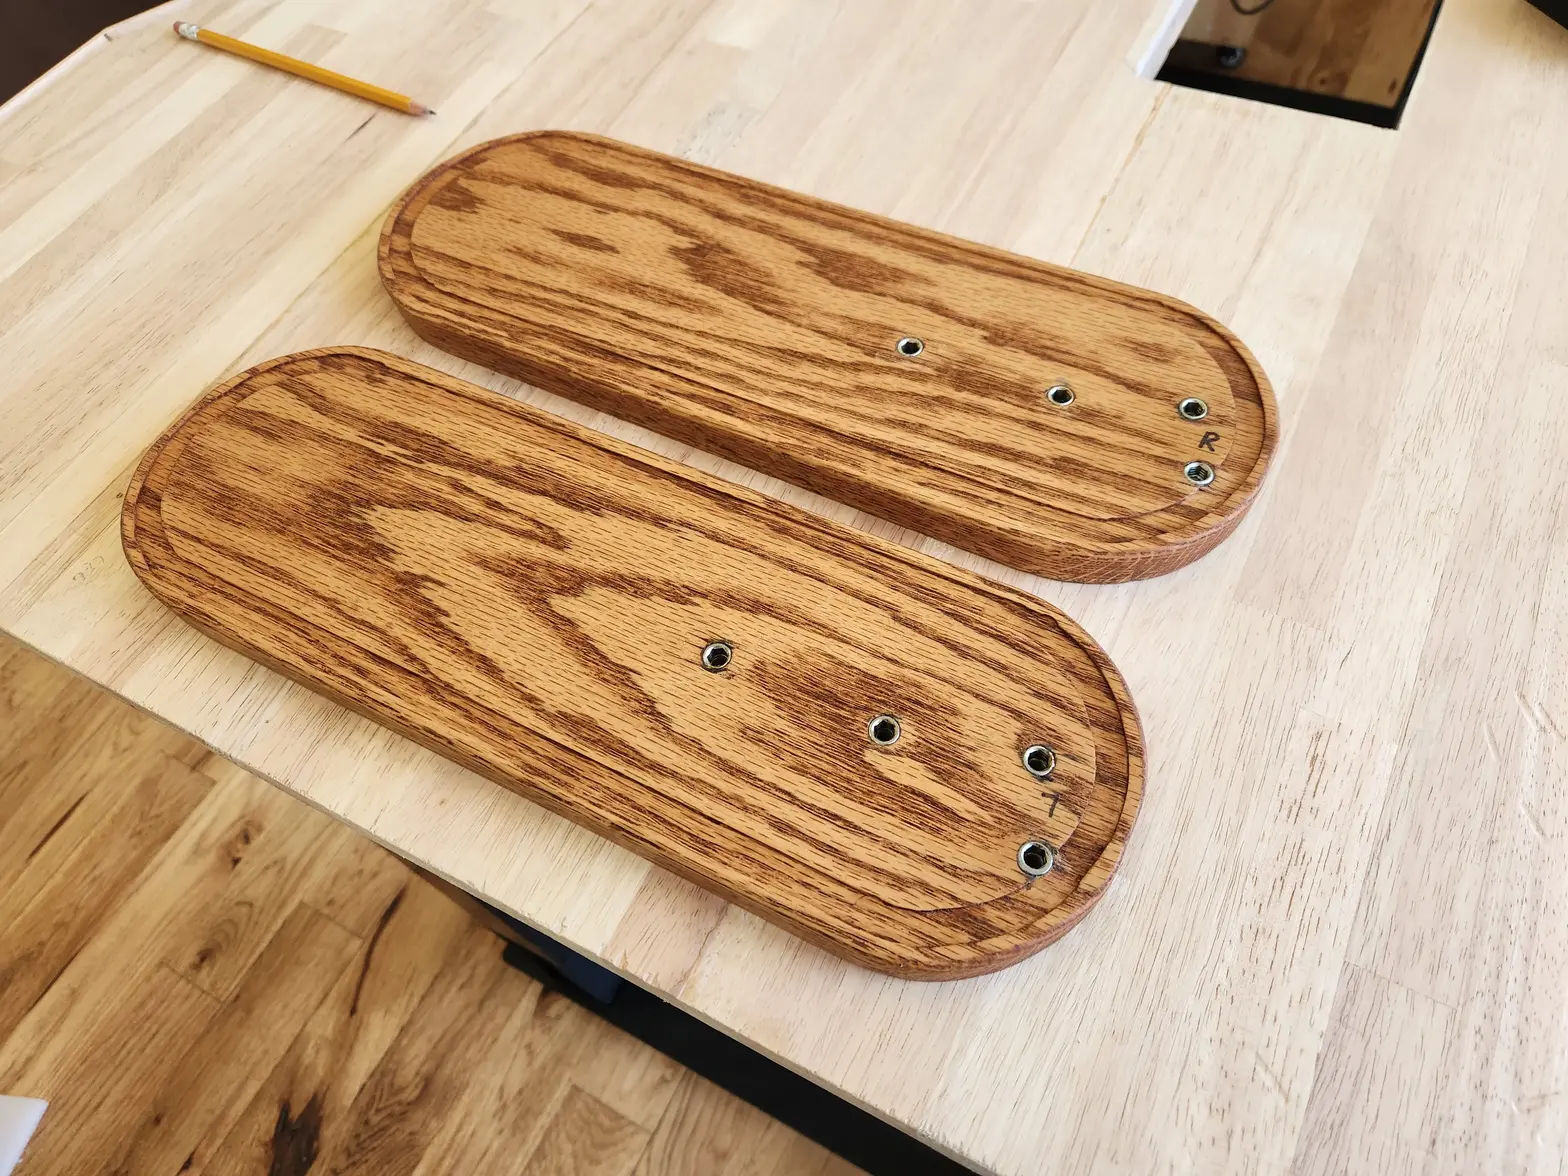
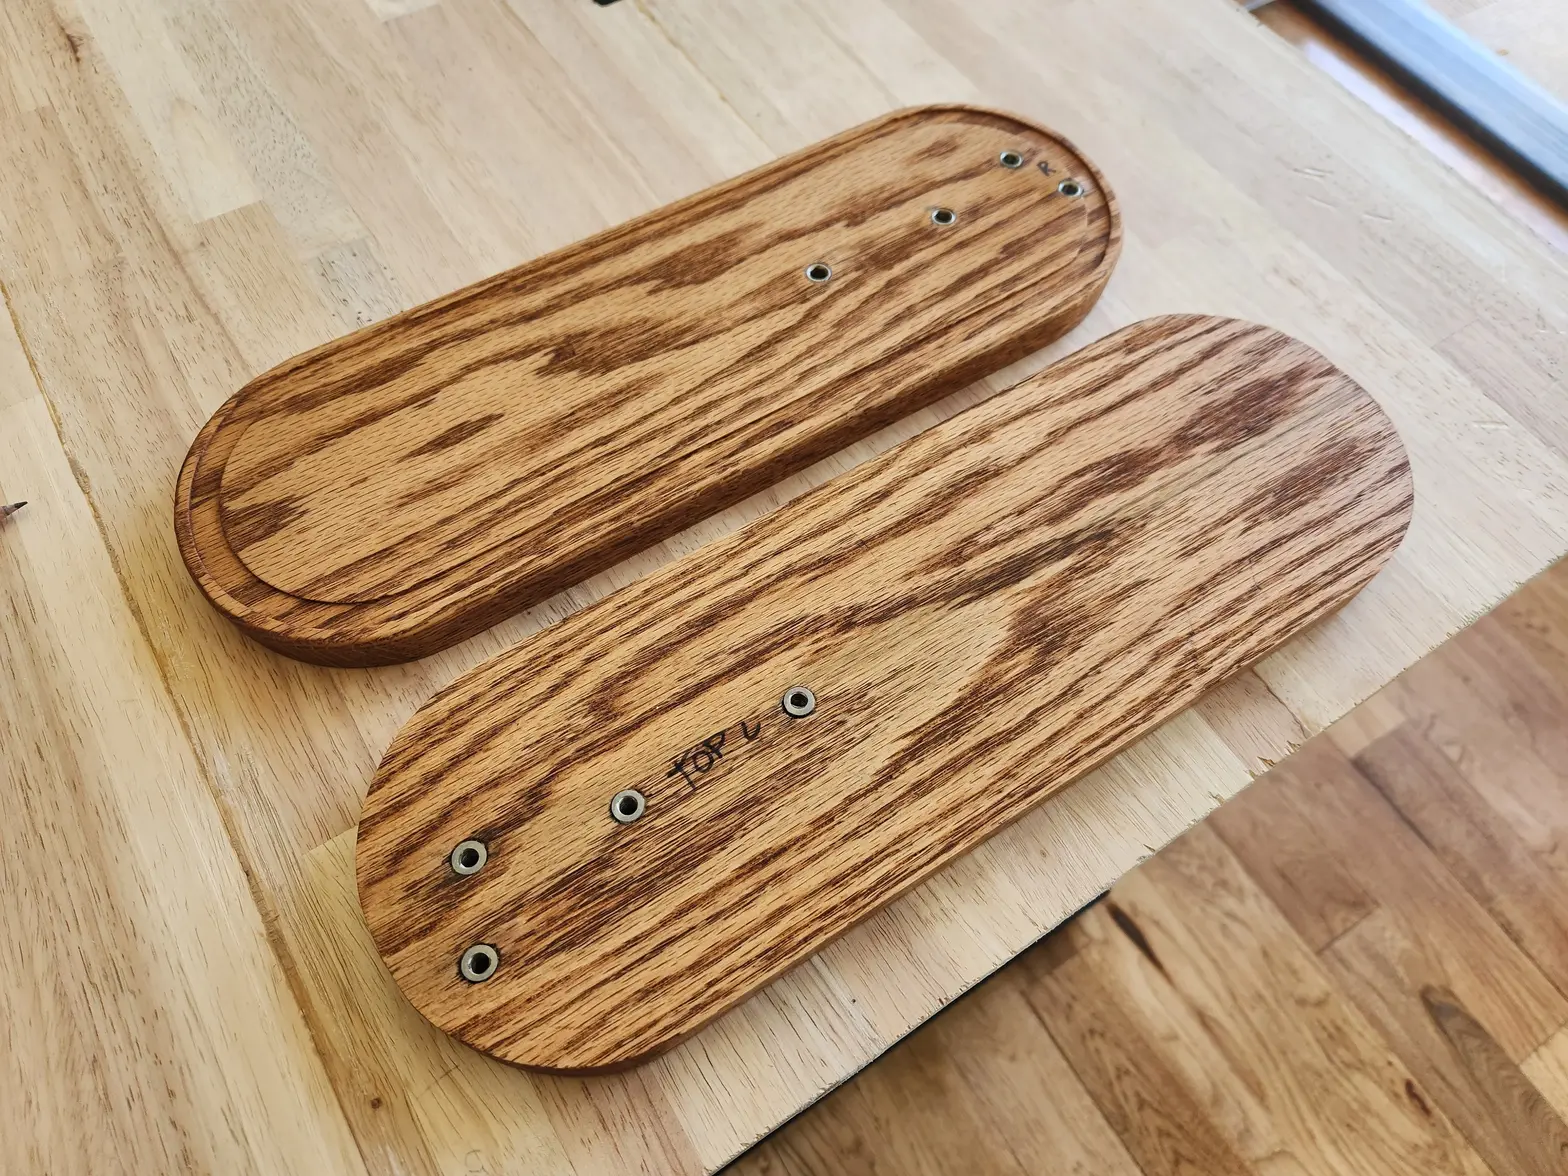
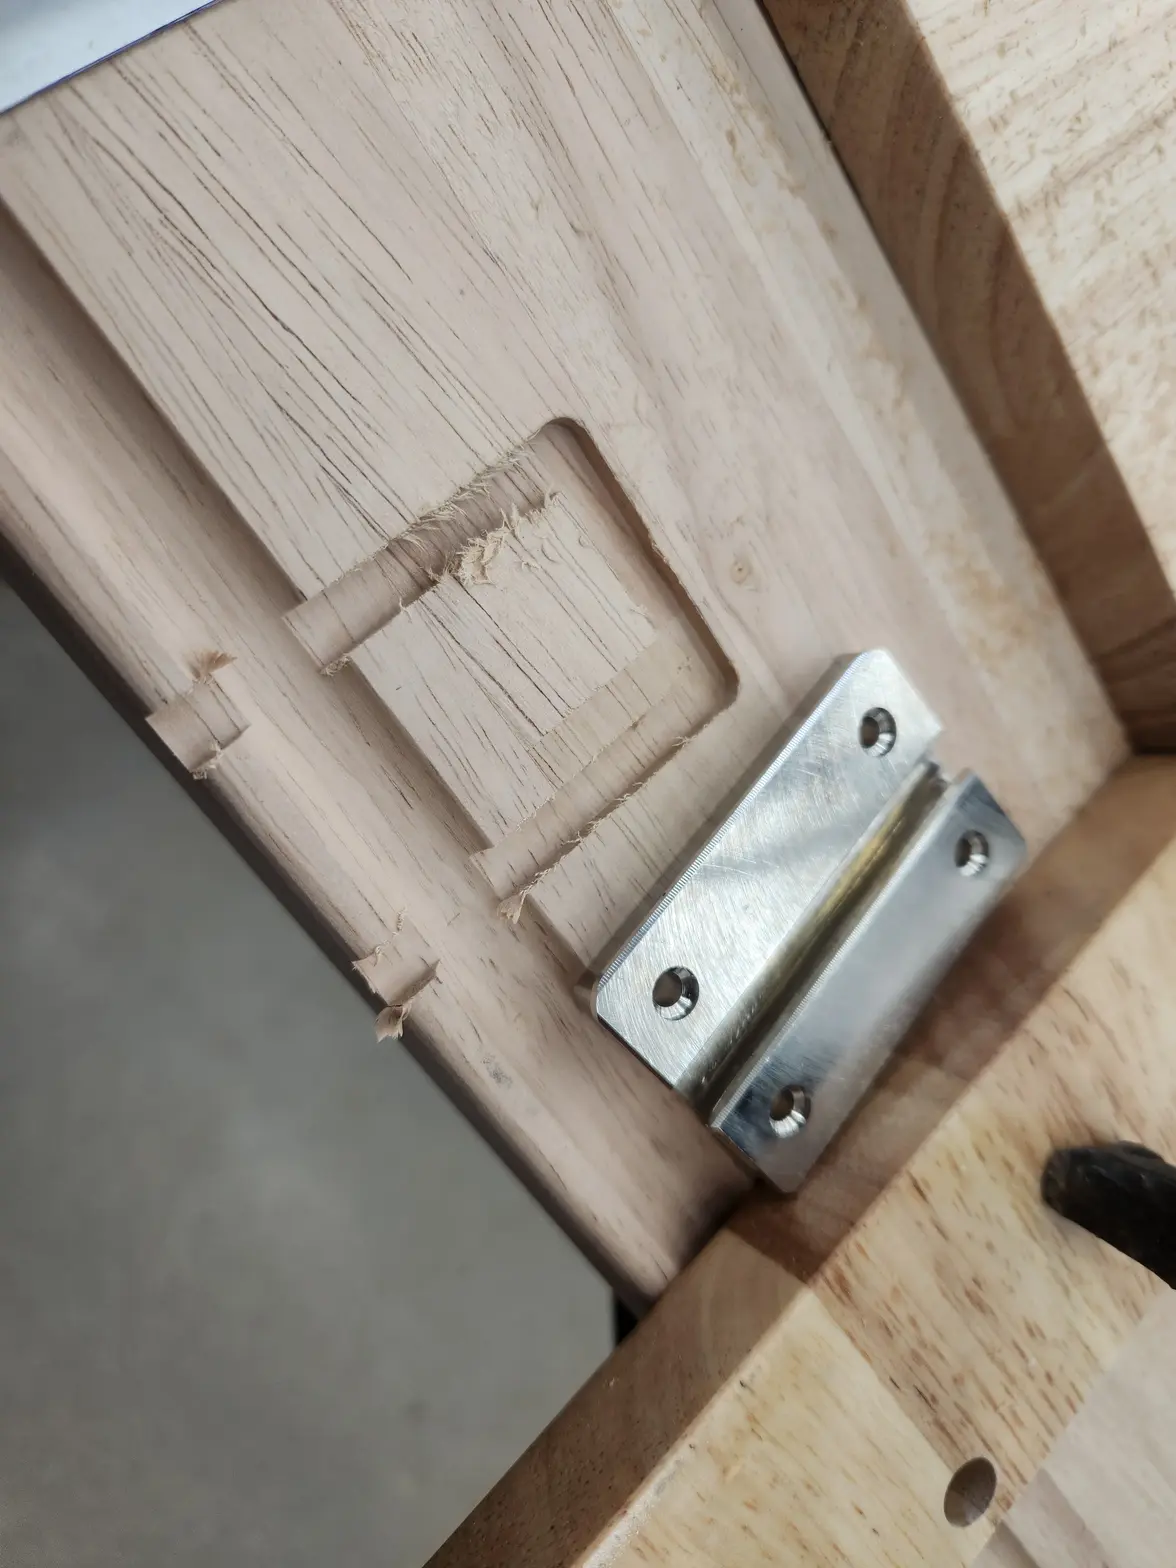
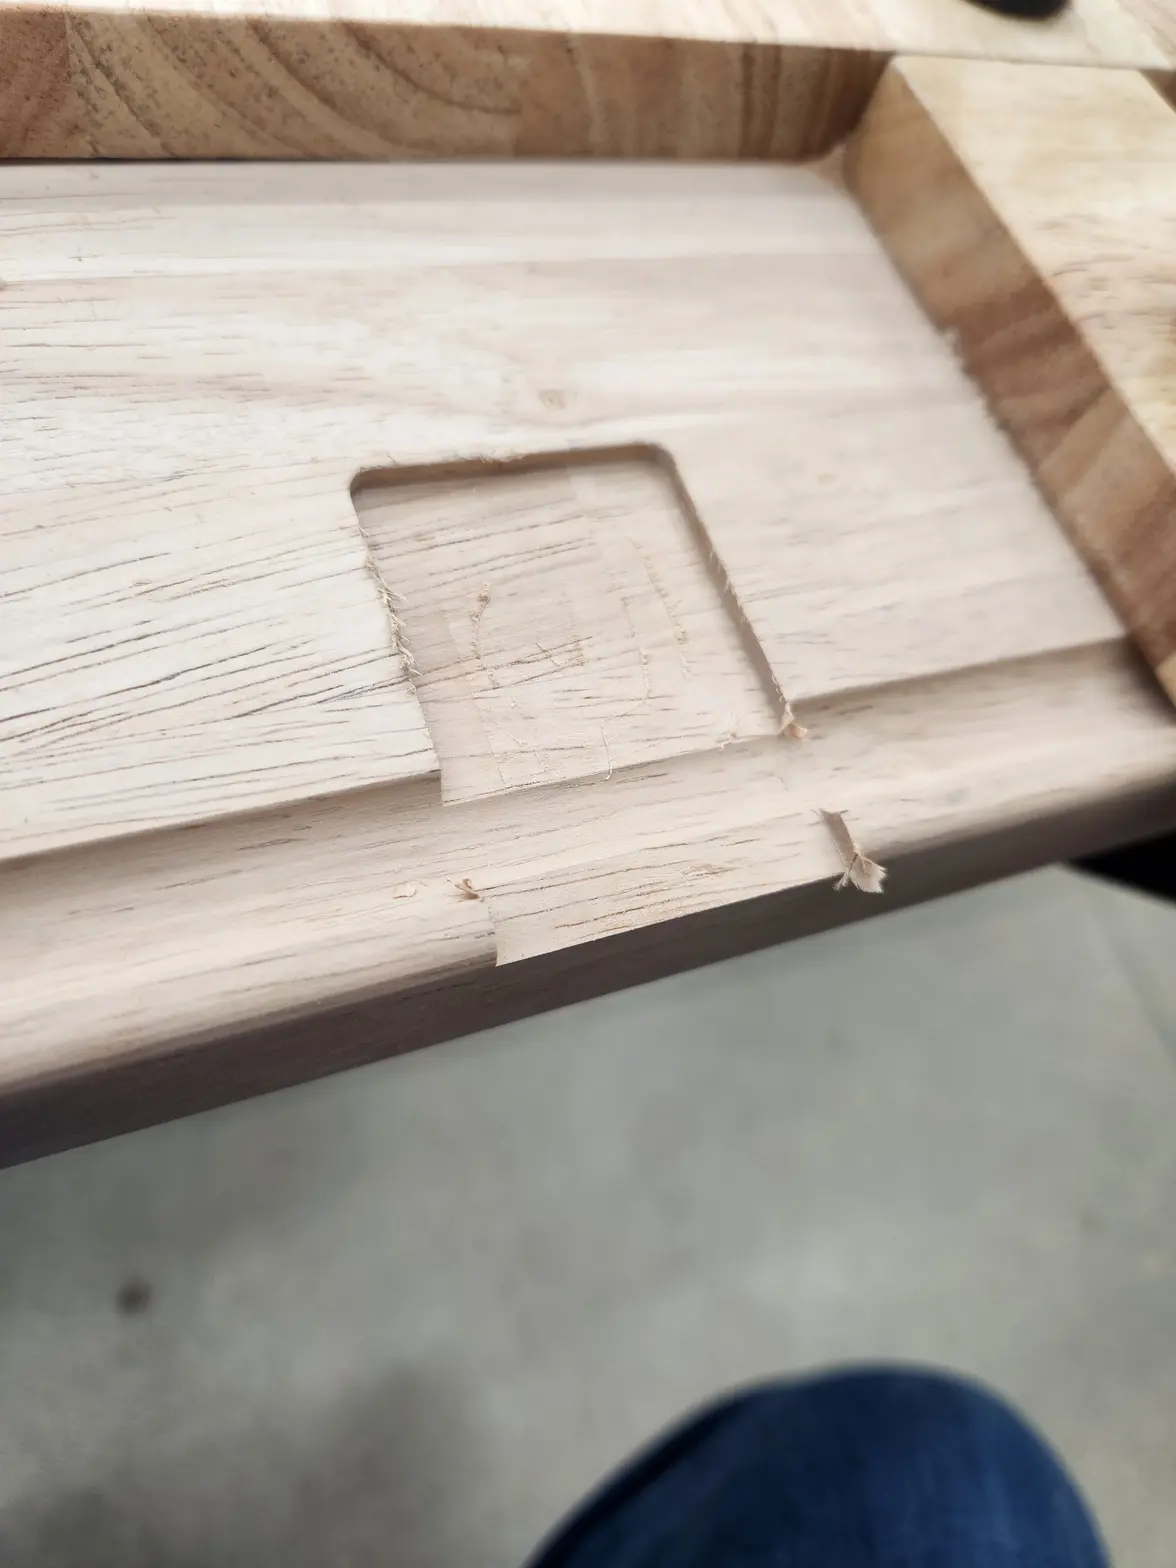
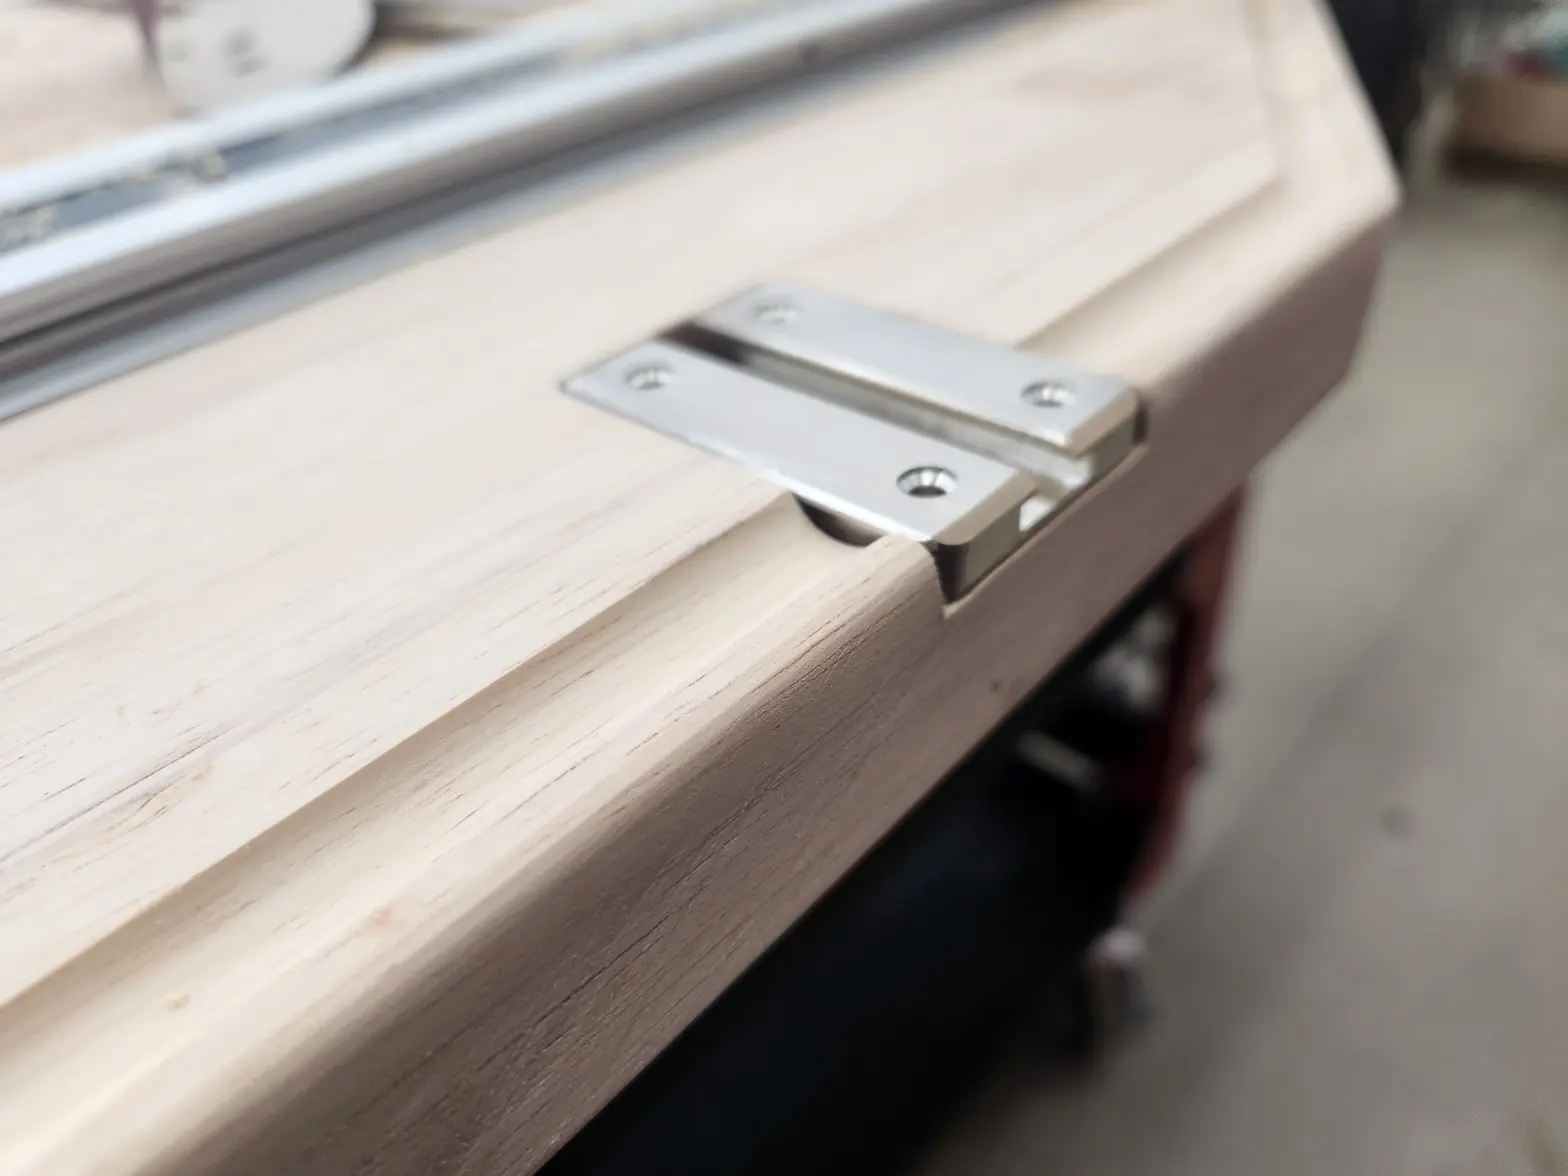
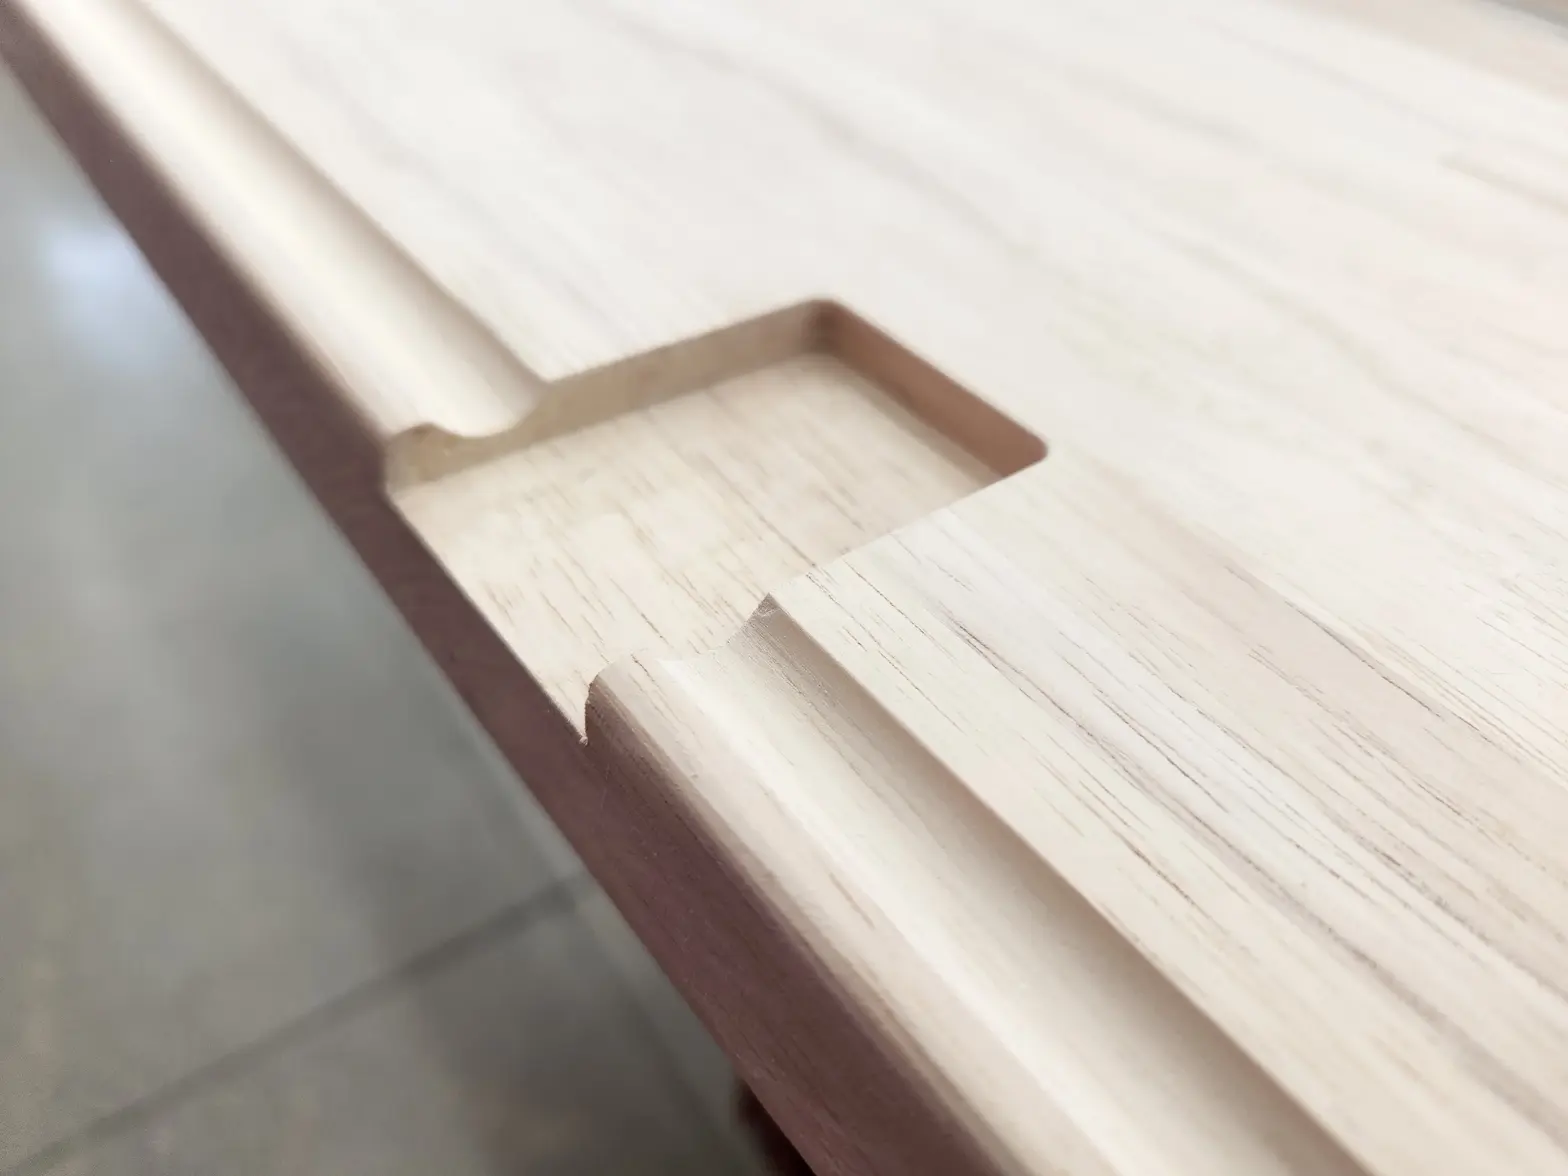
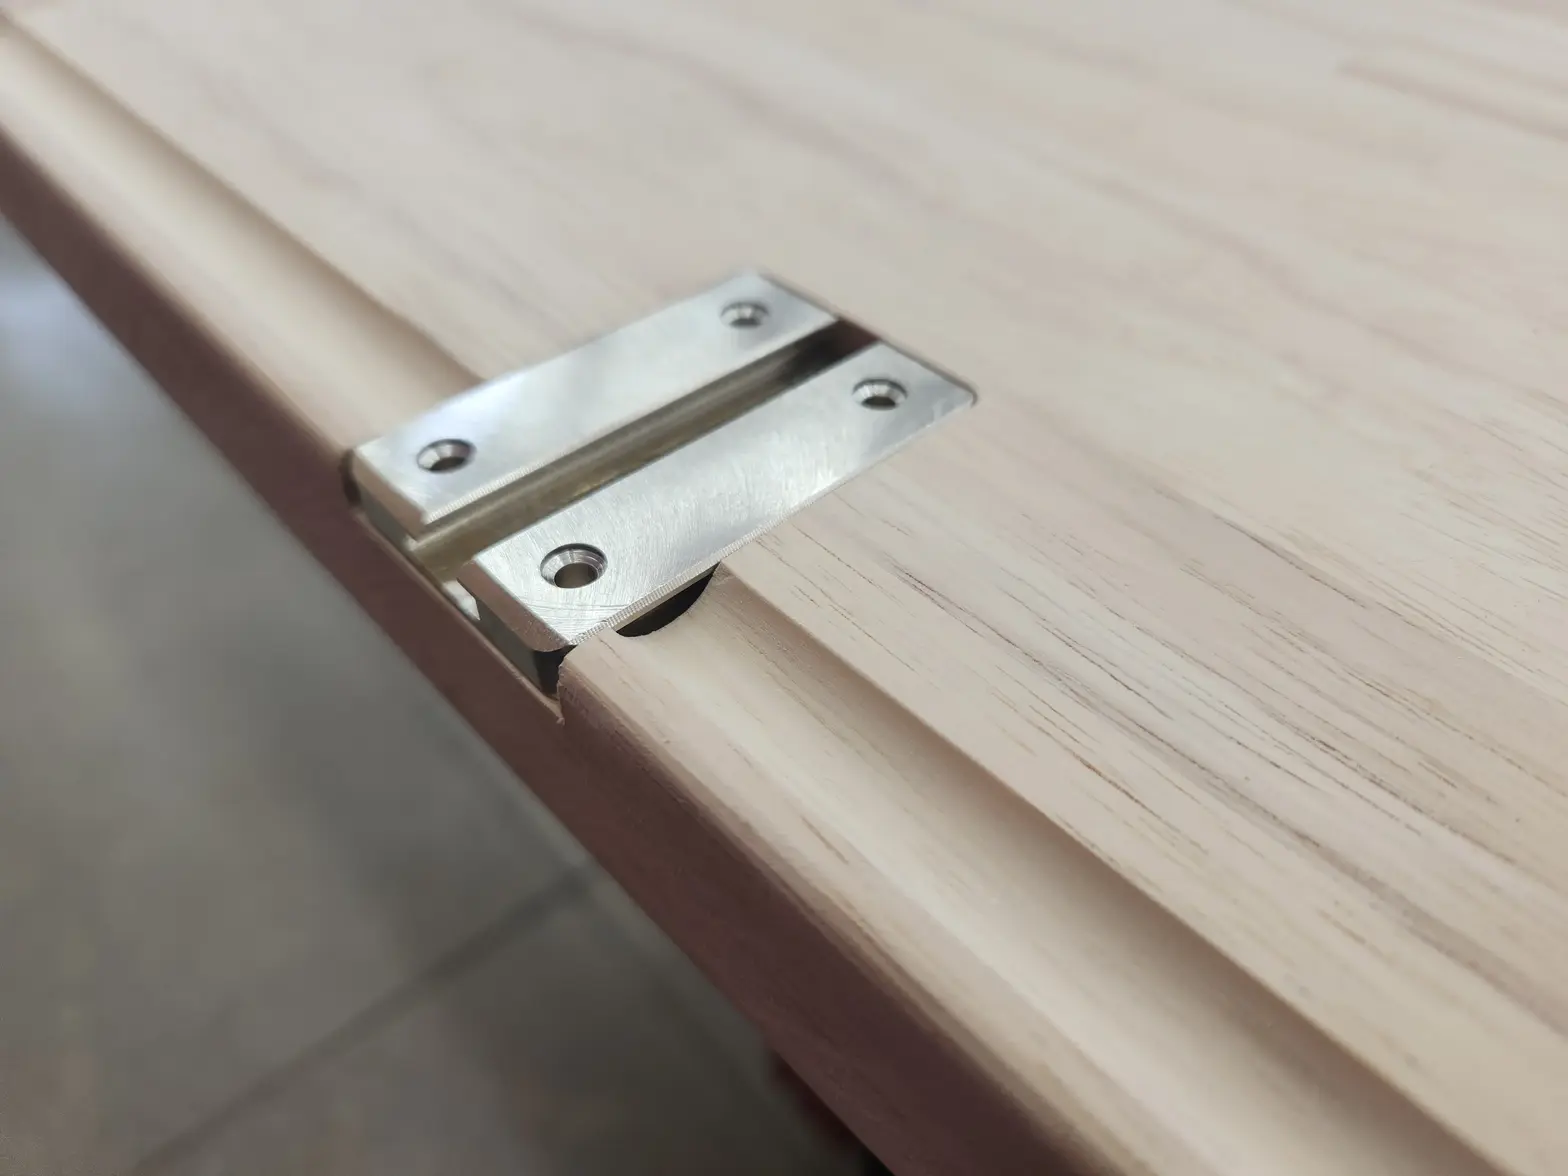
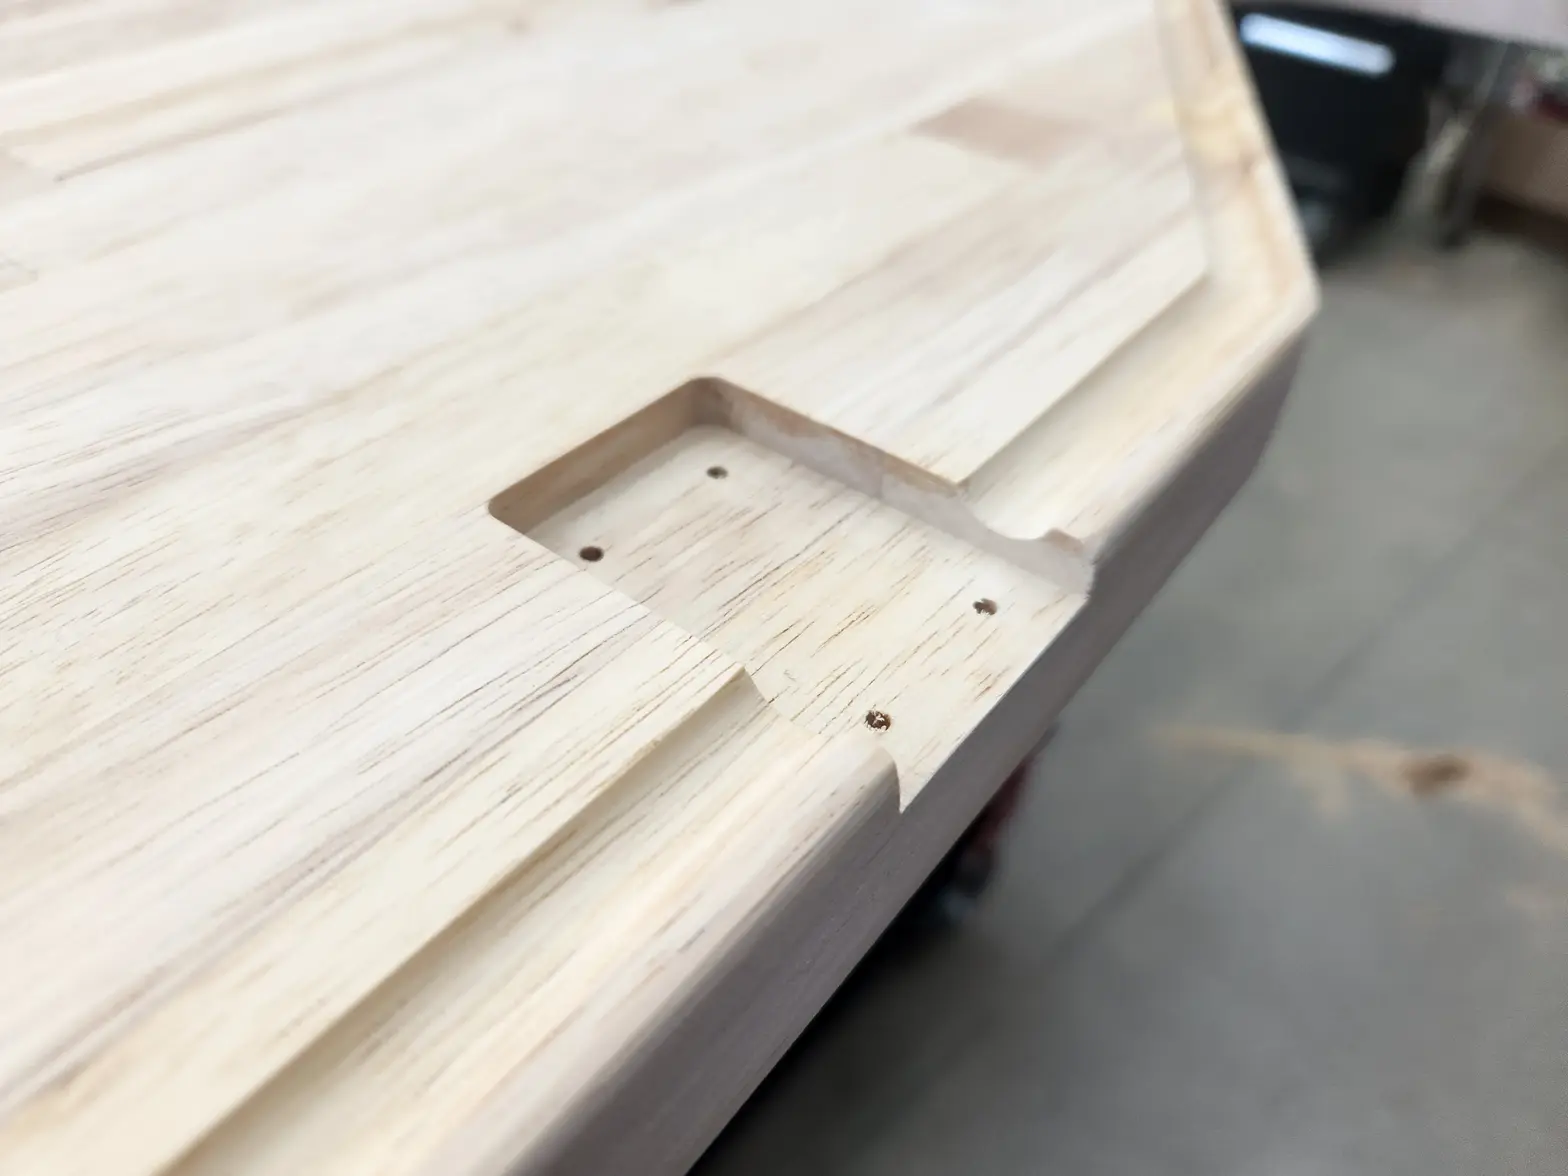
·A little bit more refining on these armrest blanks. I wanted to give my upholsterer a staple groove to tuck material. This is the first time I have used a router. Either hand held or table type. Im 40 yrs old and this is the first time I have routed anything. Its a really fun tool and I am starting to see the appeal to woodworking. I get the general priciple from the machining and fabricating world. But cutting organics is so foreign to me haha.
You can start to see some purchased hardware showing up. I should post my shopping list for reference.
You can start to see some purchased hardware showing up. I should post my shopping list for reference.
Edited:
samweldspoorly
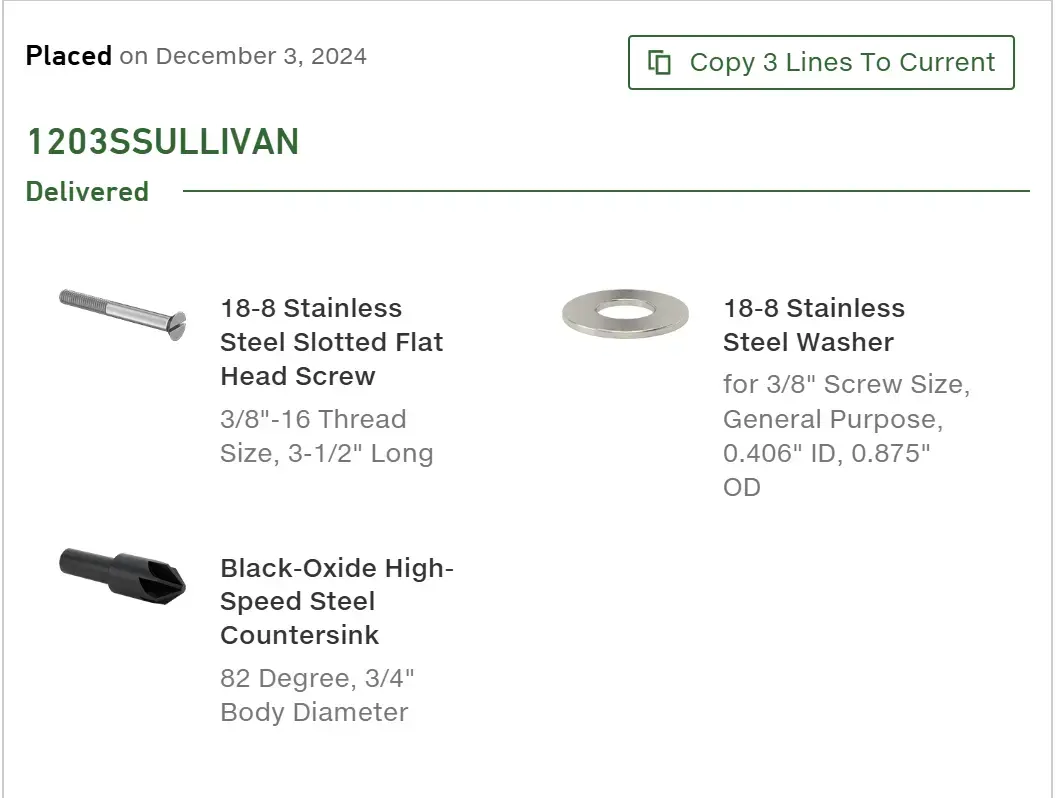
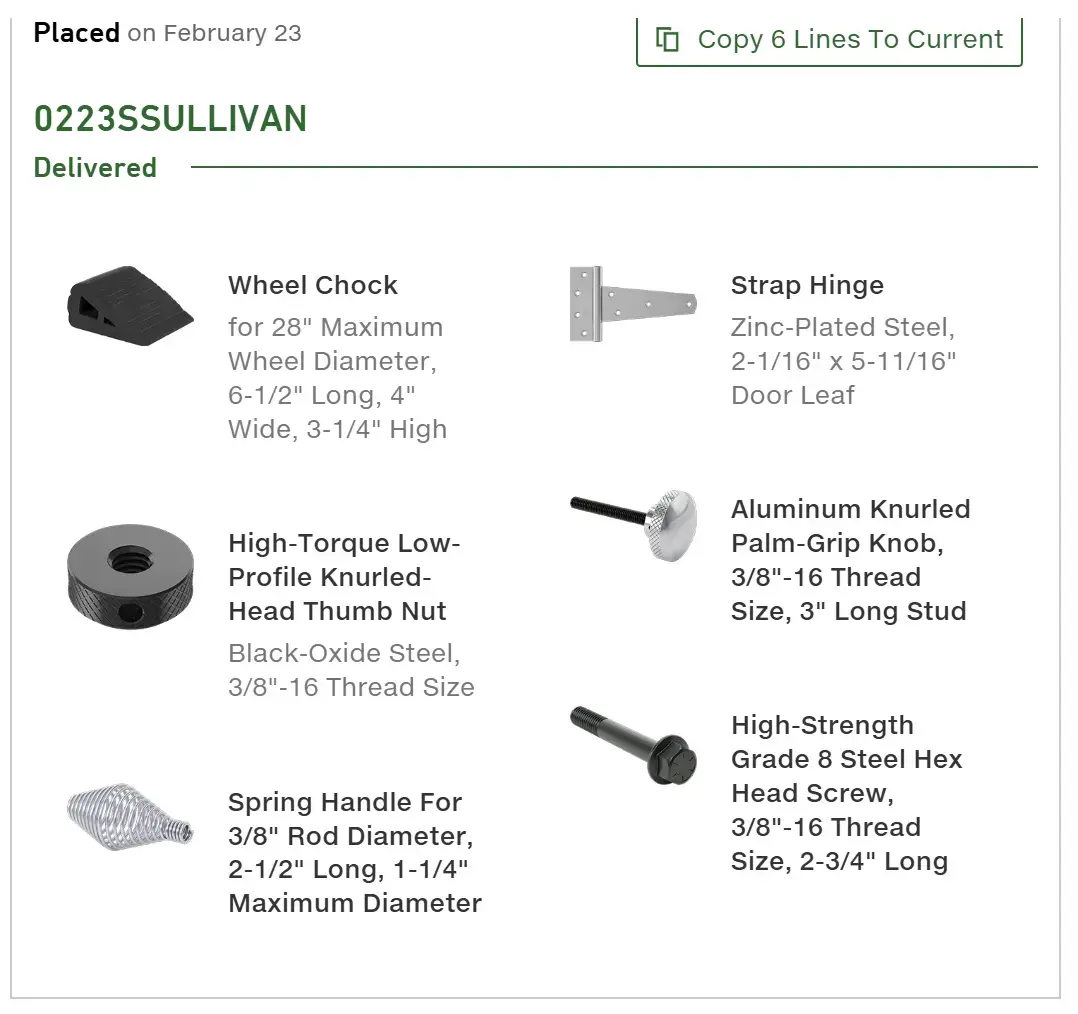
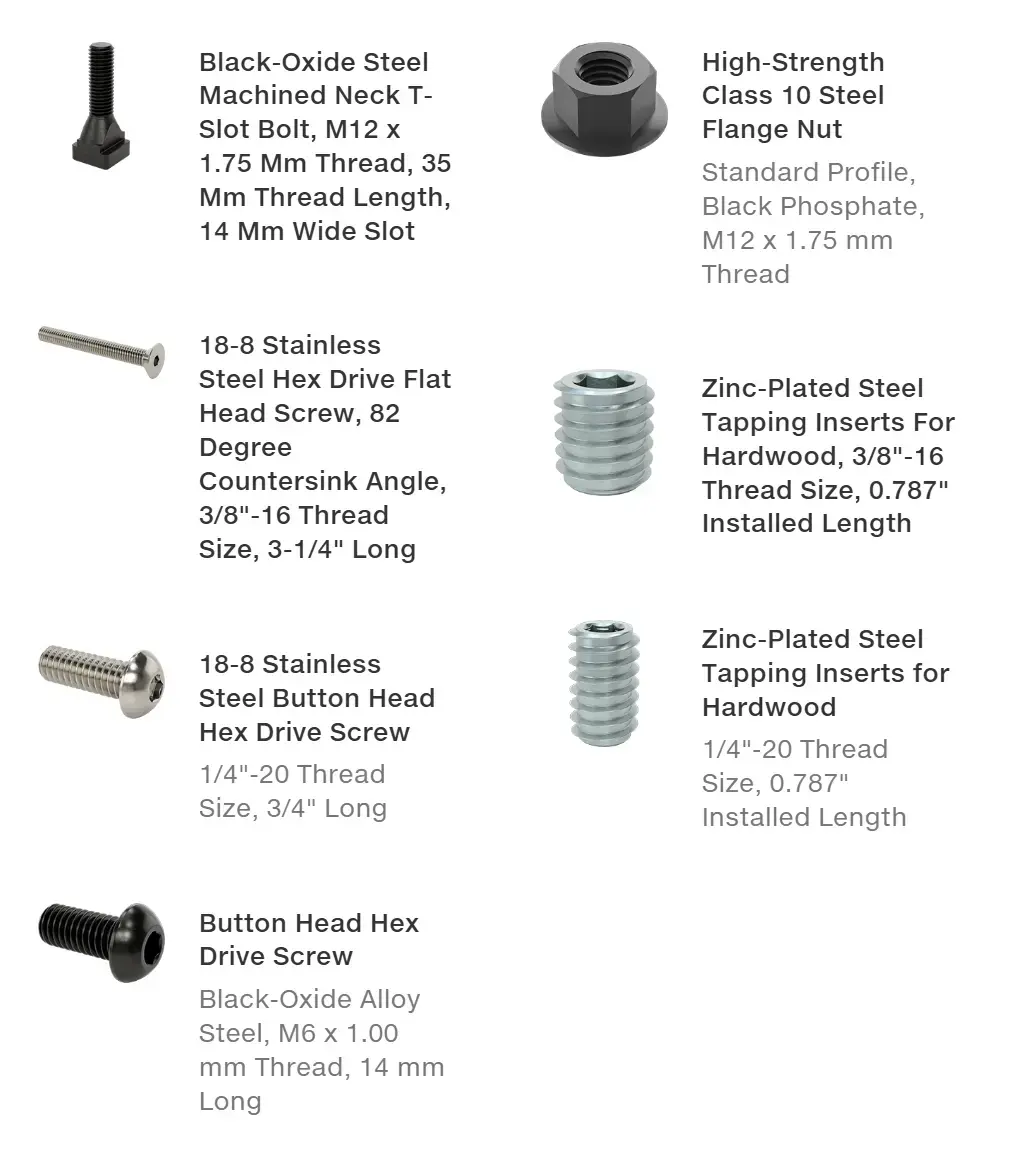
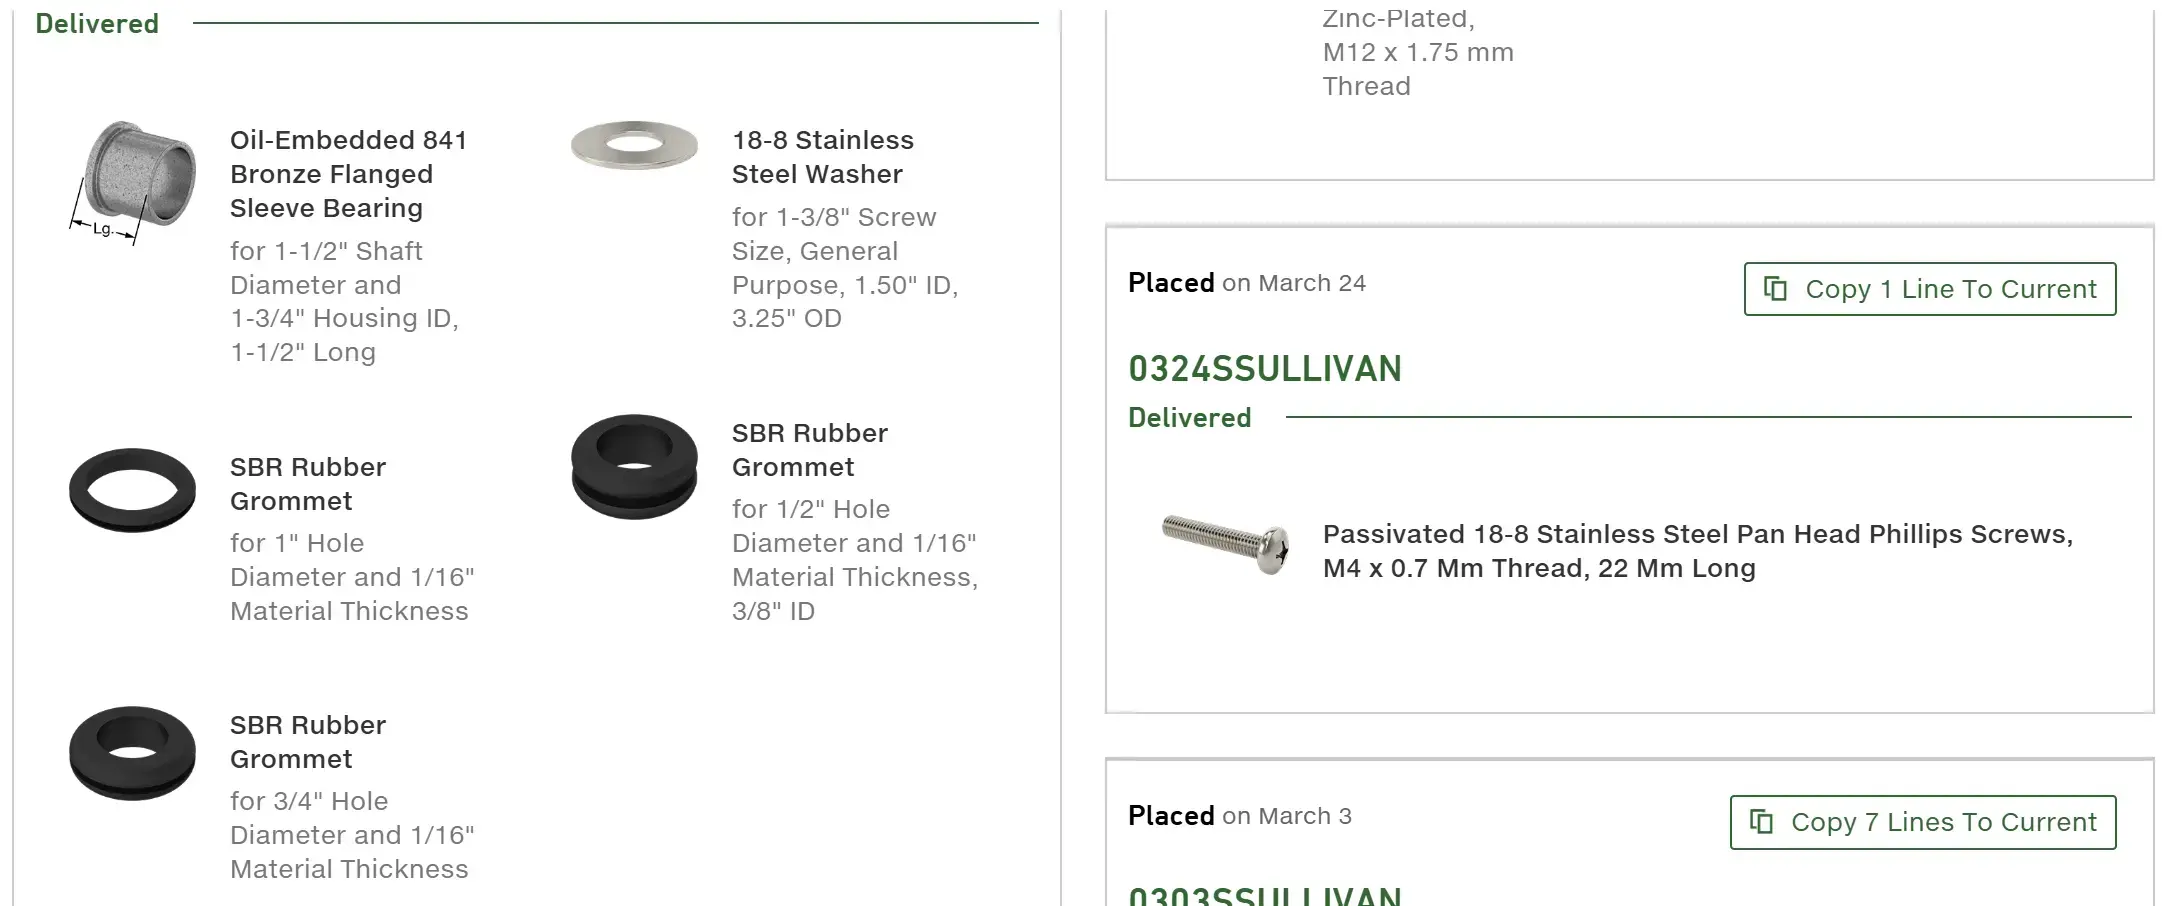
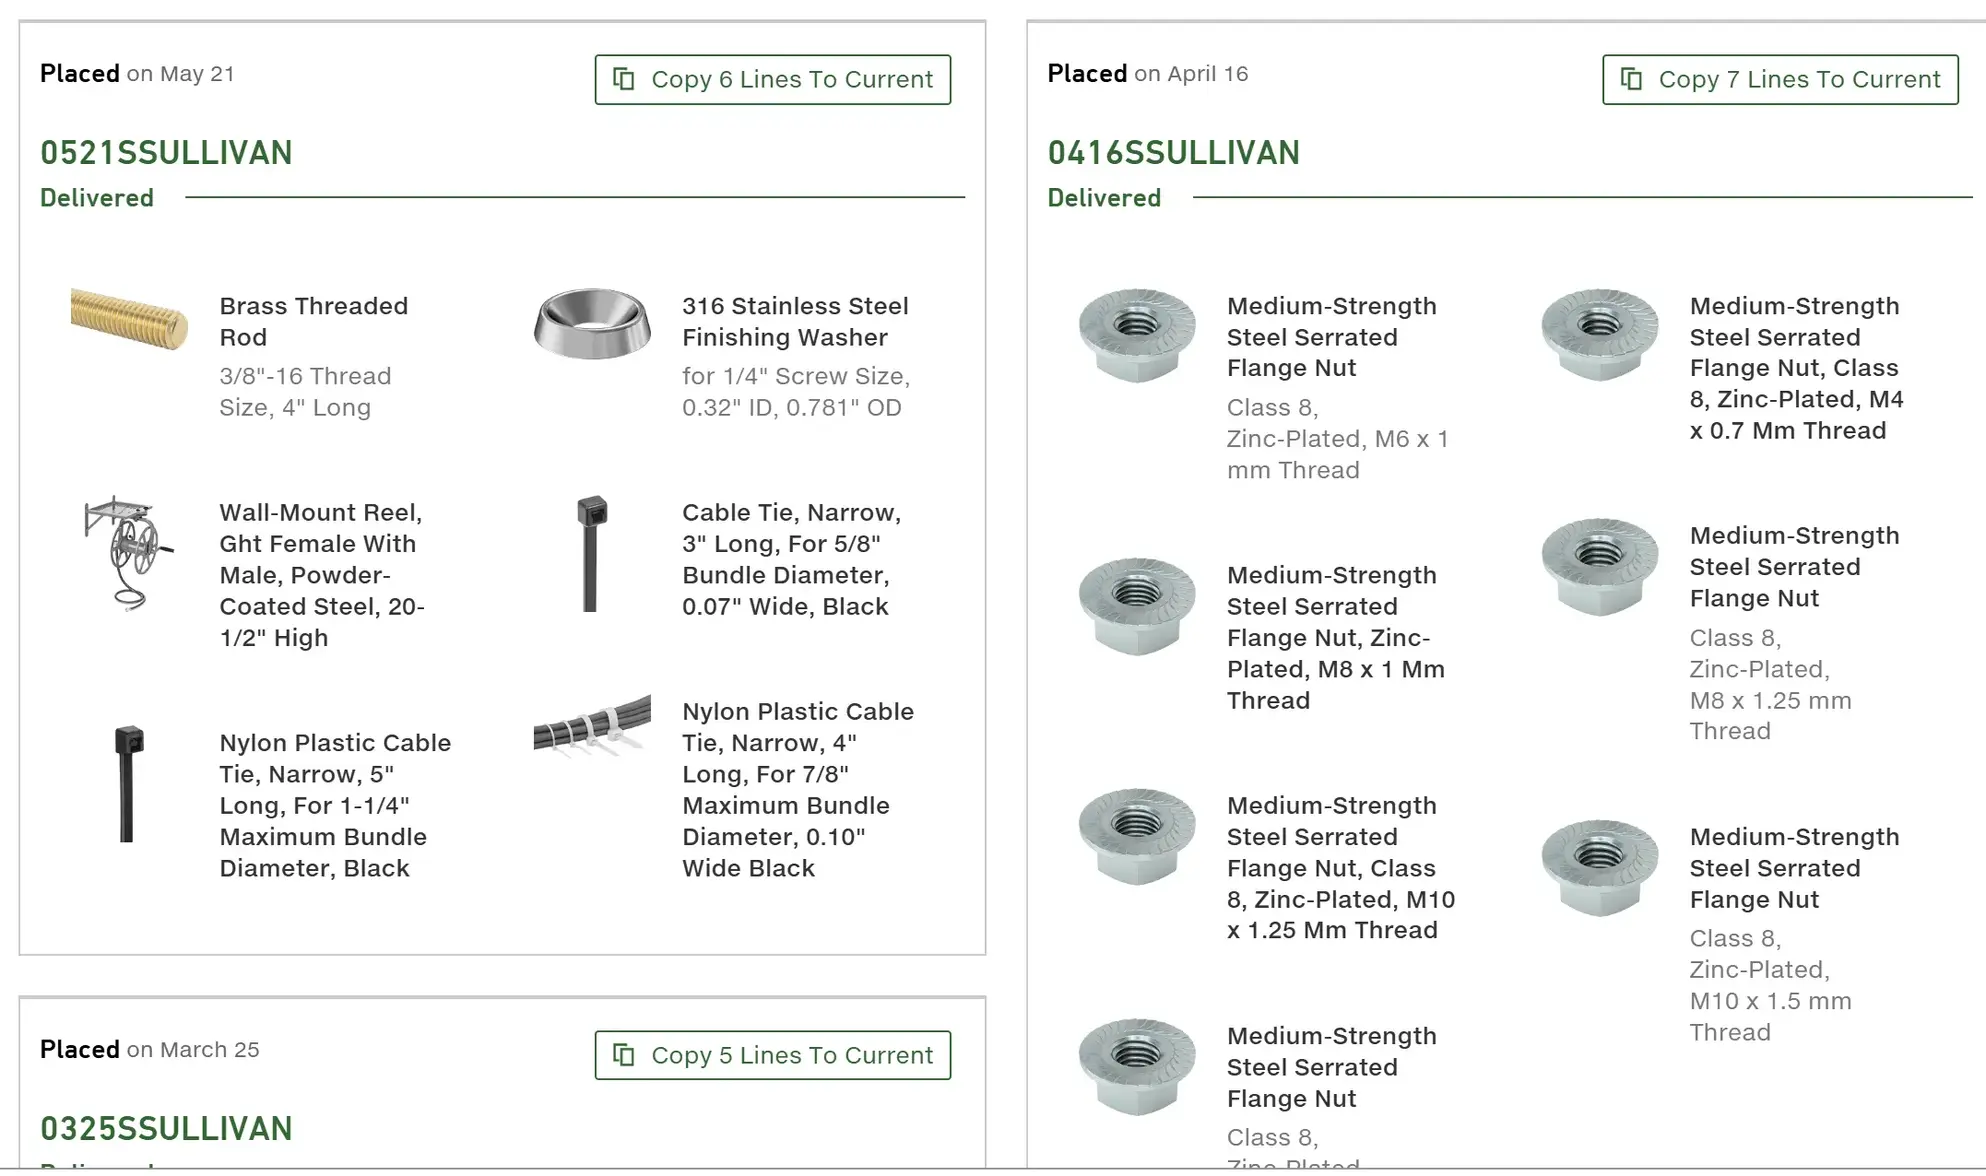
·Hardware post. Im a McMasterCarr girlie. I can usually get hardware drop shipped same day with next day delivery where I am at and I LOVE it. Dont ever buy your overpriced hardware from an autoparts store or big box store.
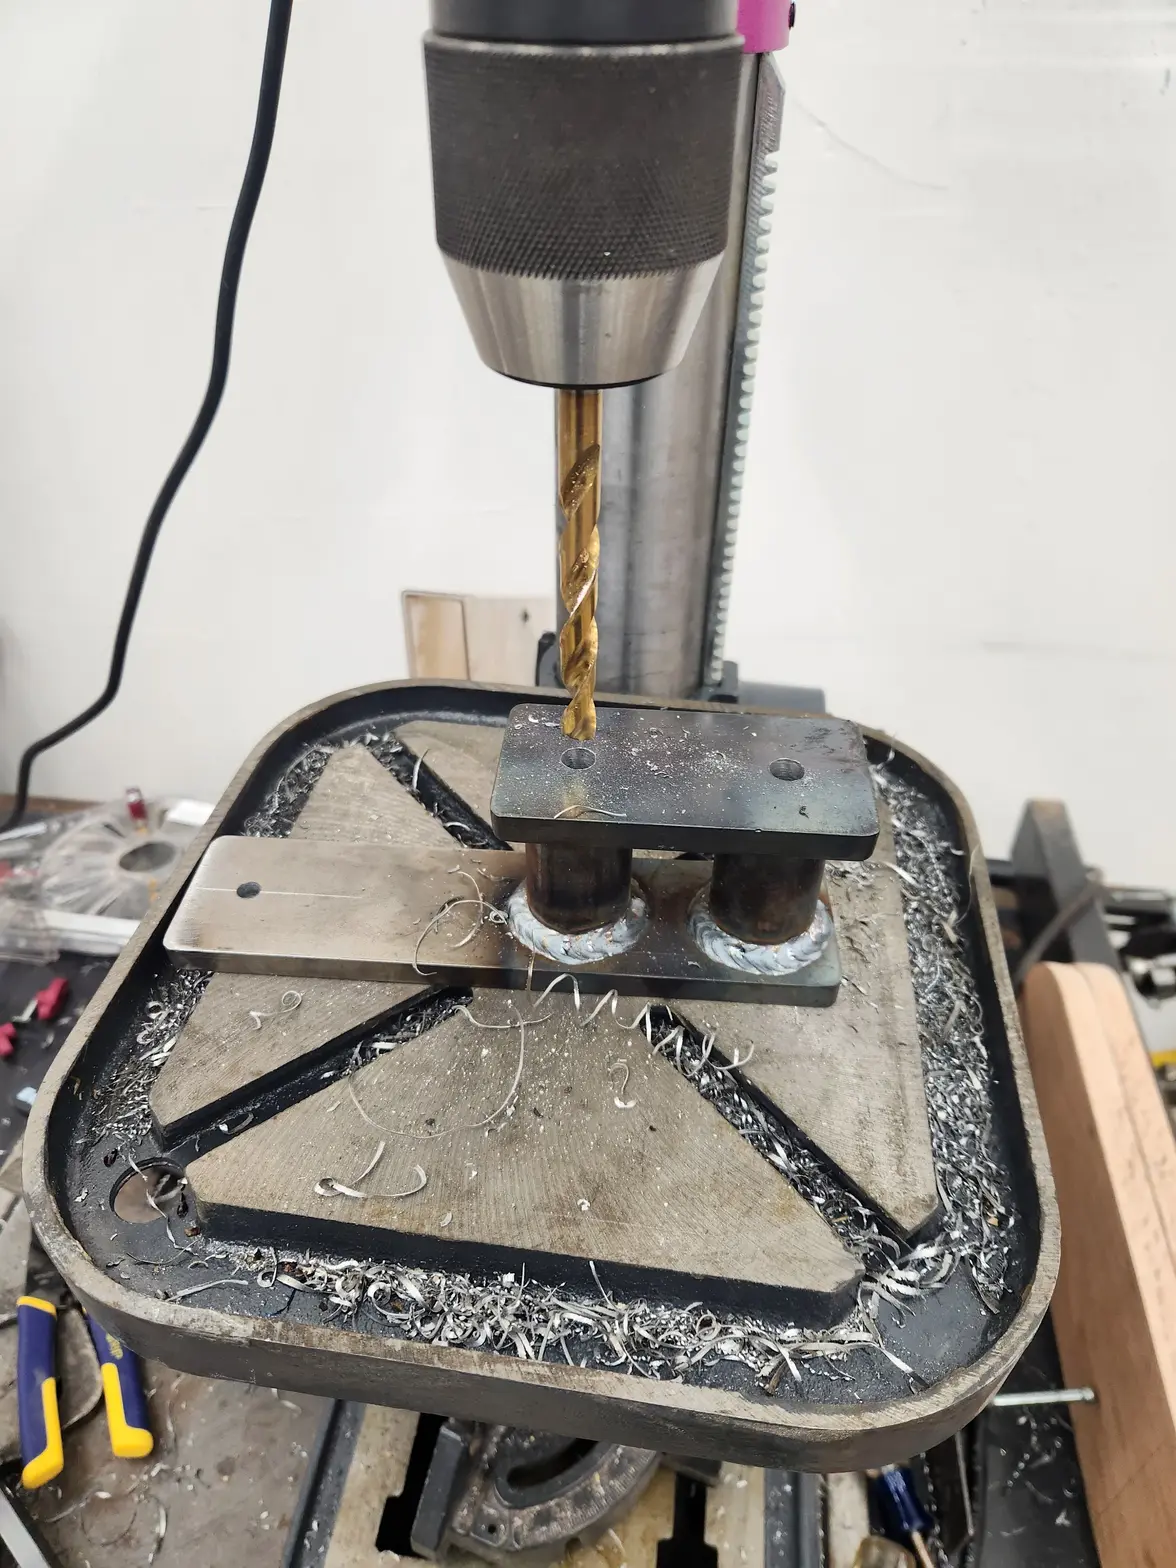
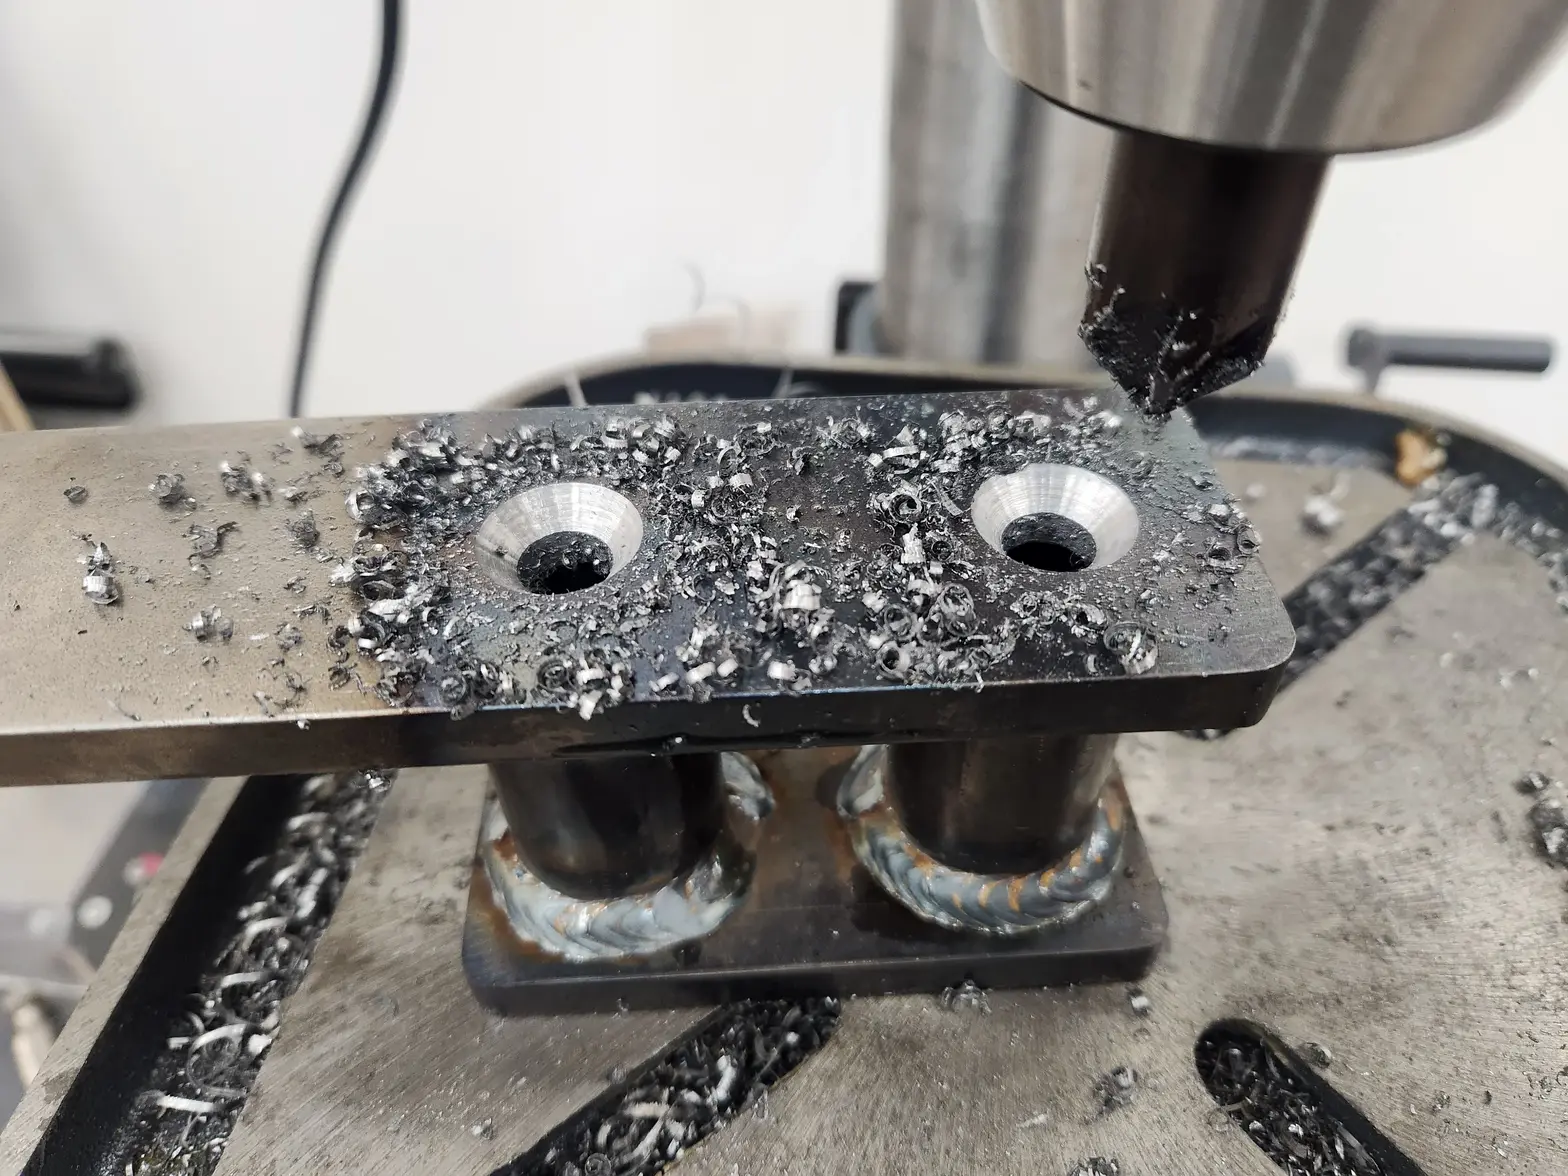
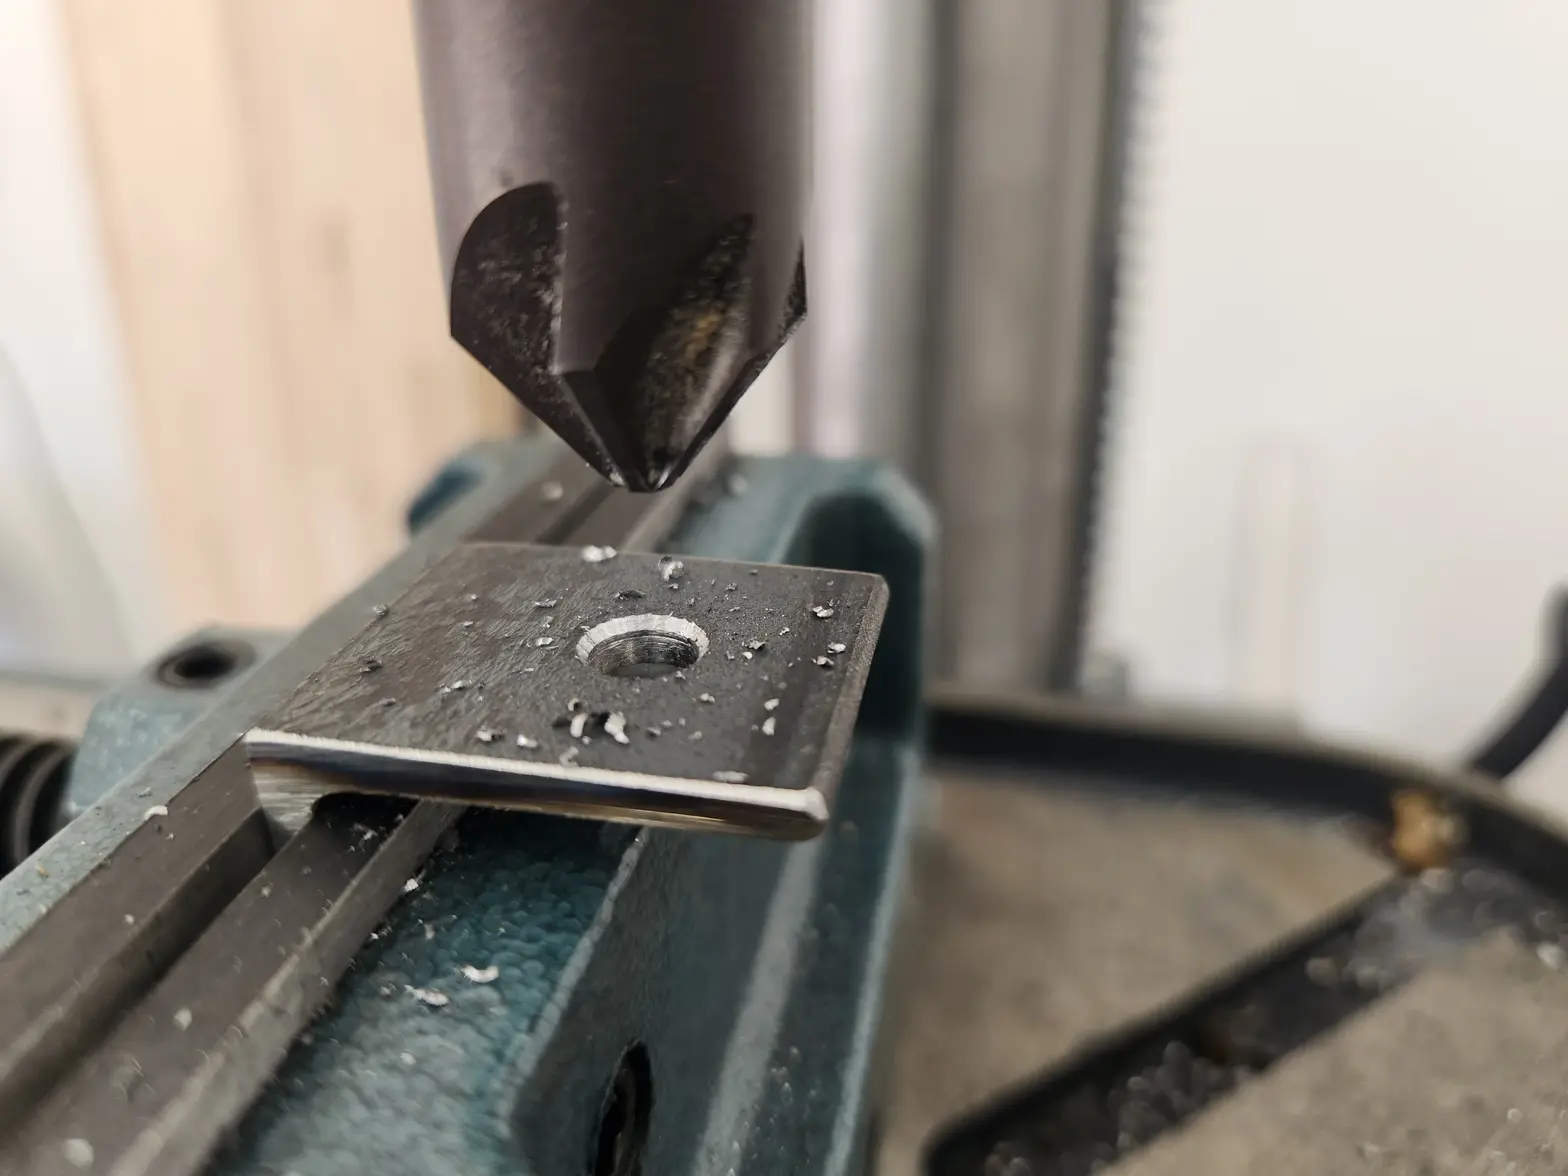
Ignore these bolts, they go to my workbench tops but this is the countersink tool I used to countersink the brackets.
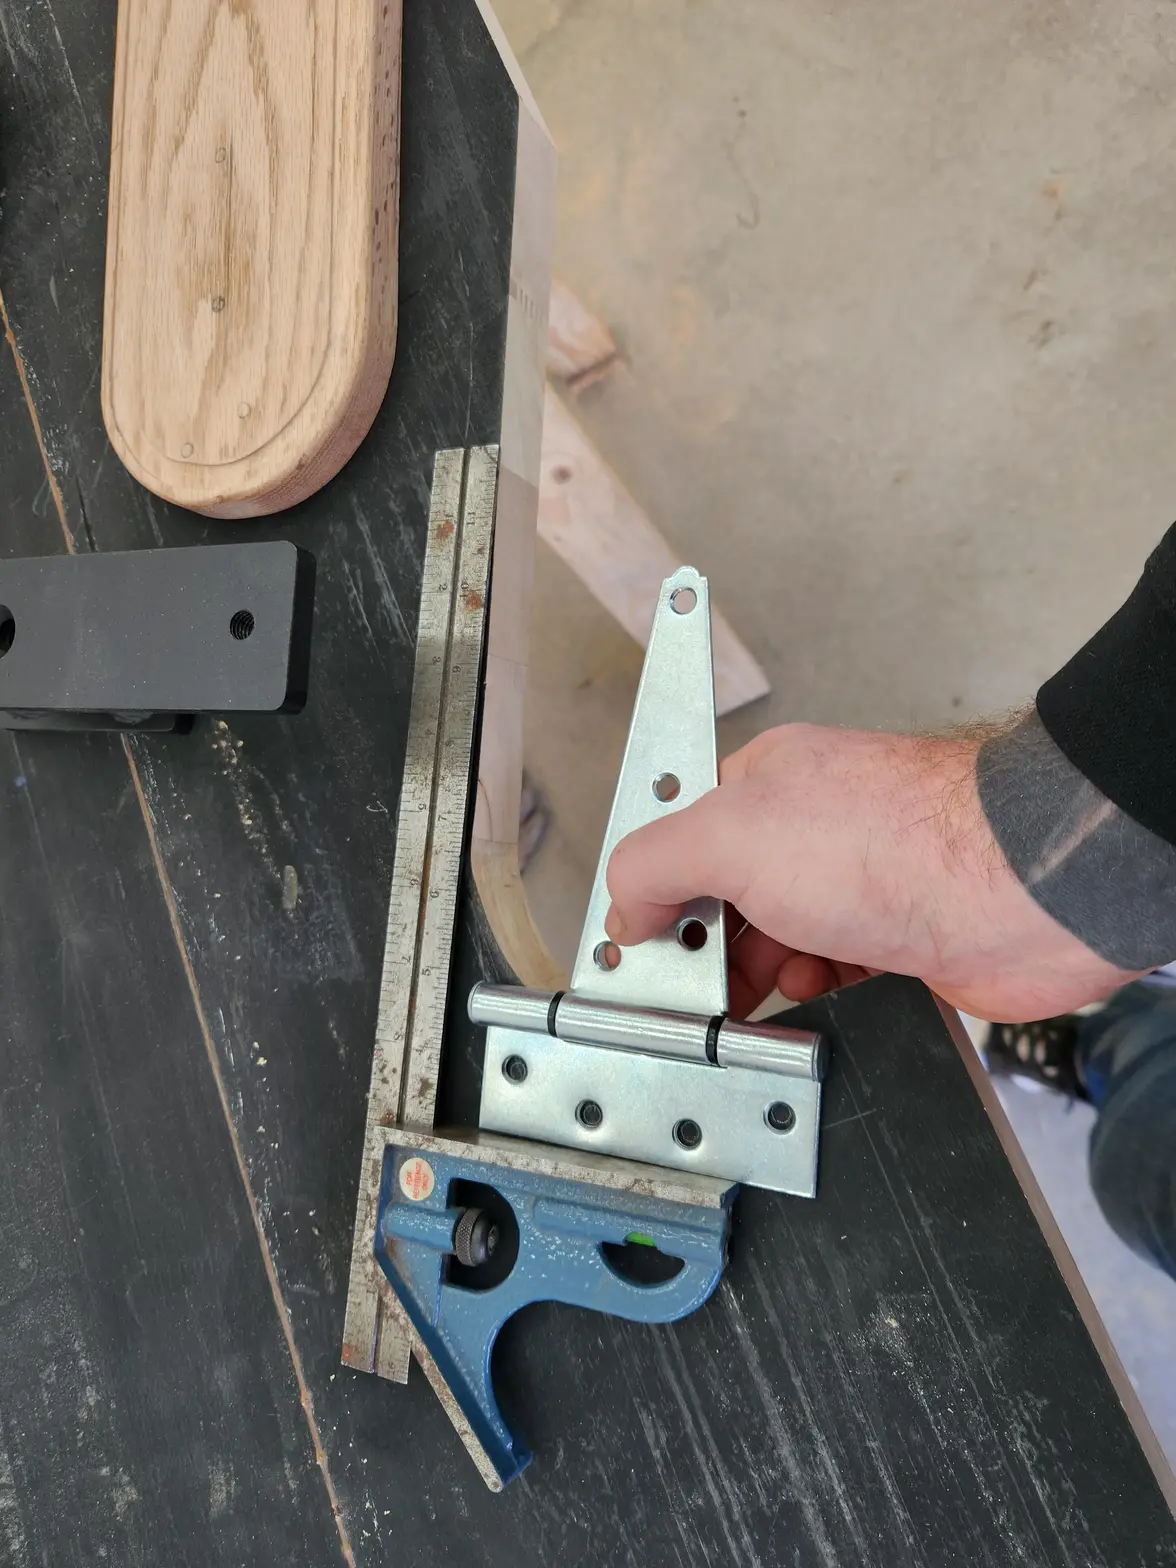
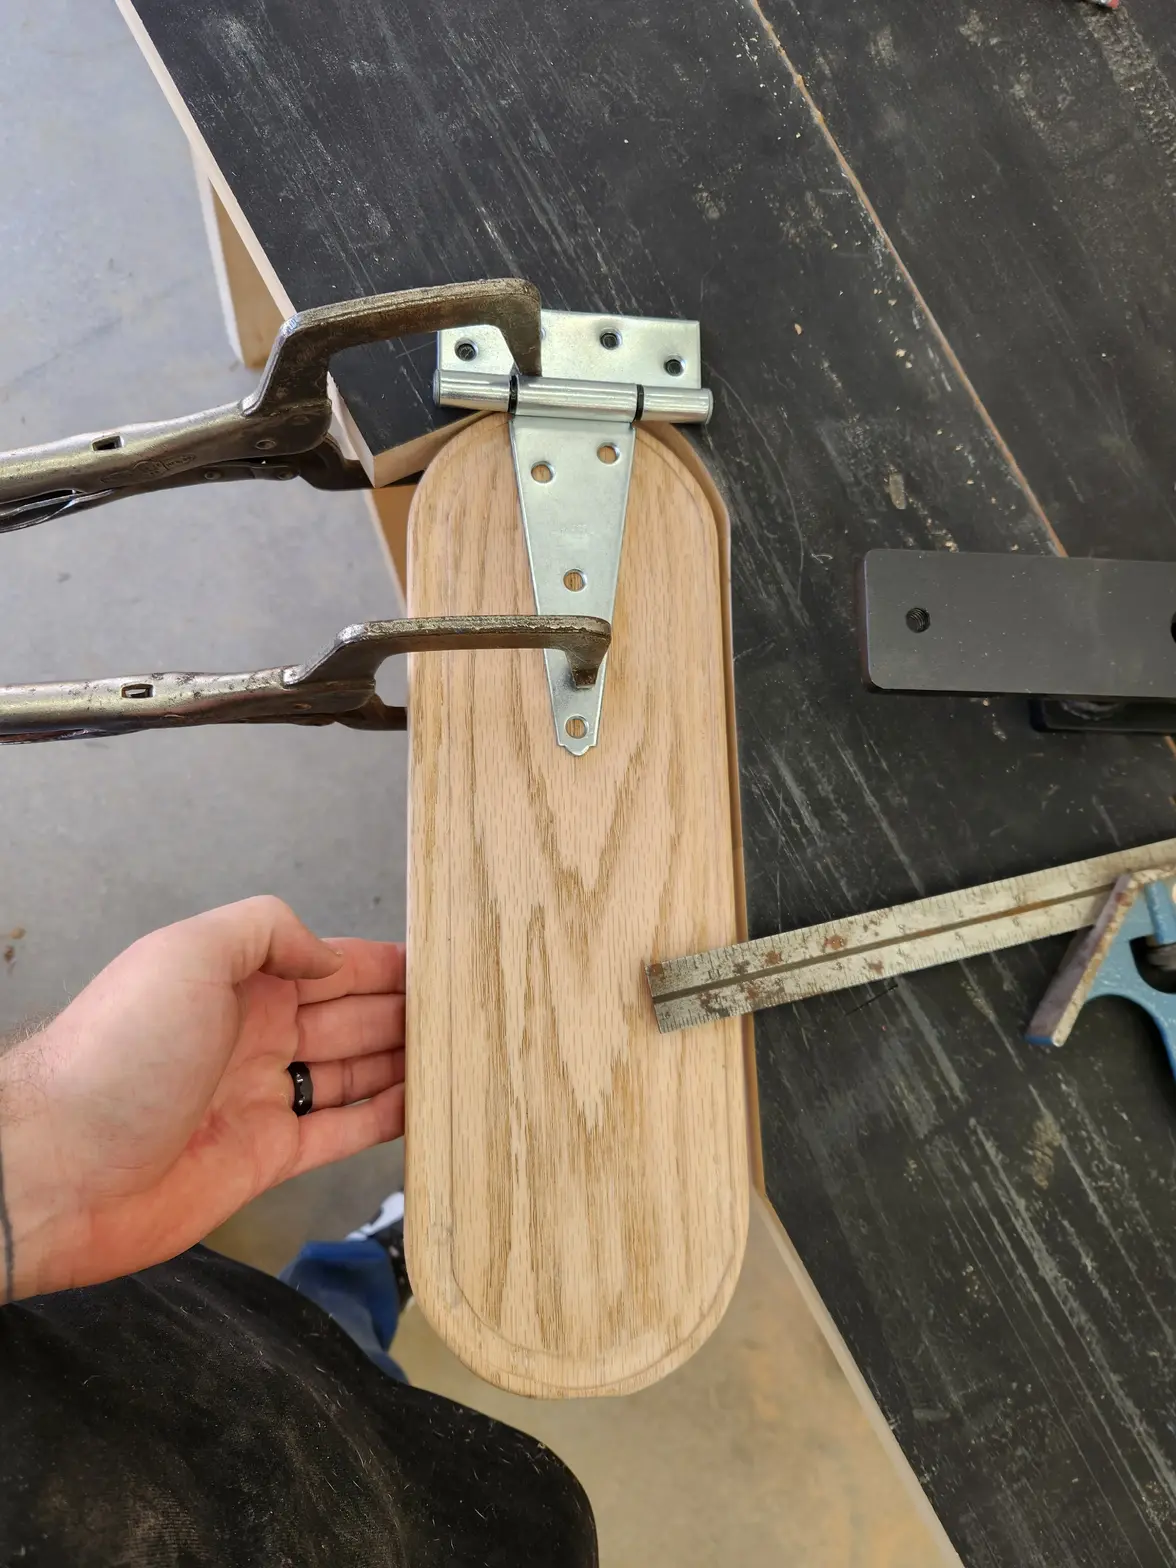
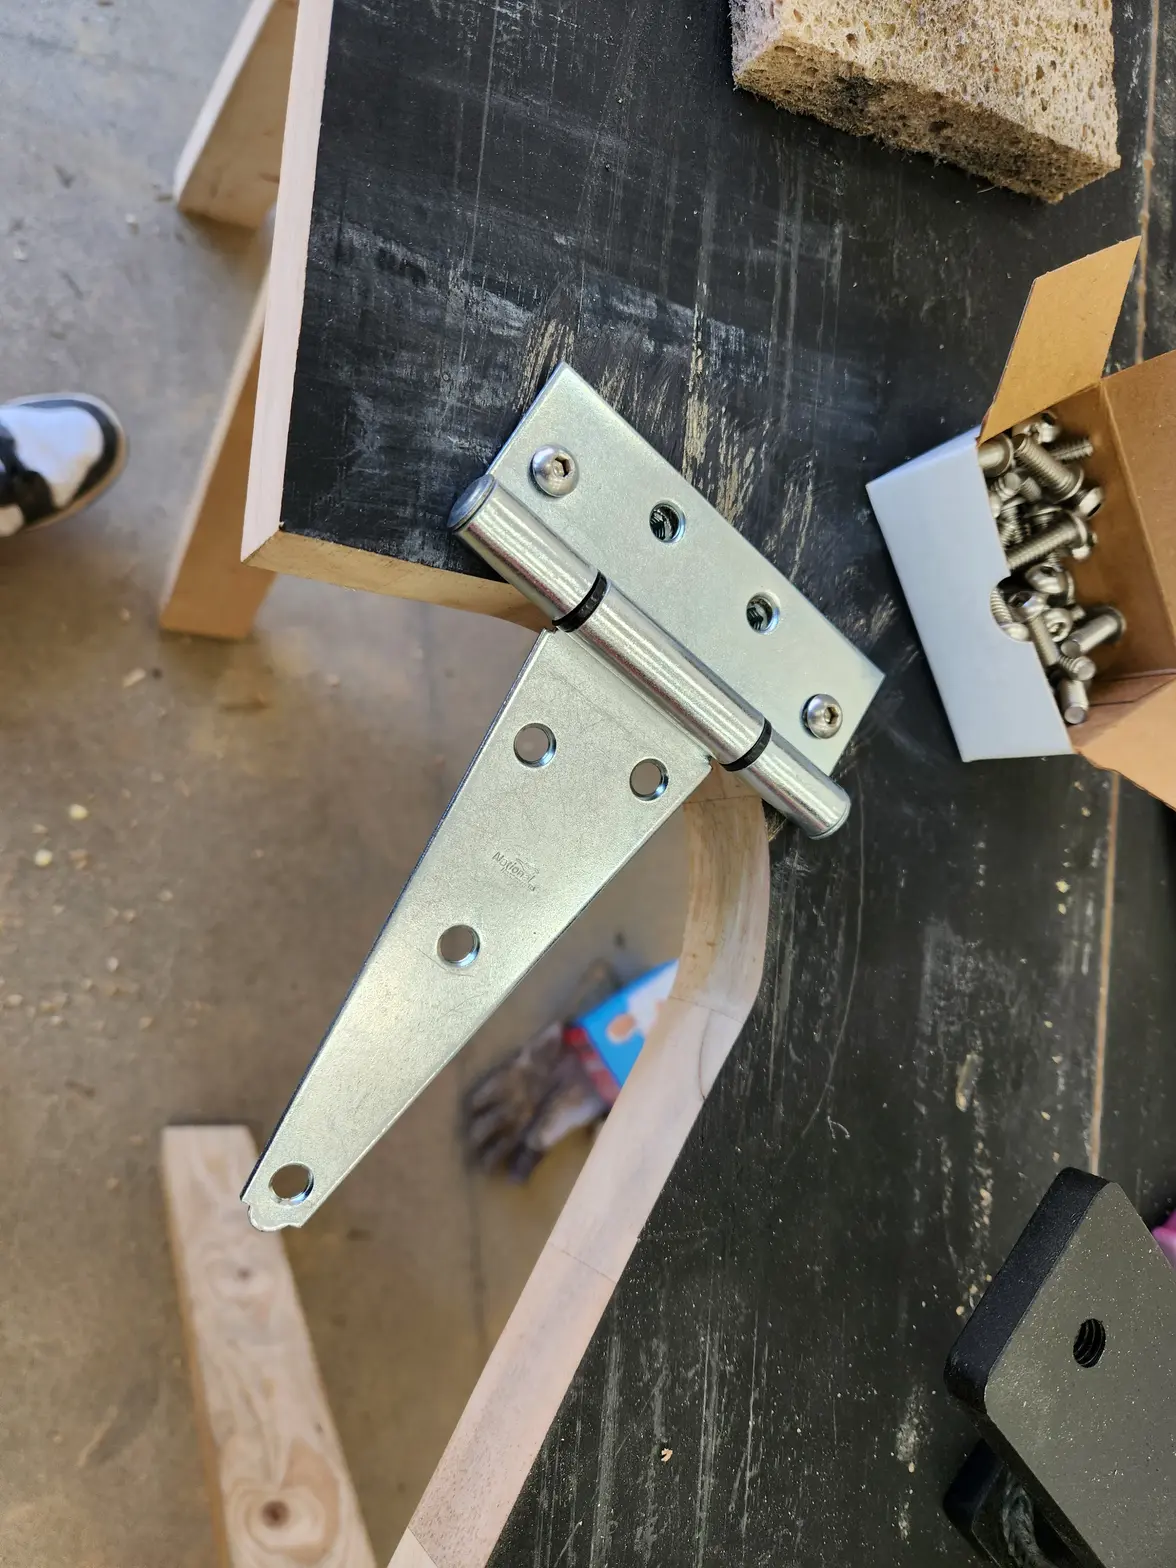
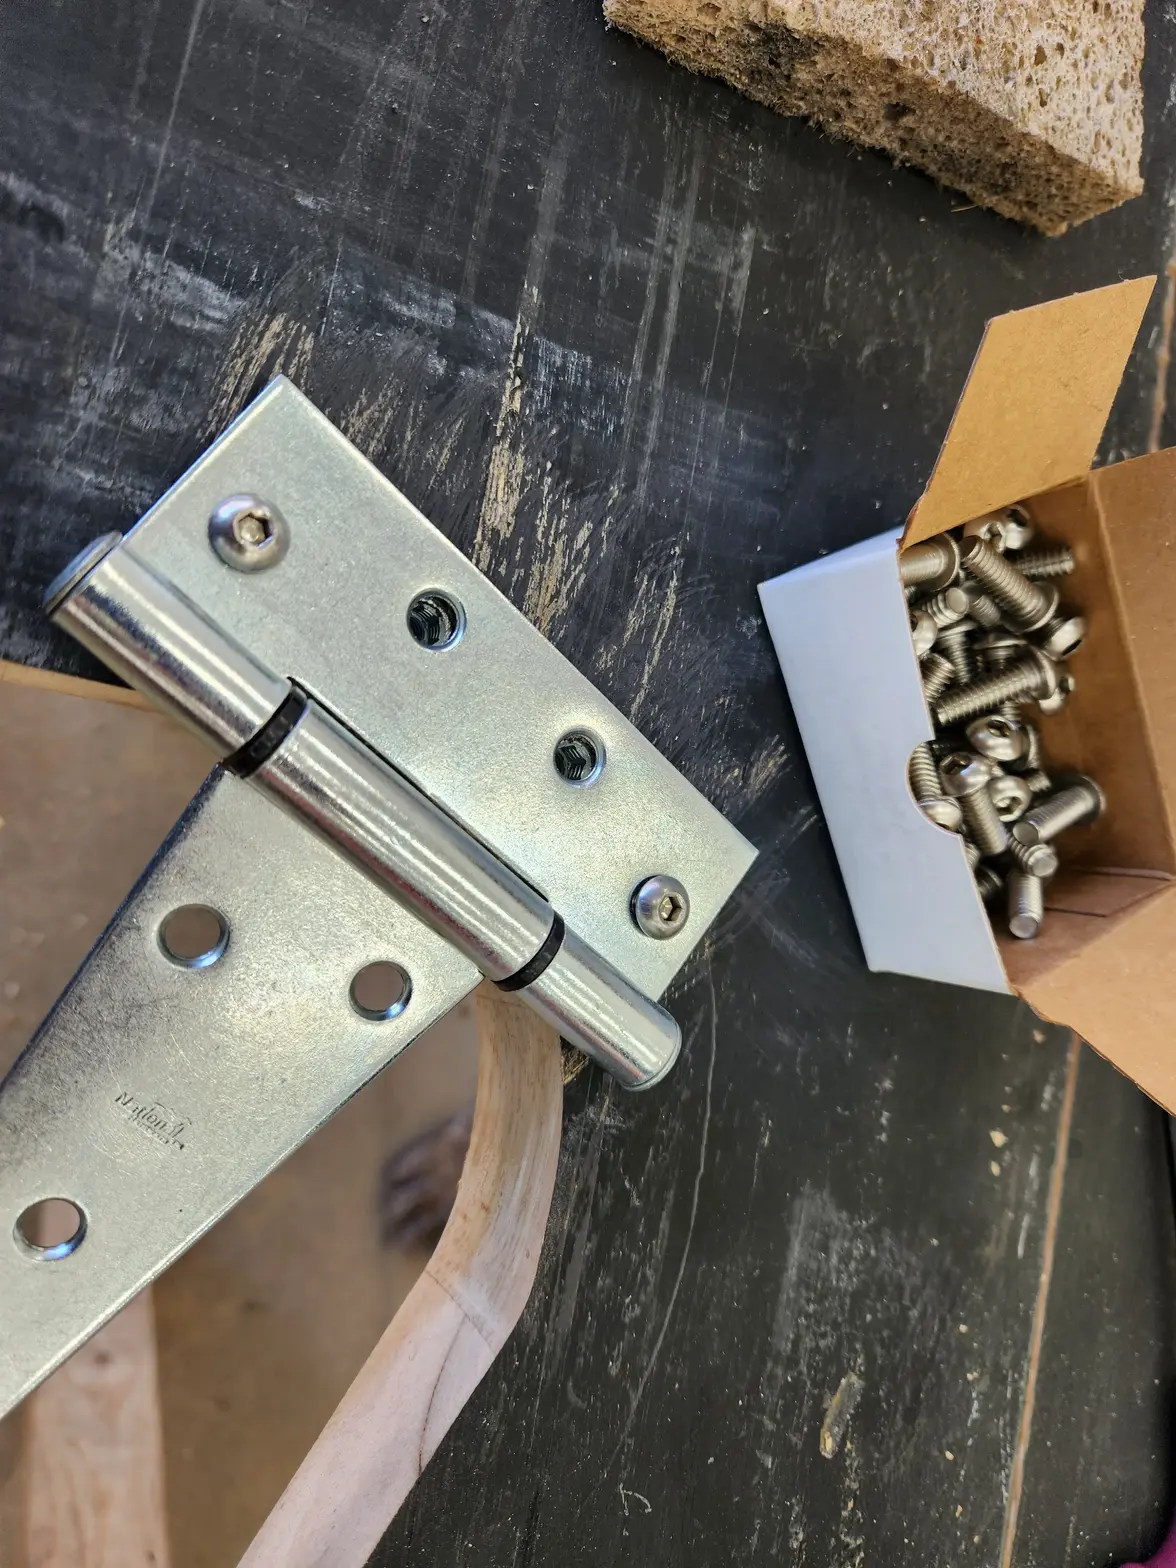
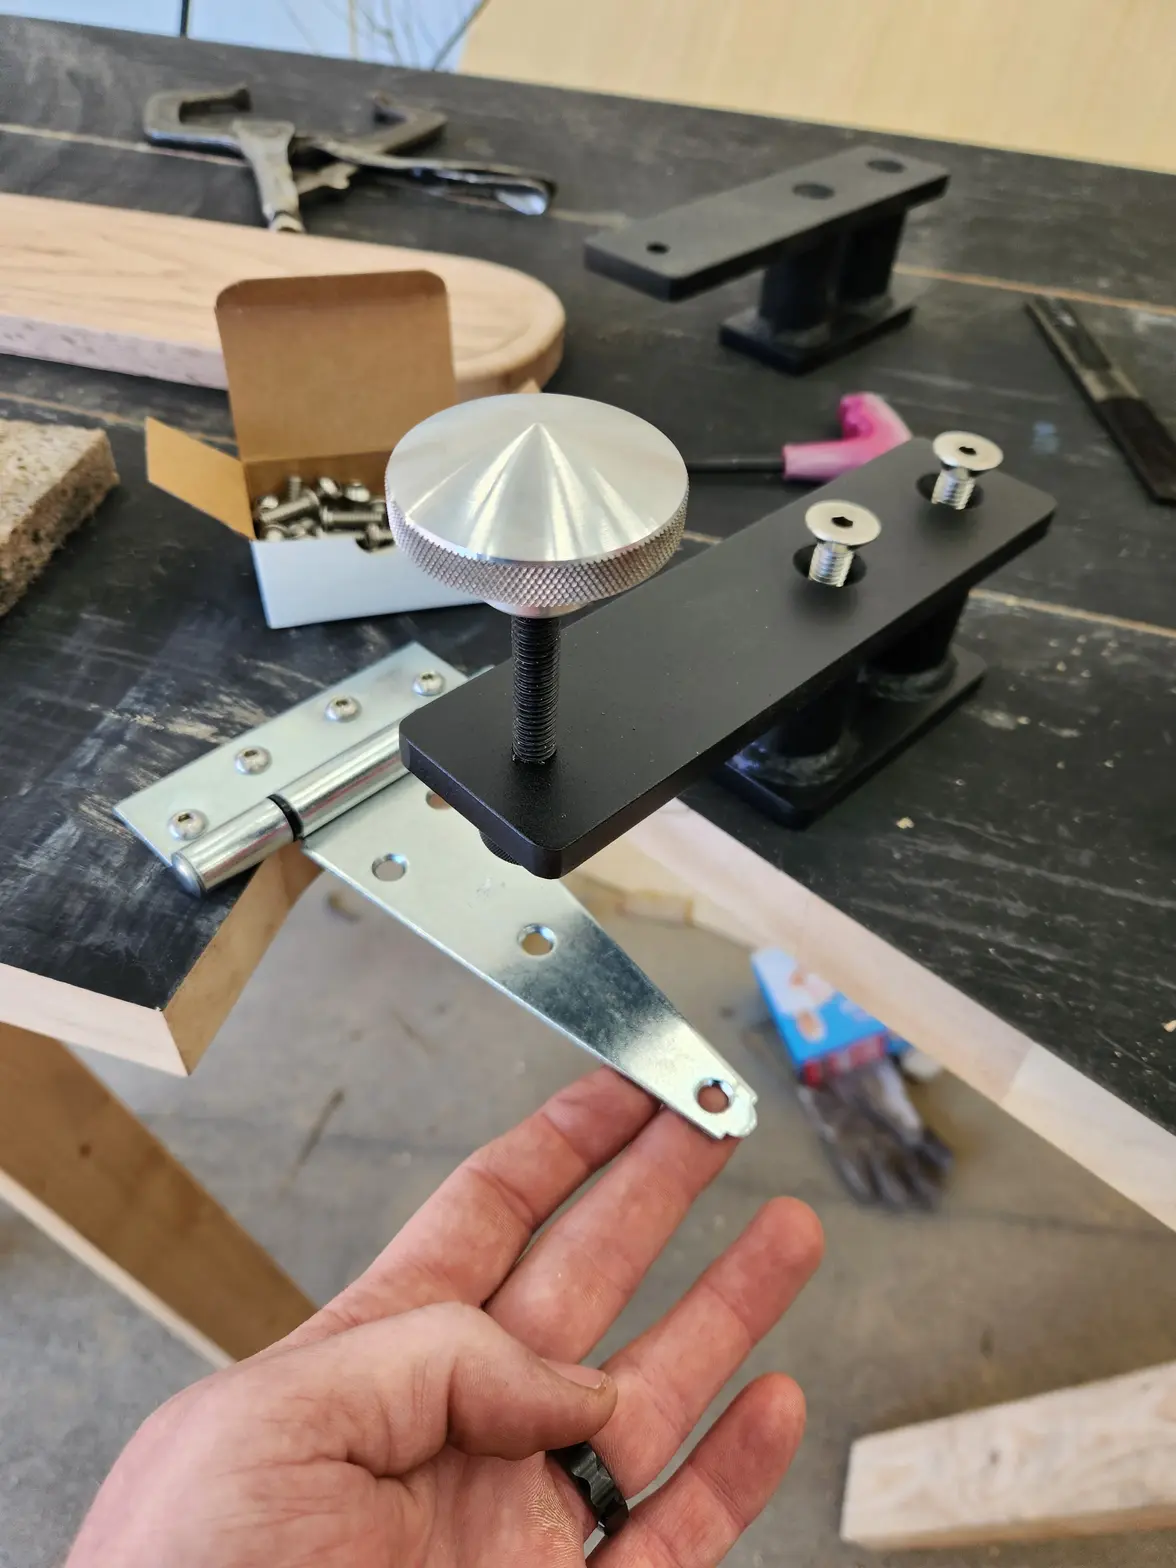
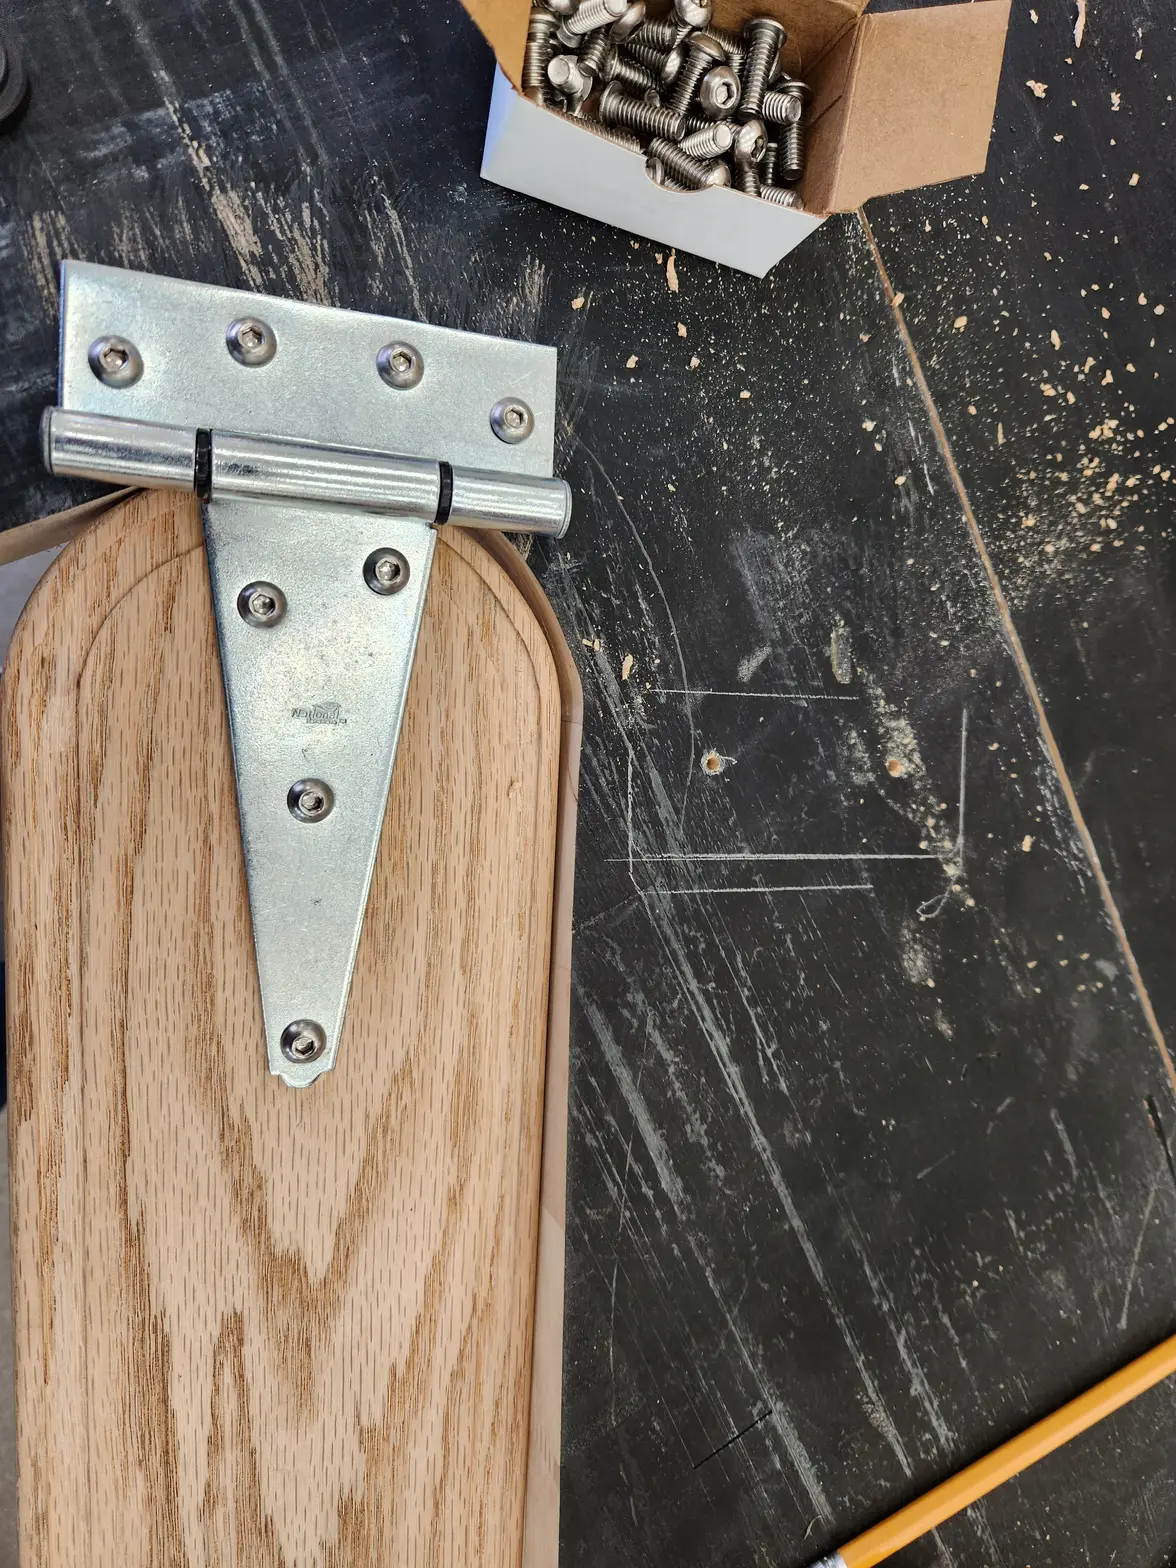
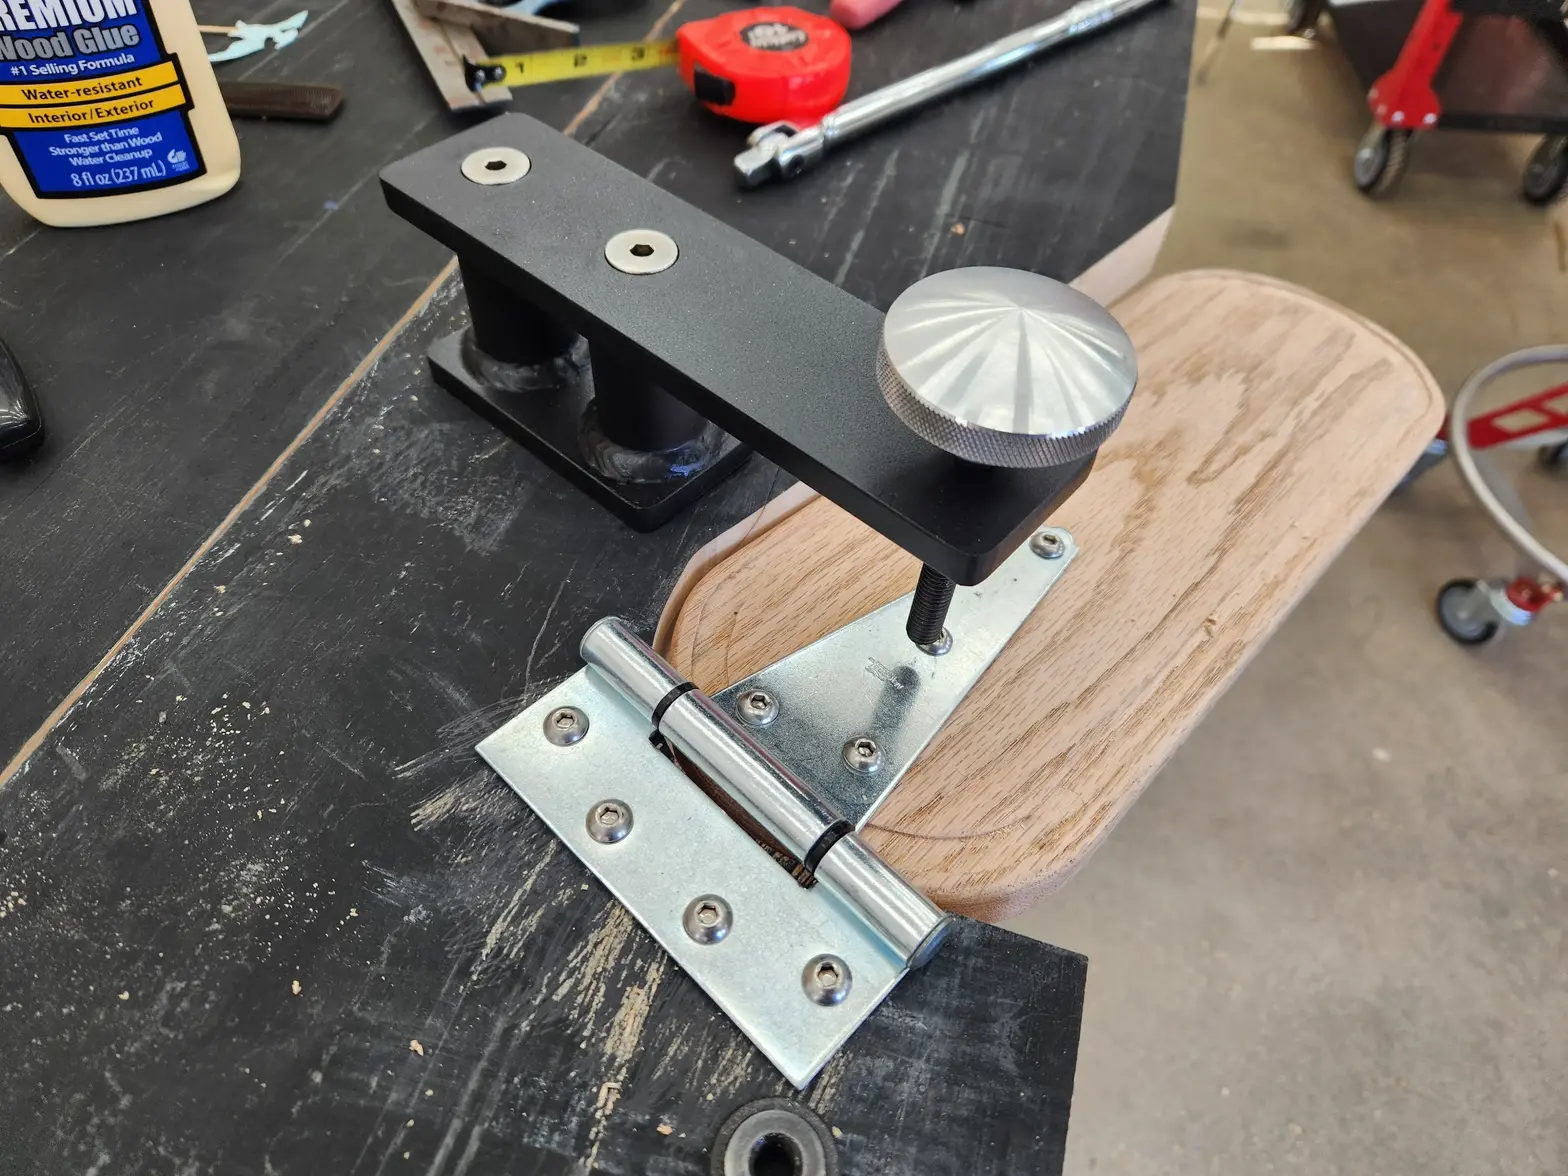
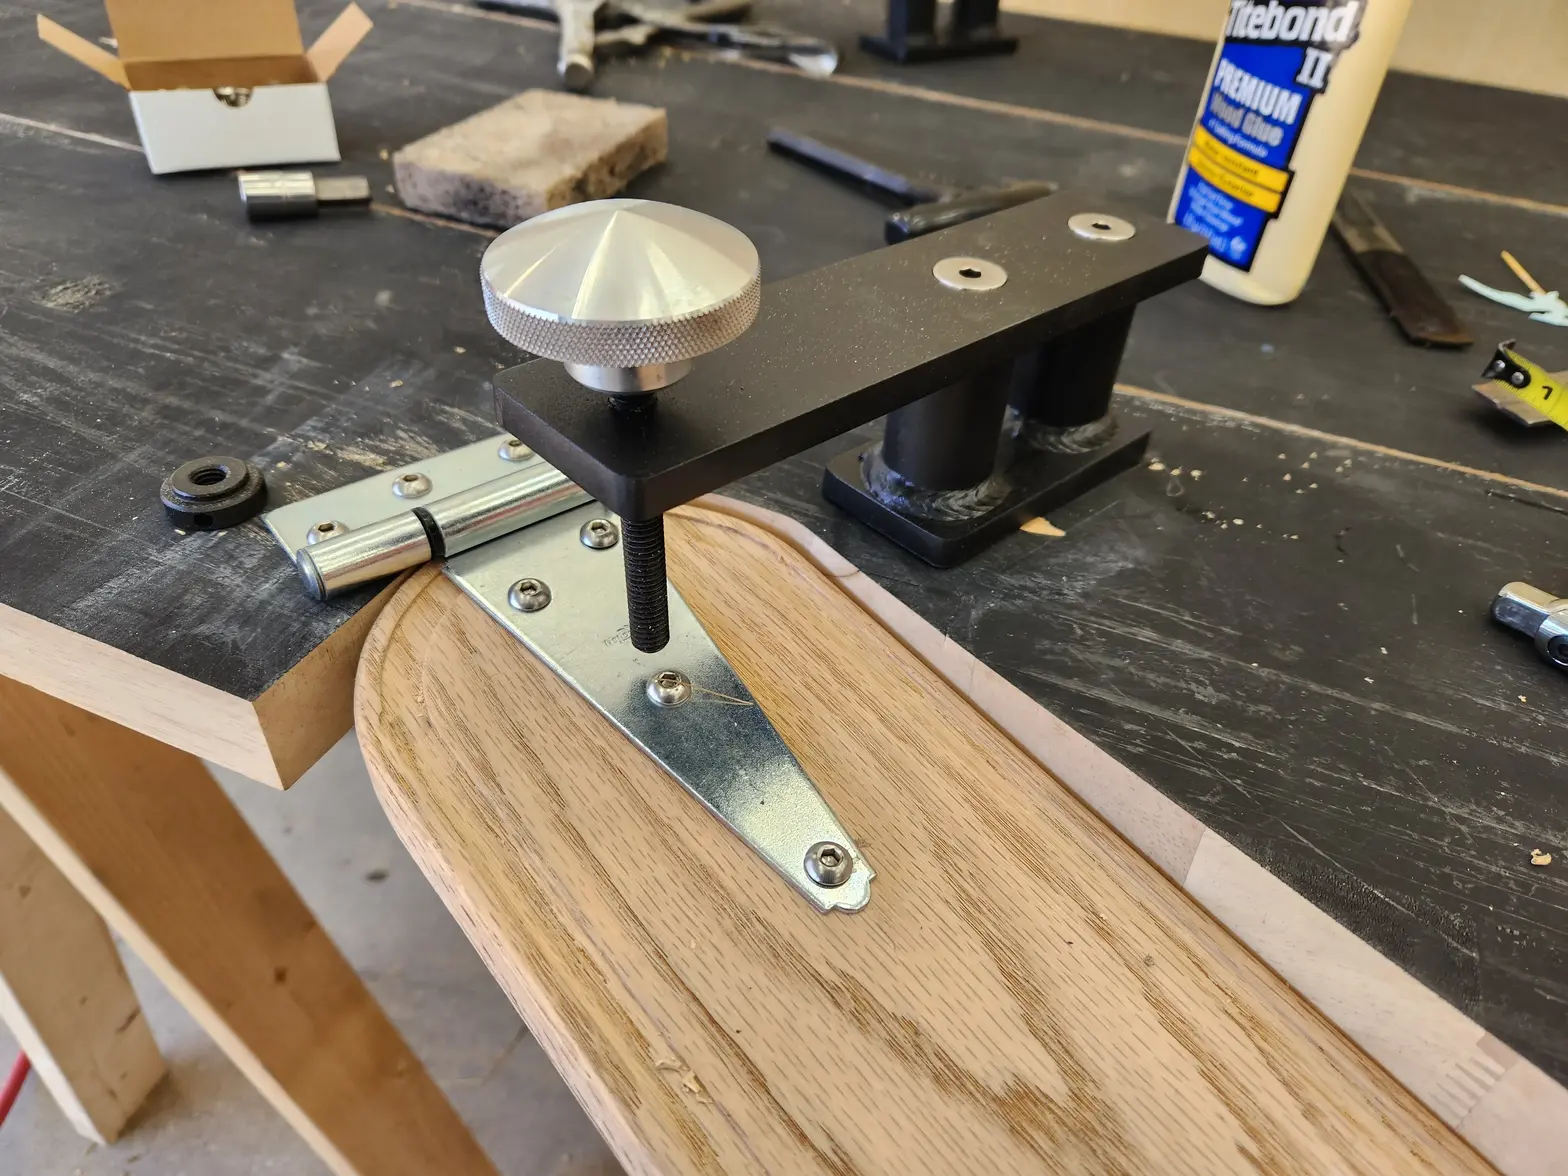
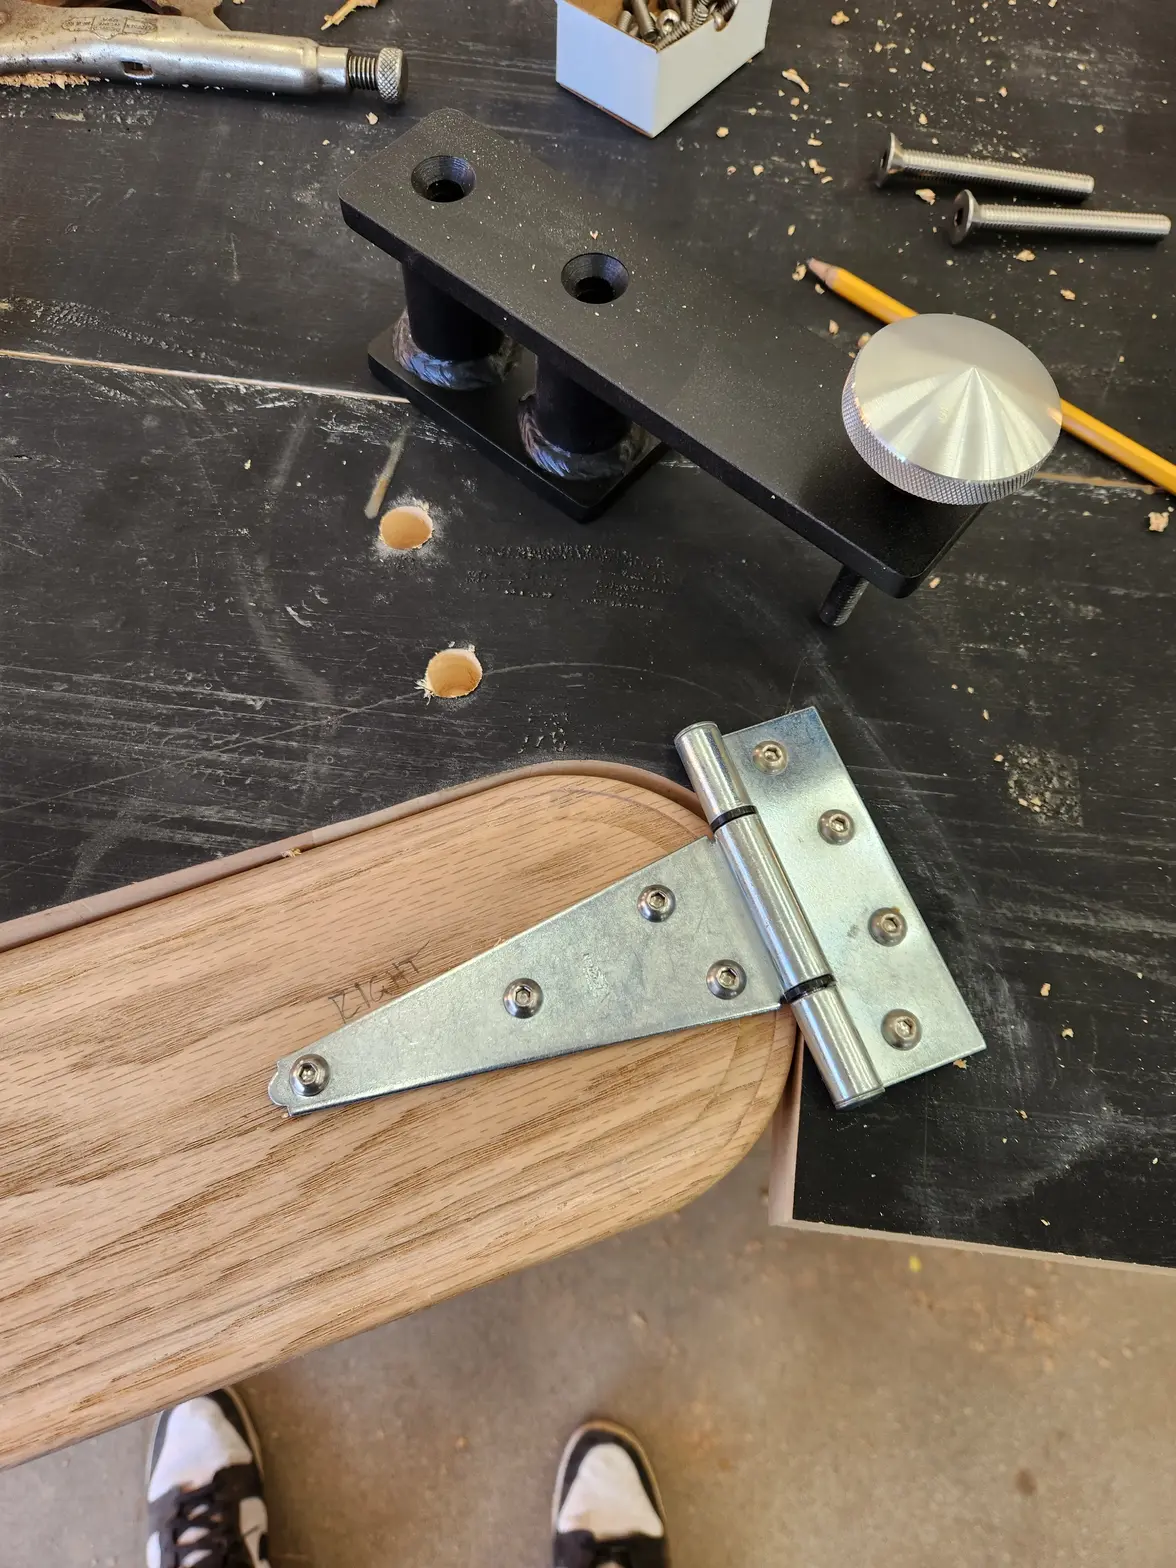
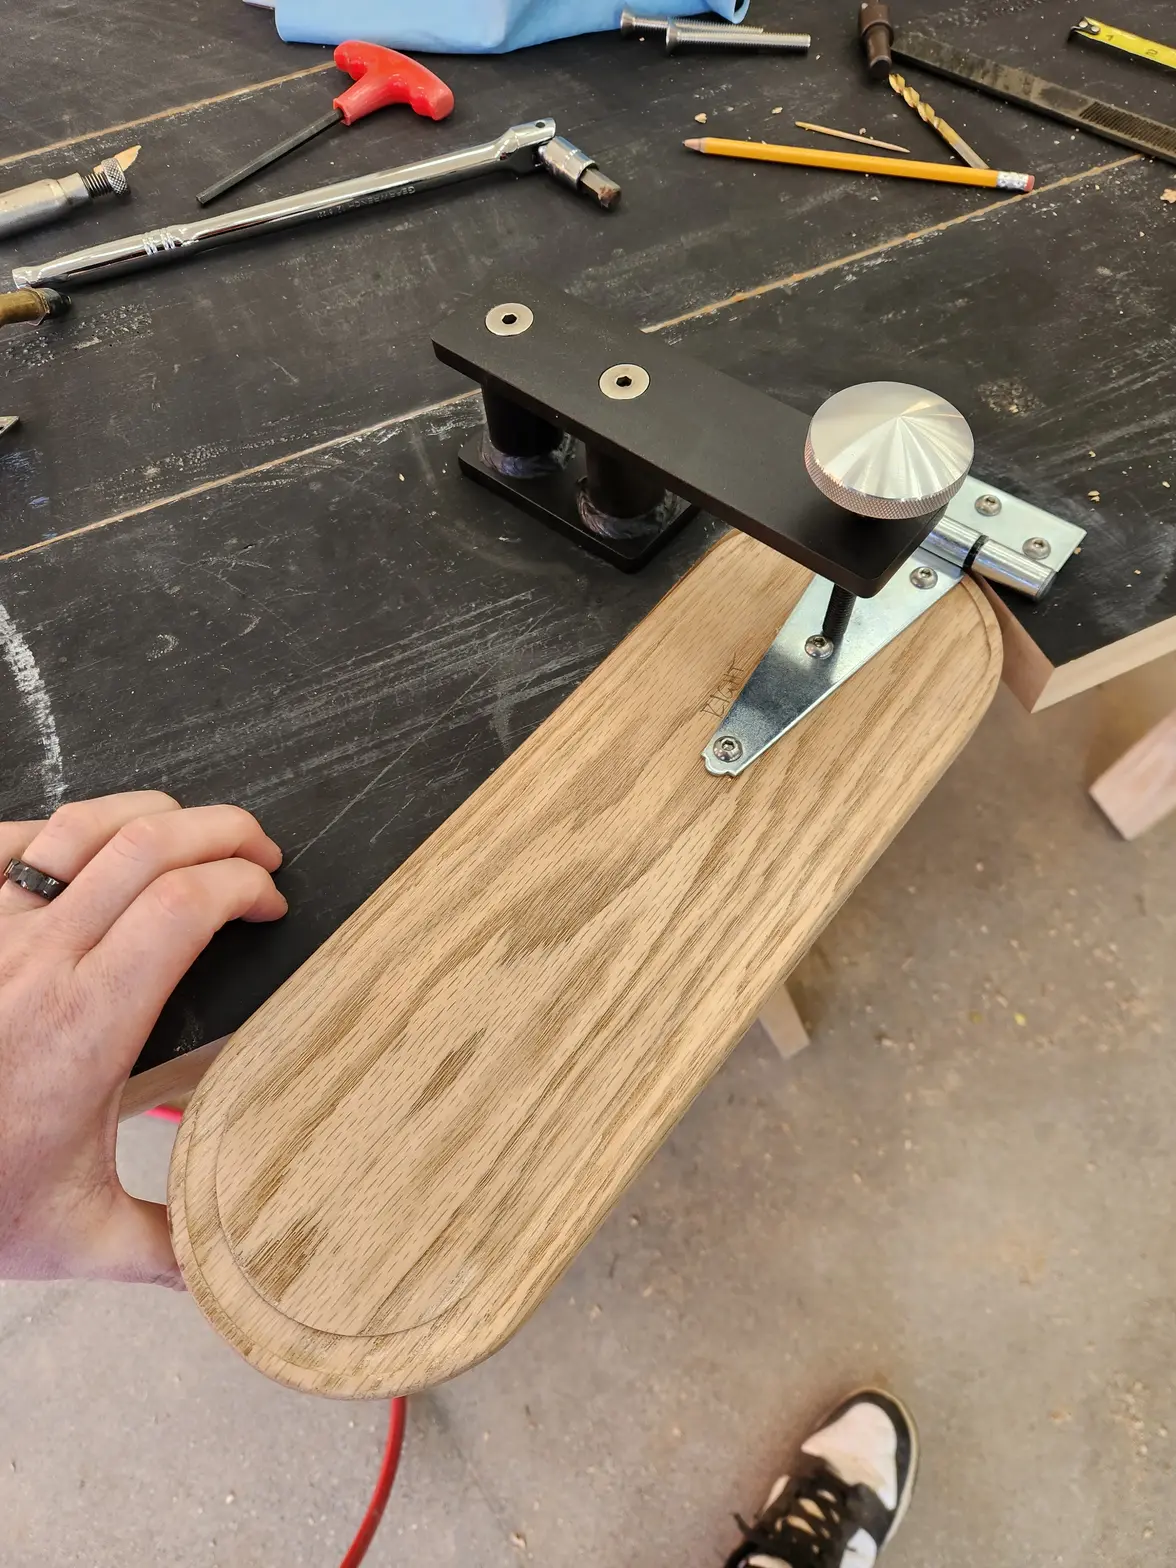
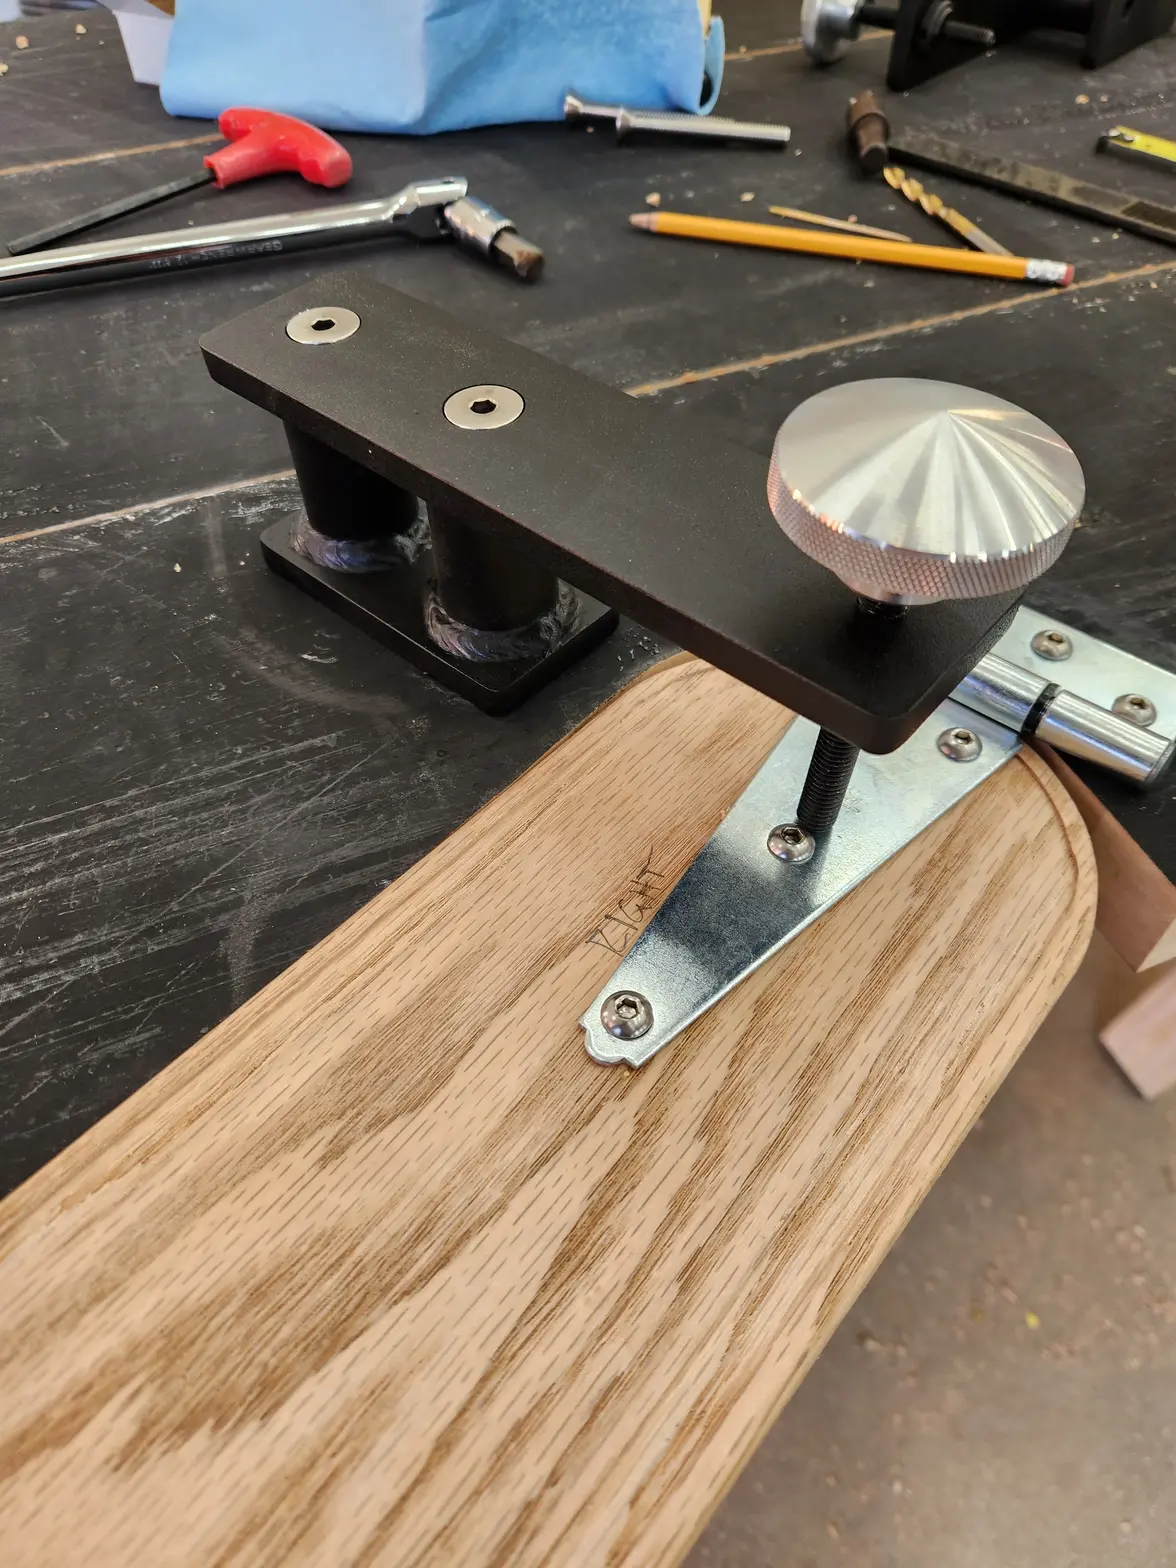
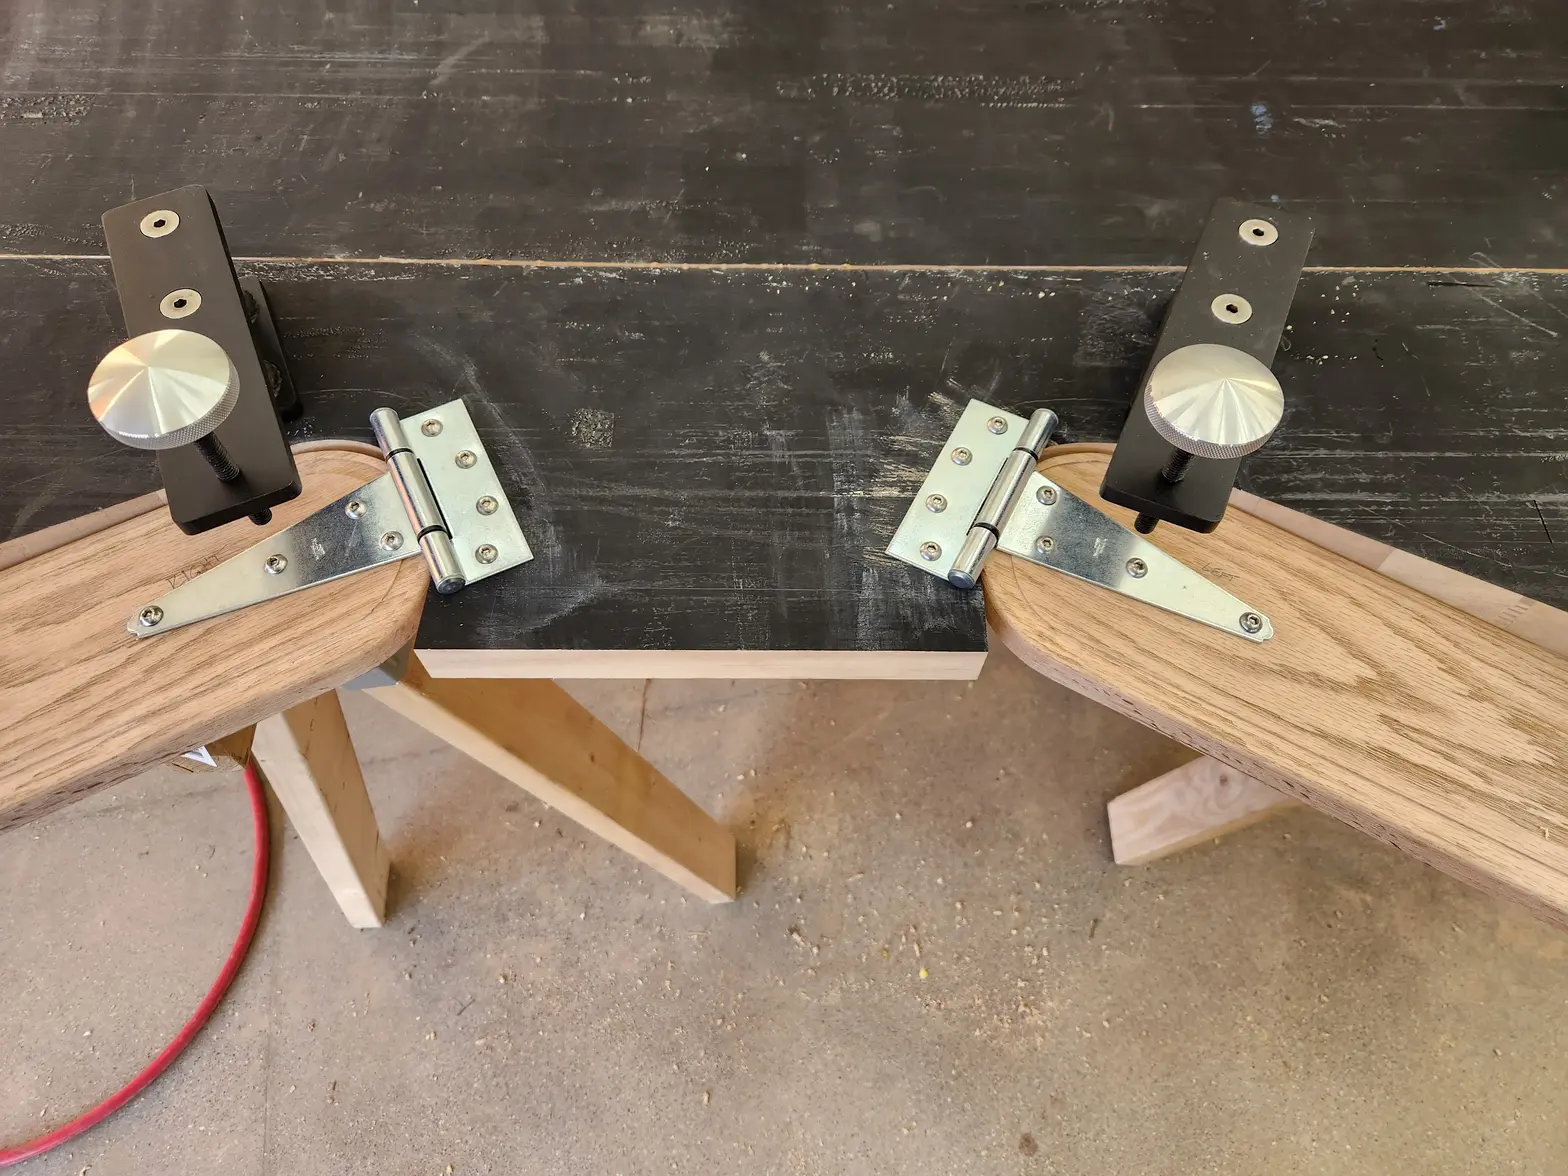
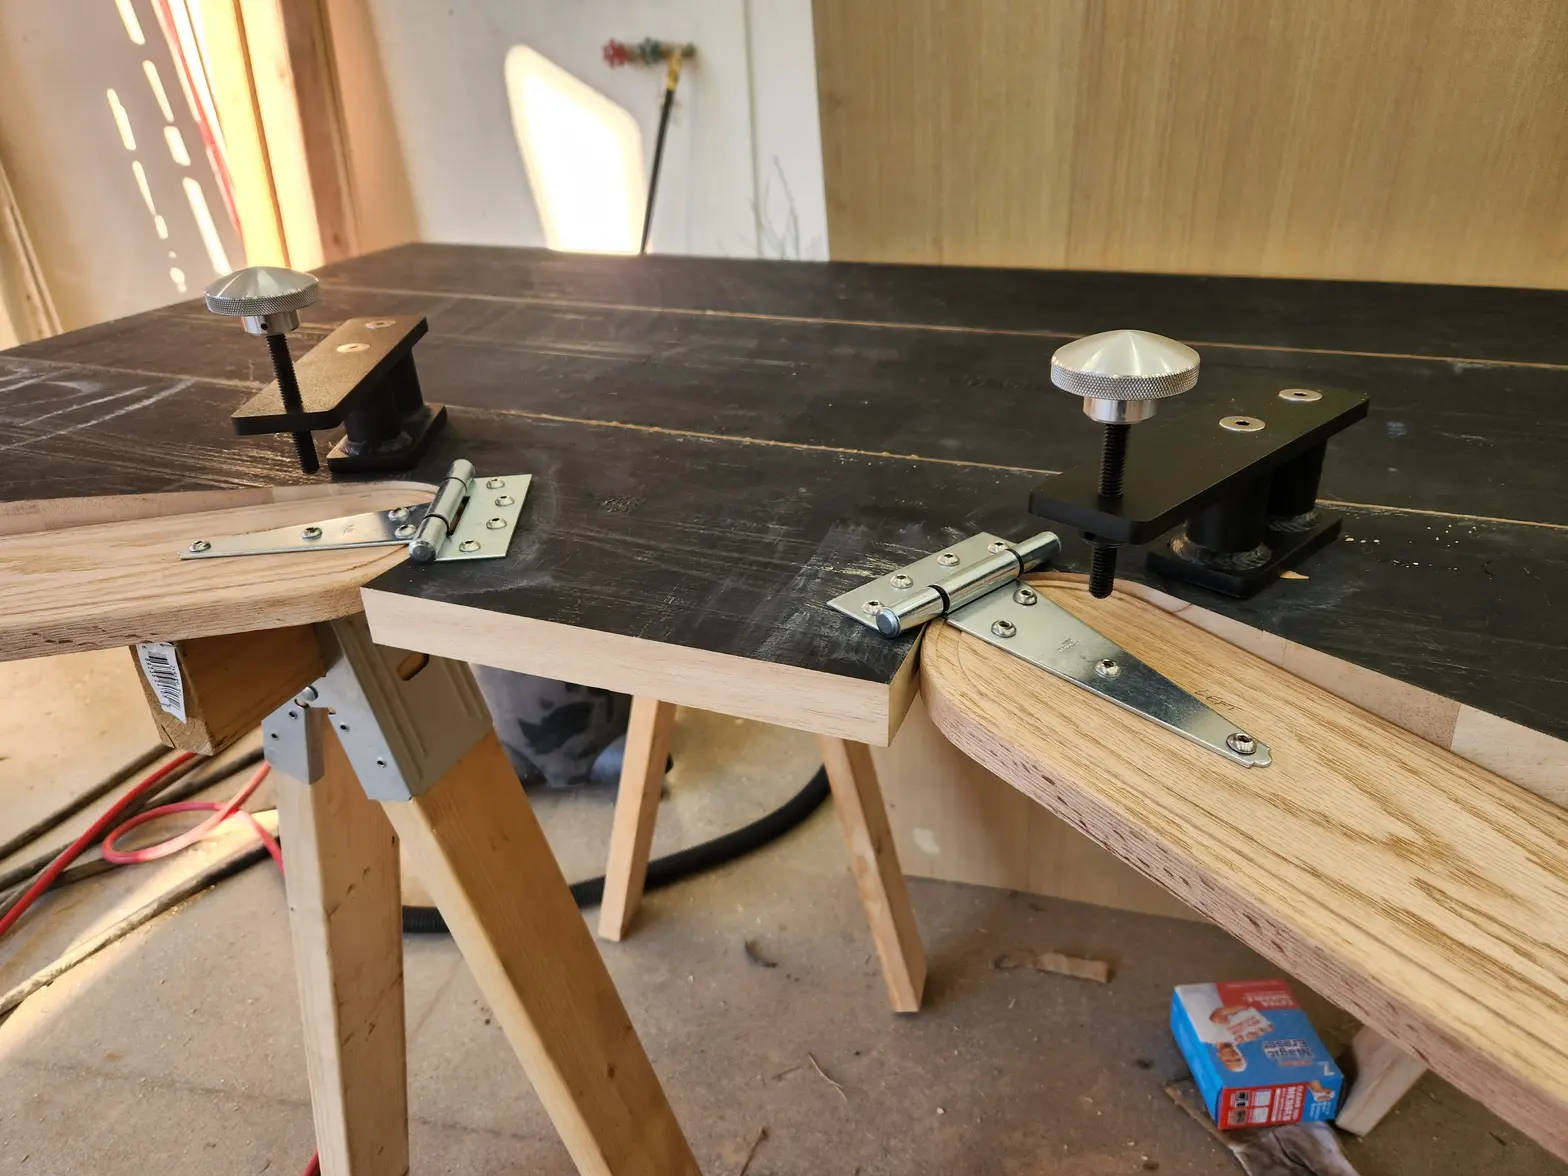
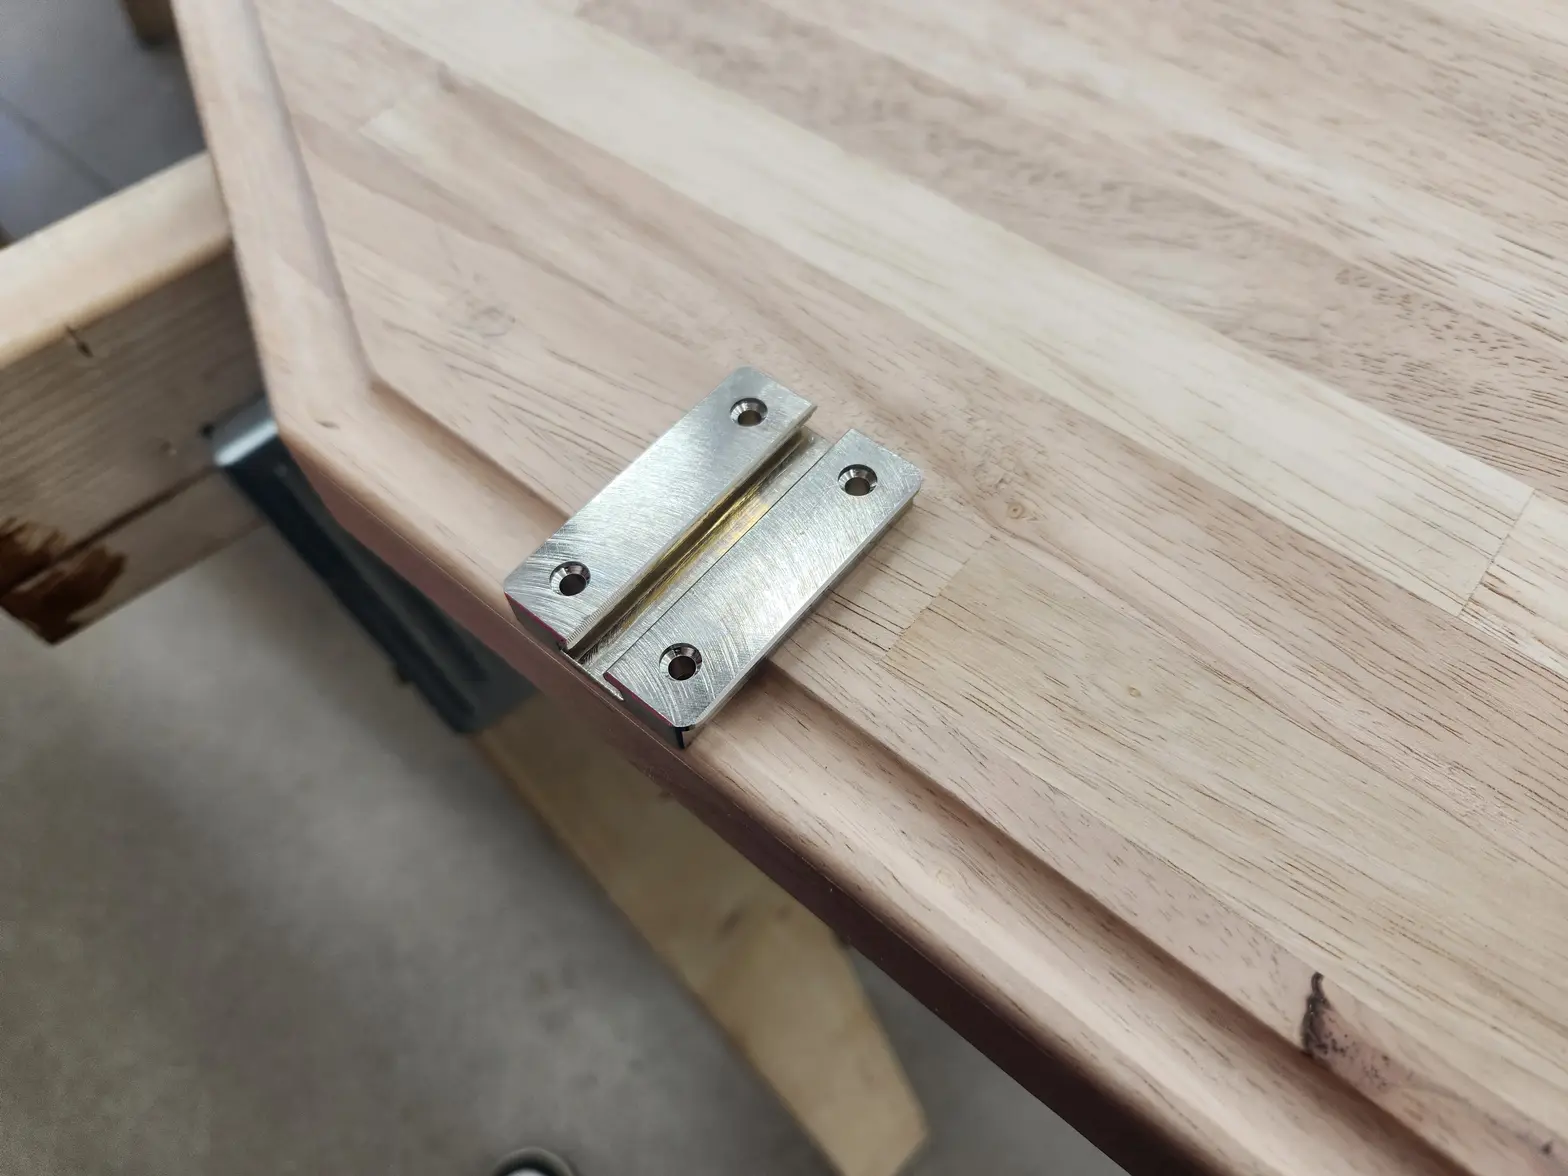
Here is the gate hinge, yes its just a standard gate hinge, but it is meant for a few hundred pounds of hanging weight, so this will work well. Also the knurled knob. These left a lot to be desired. They work. But they arent pretty. and then the locked knurled nuts to keep the knobs from walking.
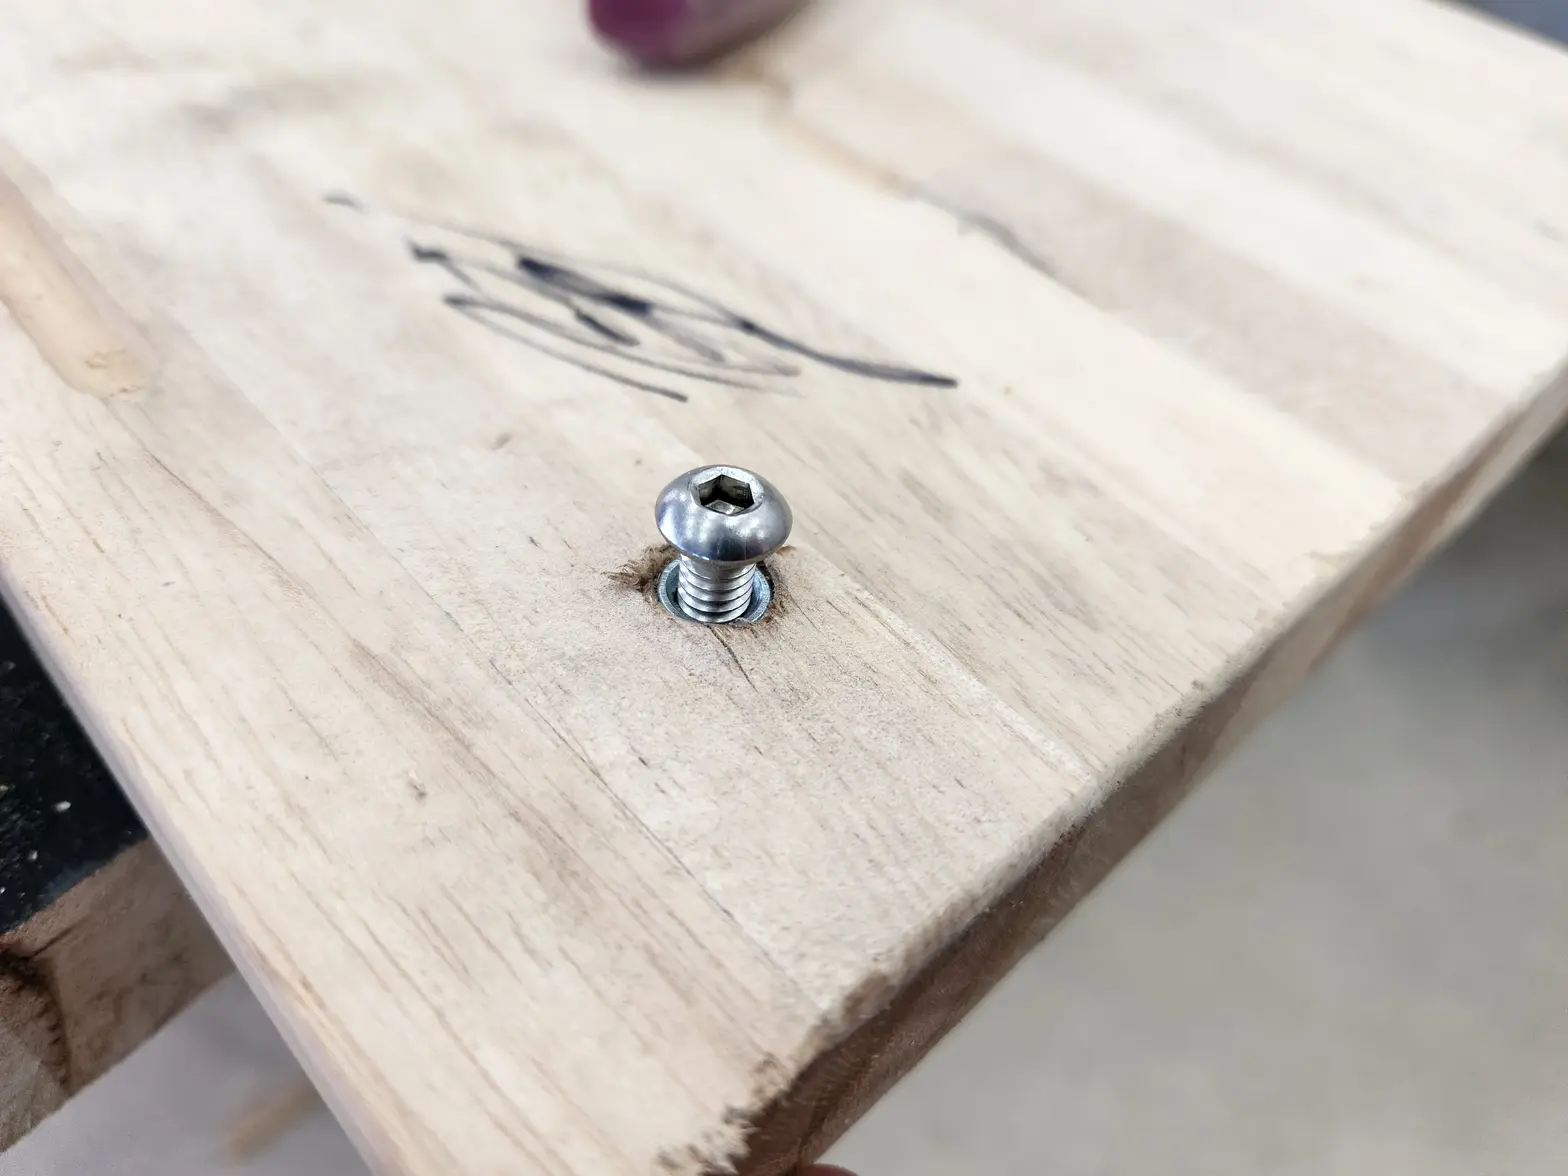
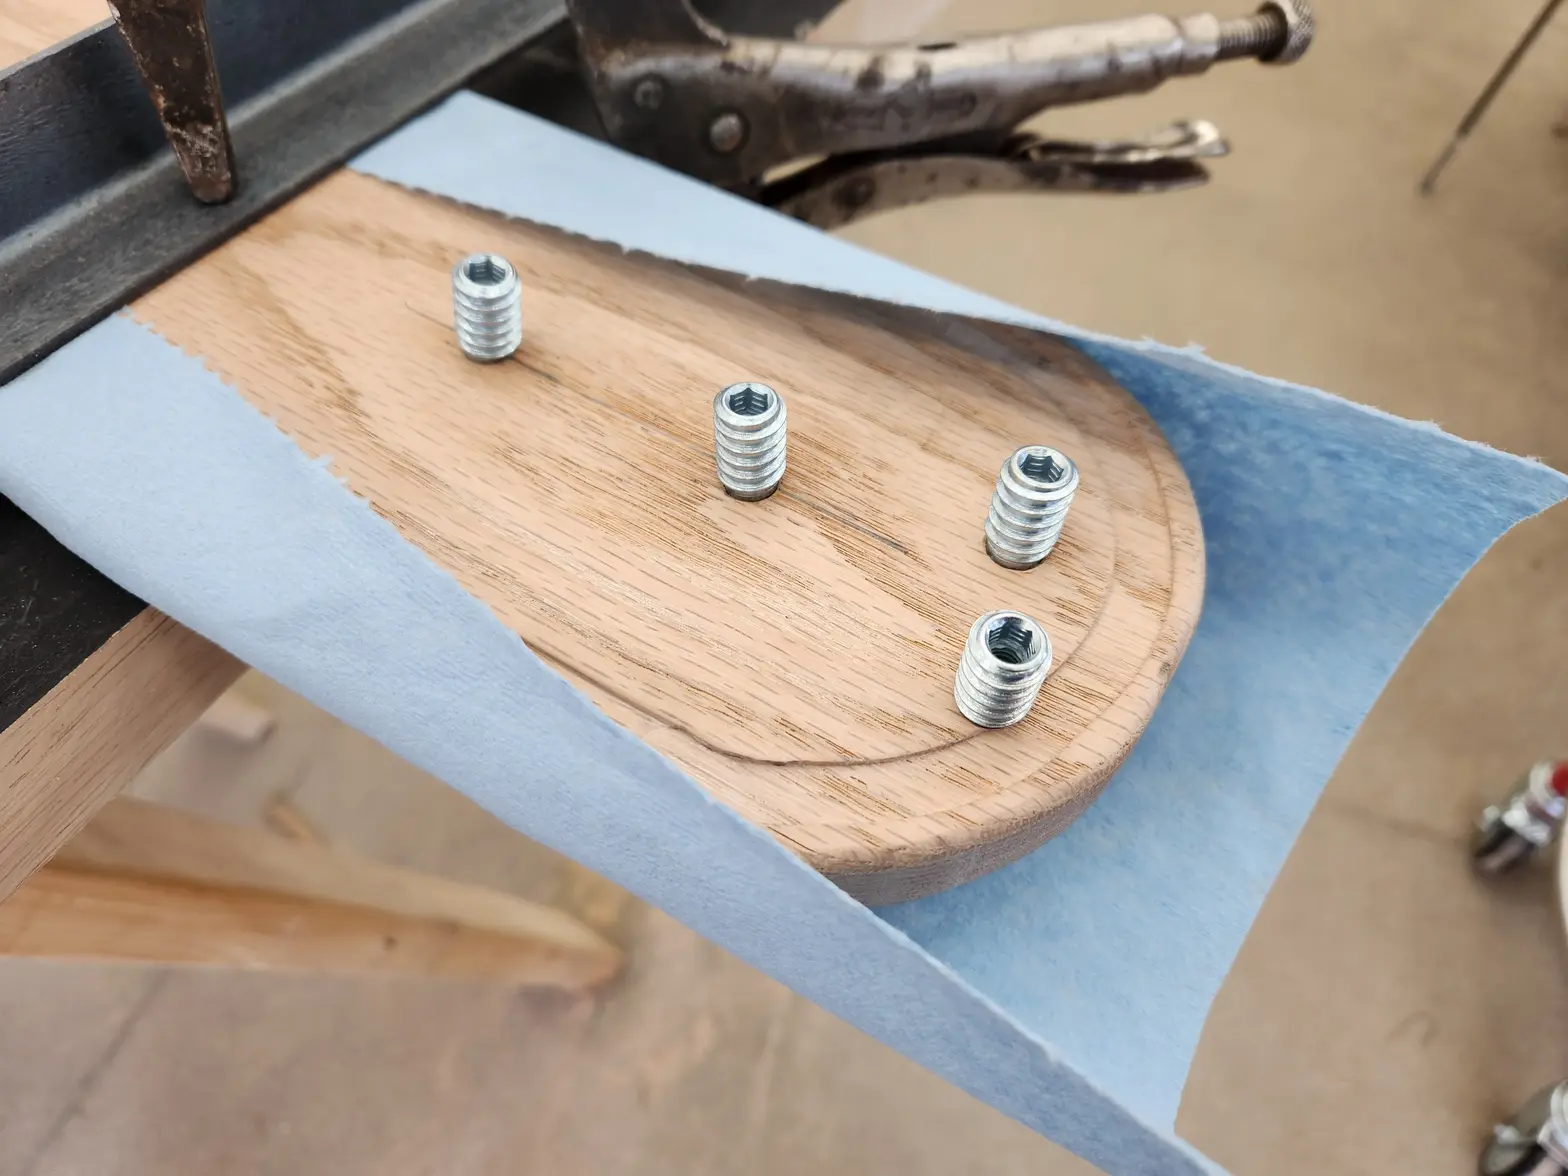
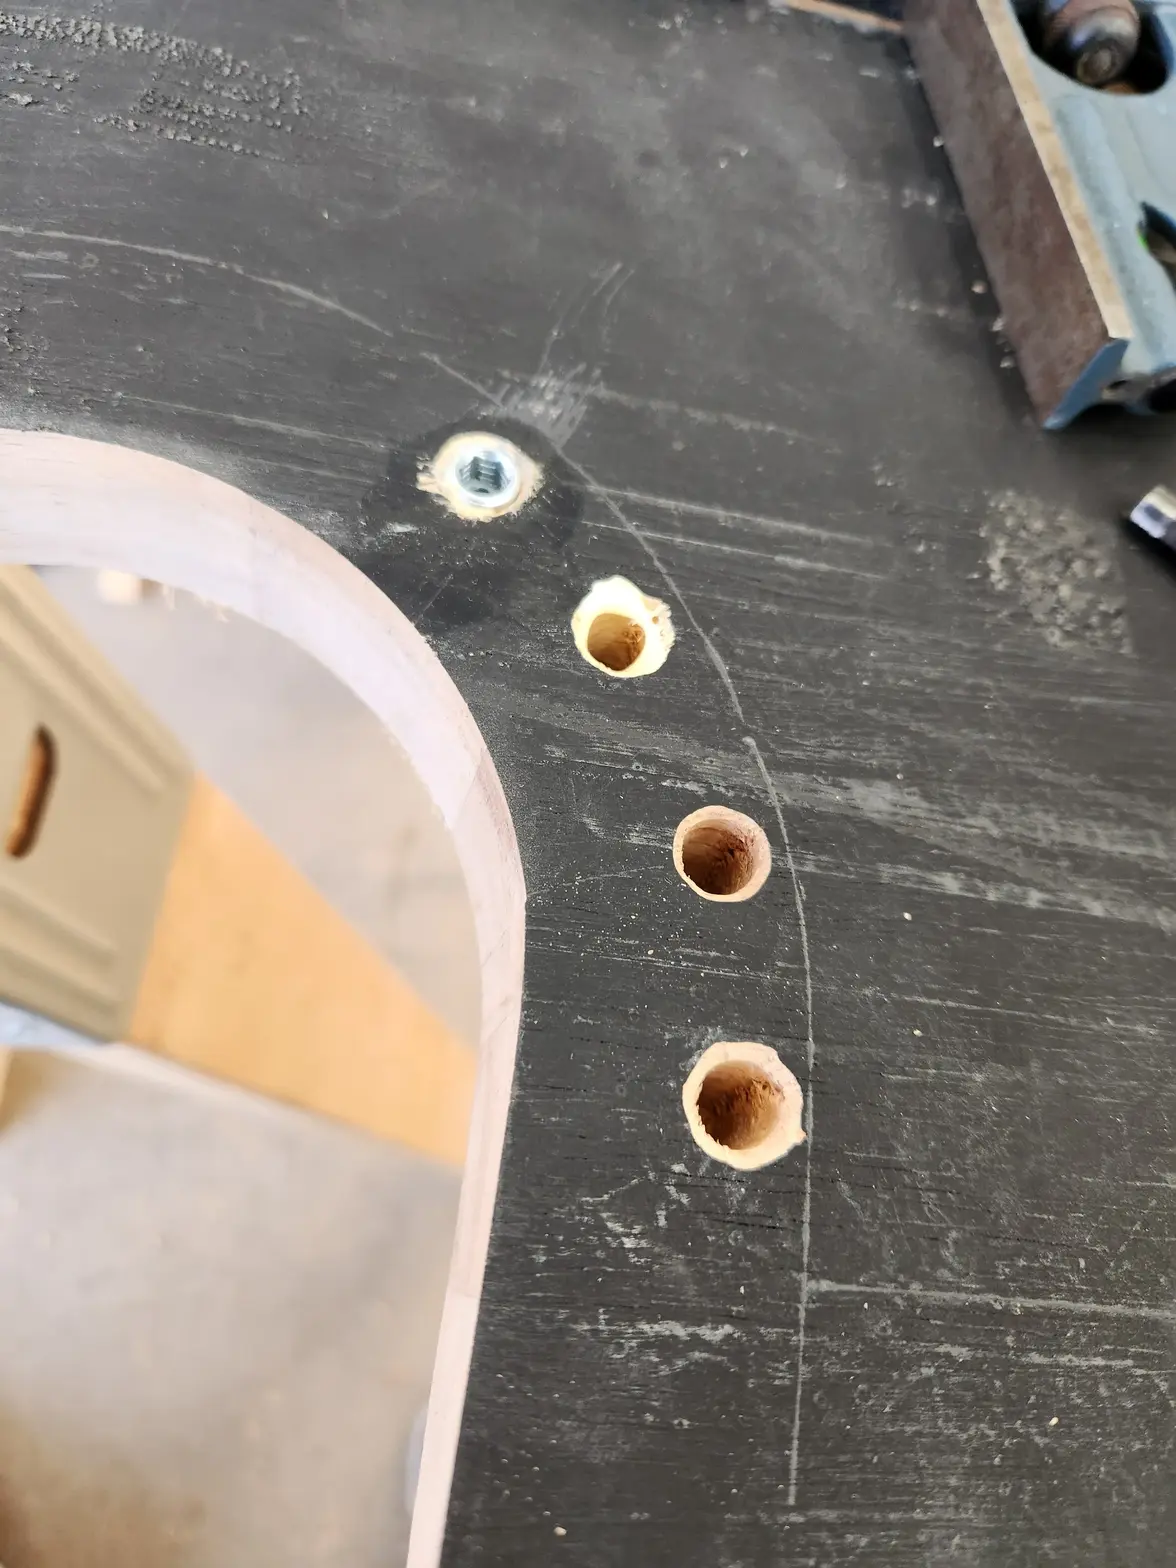
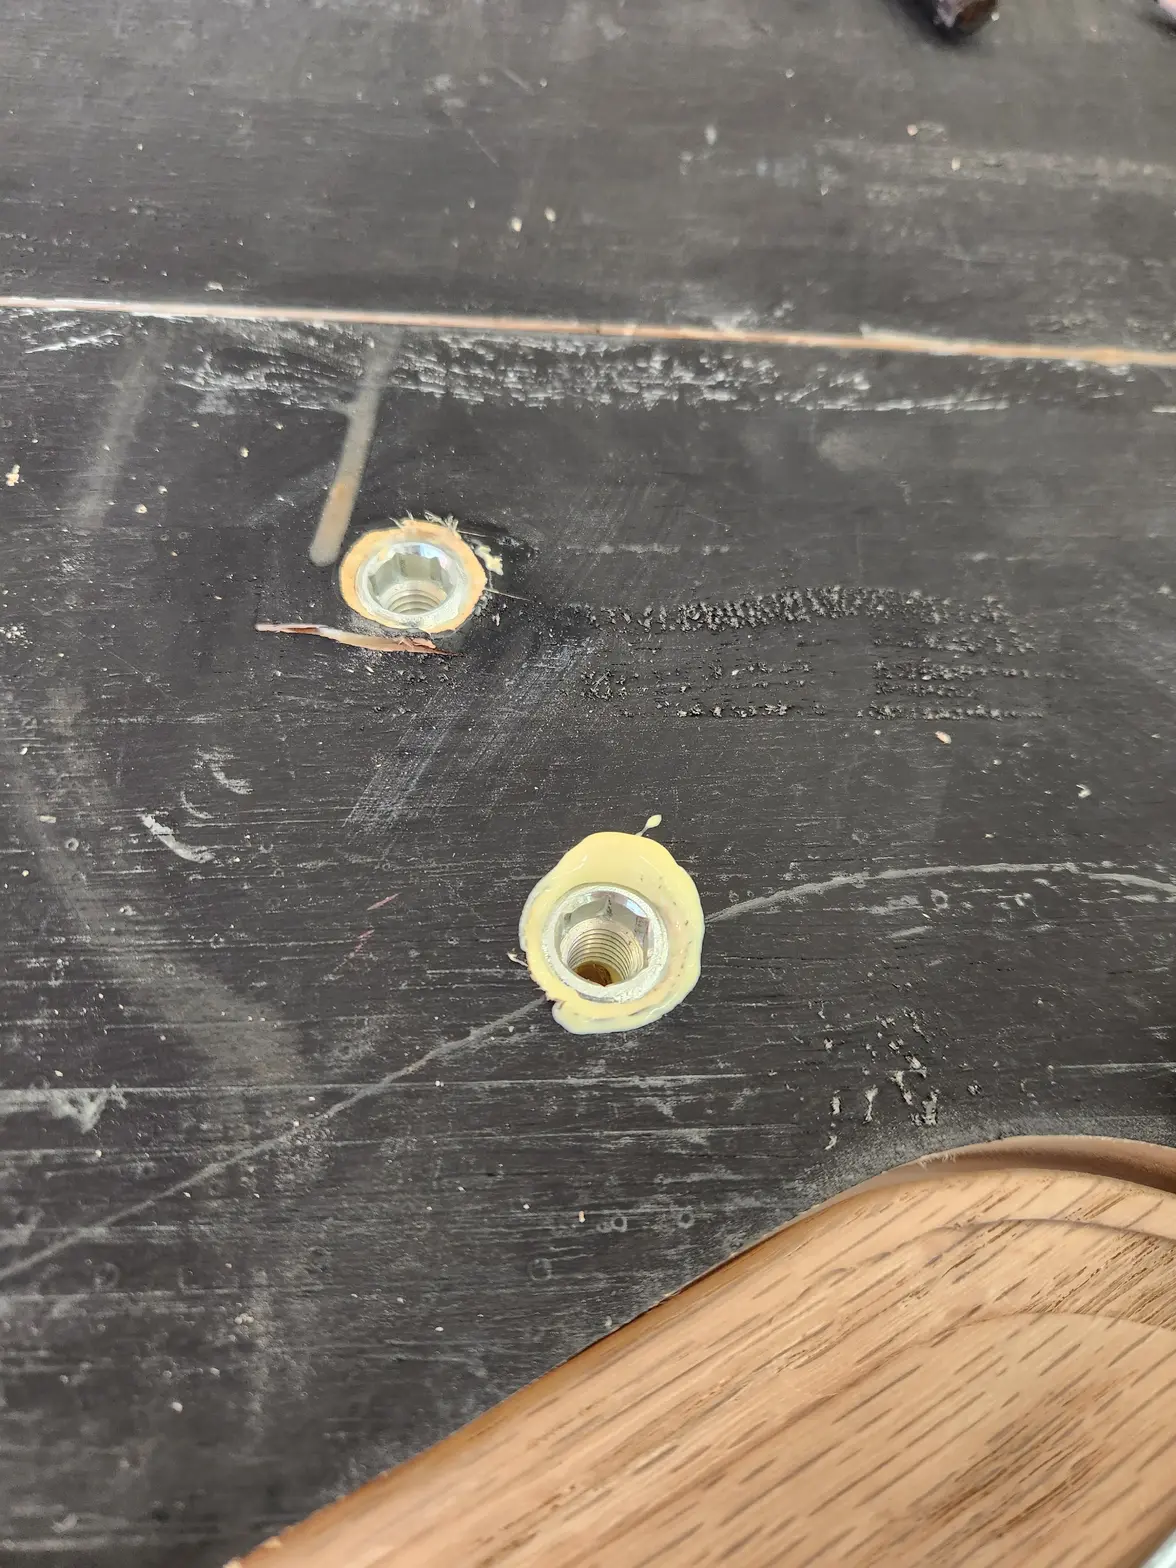
These wood serts were key. I dont ever want to have a stripped out fastener in my bench top. Also these are the bolts I spec'd to hold the brackets. Countersunk heads will have a nice fliush appearance. Evevn though no one will ever see them.
Here are the oilite bronze bushes for the top. These are awesome. They are oil impregnated brass that can self lubricate. great if you want a bearing without an actual bearing. Smooth as butter. also some random rubber grommits so I can cable route safely.
Cable ties and brass threaded studs here. Some general hardware I wanted on hand.
samweldspoorly
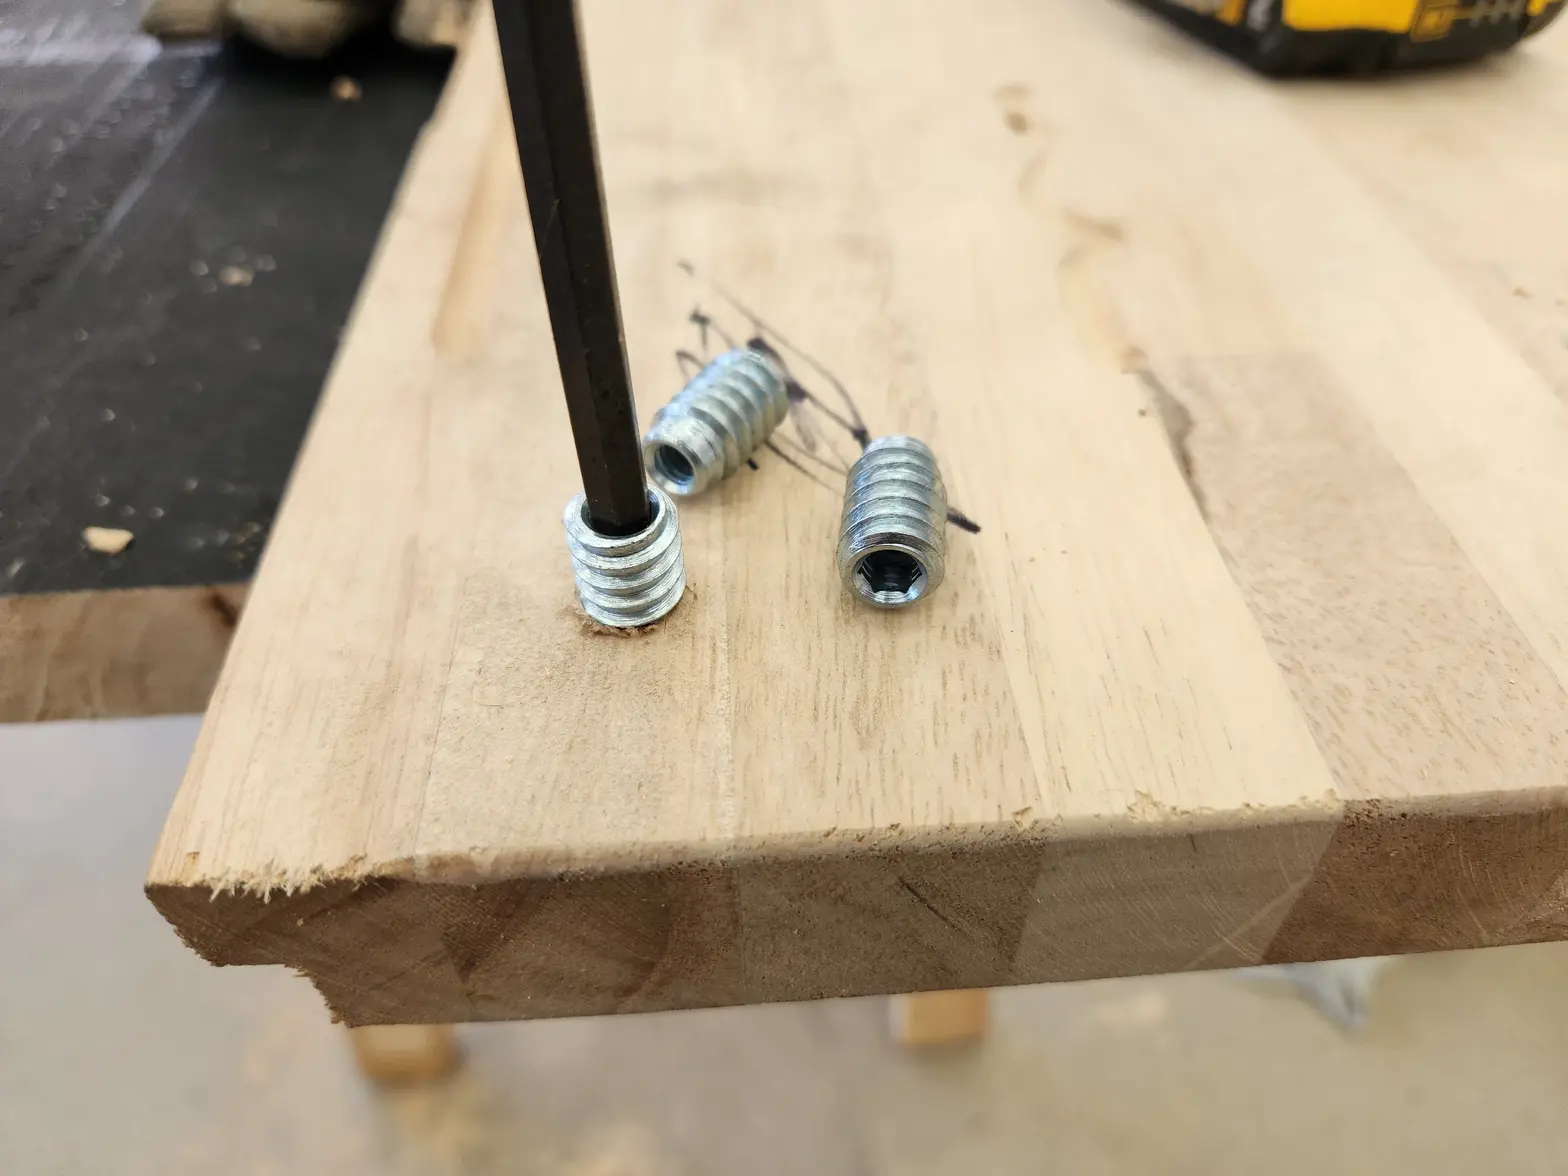
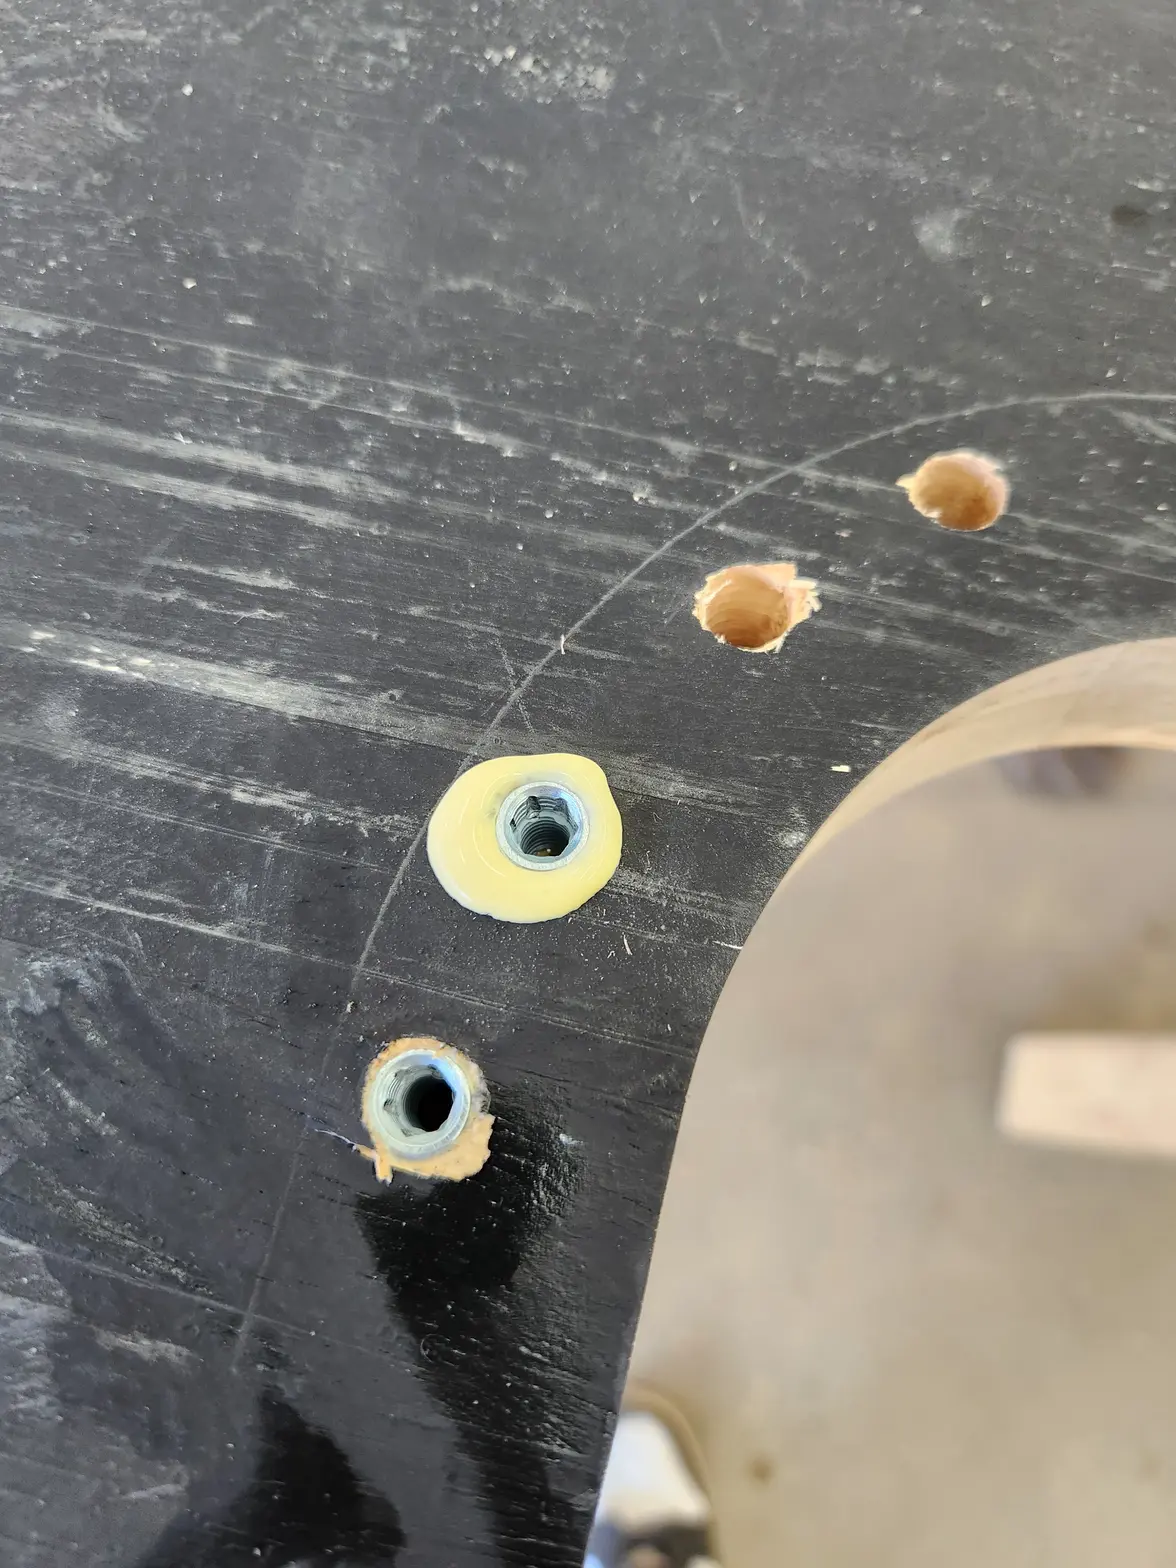
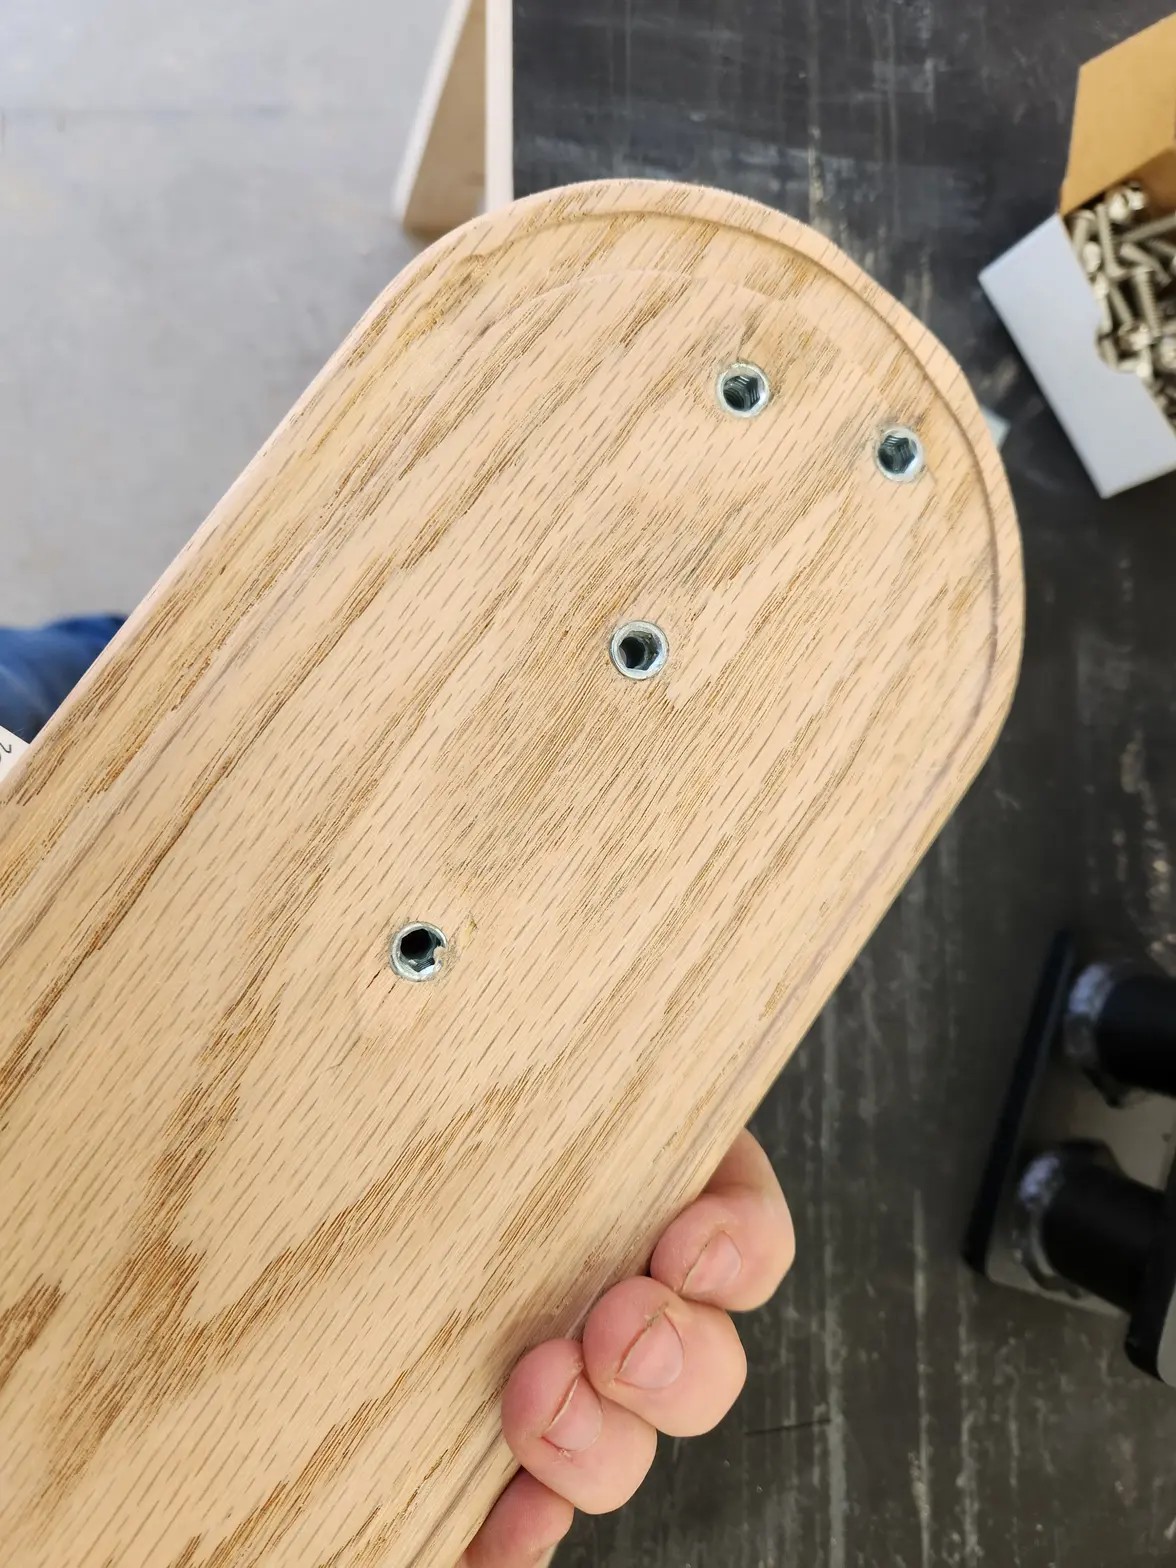
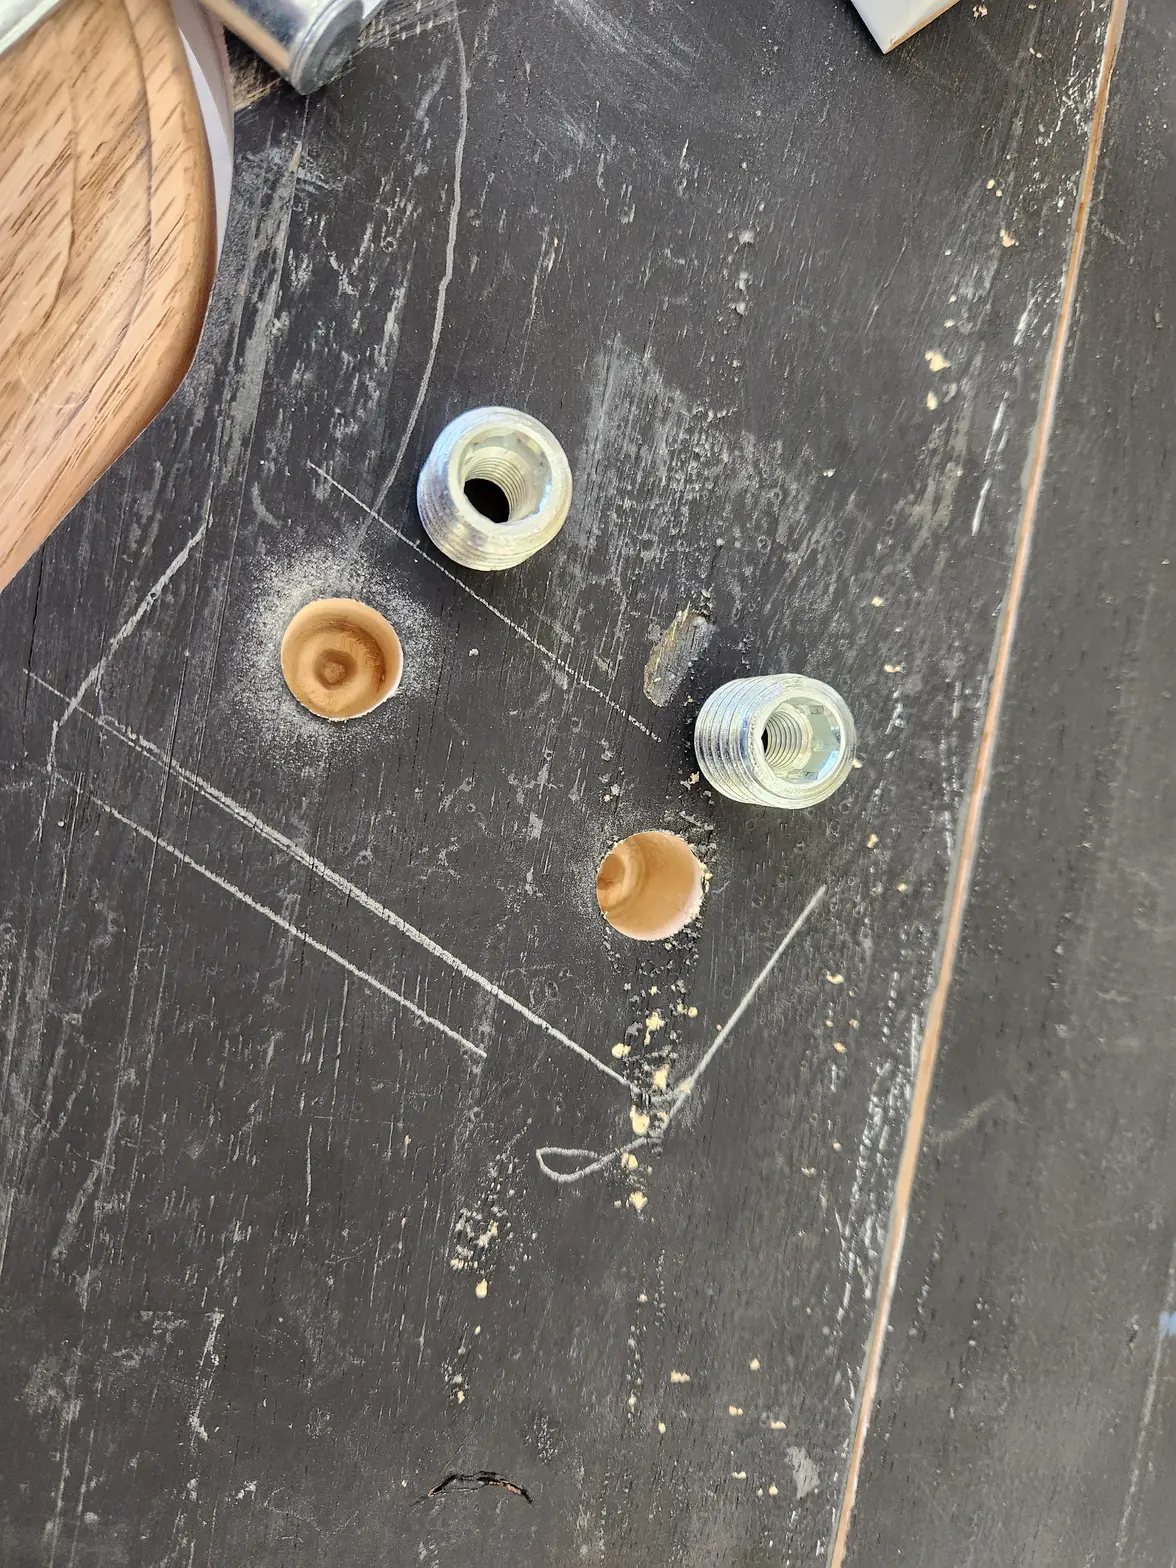
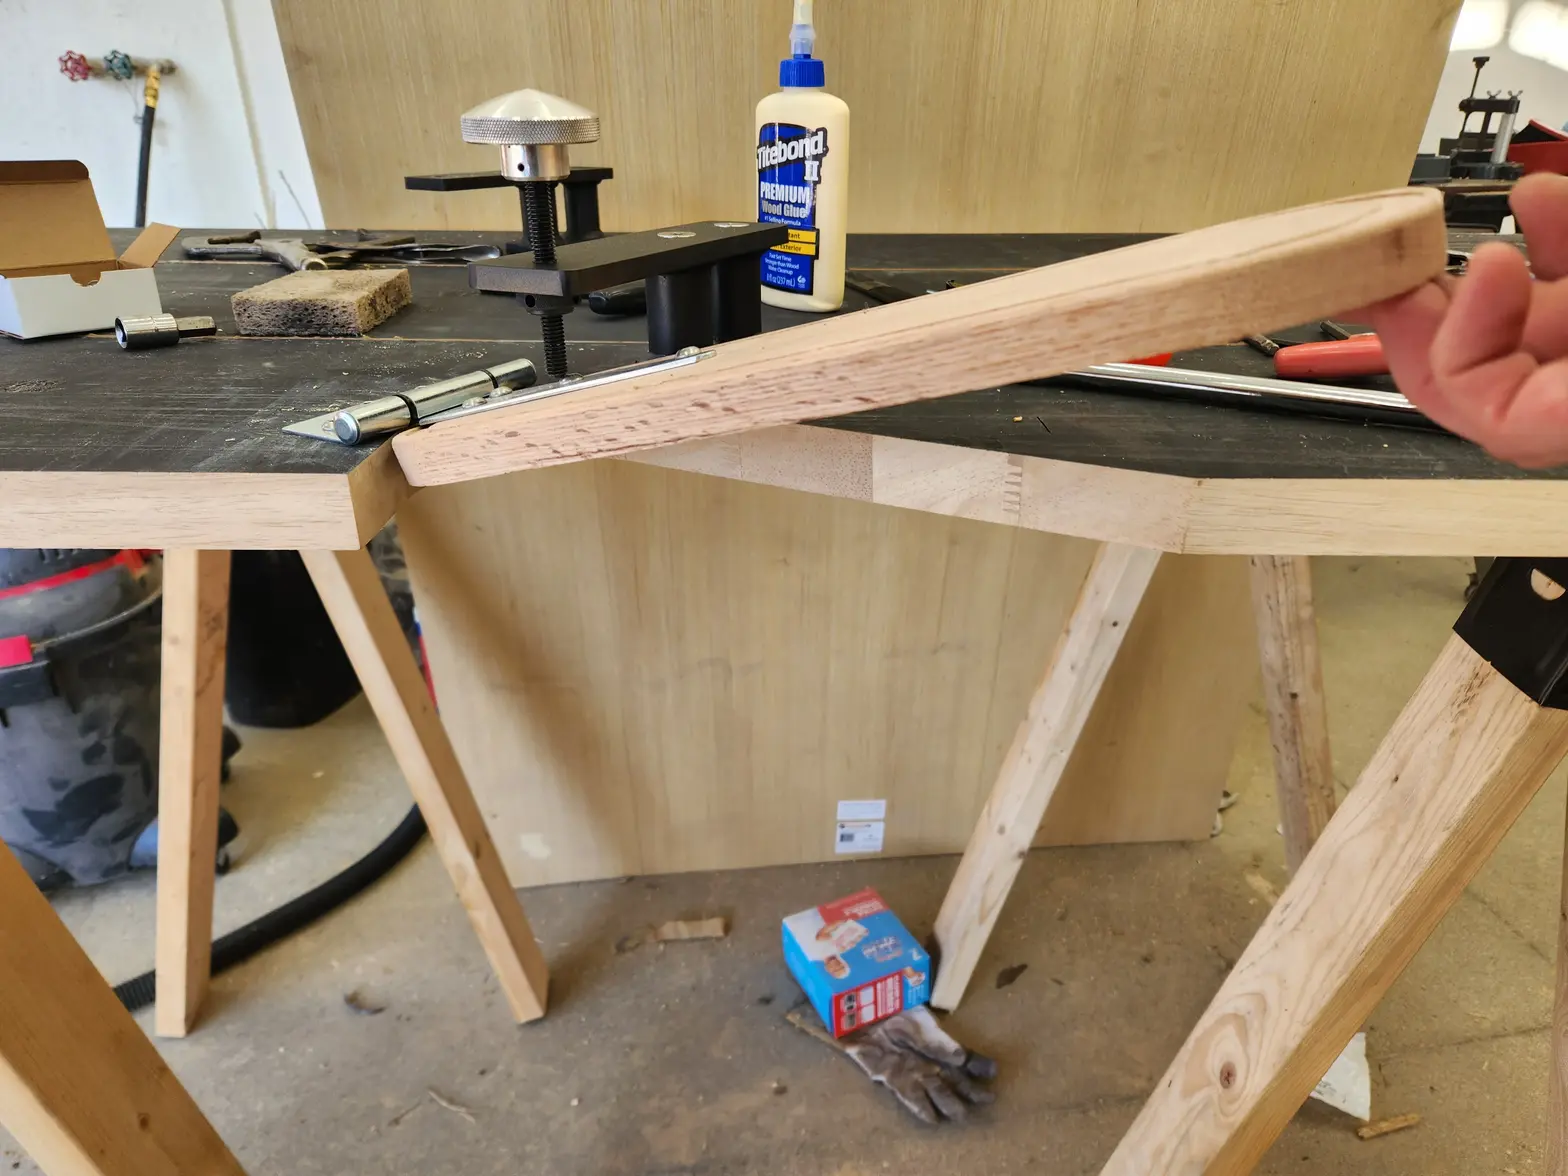
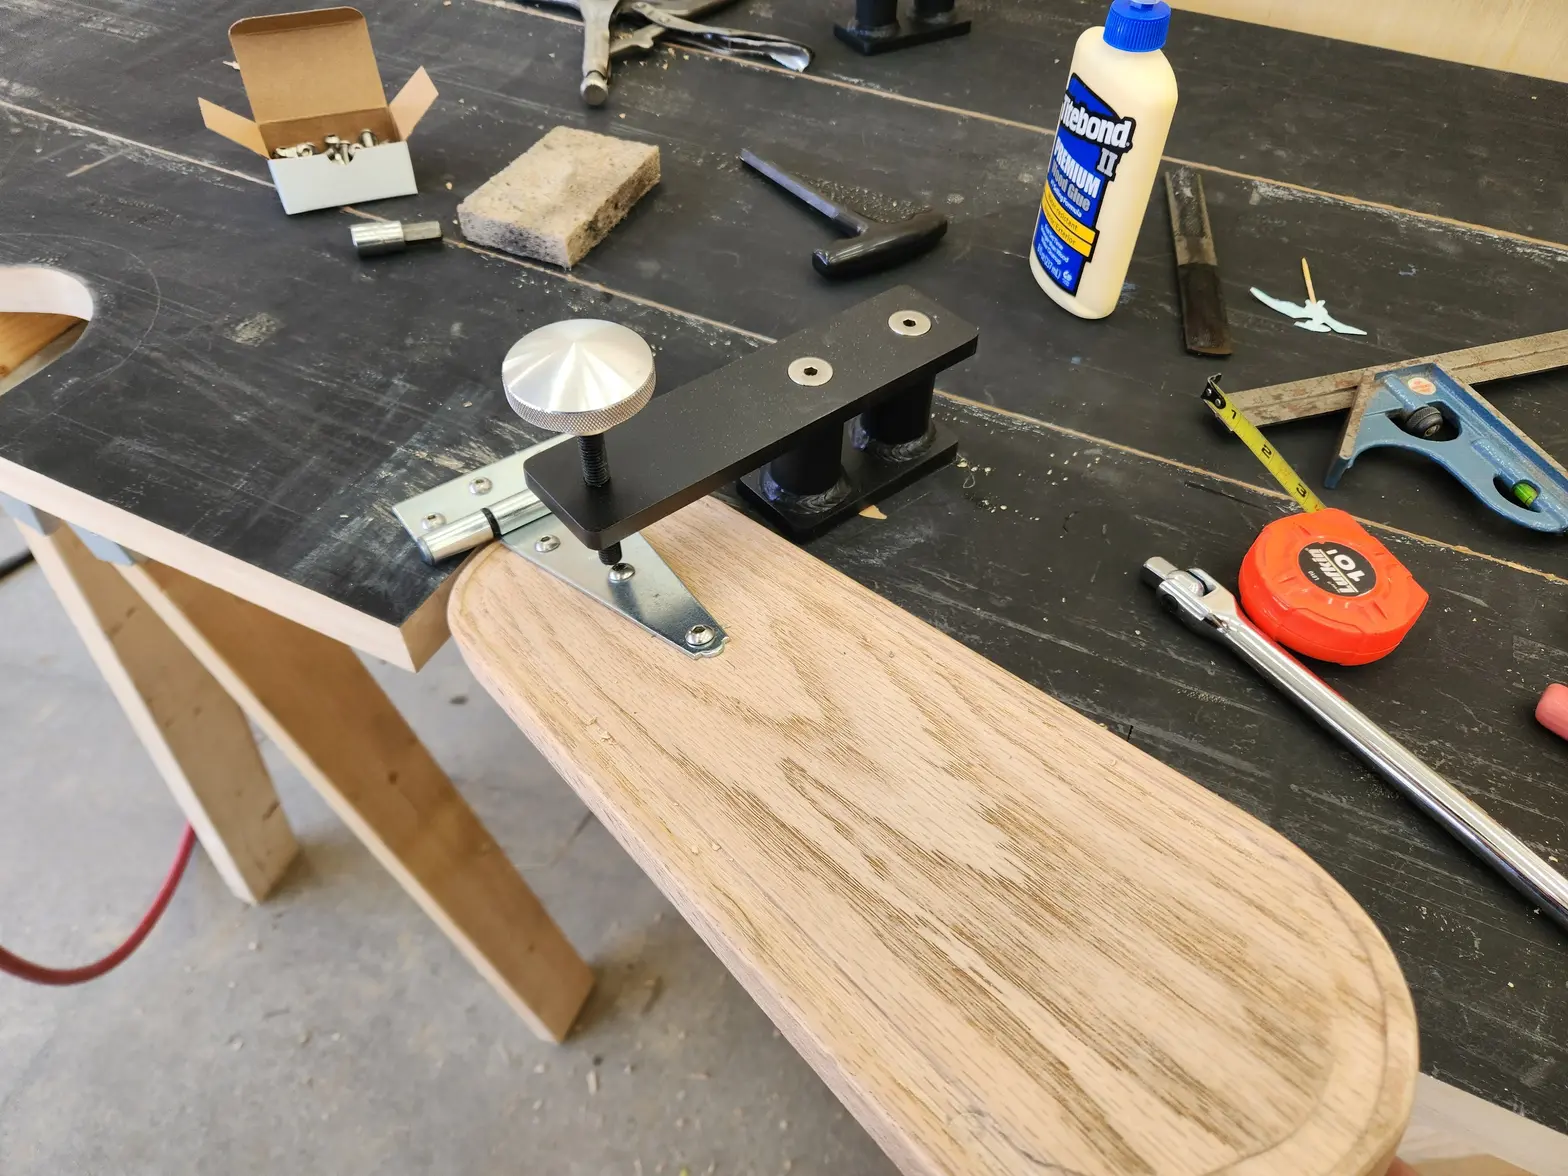
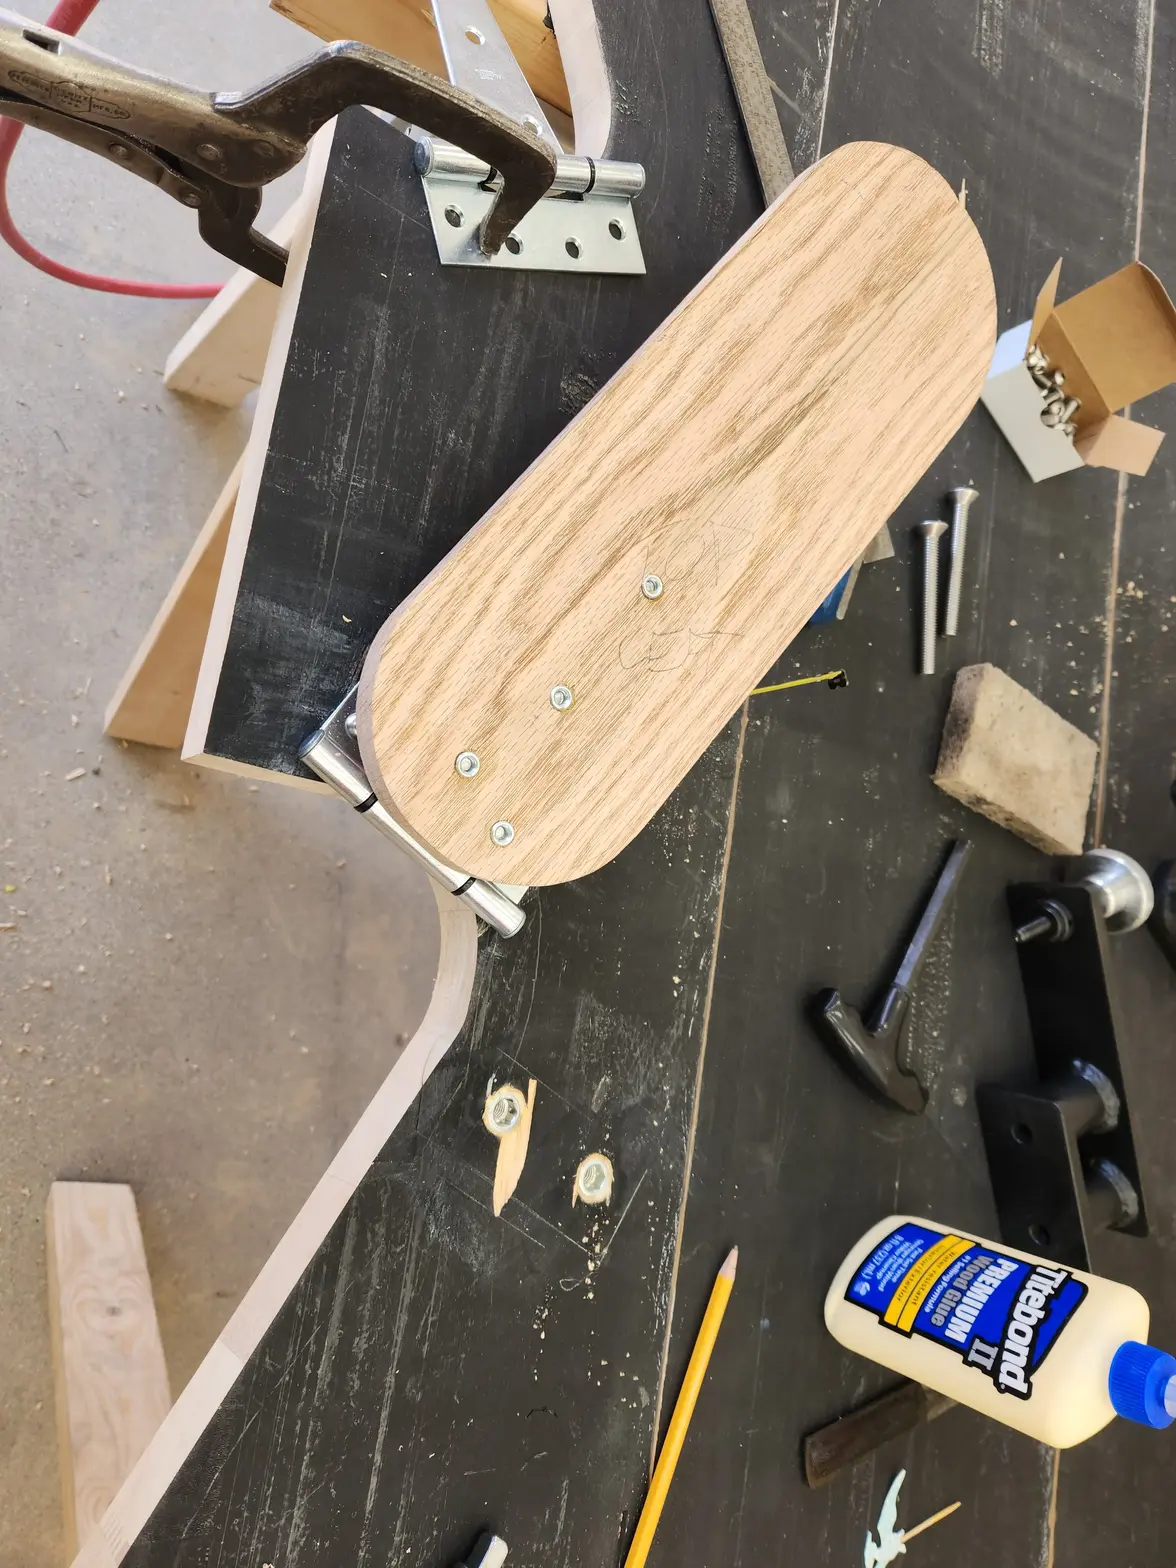
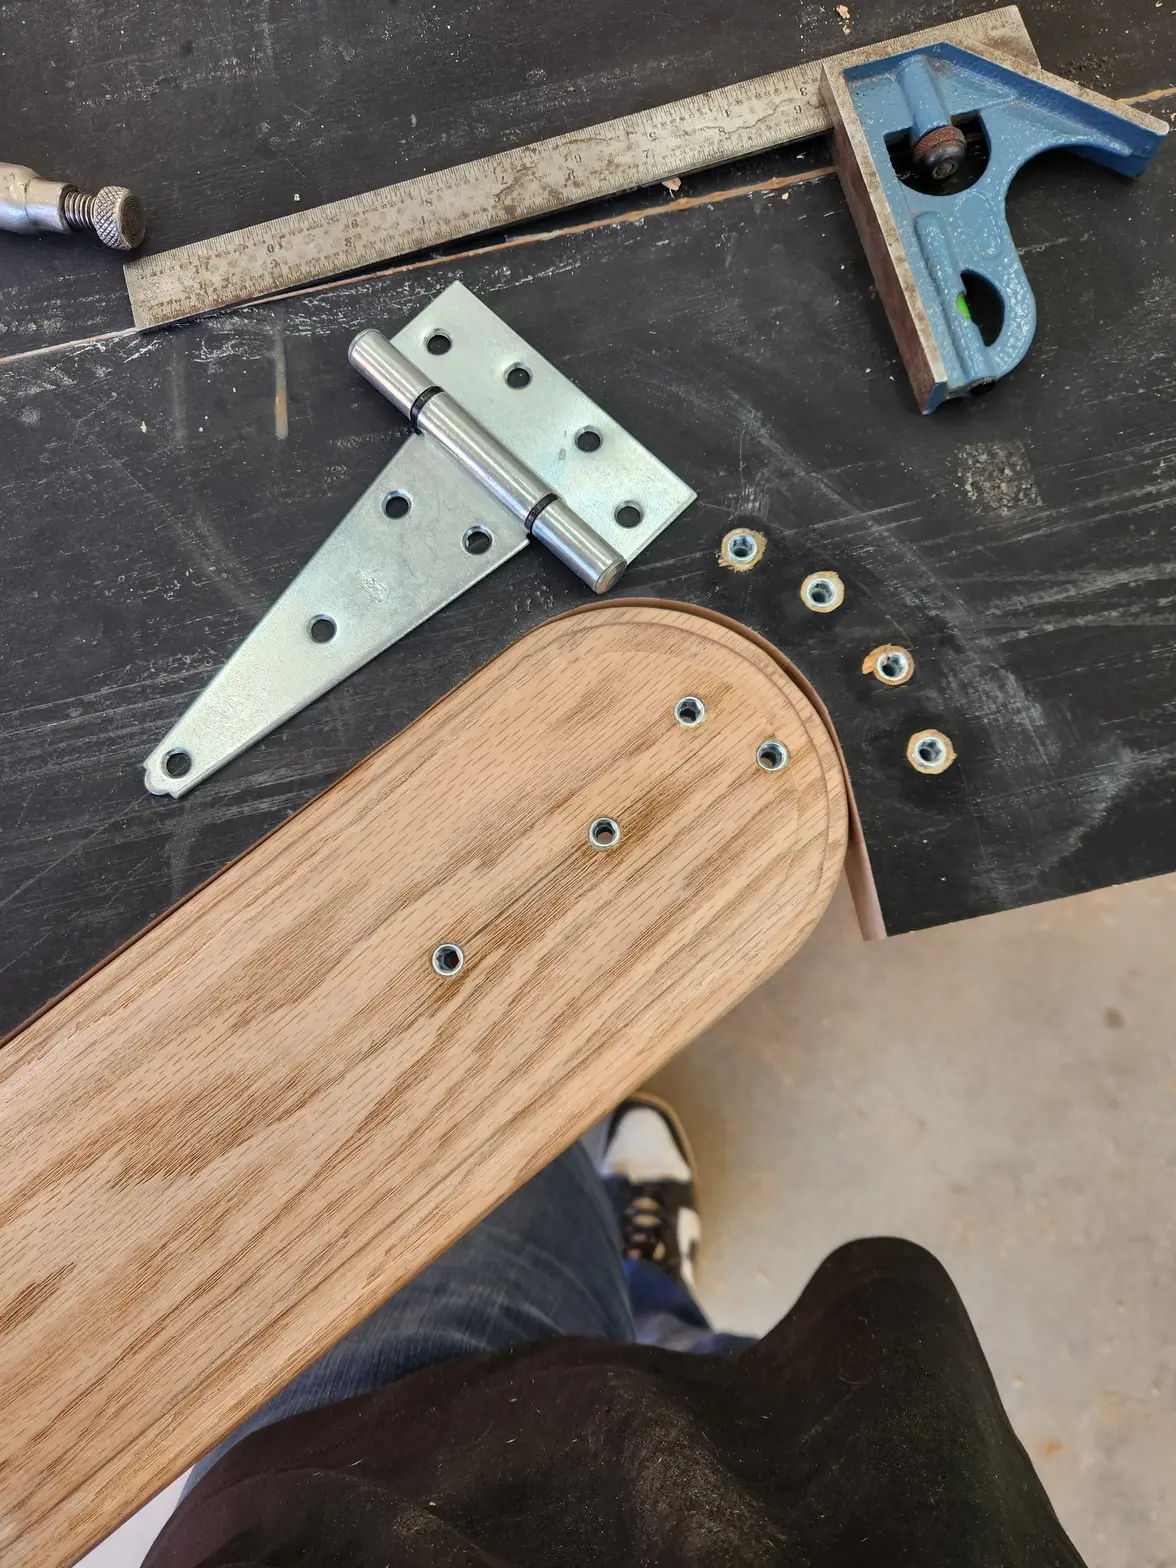
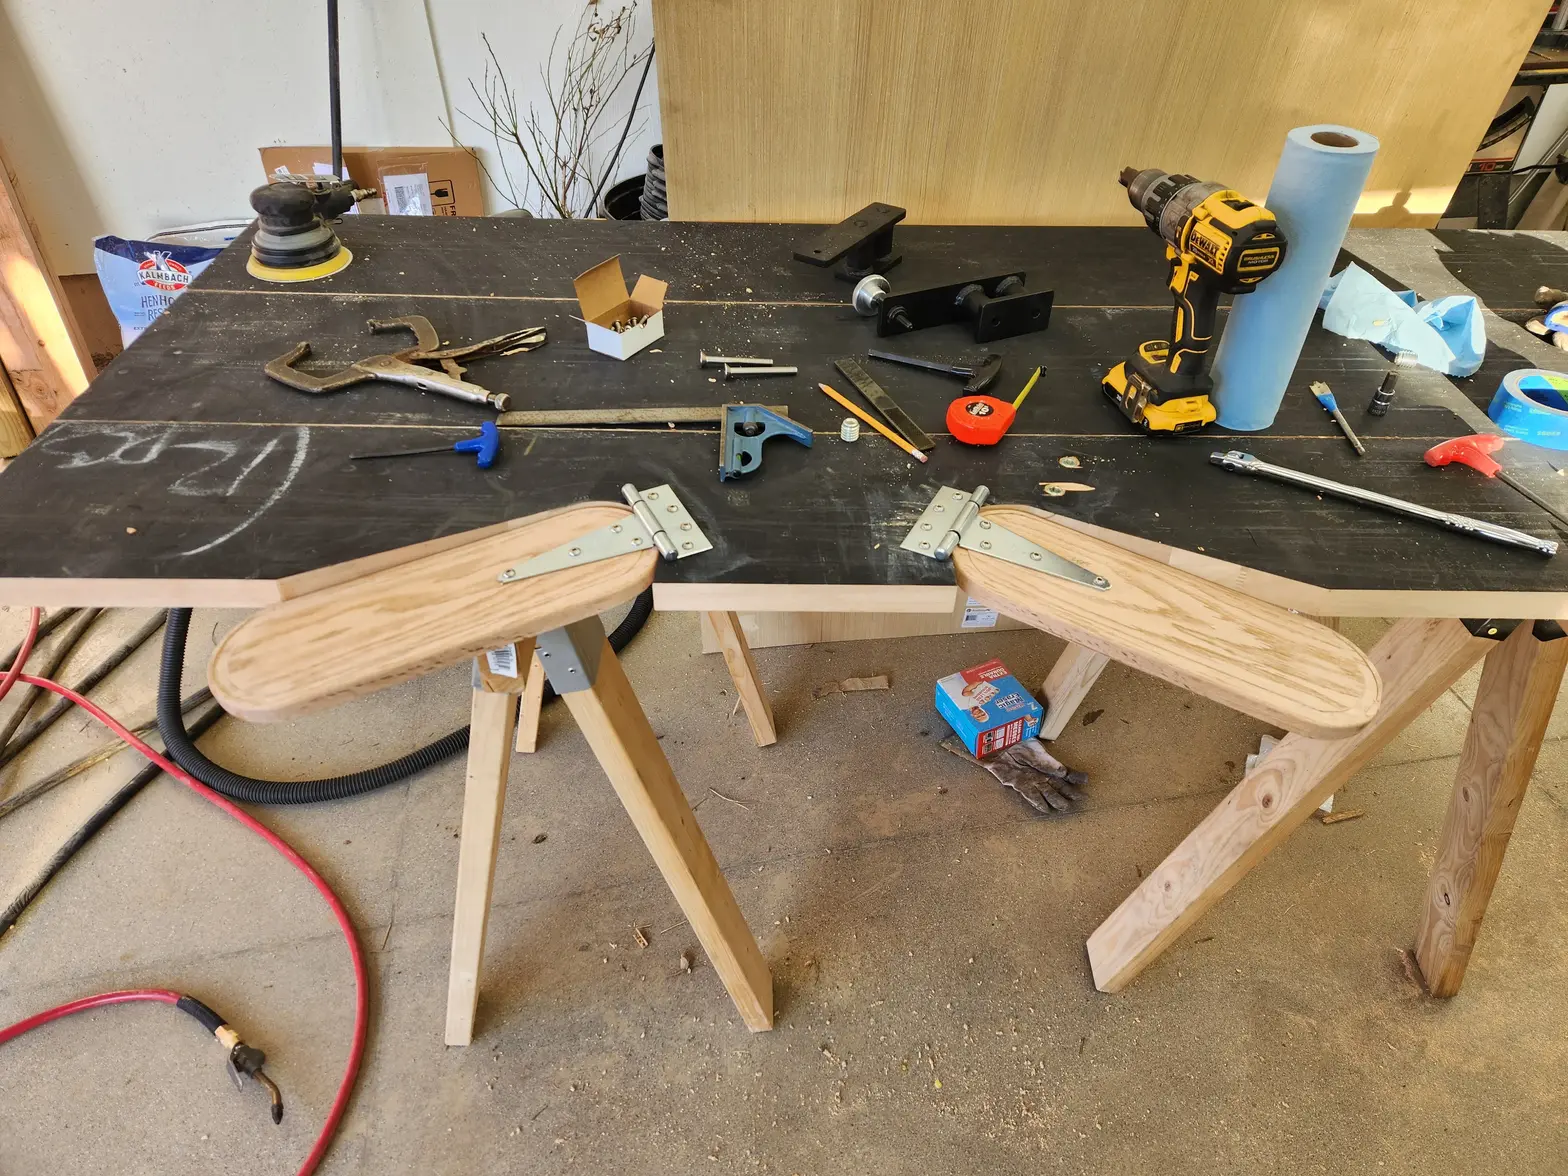
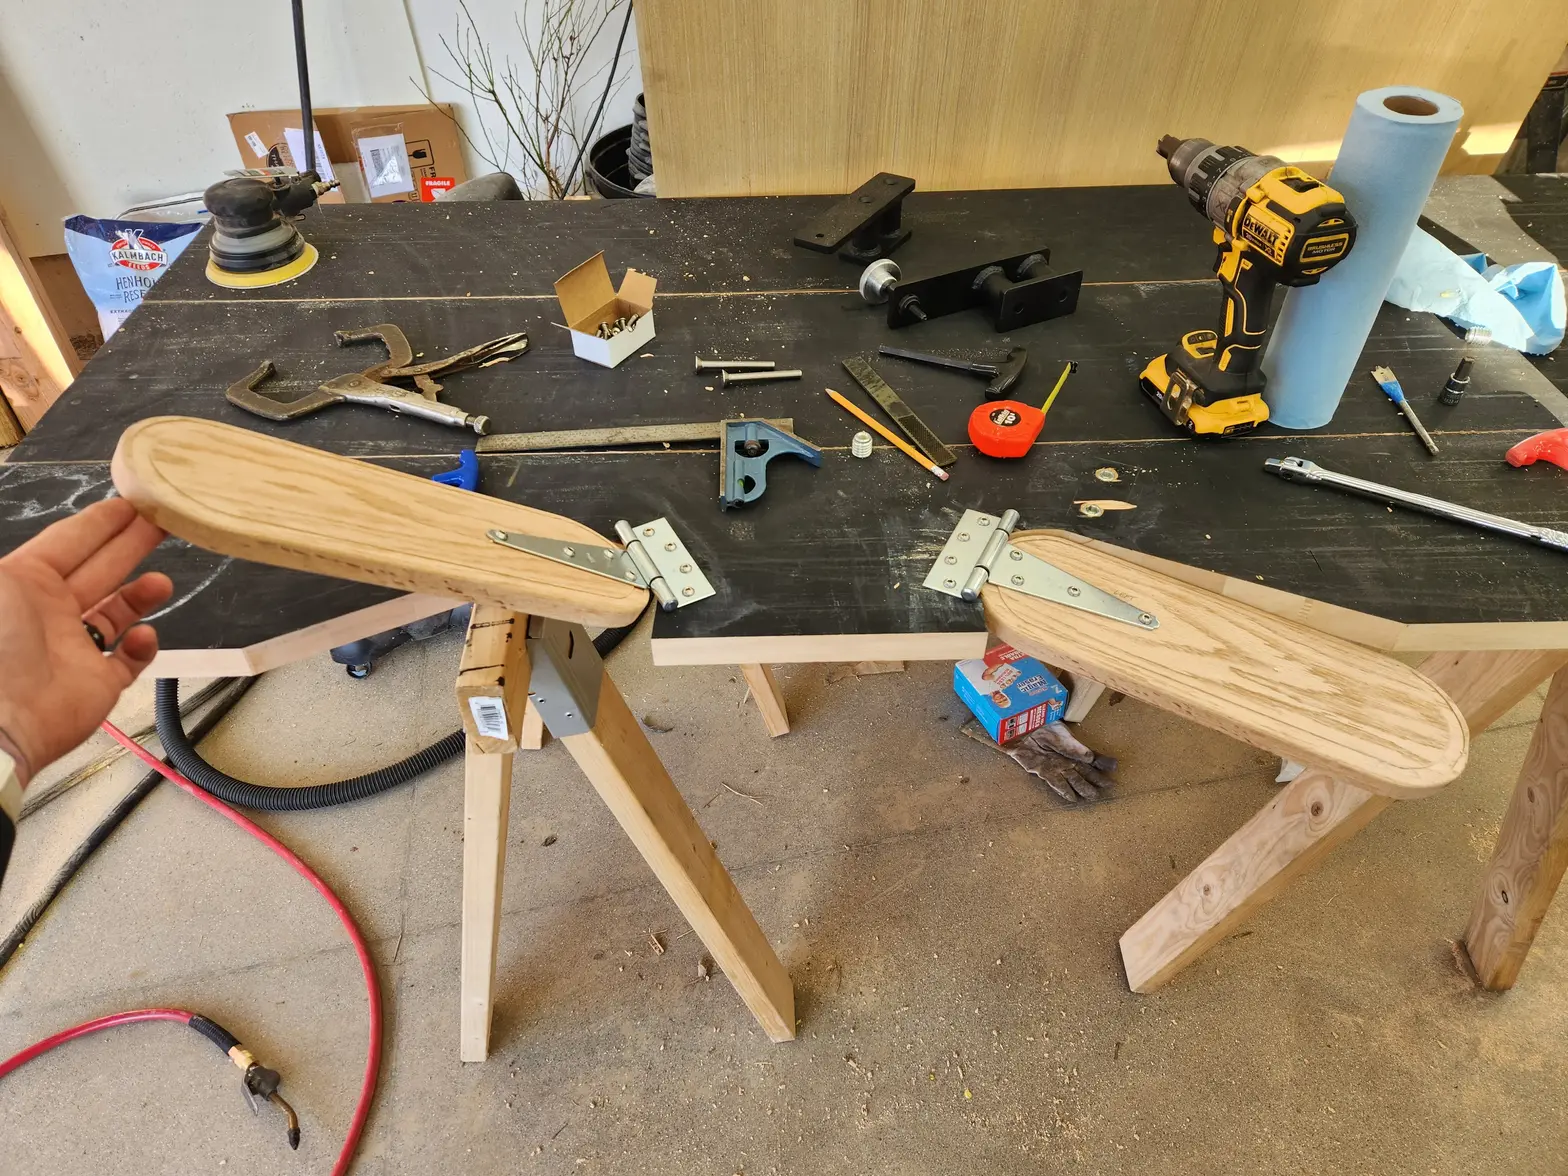
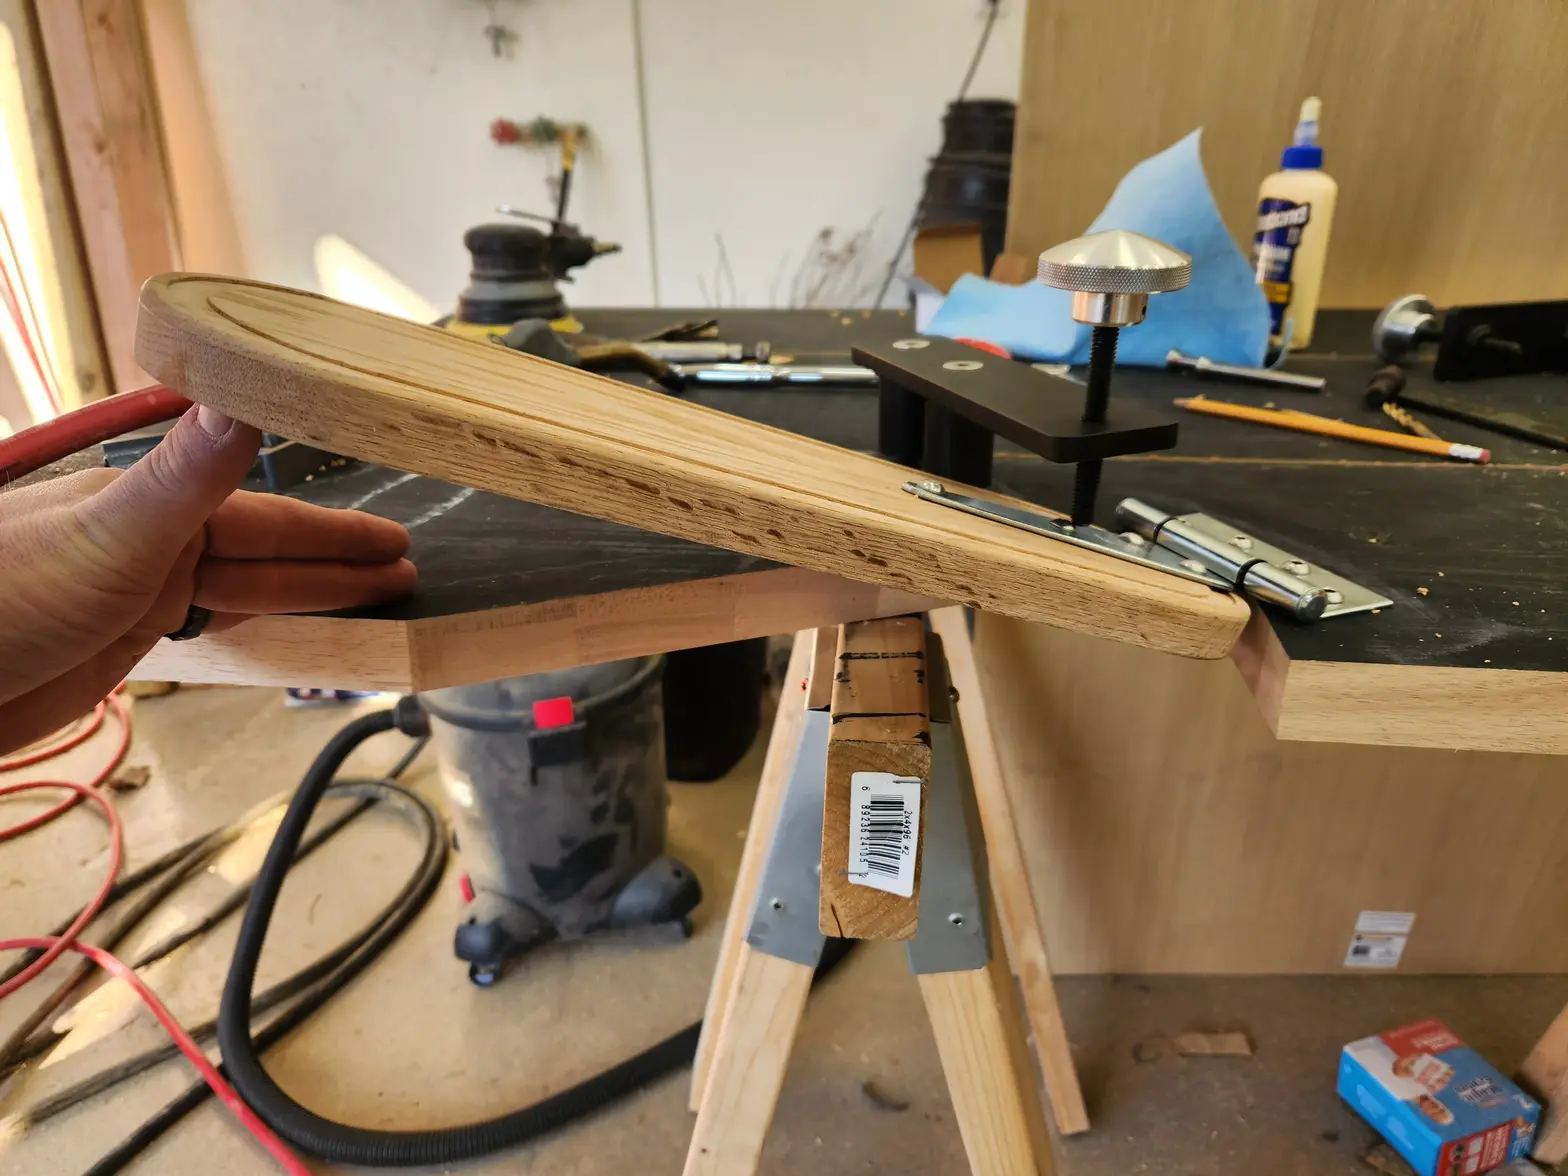
·Time to lay out hardware I did a couple test thread serts to calibrate my hands. I have never used these before. They seam to work excellent. I gave myself enough clearance on the armrests knowing I would be wrapping them in leather/foam. So there needed to be a gap present during this fitup. Range of motion looks nice. Behaves similar to ones I have used in class. Again, I am not a carpenter and this is the most indepth project I have ever done outside of nailing 2x4s together. So please bear with my sophmoric approach.
samweldspoorly
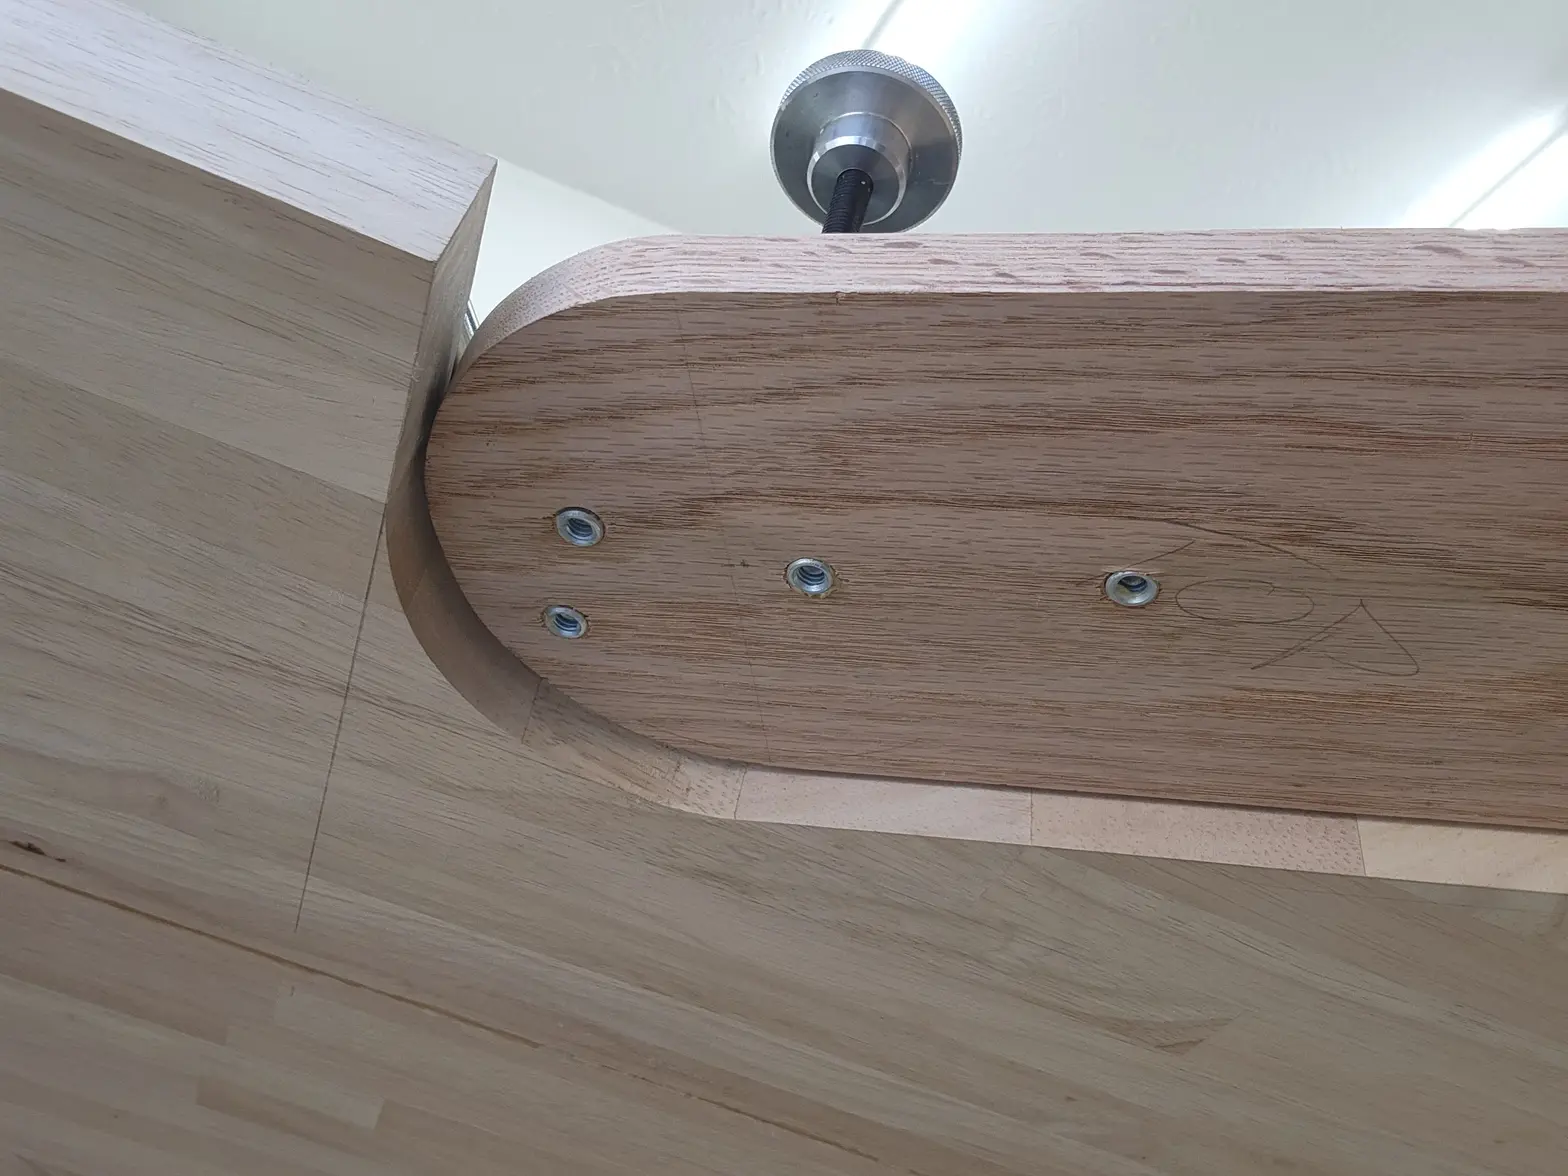
·Sunk the bigger 3/8" woodserts. I just arbitrariliy chose where these would be best to give the best range of motion and adjustment while also providing the most support without any regard to where the table frame cross bars were located. <subtile foreshadowing>. If I position the mount closer to the hinge, I can get more angular motion with fewer hand turns of the knob, but I would sacrifice rigidness of the armwrest and it will flex or be unstable near the extremity. If I position the mount furthest away from the hinge, I will have to have many hand turns to get any height adjustment but it will be the most stable. Its a give and take inverse variable relationship.
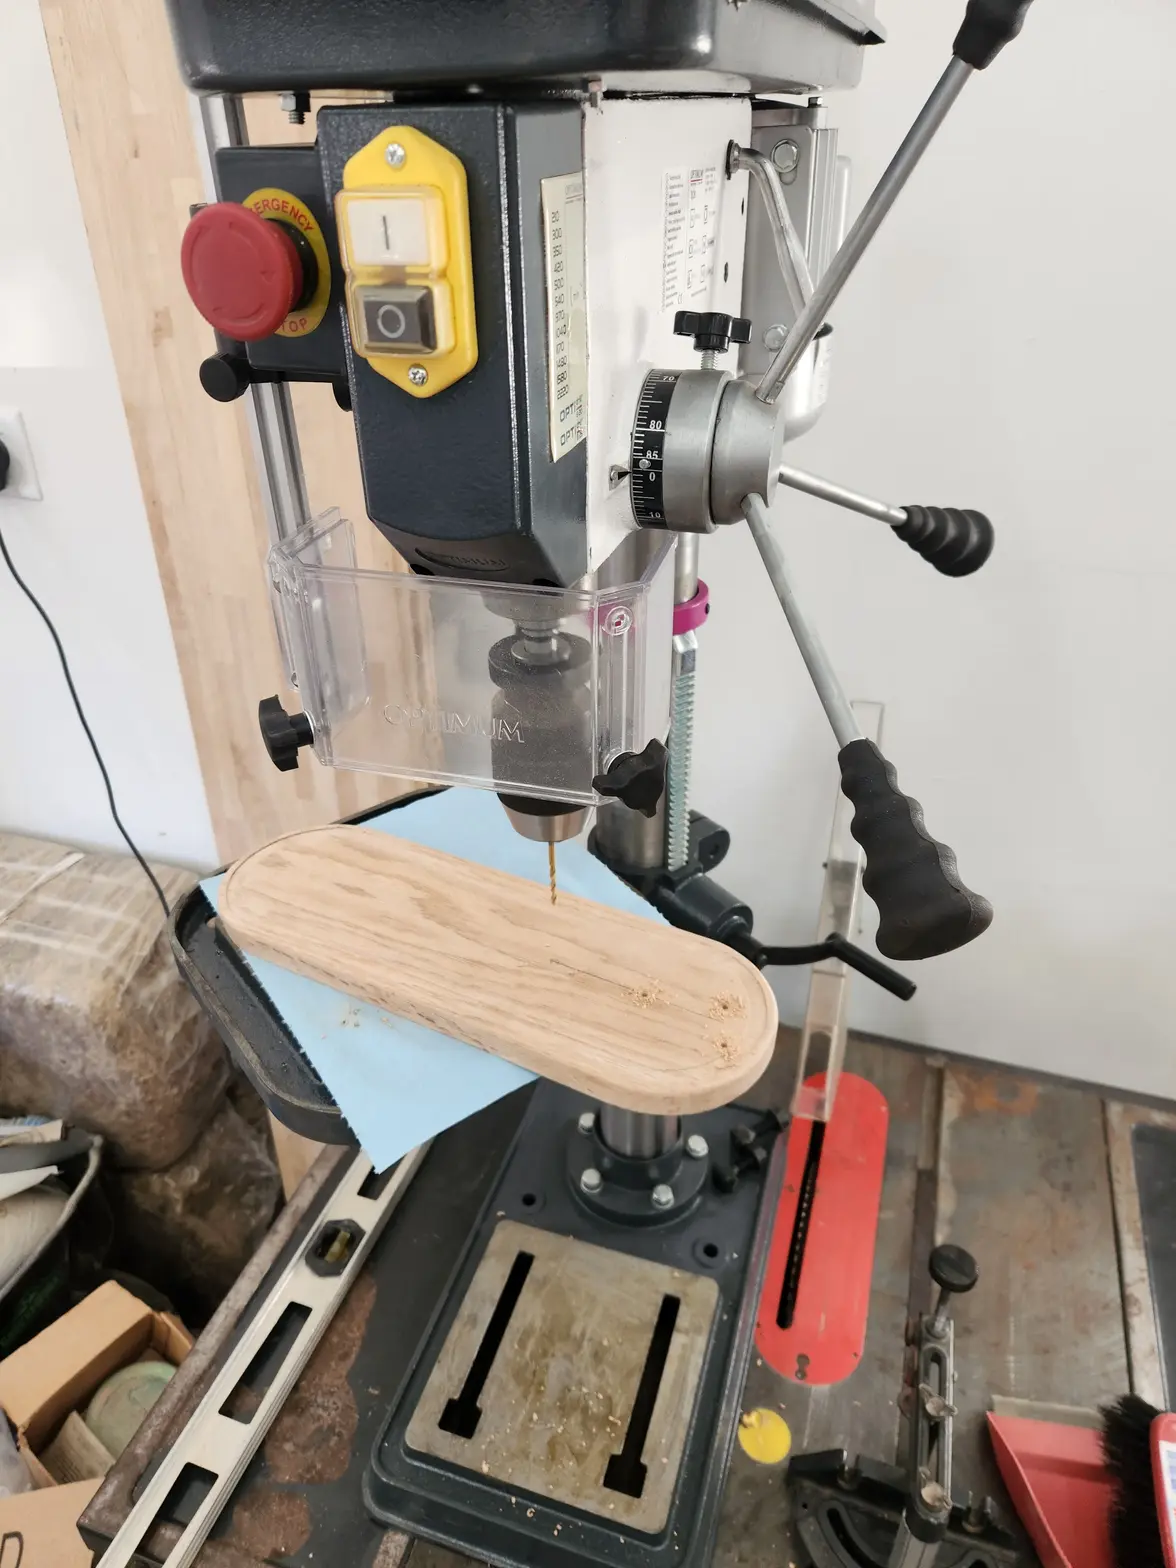
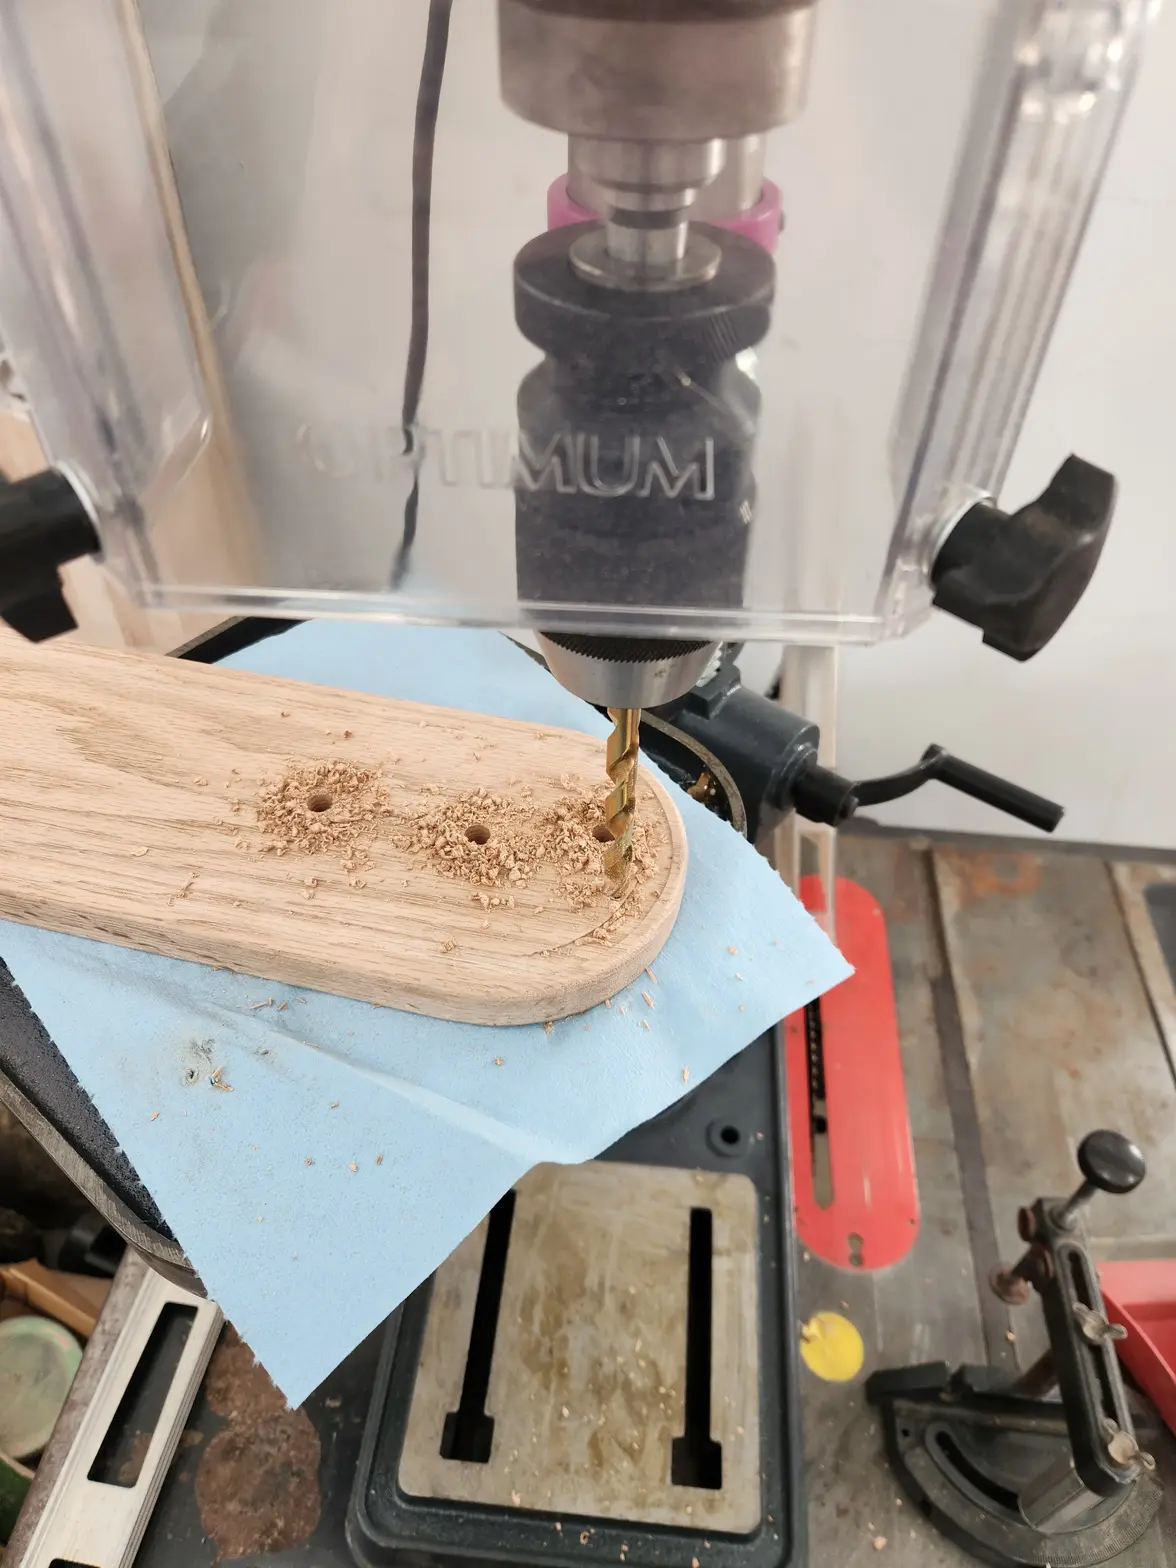
Had to be careful here not to drill through the full thickness of the top. Blue tape on the drill bit trick works well here. Function checking is acceptable.
Had to be careful here not to drill through the full thickness of the top. Blue tape on the drill bit trick works well here. Function checking is acceptable.
samweldspoorly
·Rinse and repeat for the other side. This is really fun to do btw. I picked up this German drill press on FB marketplace for like $400. I imagine it walked off a jobsite. It was used maybe once. No one wanted it because it was 240v. Luckily for me, I had my electrician give me like 8x 240v NEMA 14-50 outlets in the garage.
samweldspoorly
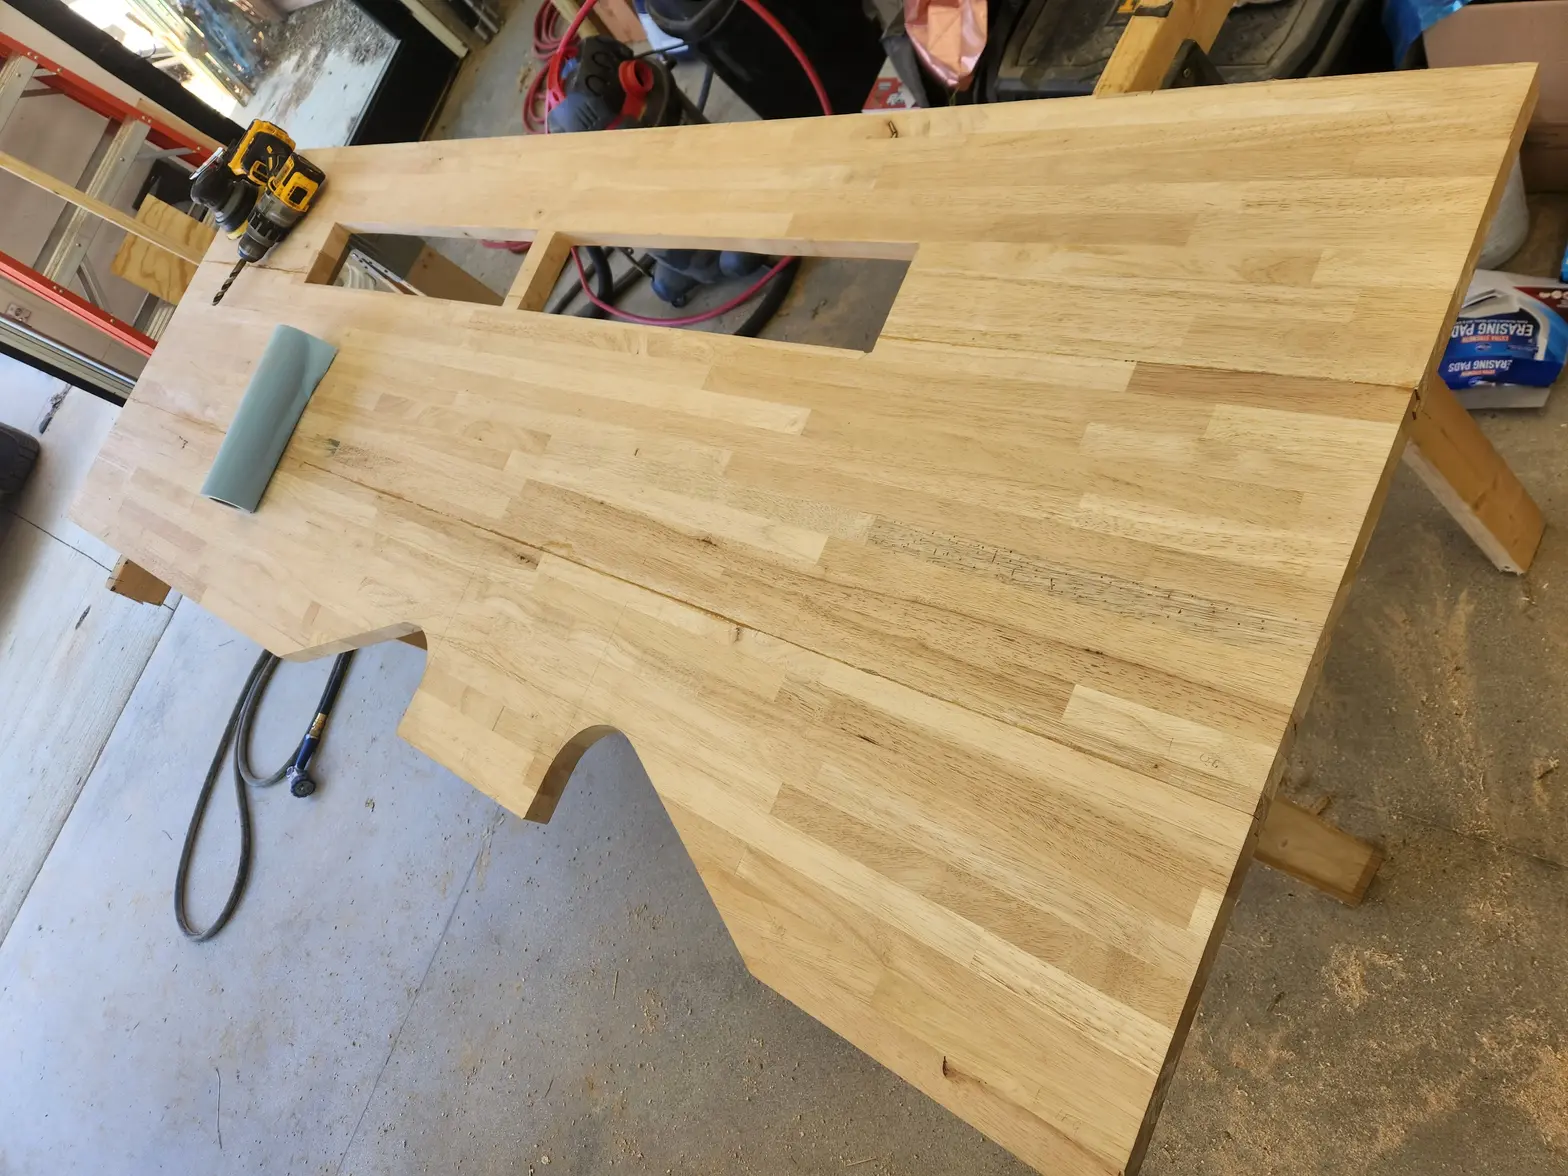
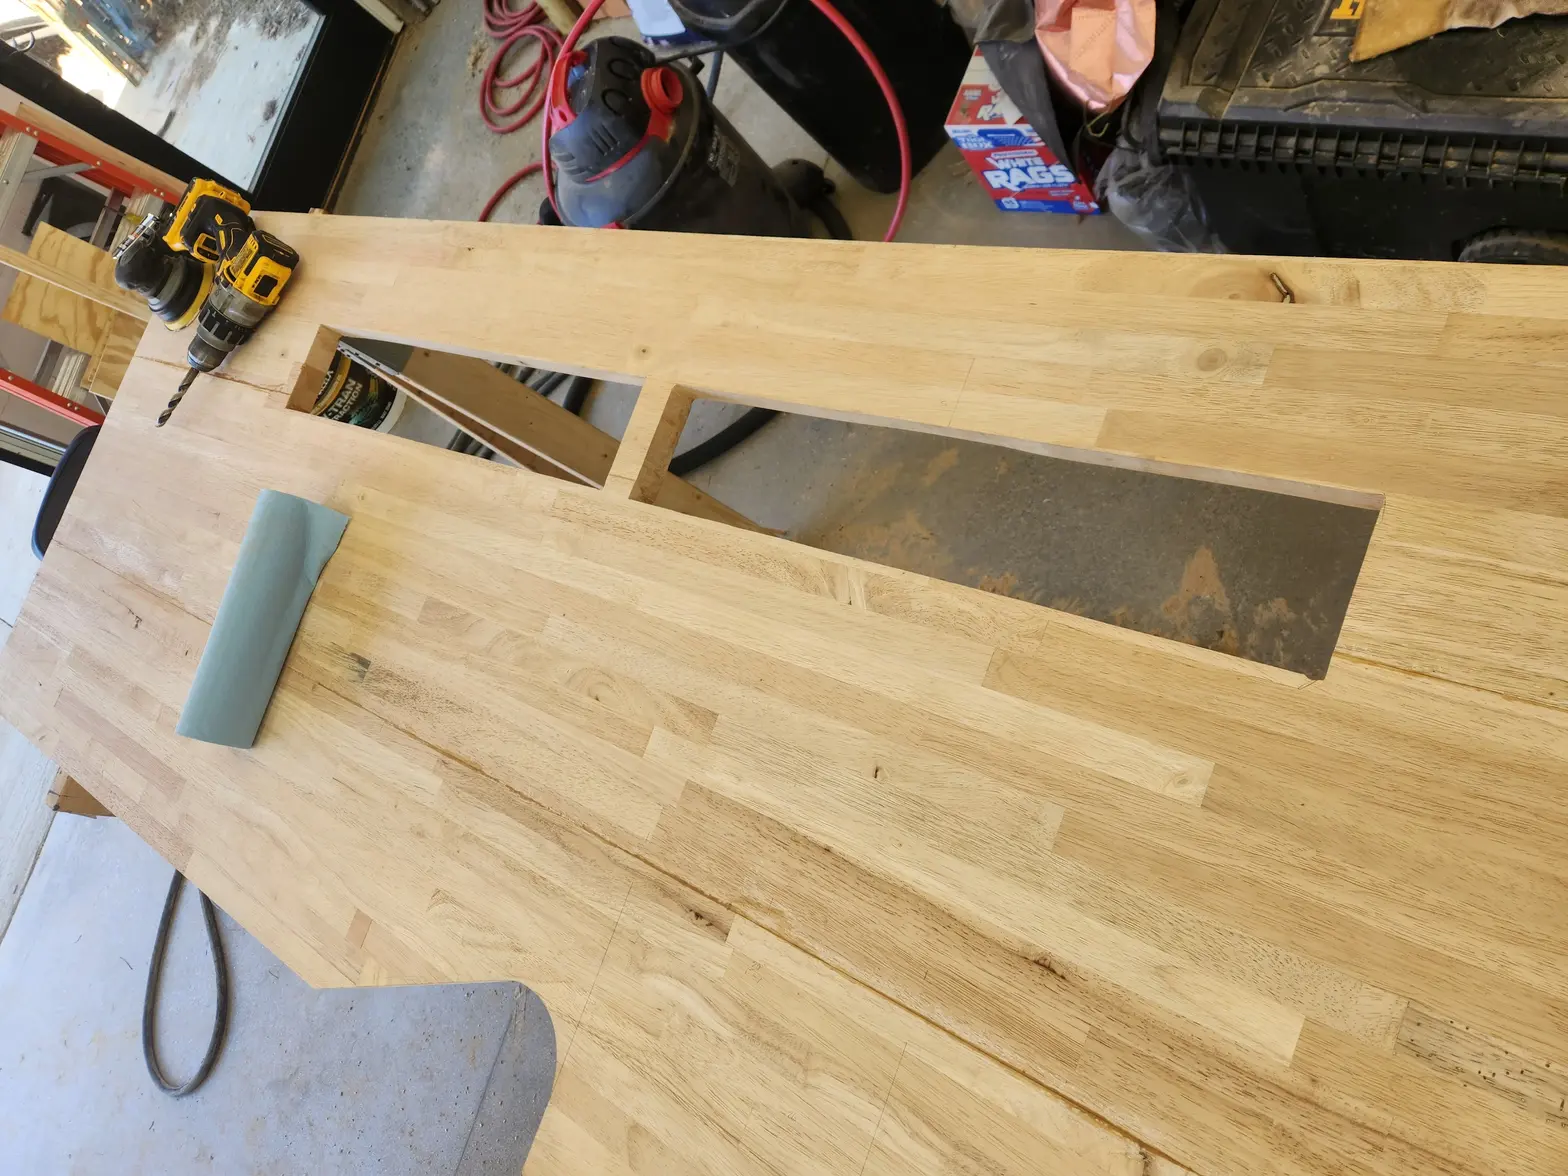
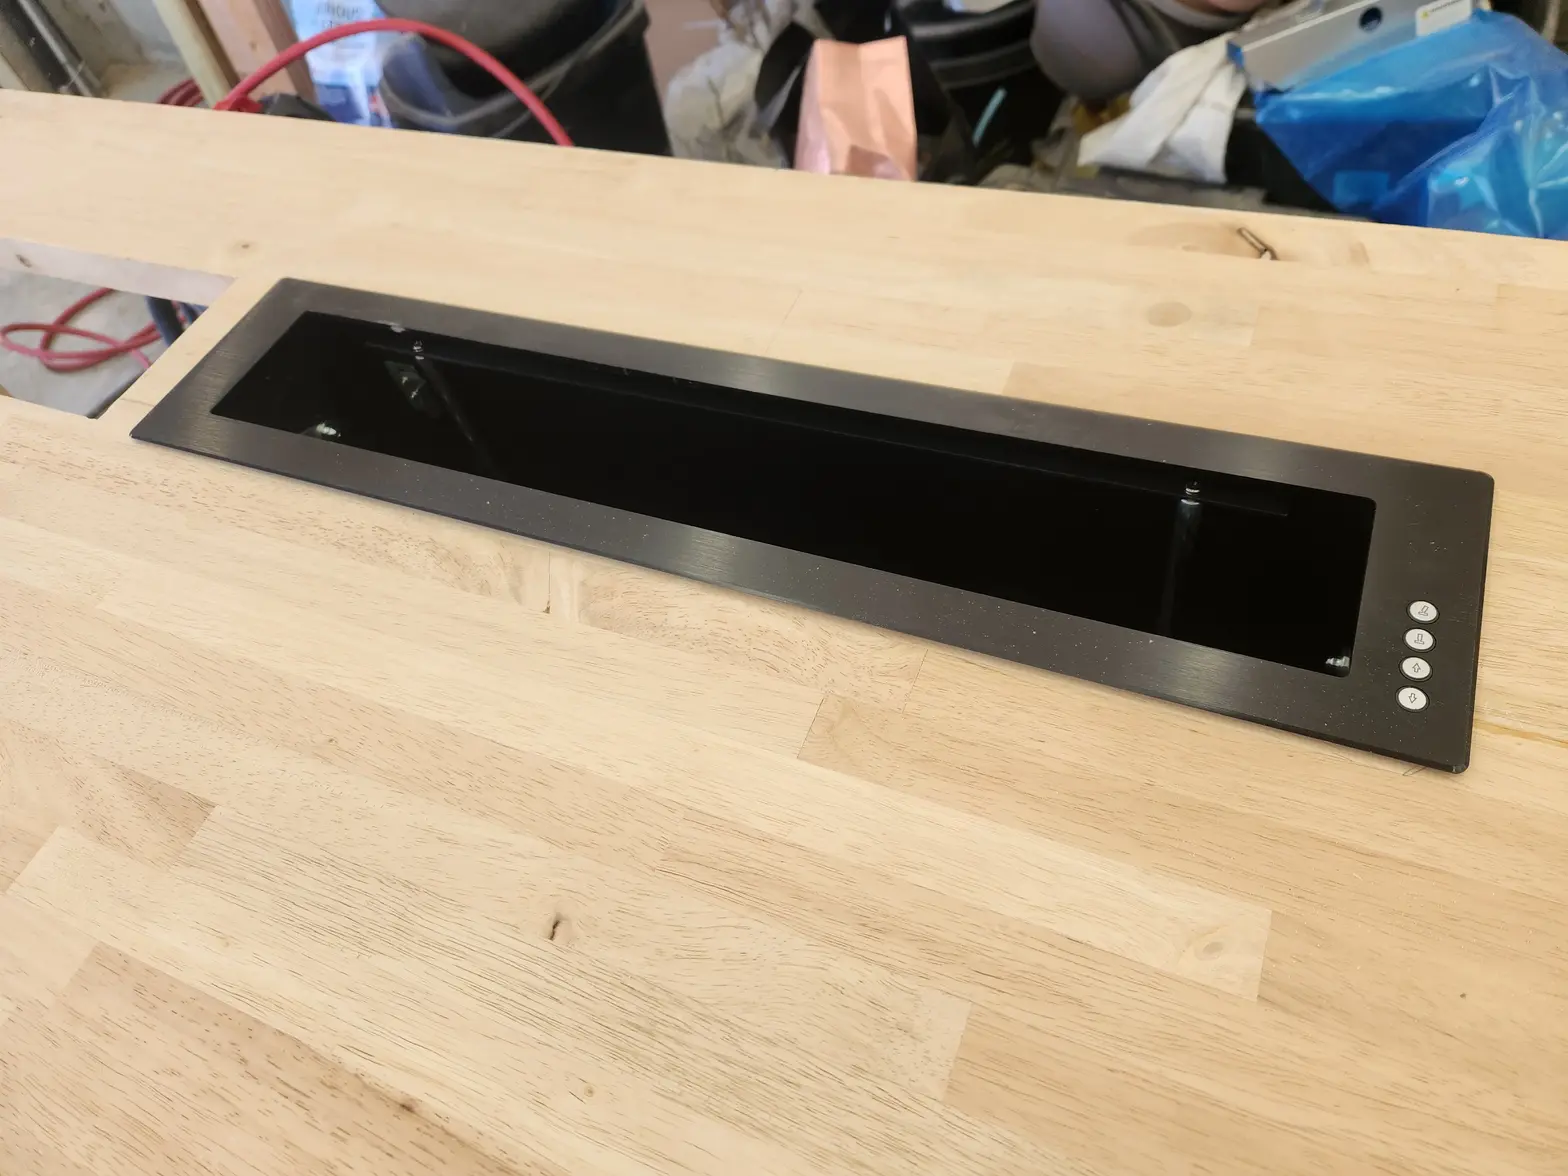
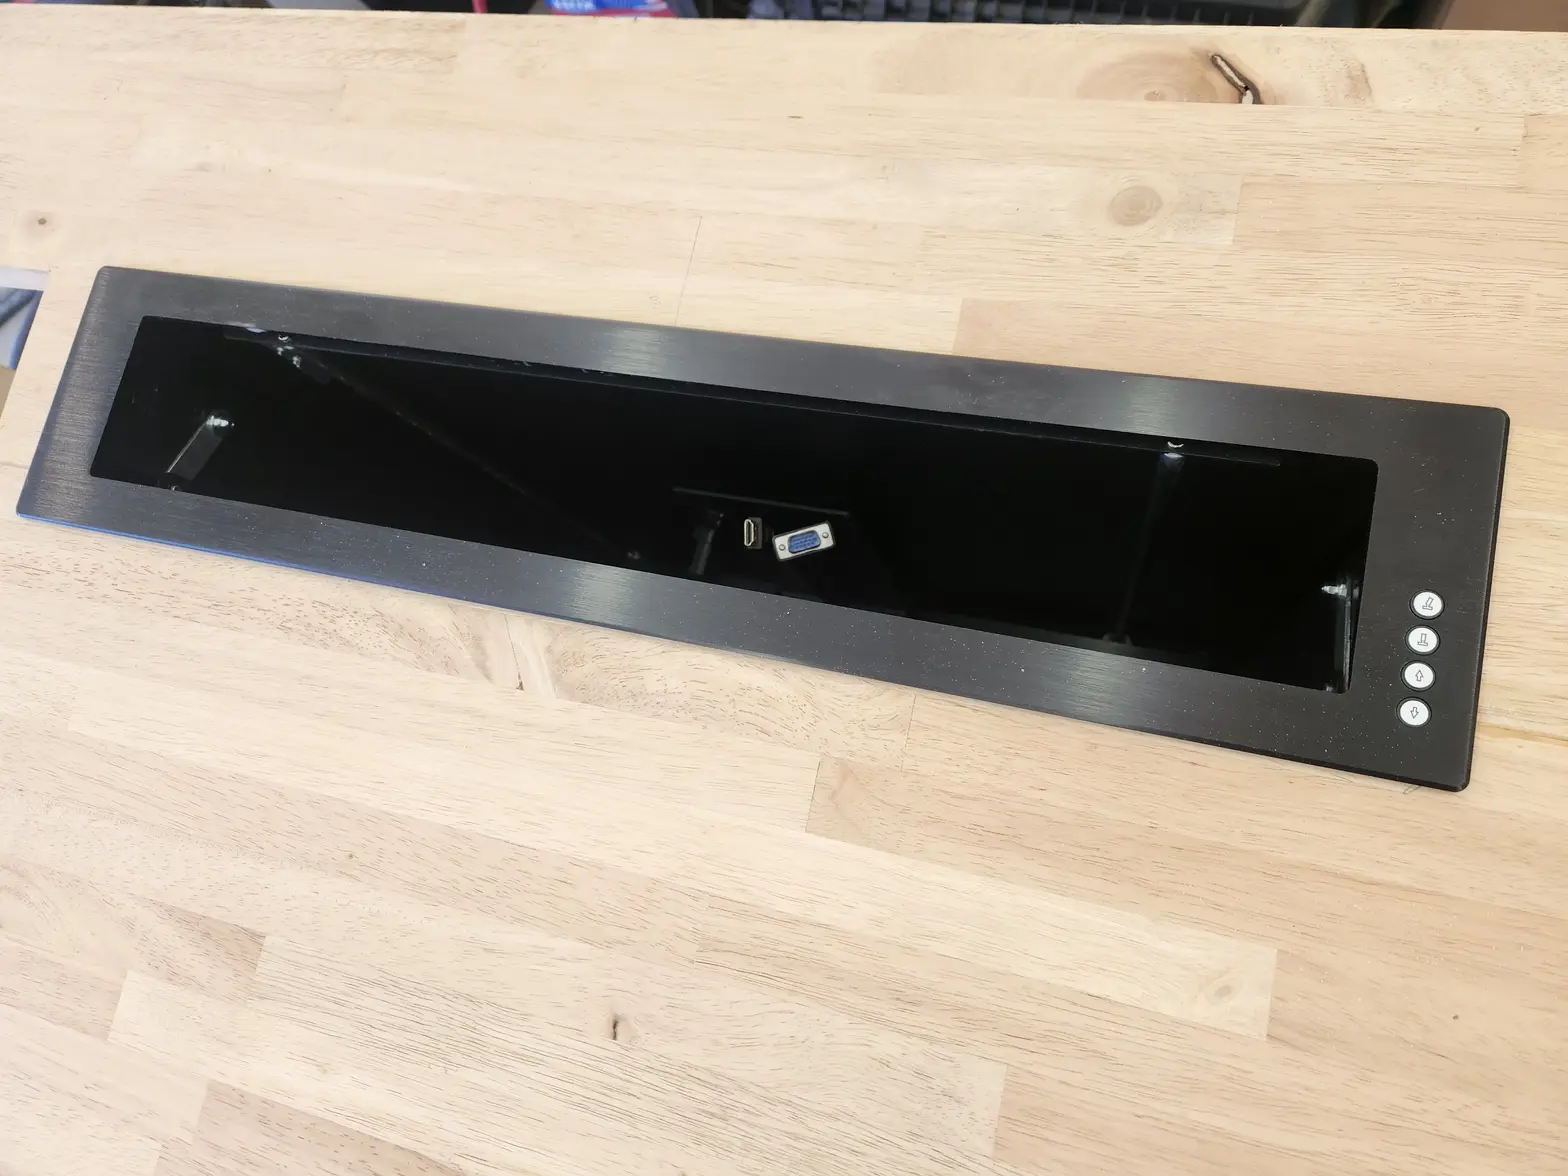
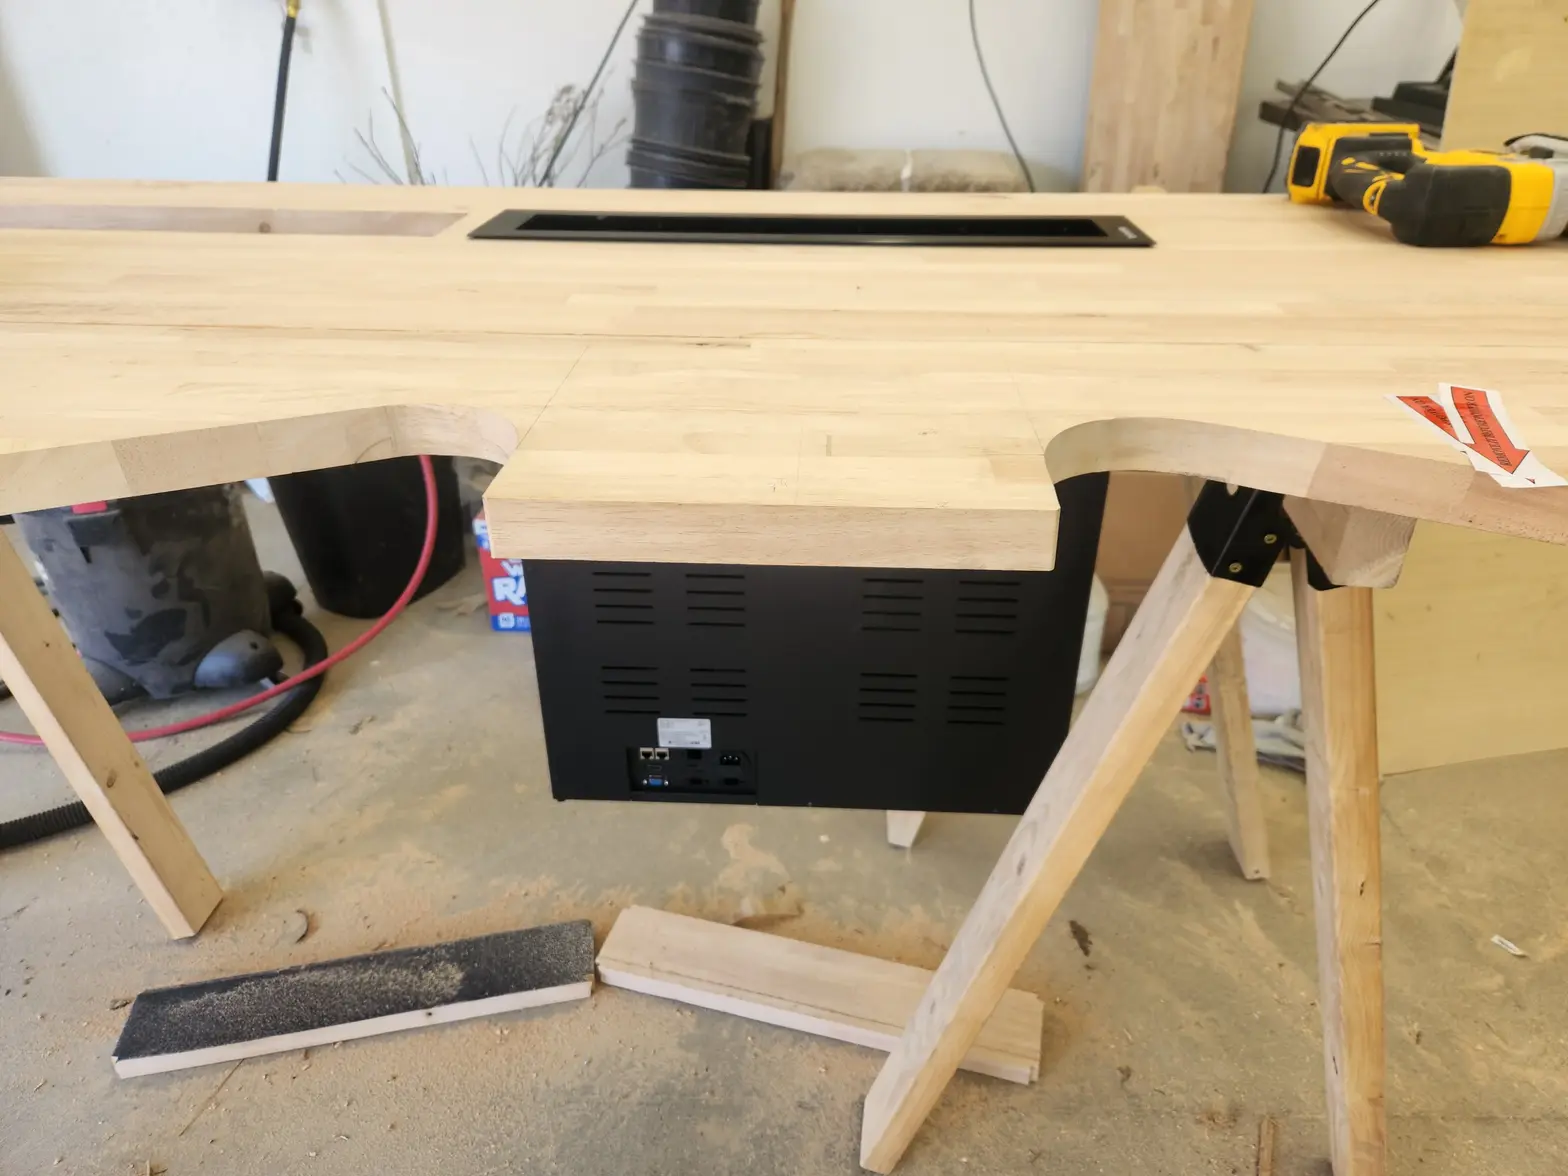
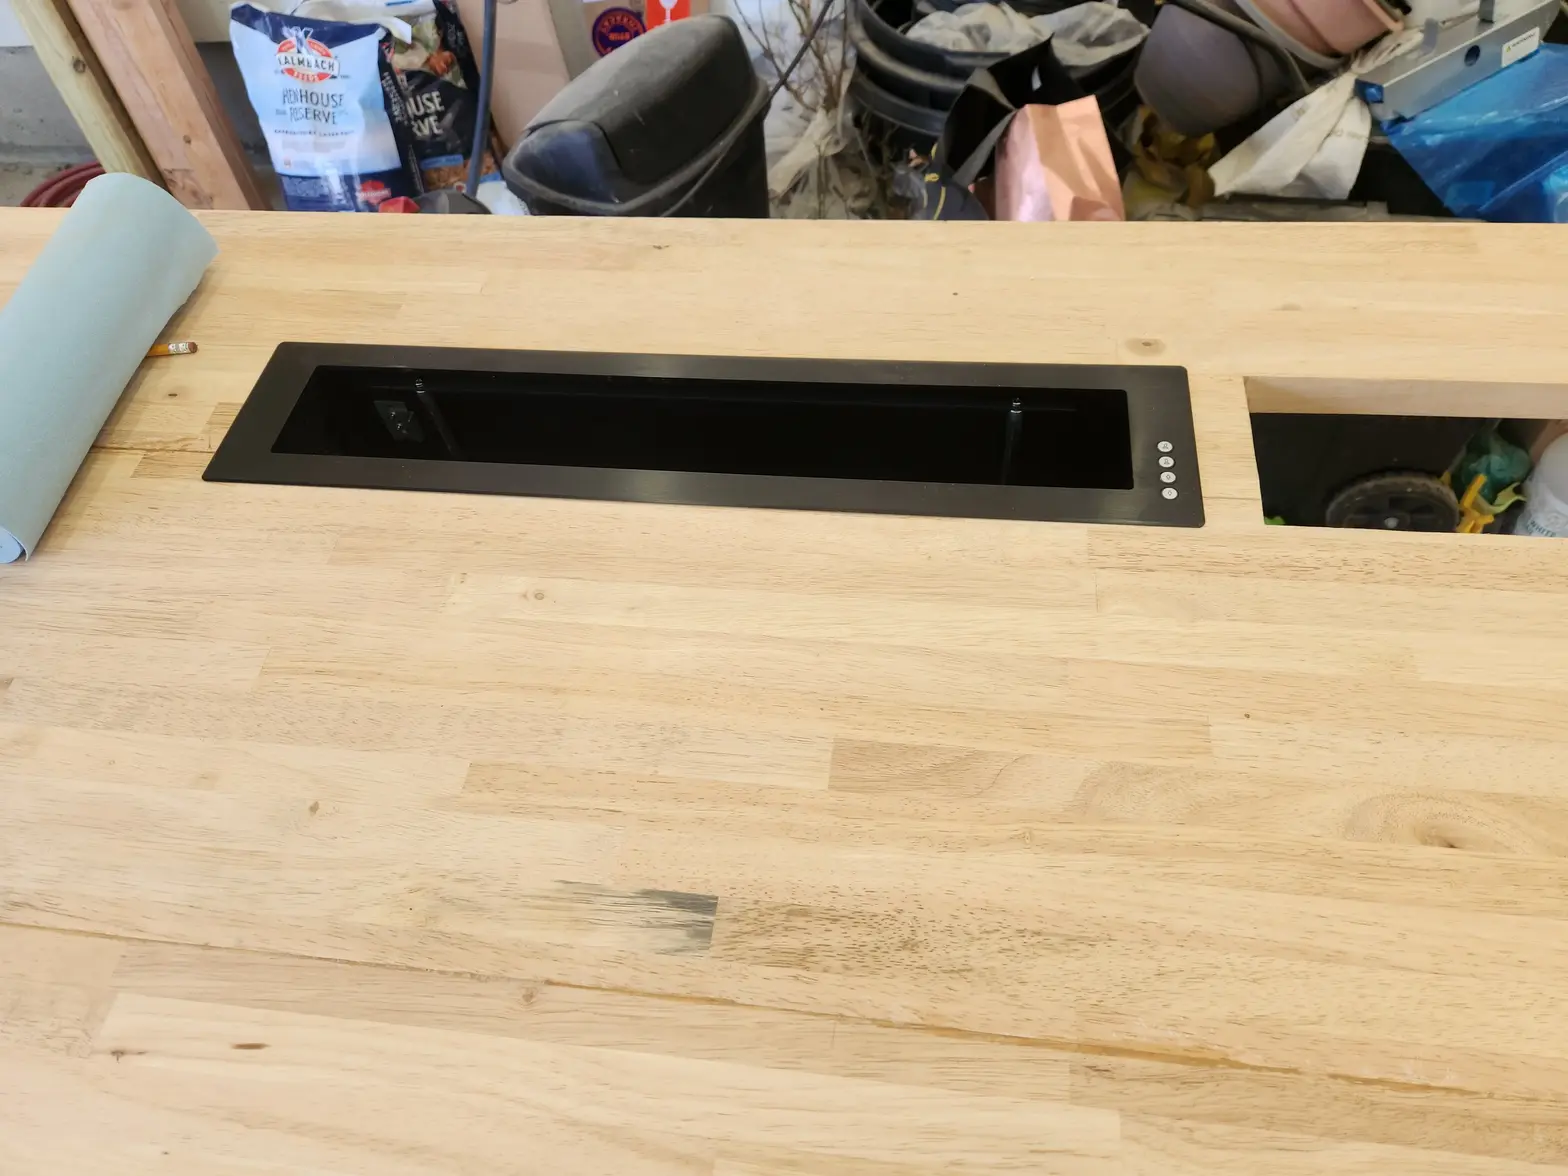
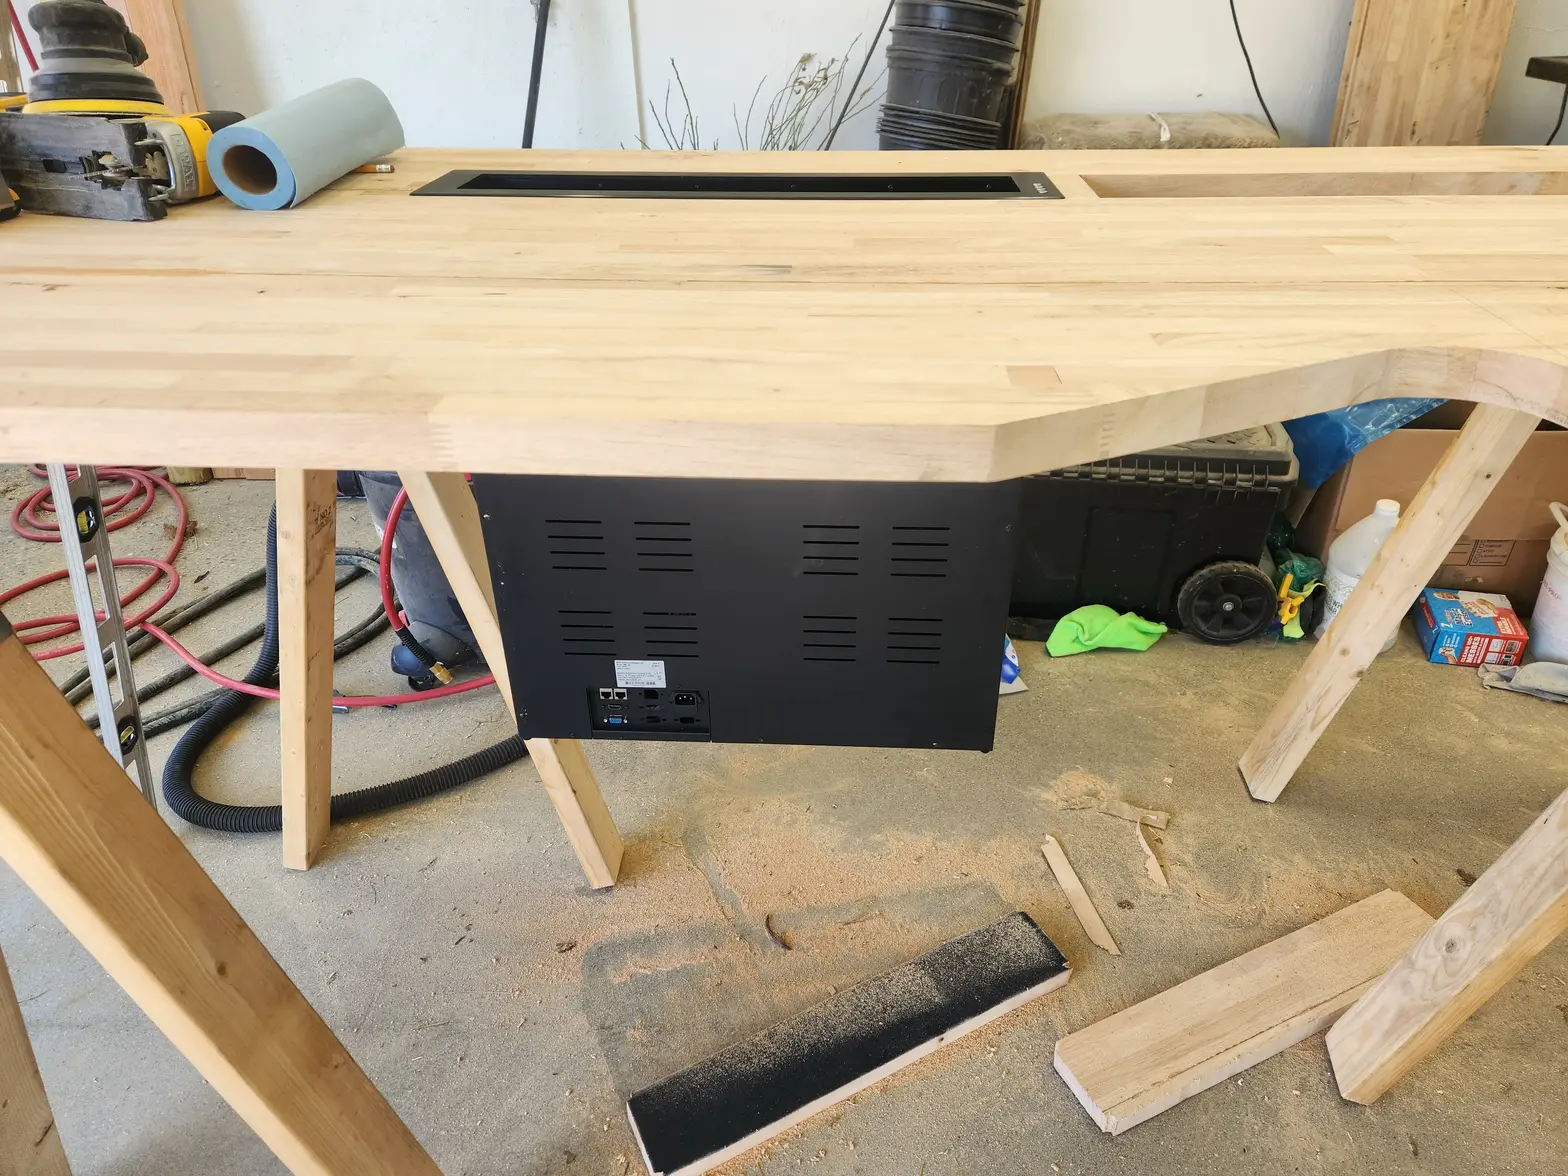
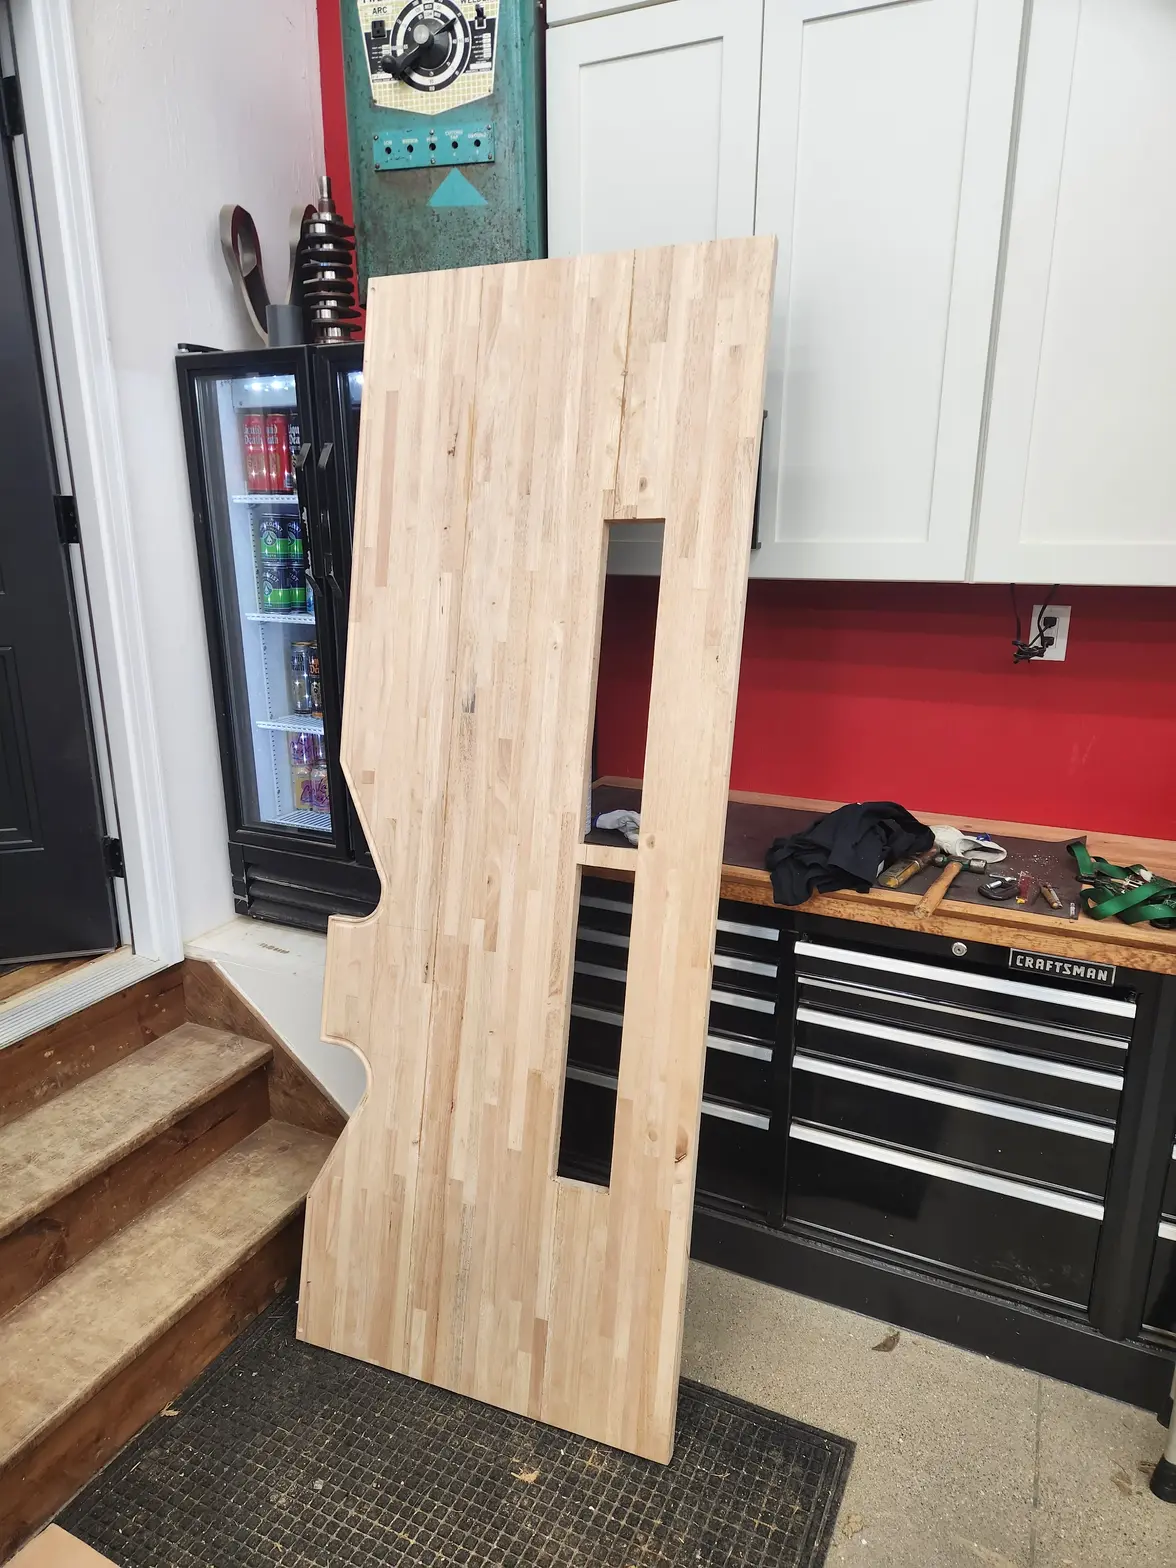
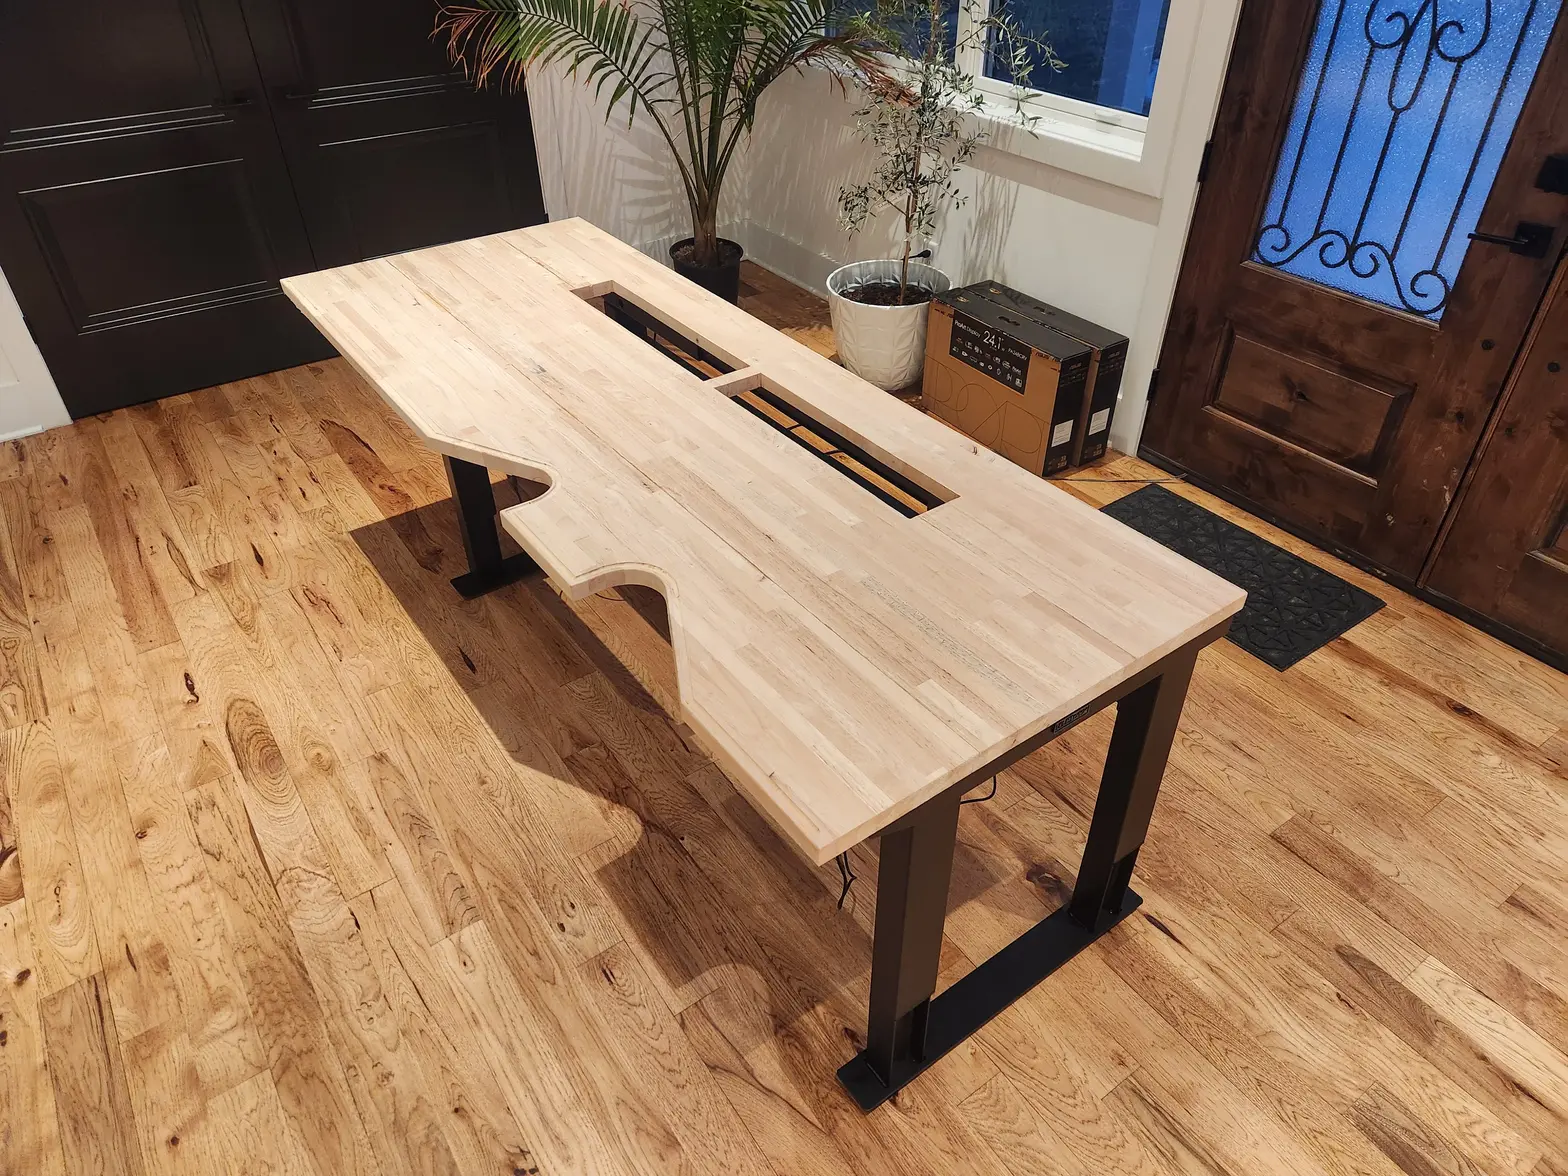
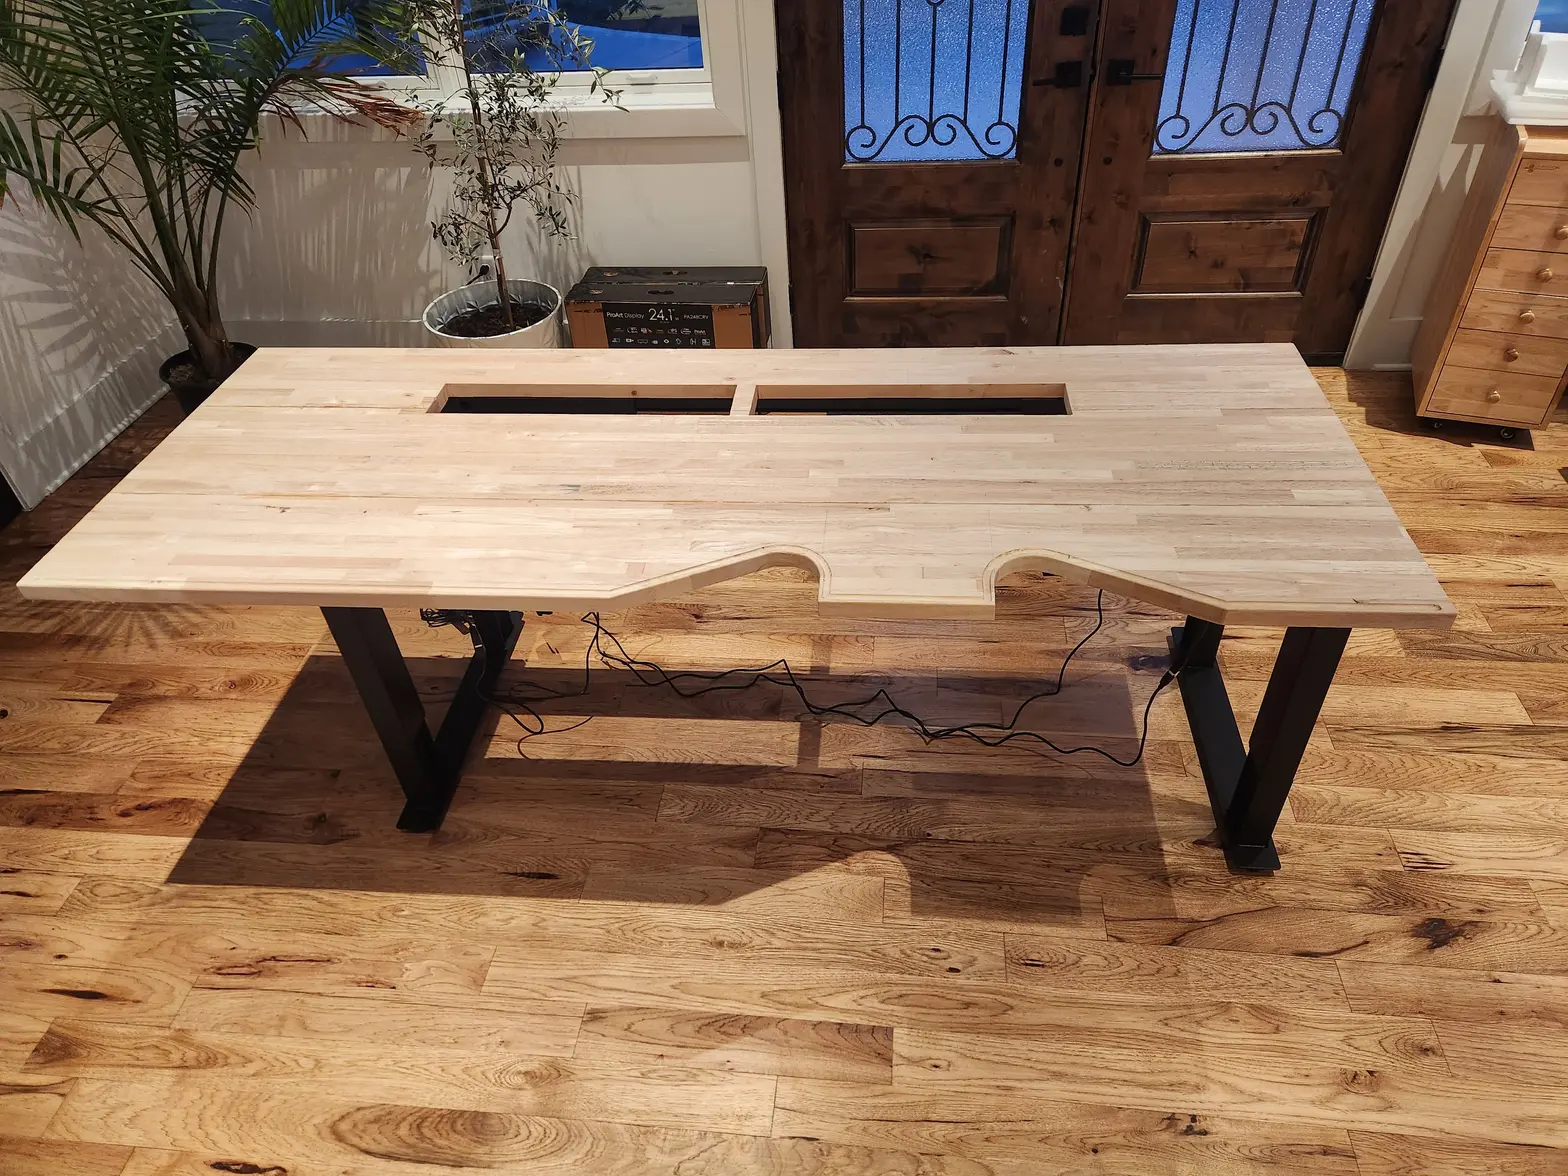
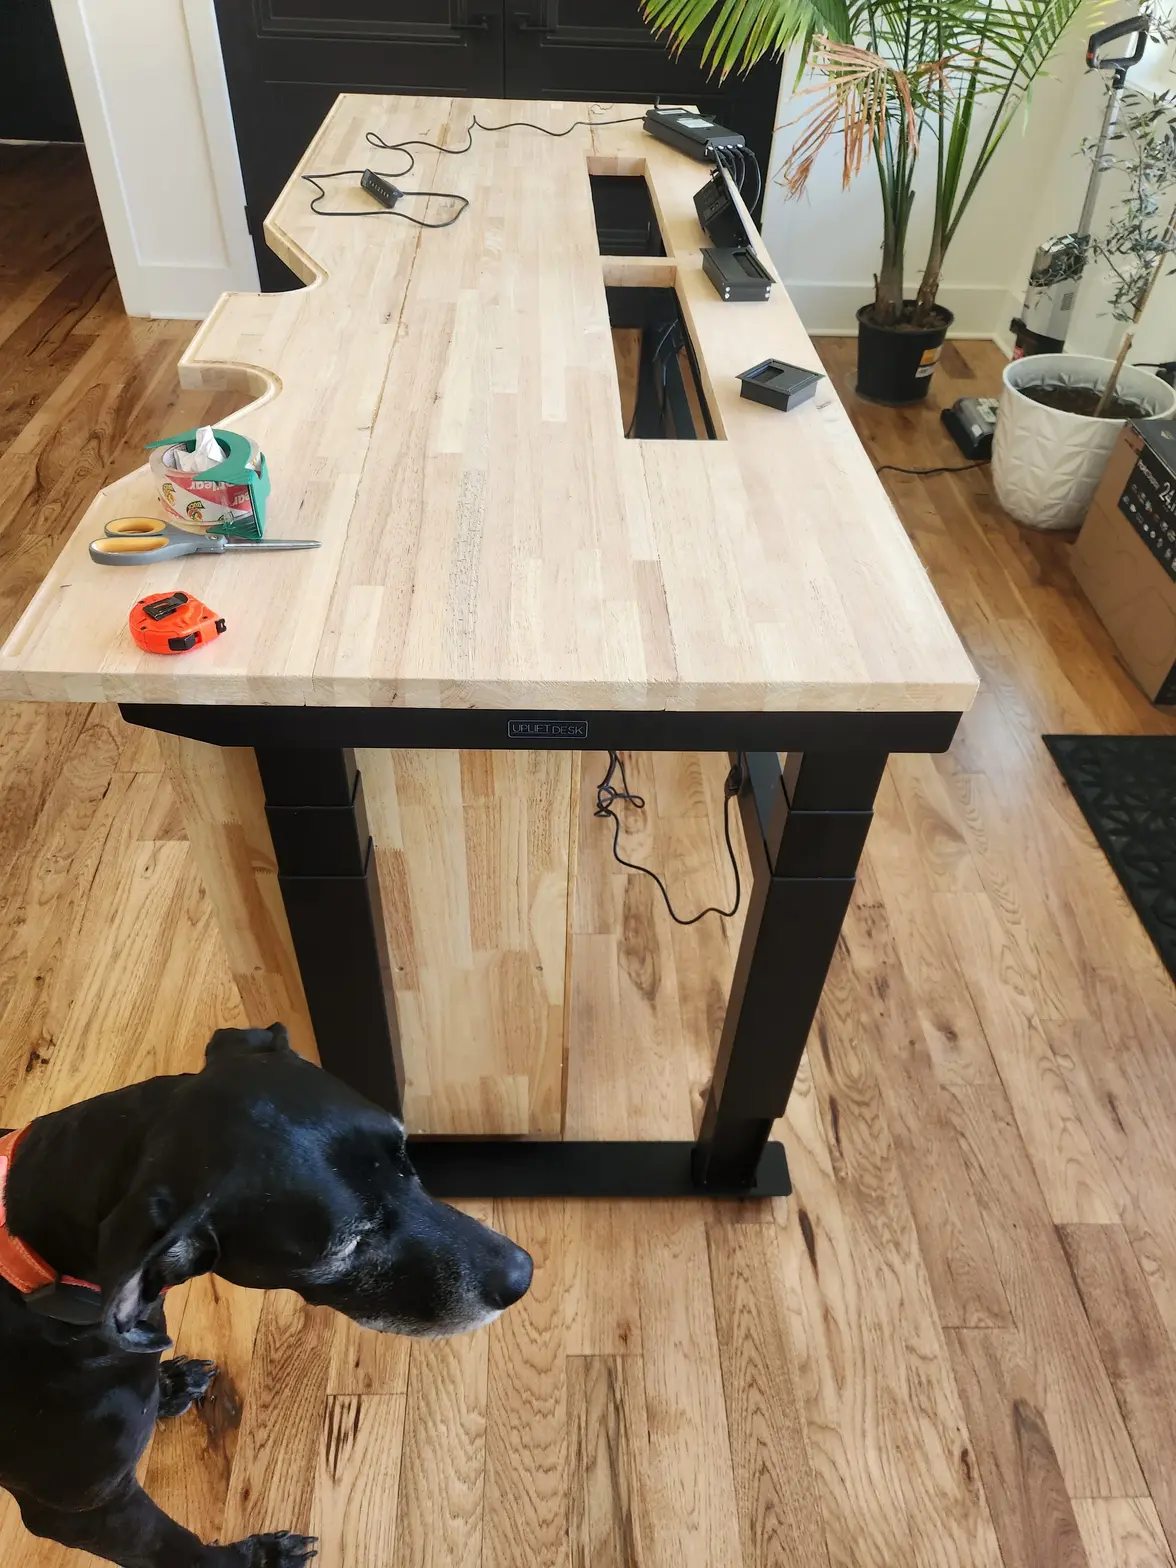
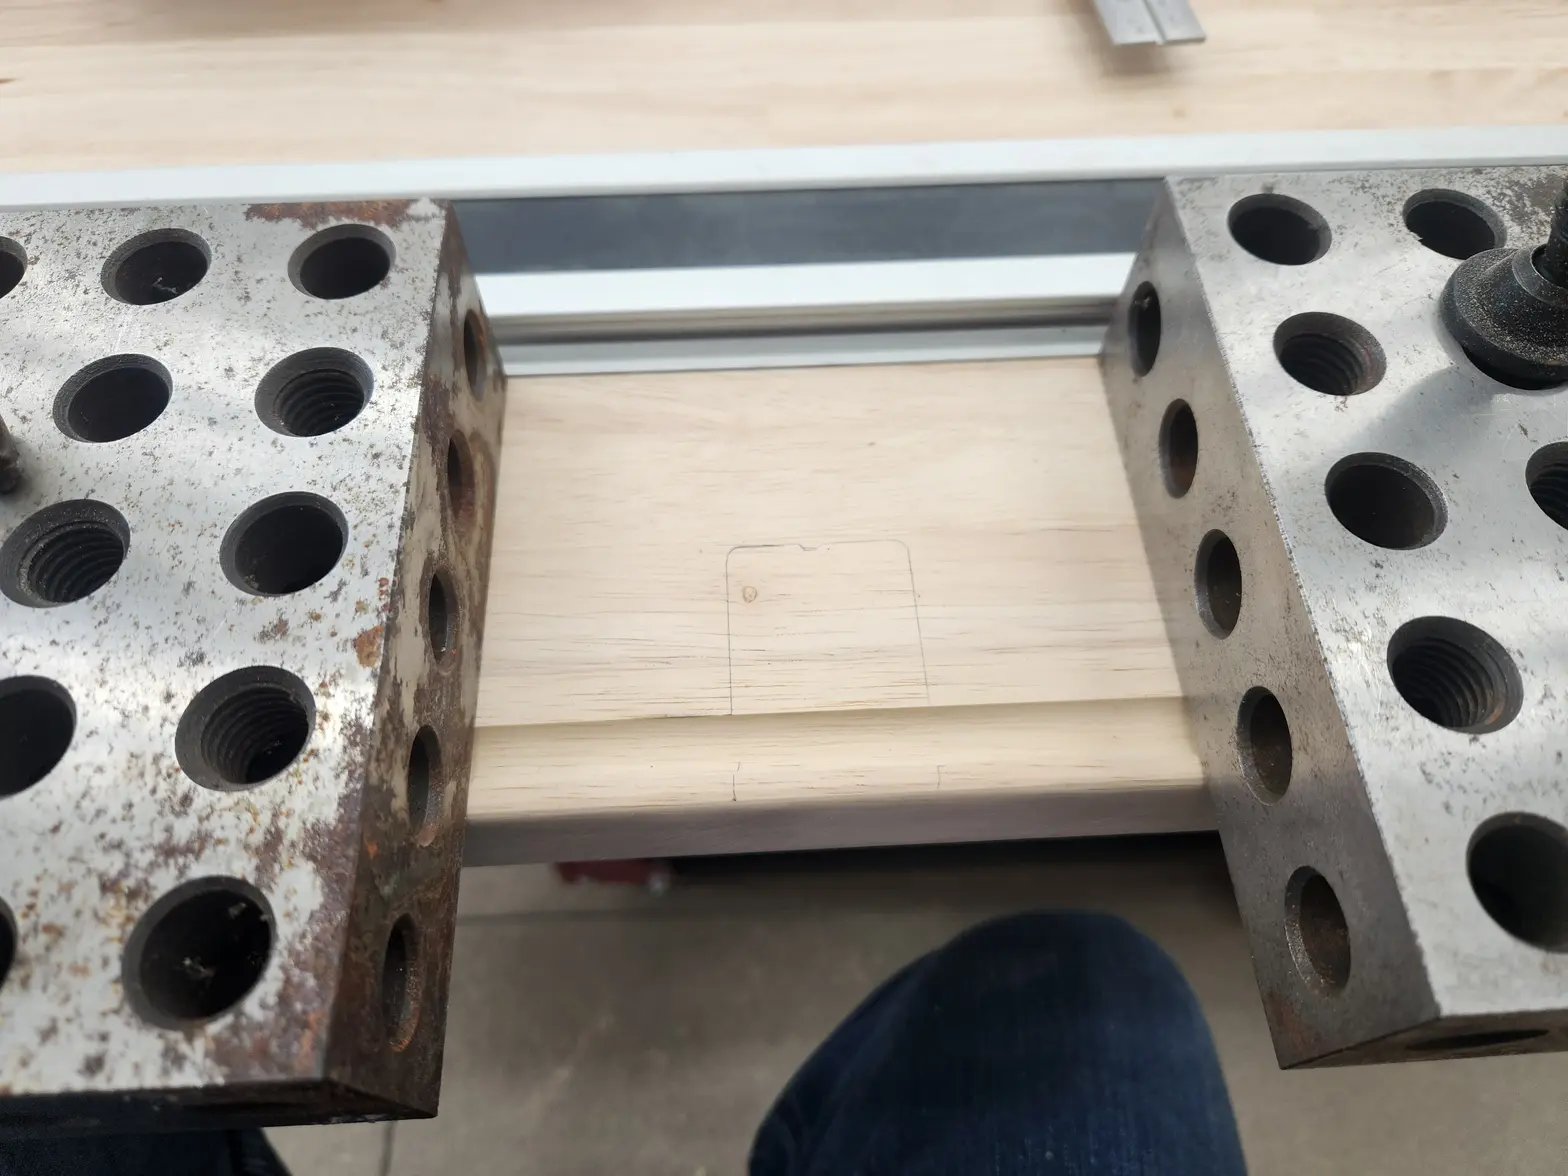
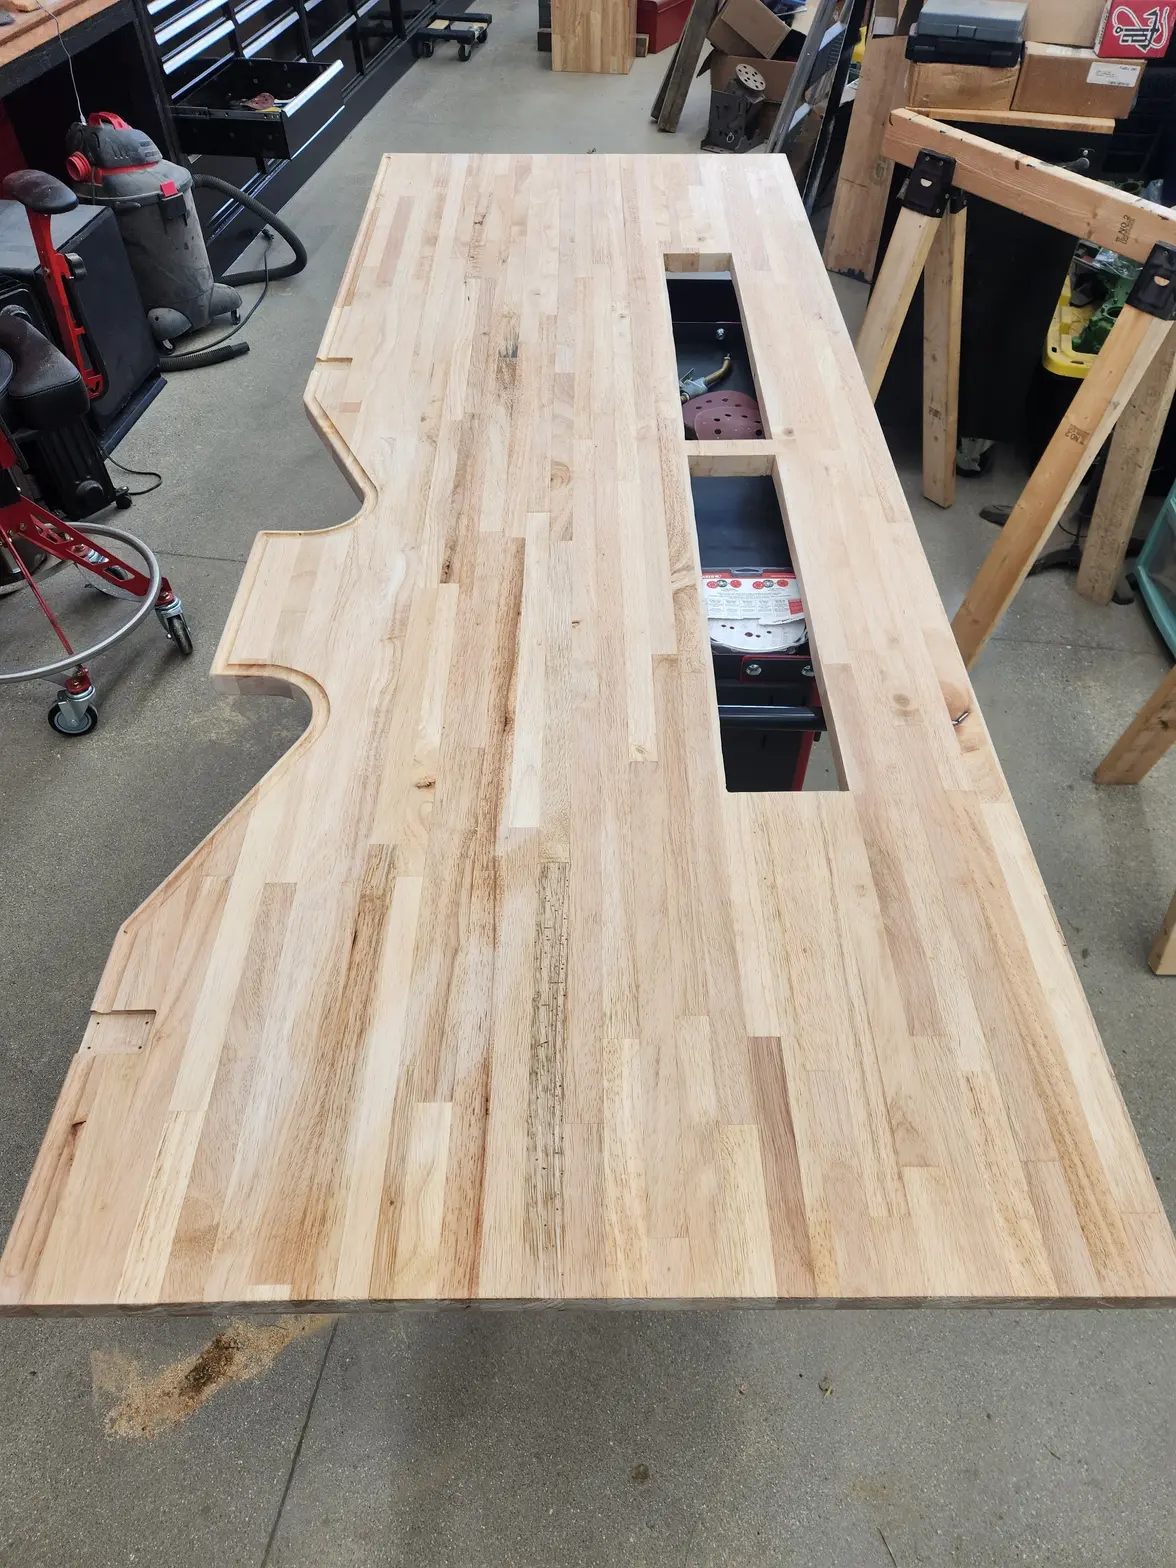
·Back to the topside. Lets cut some holes where these monitor casettes will live. I did some rough fit checks witha spare monitor and sat down at the top. to gauge distance. I also had to place these where they wouldnt interfere with the frame supports underneither. so lots of double and tripple checking location of multiple parts that arent fastened together yet. <stress>
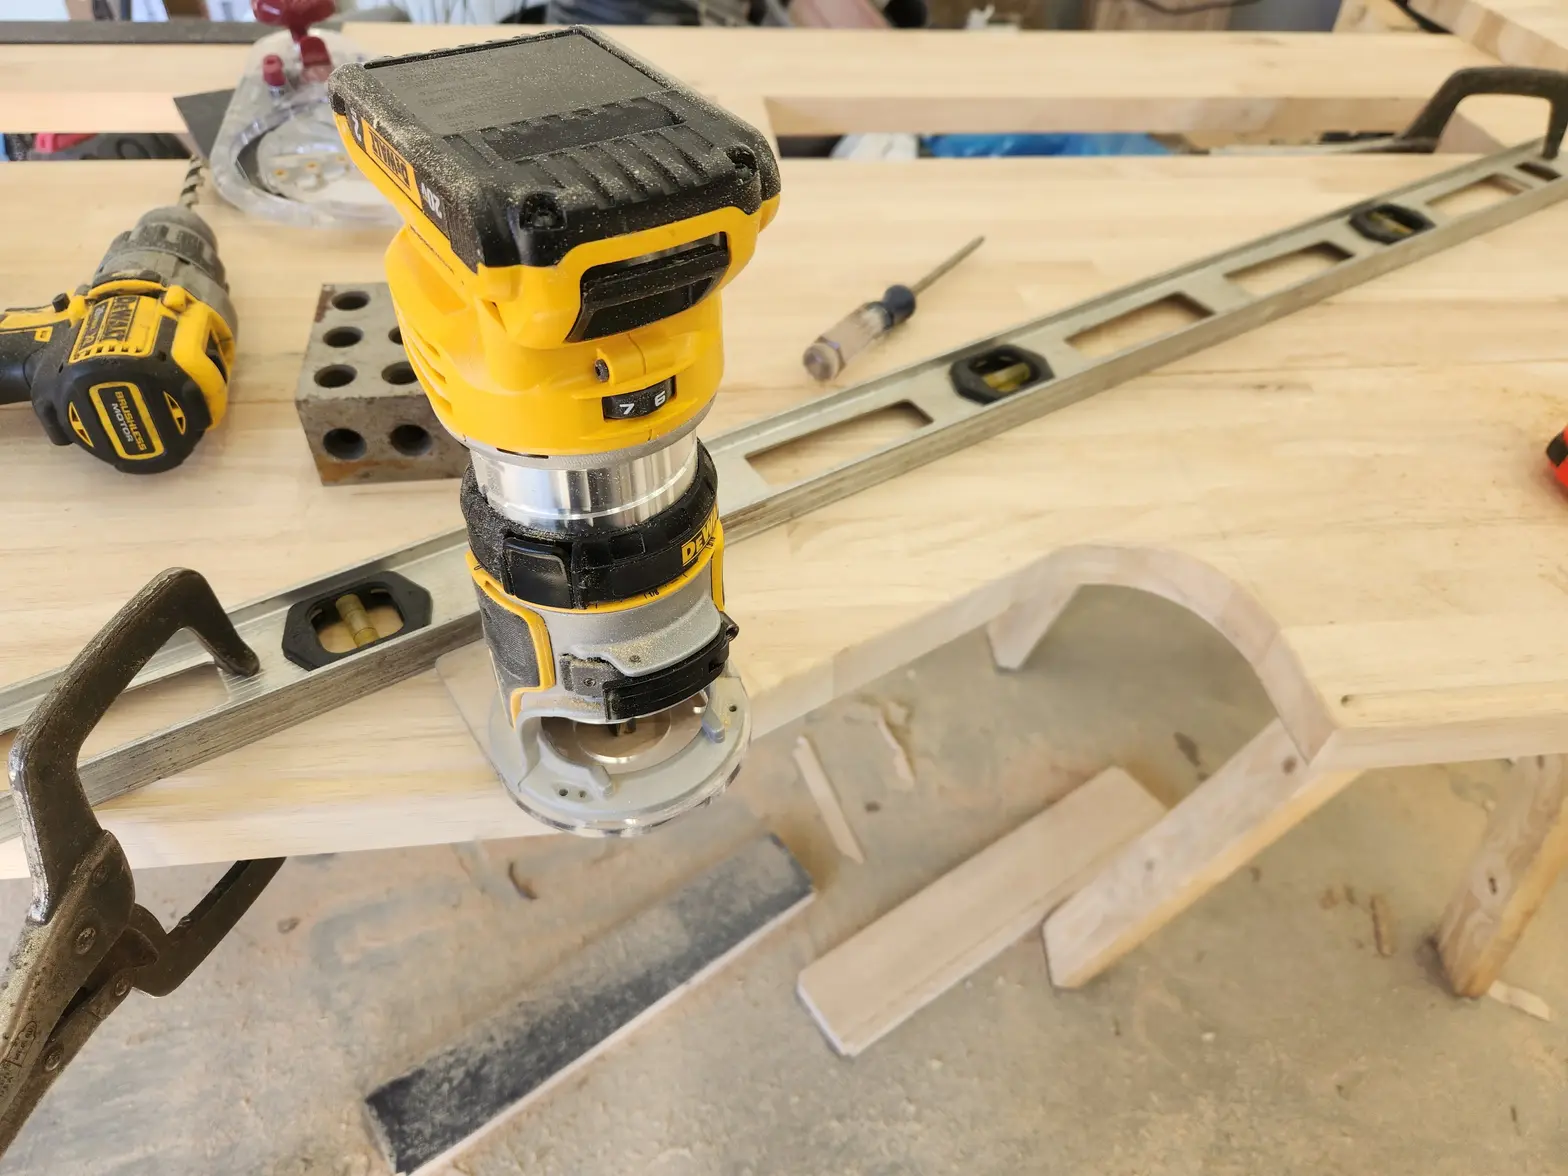
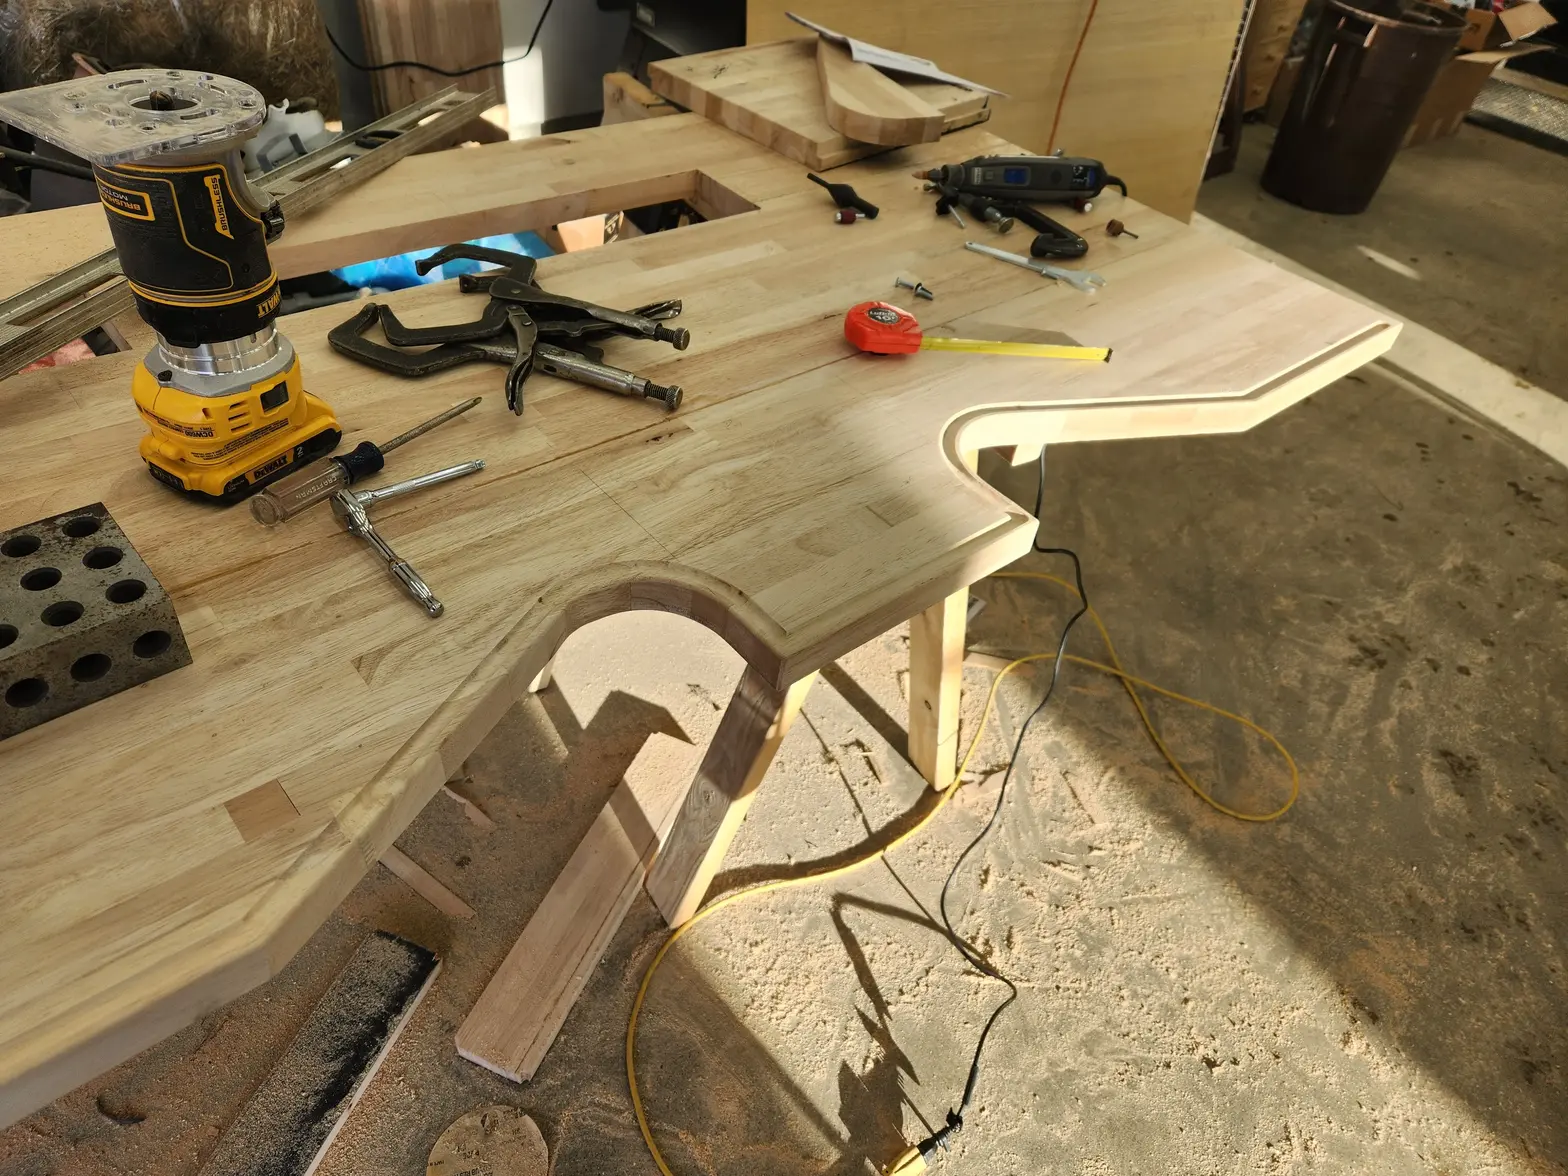
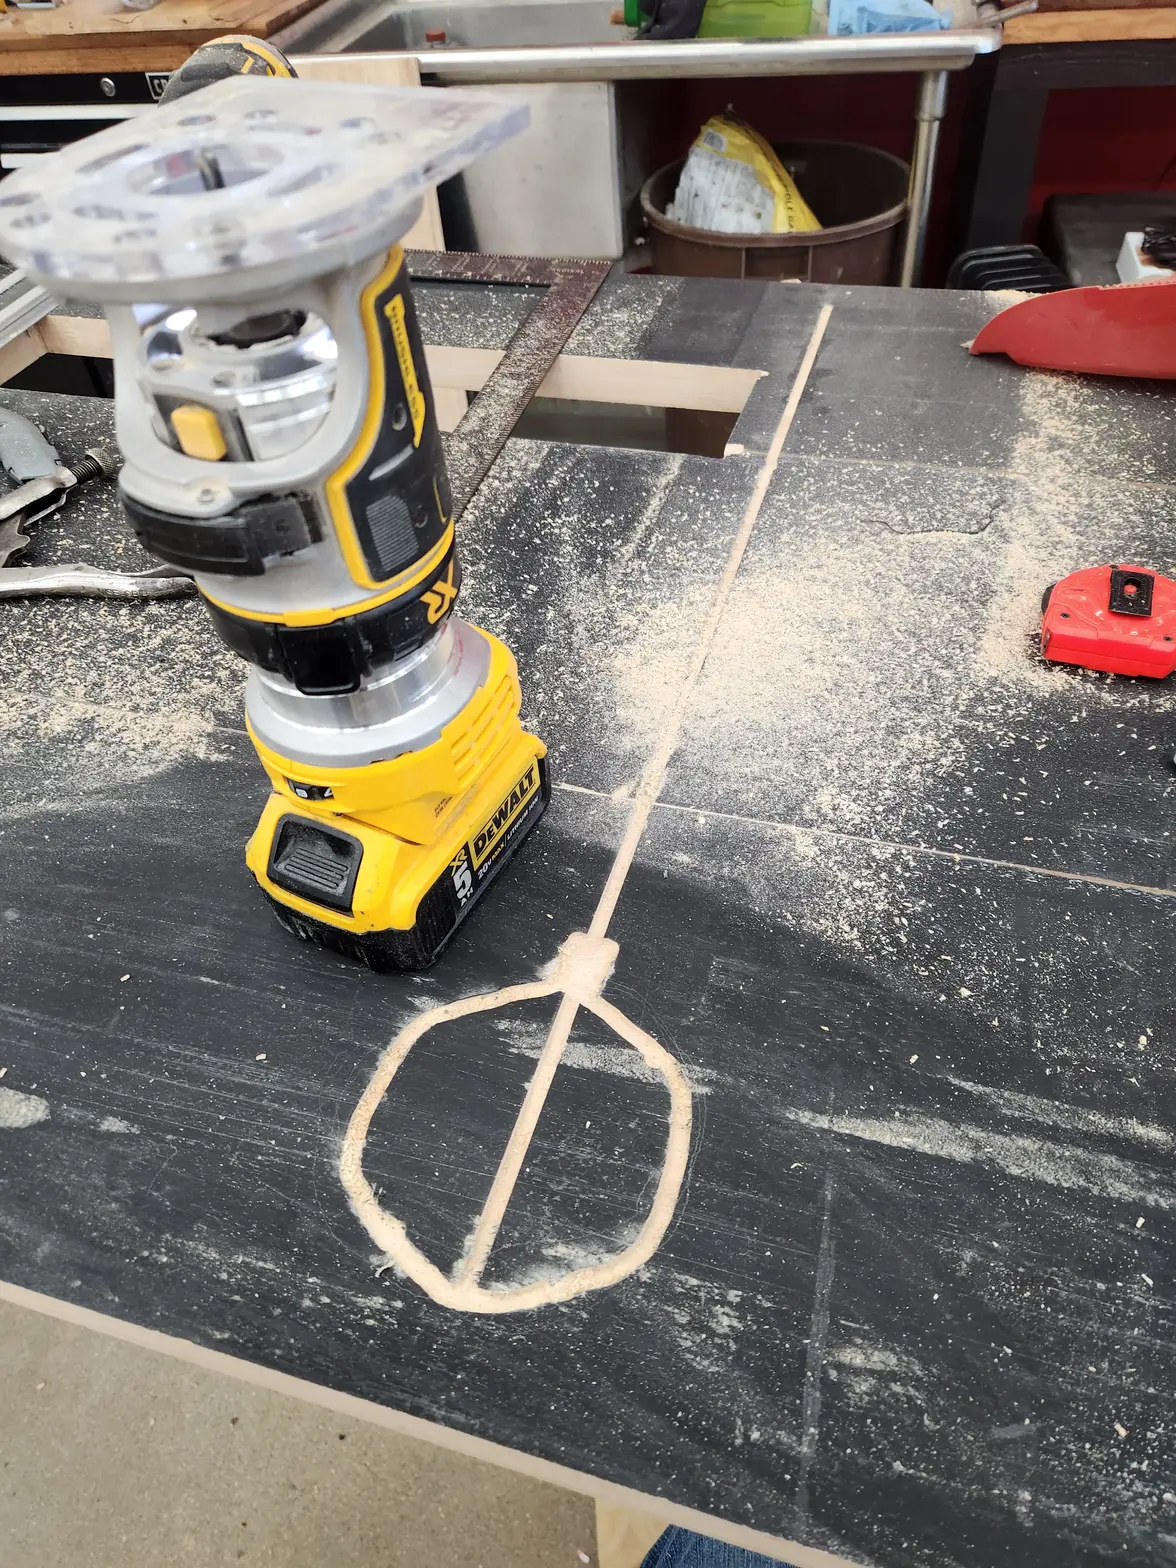
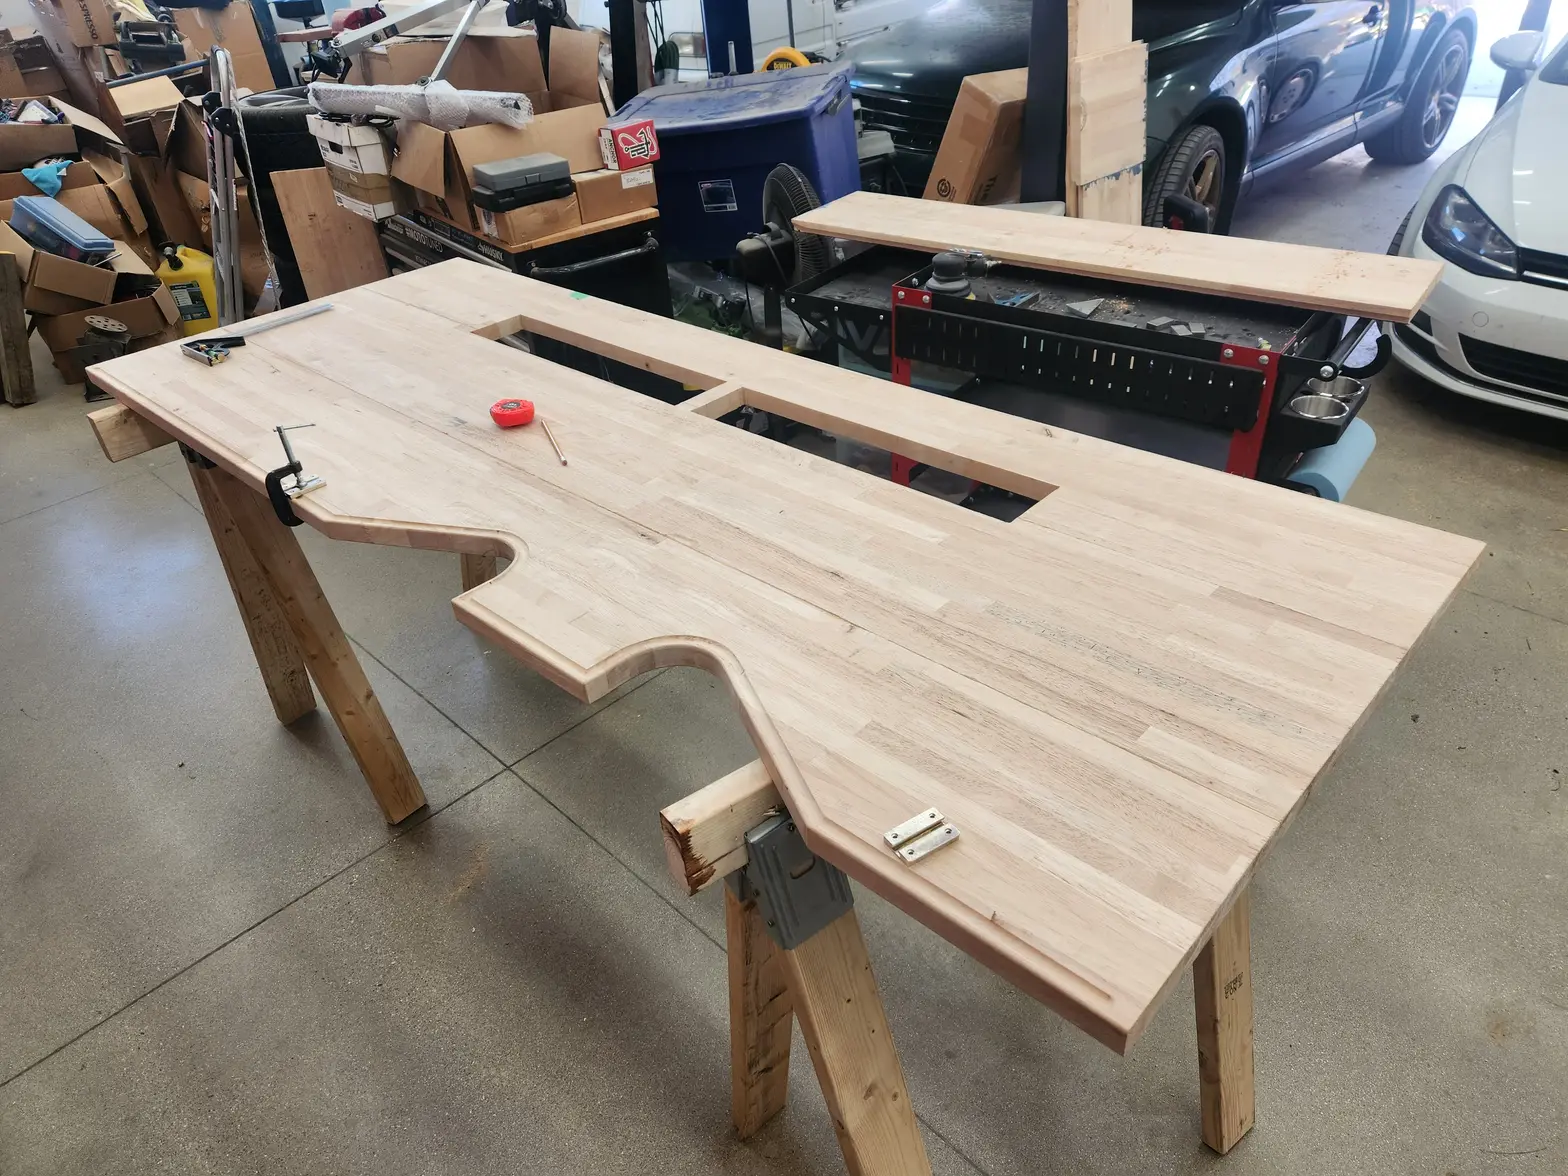
Then its time to start routing features on the top. I have been practicing on scrap for about 5min before I did this so I am WELL prepared. haha
Then its time to start routing features on the top. I have been practicing on scrap for about 5min before I did this so I am WELL prepared. haha
samweldspoorly
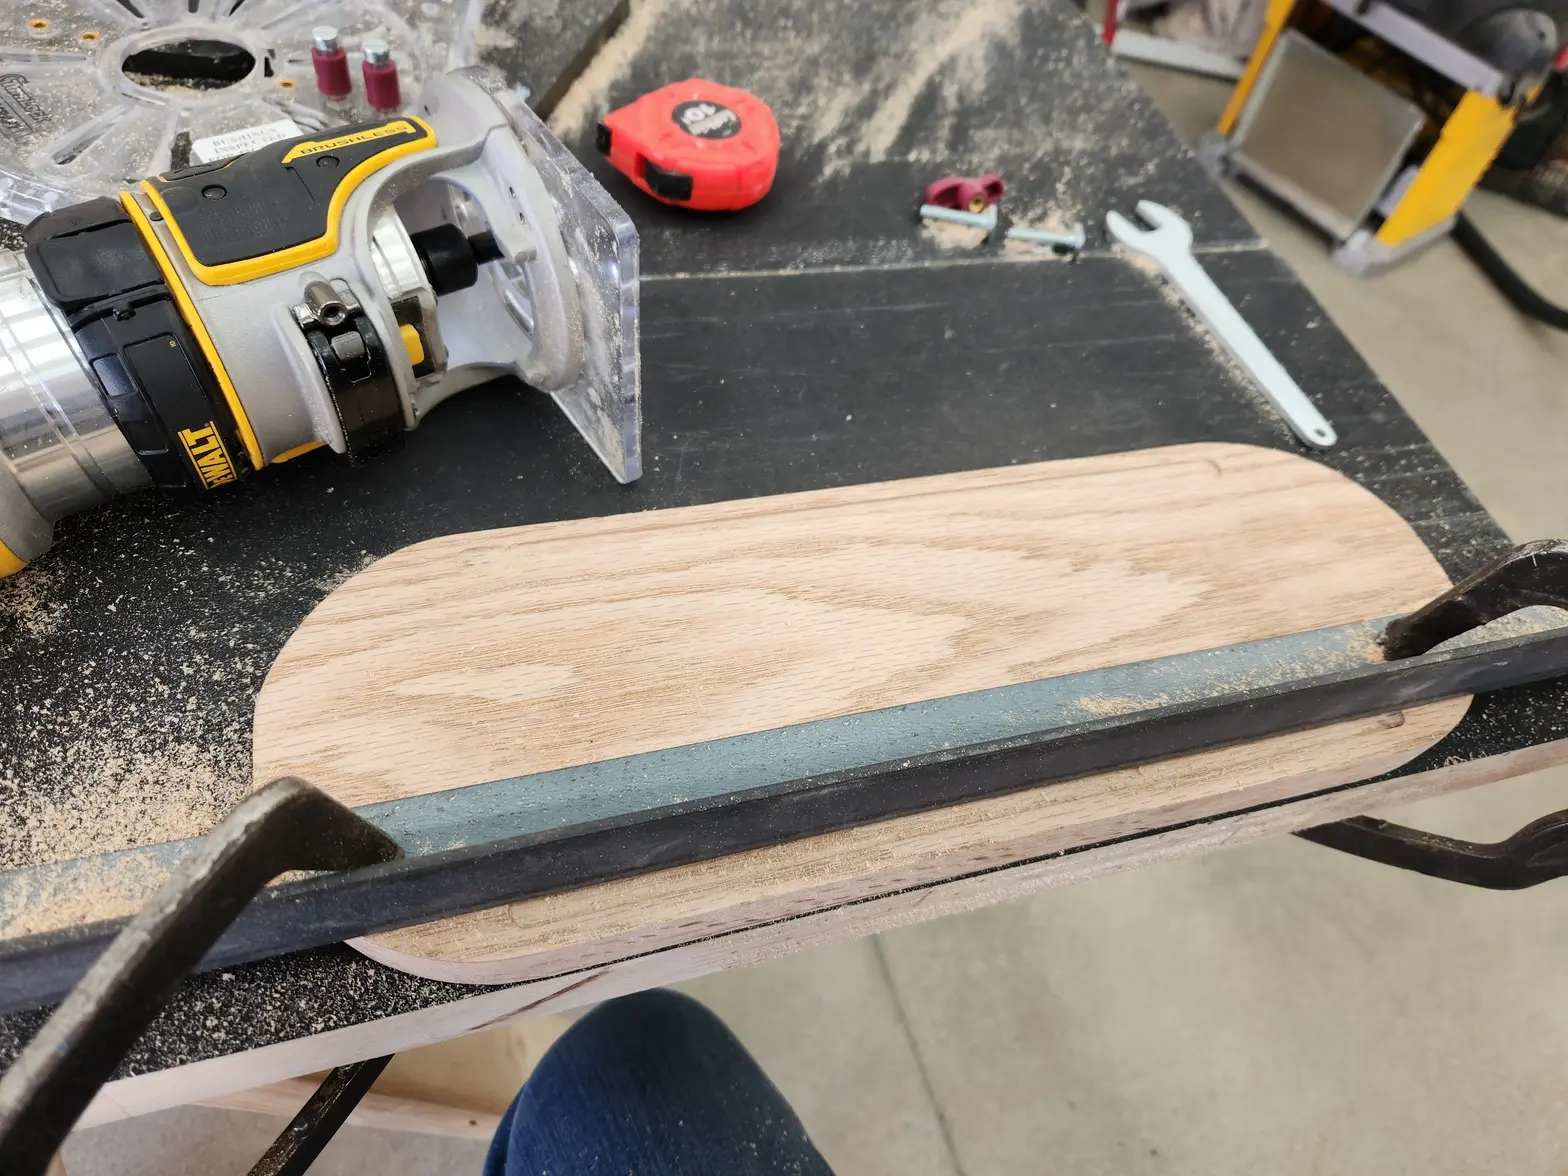
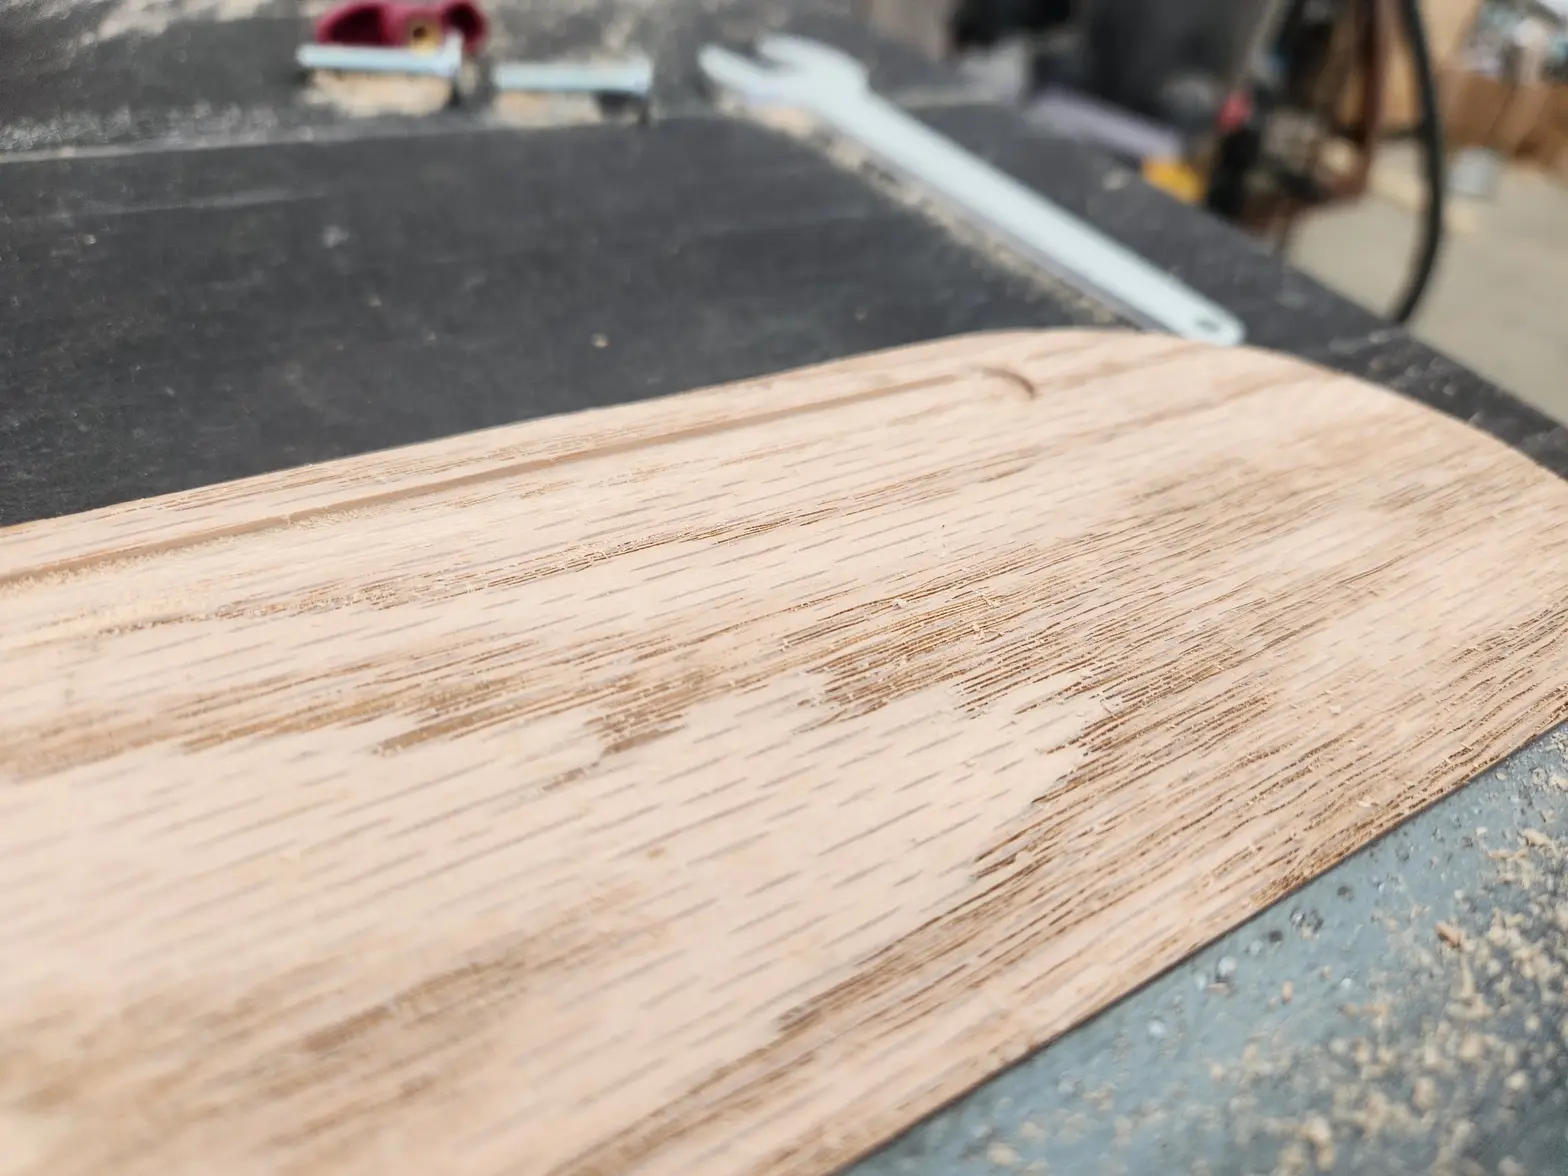
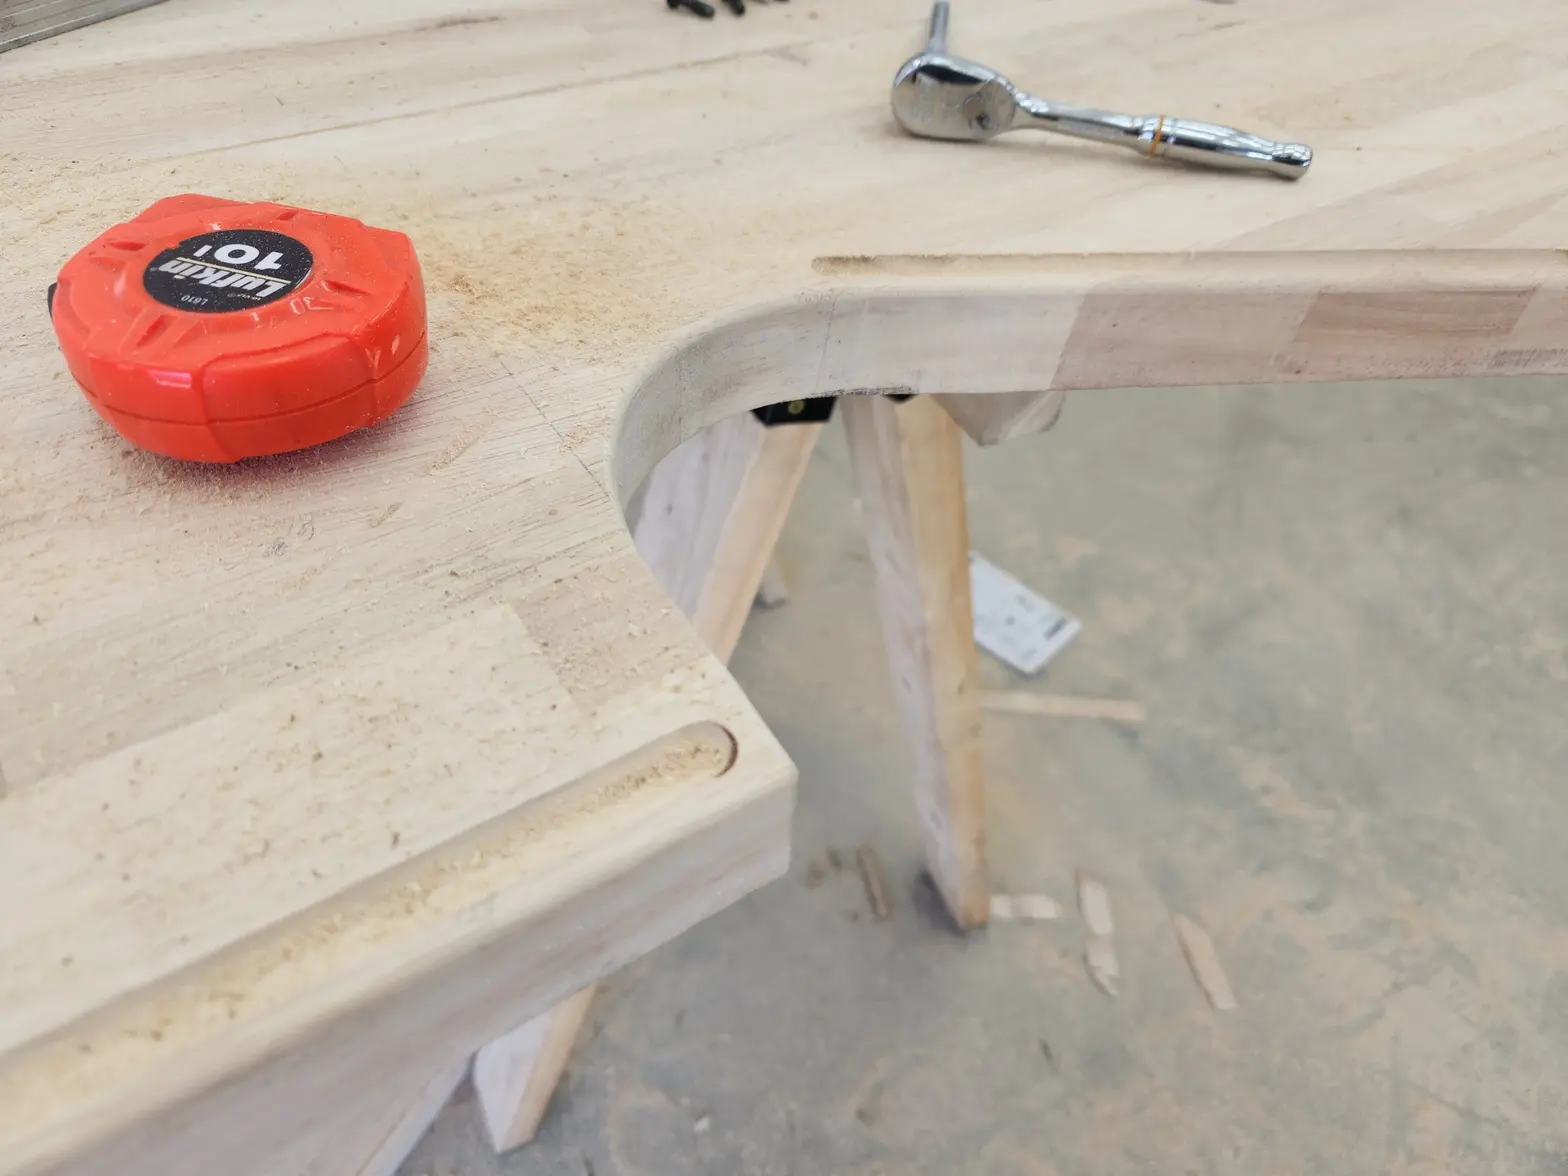
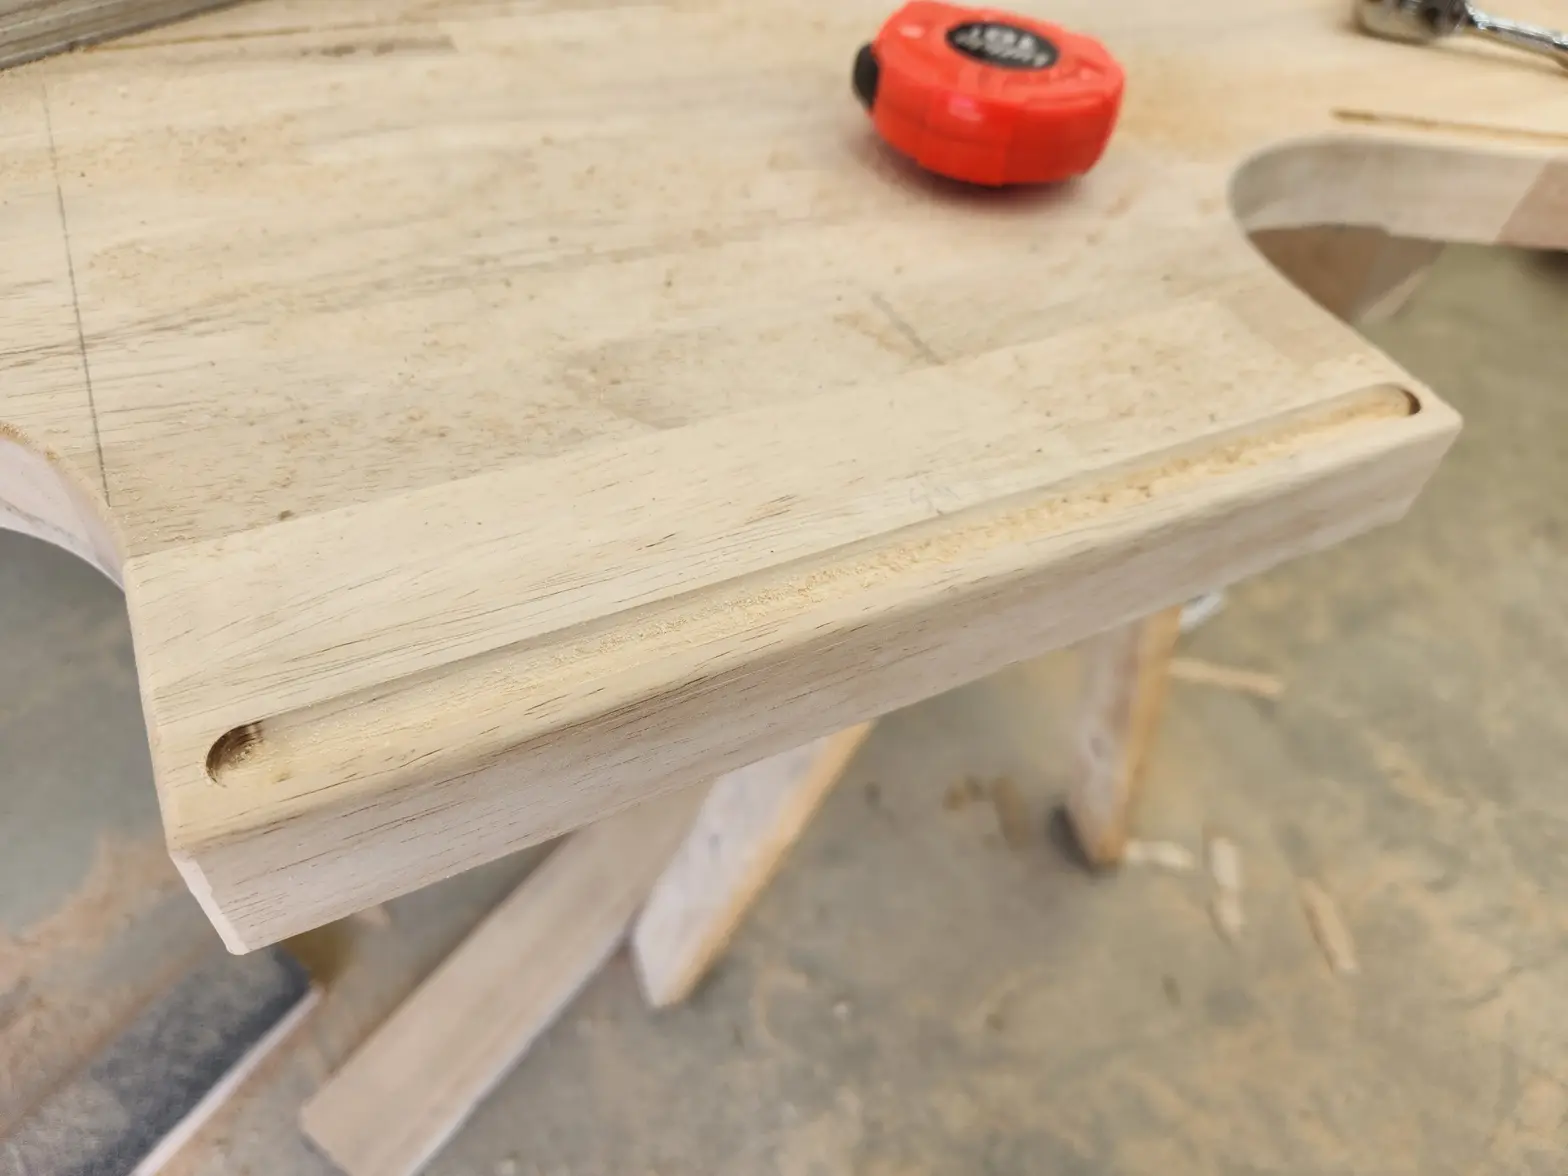
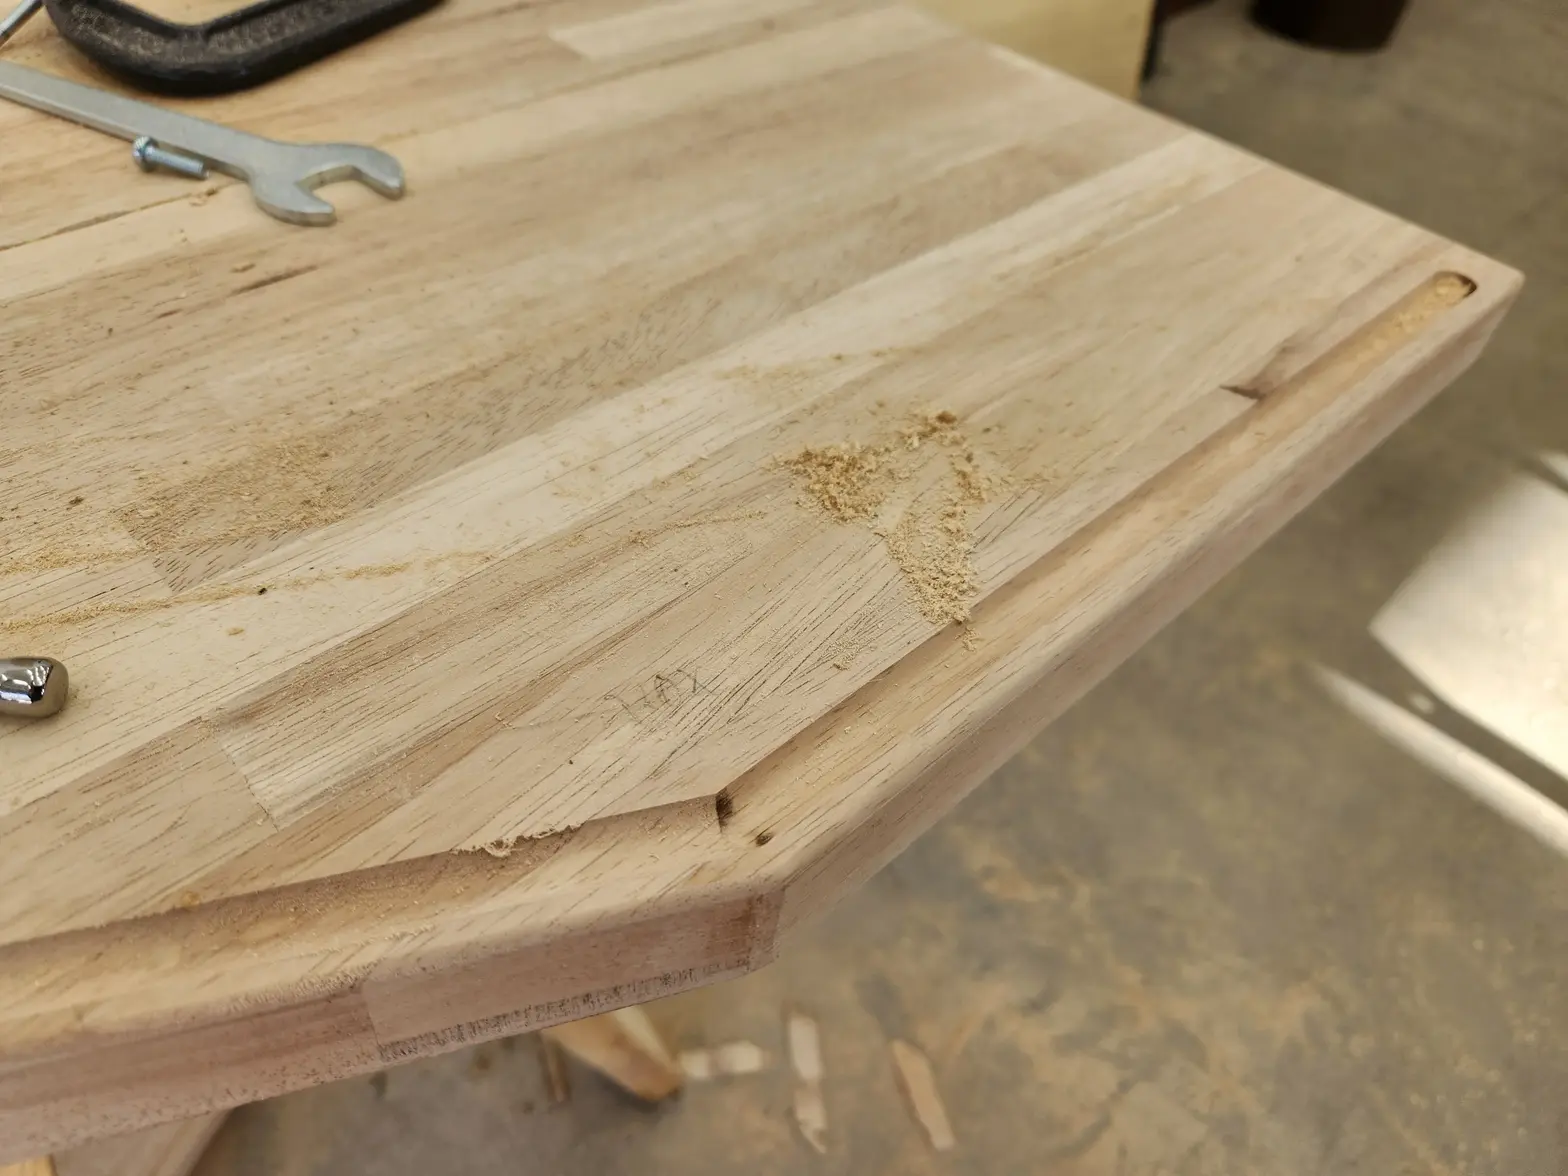
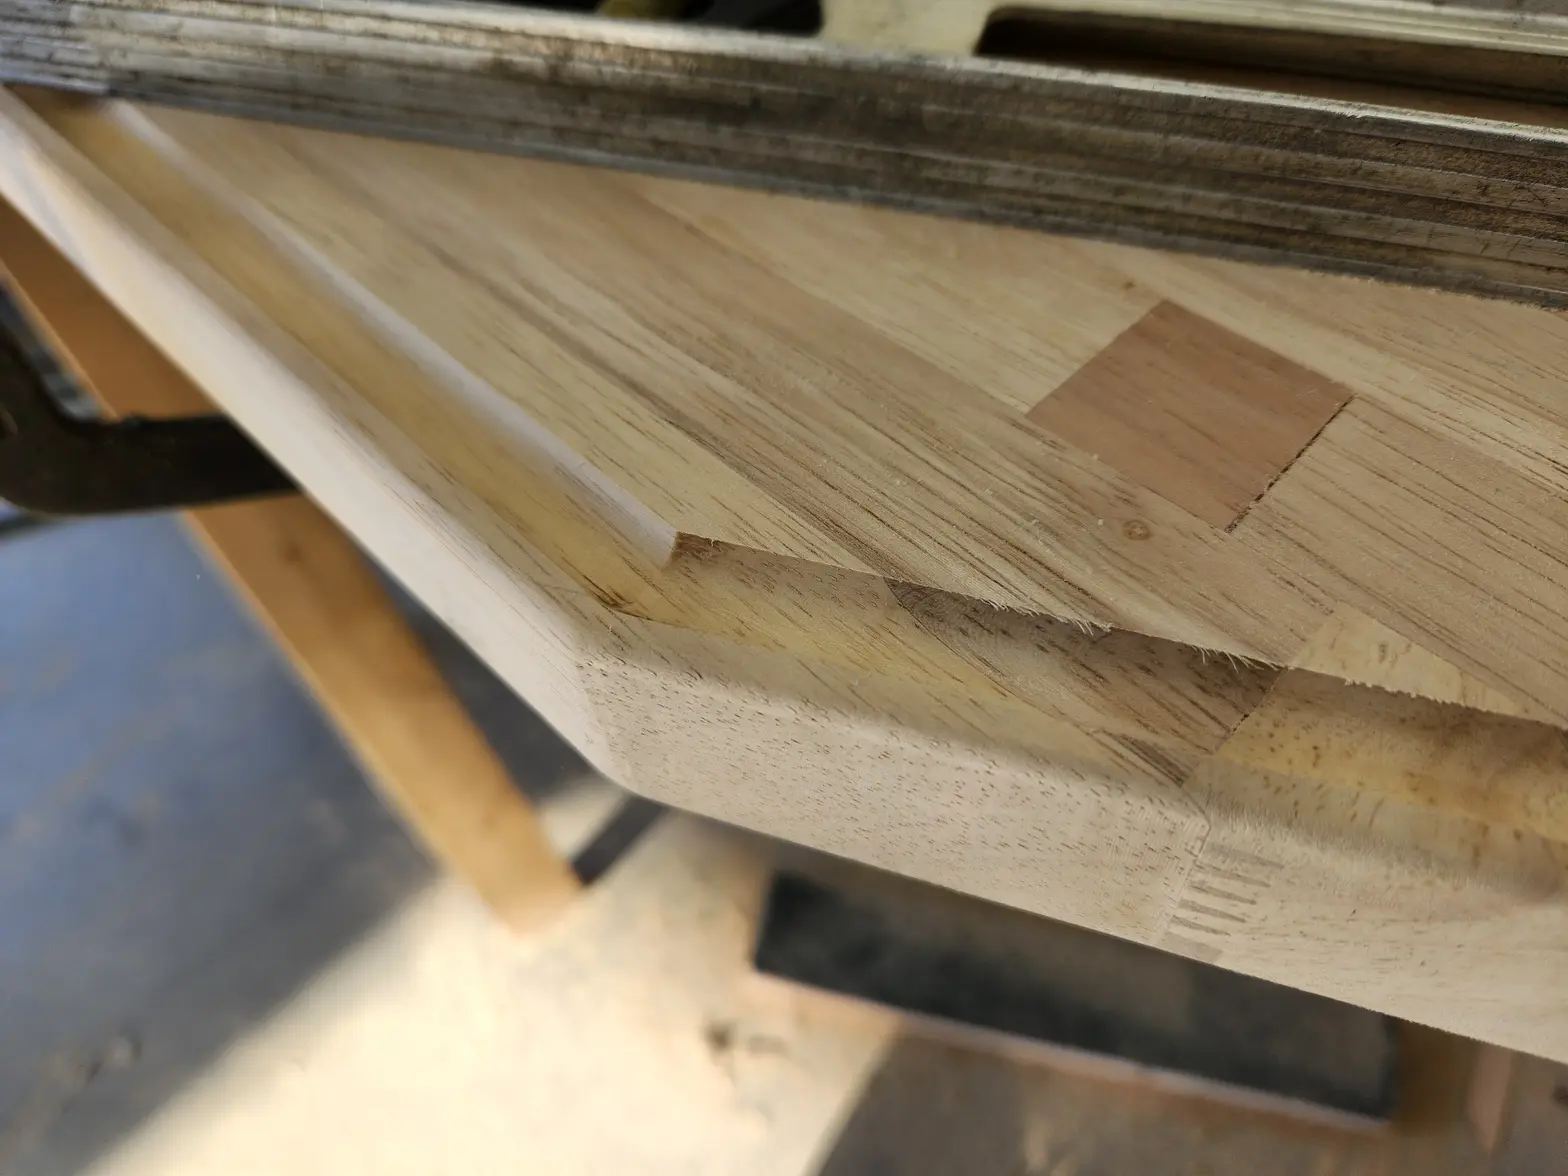
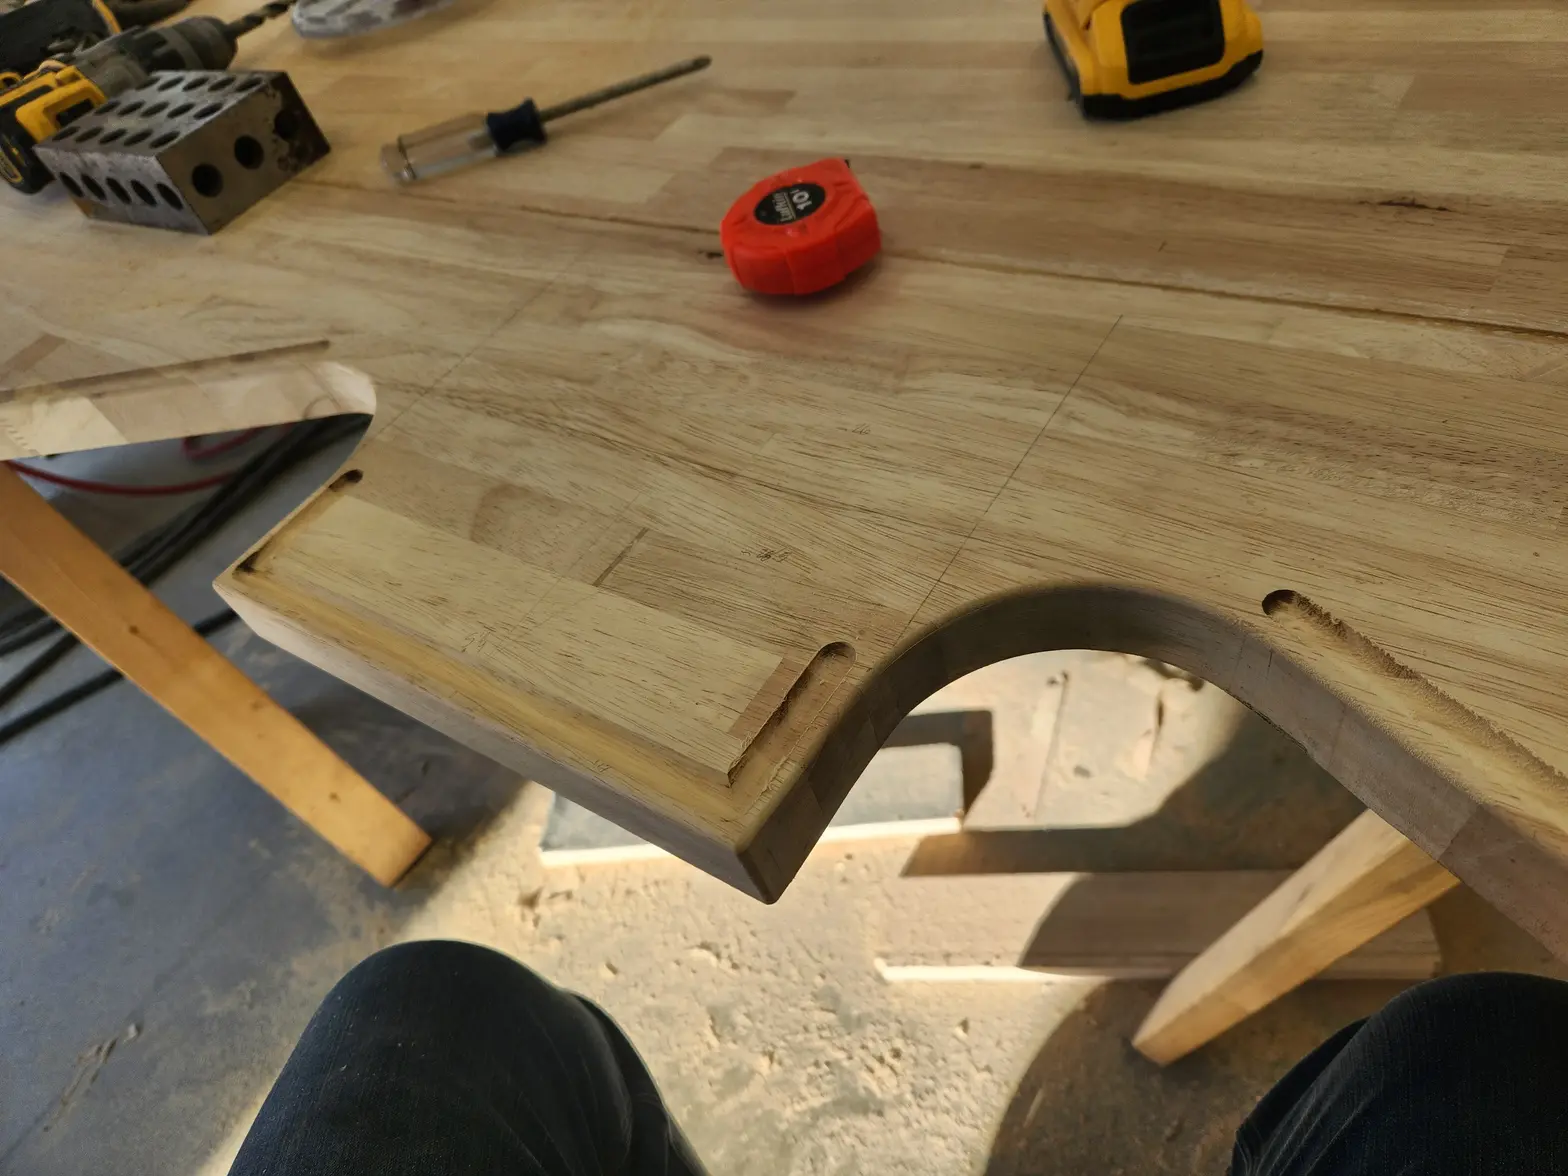
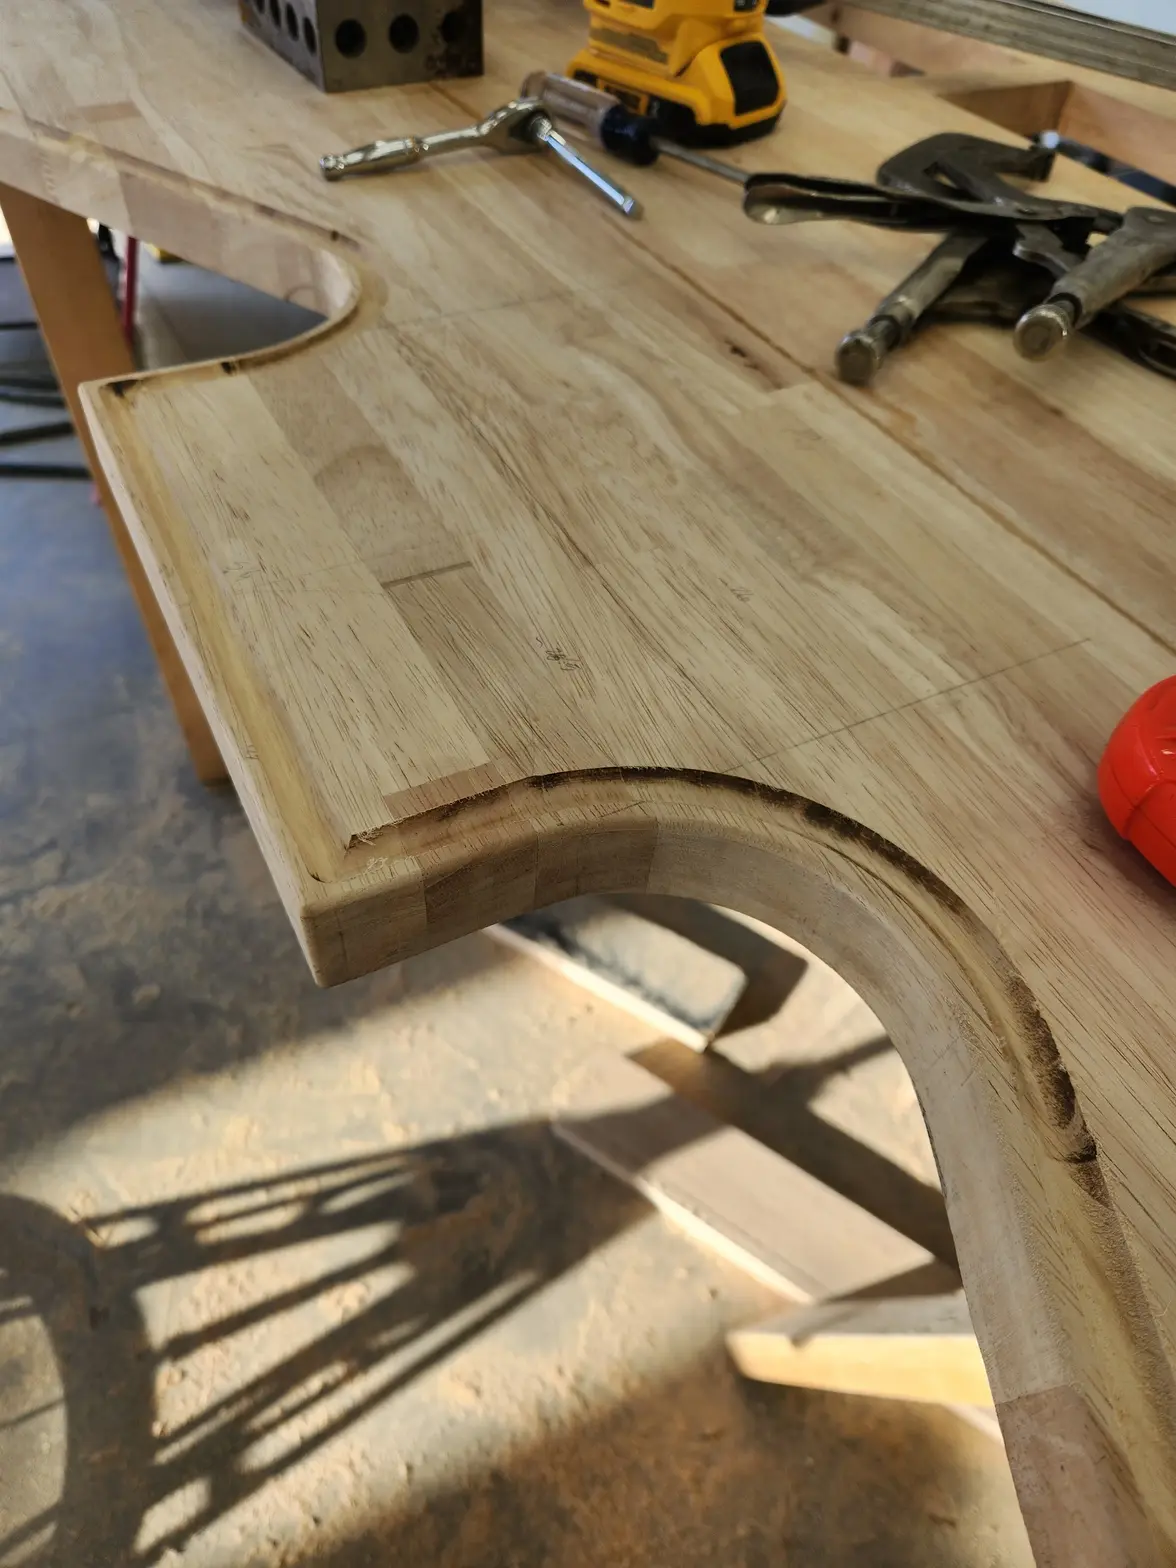
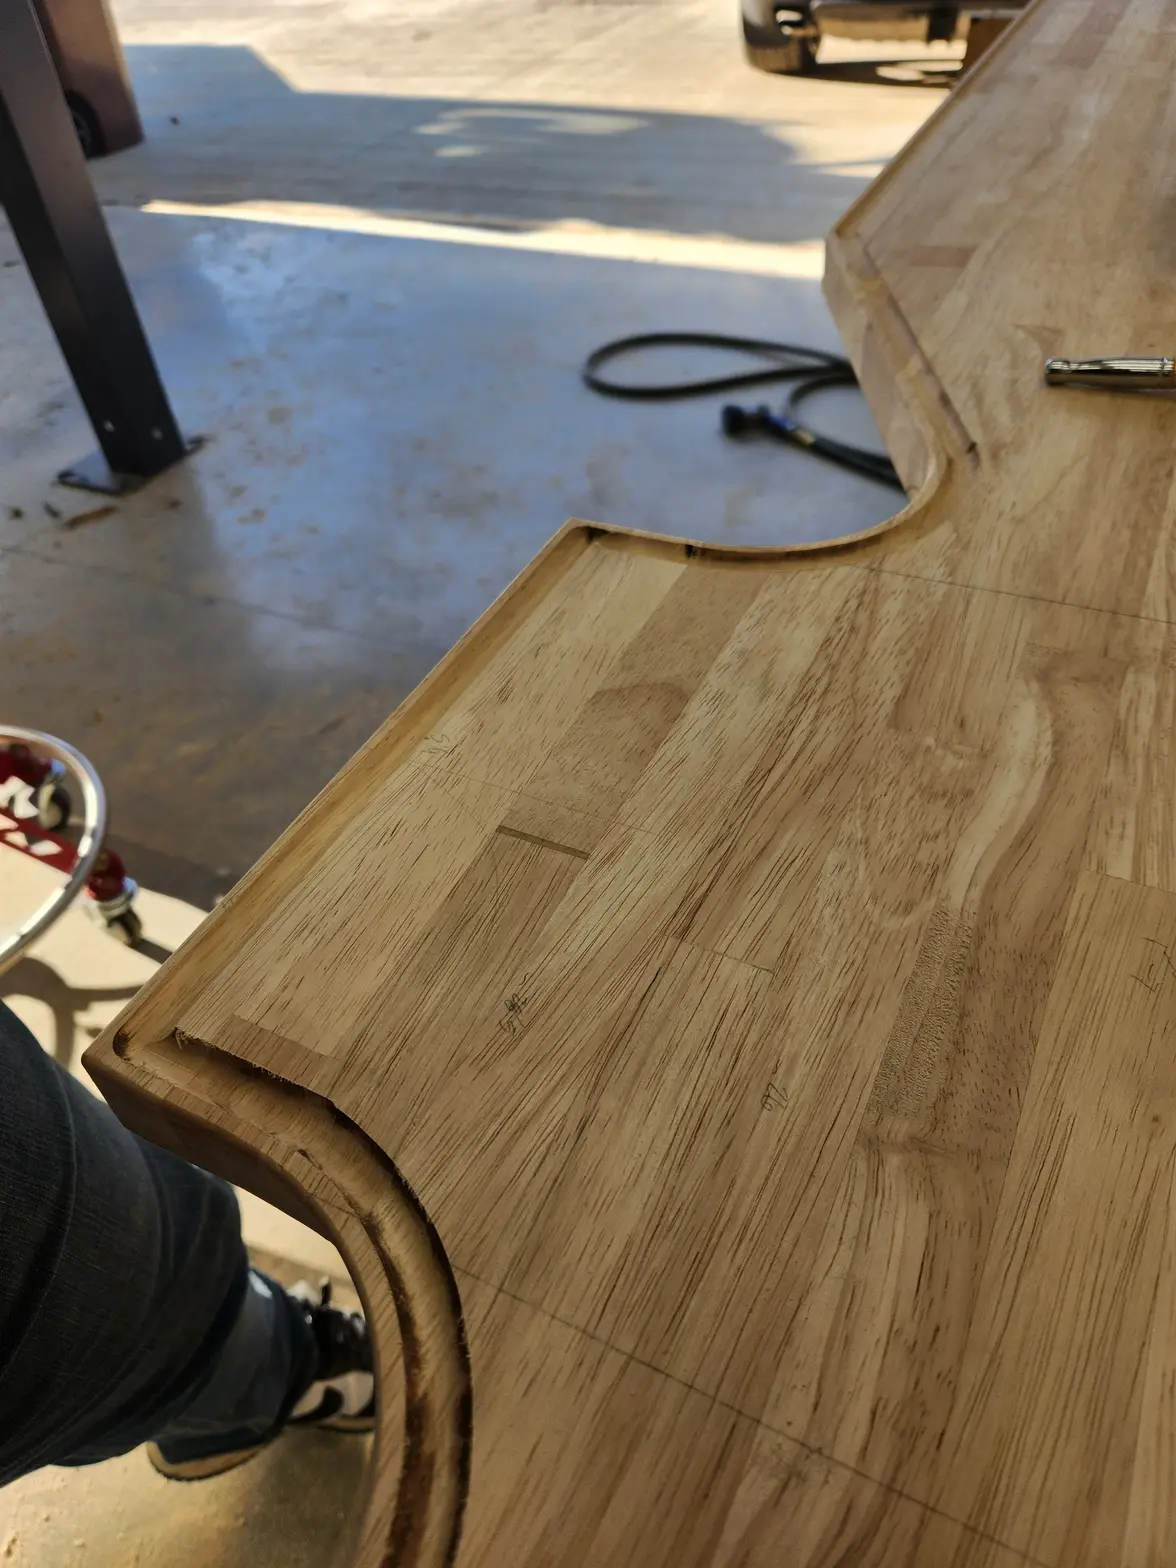
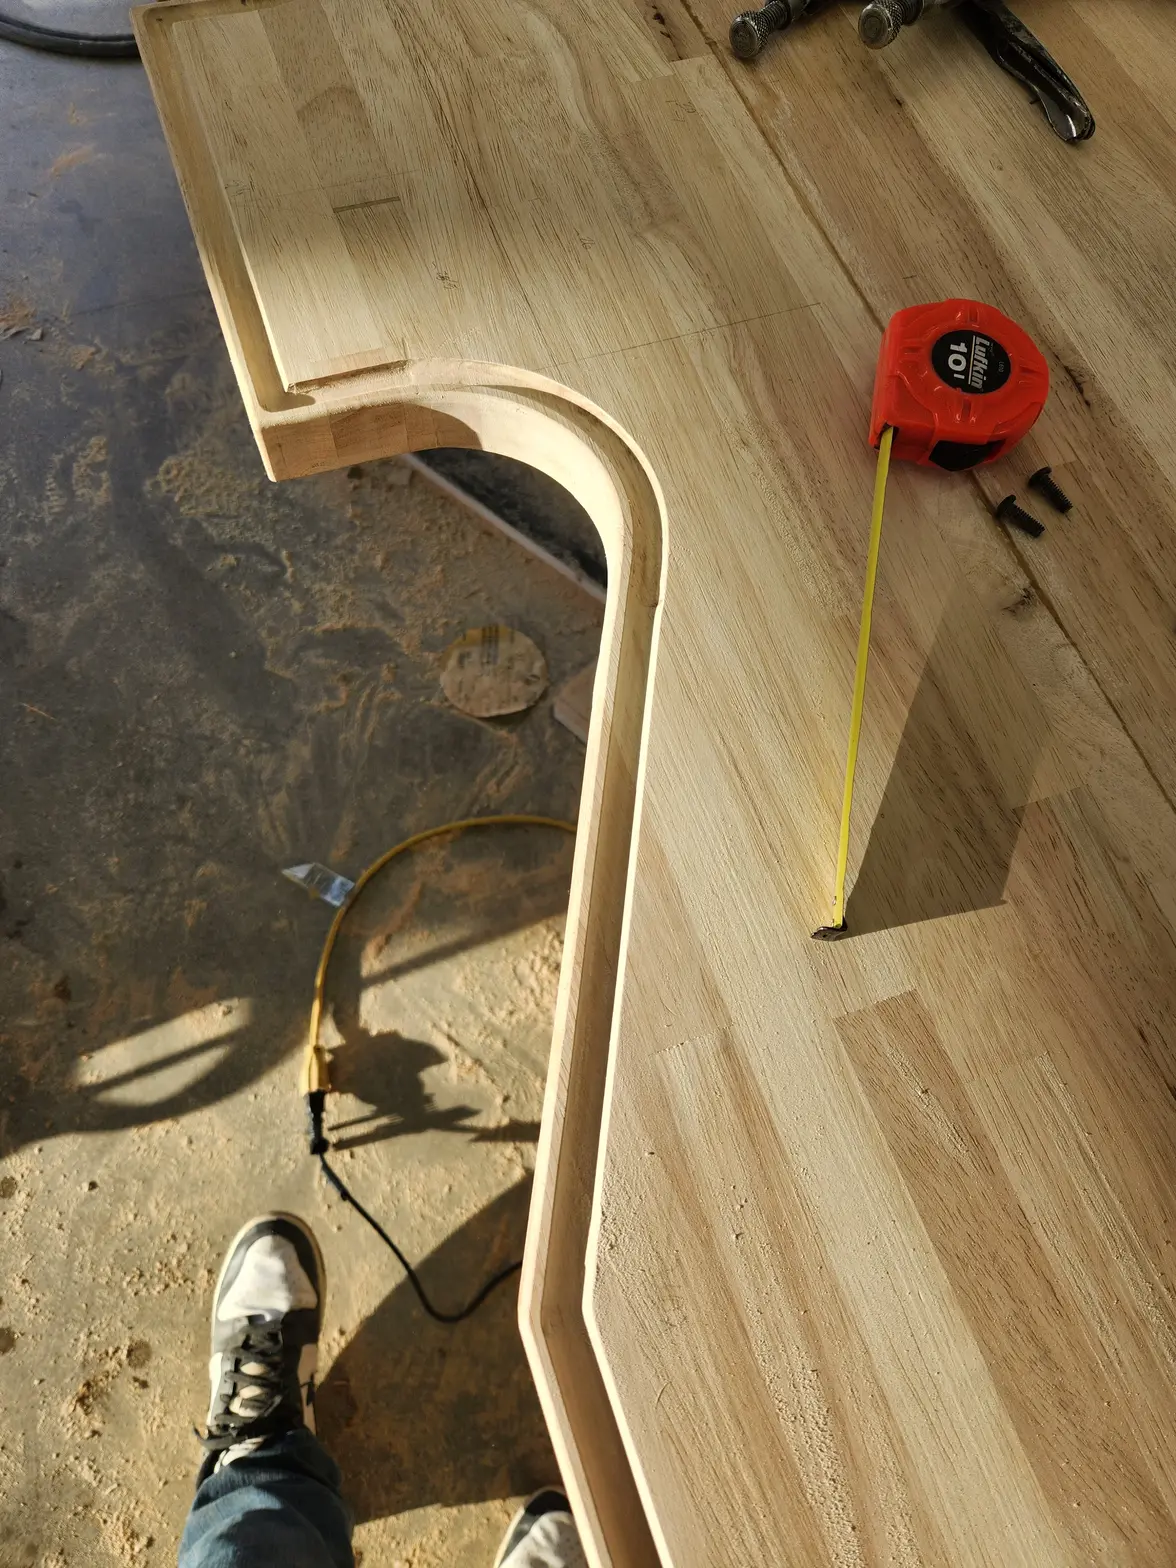
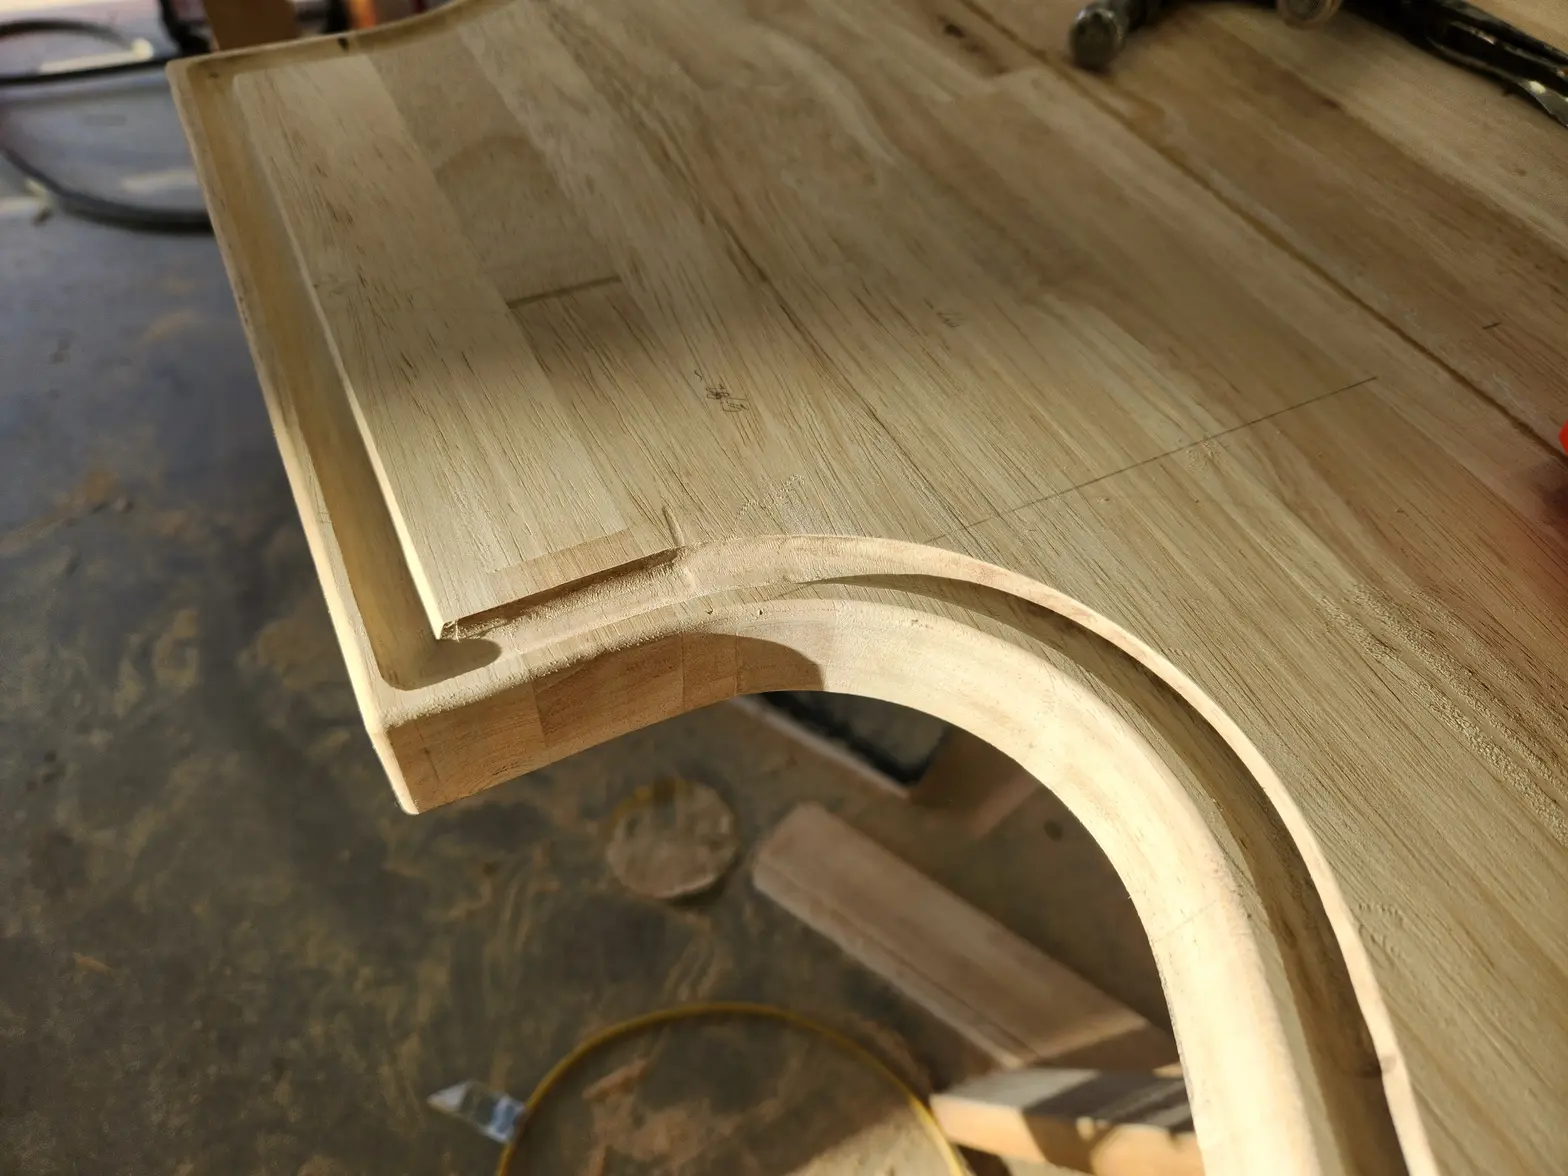
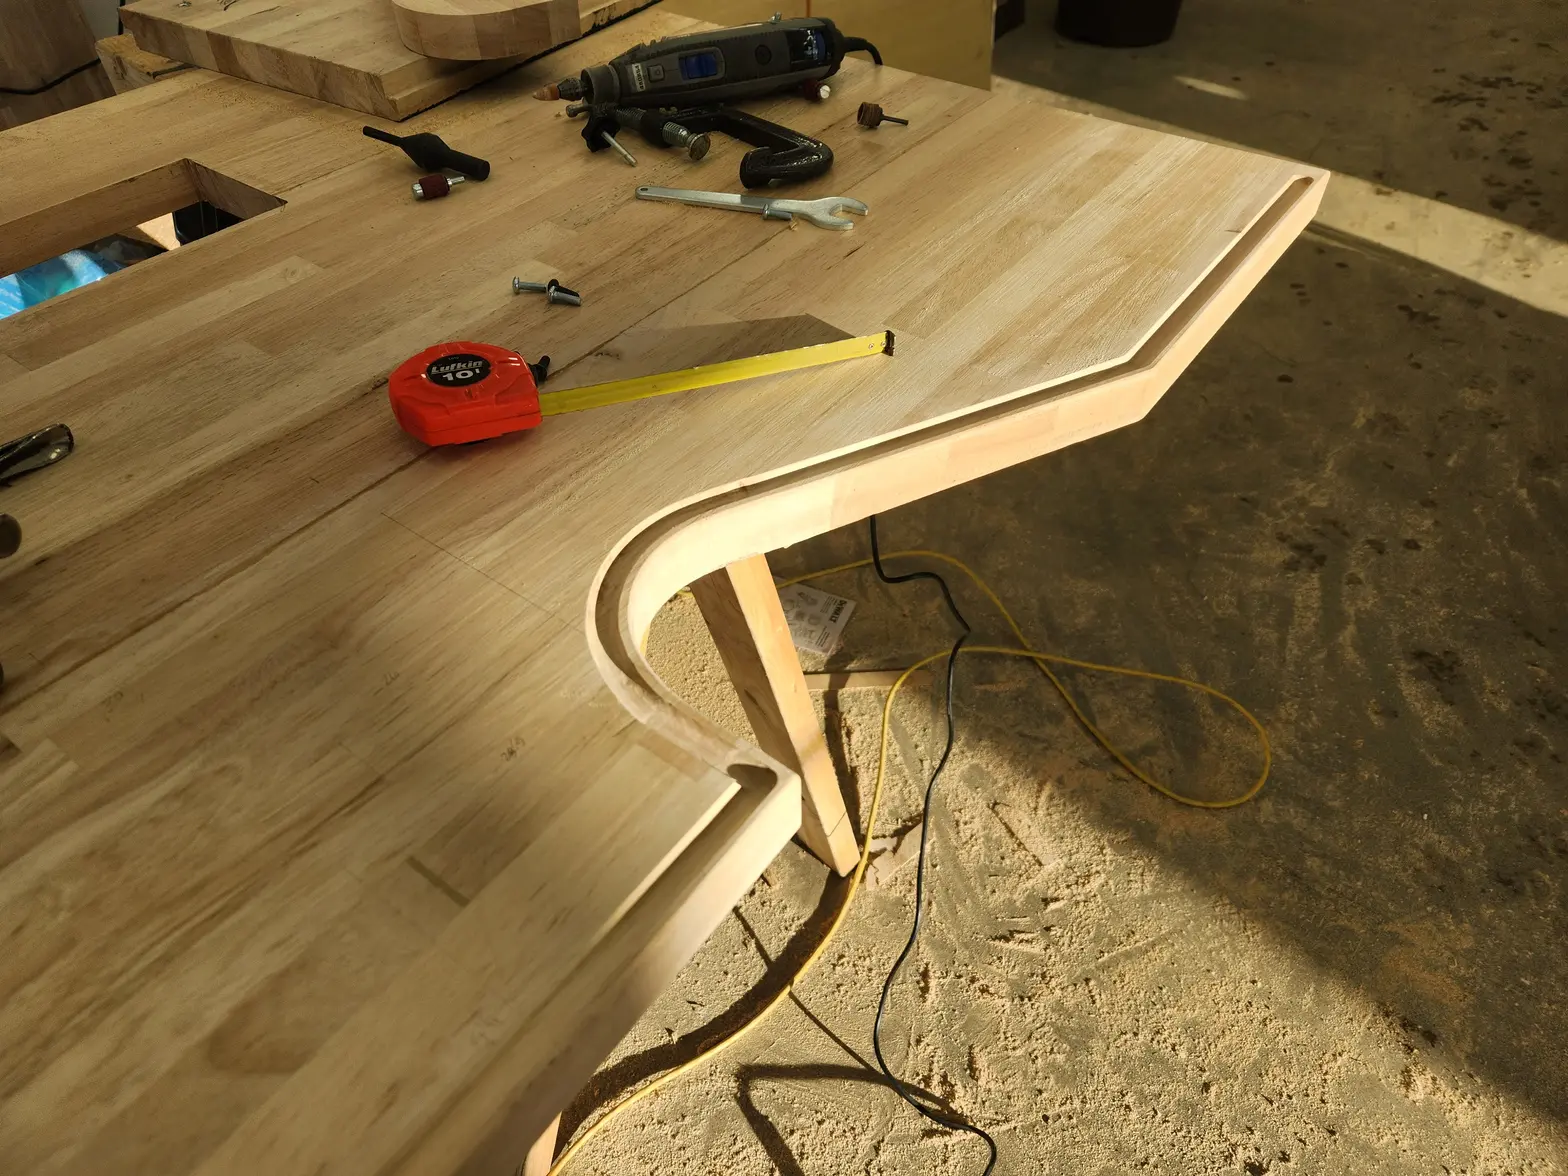
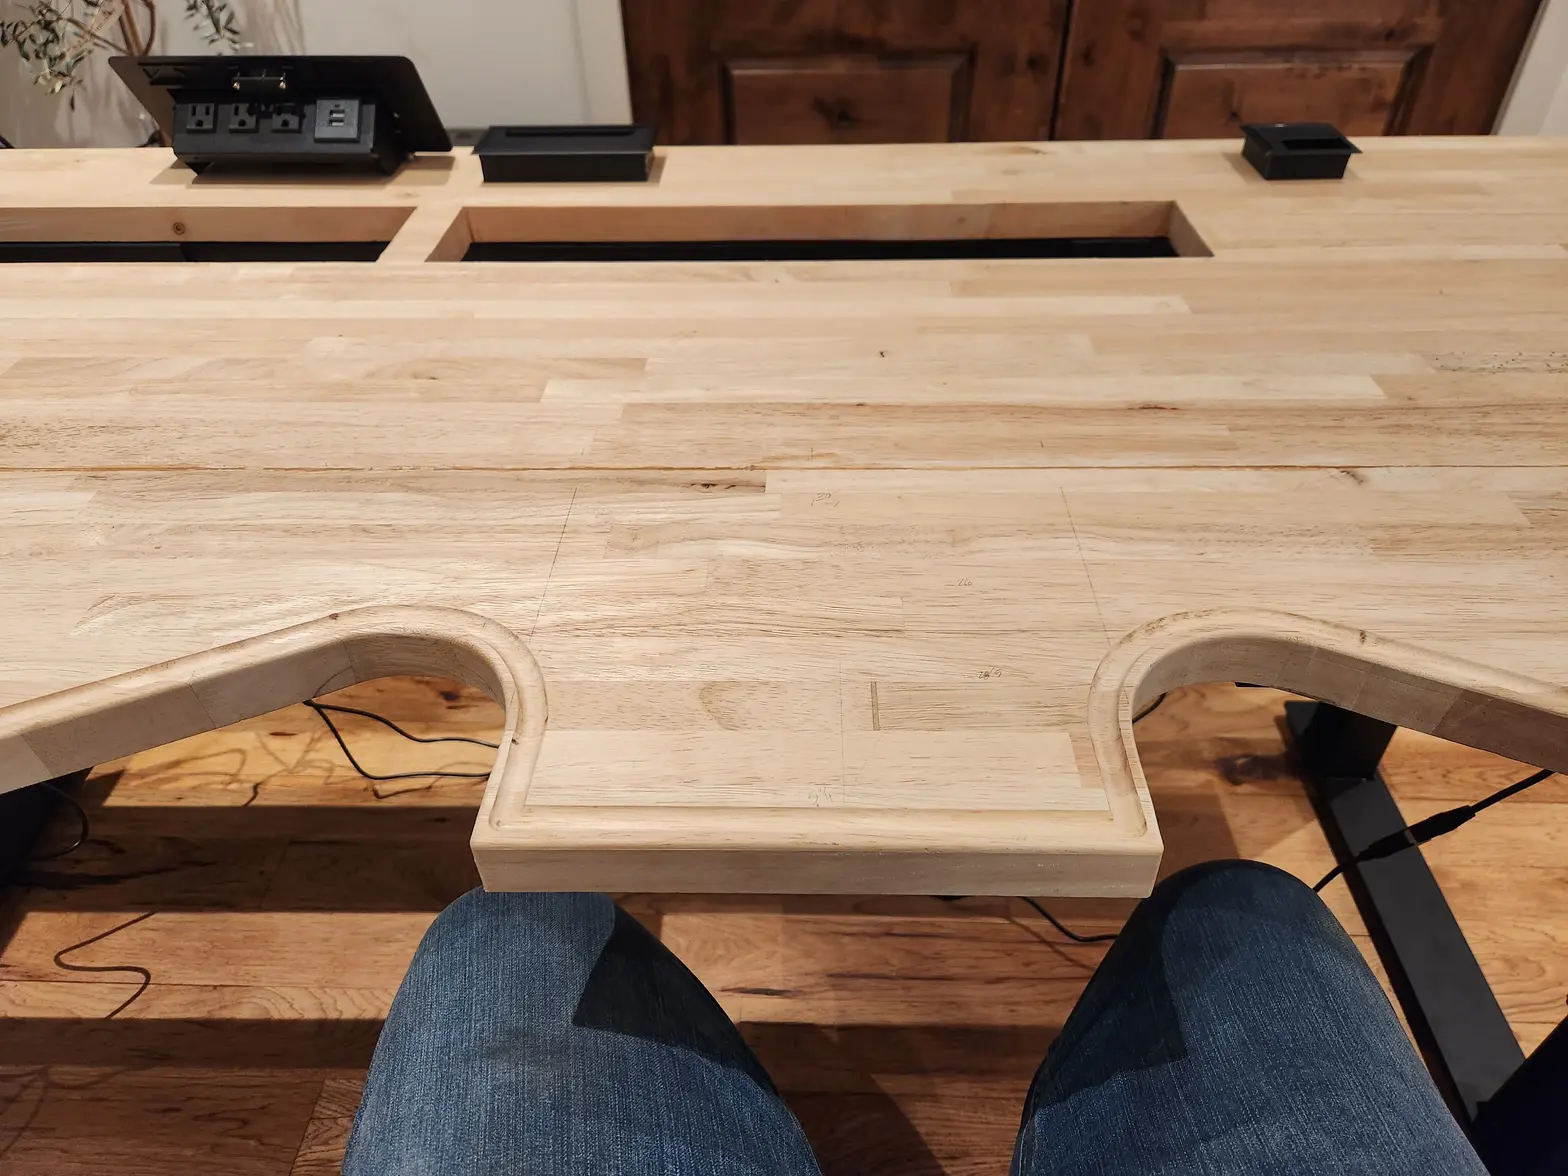
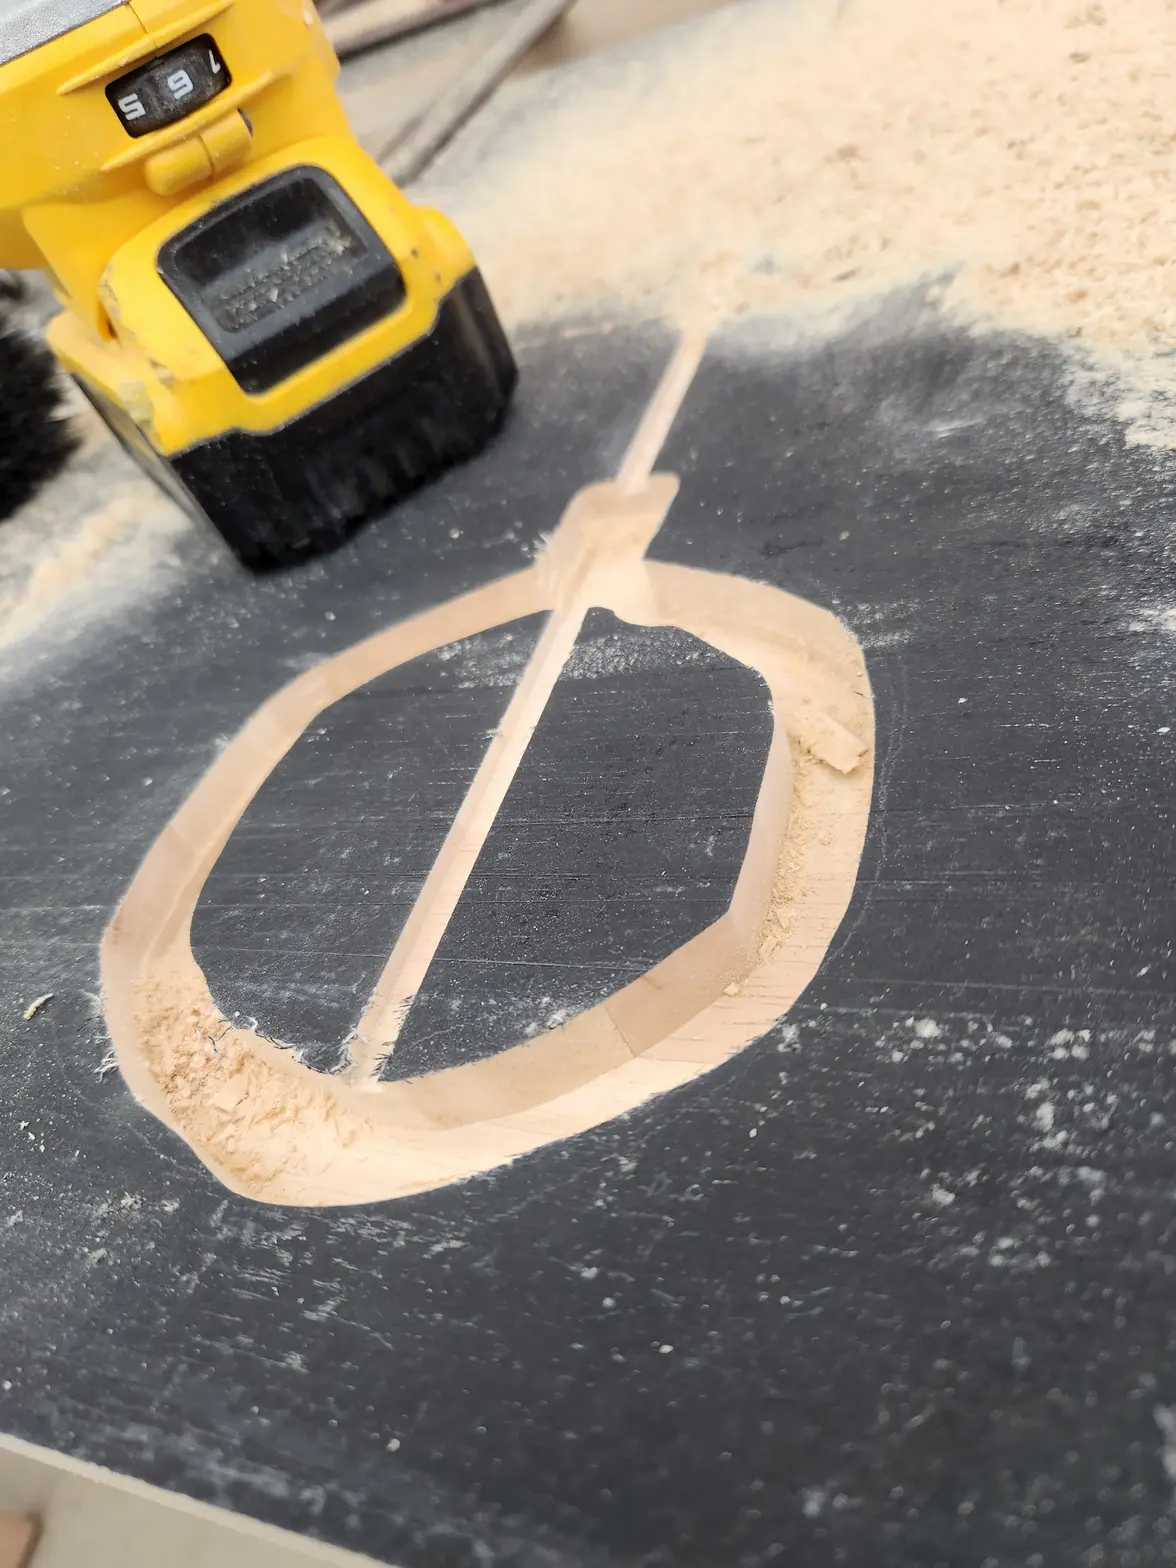
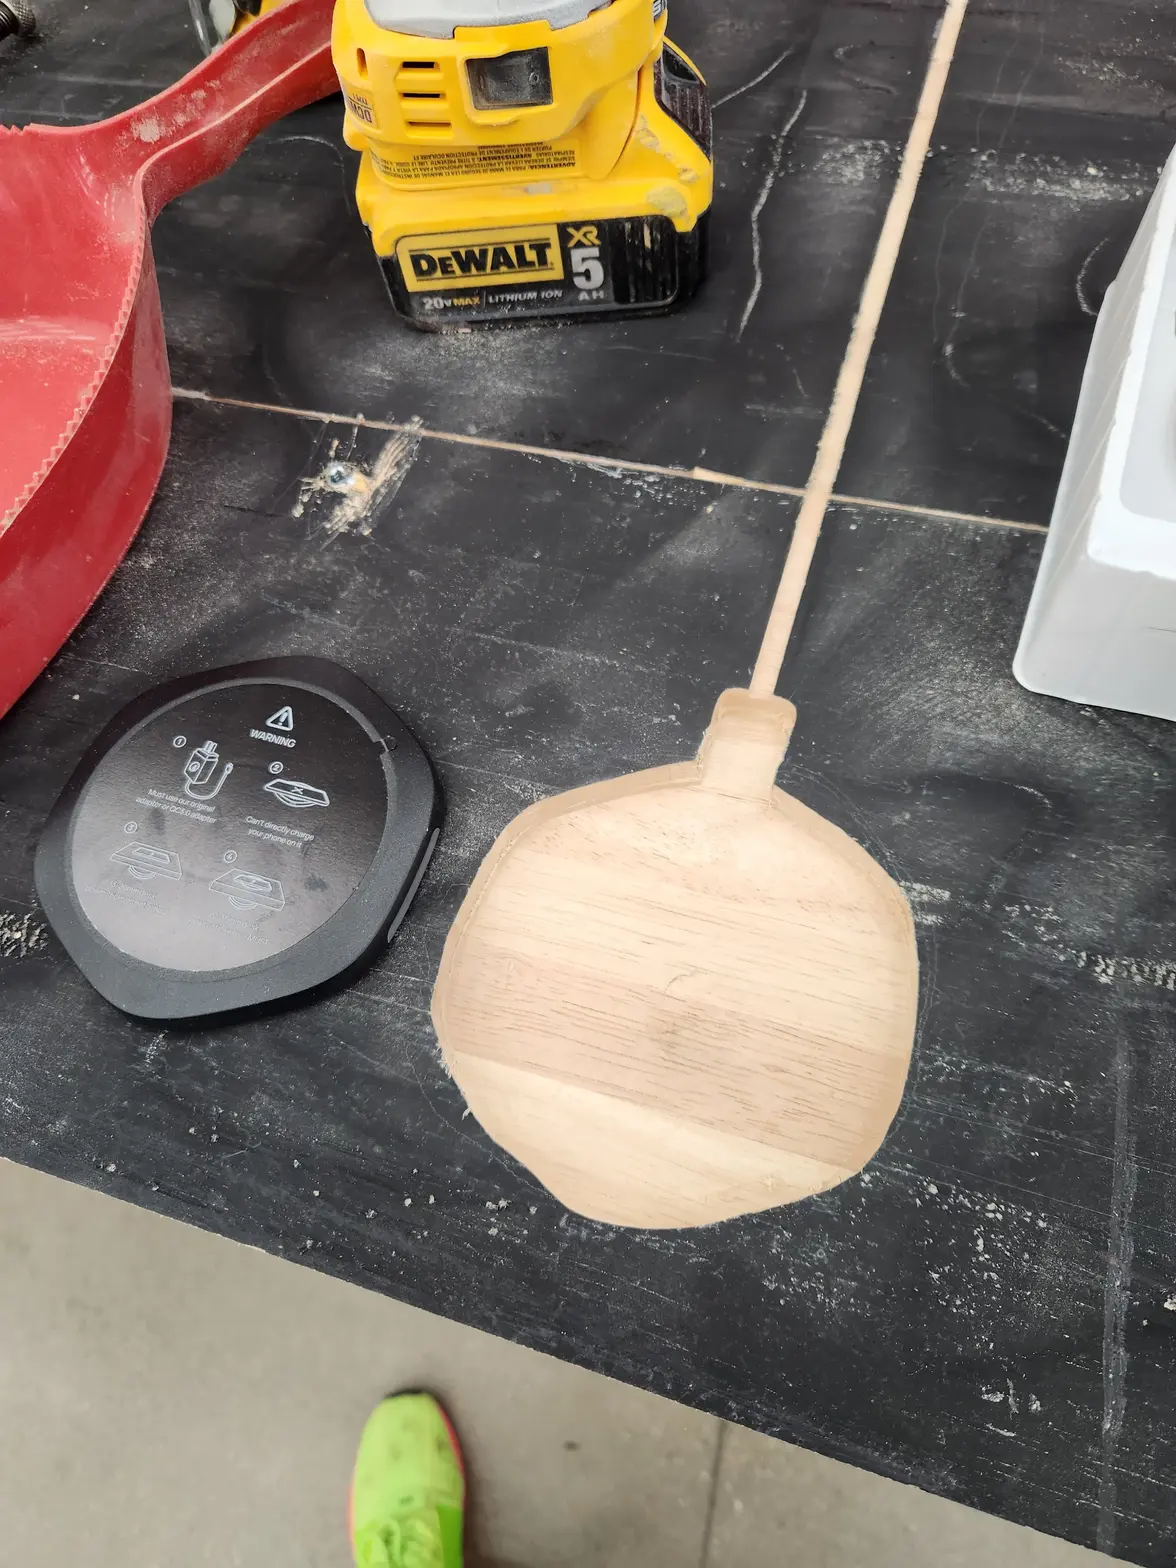
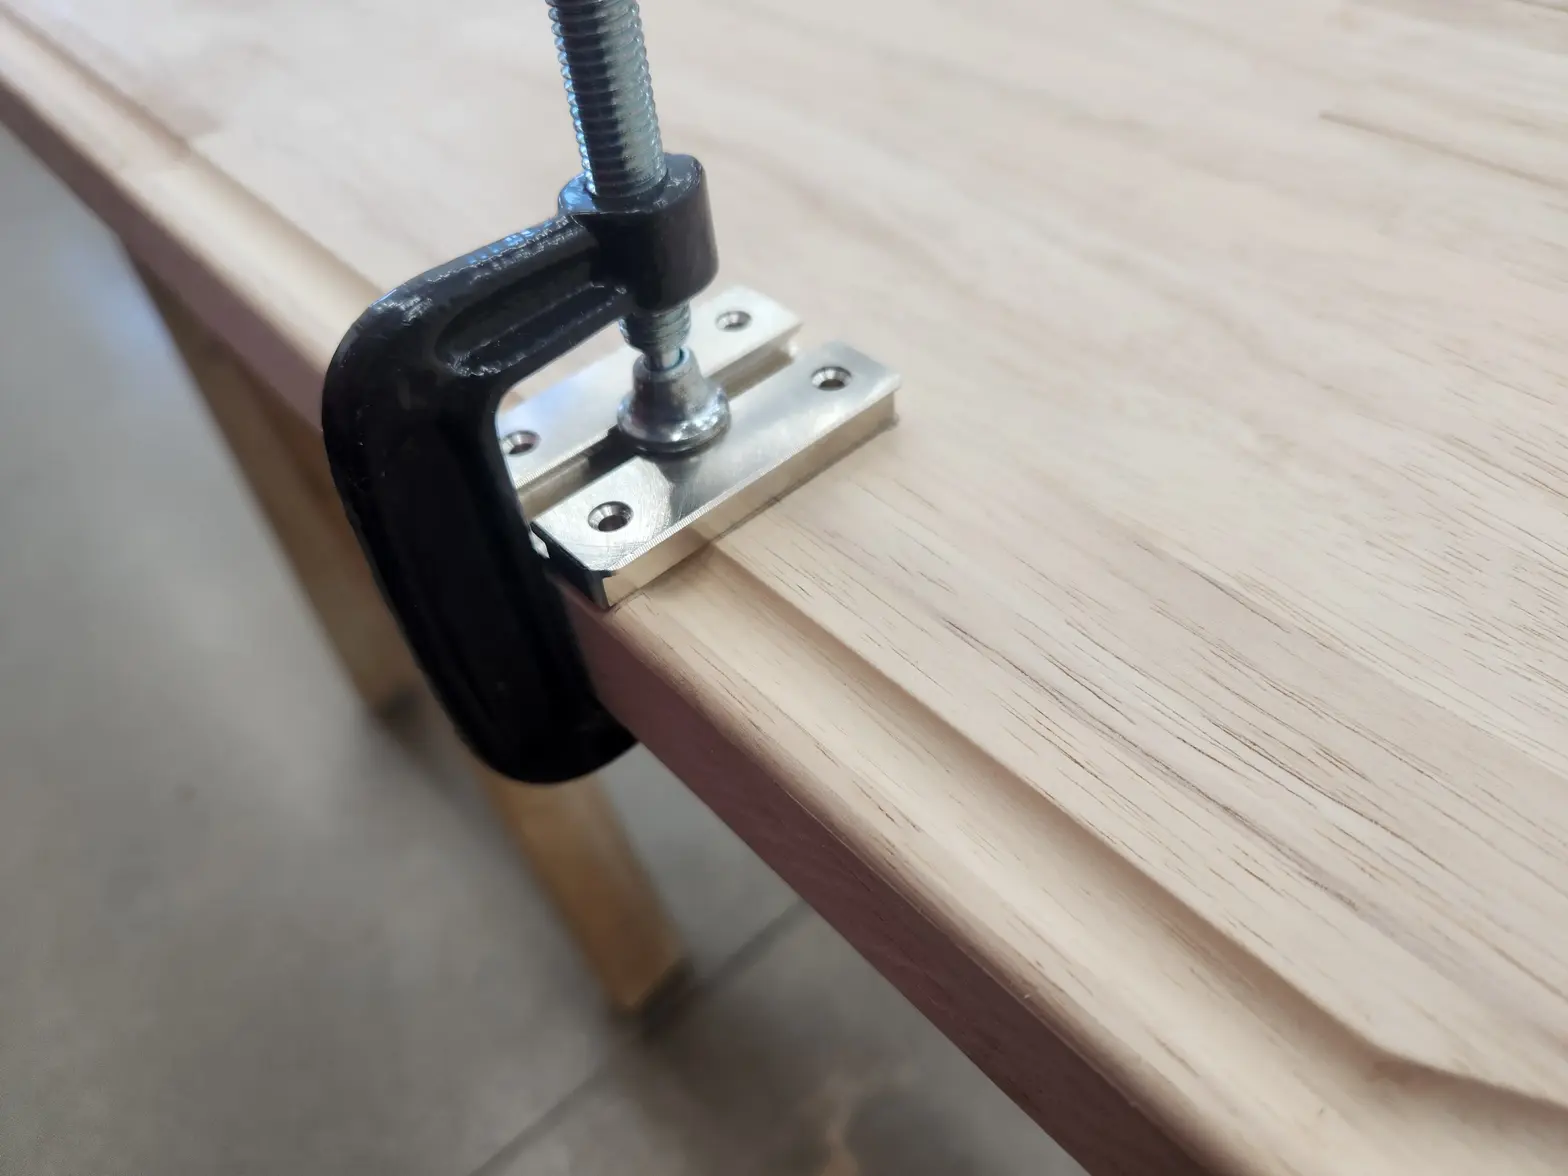
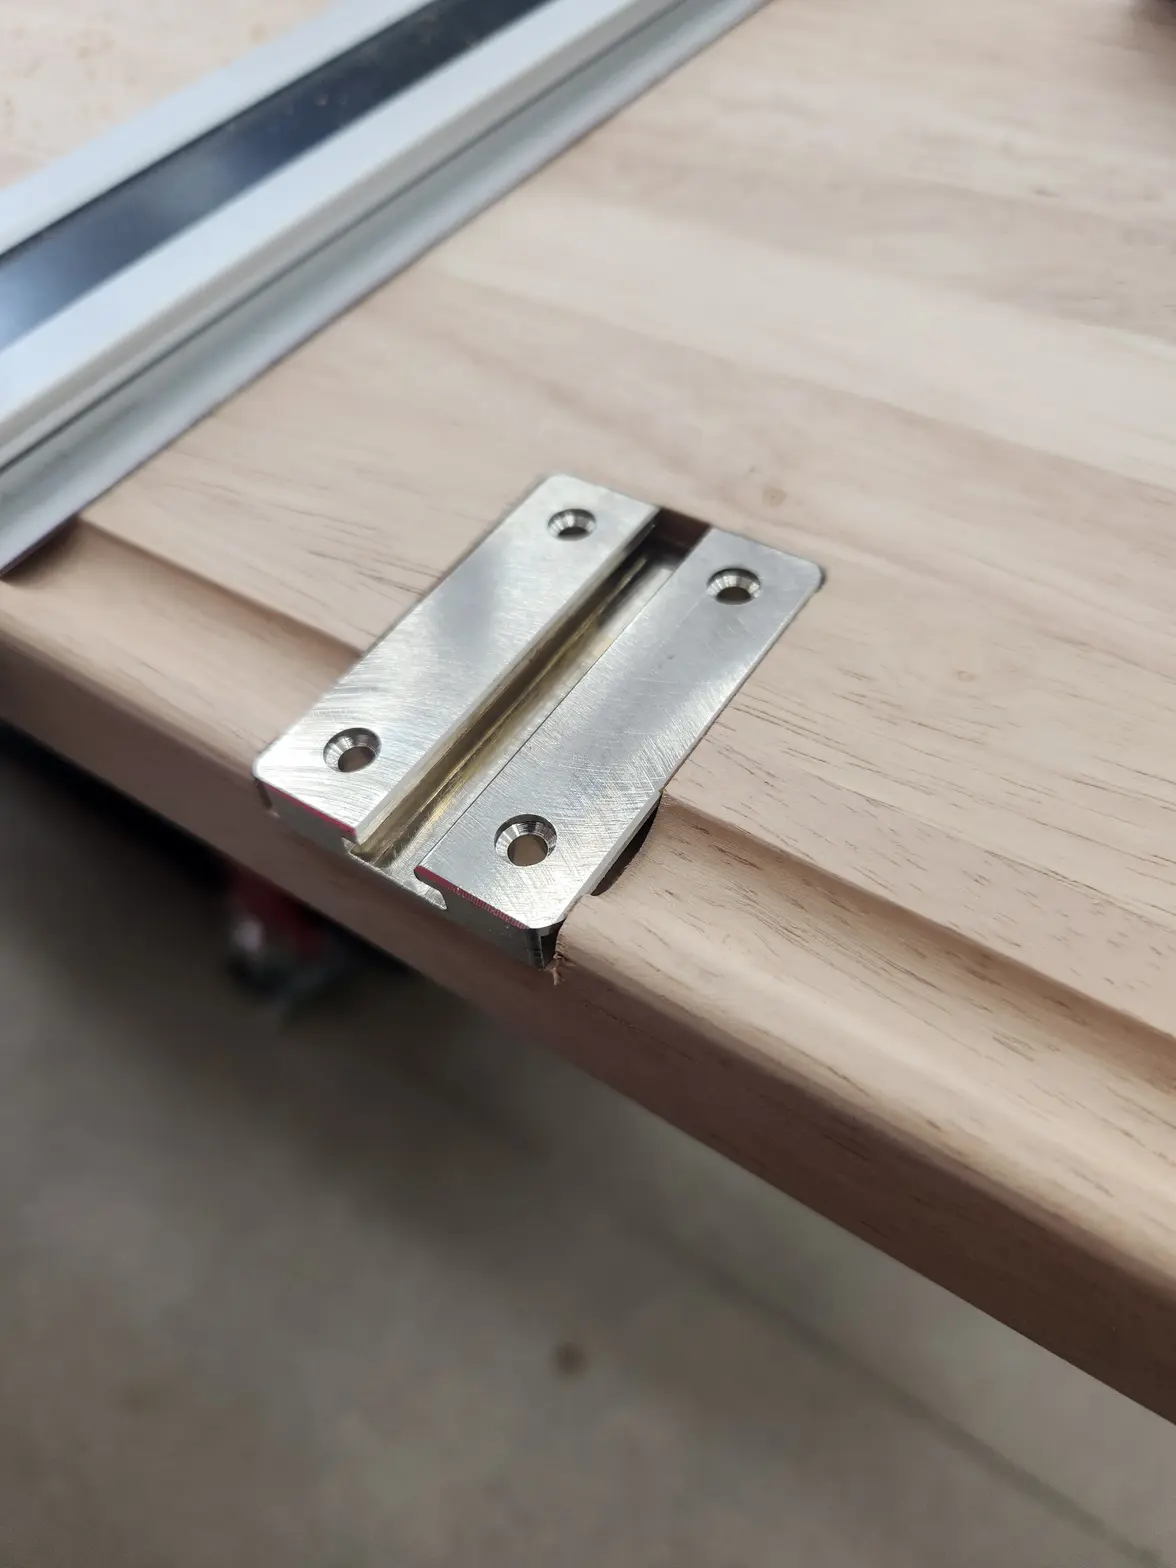
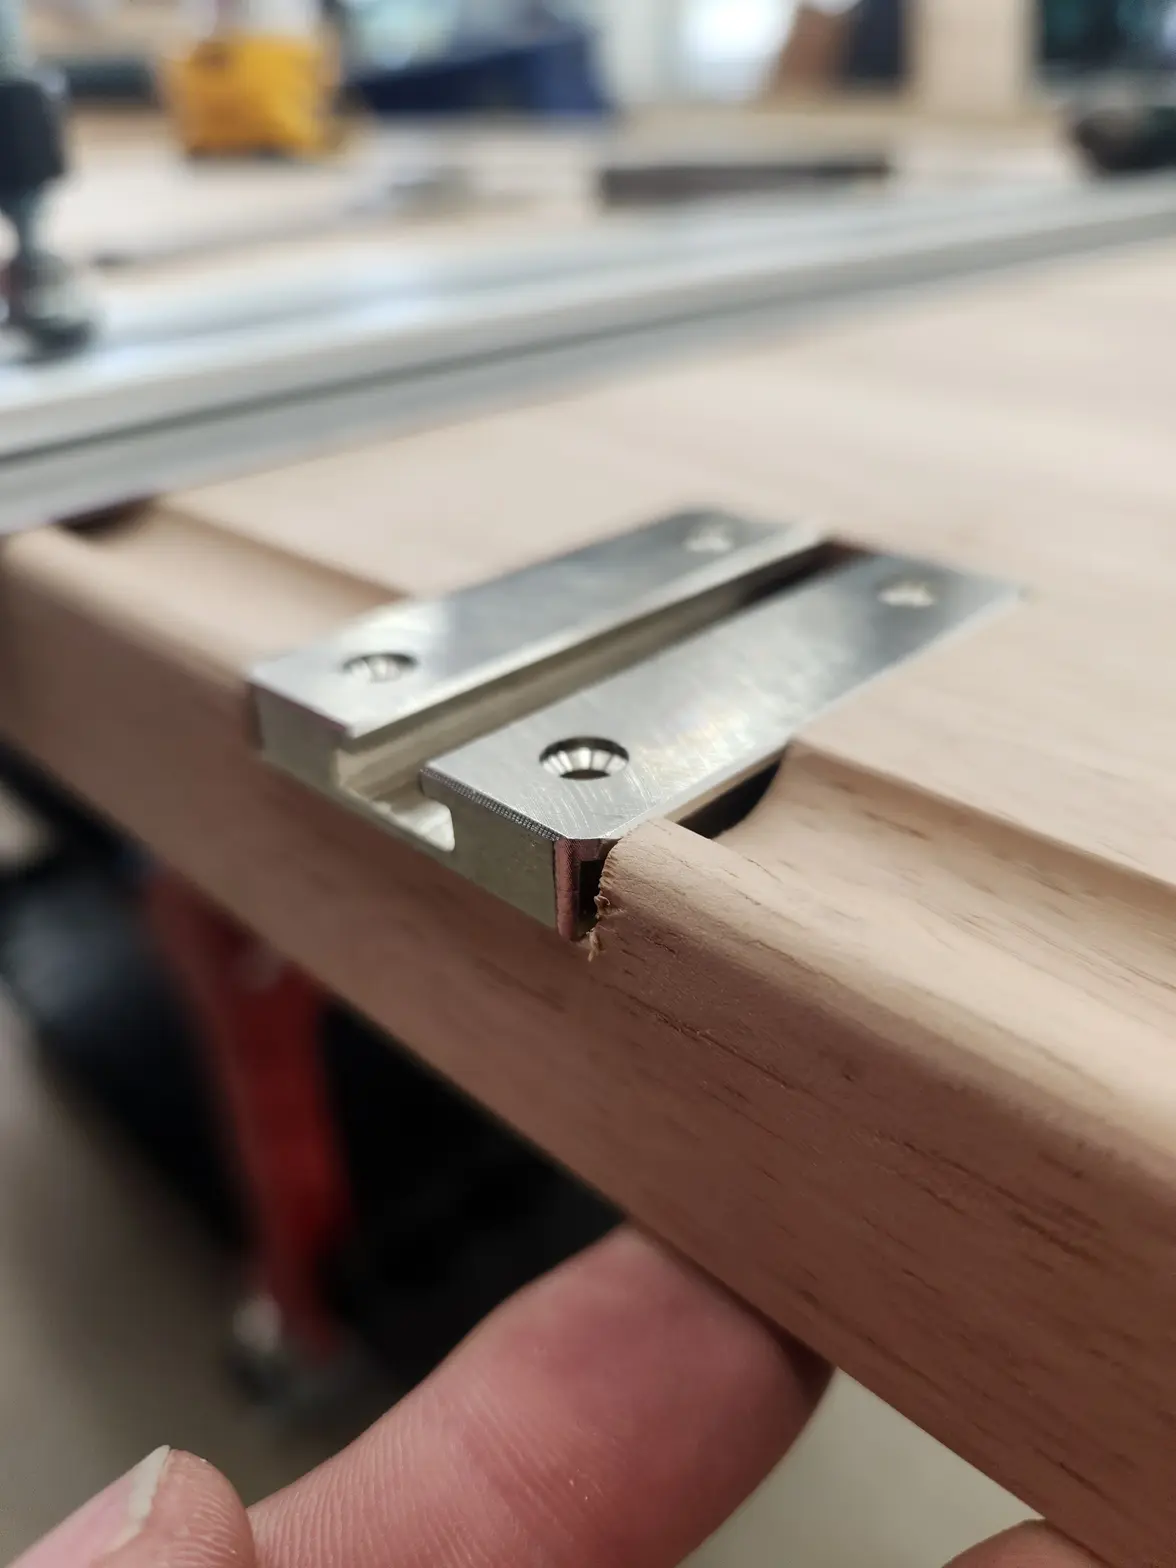
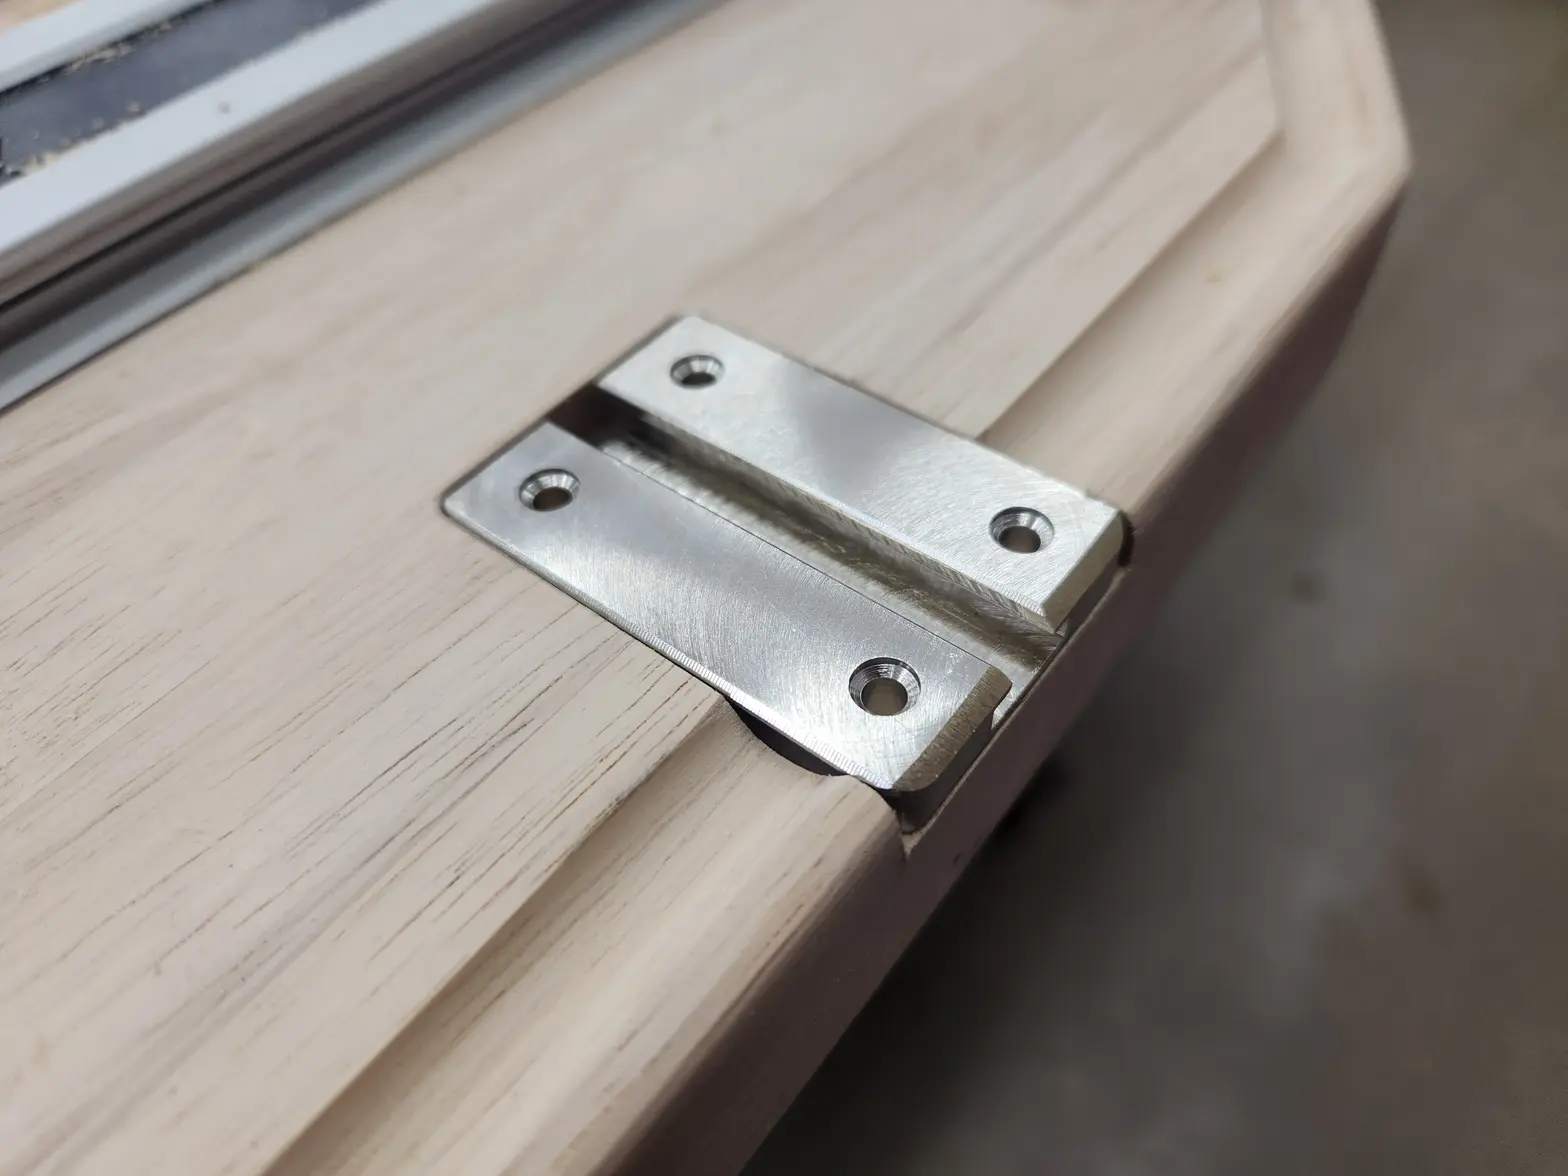
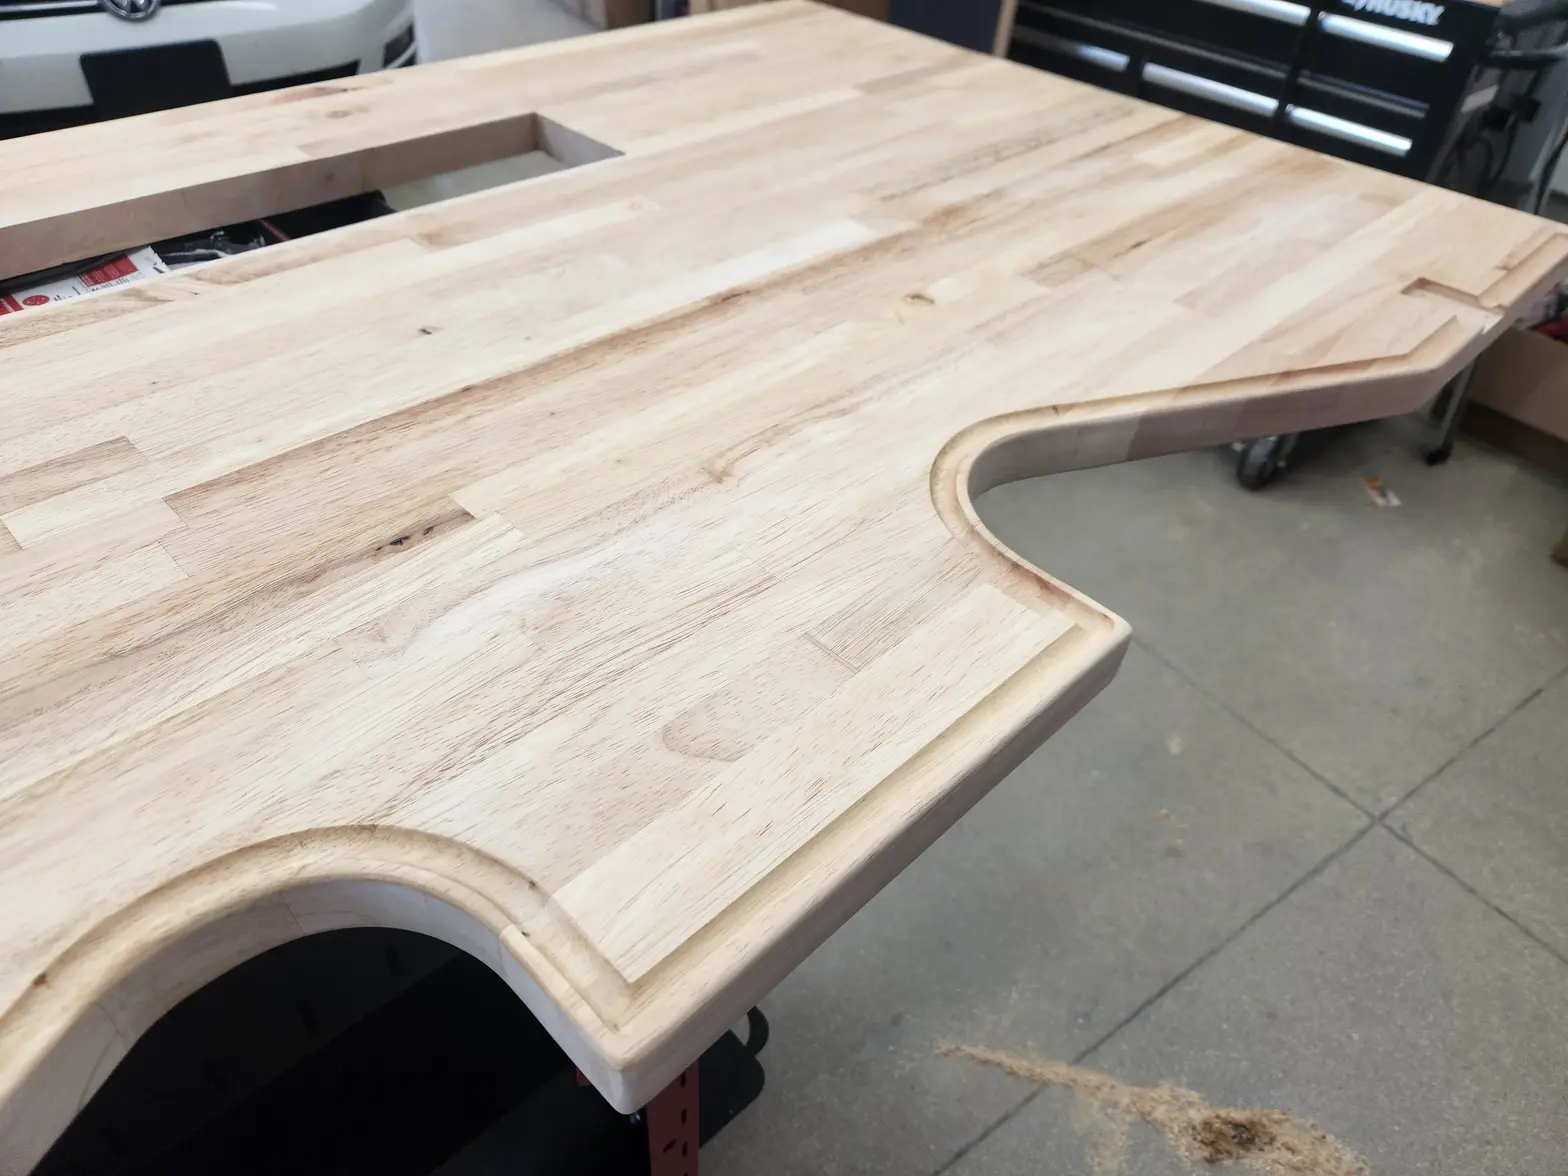
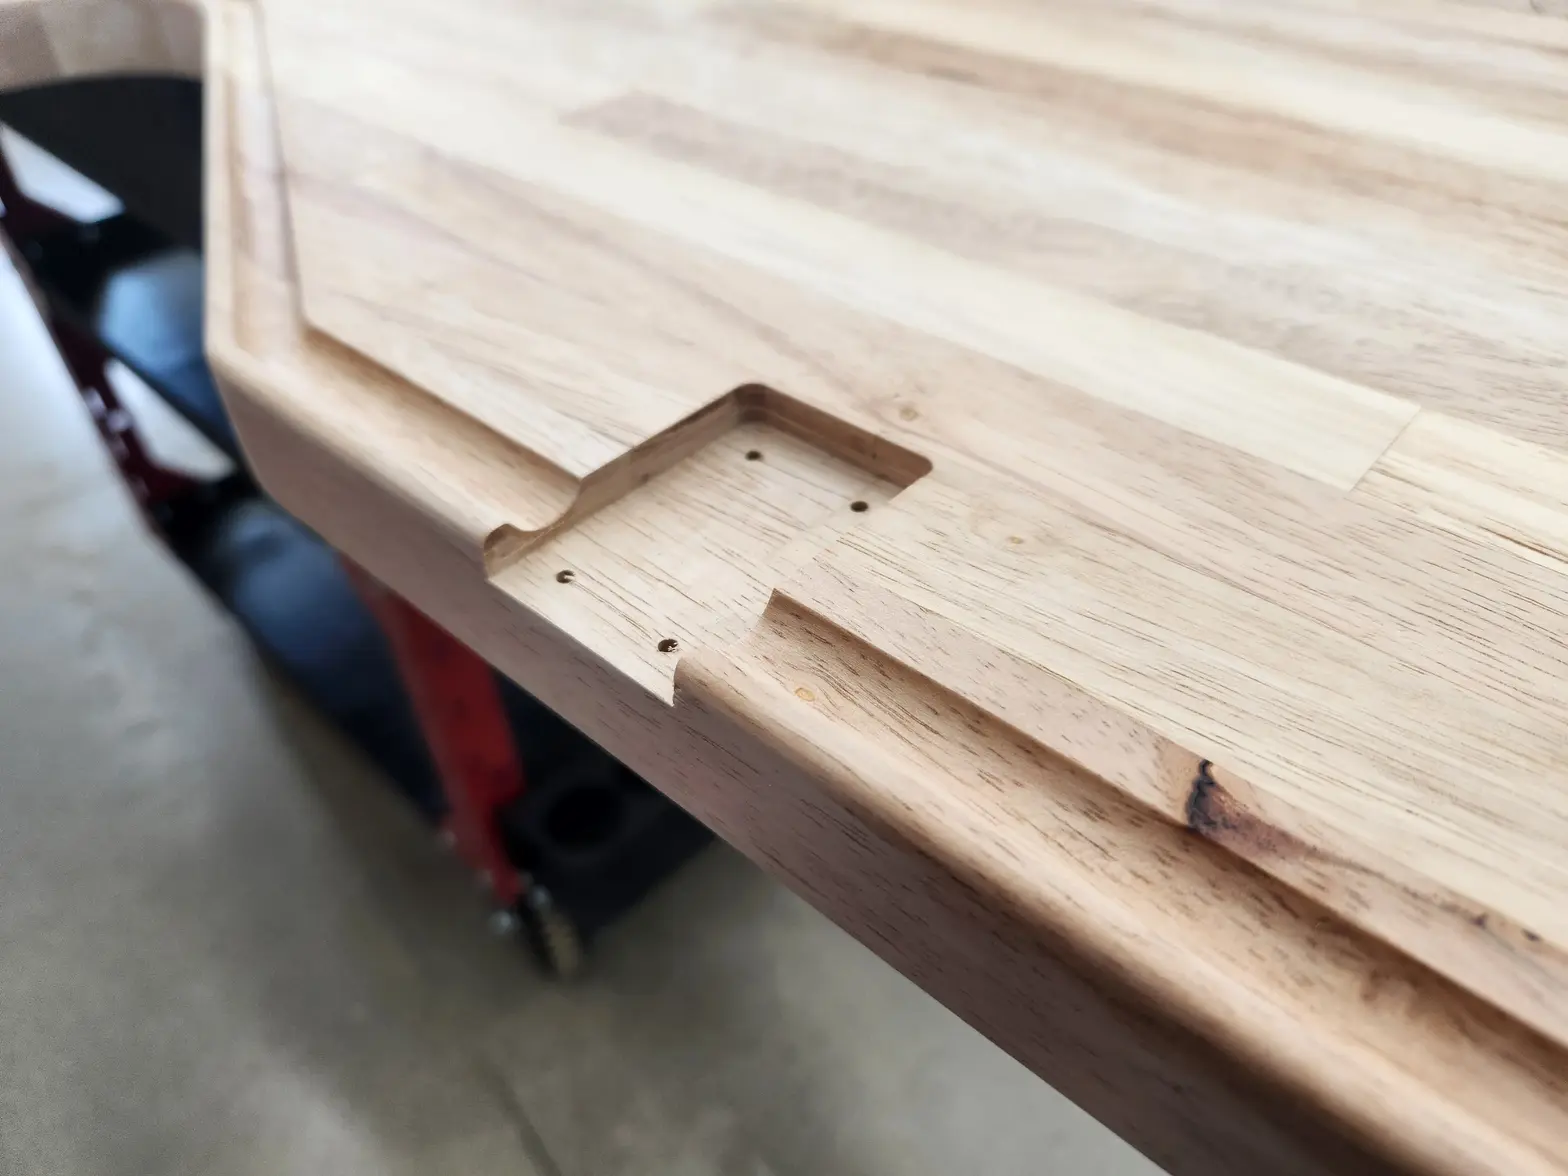
·I could NOT find what this watchmakers groove was called to catch small springs and screws as they get launched from tweezers. In the woodworking space, this is called a "juice groove" because <heavy shade thrown at novice carpenters> they only make cutting boards and every cutting board has to have a juice groove or it isnt a cutting board. It is just a 1/2" round nose ball mill routing bit spaced off the edge plane roughly 9/16-3/4" to tool center line. Getting the edge distance was tricky but enjoyable. I tackled the straights before doing the complex radius work. It all turned out excellent. There are a couple minor hickups, most were blended away with hand sanding. Some are large enough to notice on the finished product. But hey, I didnt make this to sell, I made this to be used. By me. Forever.
samweldspoorly
·First time the top has been insode on the frame. Time to start laying out where things will go. I am going to have my friend Aaron (Jyn) at Sweidit in LA wrap these in high density closed cell foam and a earthy green full grain leather. He normally focuses on automotive interiors but I know he will do a great job on these arm rests. Sending these arm rest blanks to him so I wont see them for a while. Hit them with a little tung oil first.
samweldspoorly
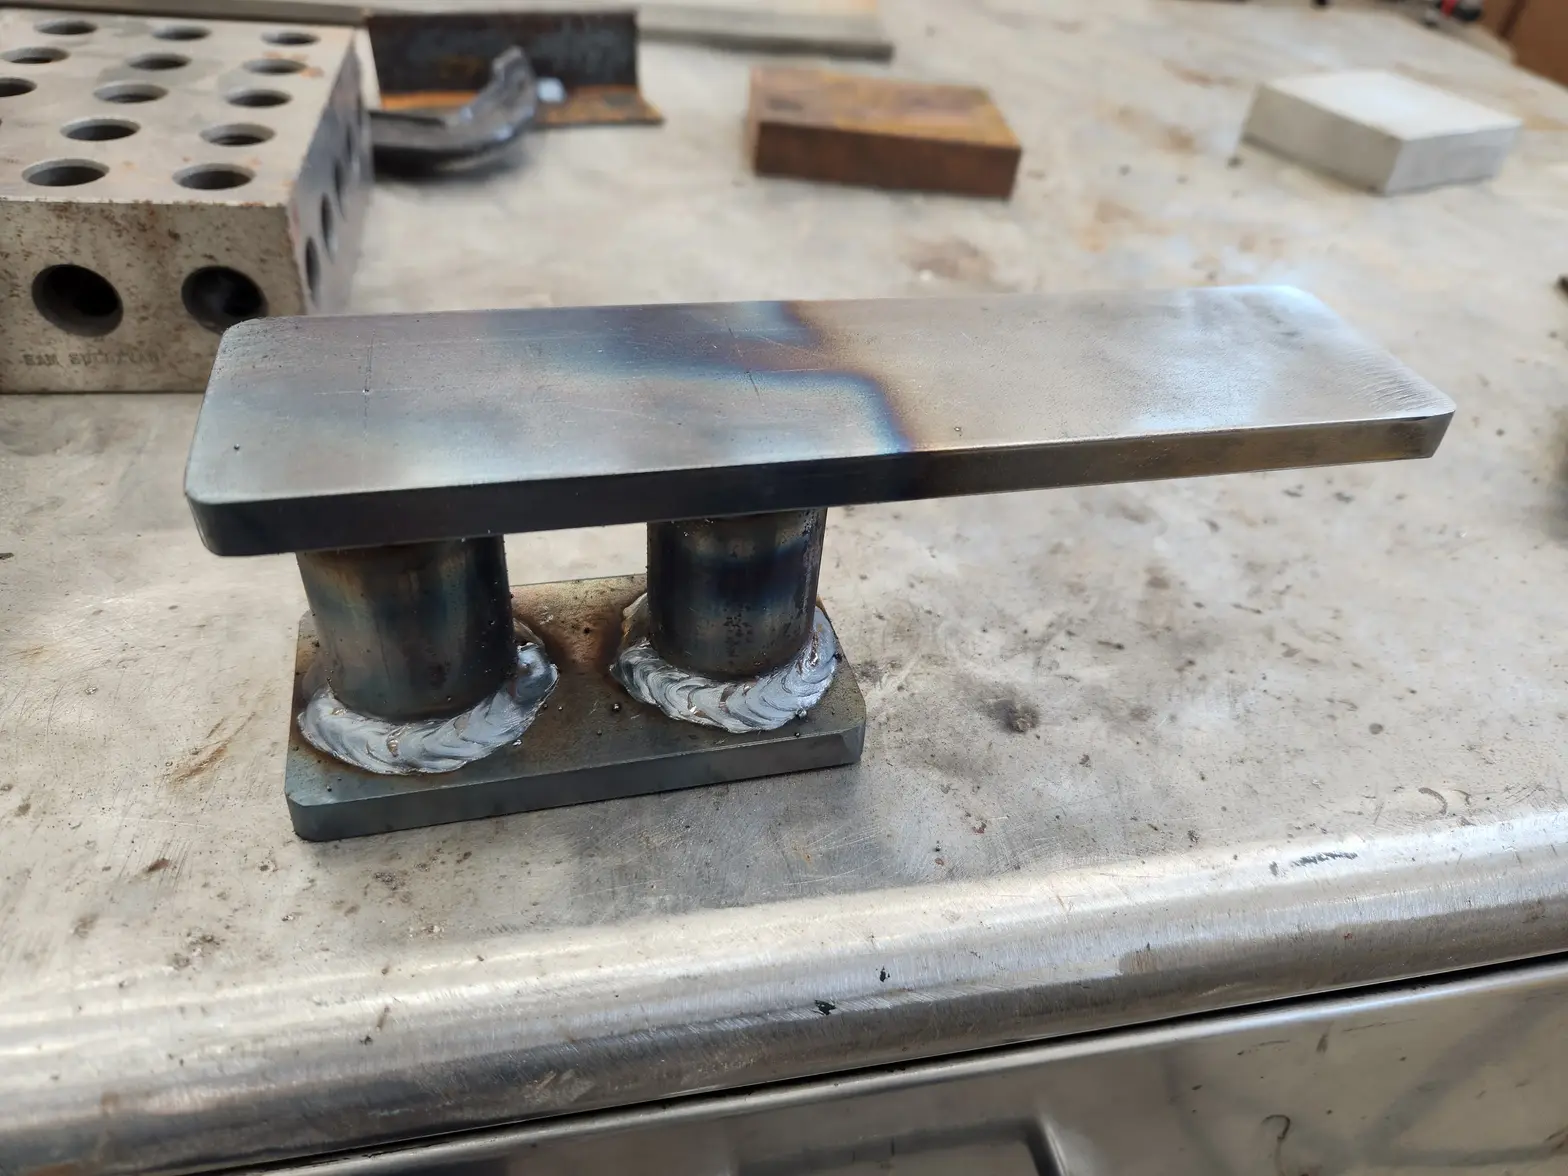
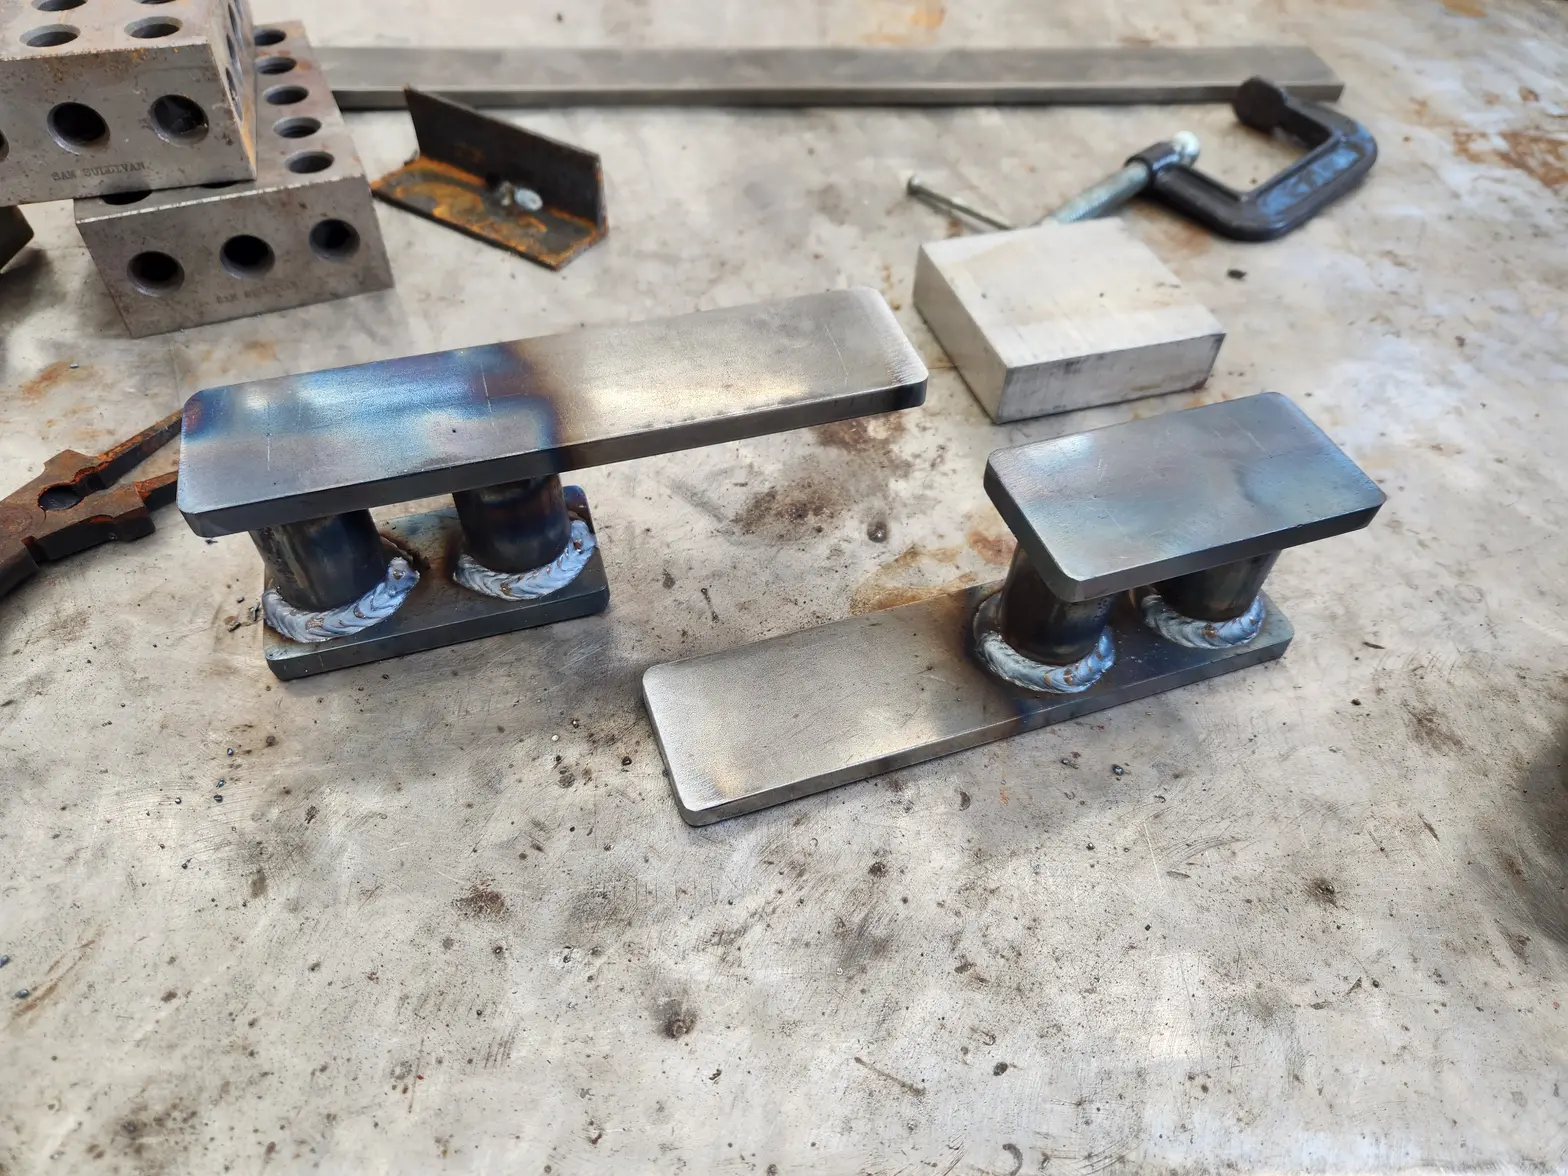
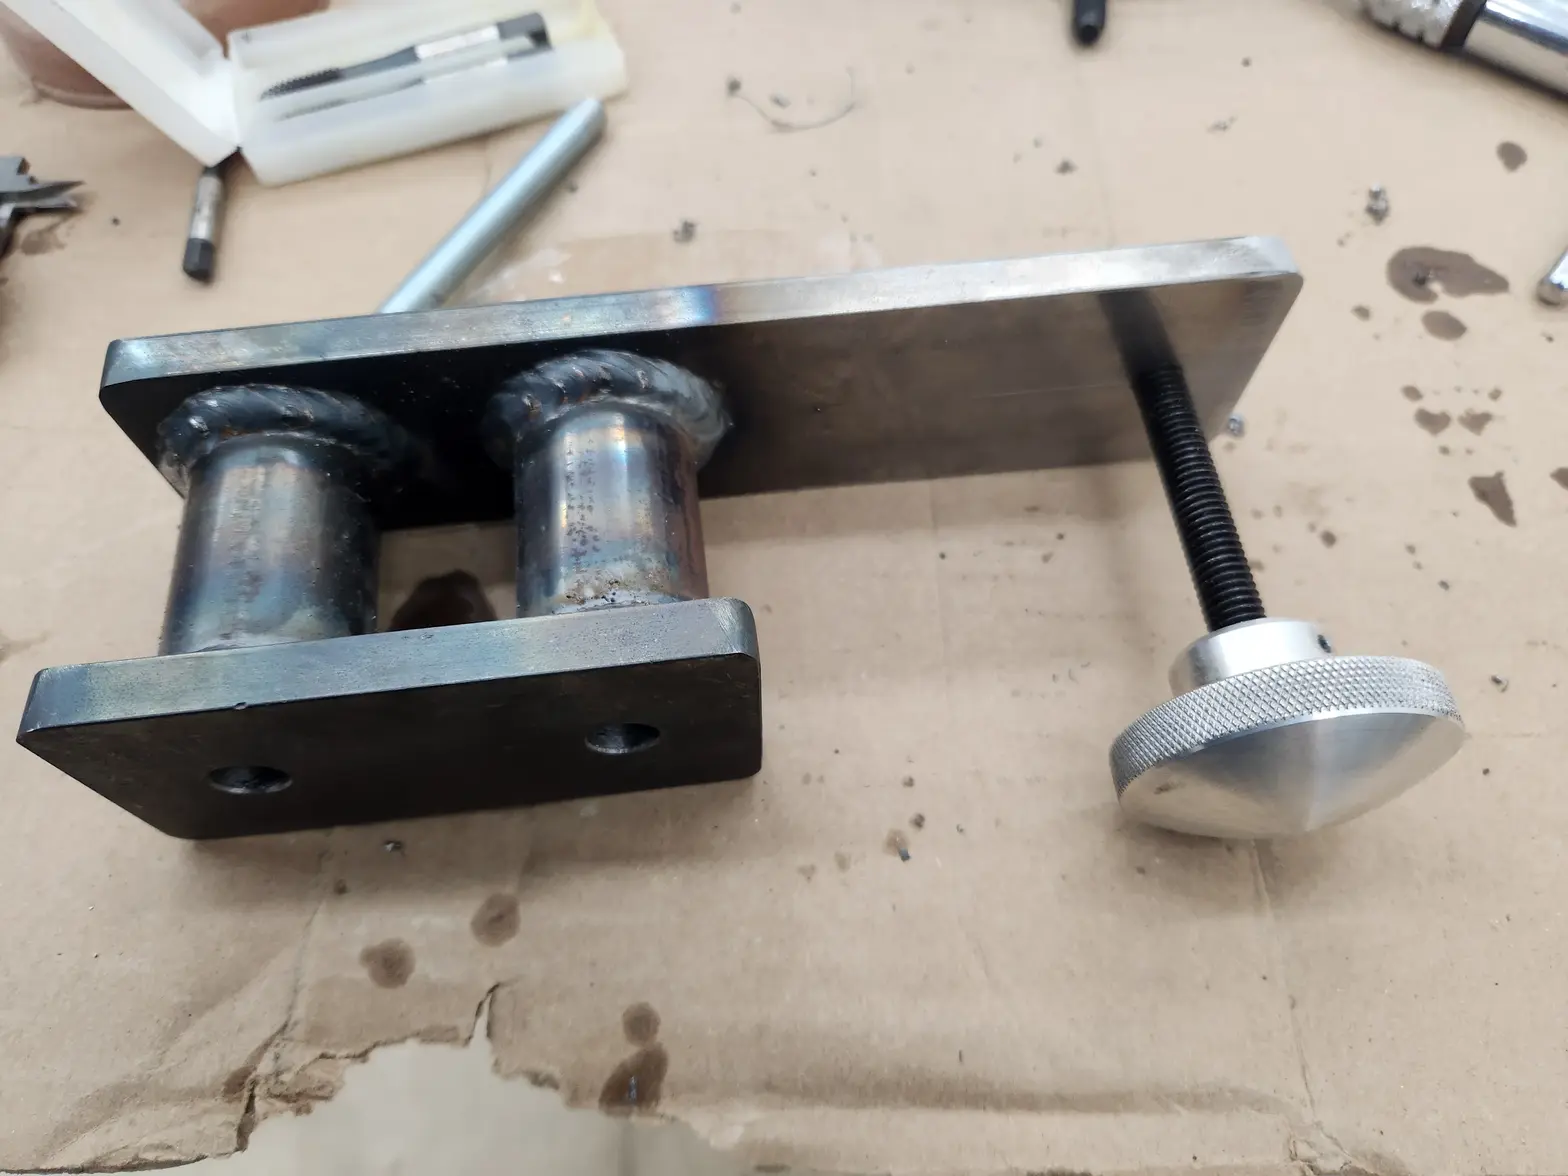
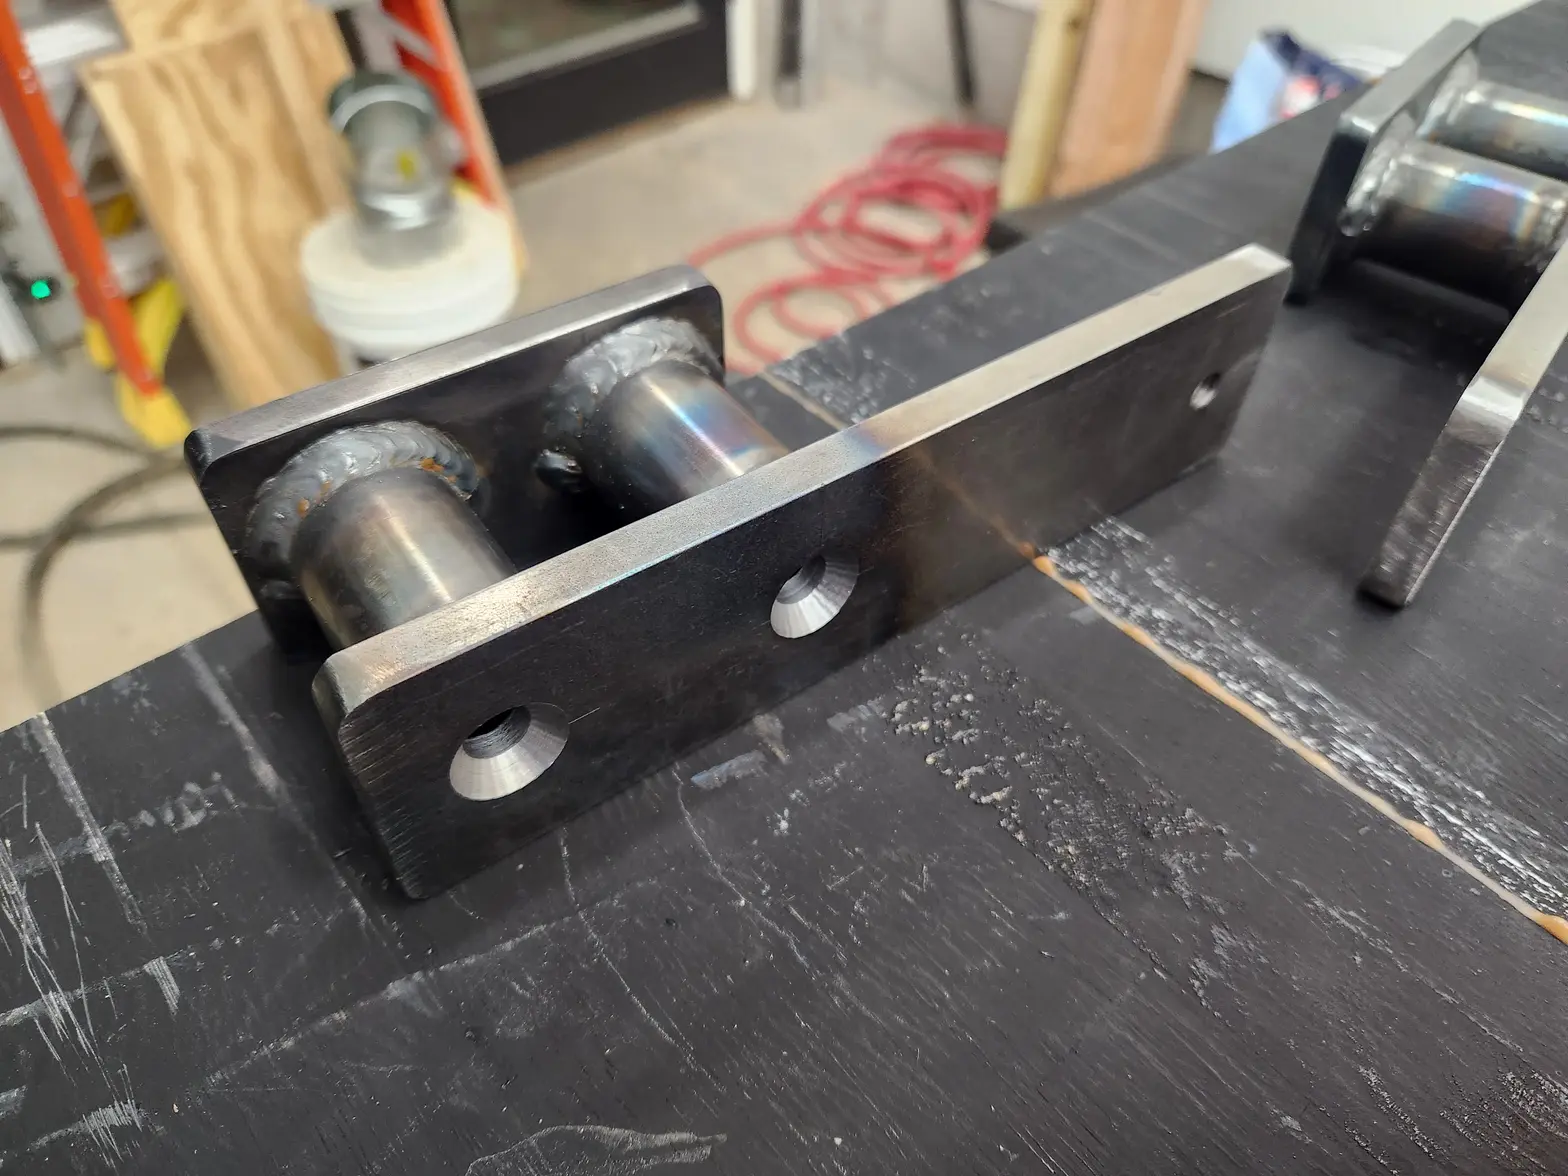
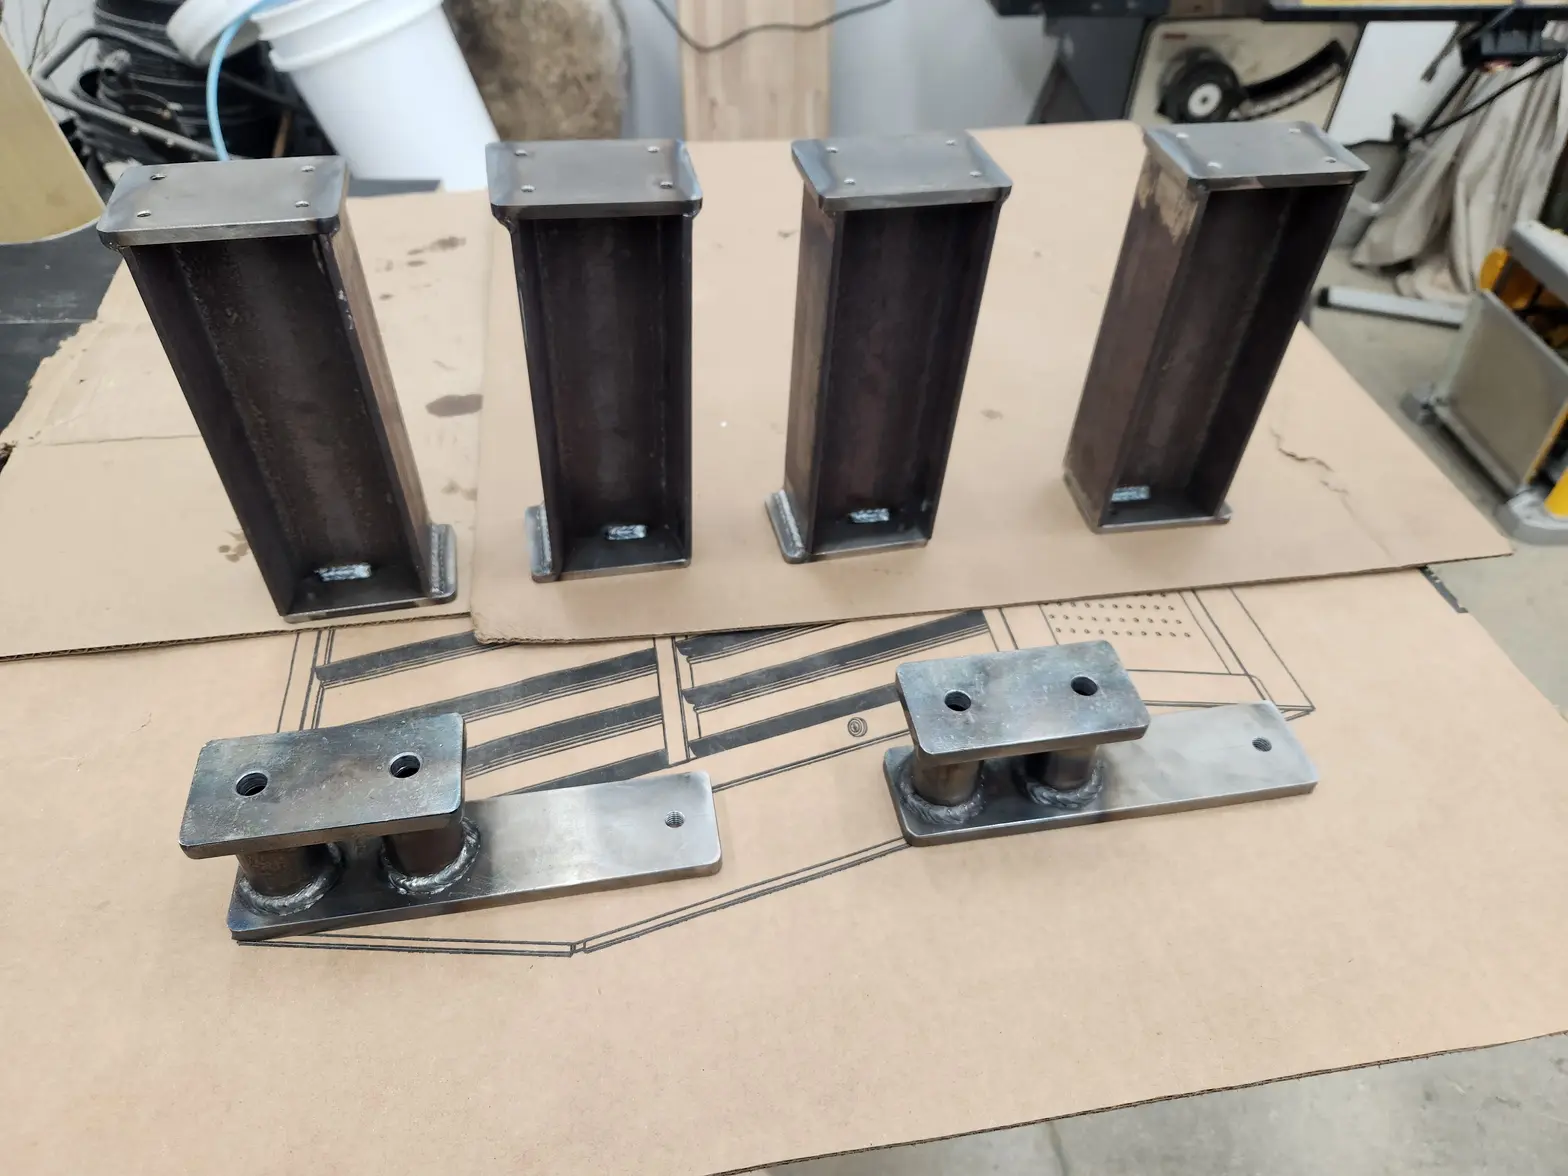
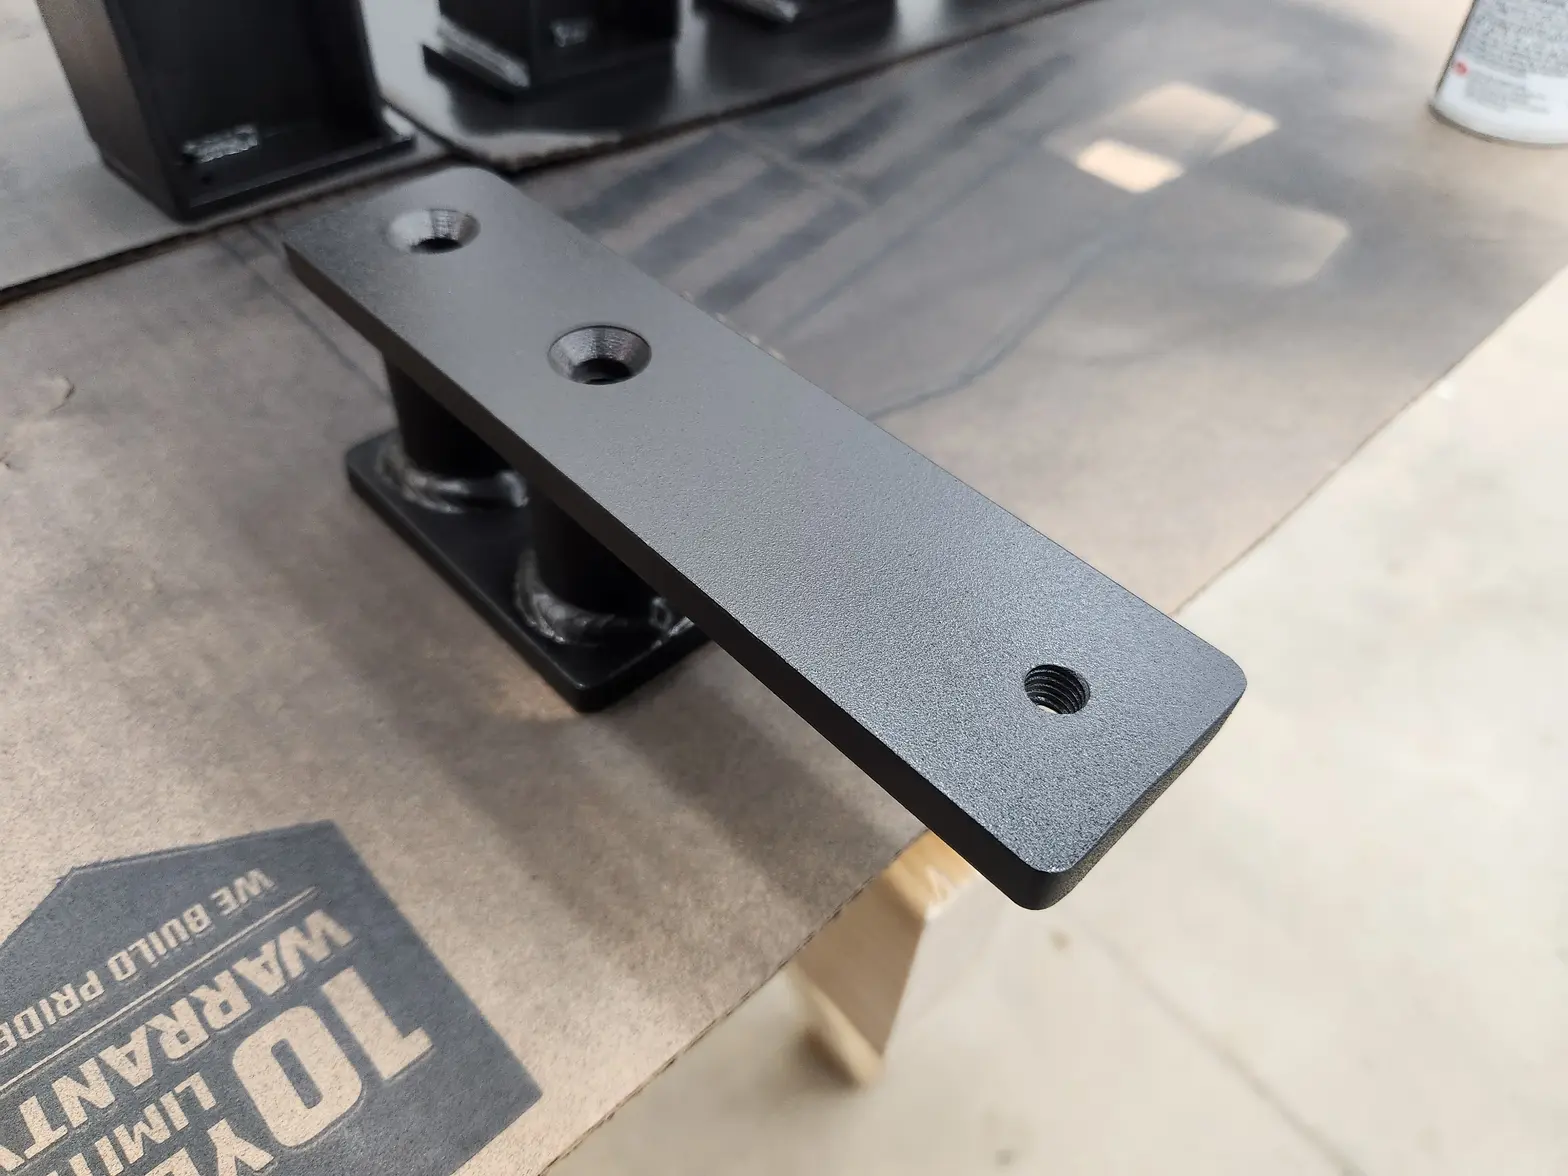
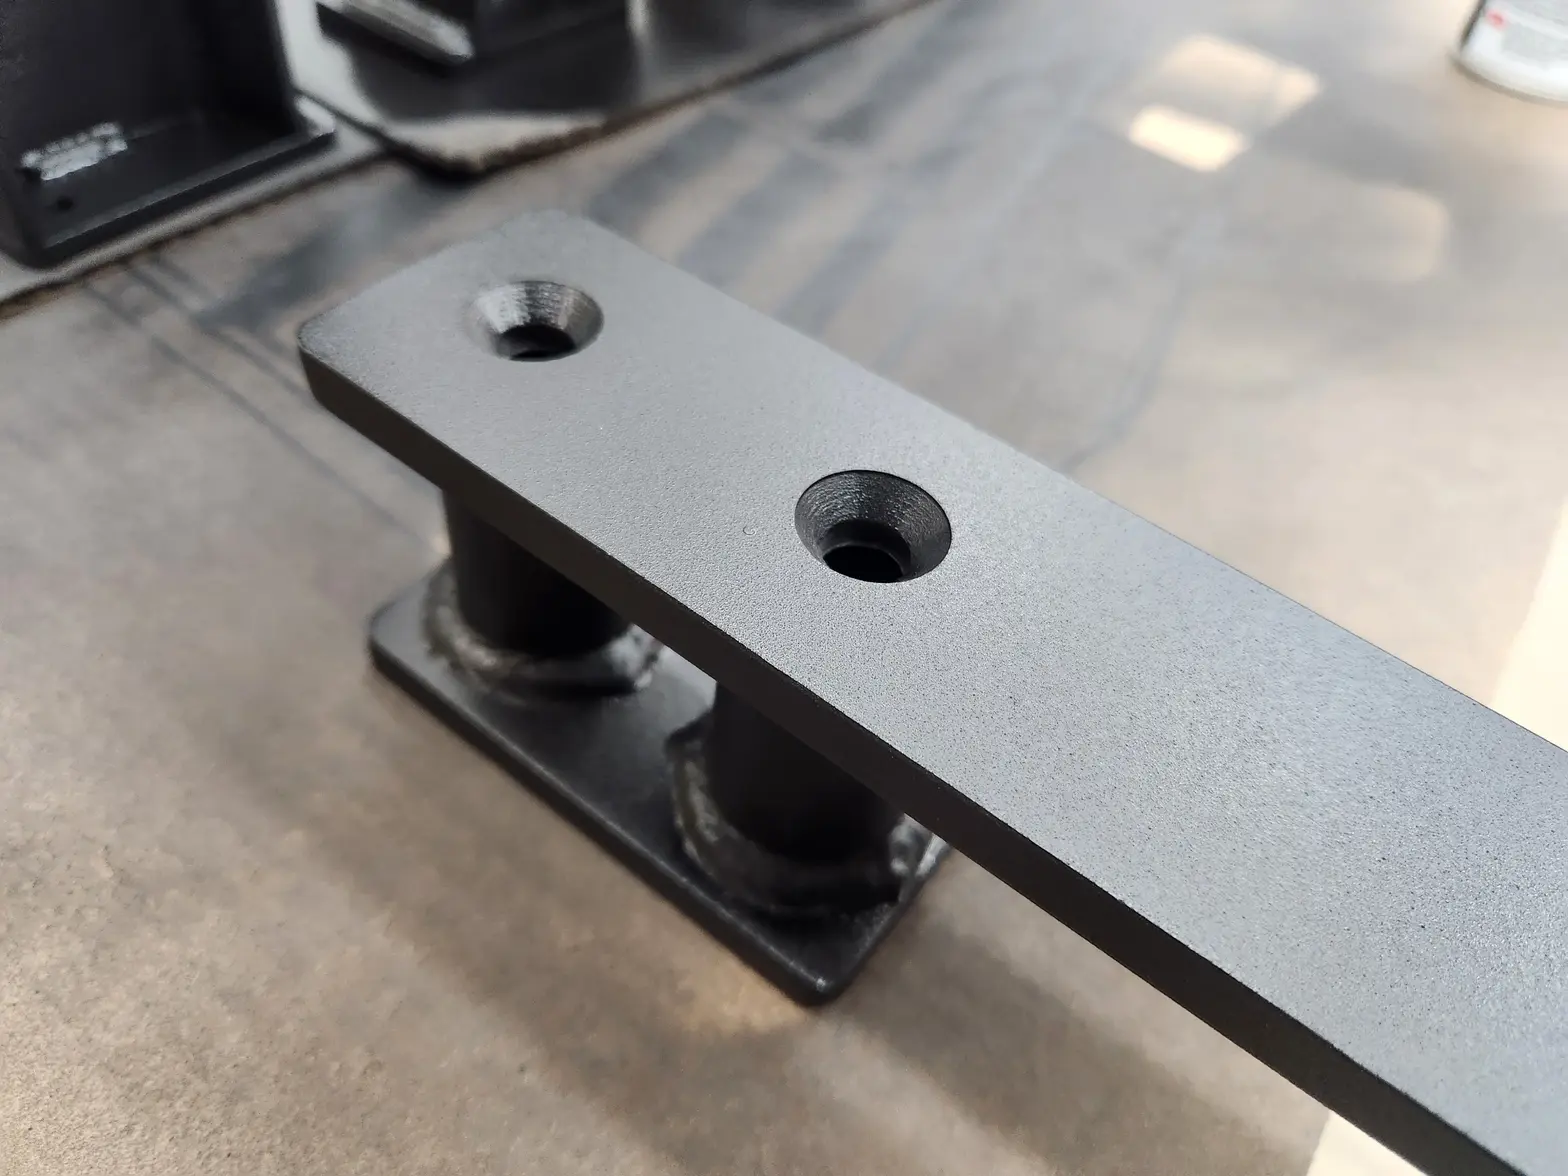
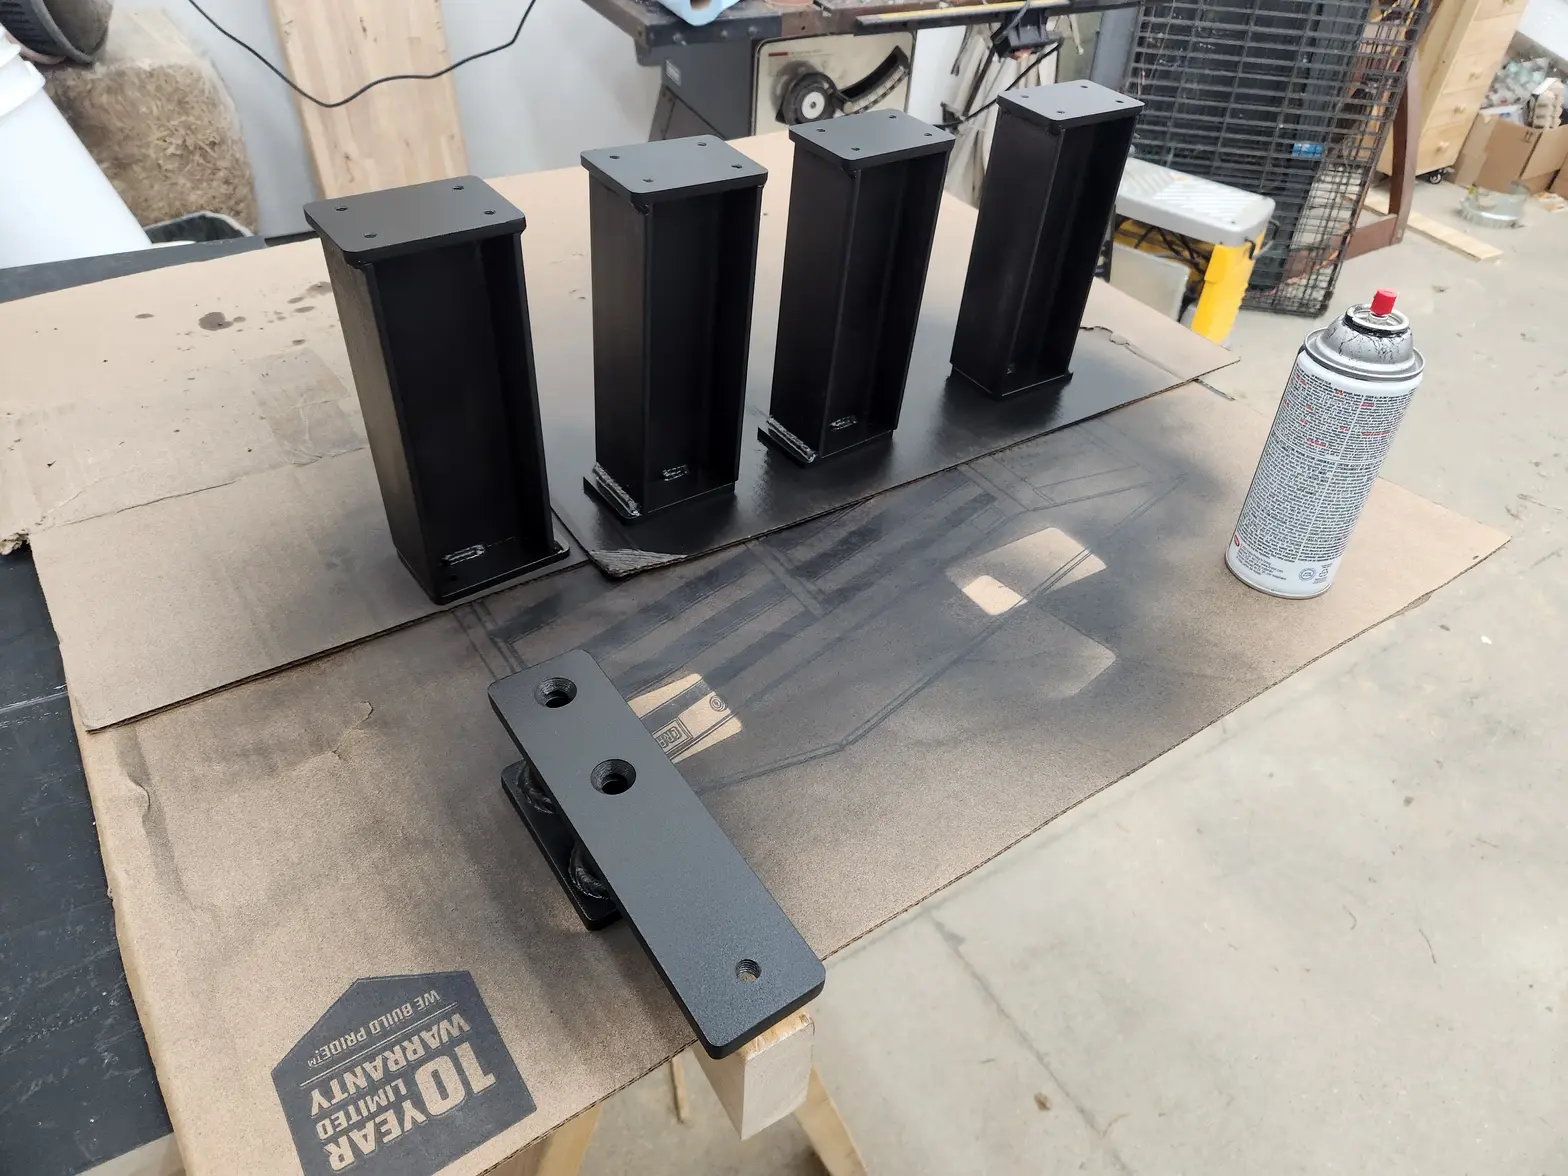
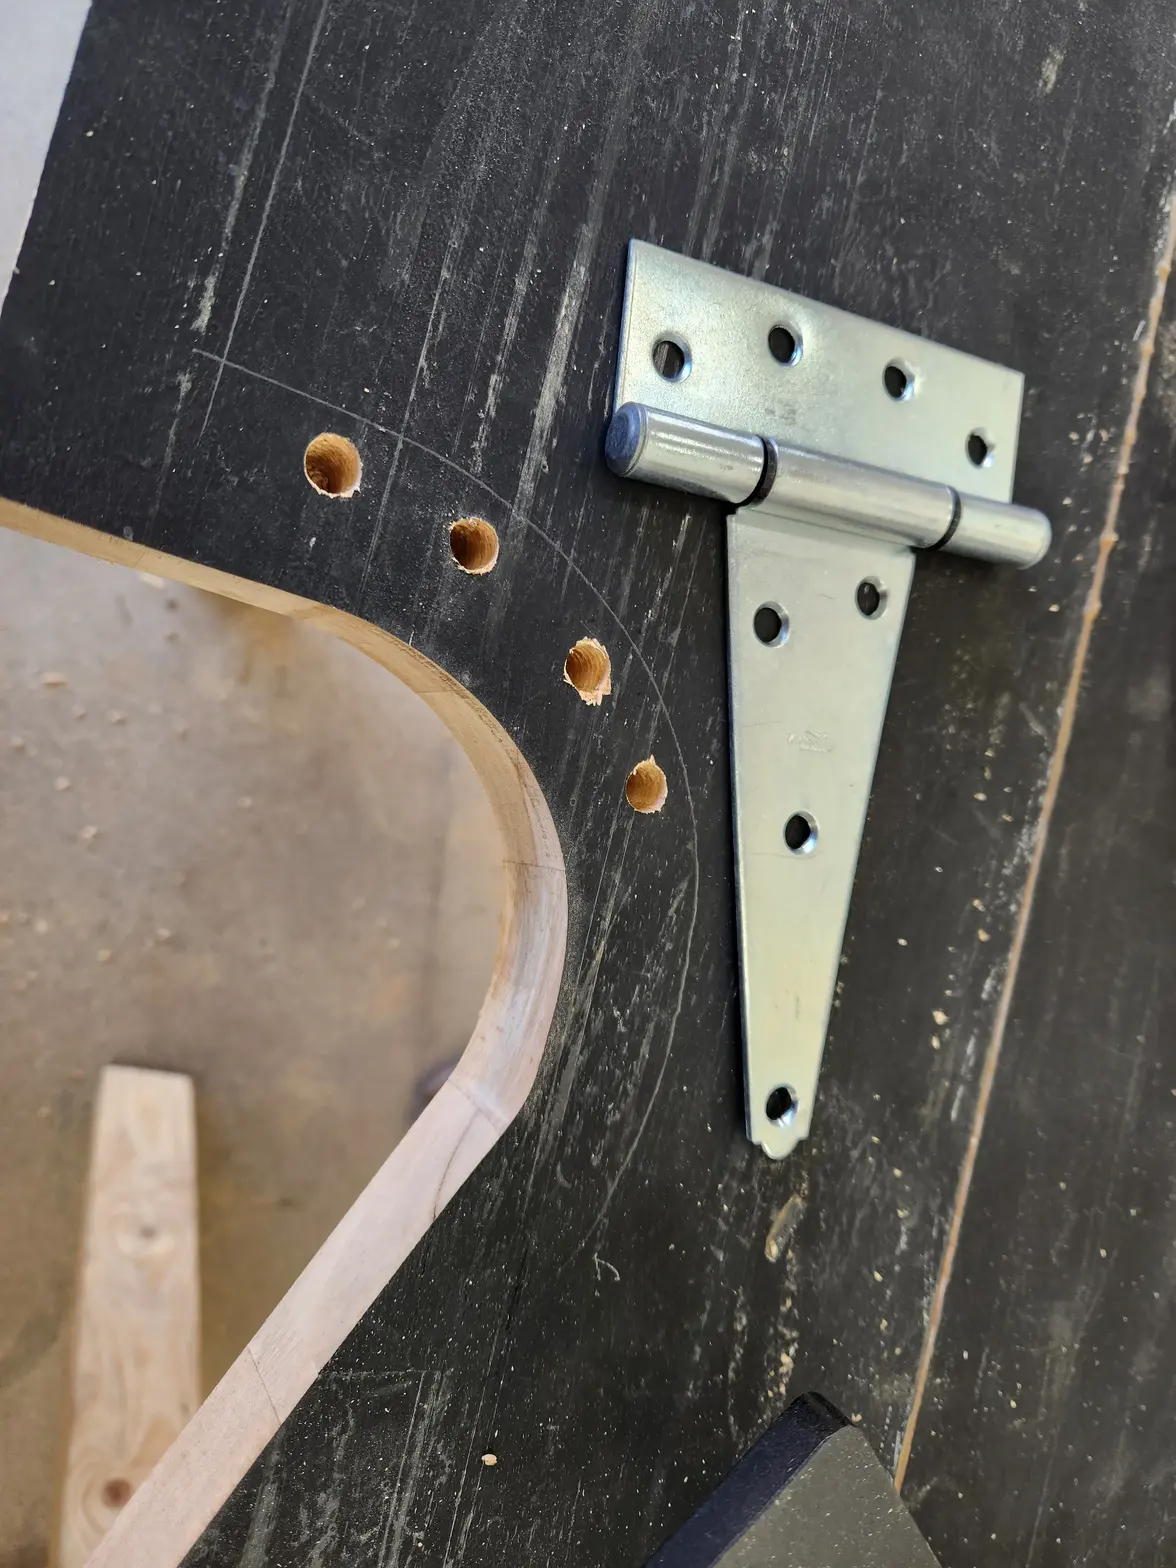
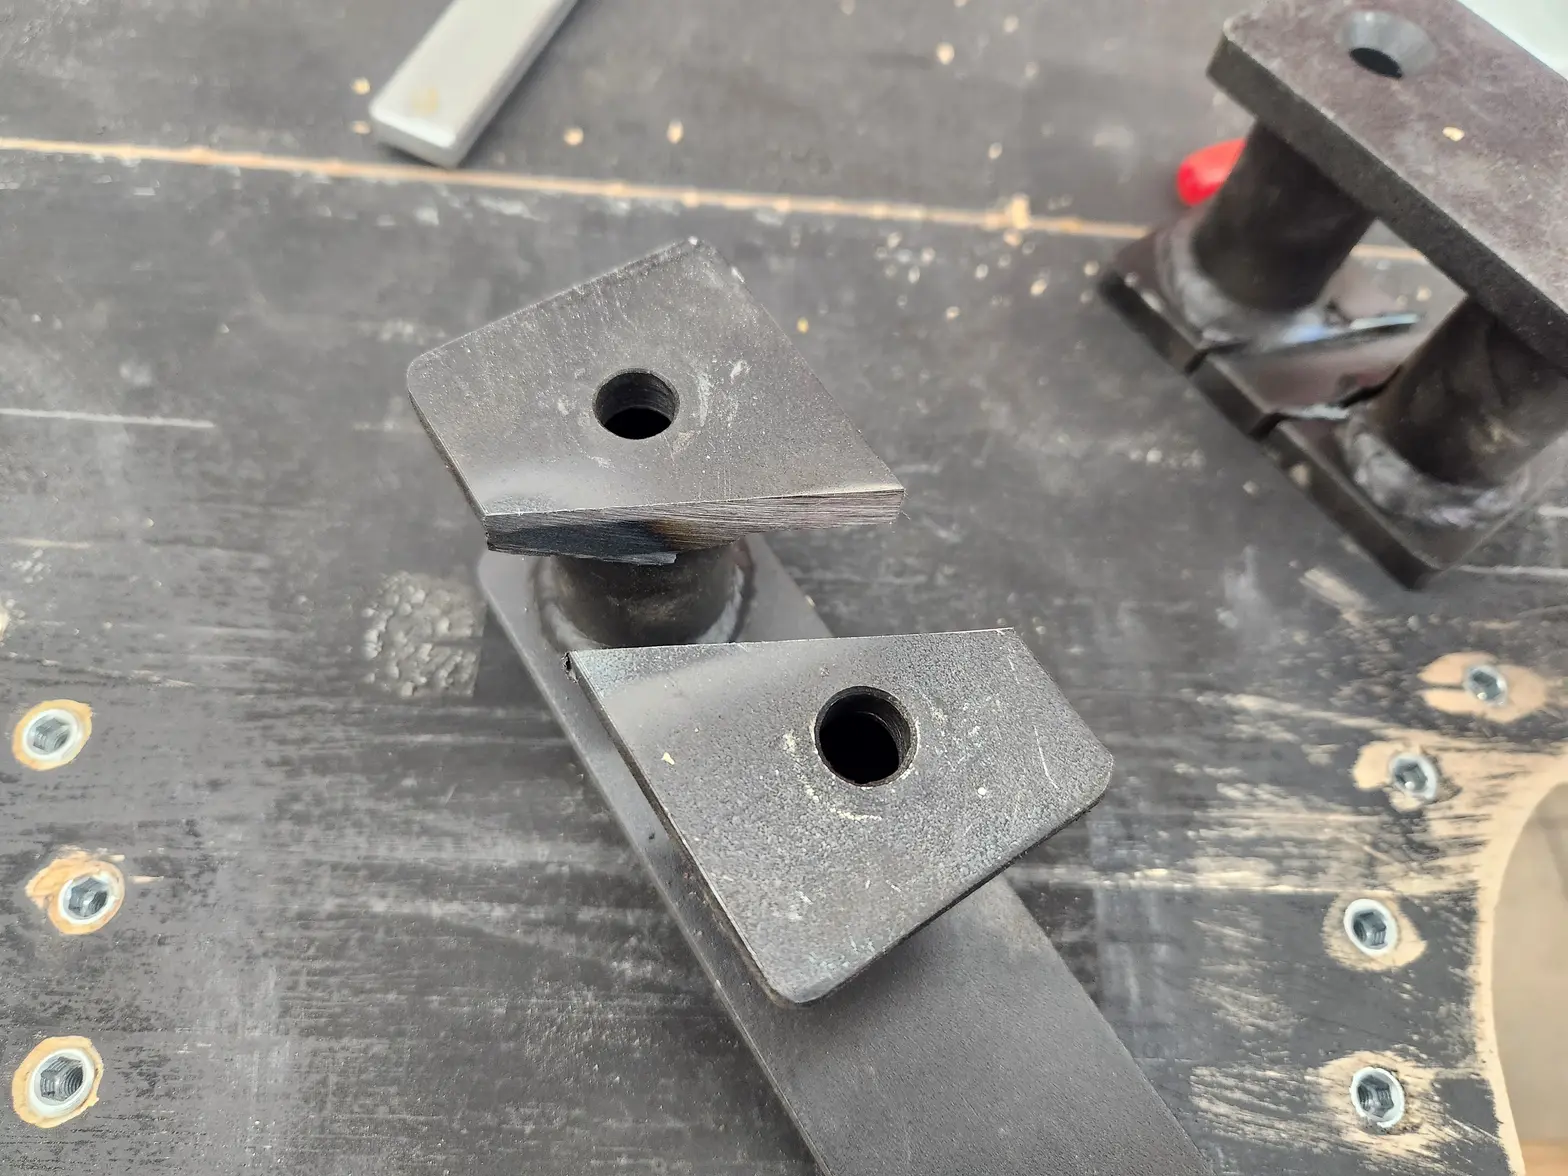
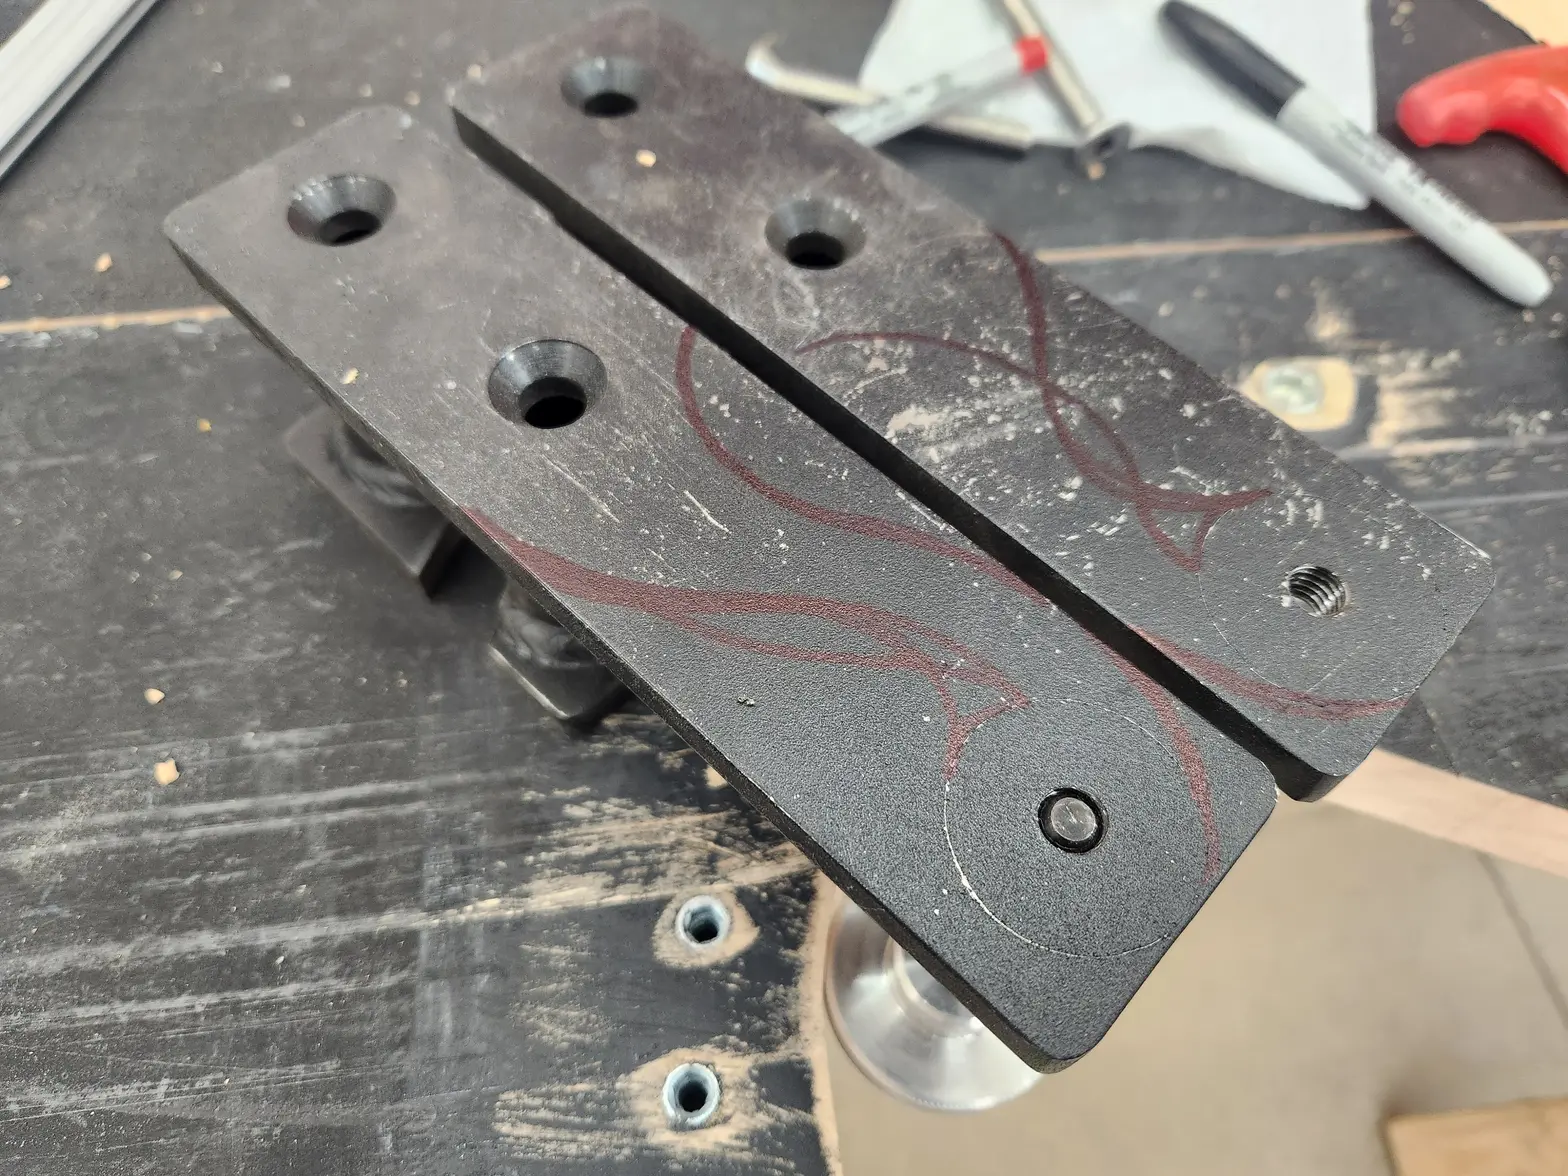
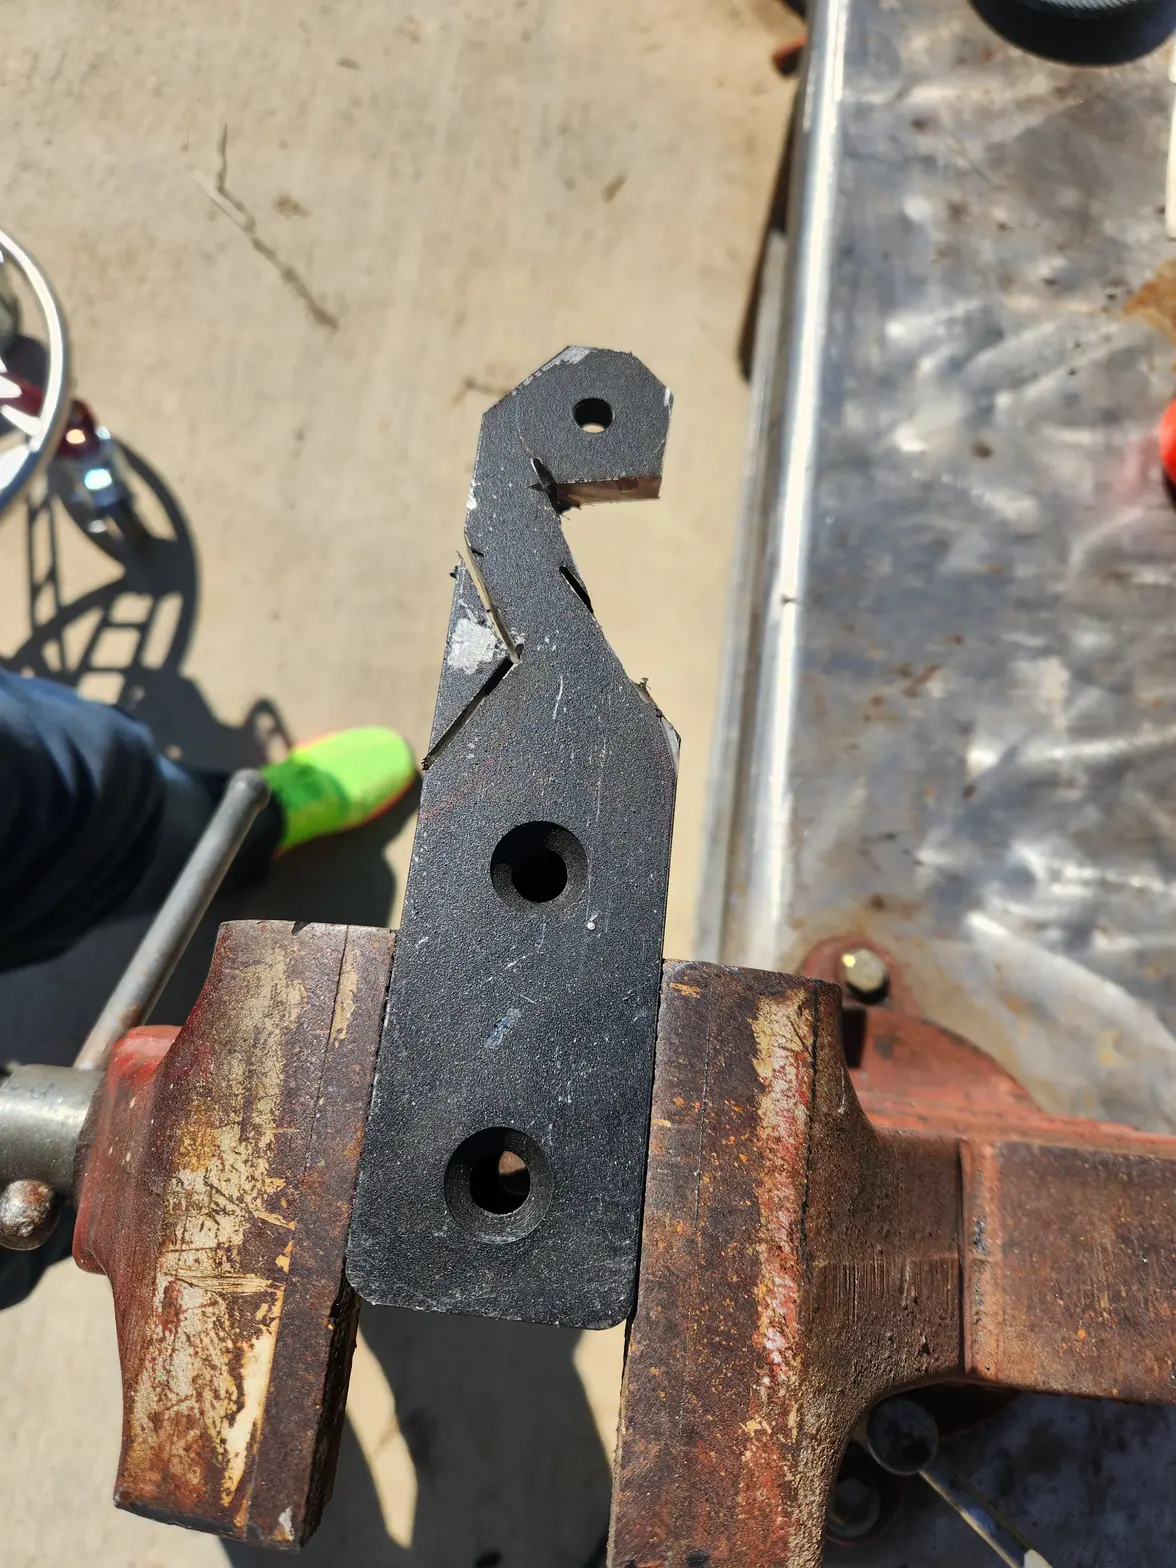
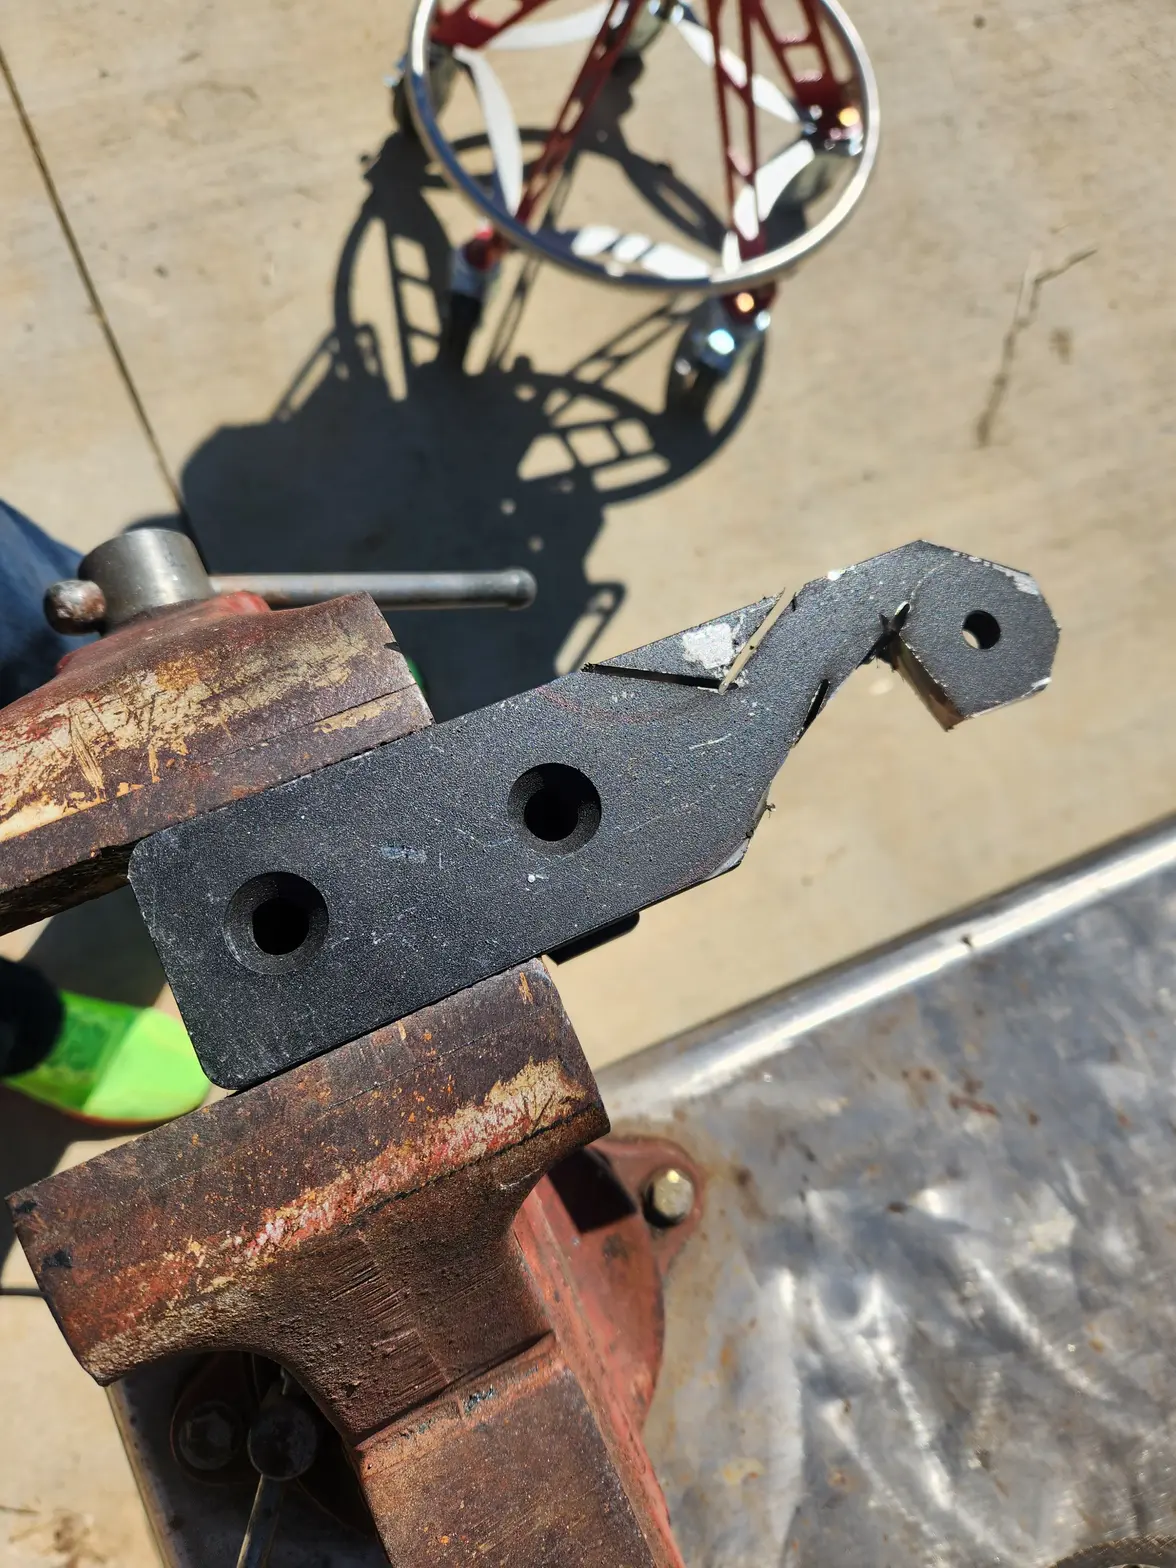
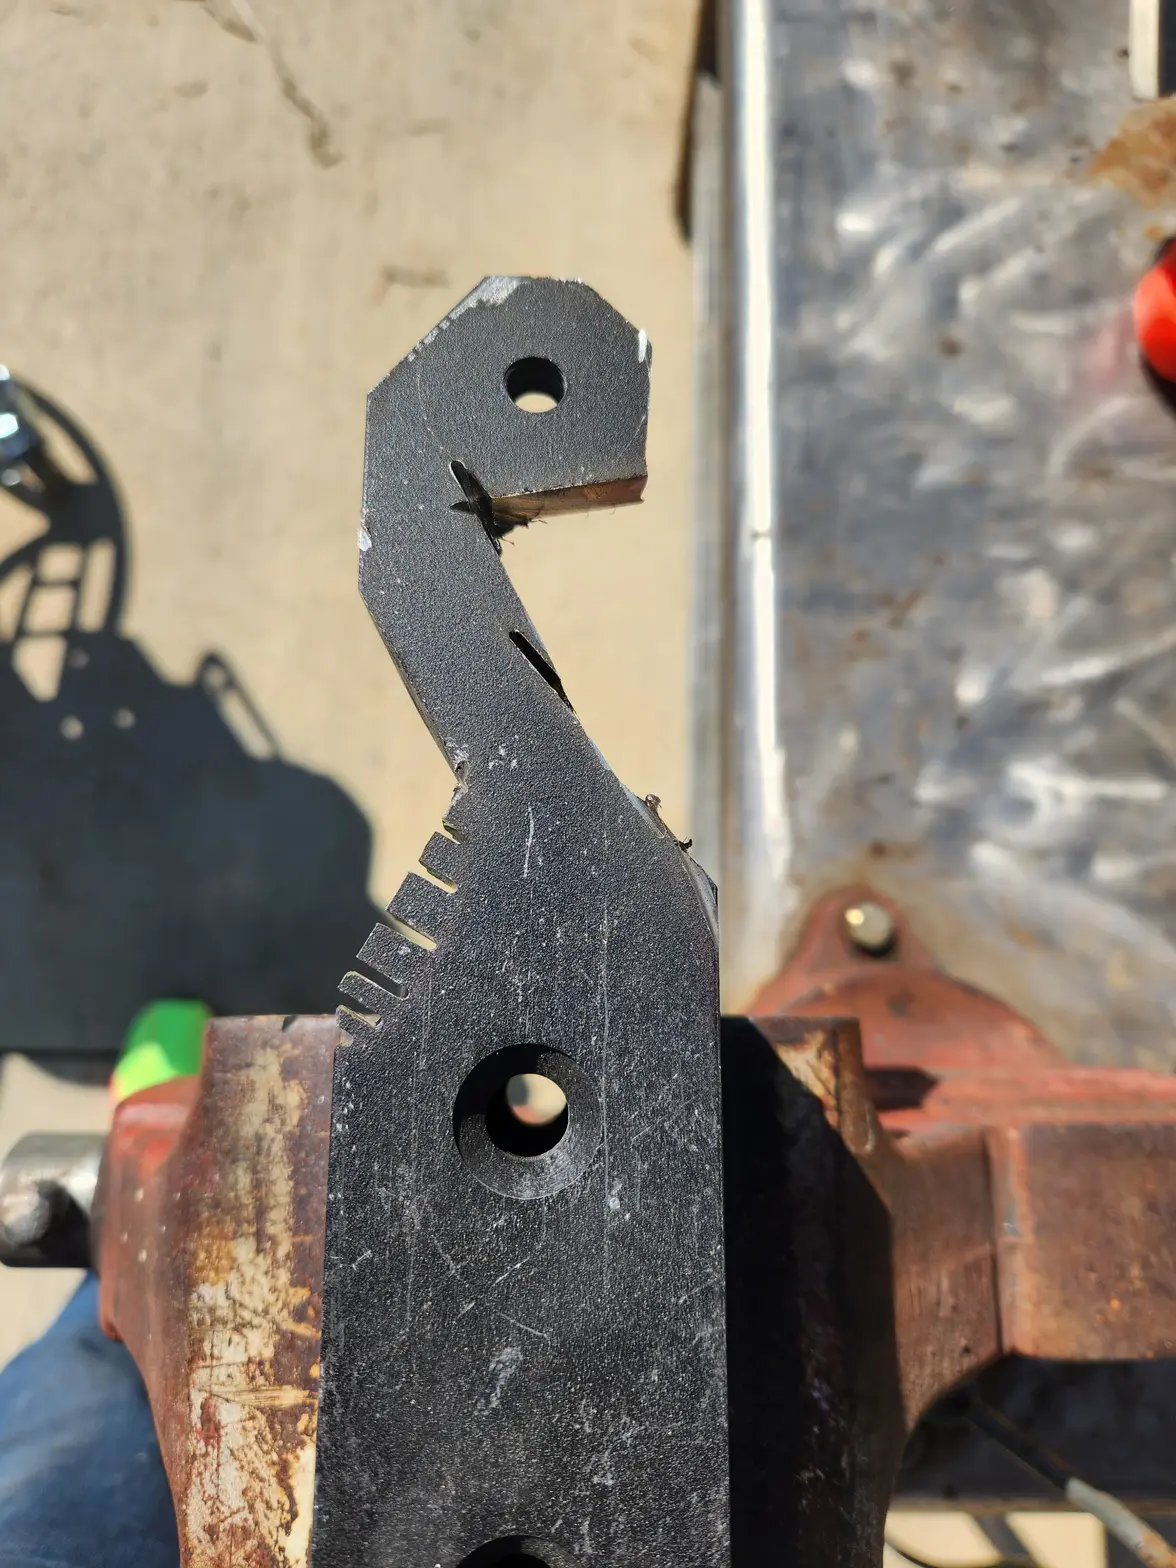
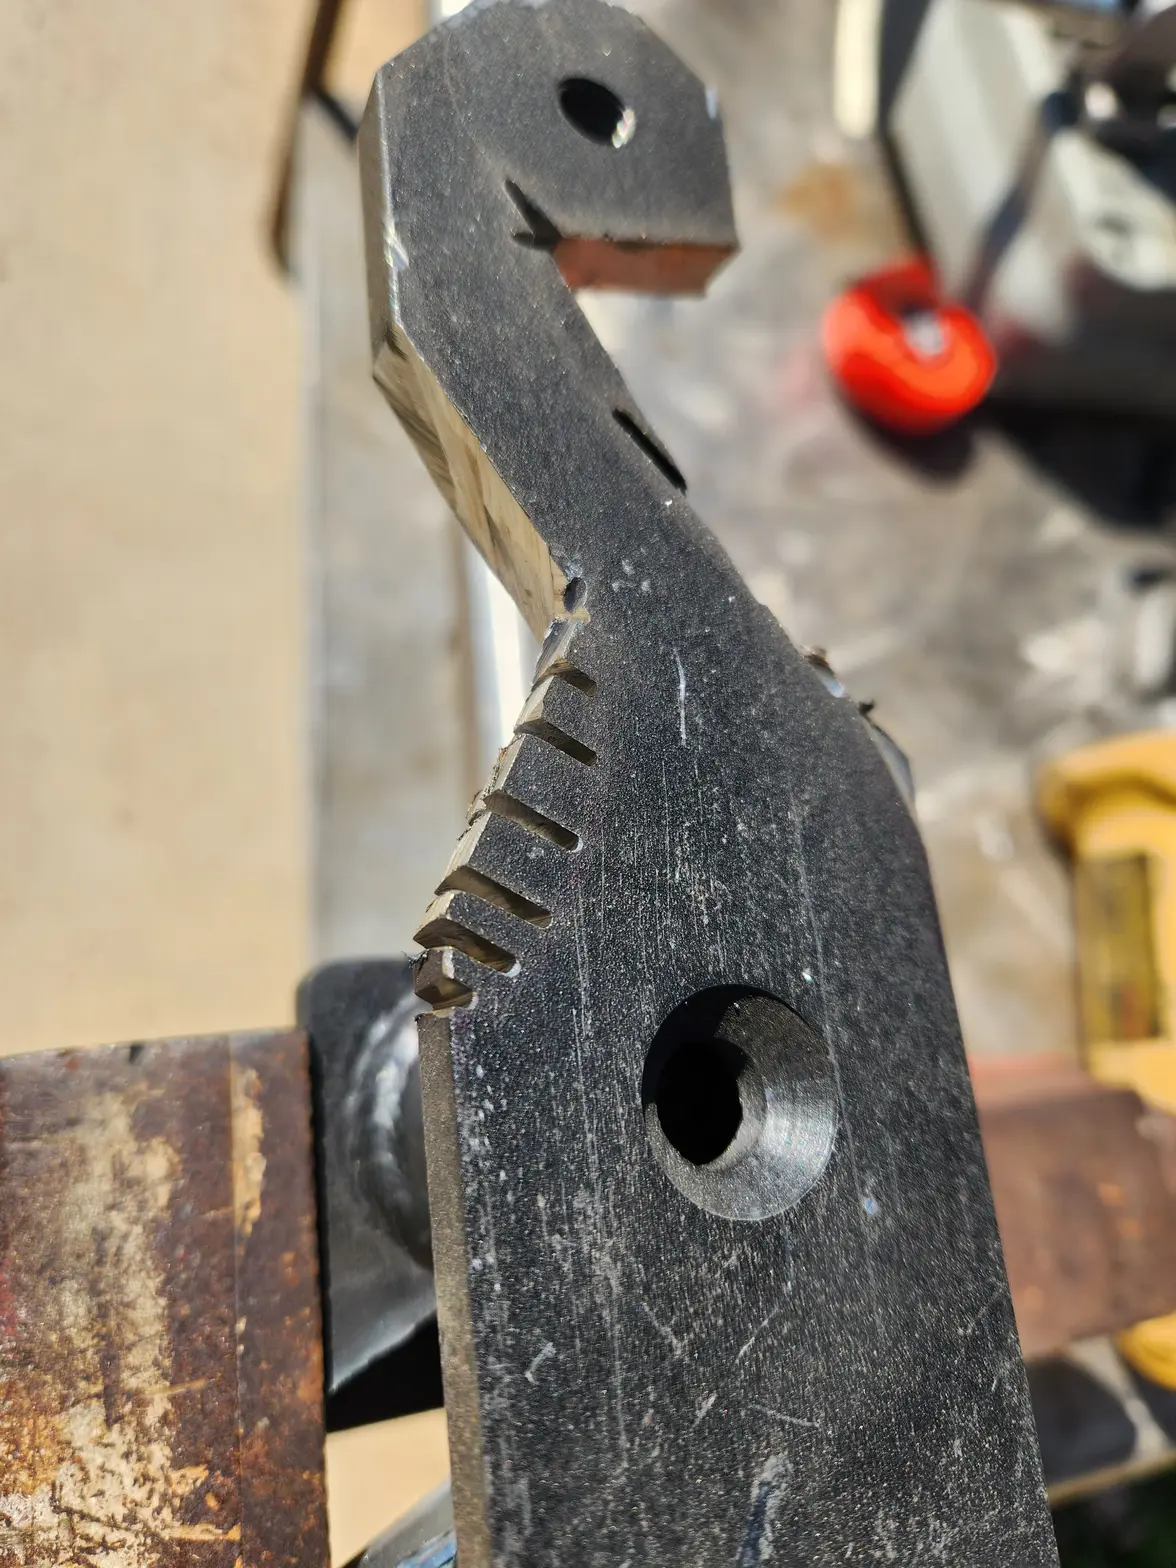
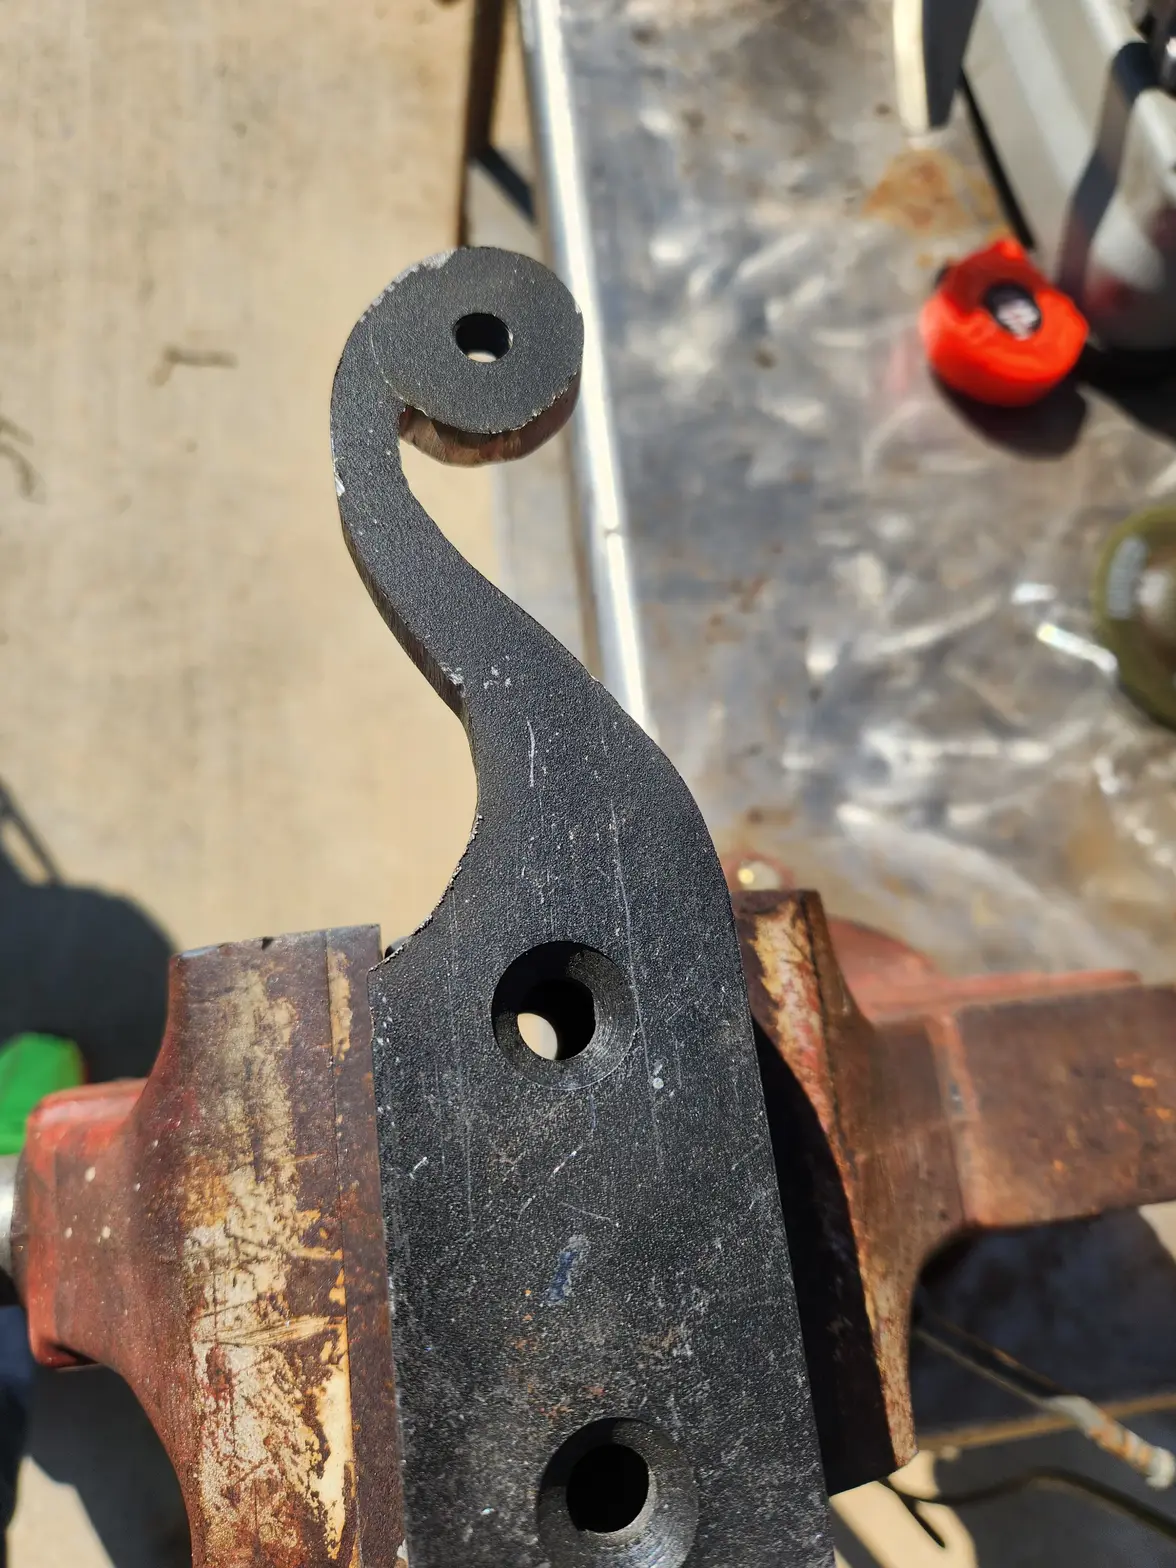
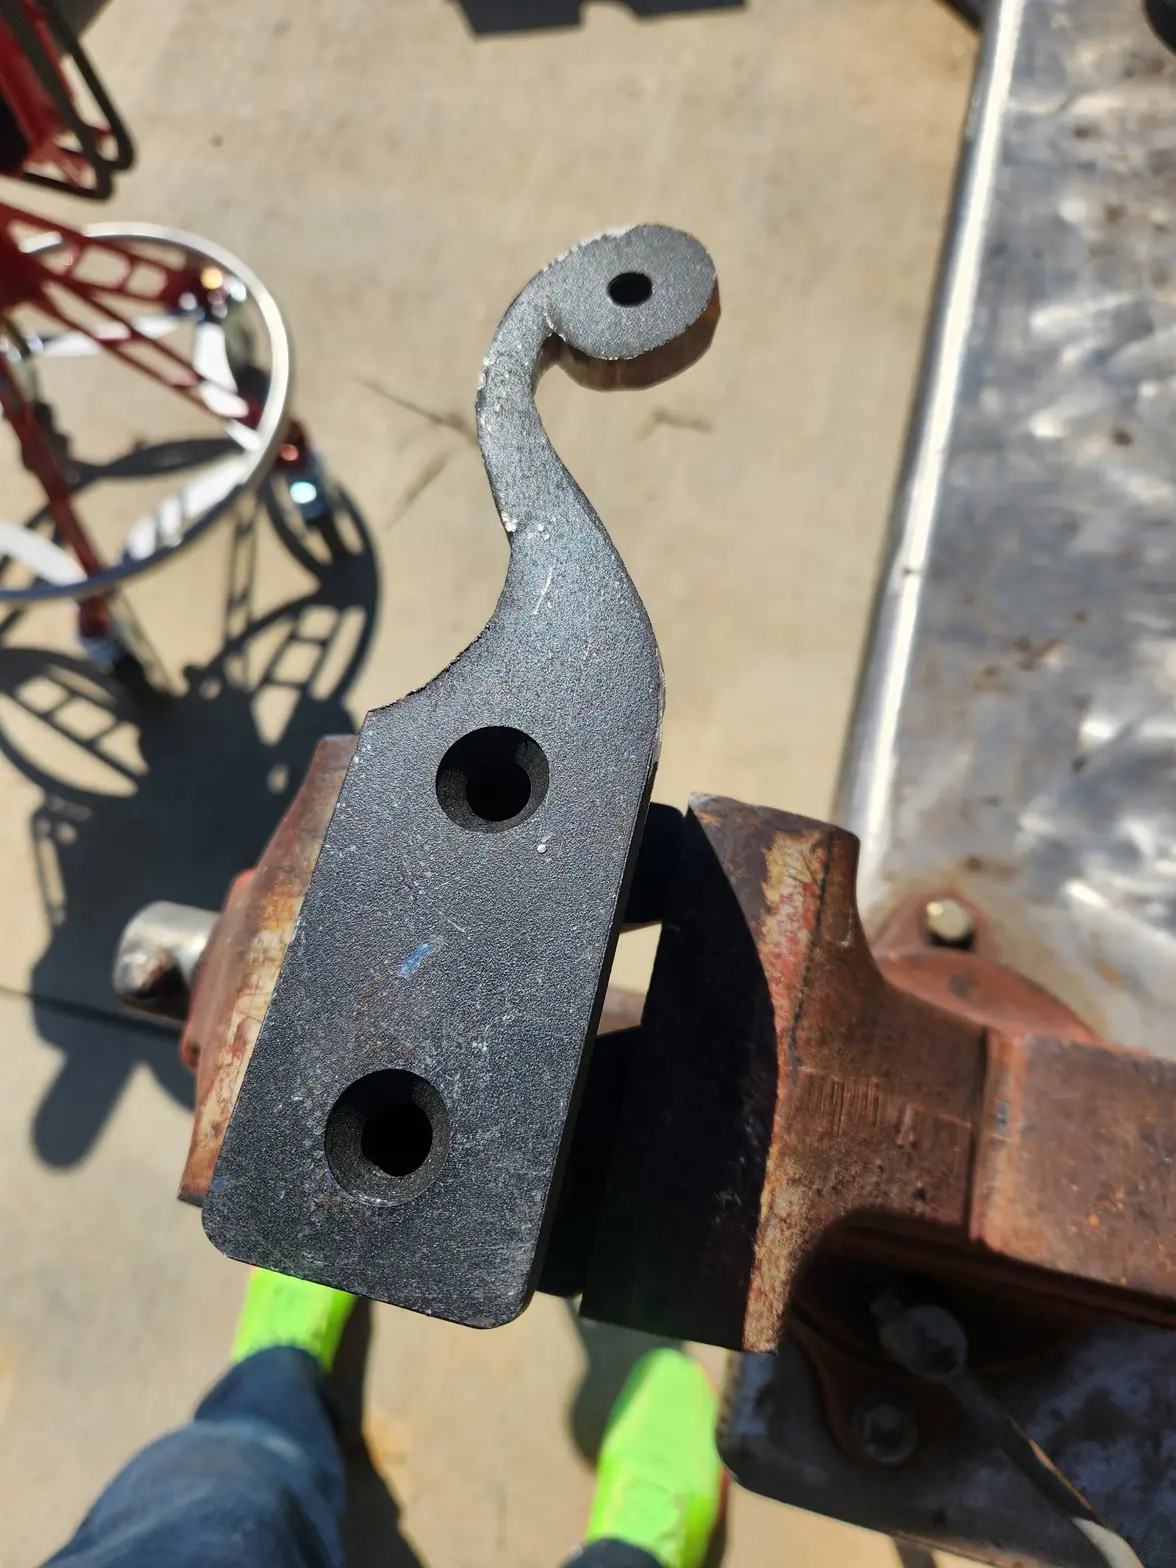
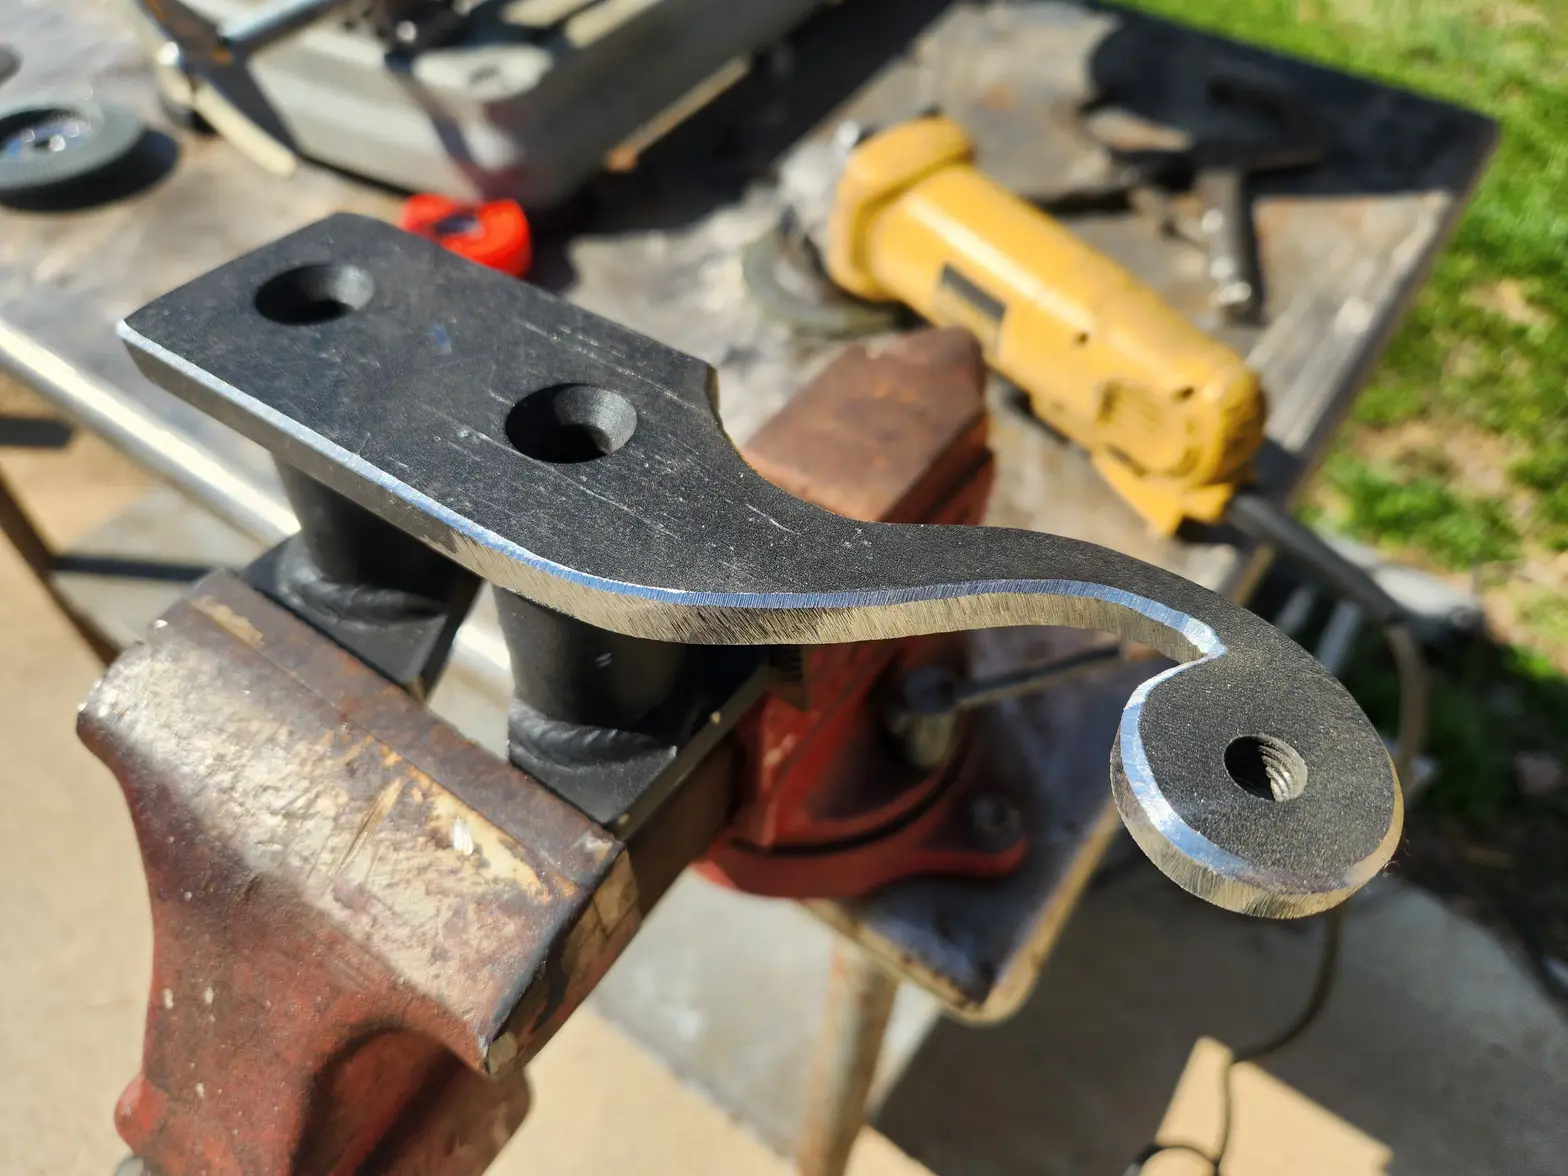
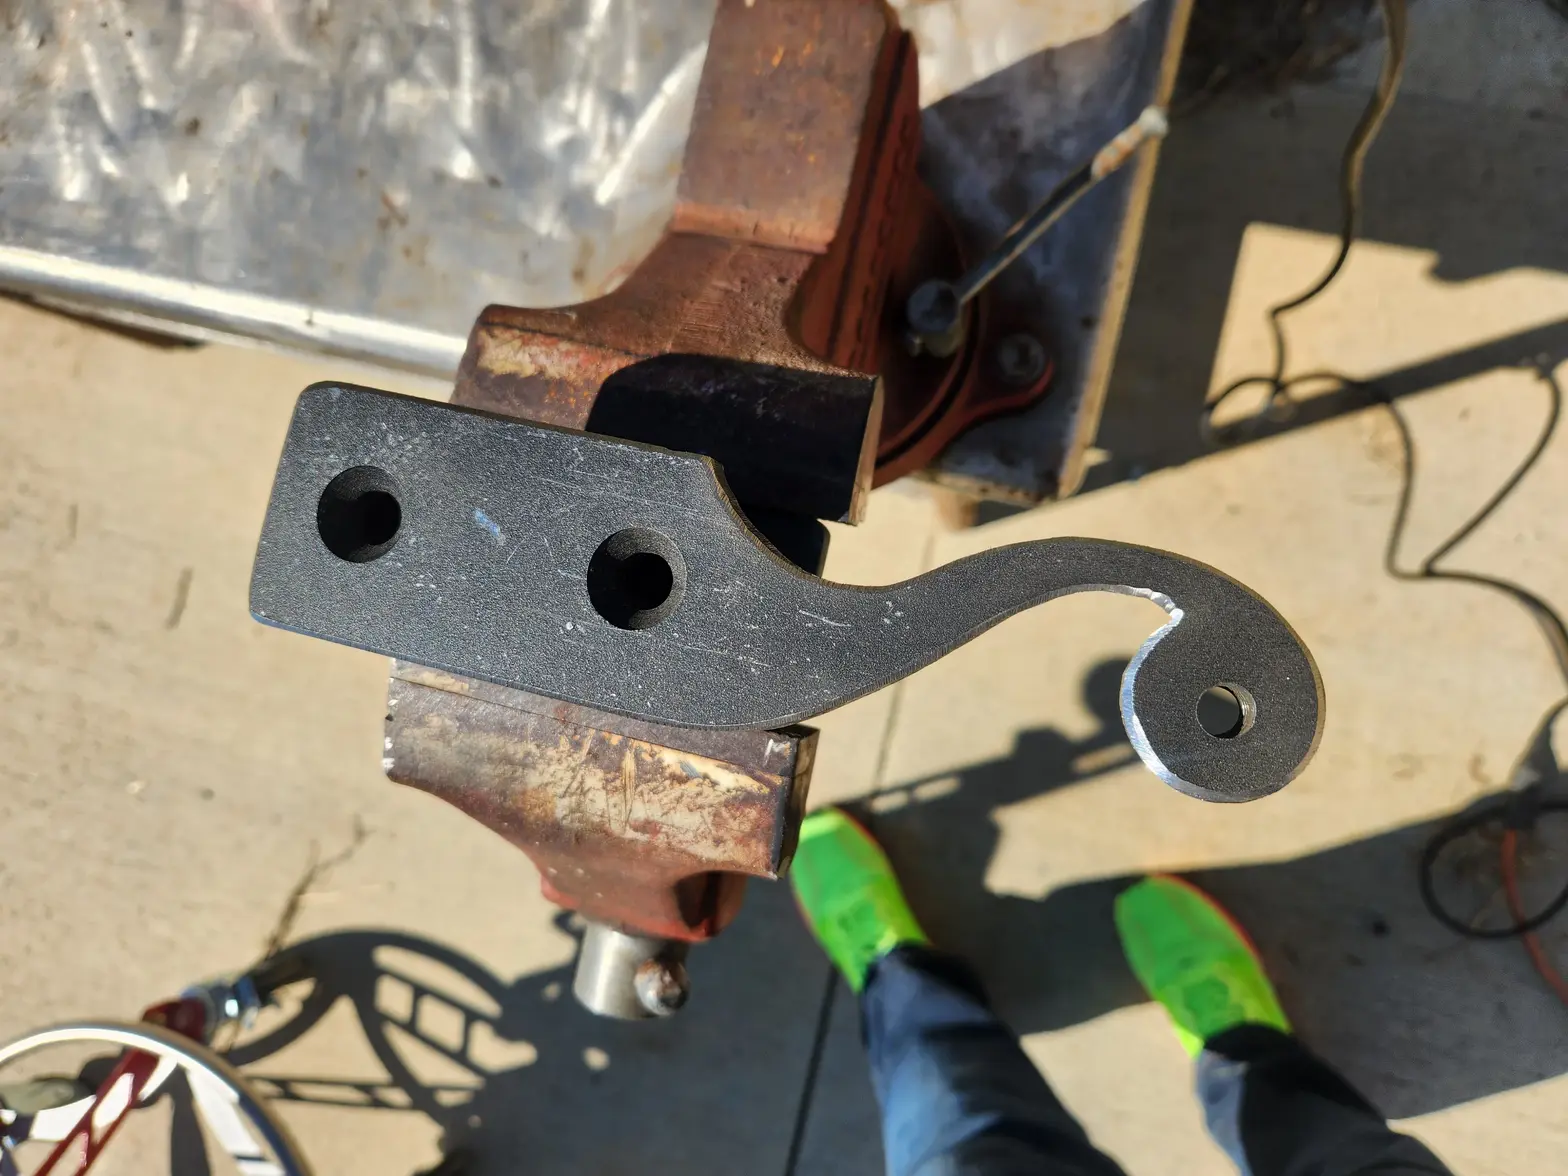
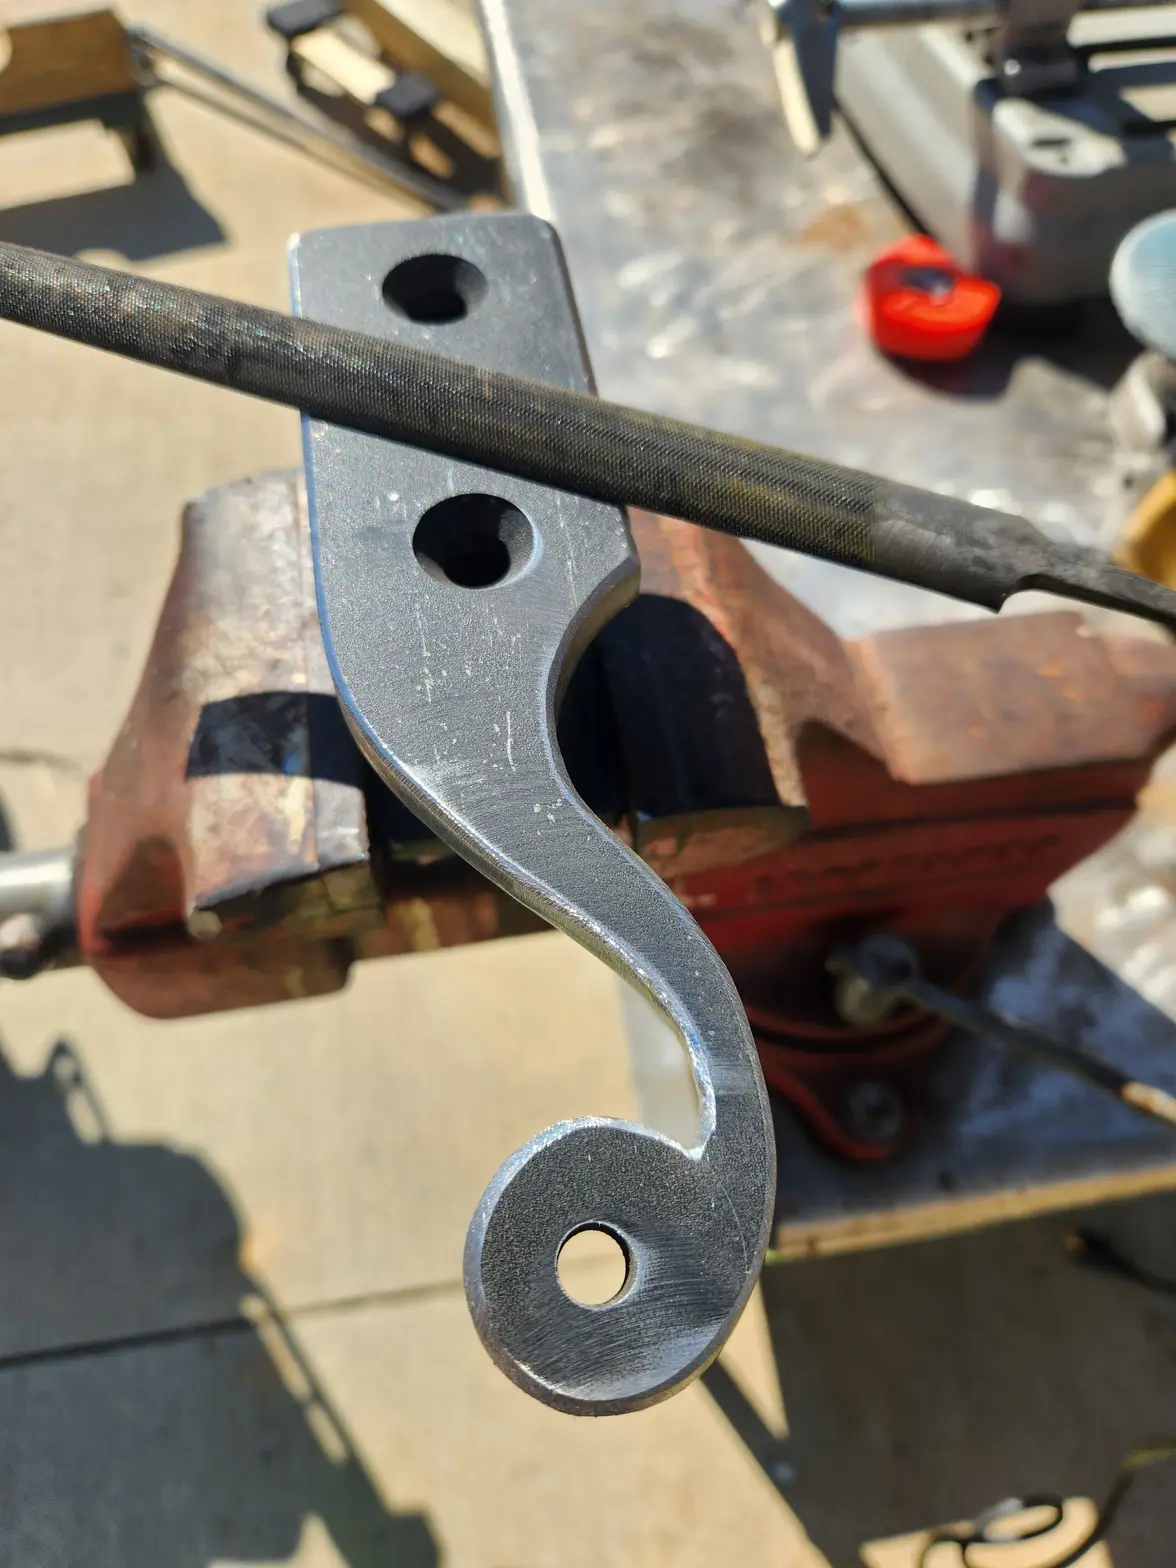
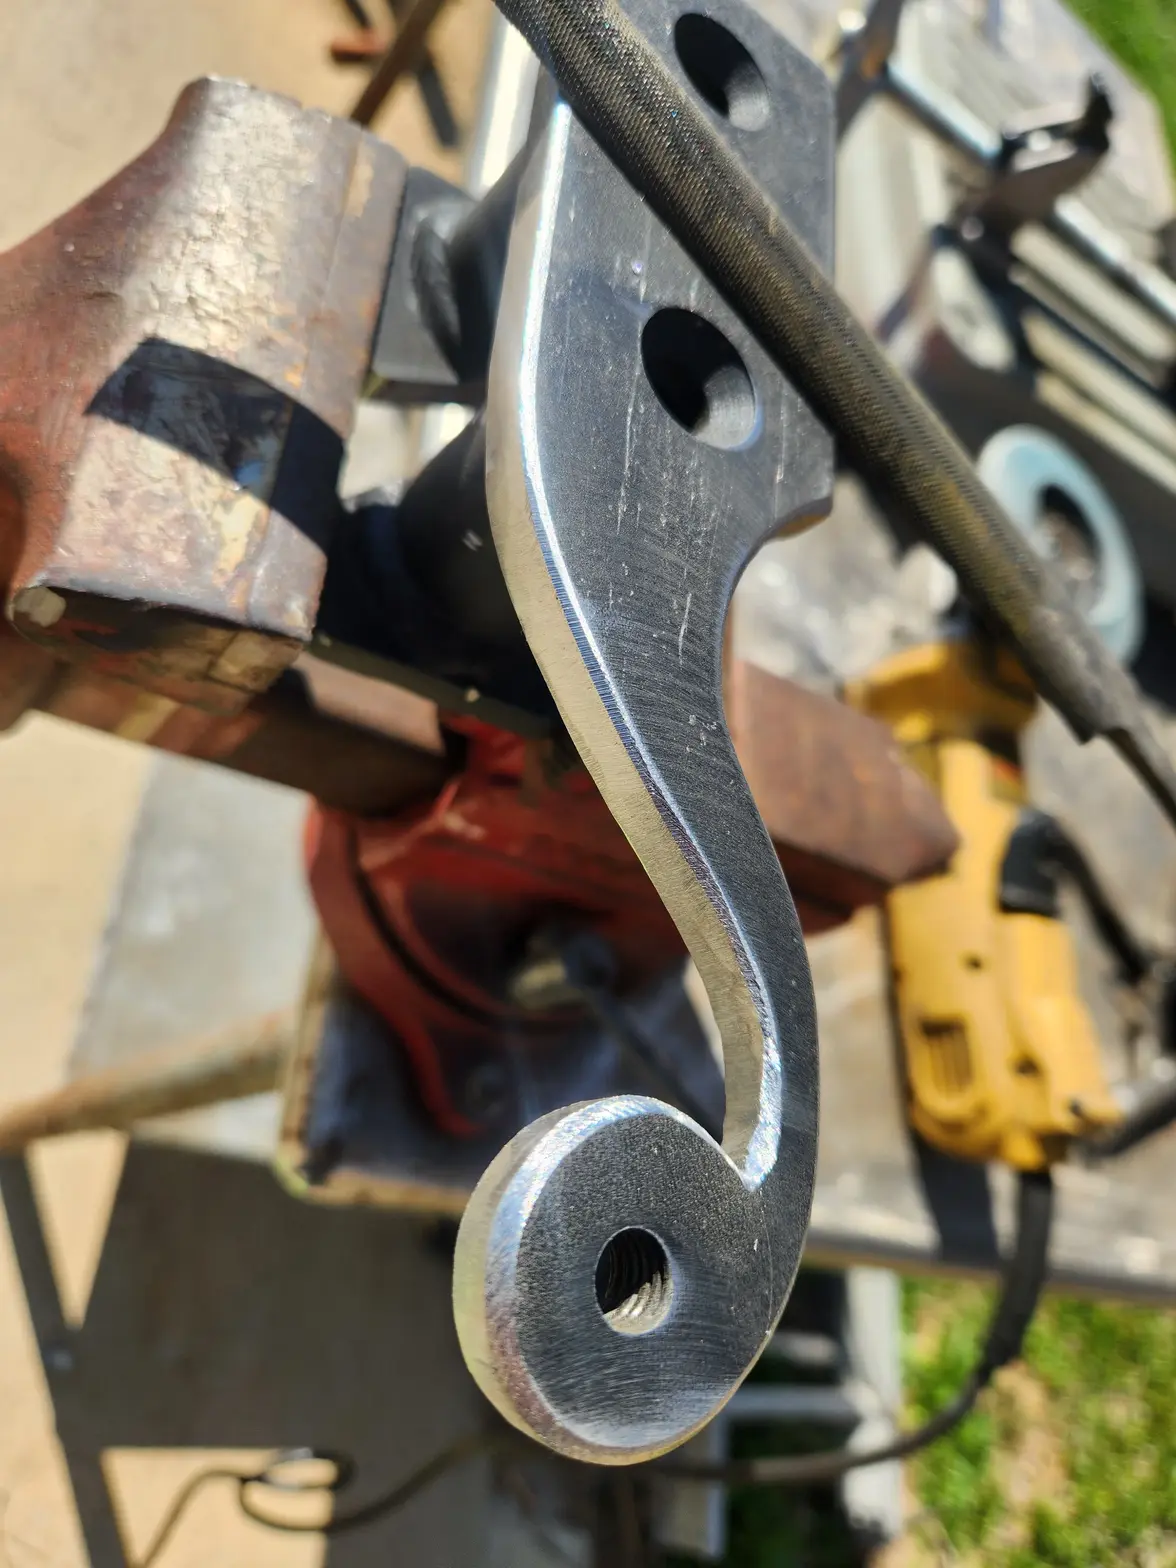
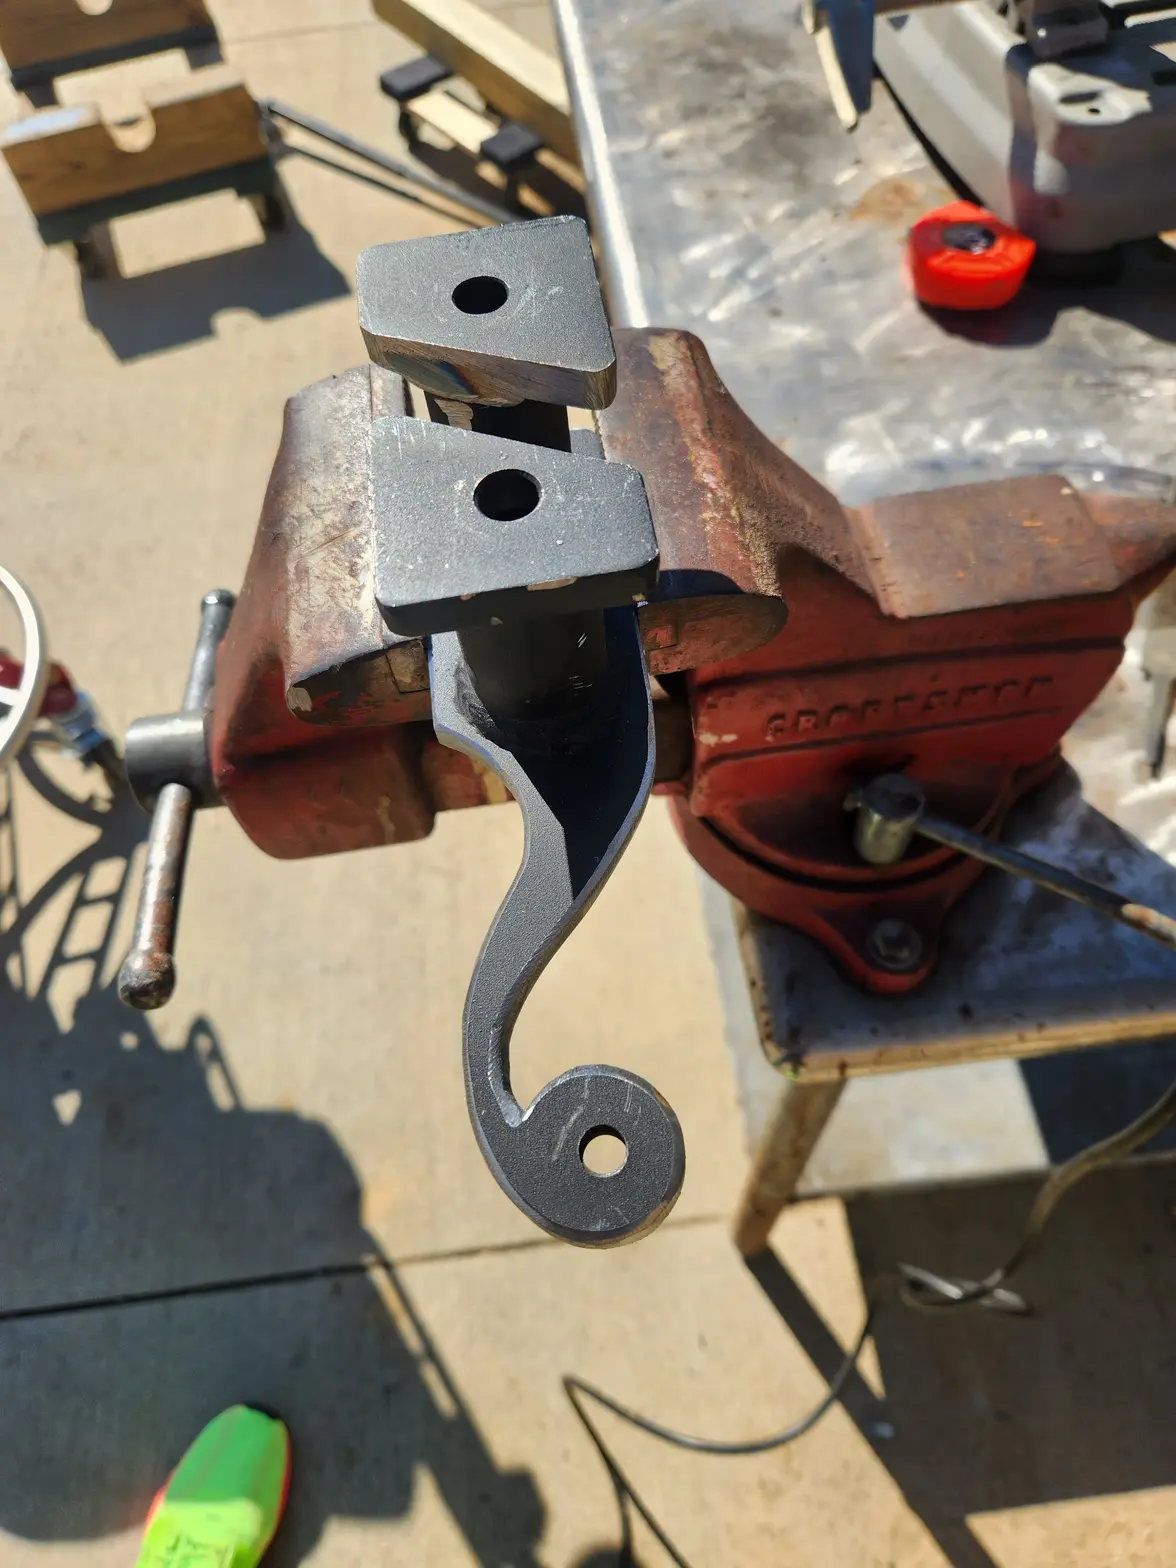
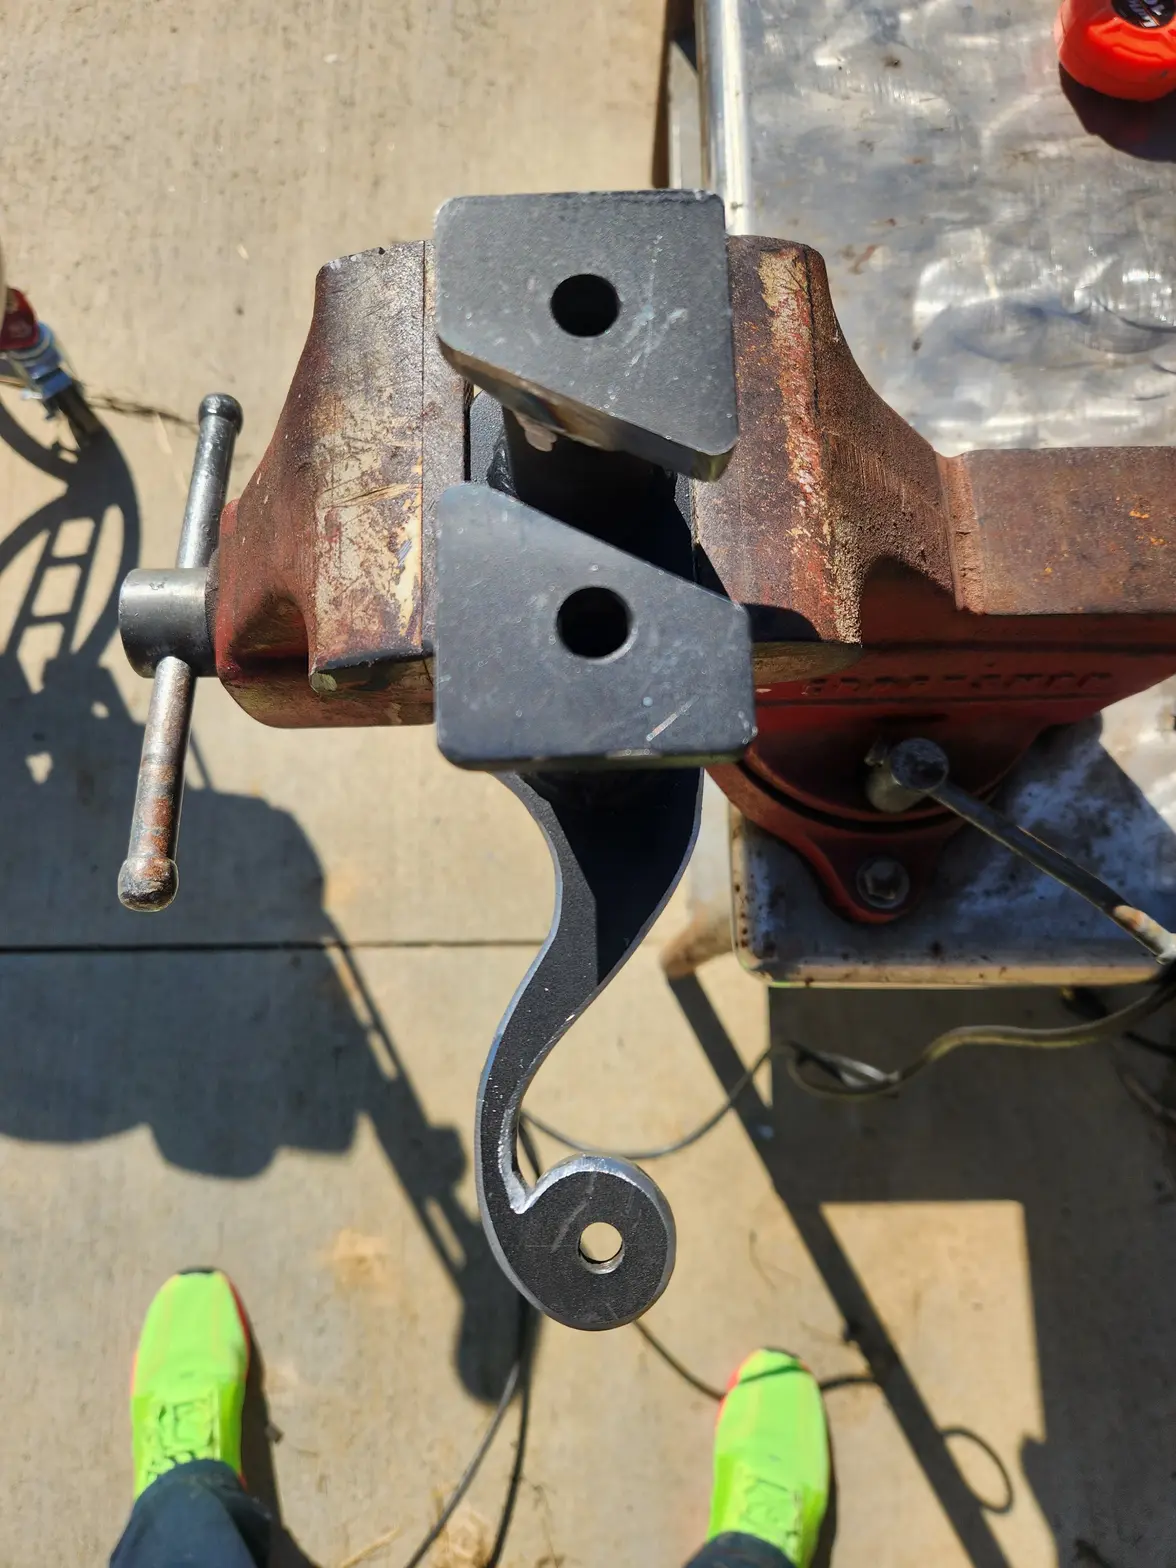
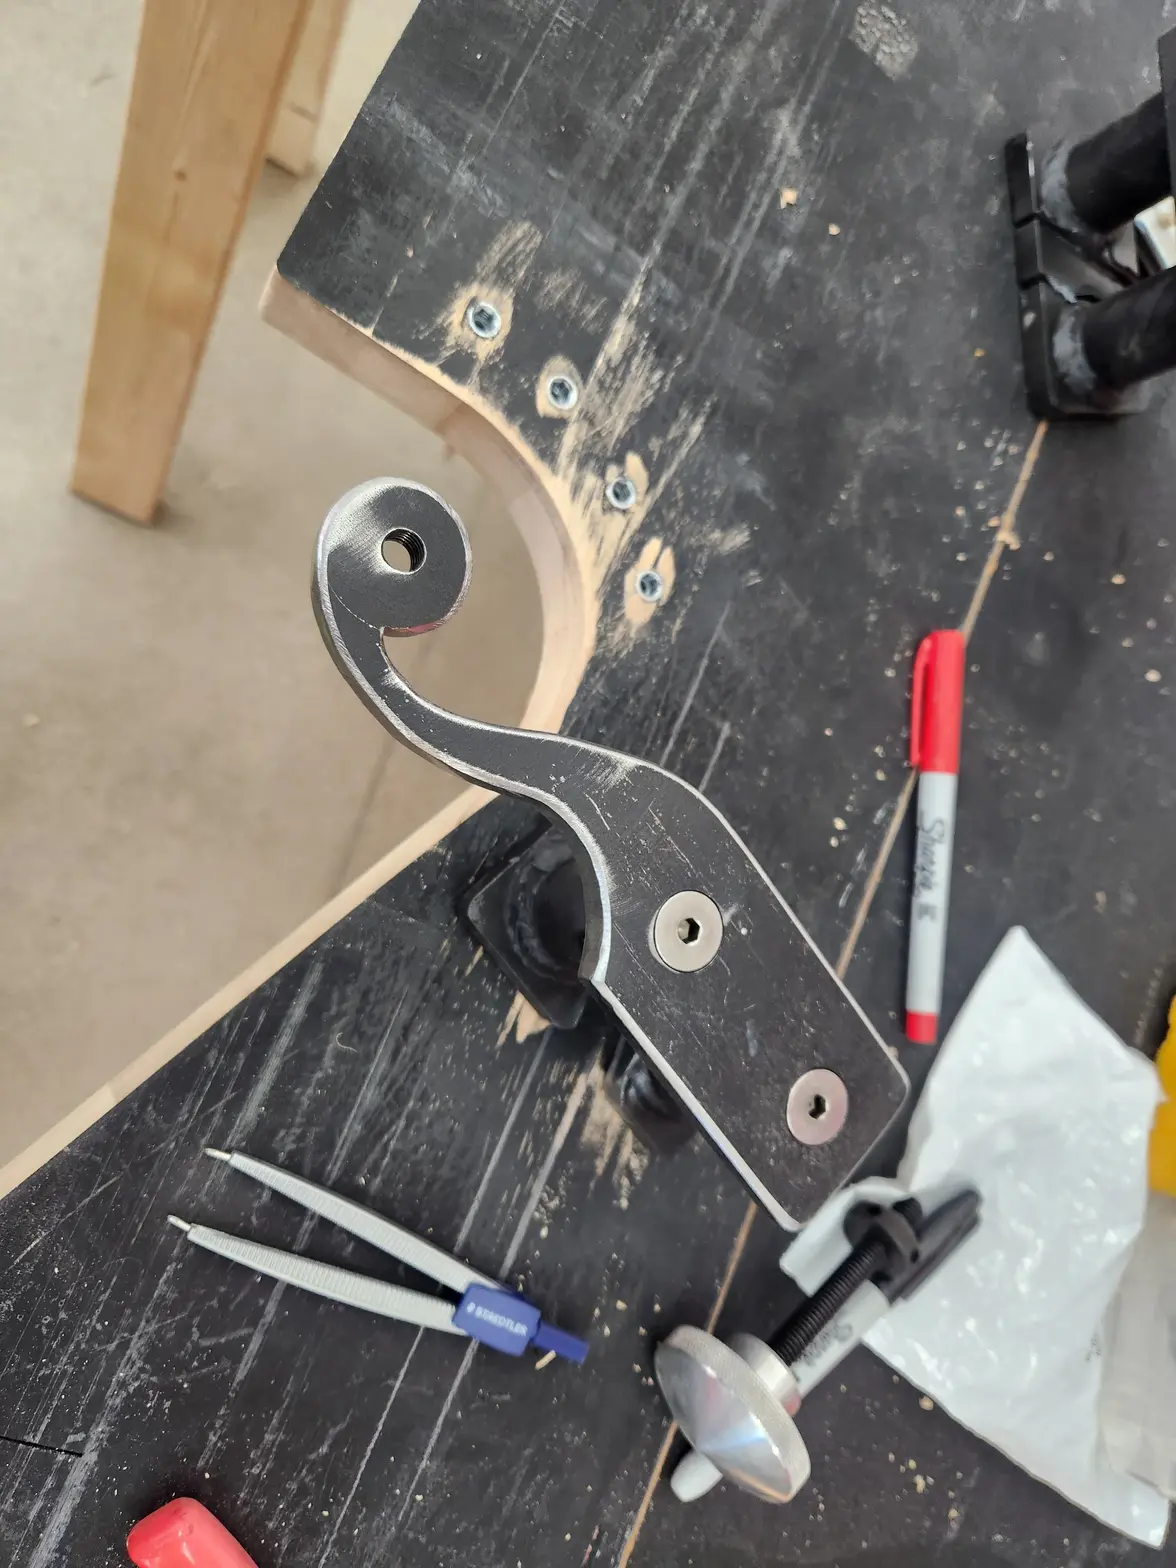
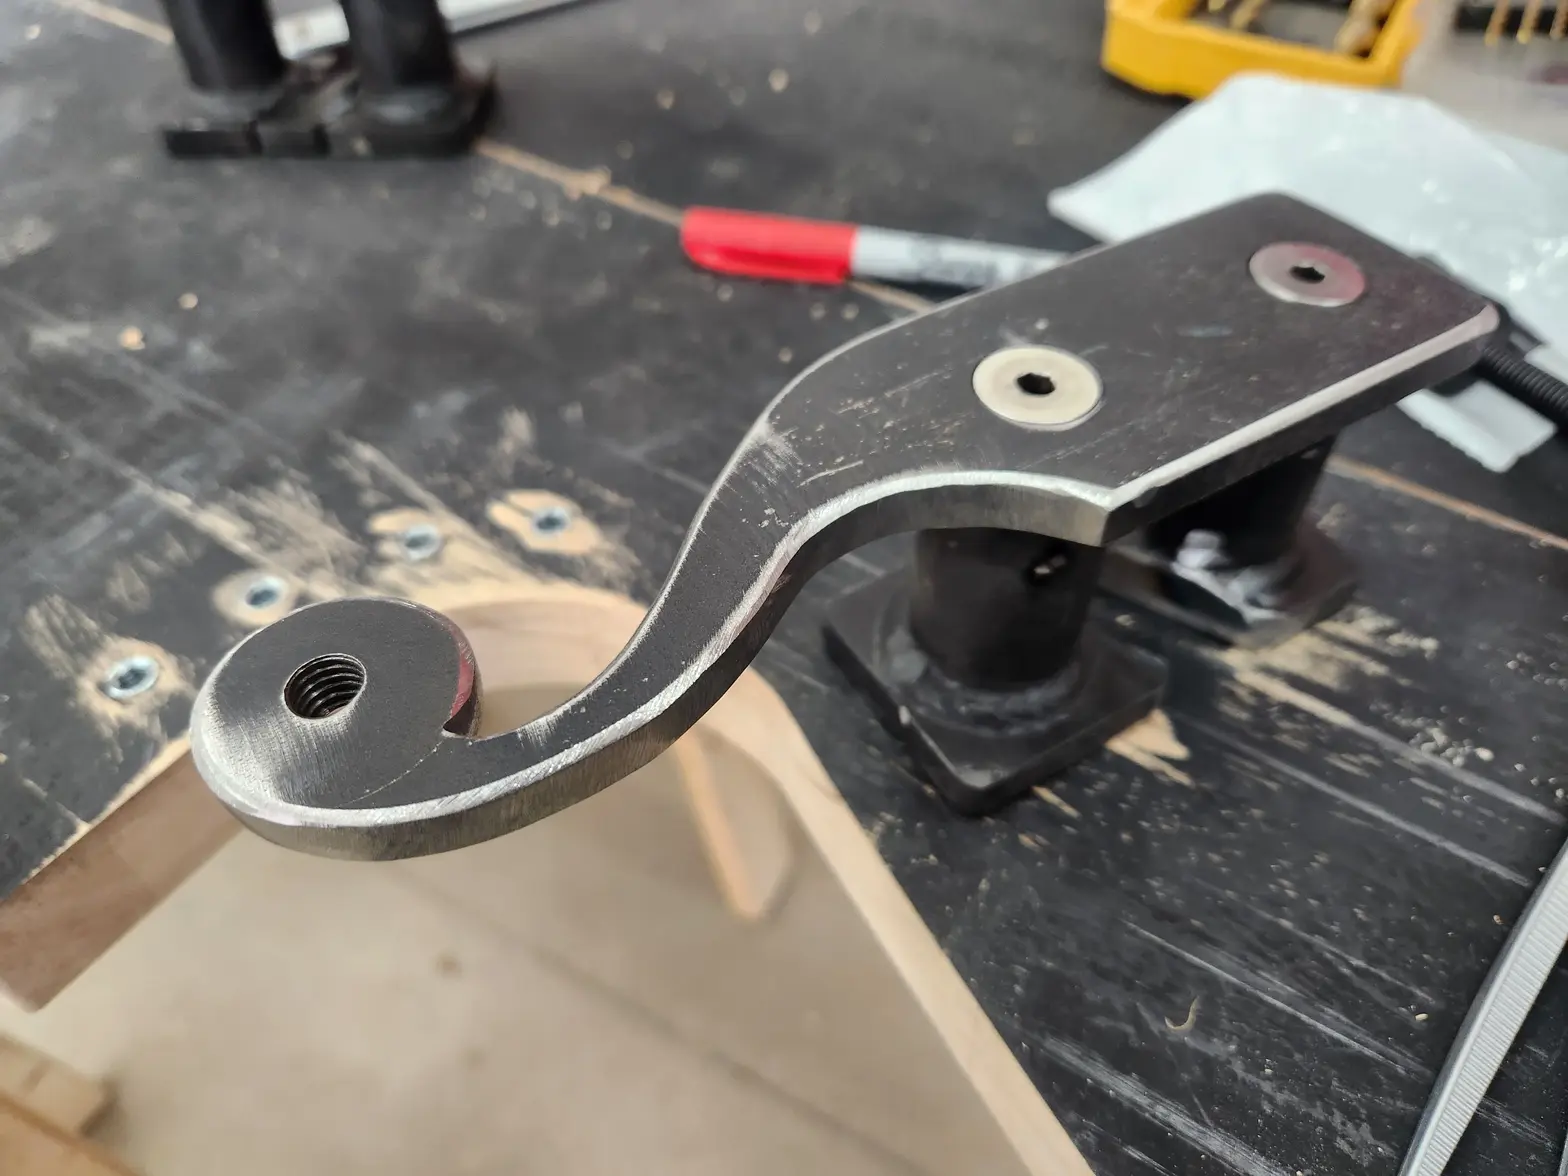
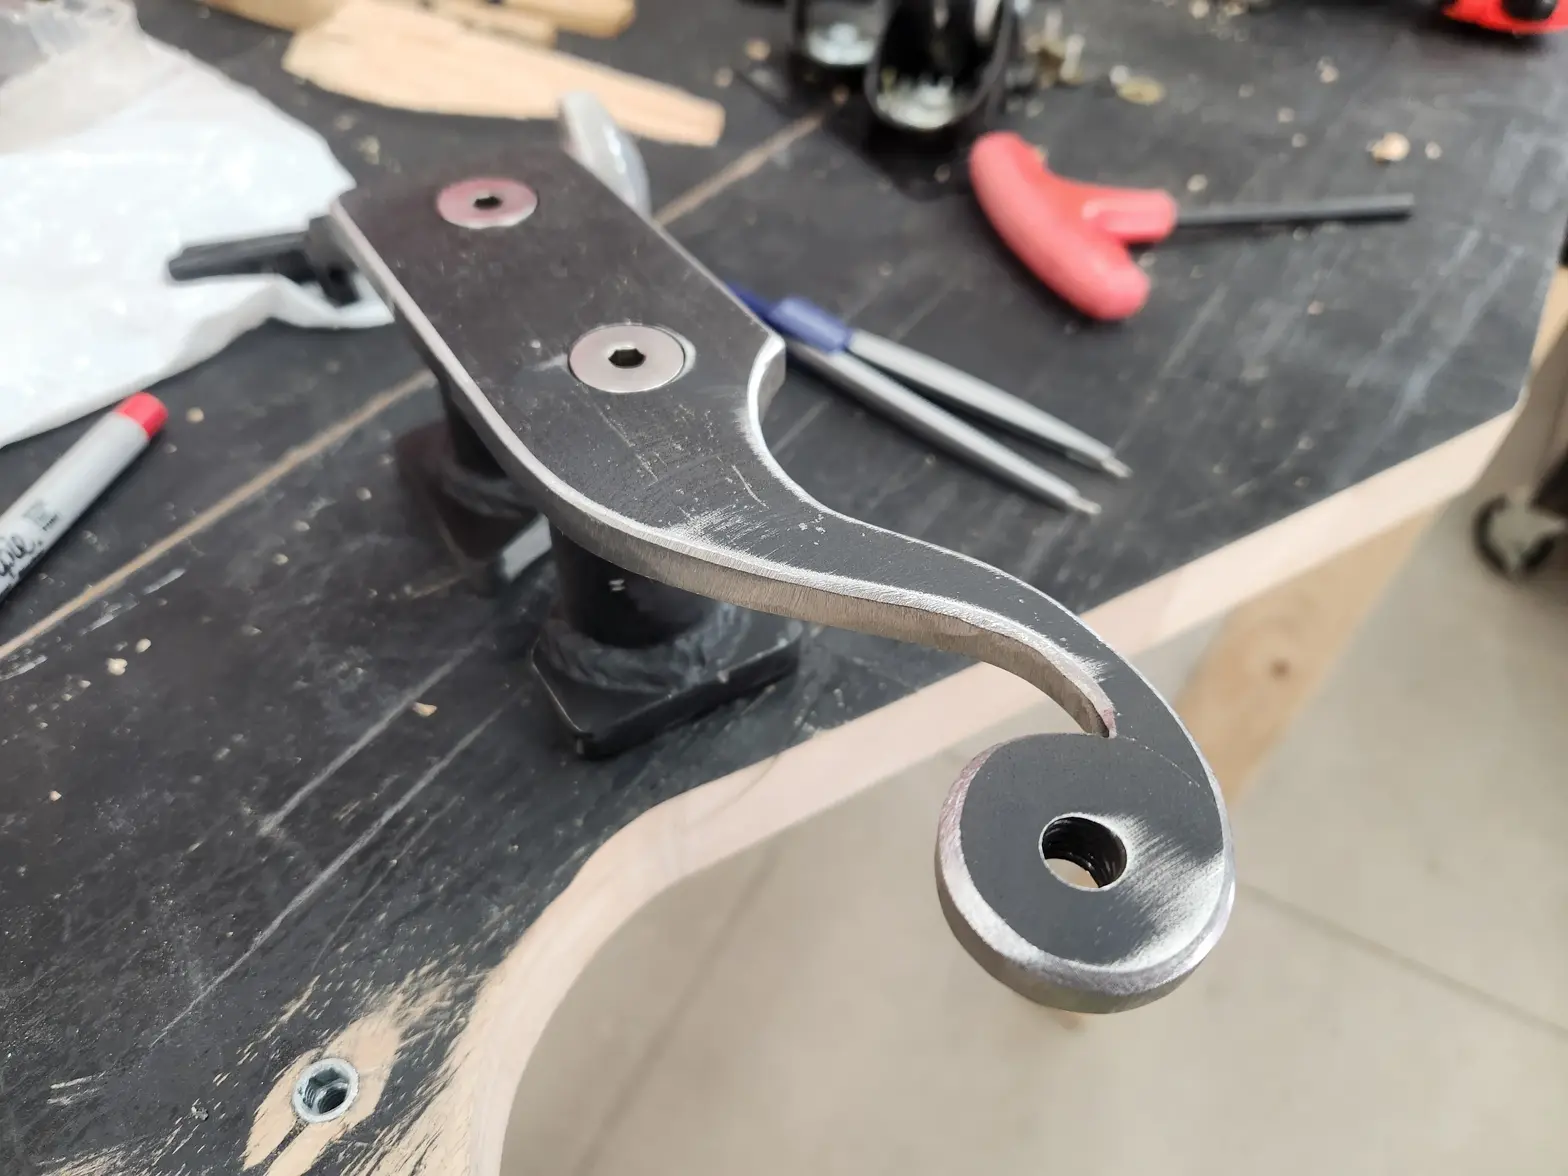
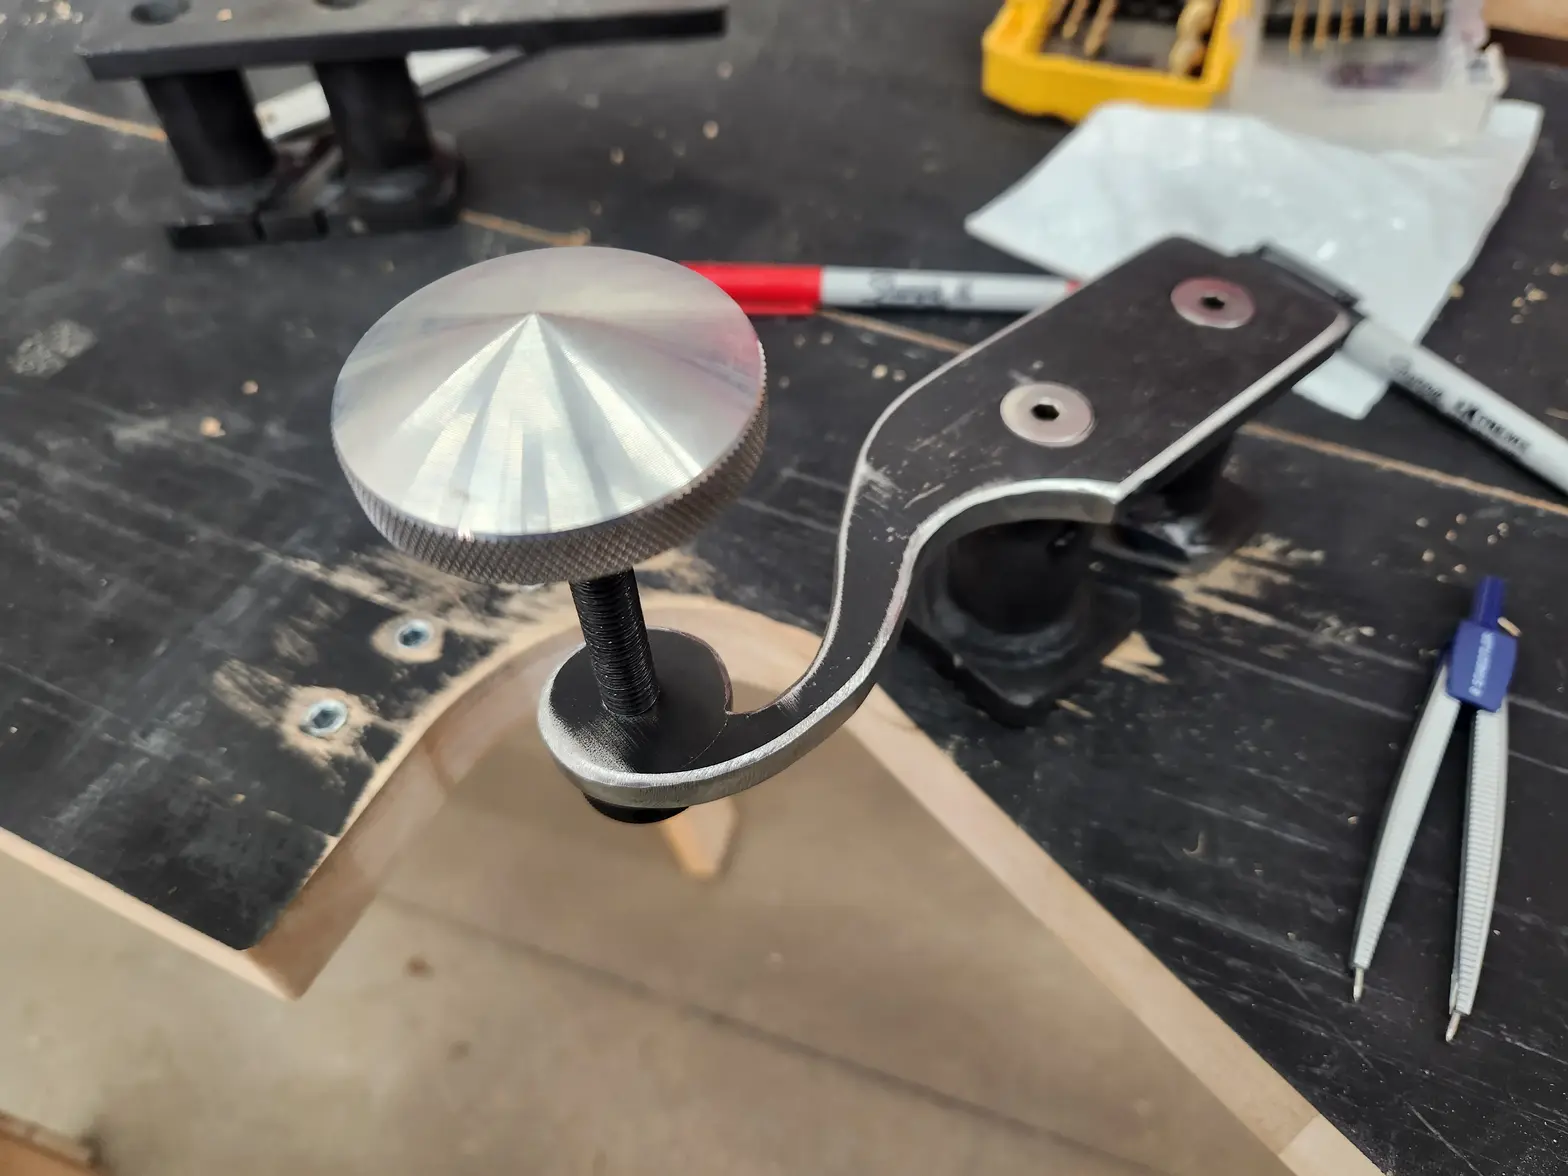
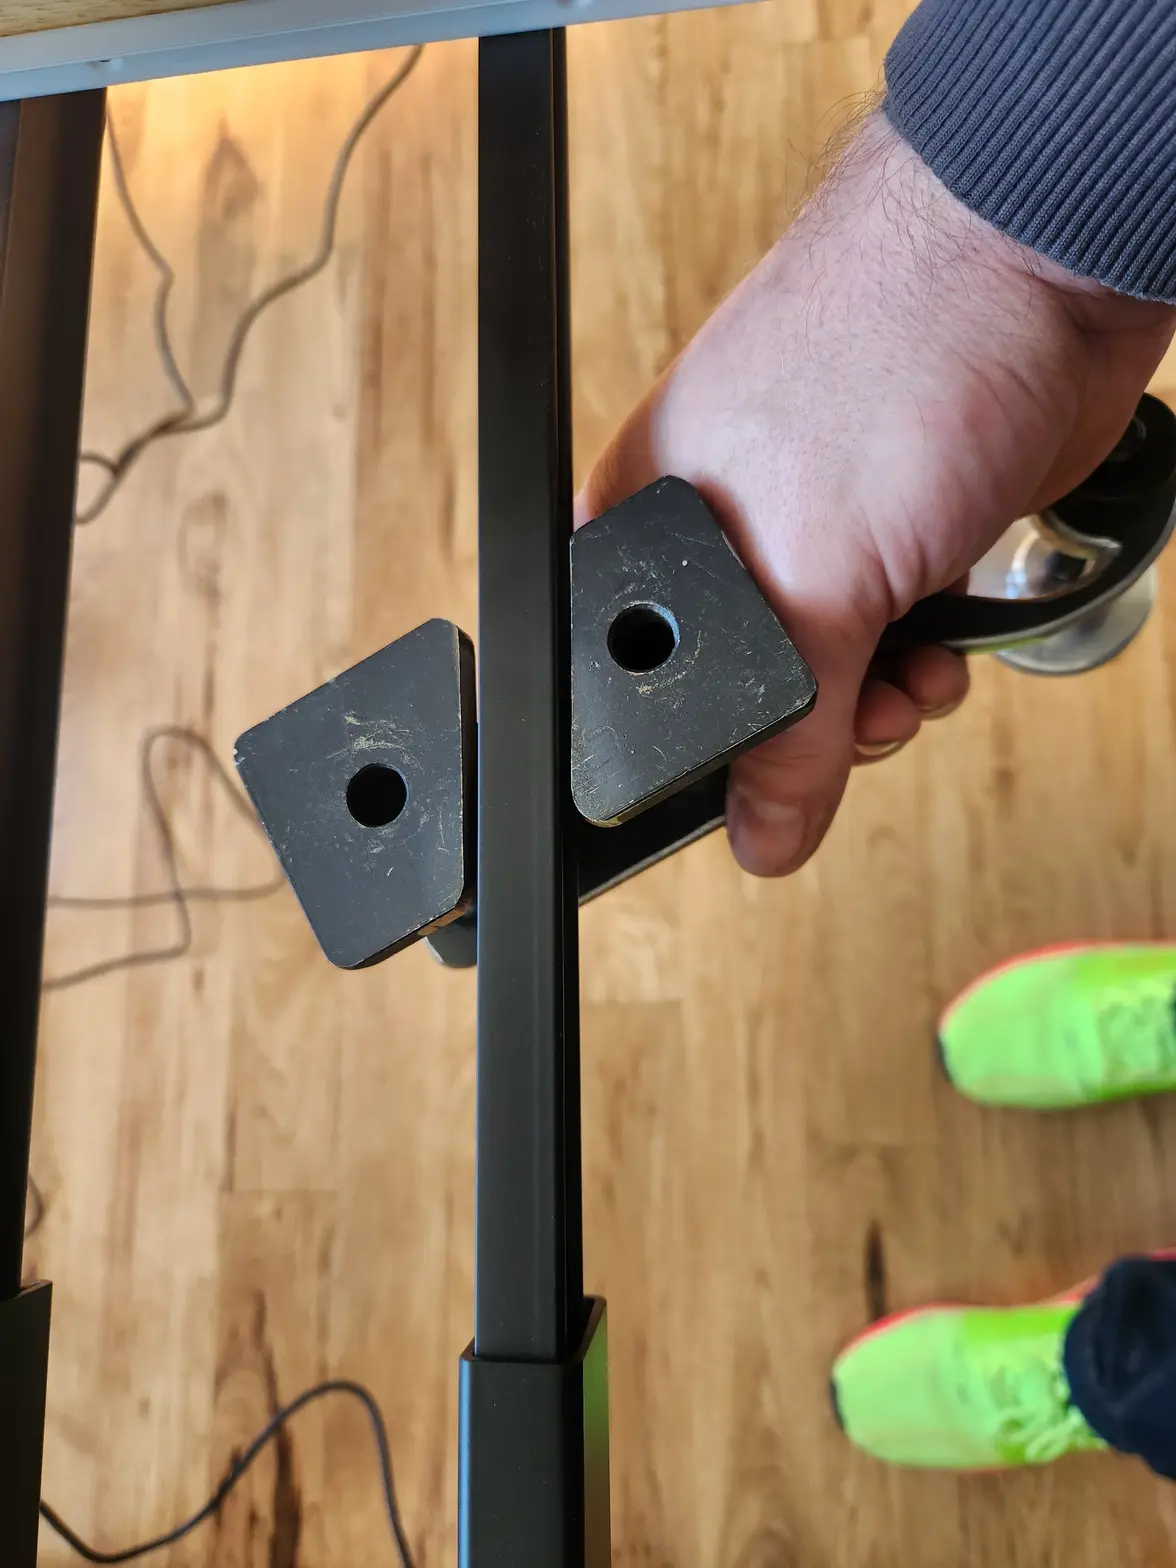
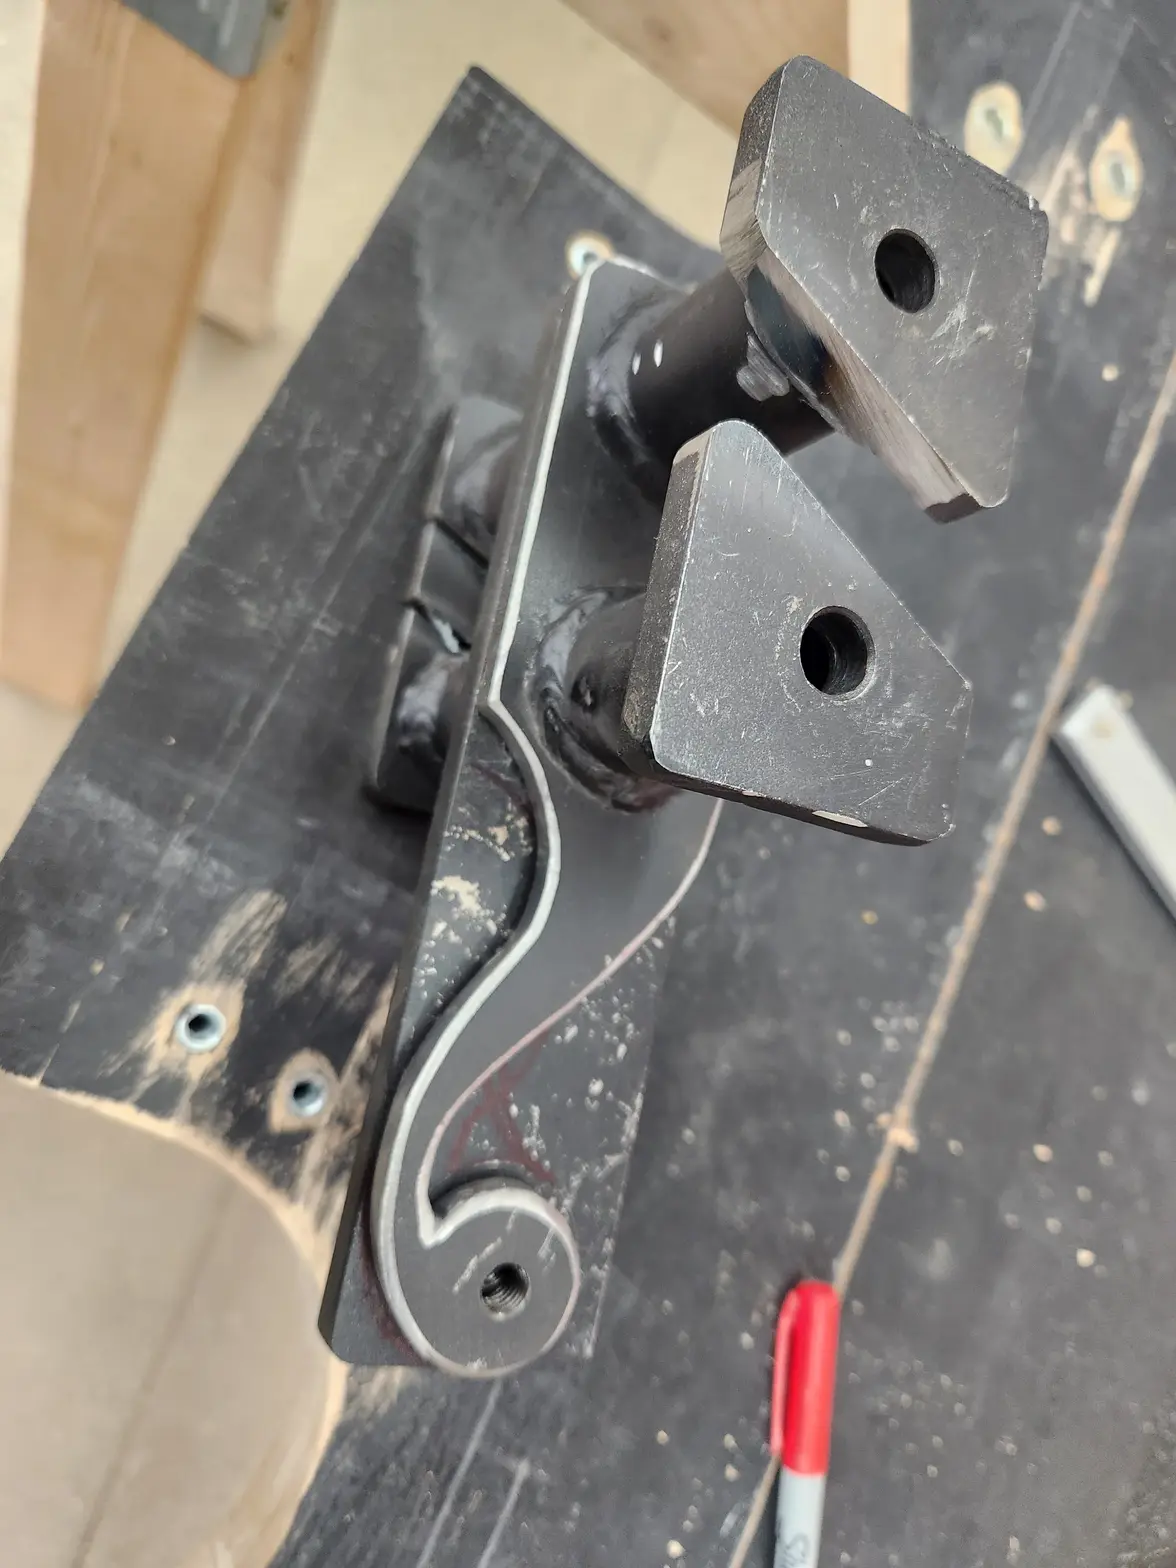
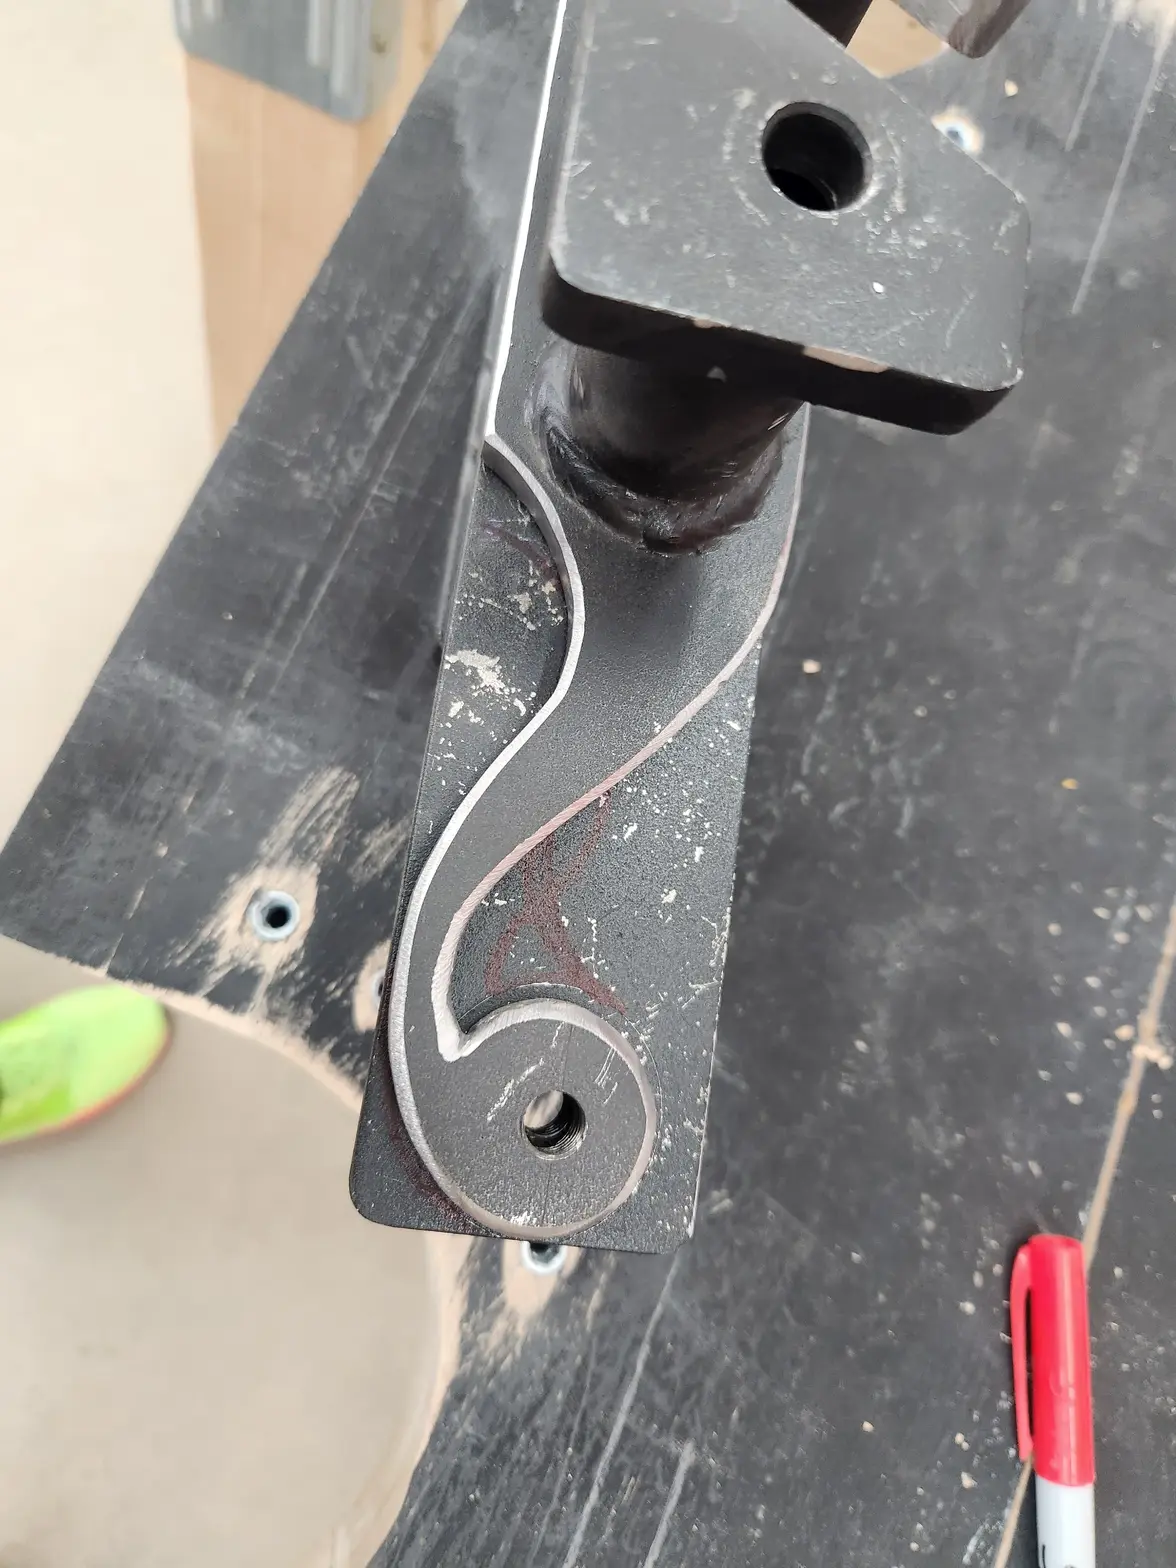
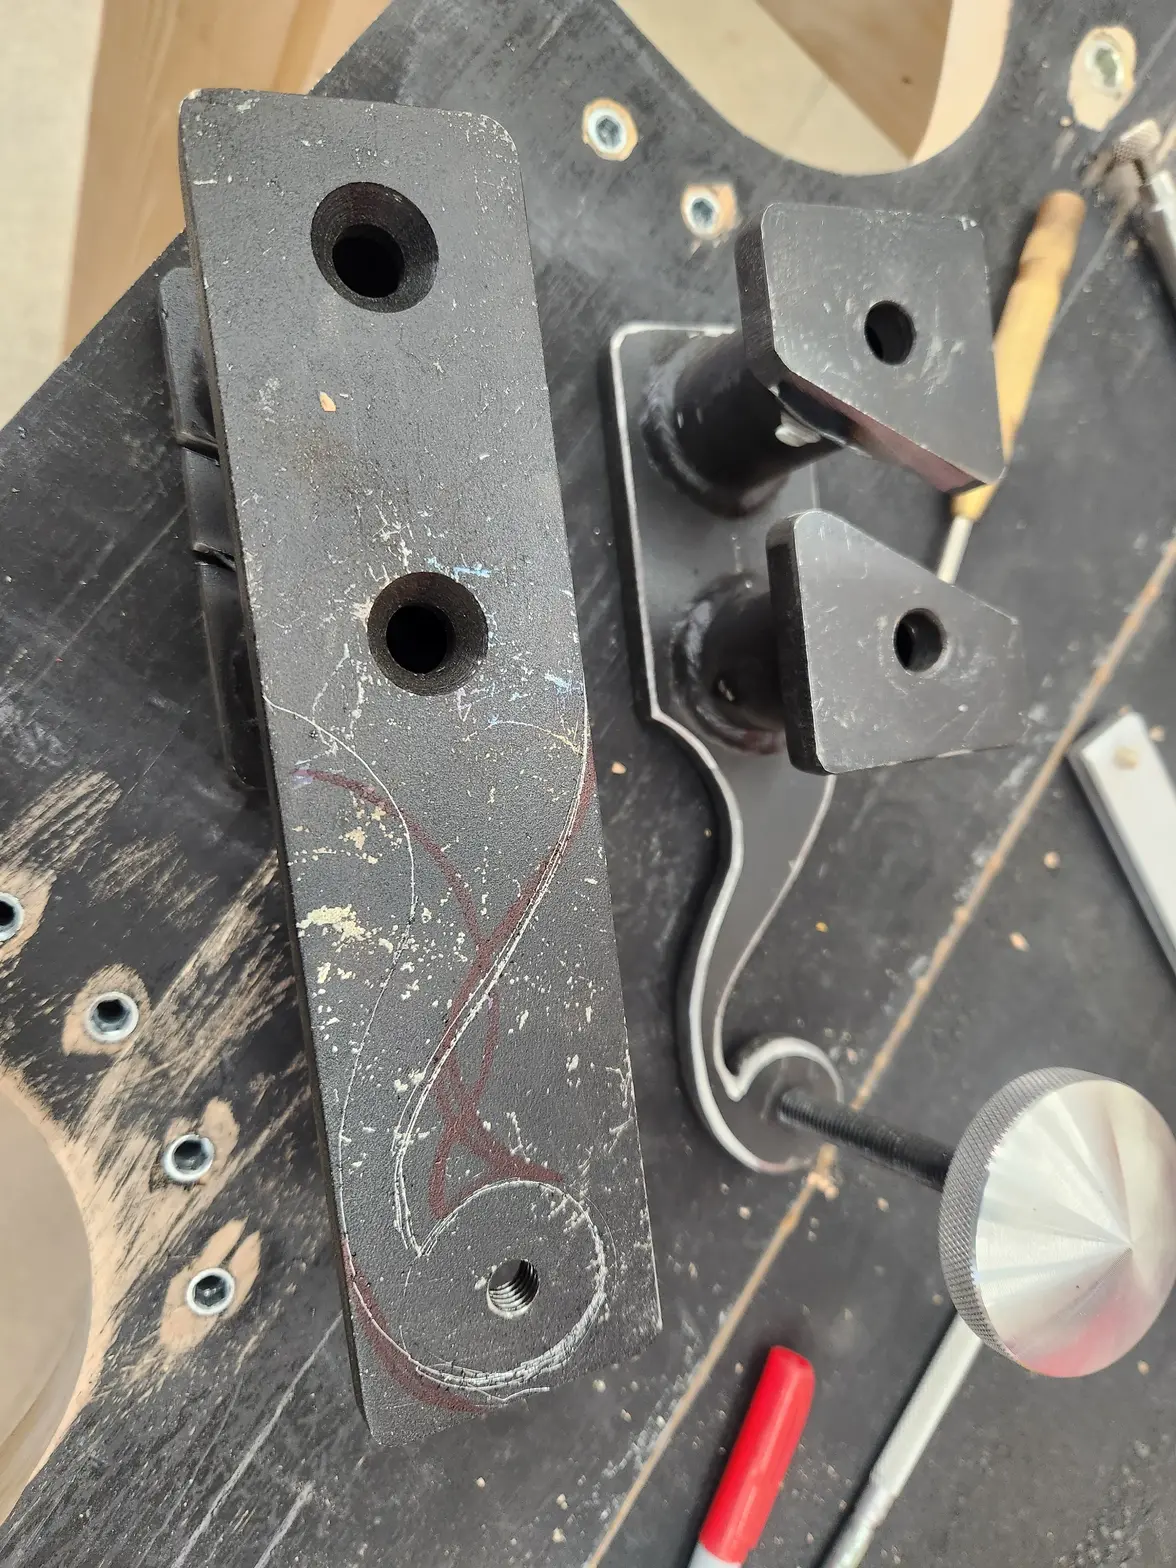
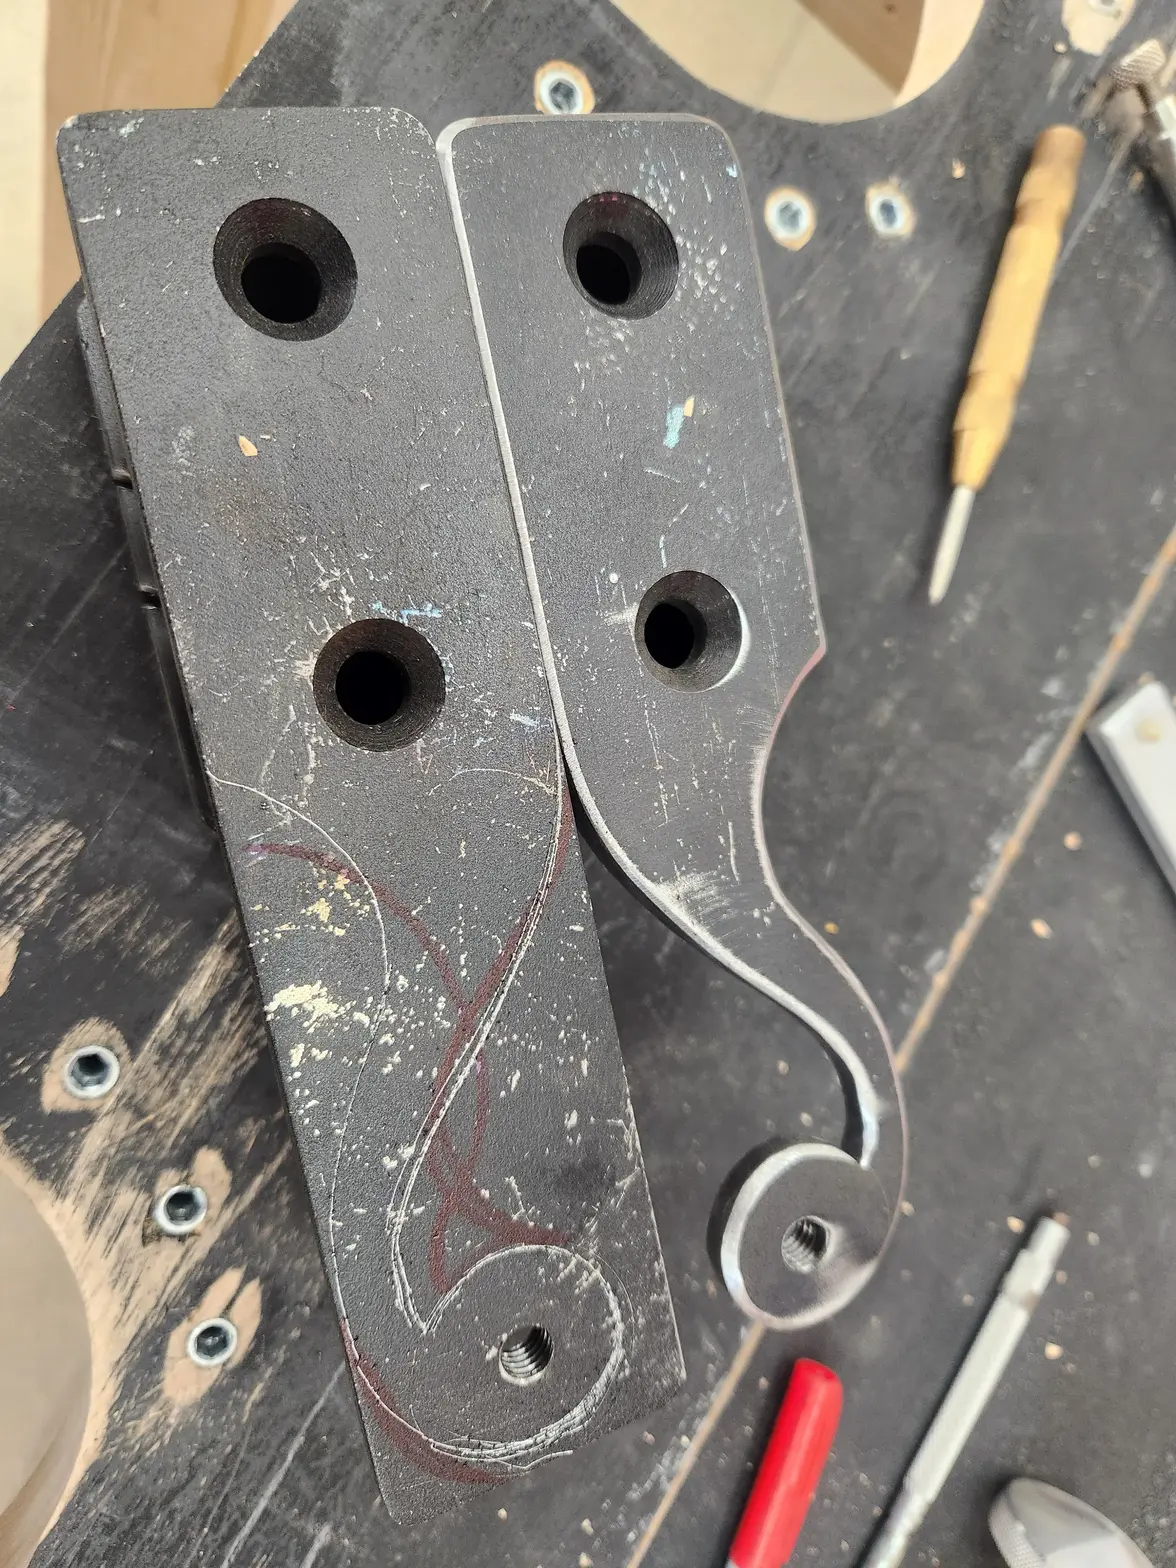
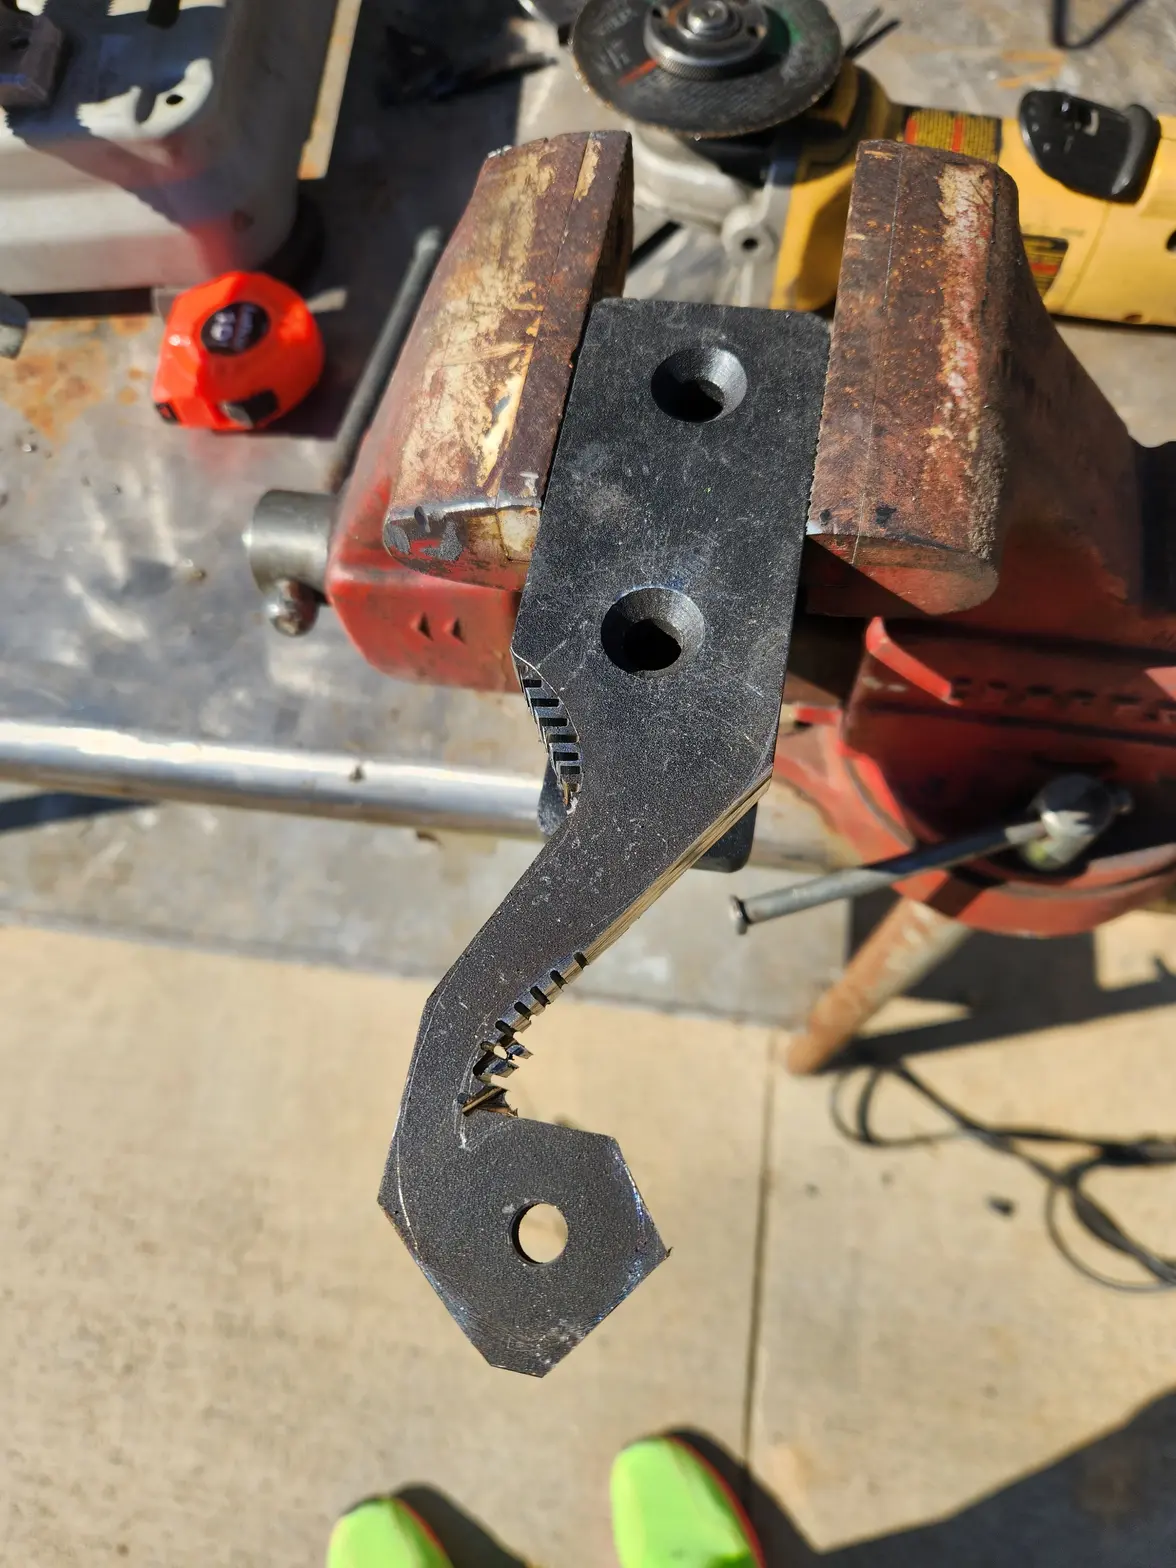
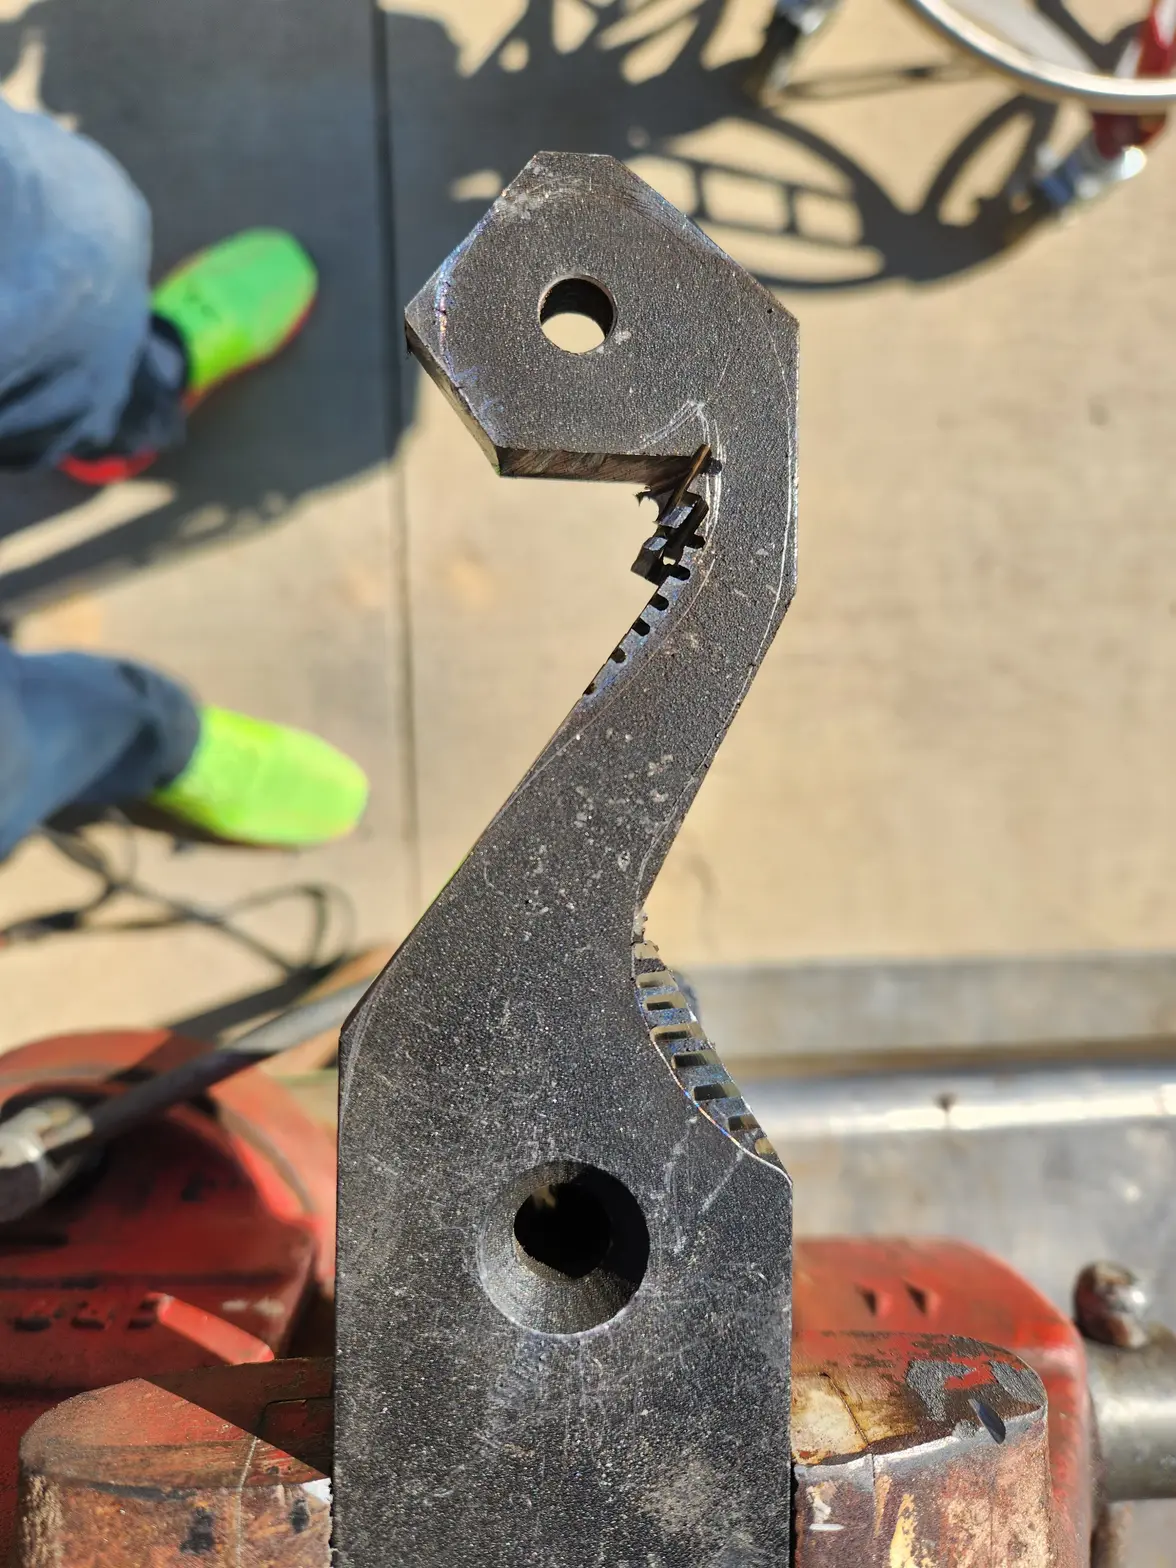
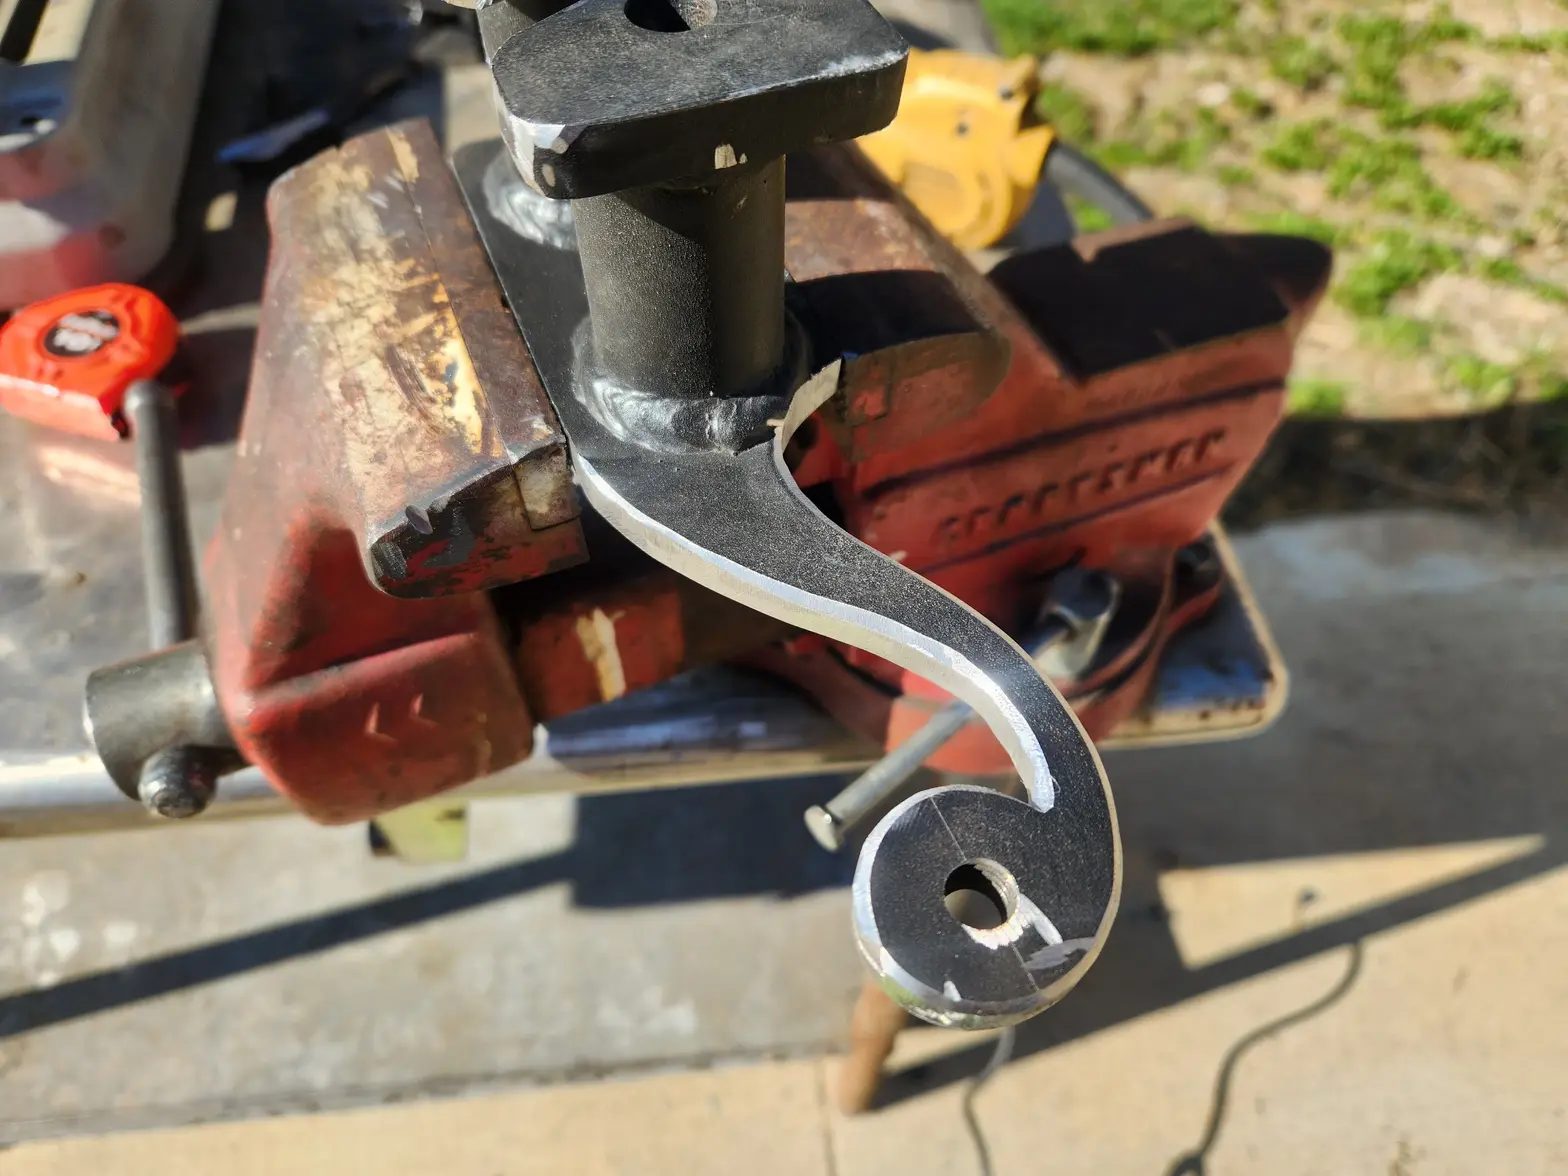
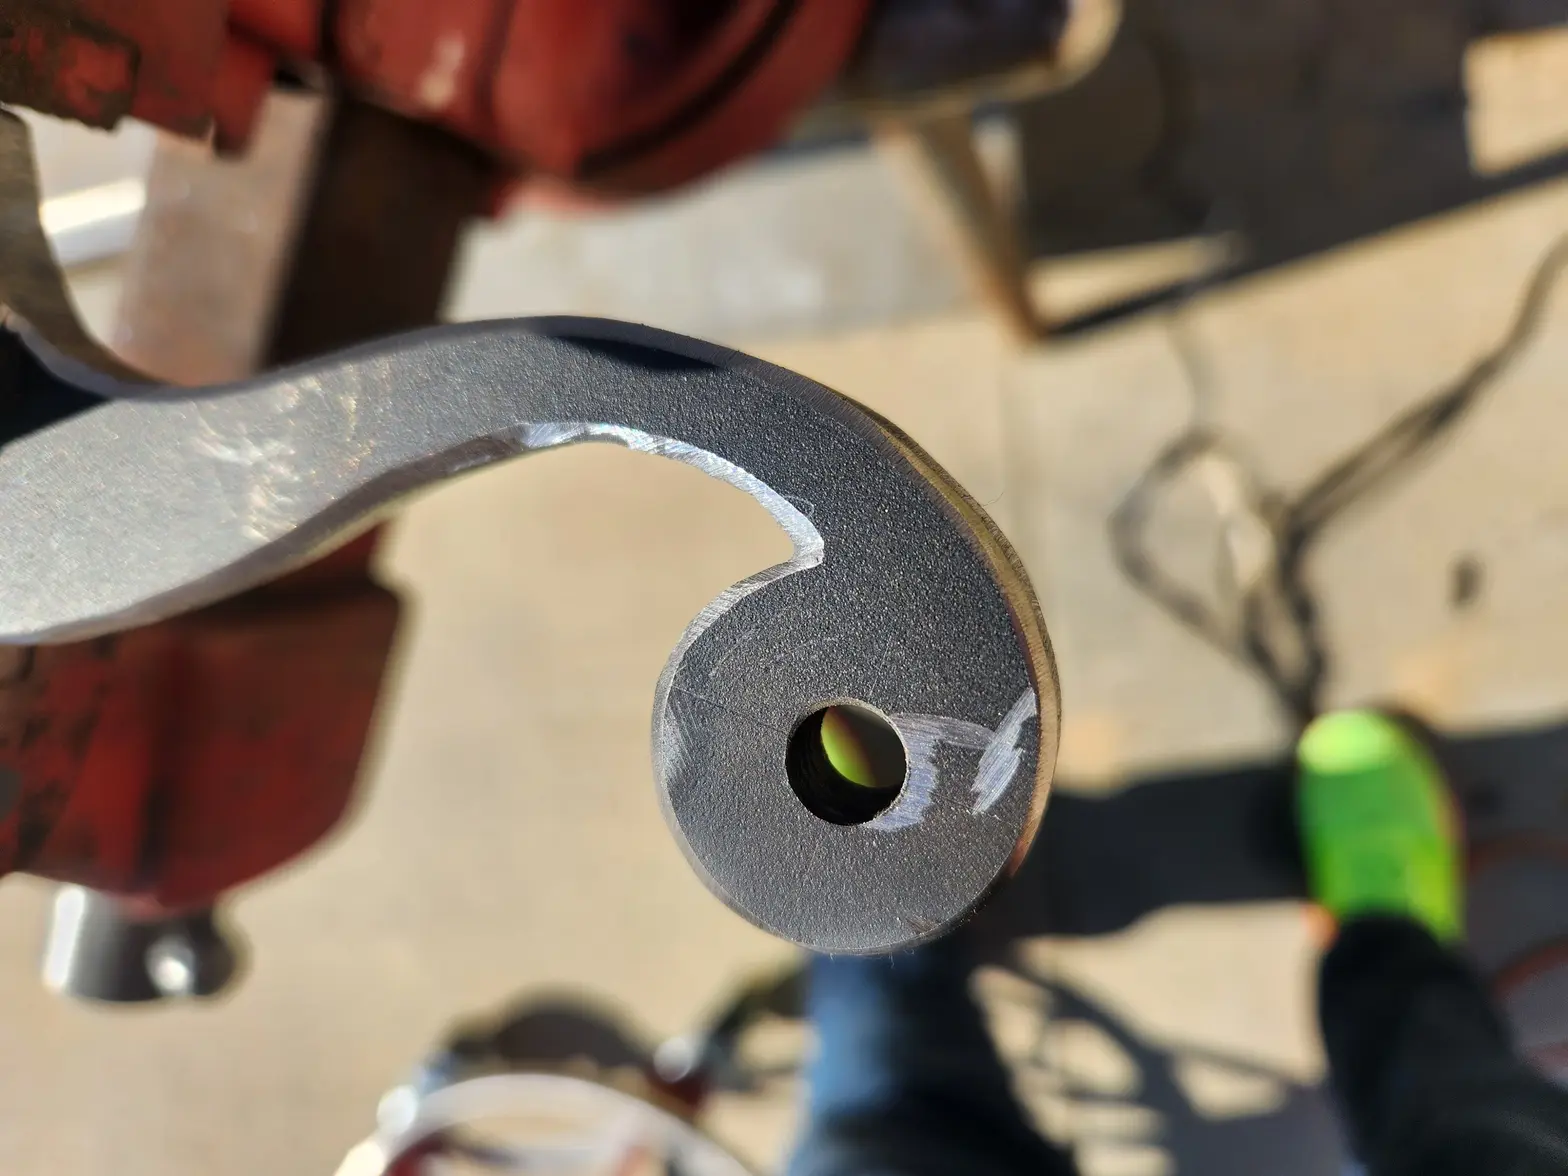
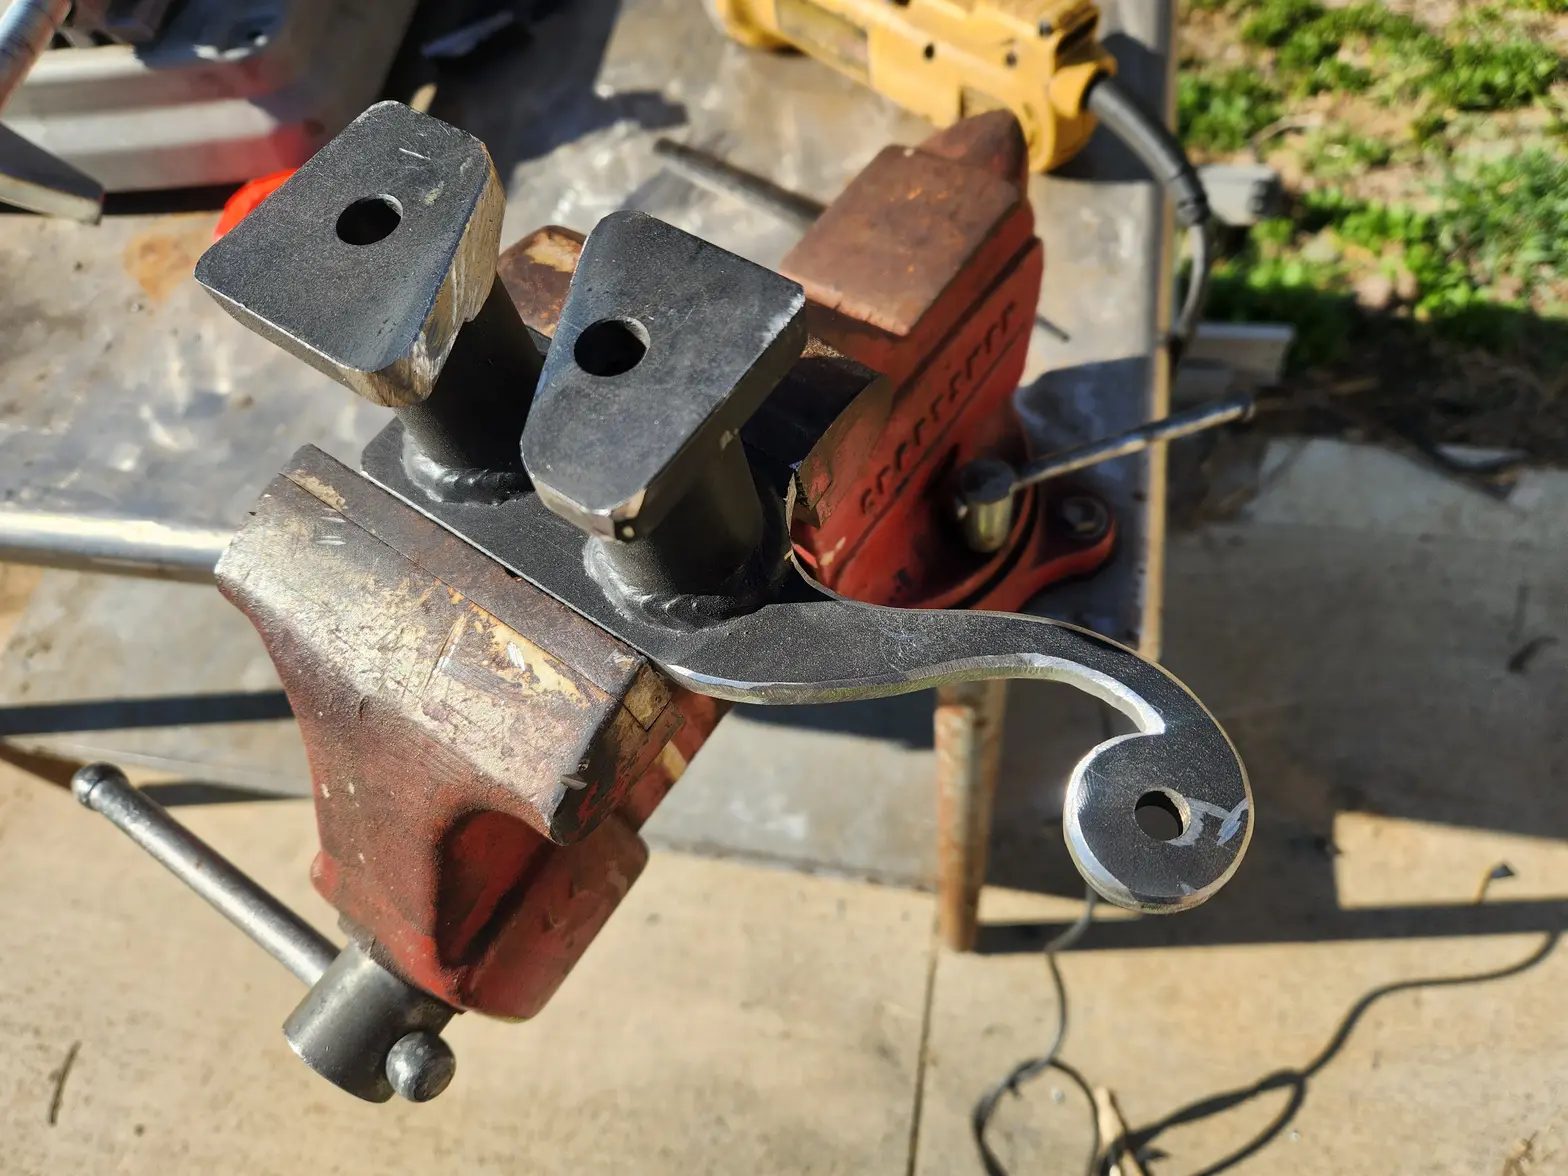
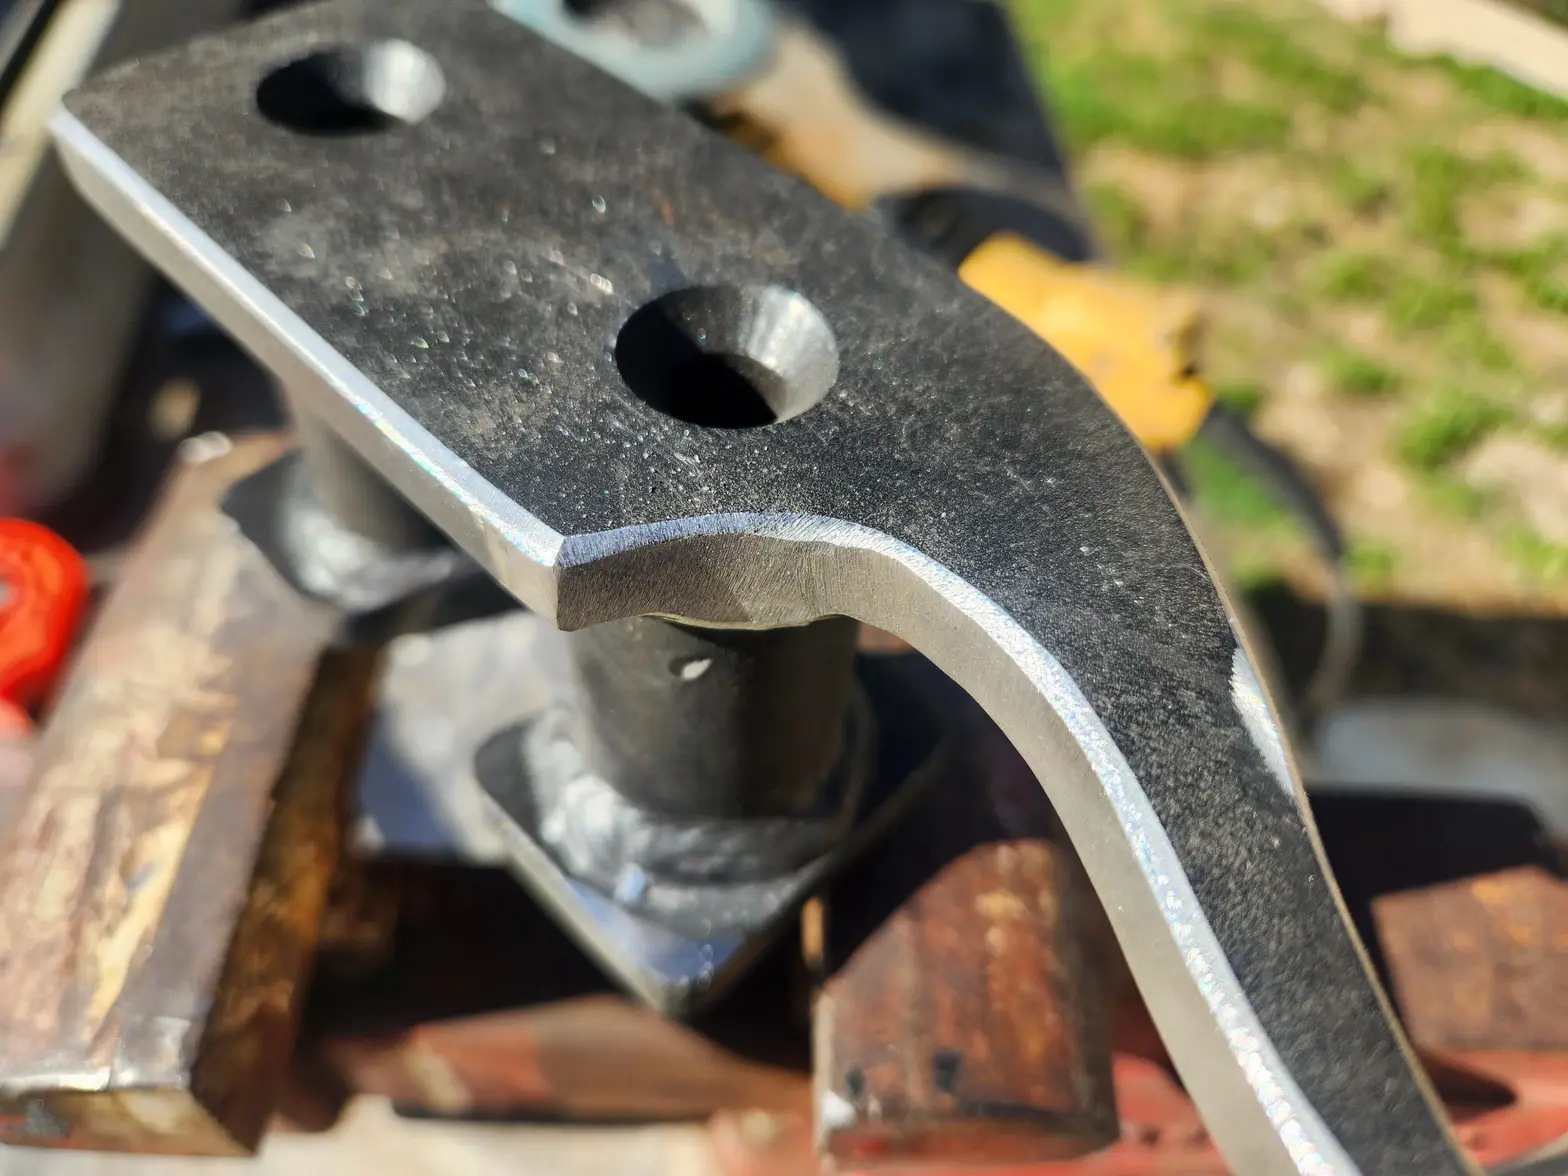
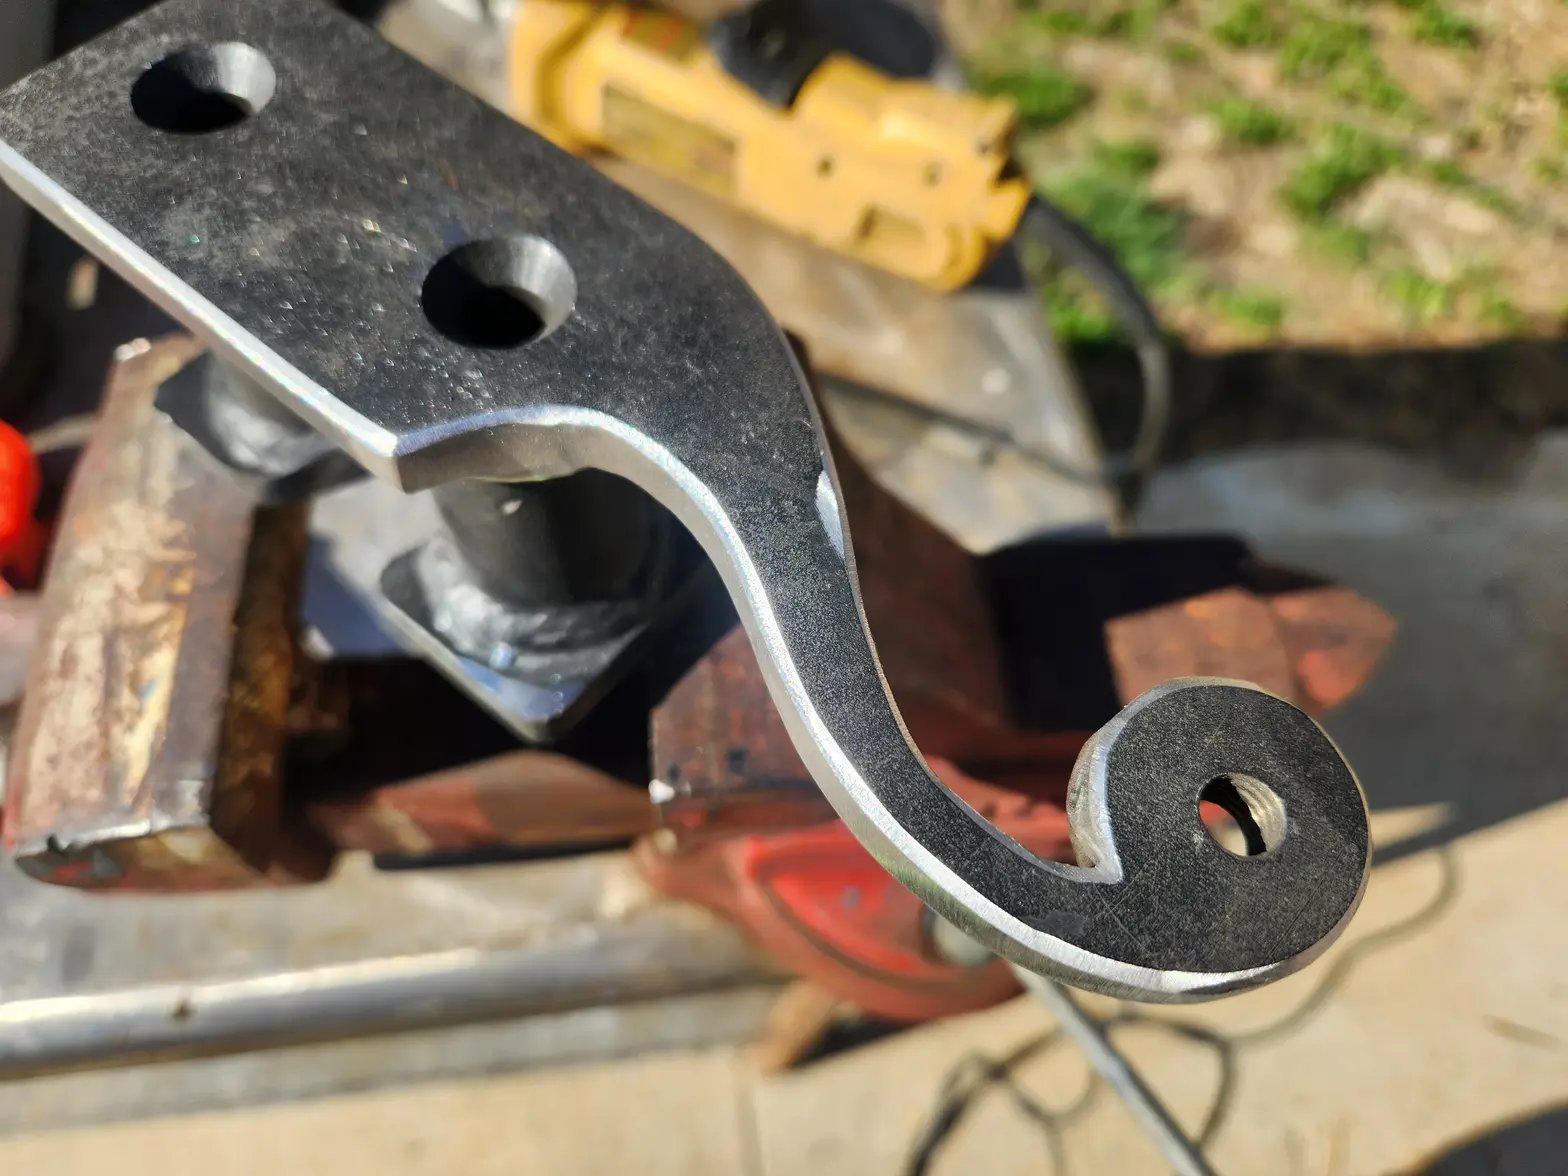
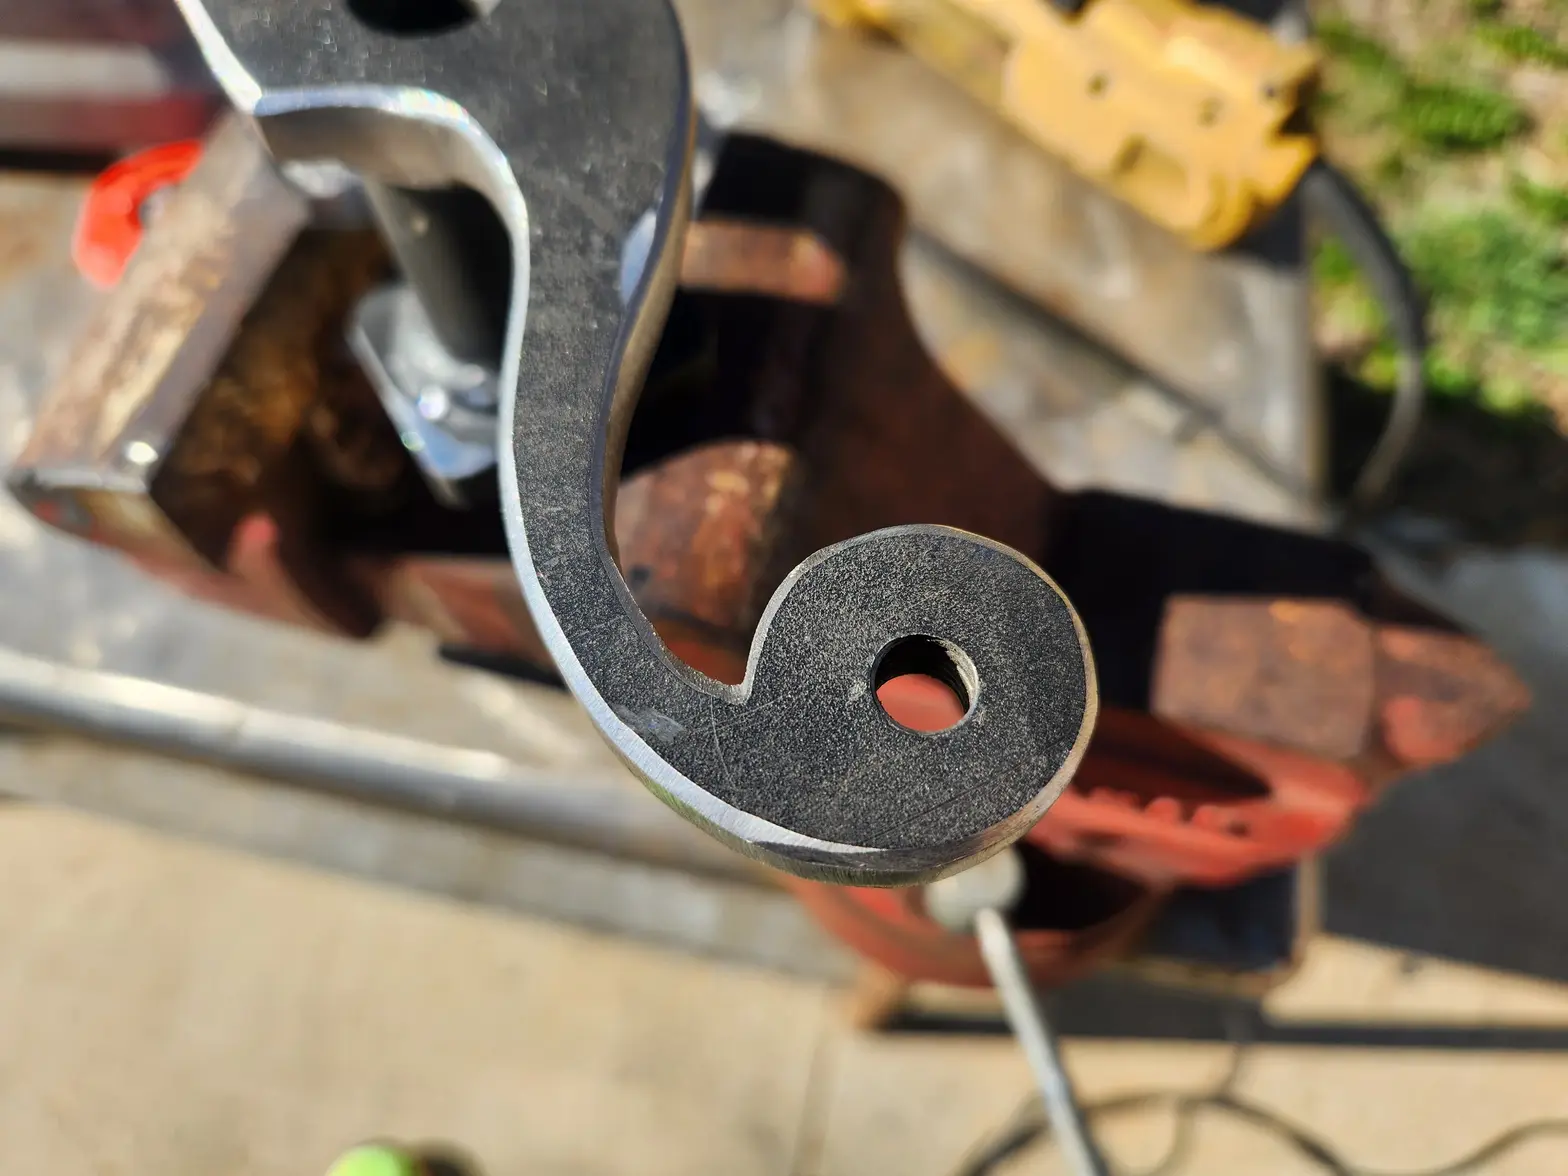
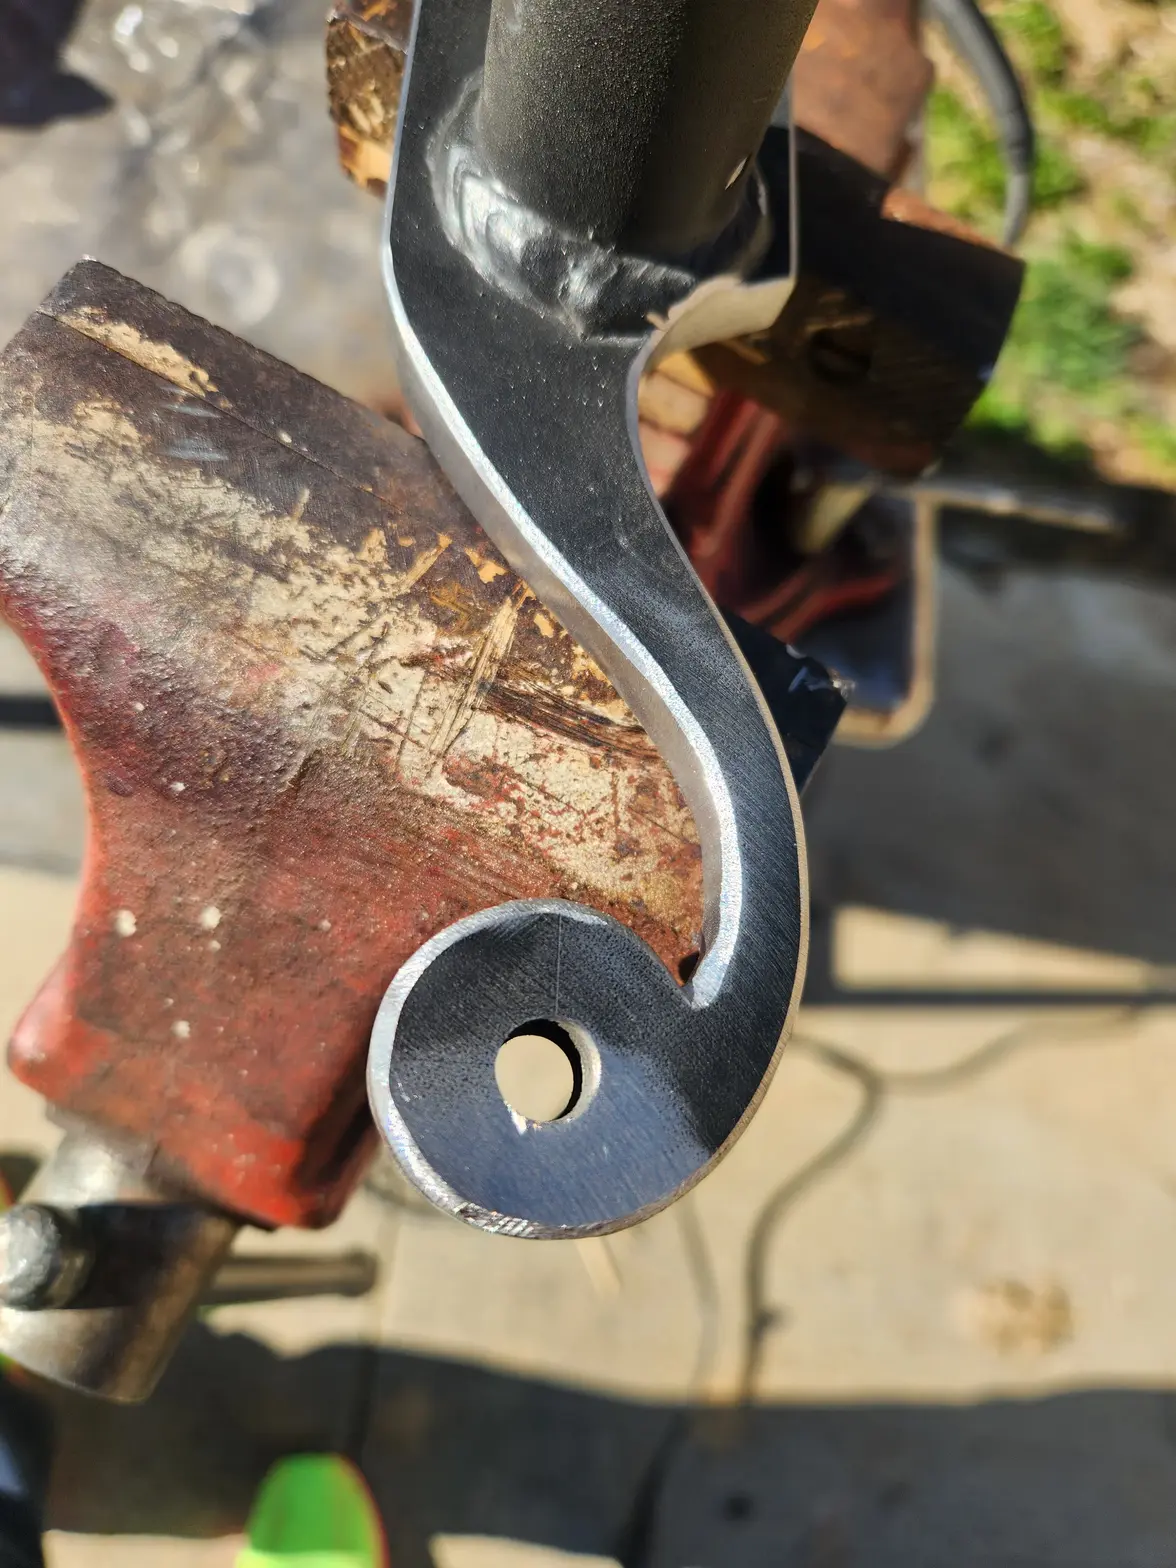
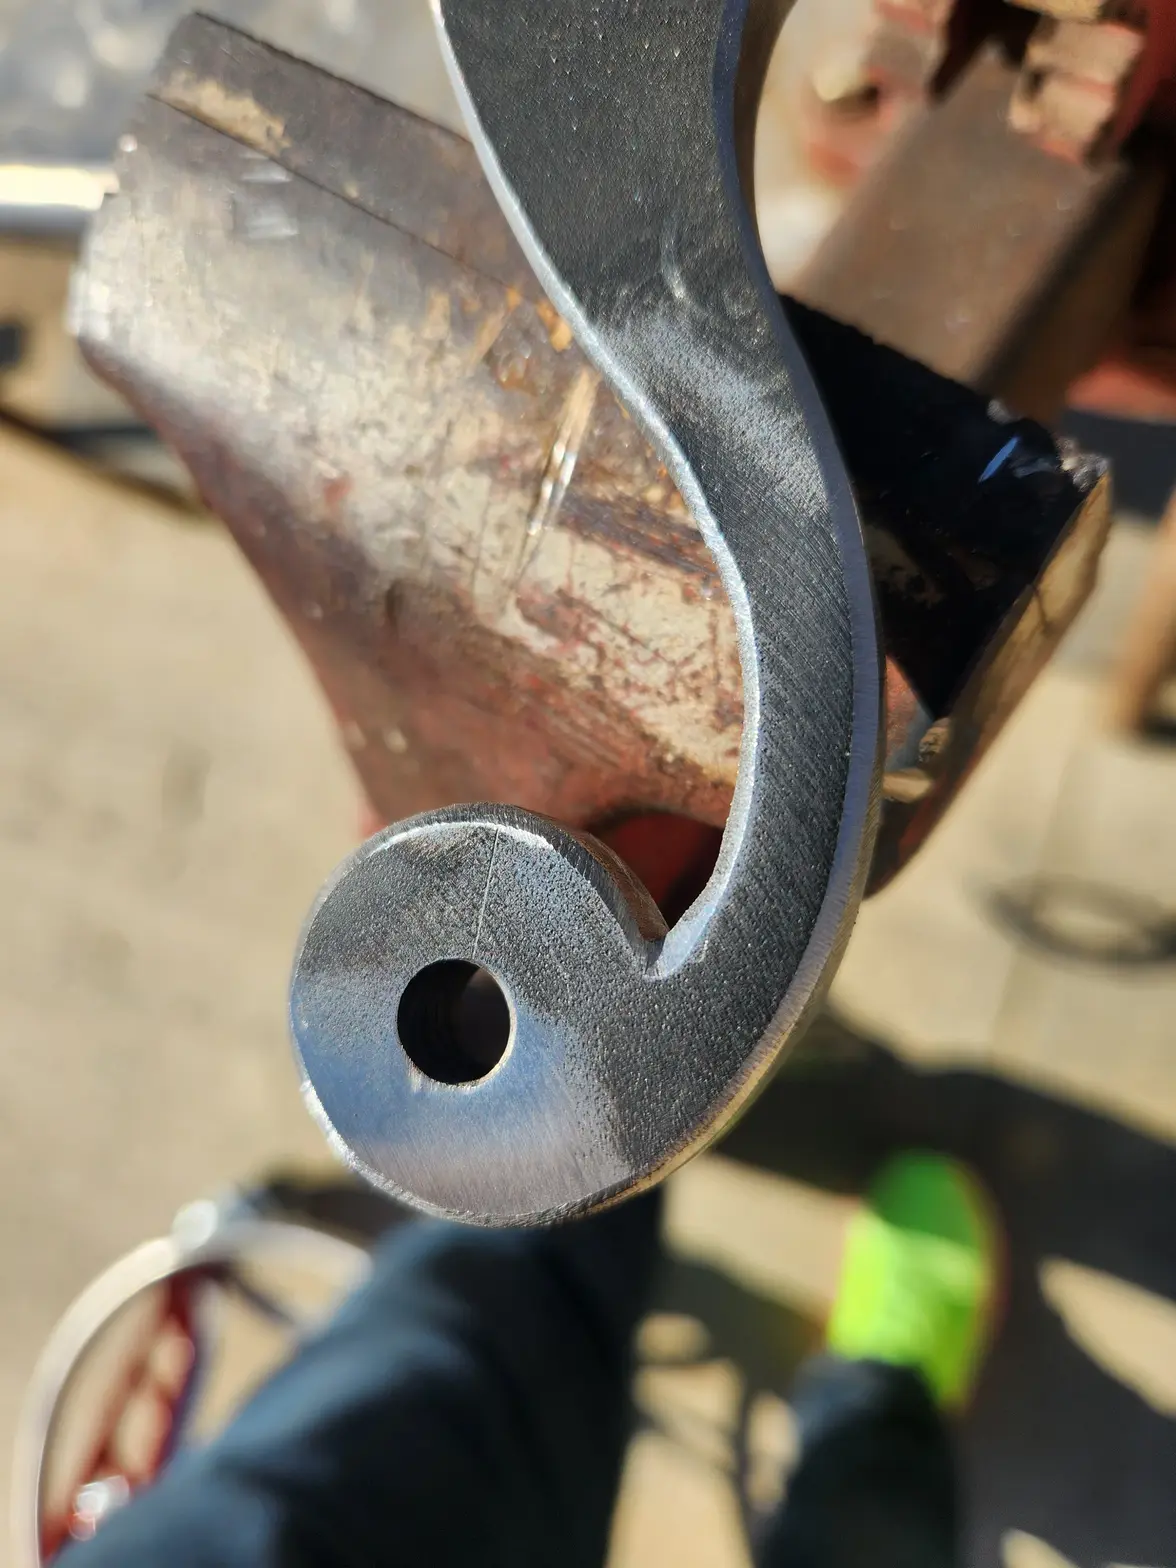
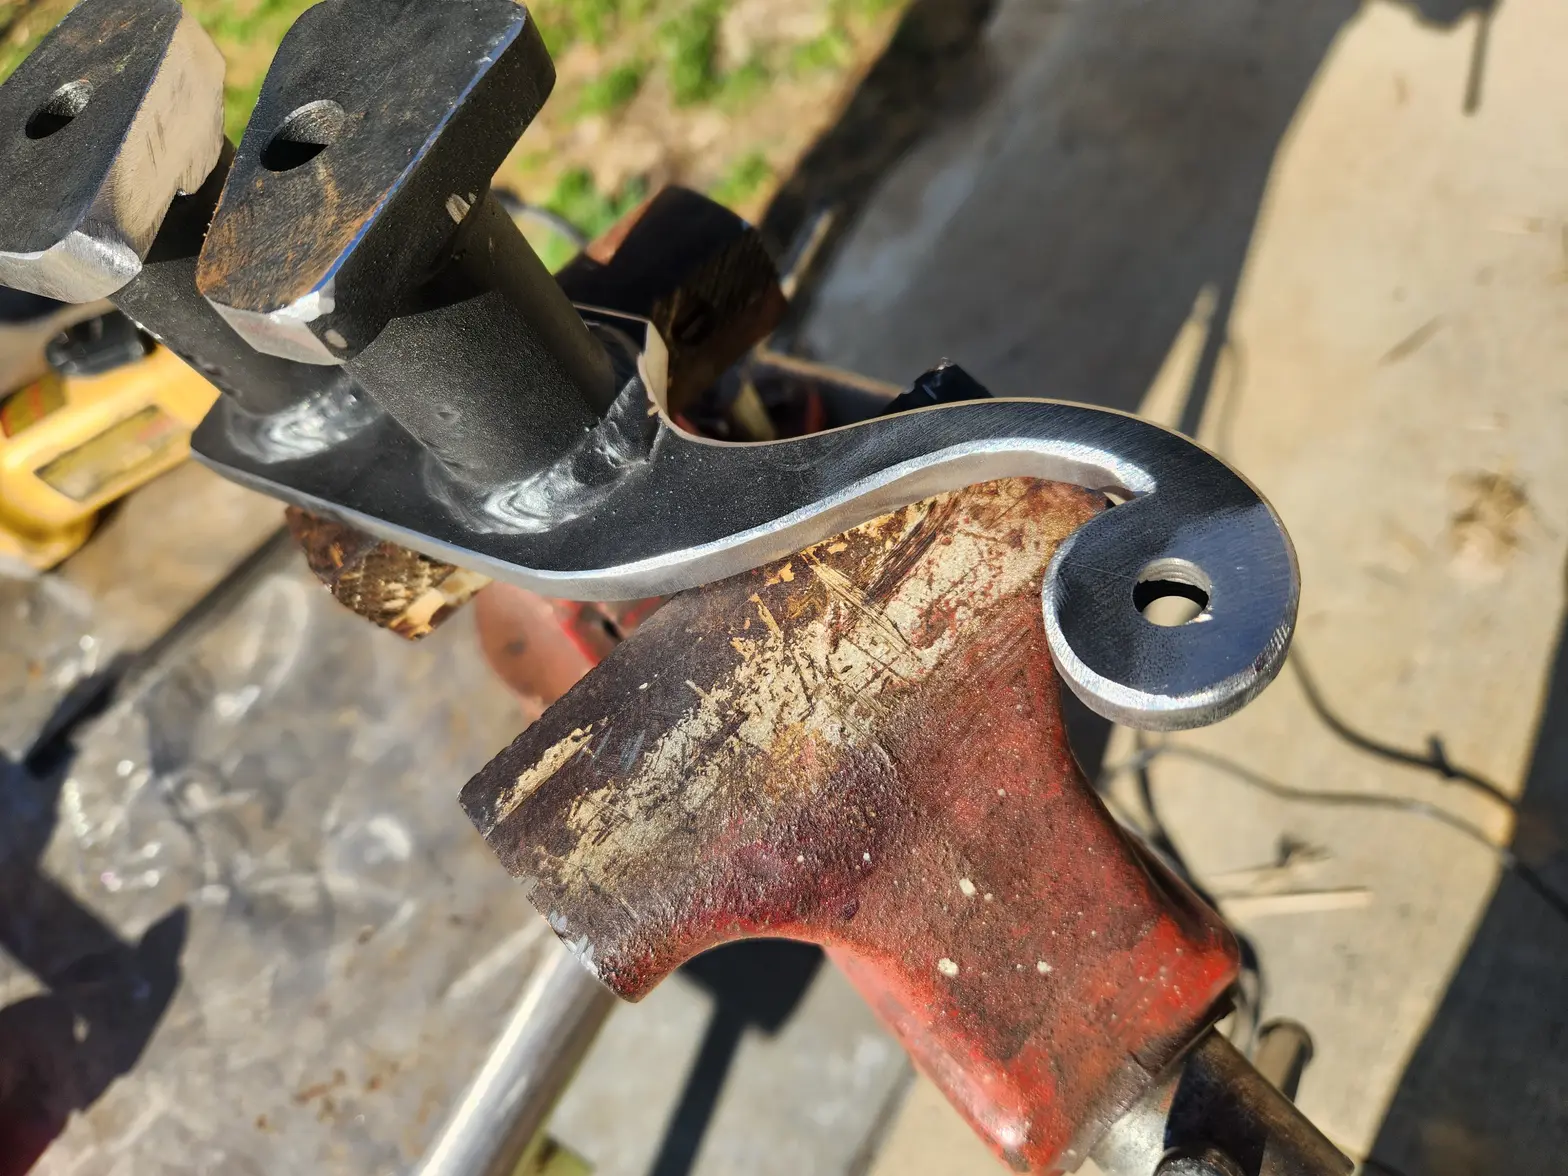
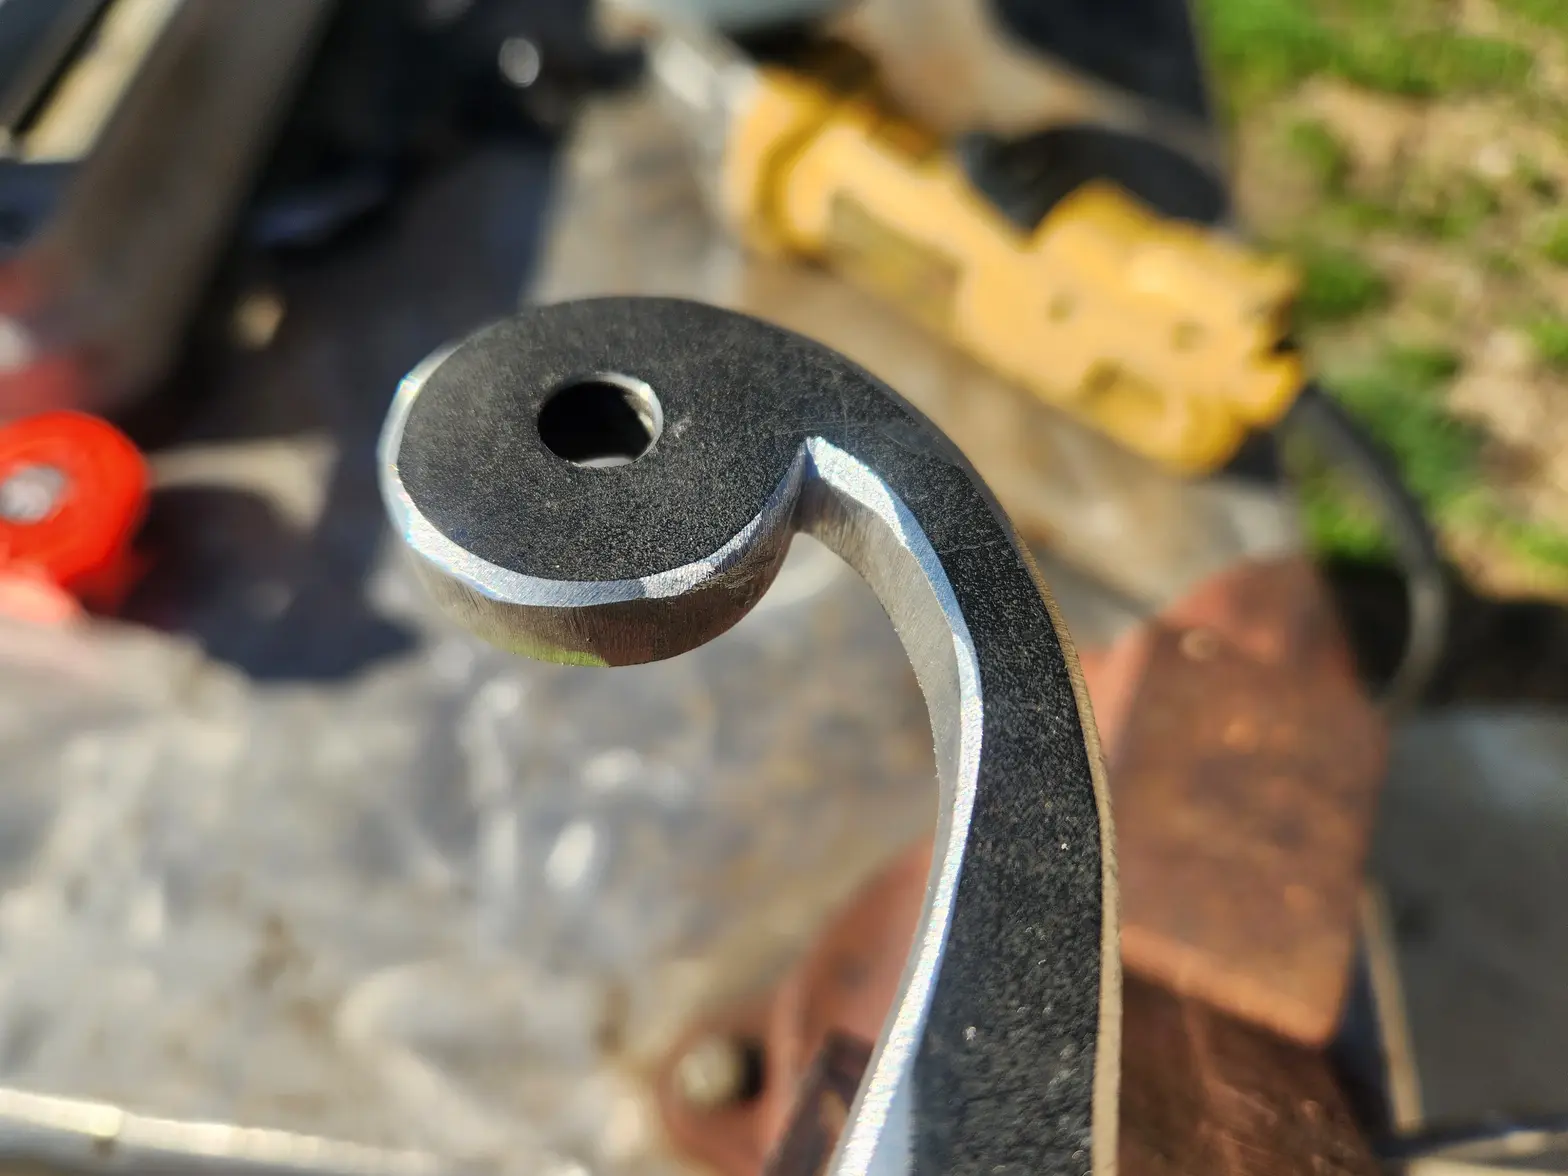
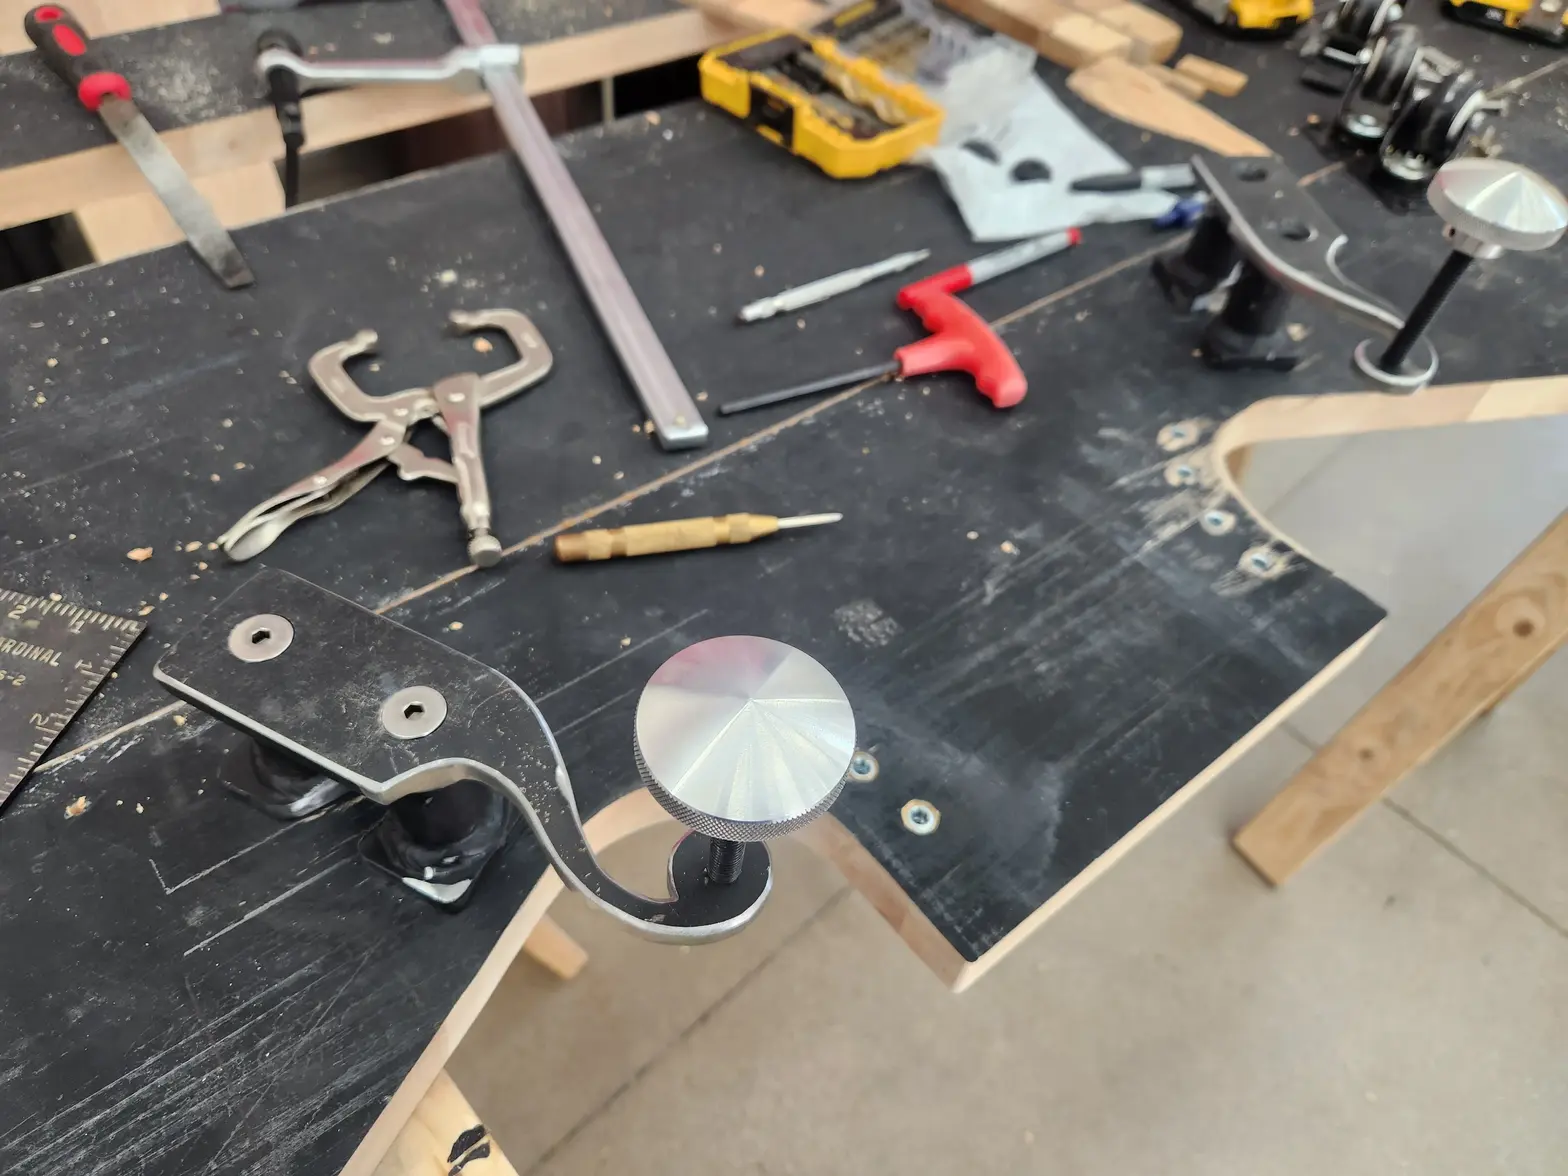
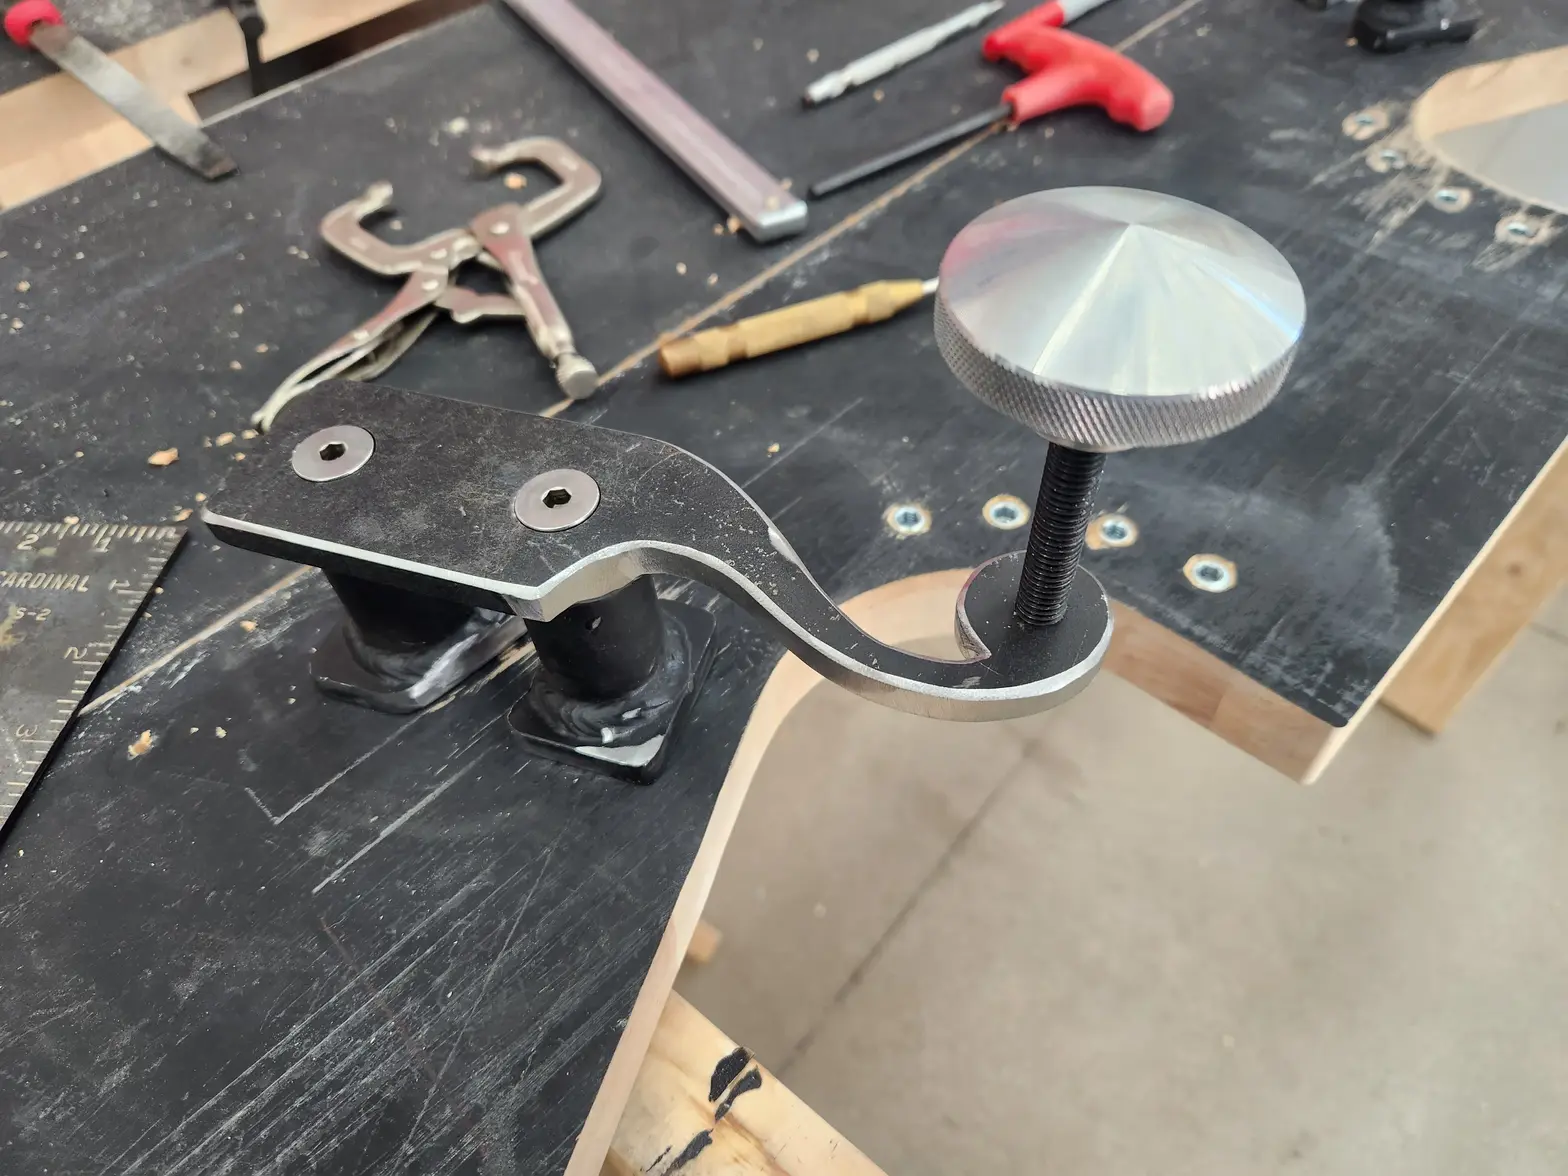
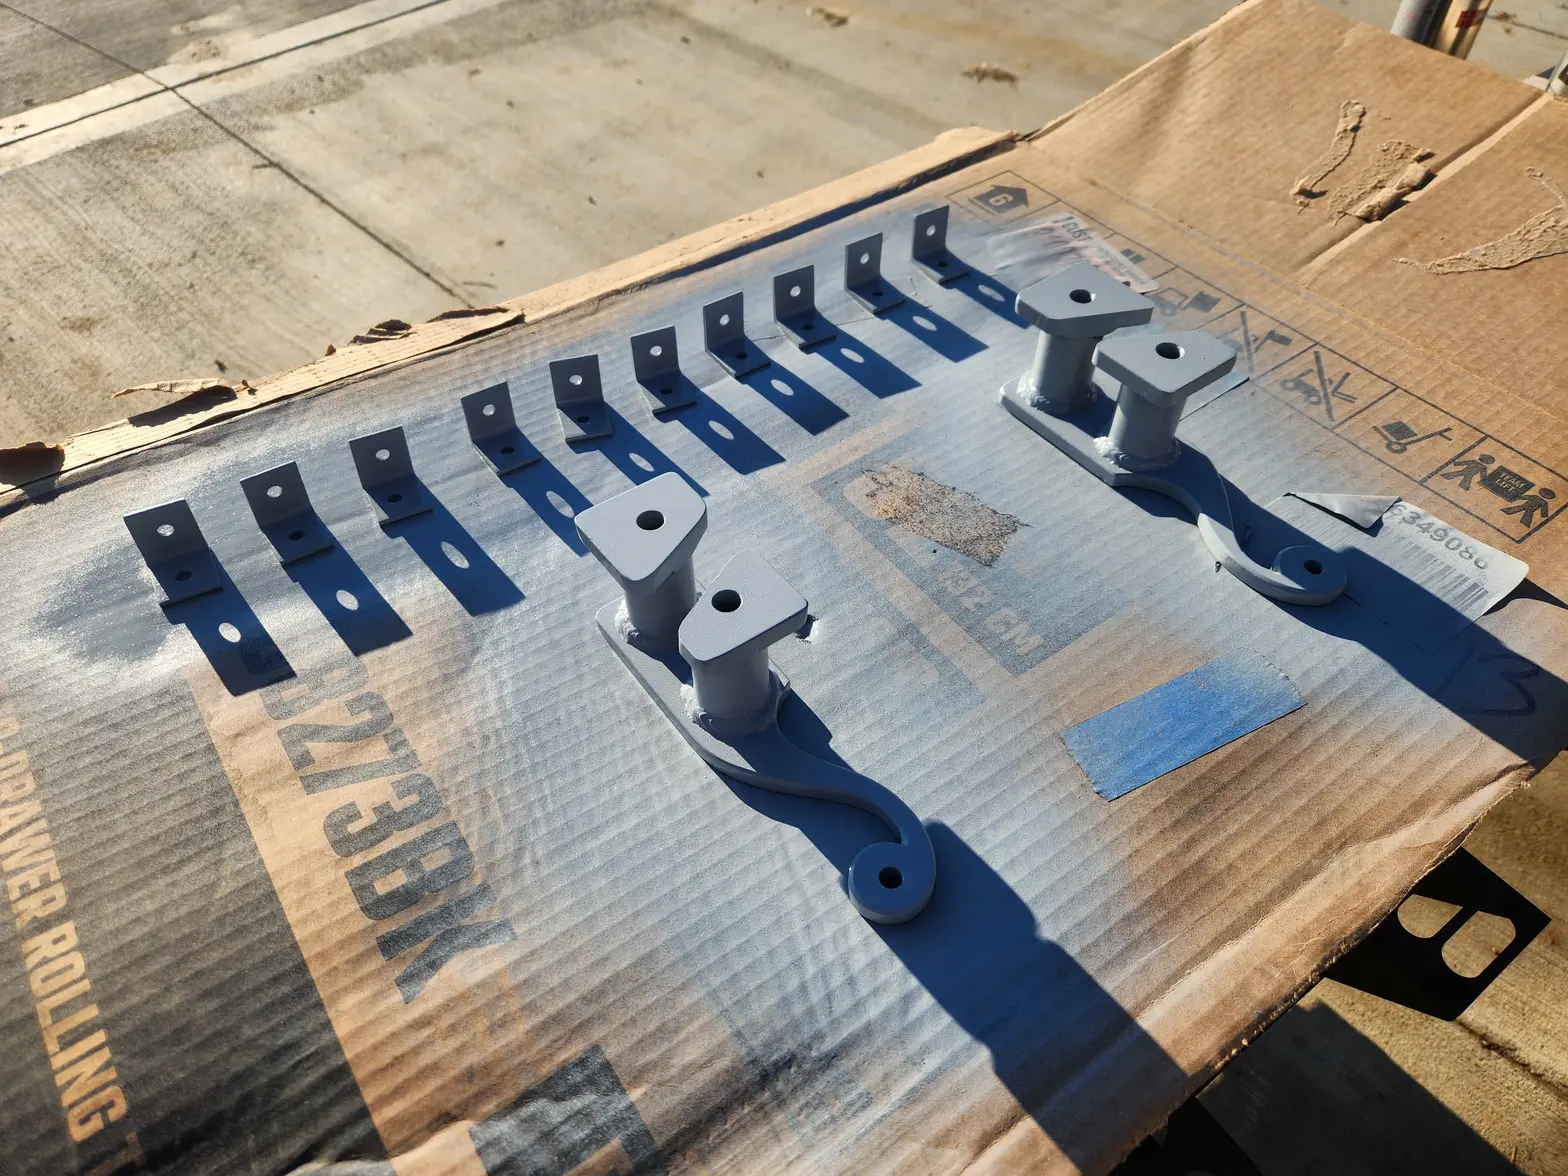
·Hmmm. I have made a misstep. I have a fouling condition with my perfect and beautiful arm rest brackets. I need to either start from scratch or clearance what I have. I opt for the latter. But since I have to repaint, lets make these a little bit more appealing and scroll them. Looks like a tiny dinosaur 🦕
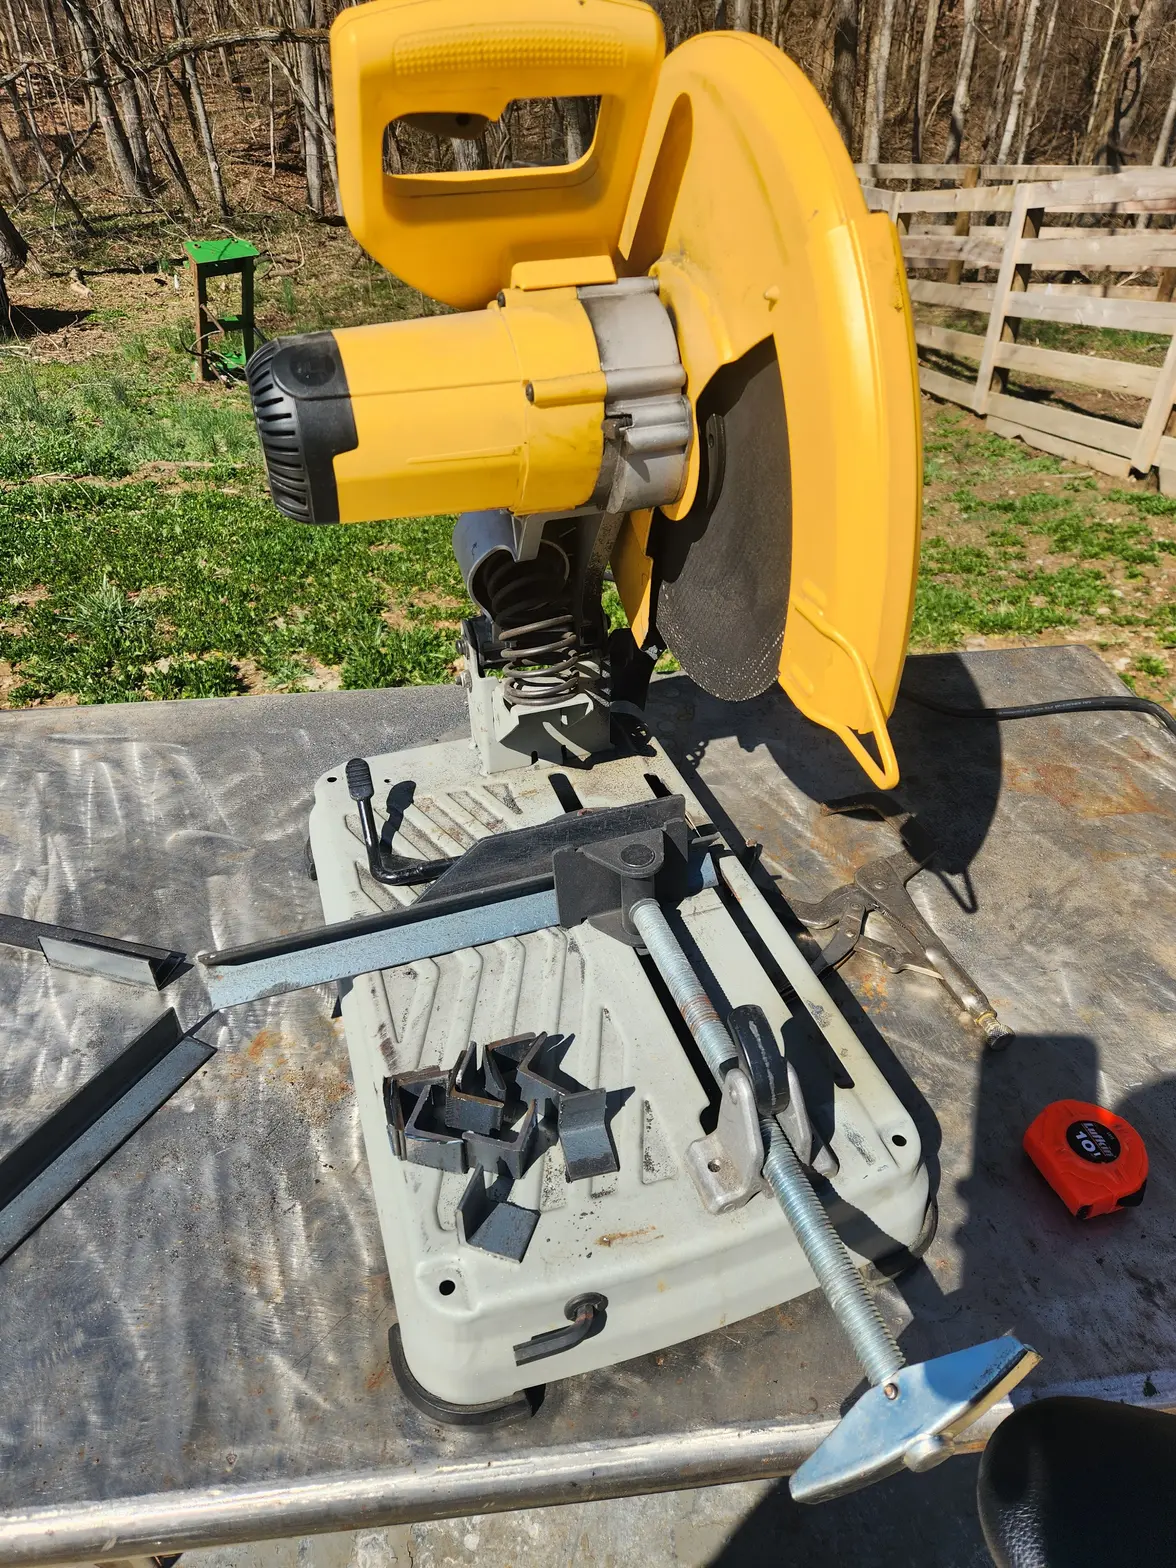
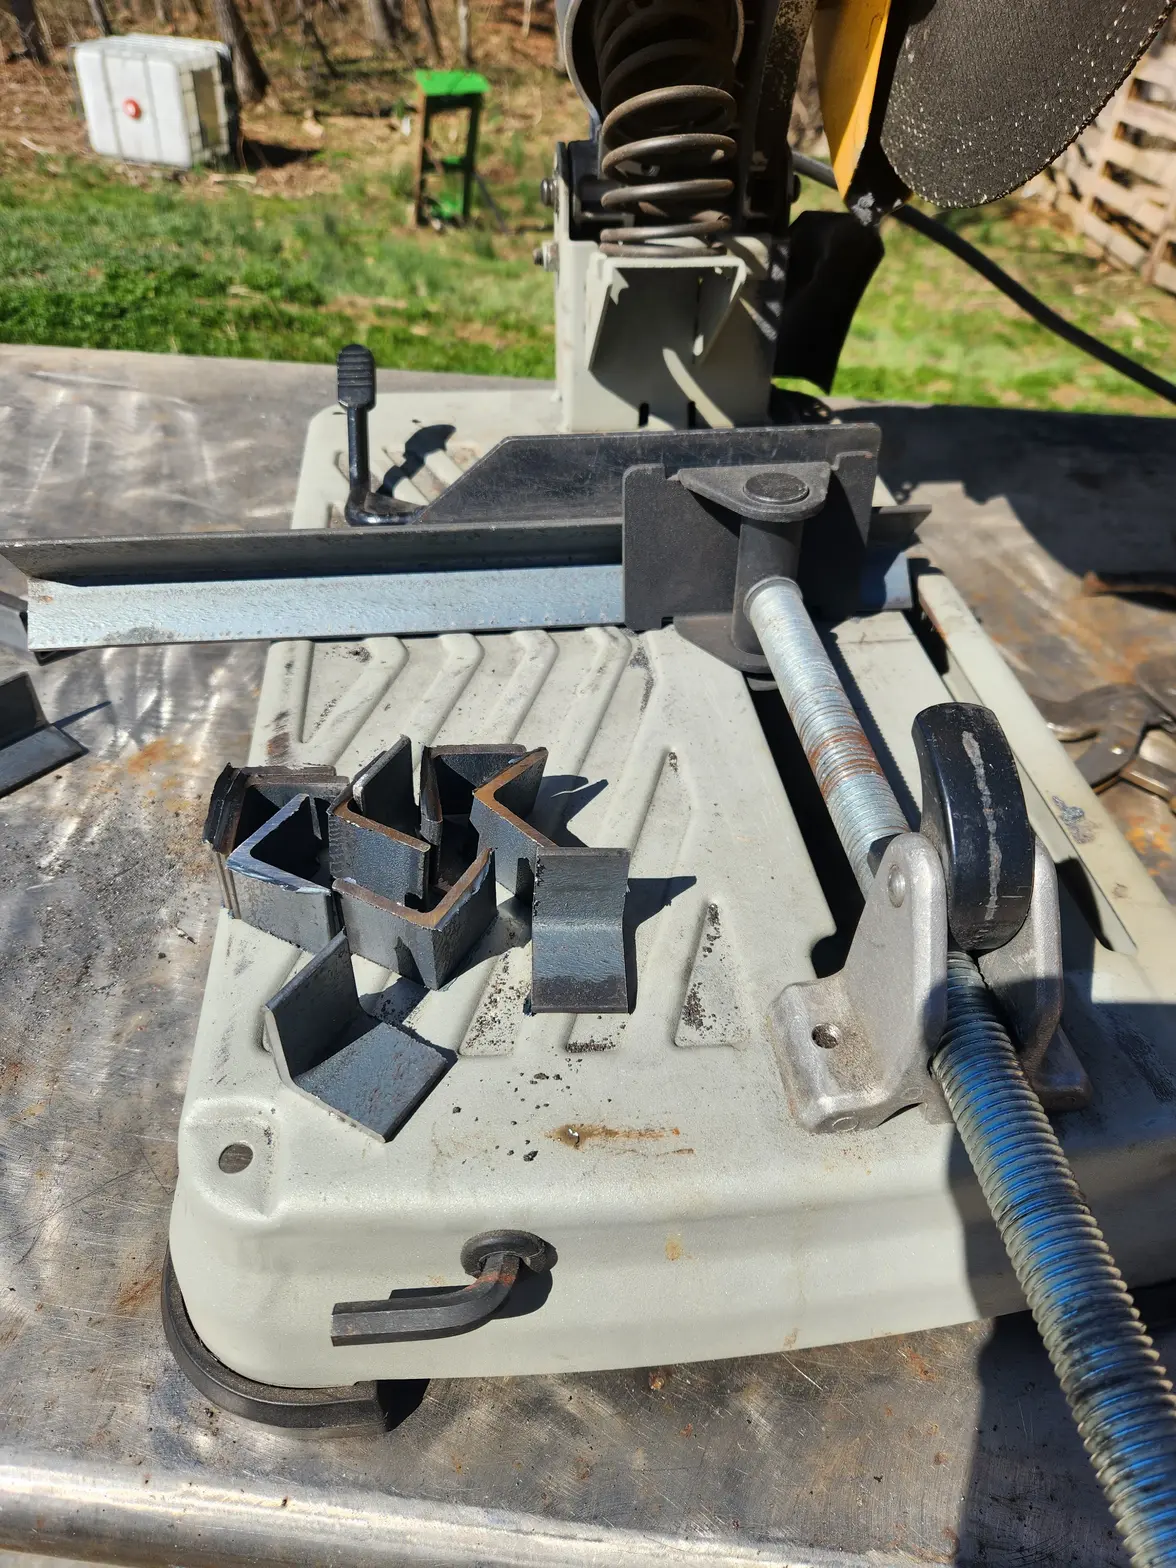
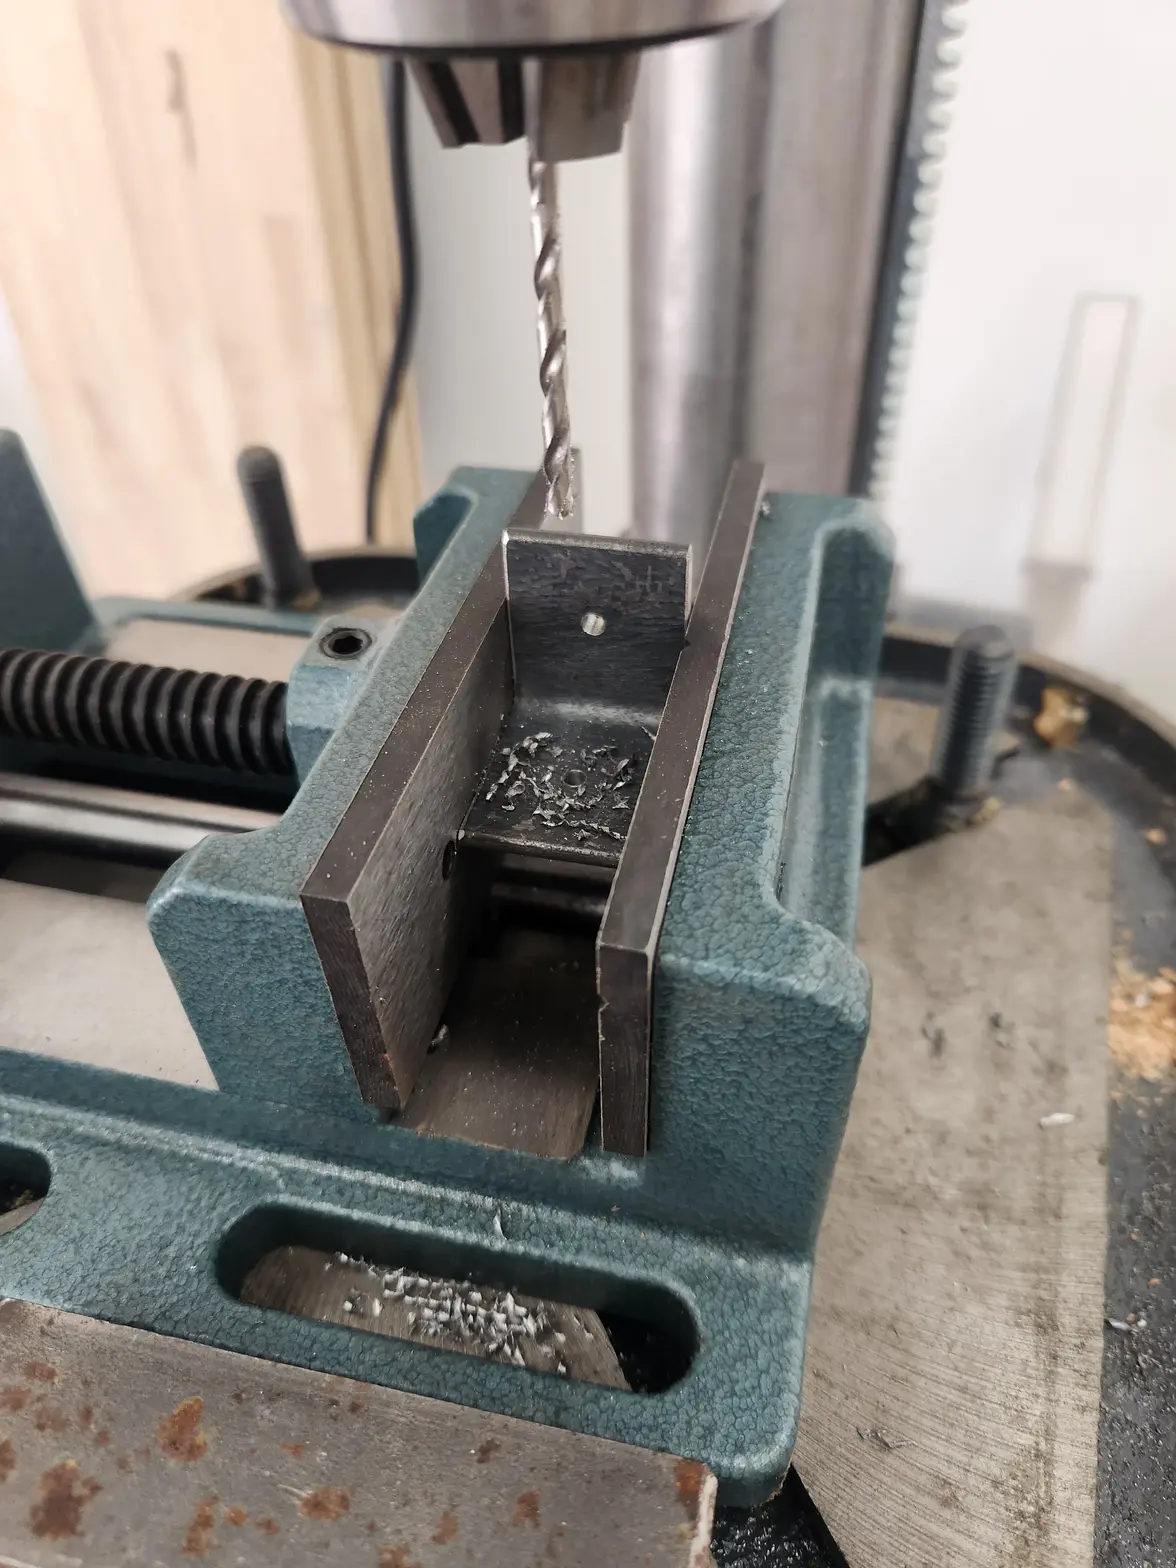
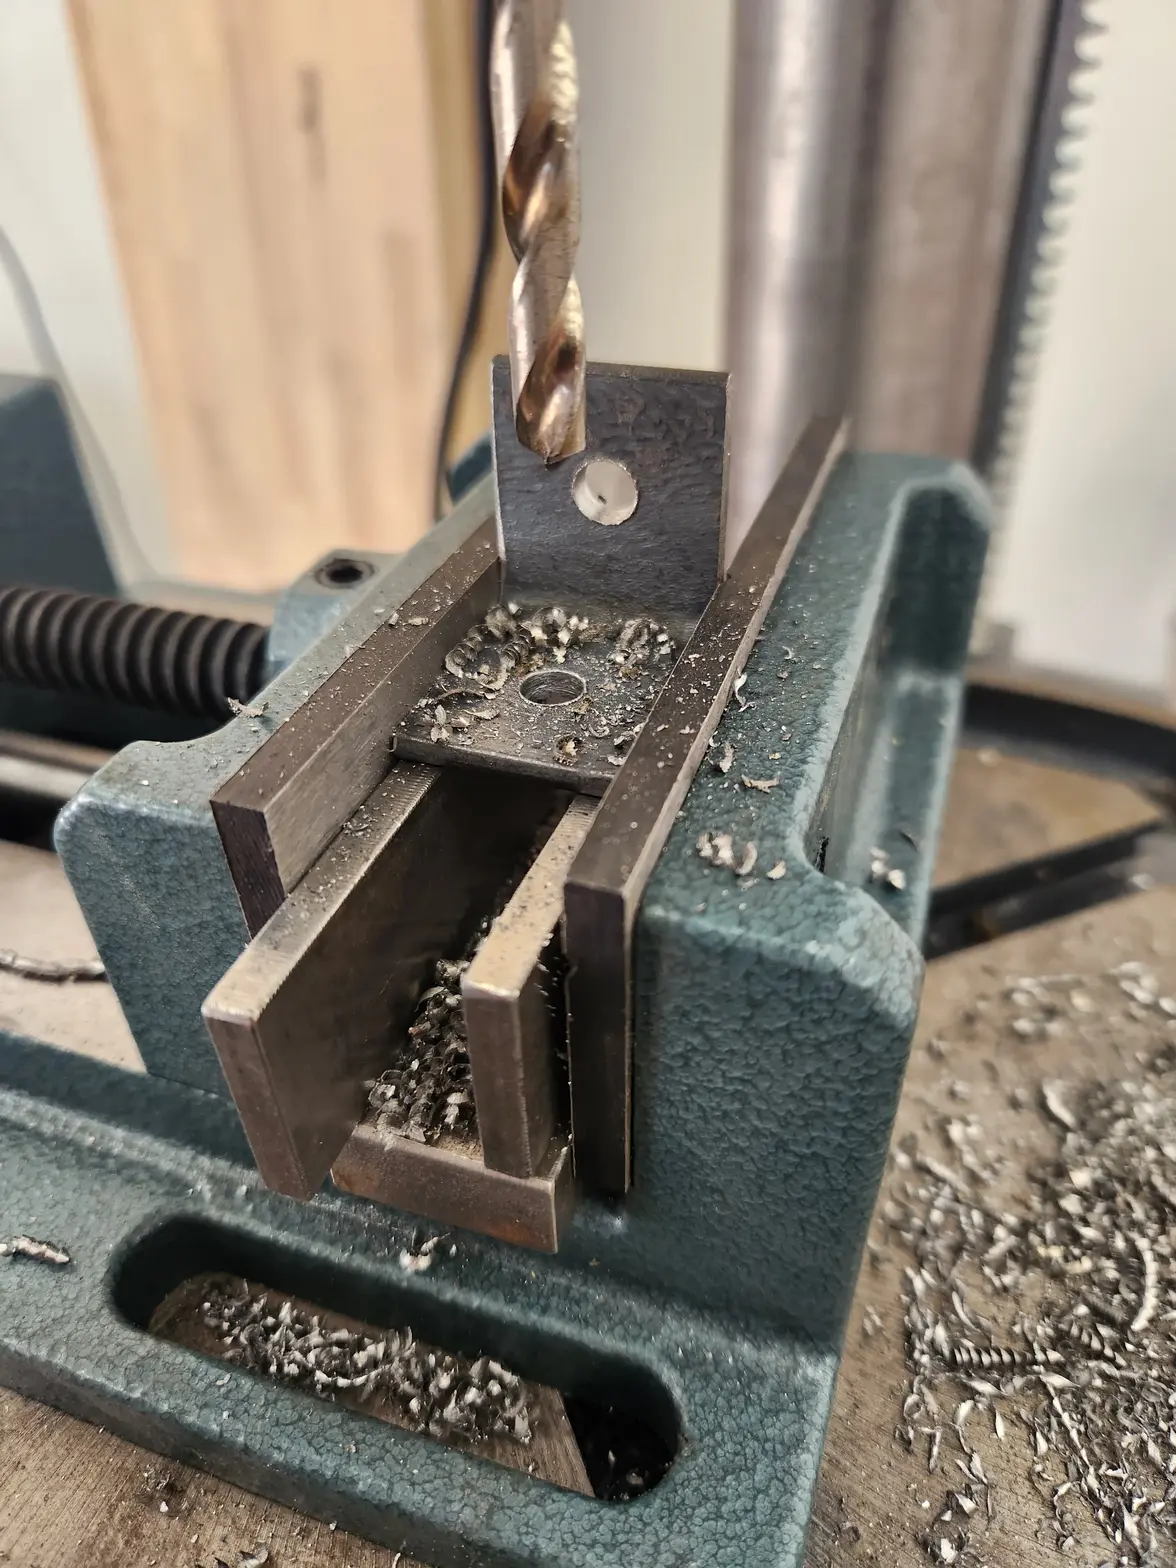
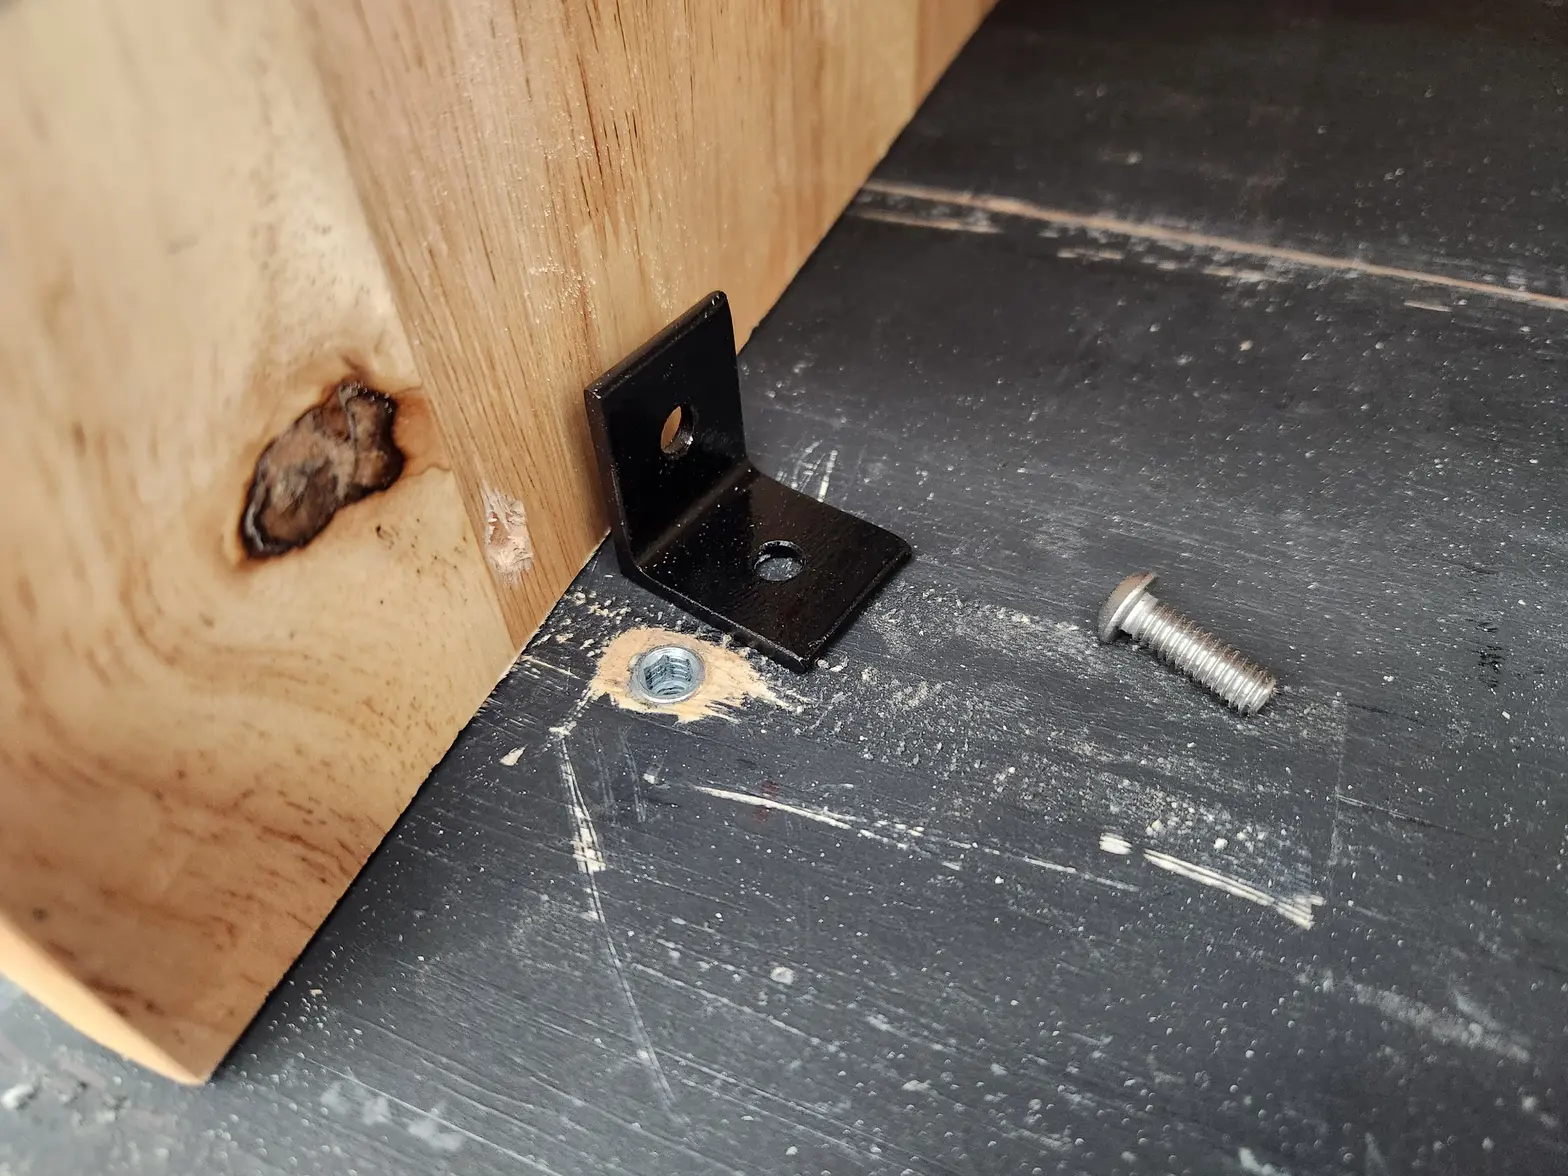
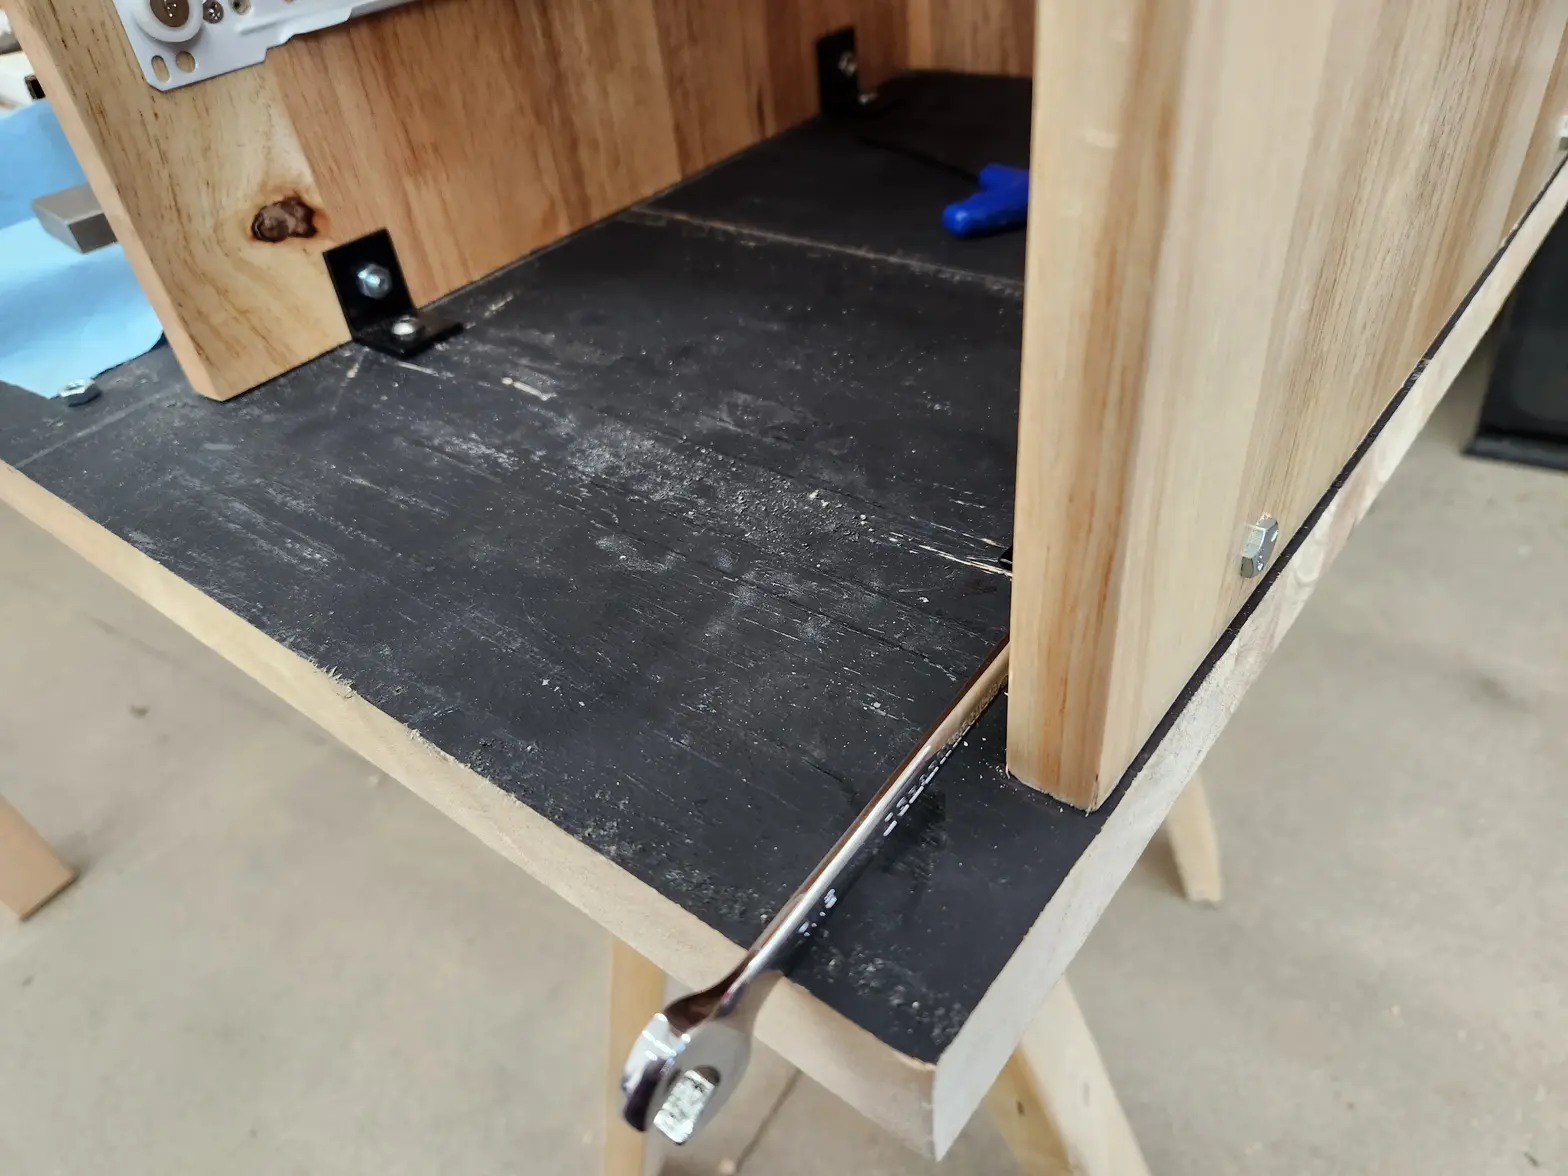
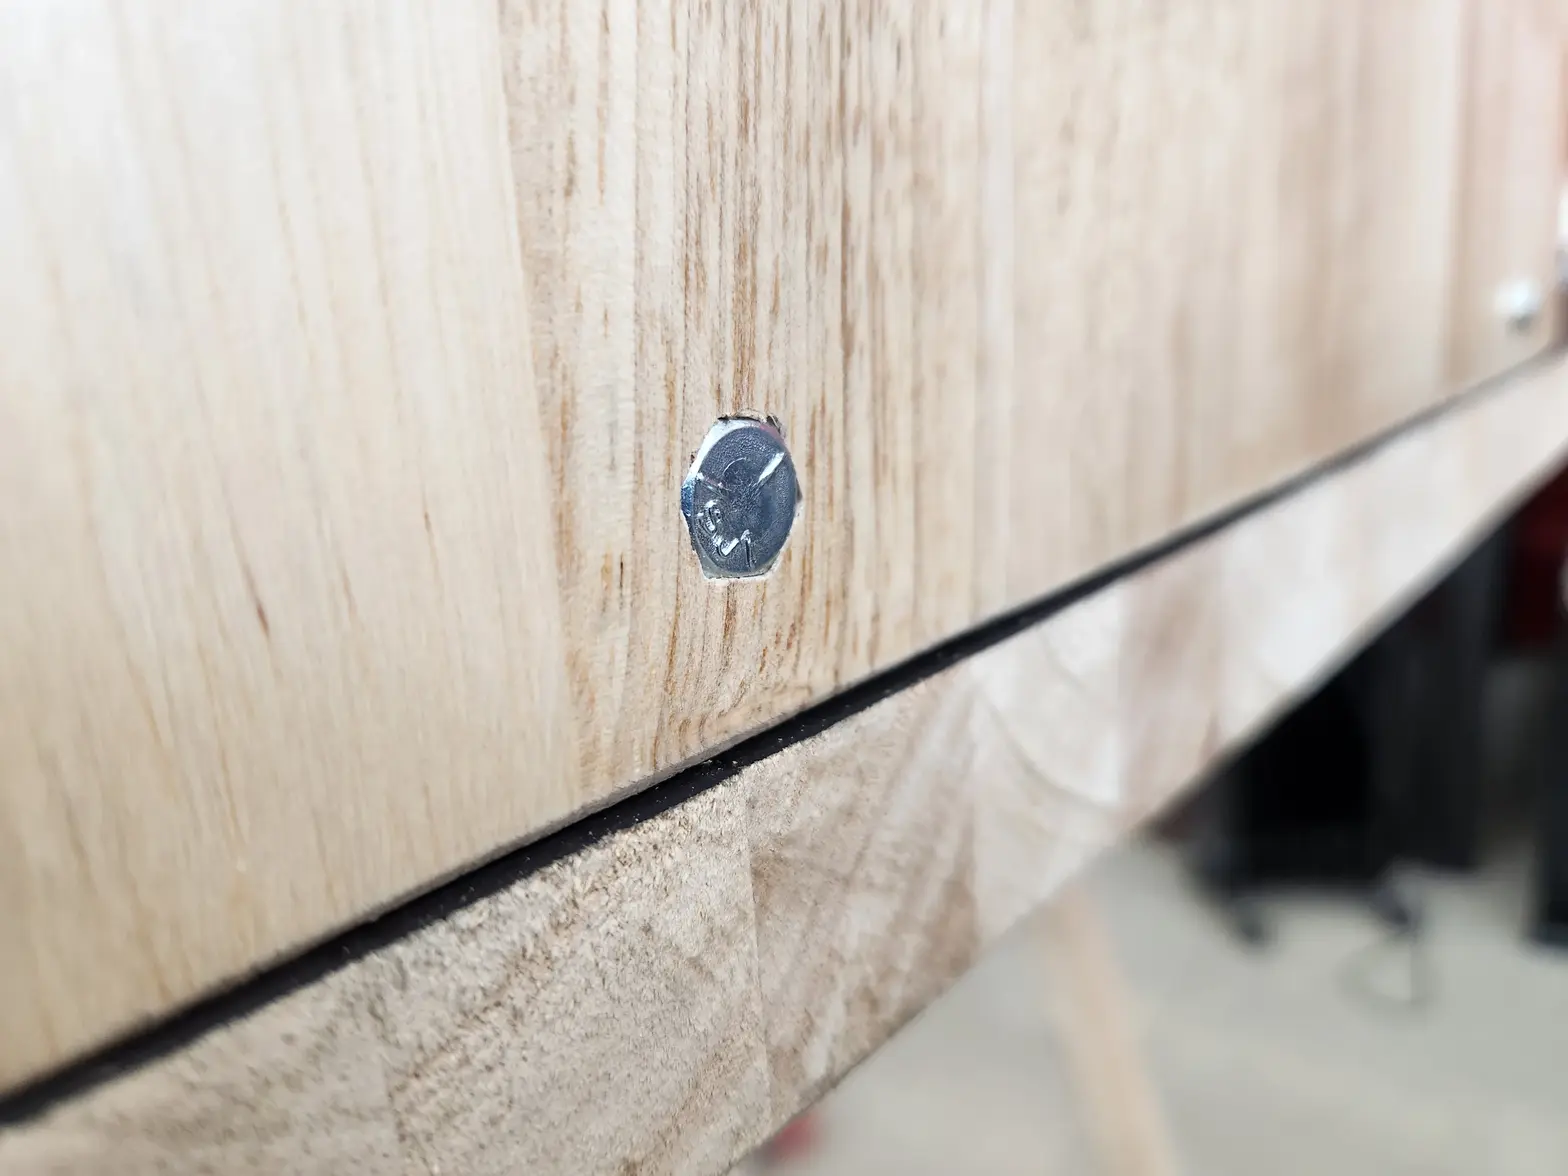
While I am here, I need some simple 90deg angle brackets I need to mount my drawers to the table top. Nothing commercially available looked great. So I made my own.
While I am here, I need some simple 90deg angle brackets I need to mount my drawers to the table top. Nothing commercially available looked great. So I made my own.
samweldspoorly
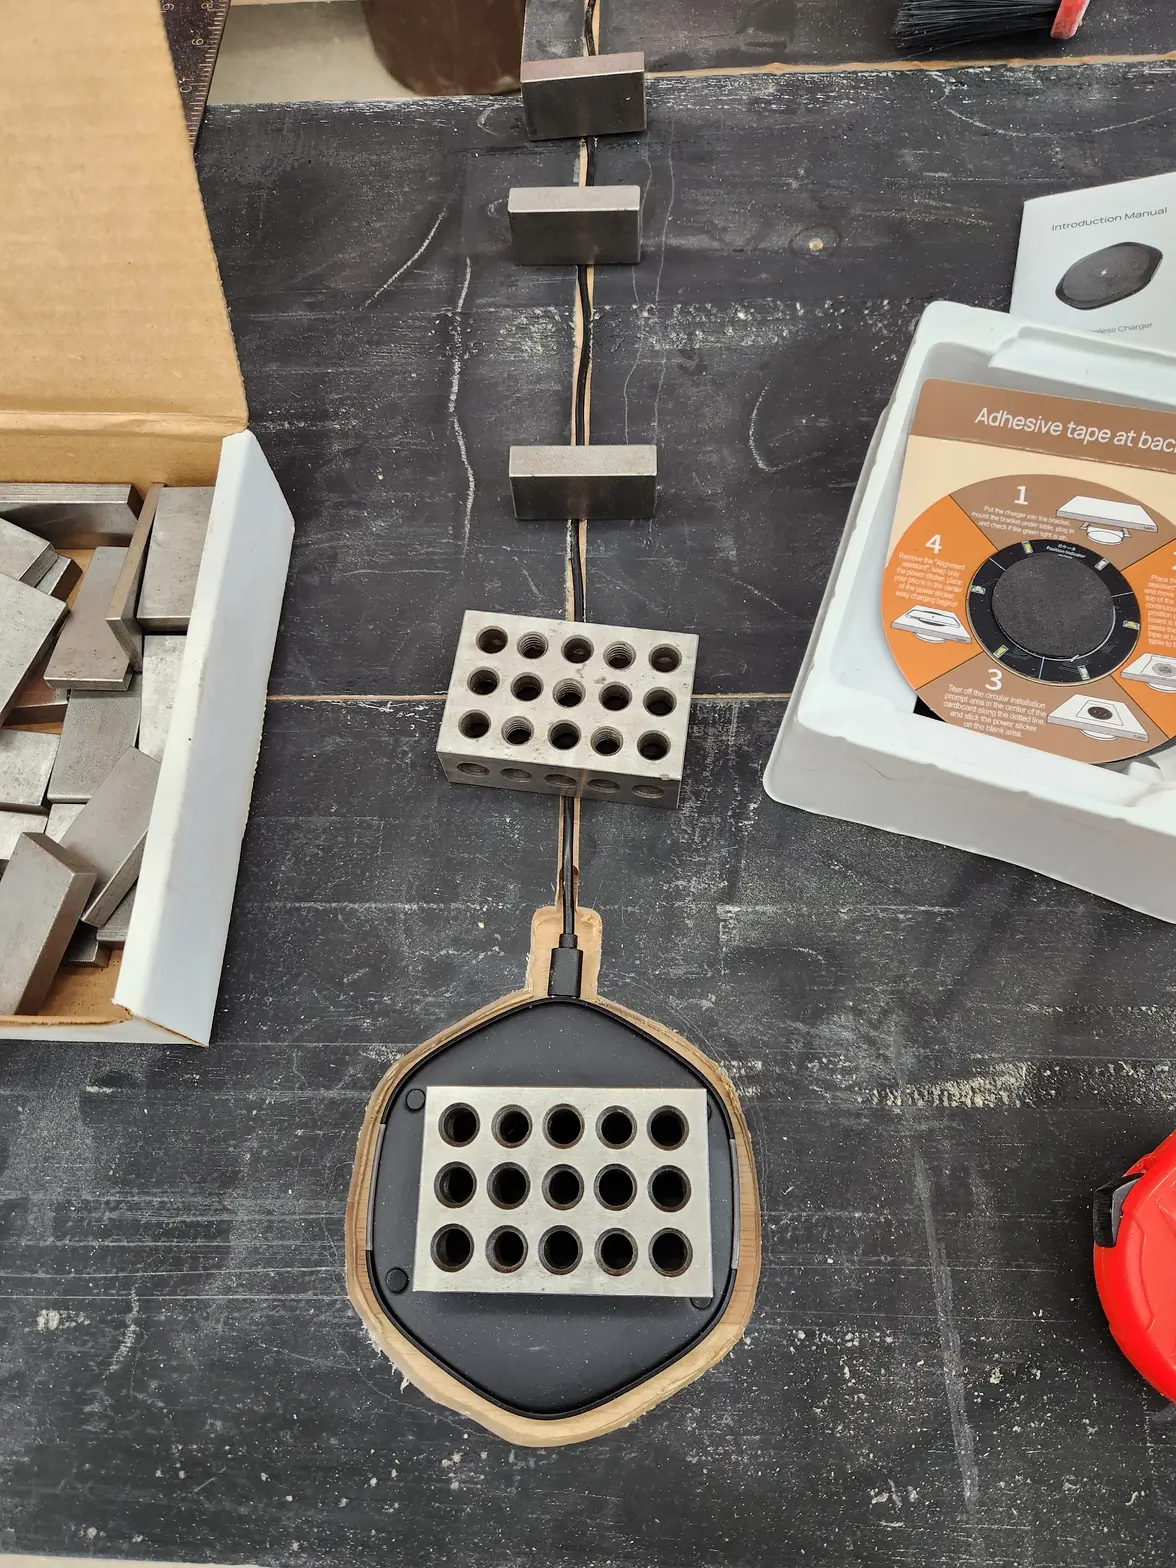
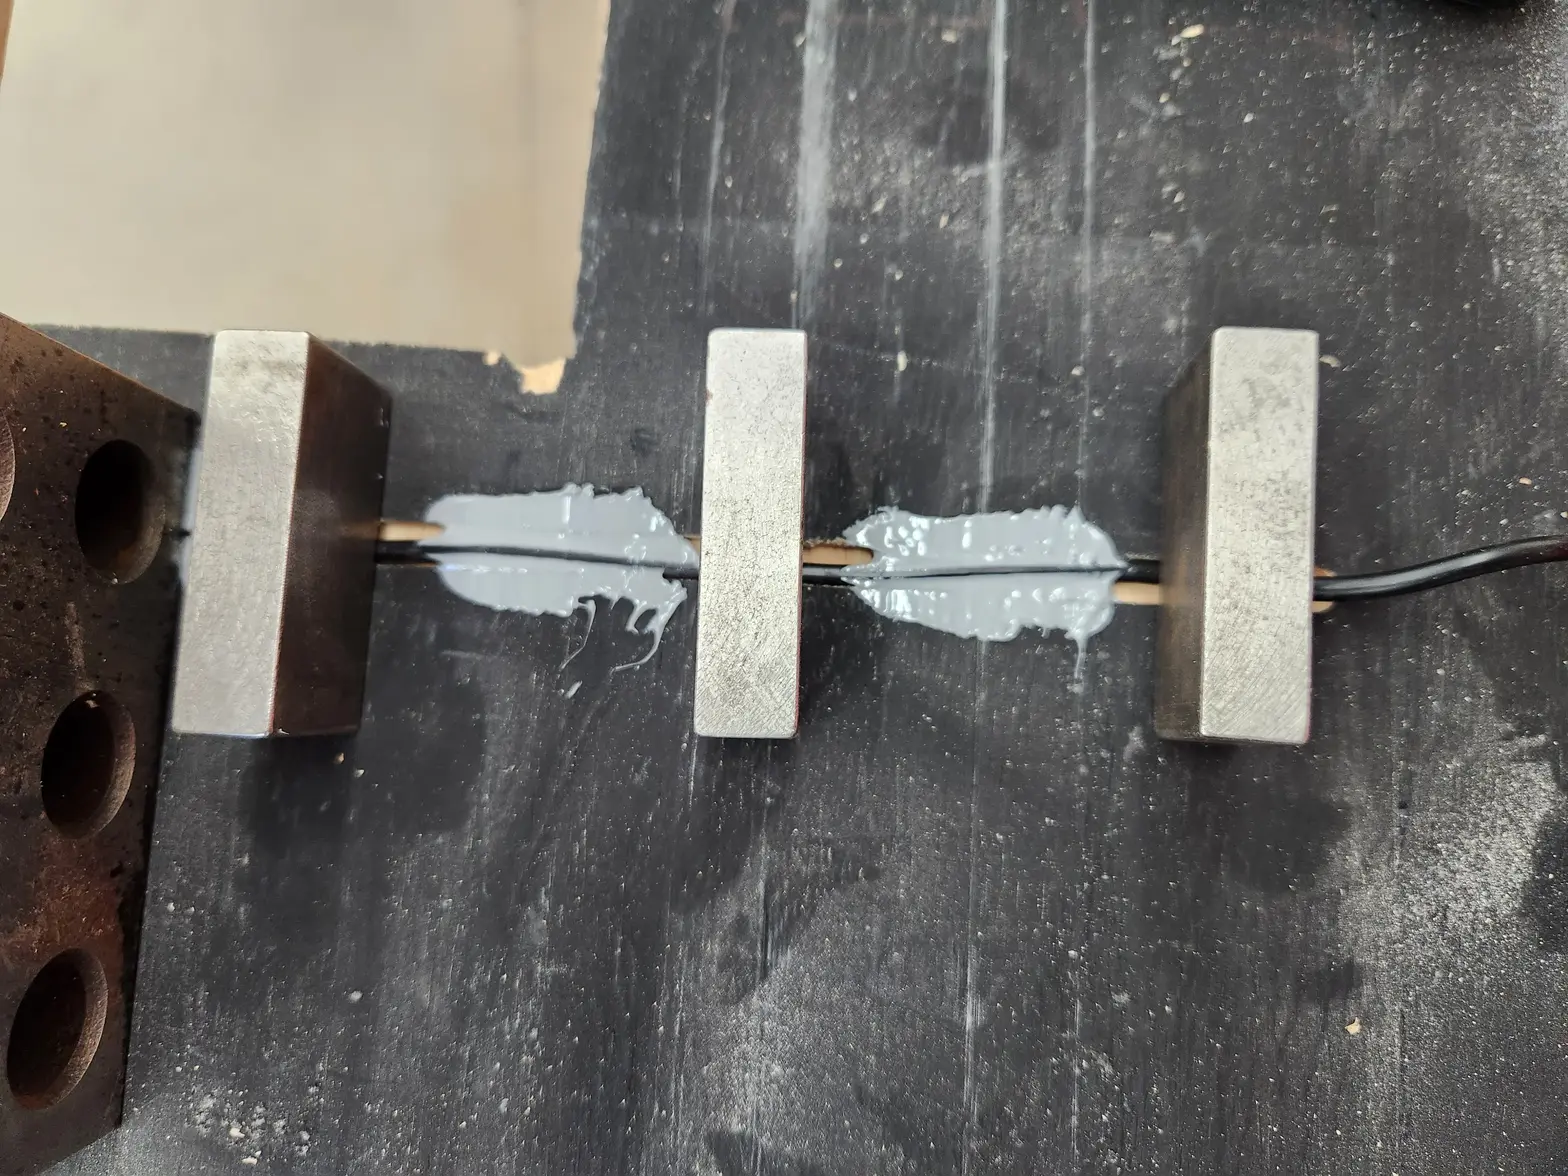
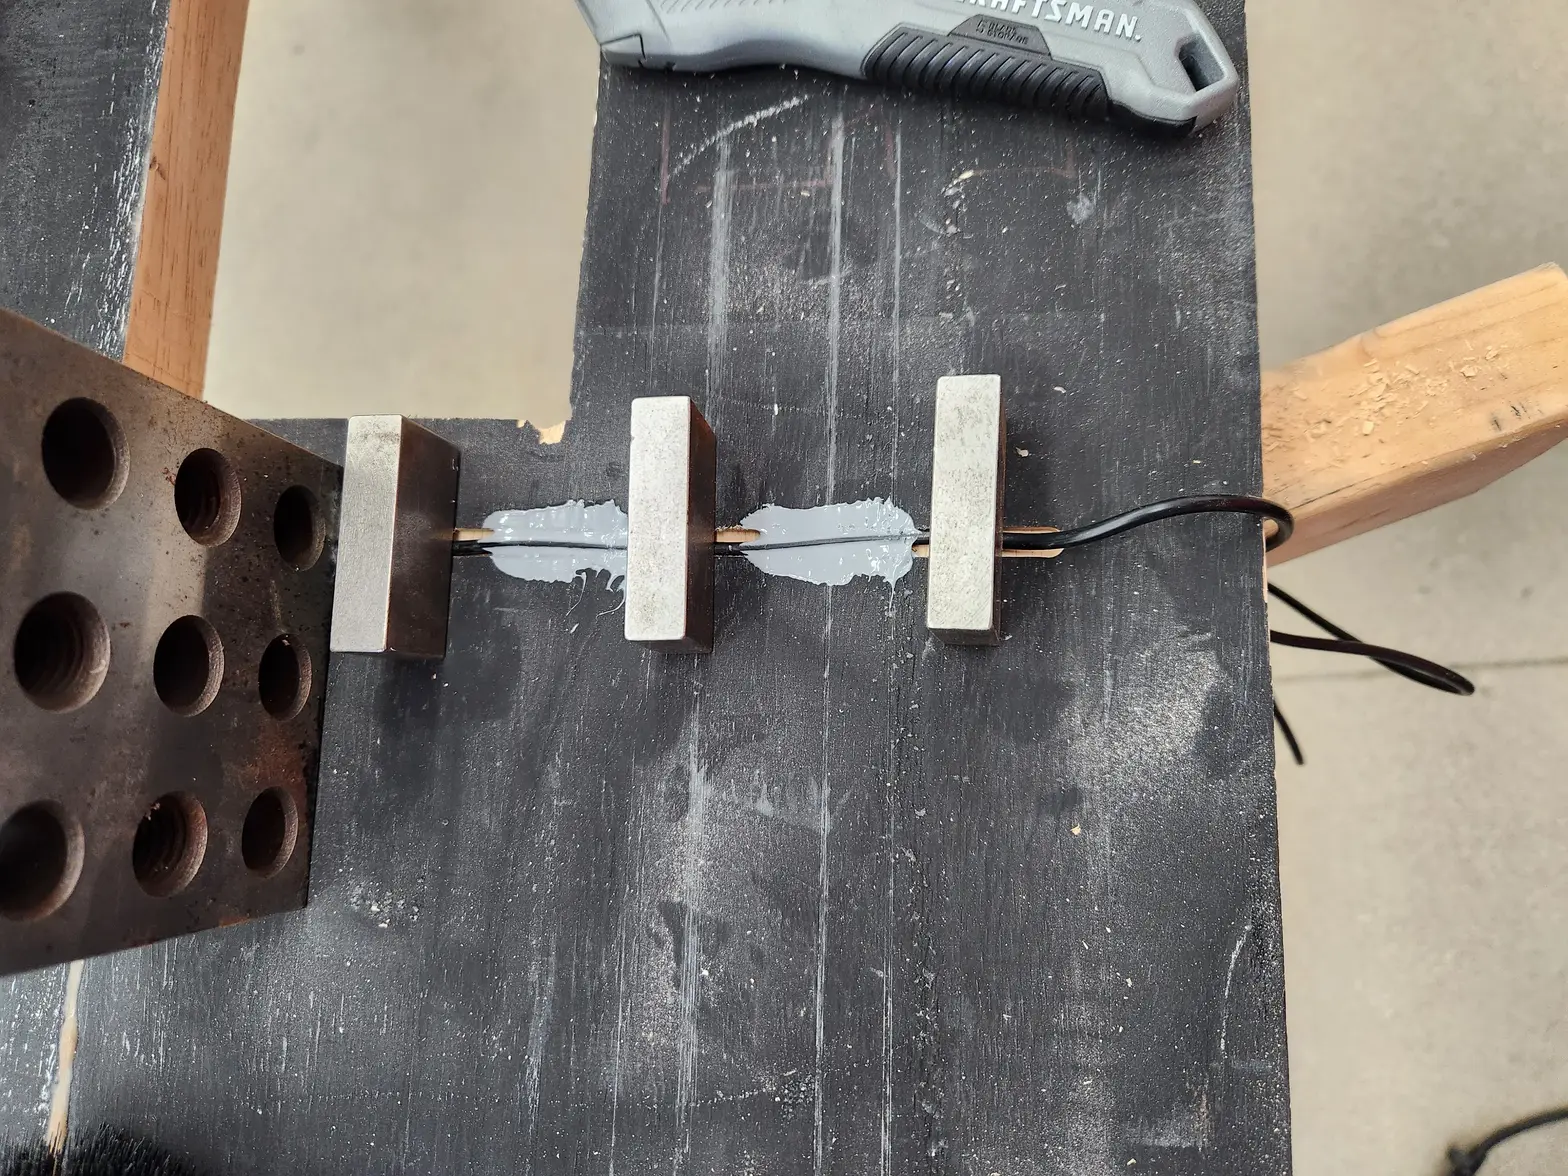
·I used liquid nail compount to hold this charger into place and its cable. Nothing crazy. Could have looks better. I am moving on.
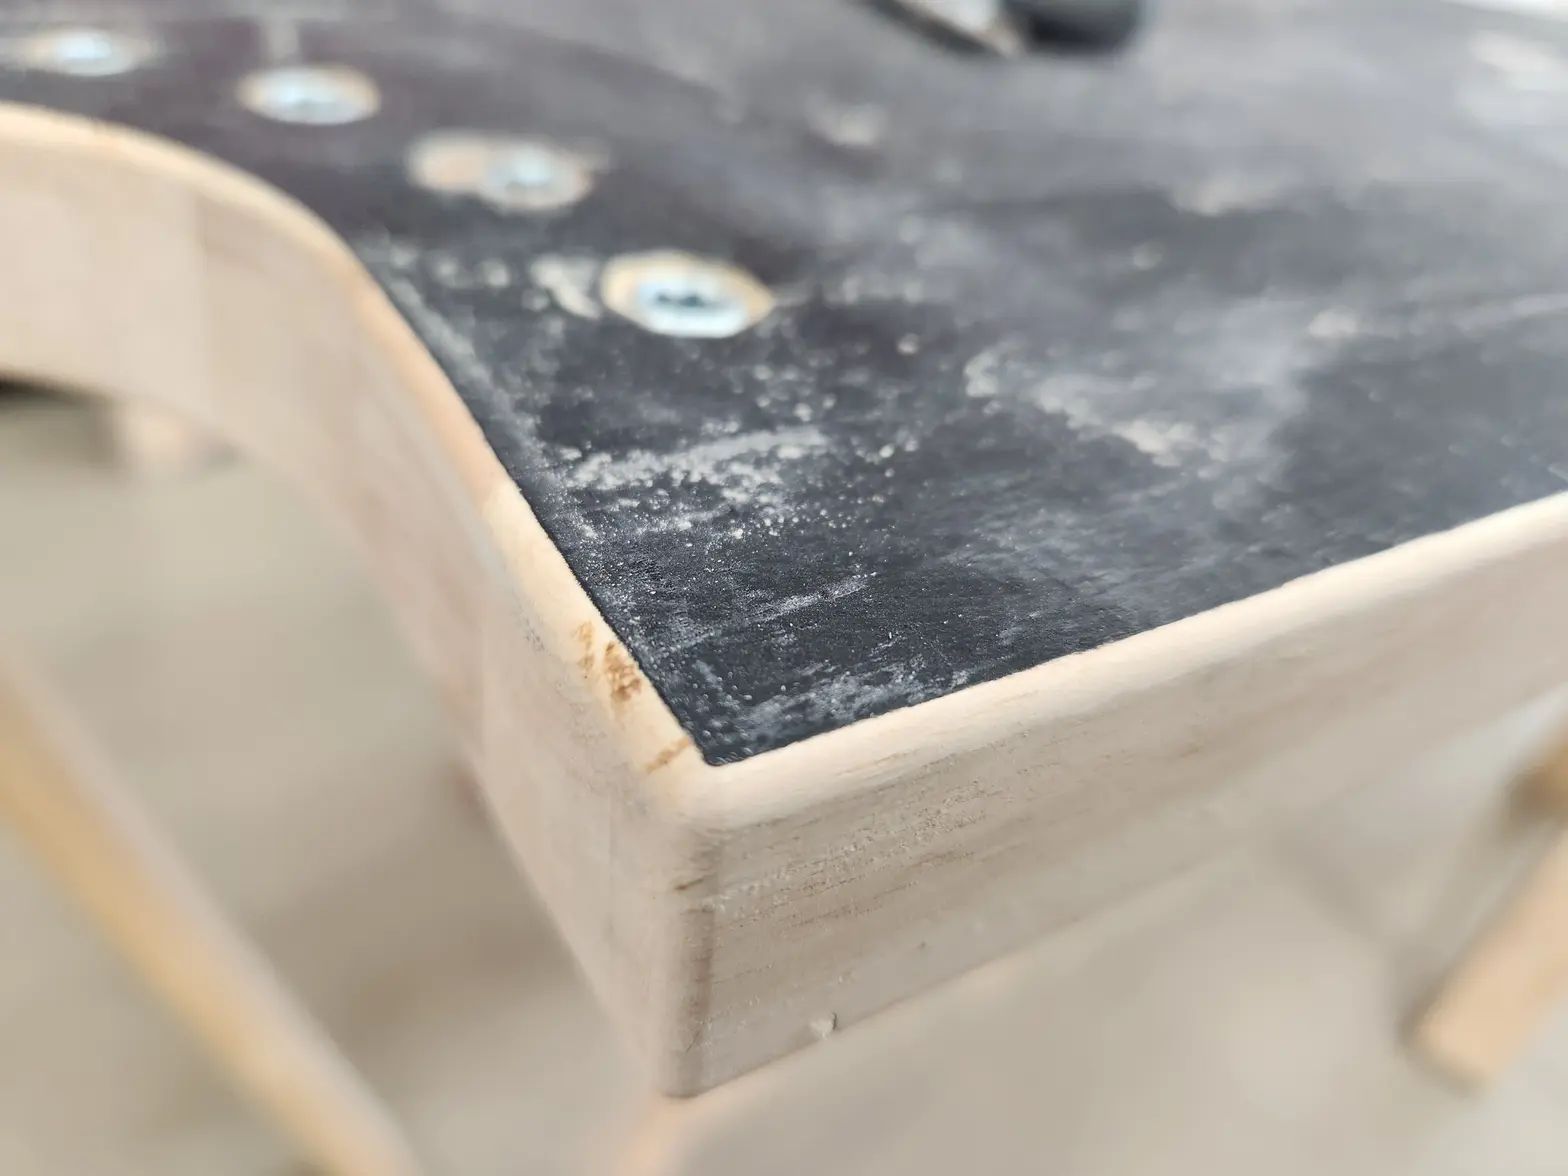
Put an 1/8" radius on the bottom of the top while it was flipped.
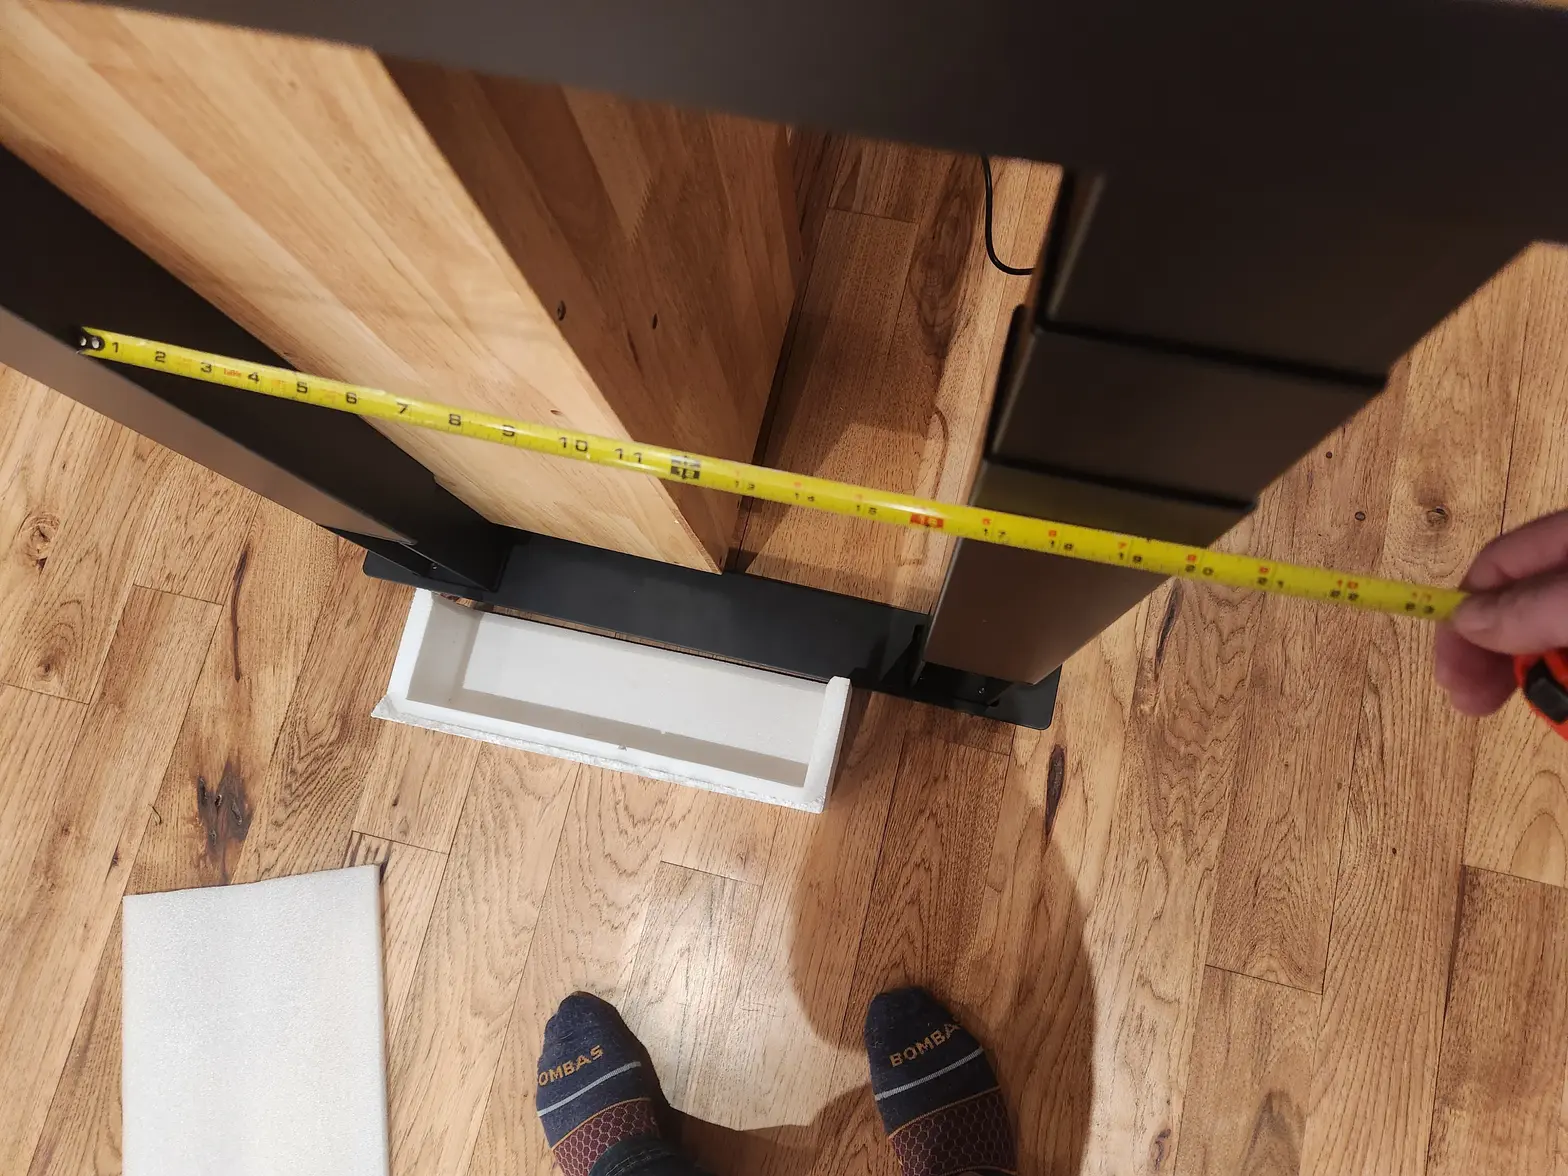
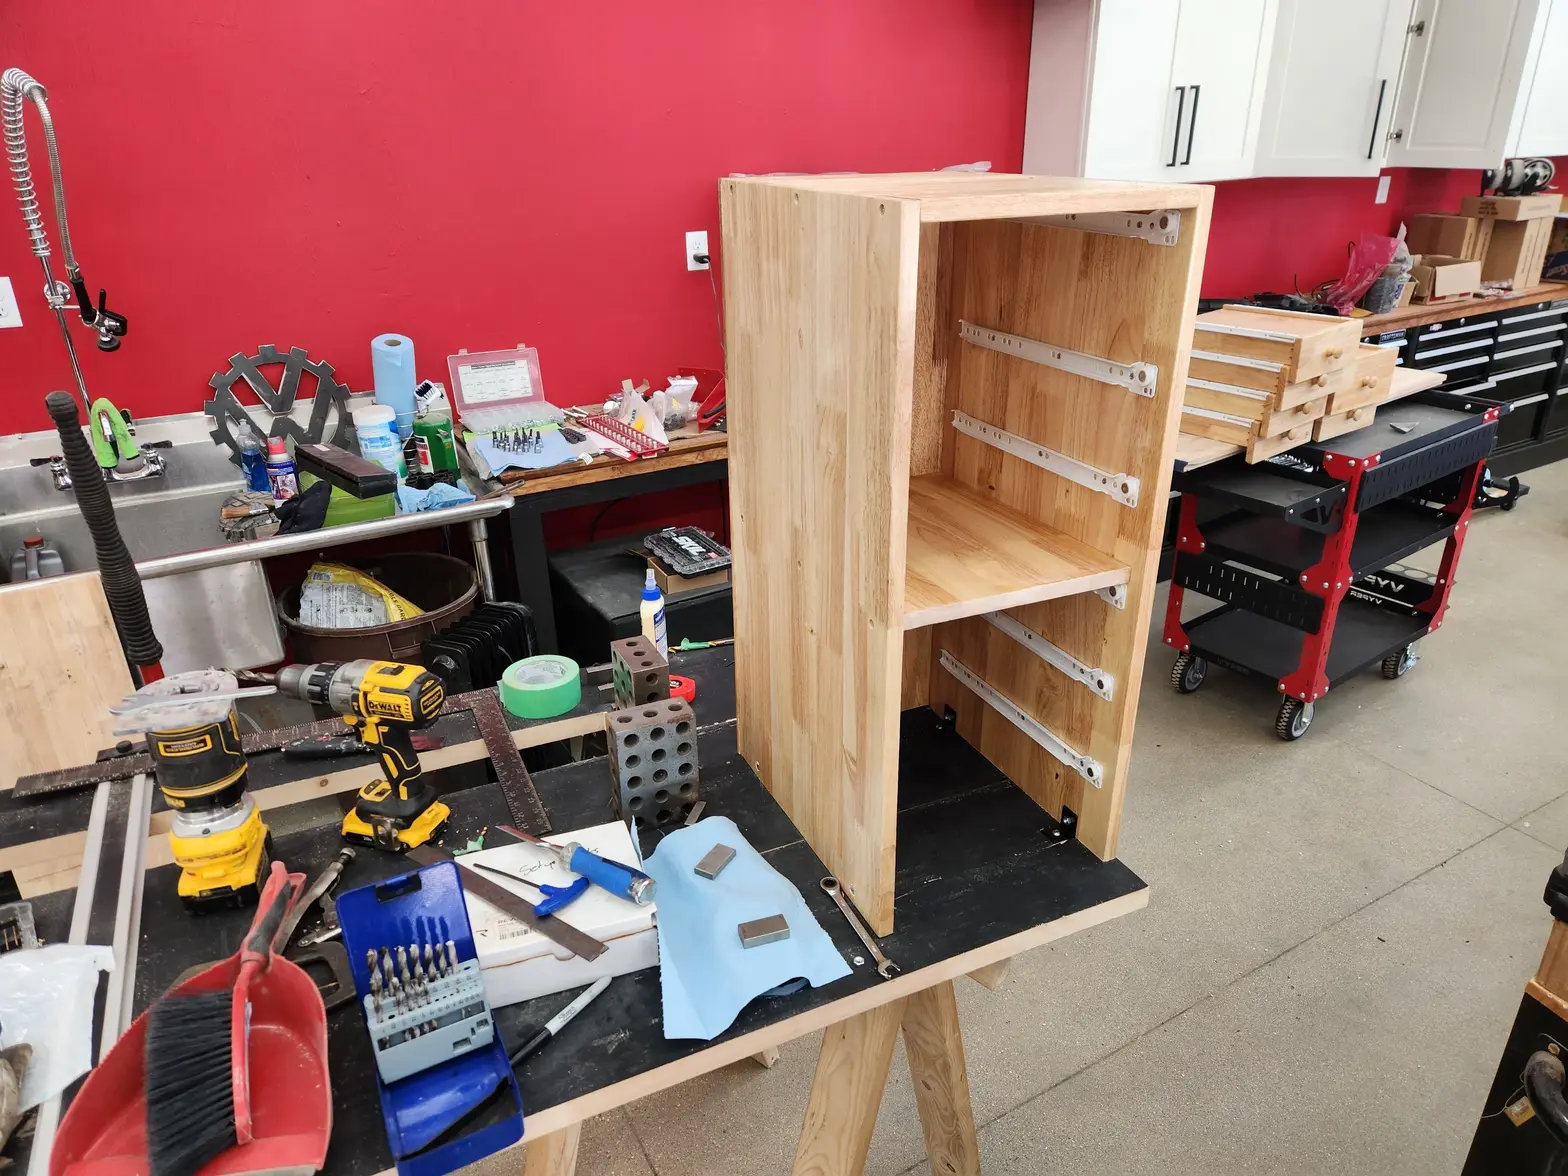
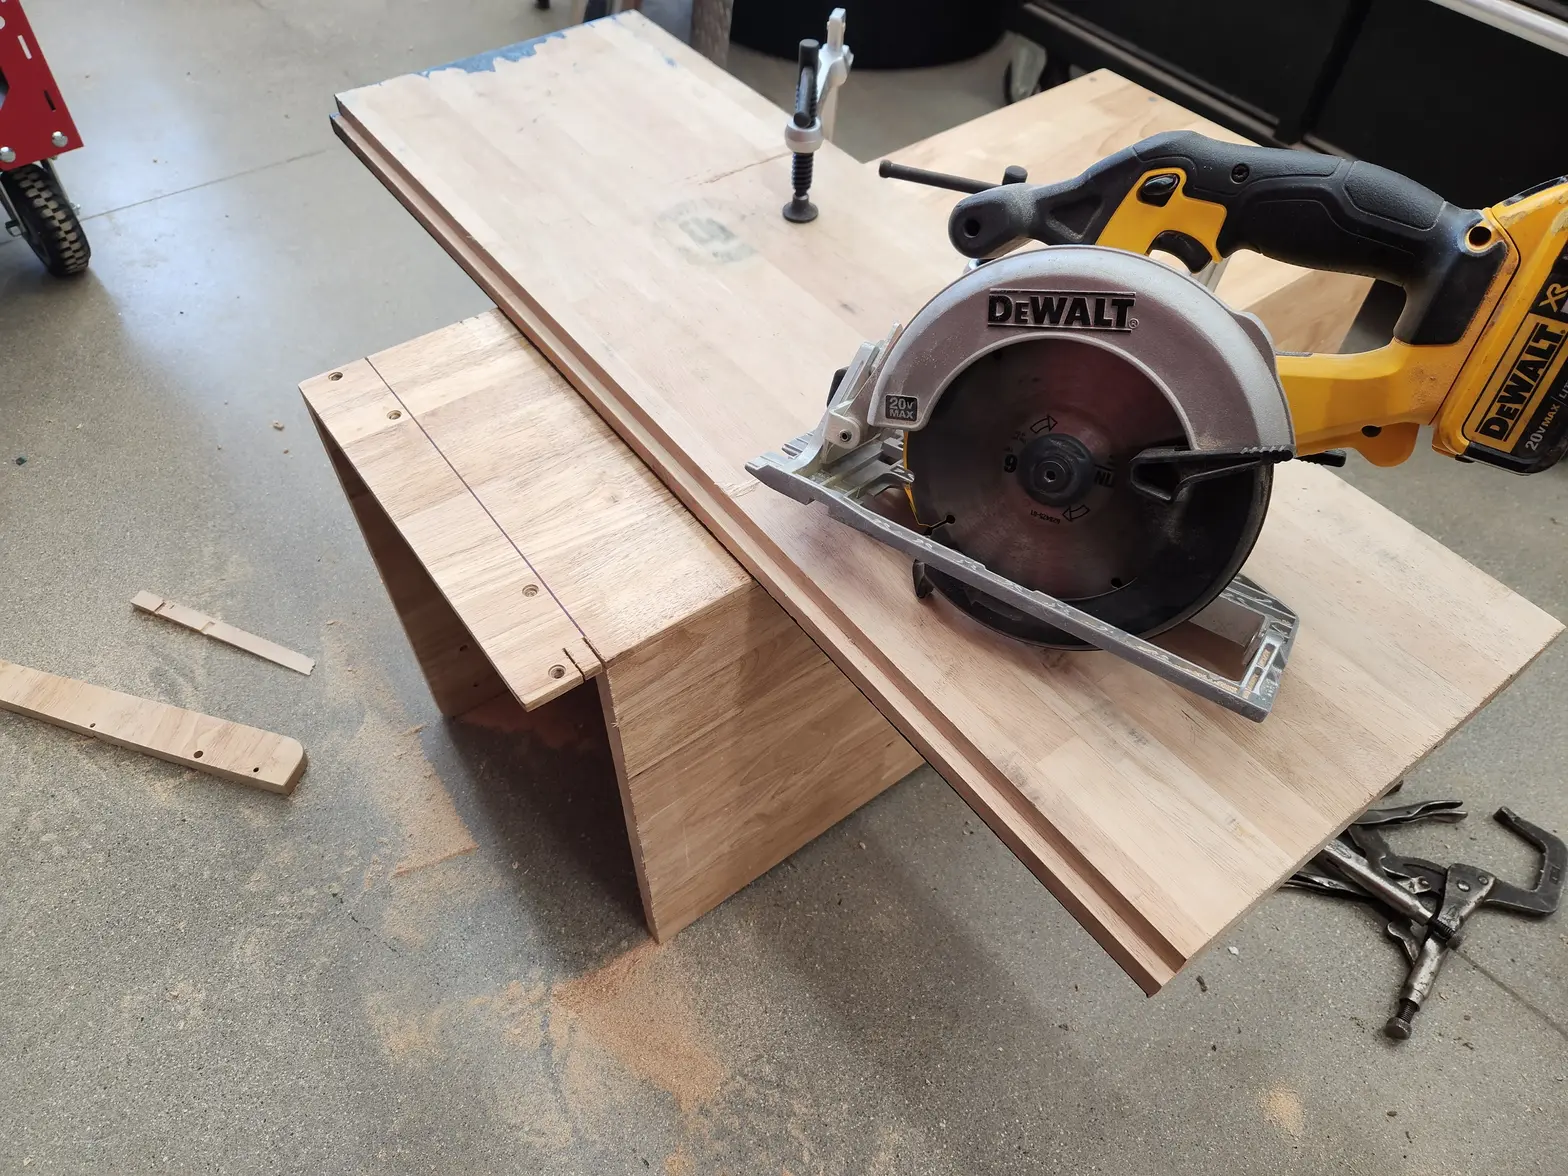
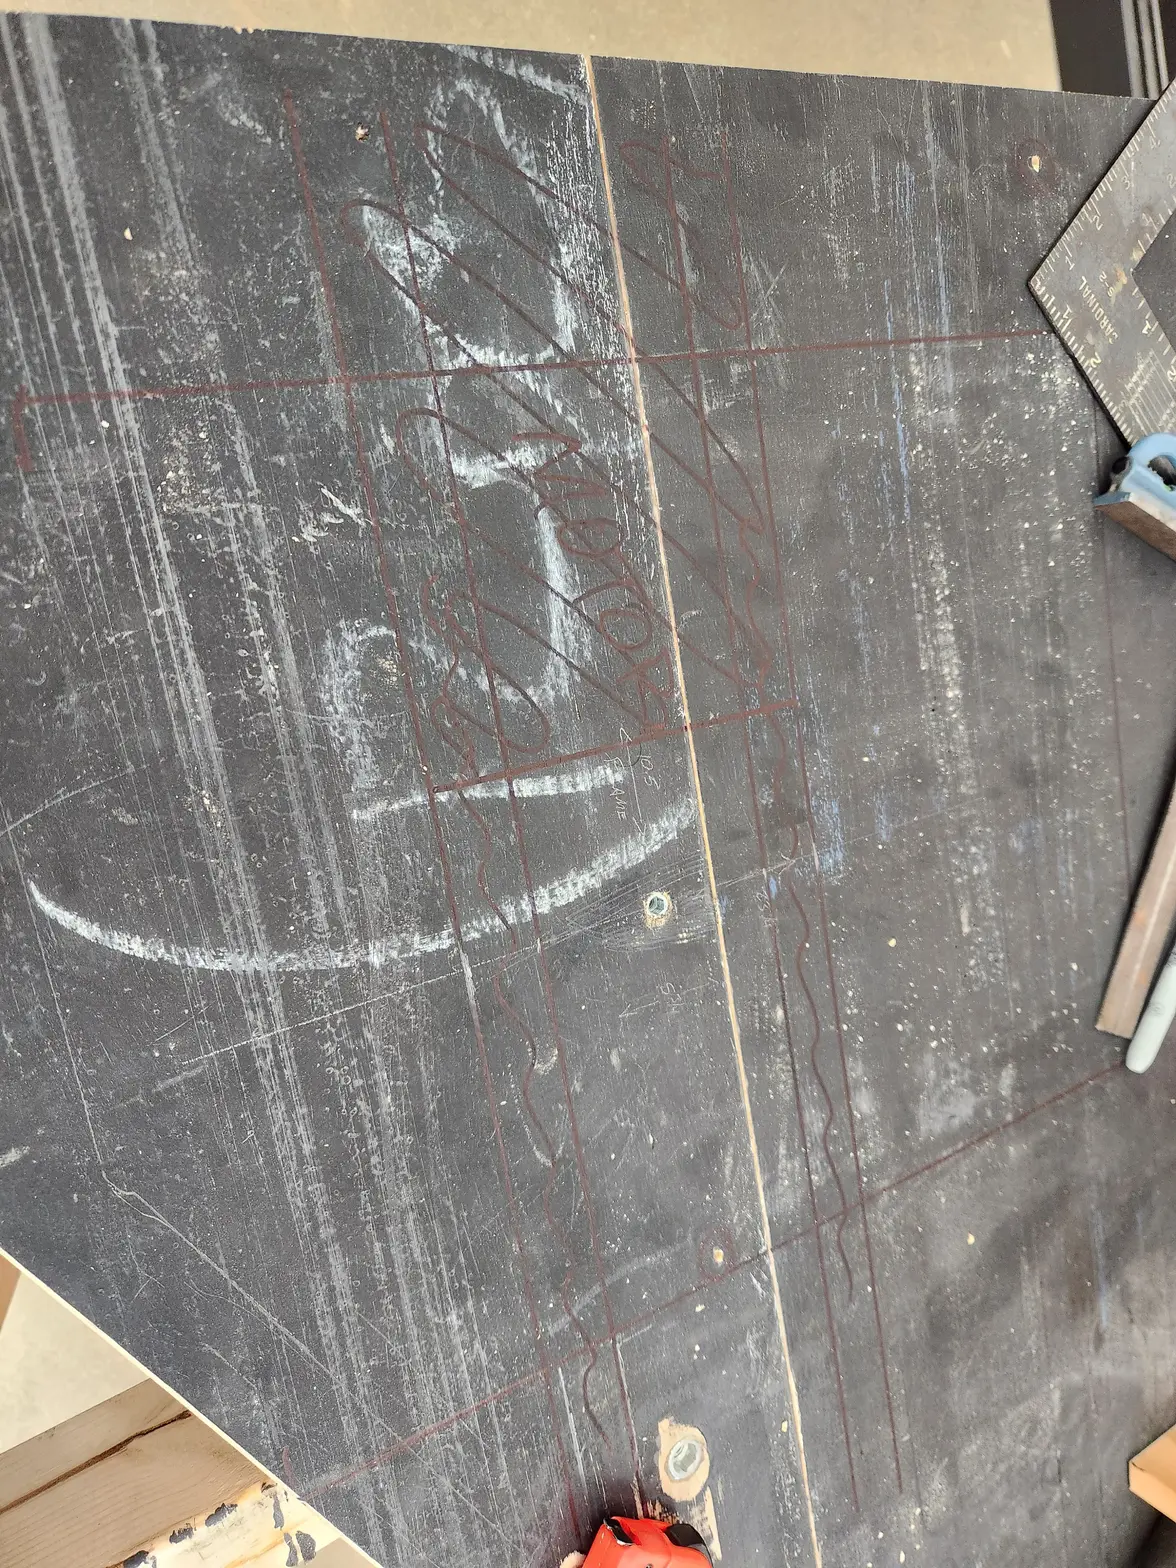
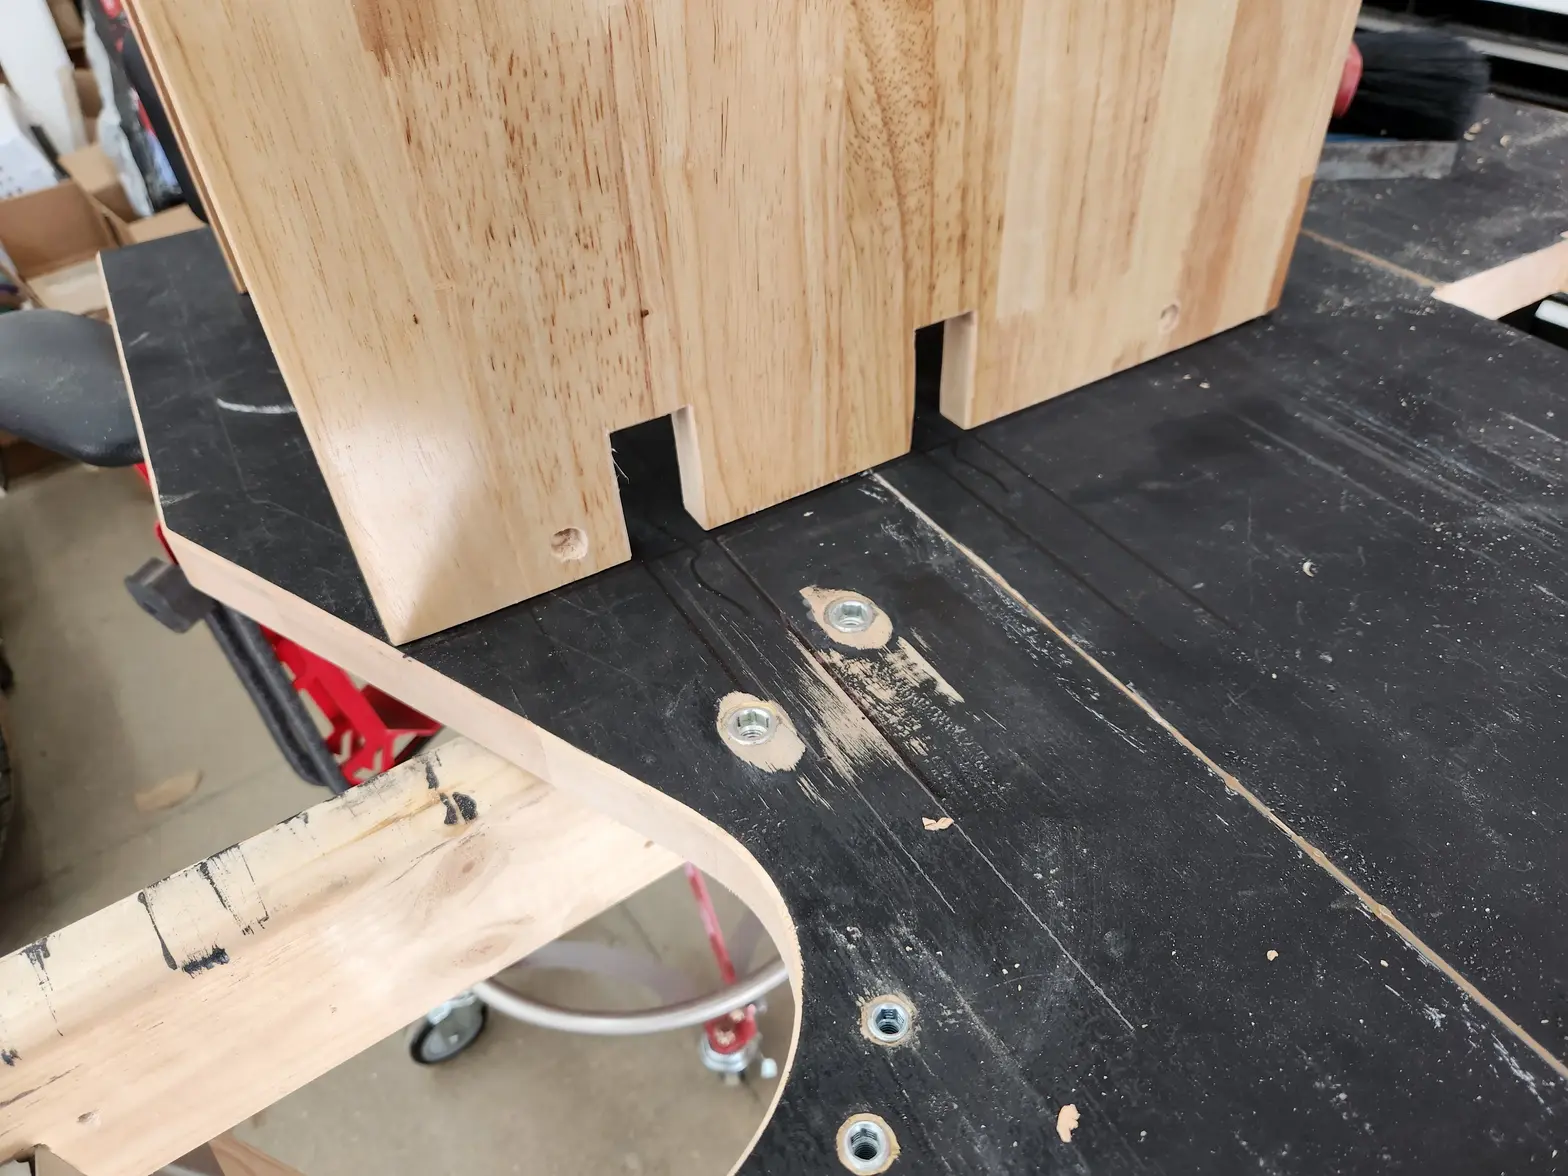
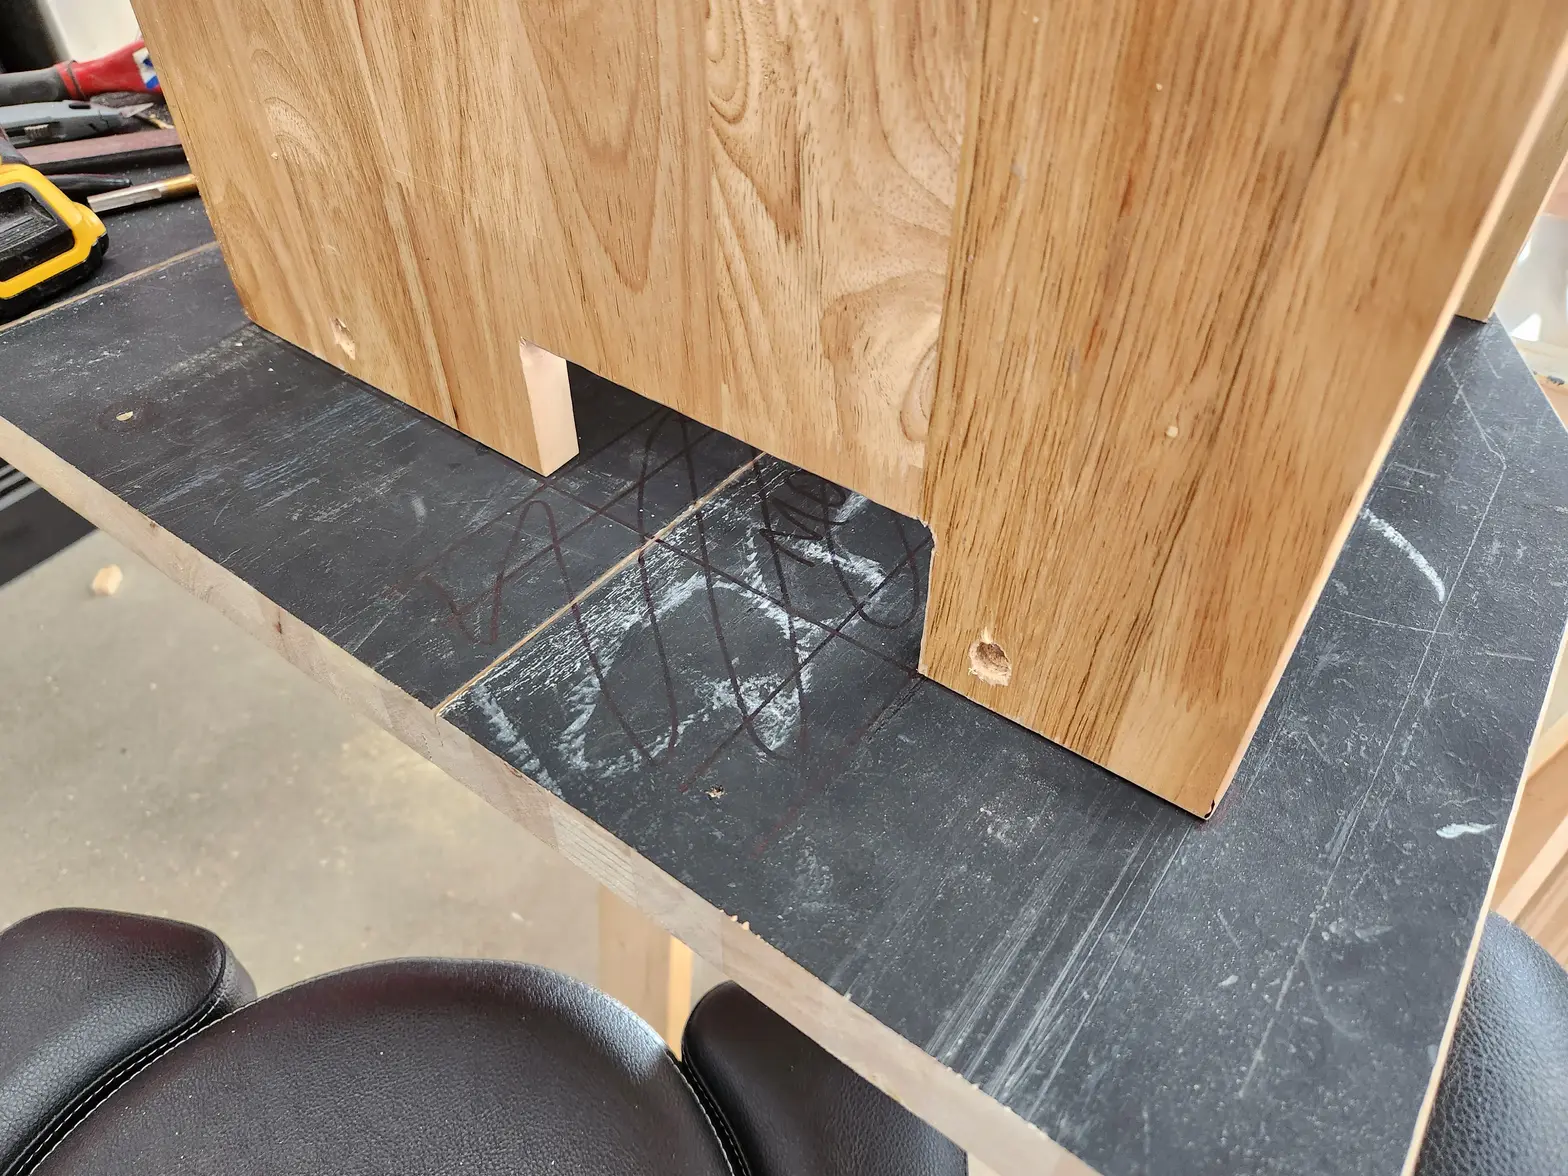
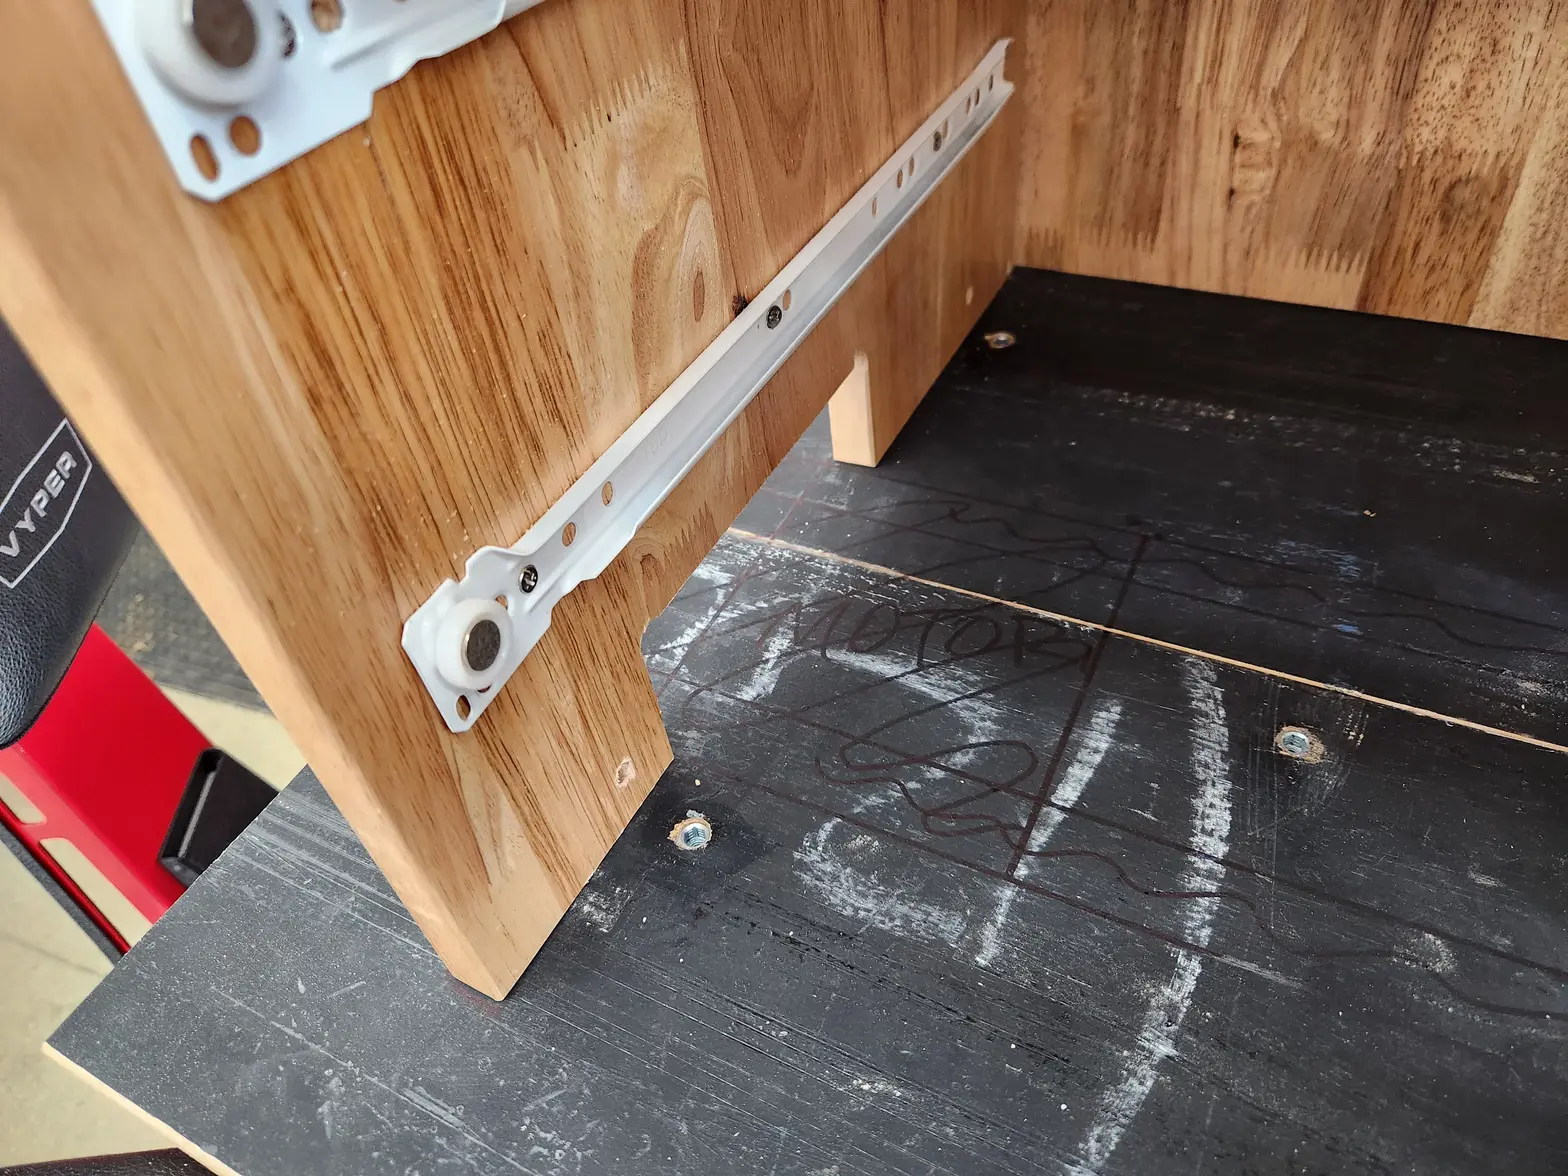
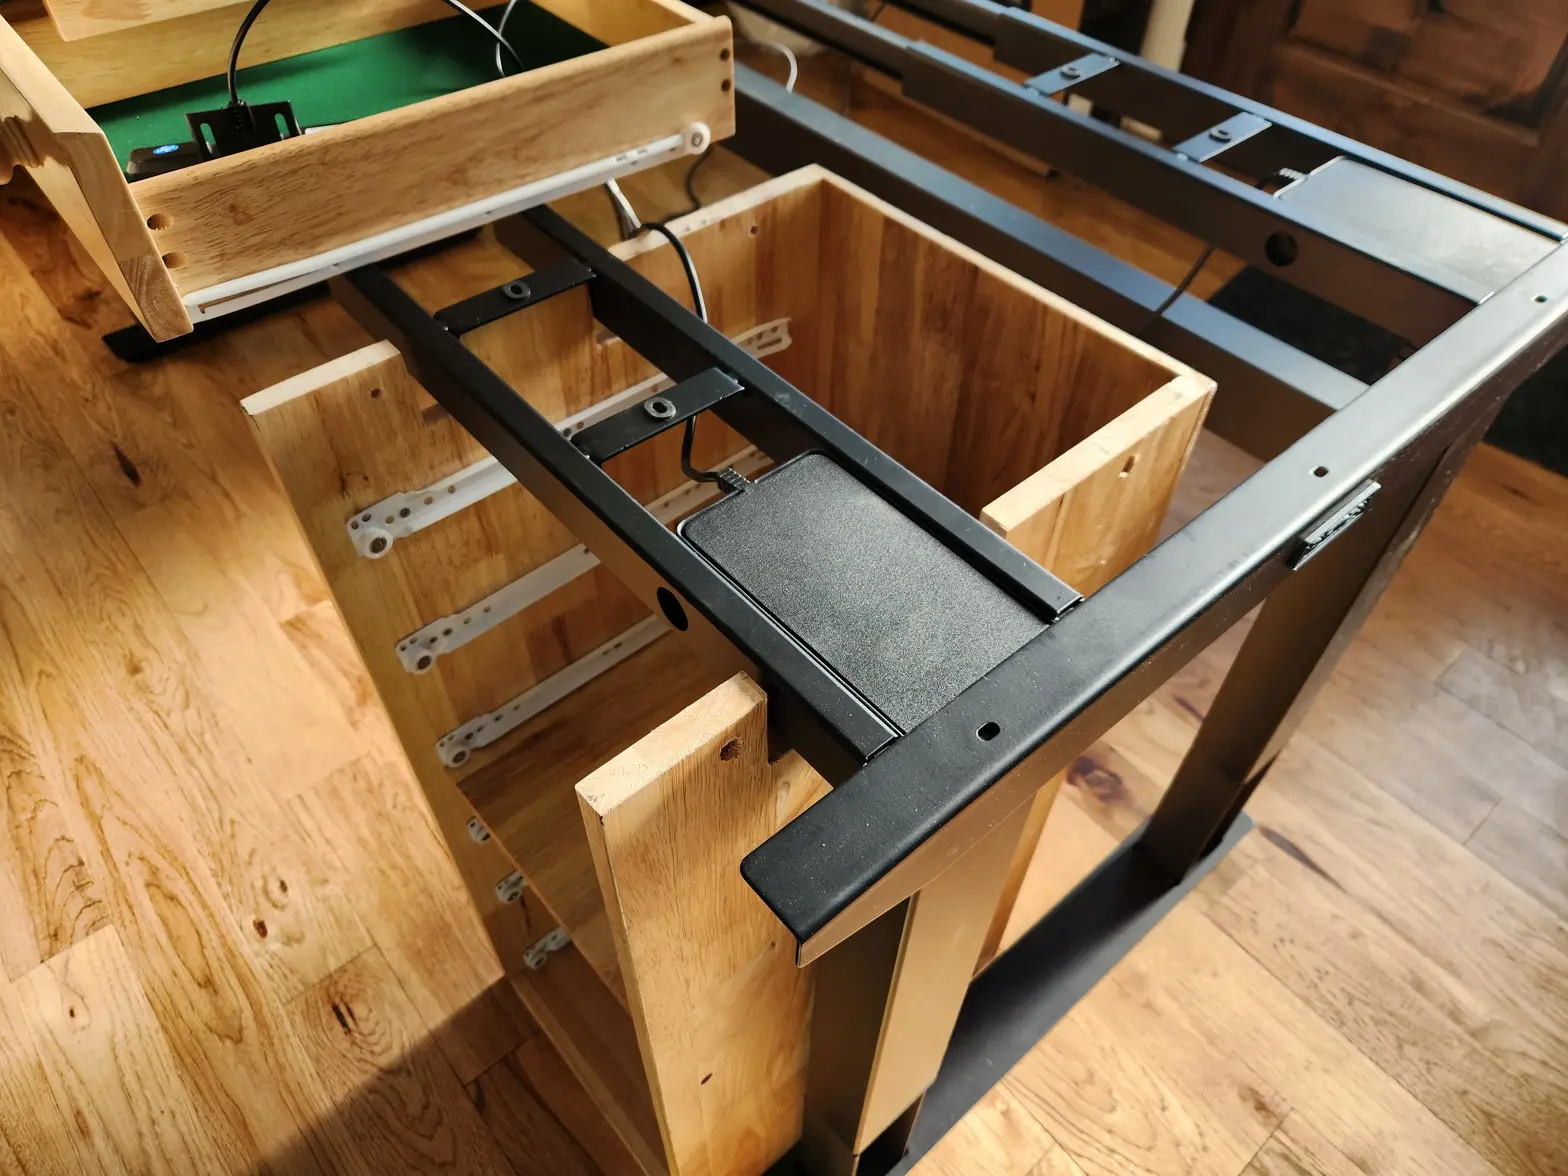
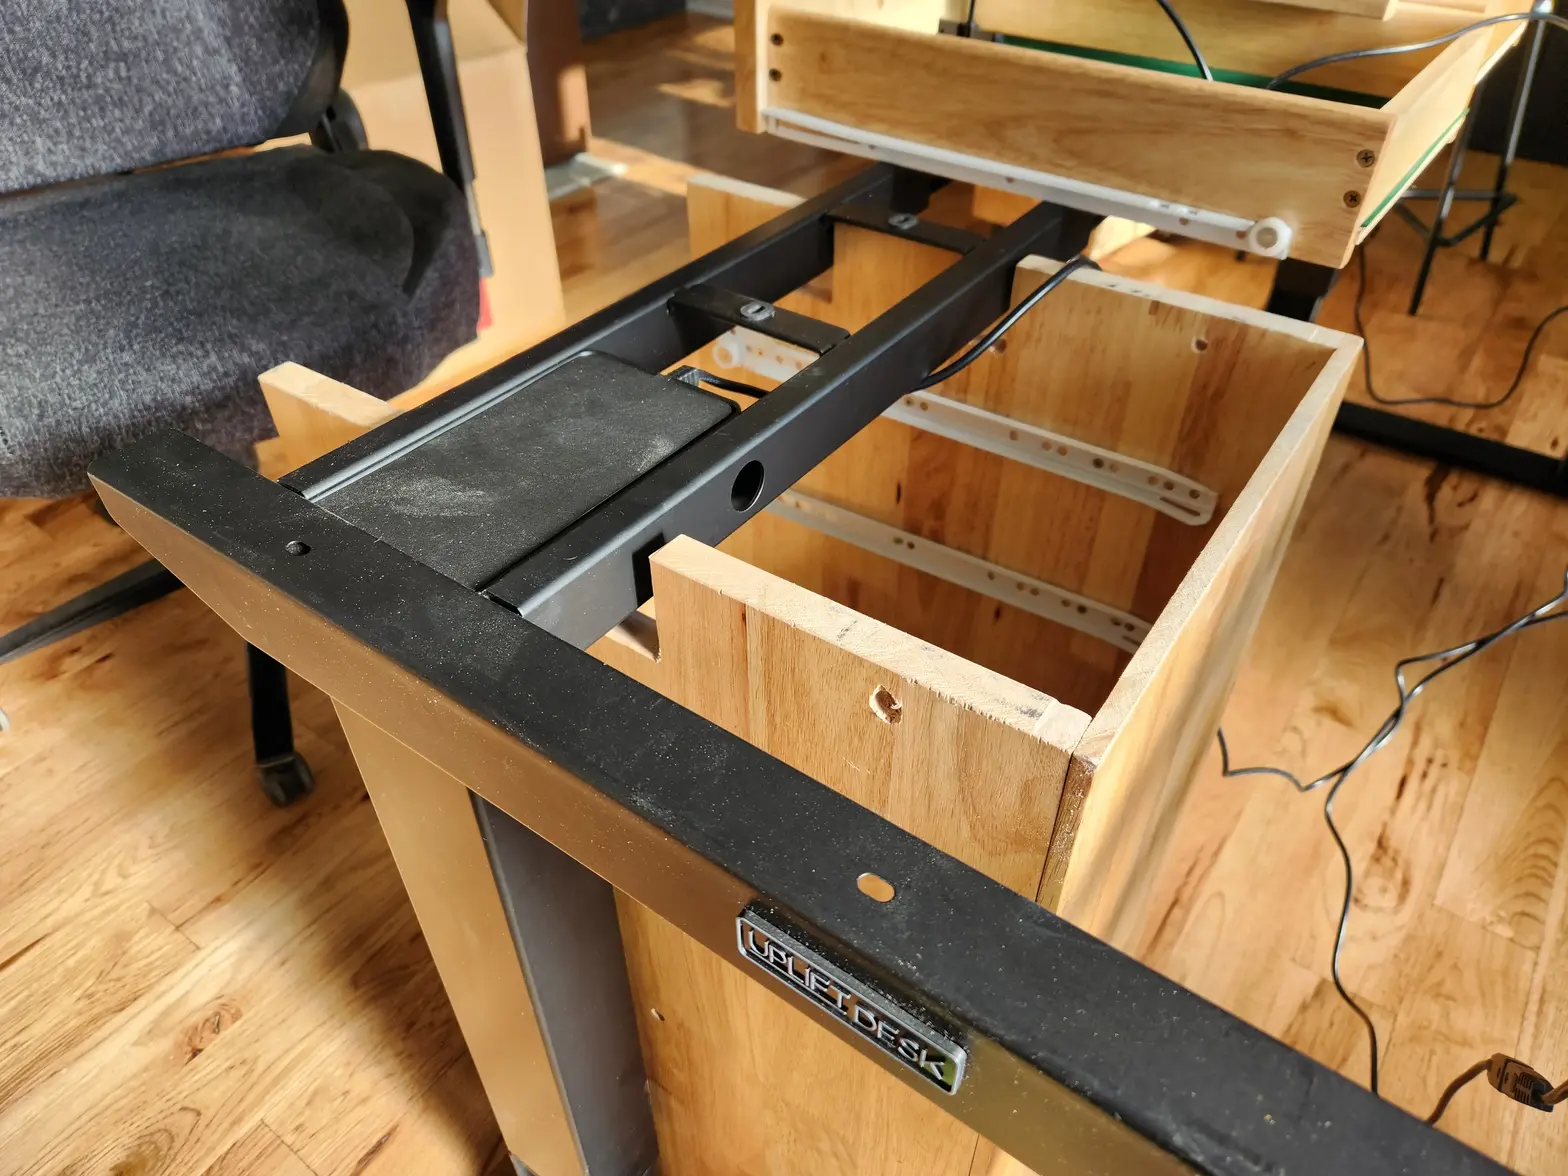
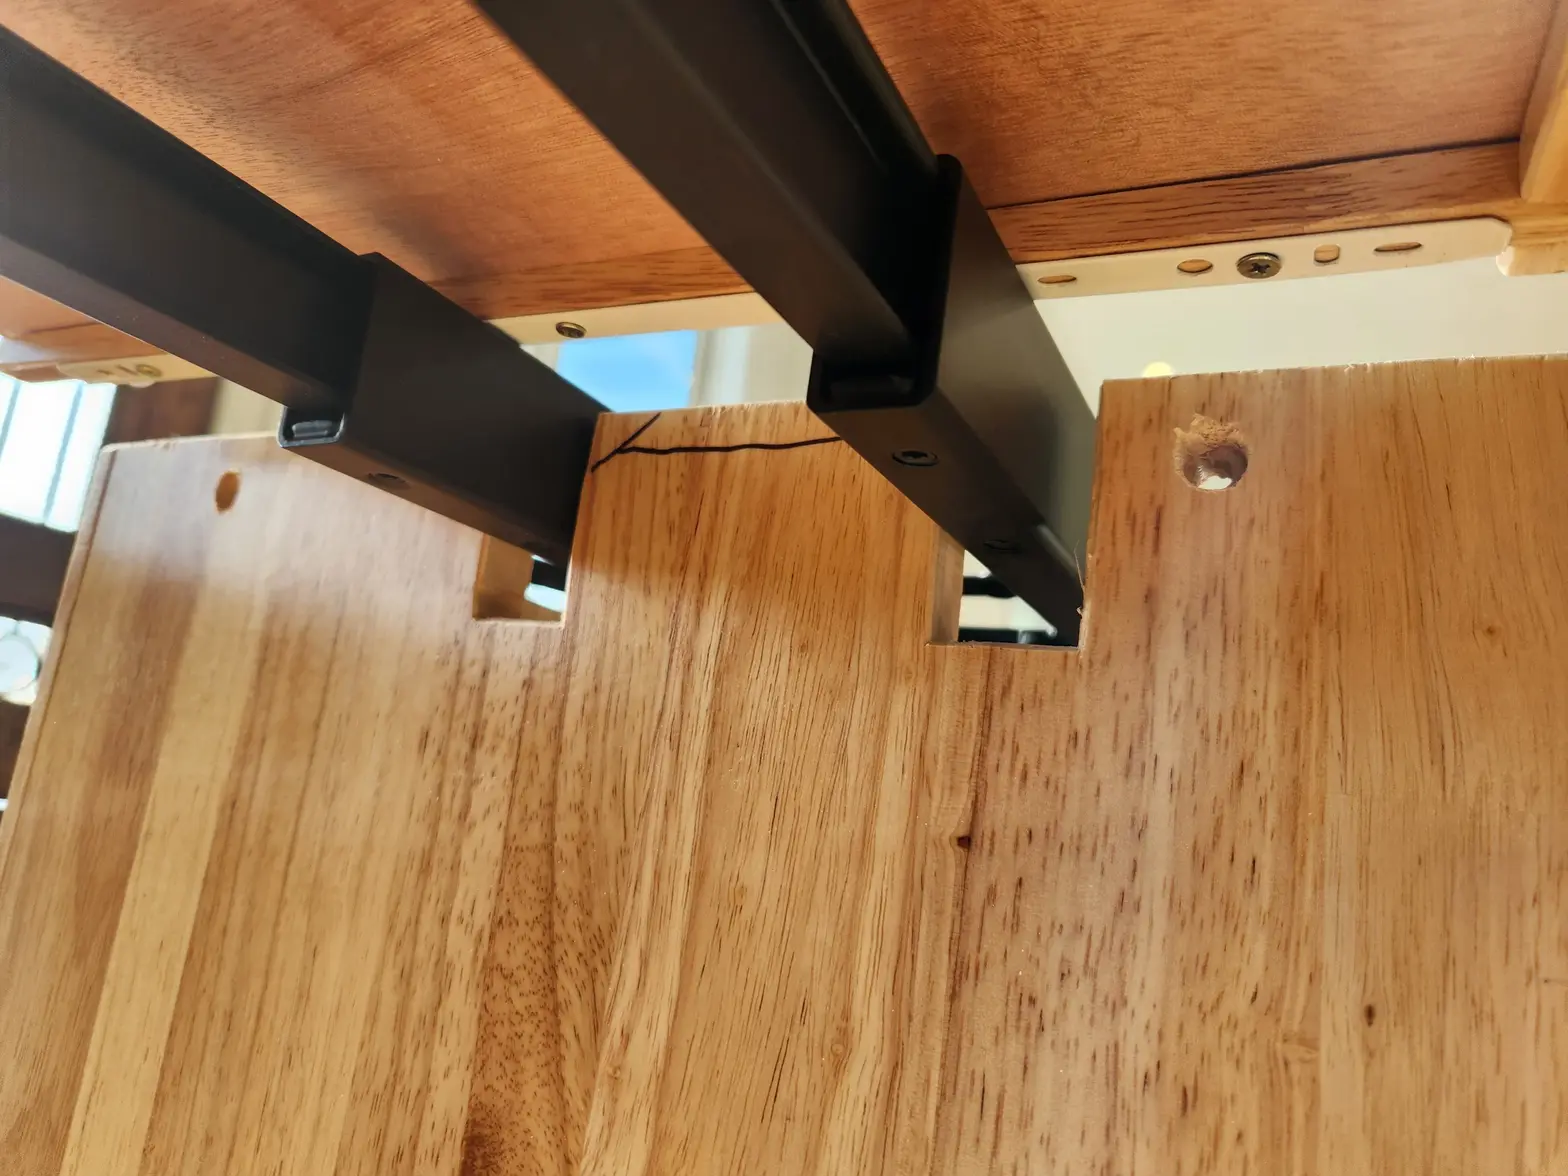
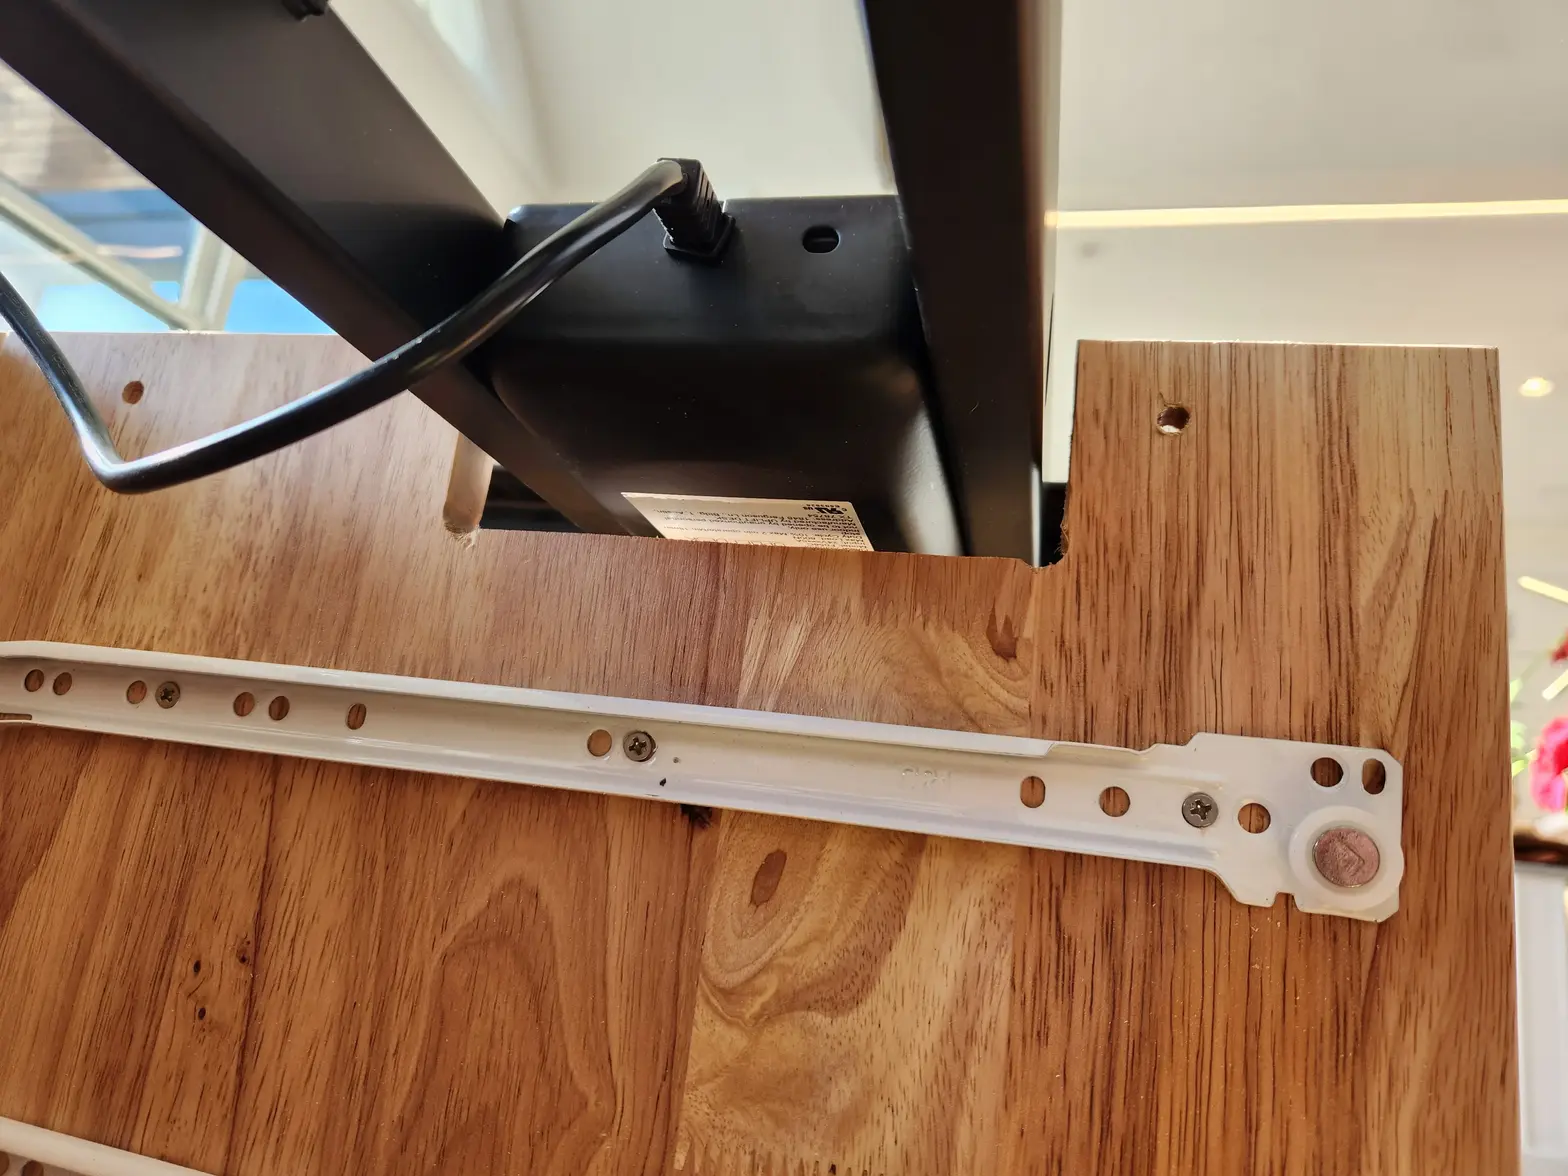
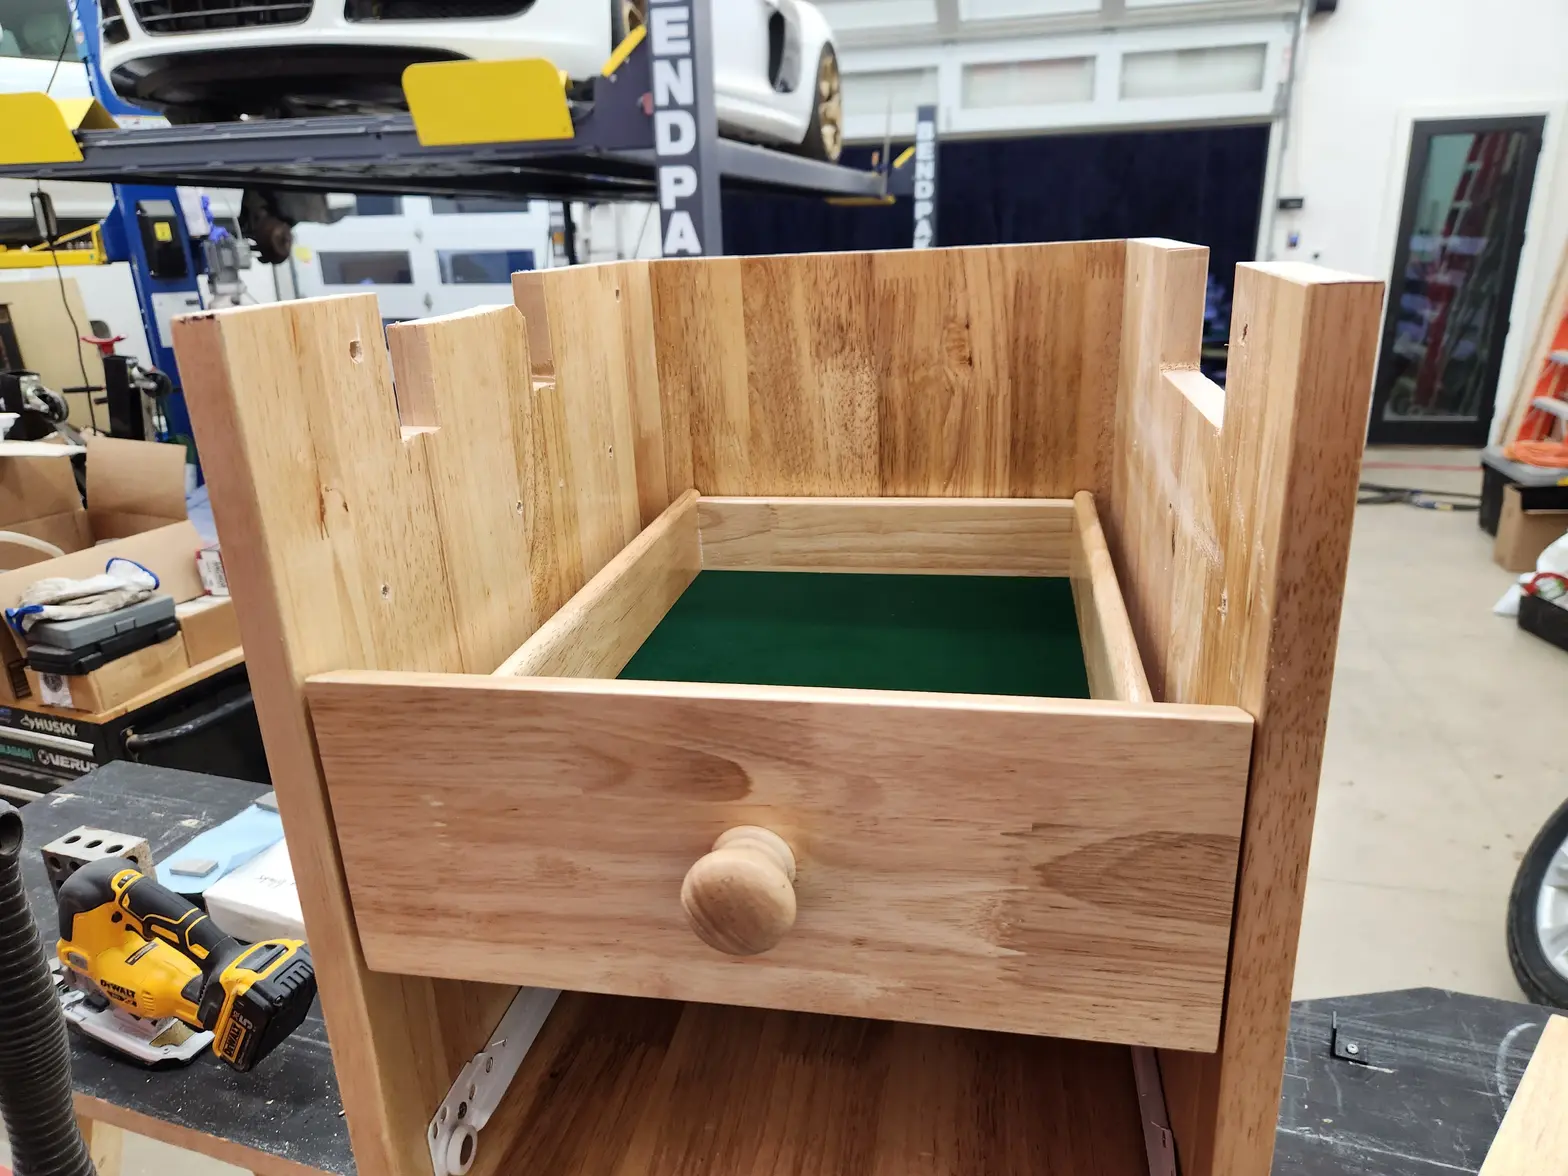
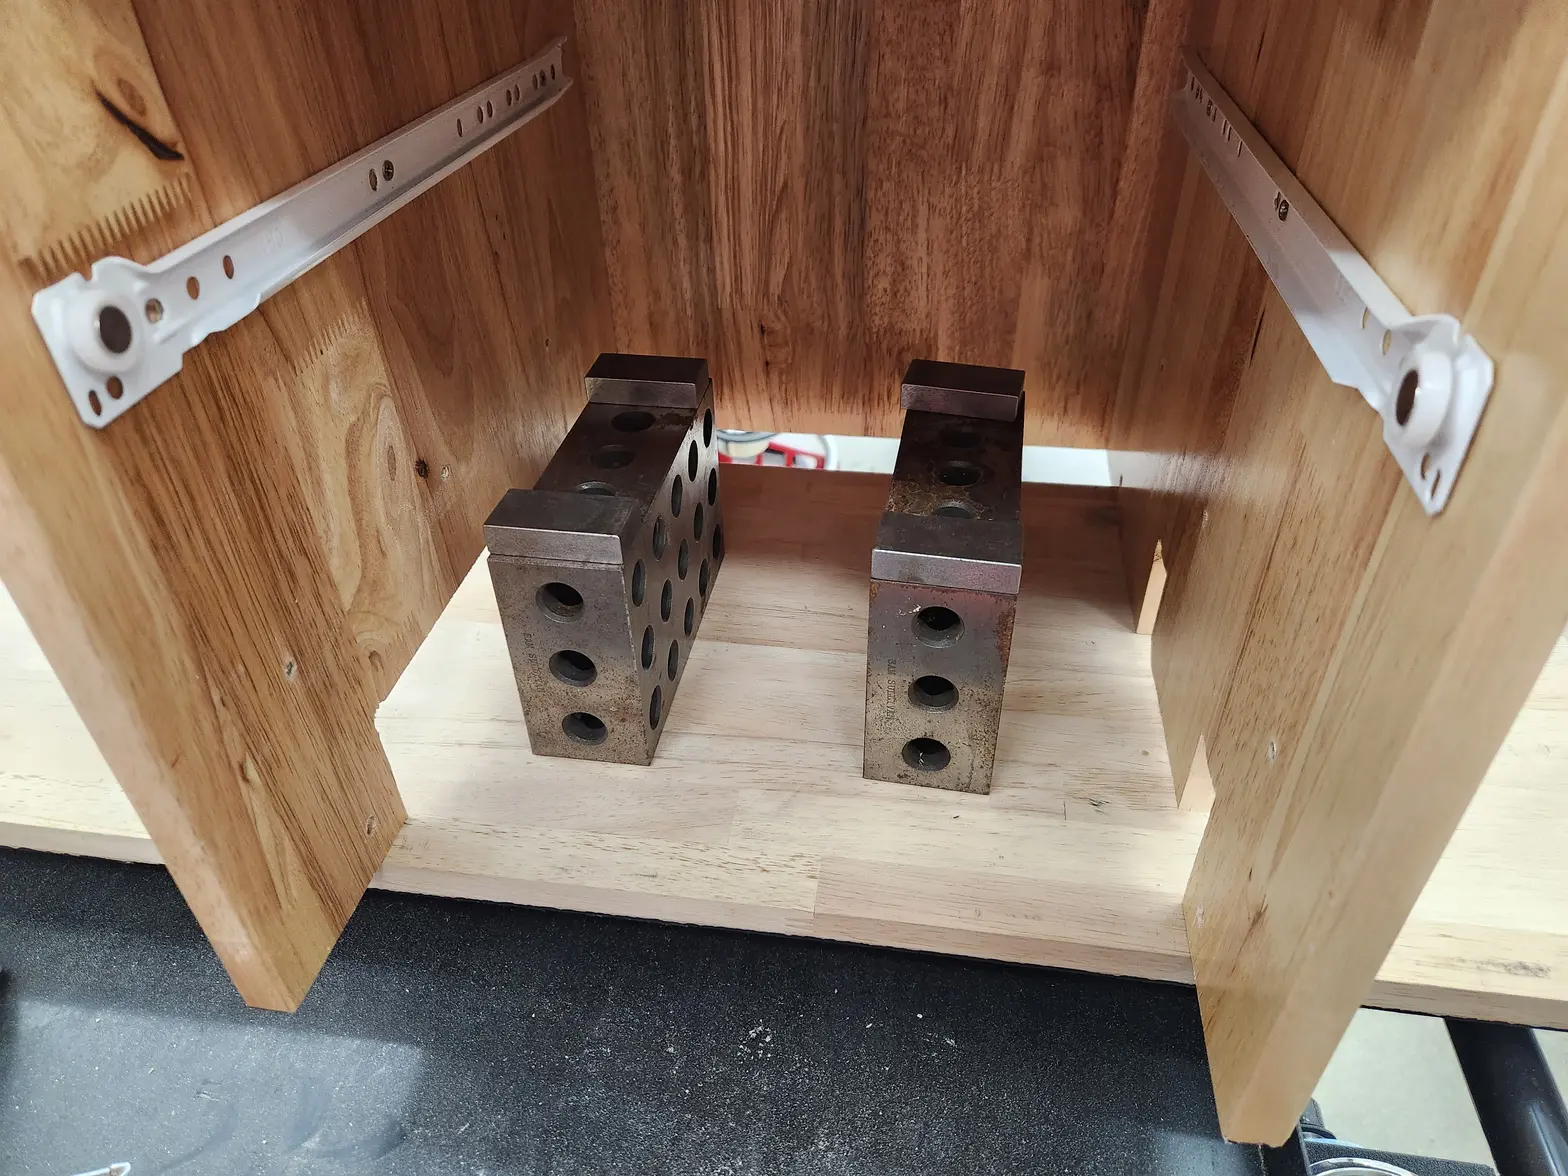
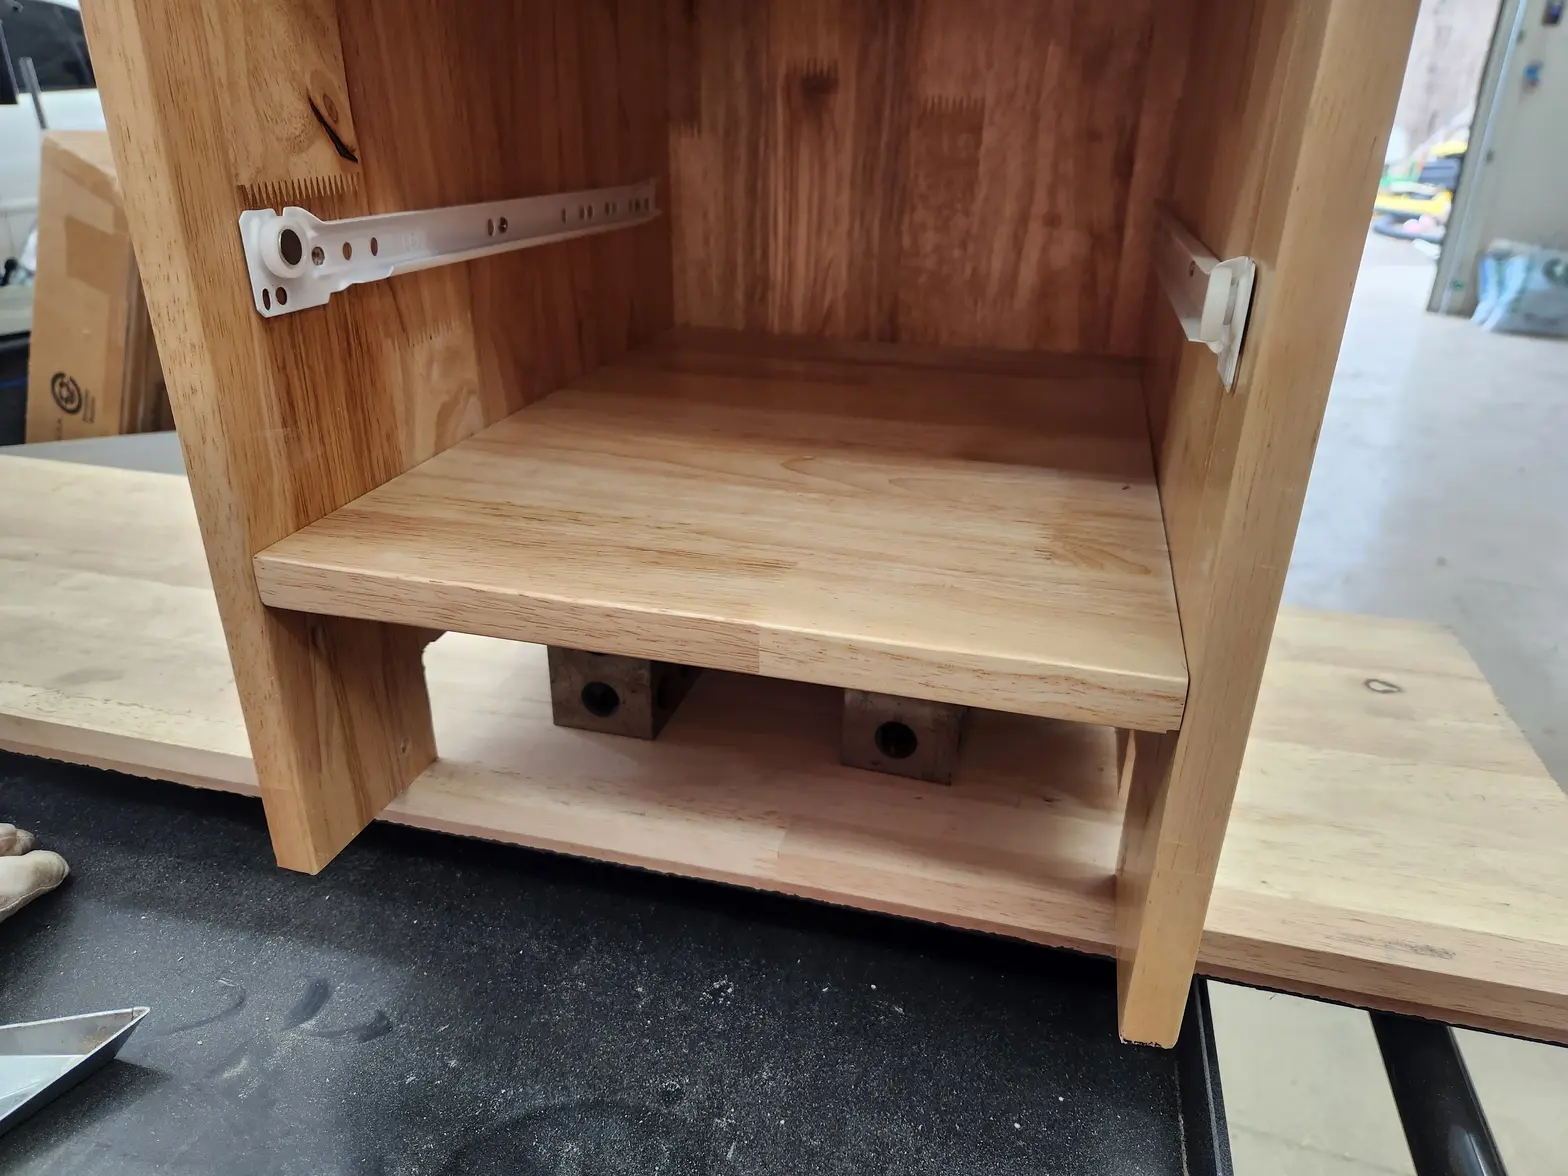
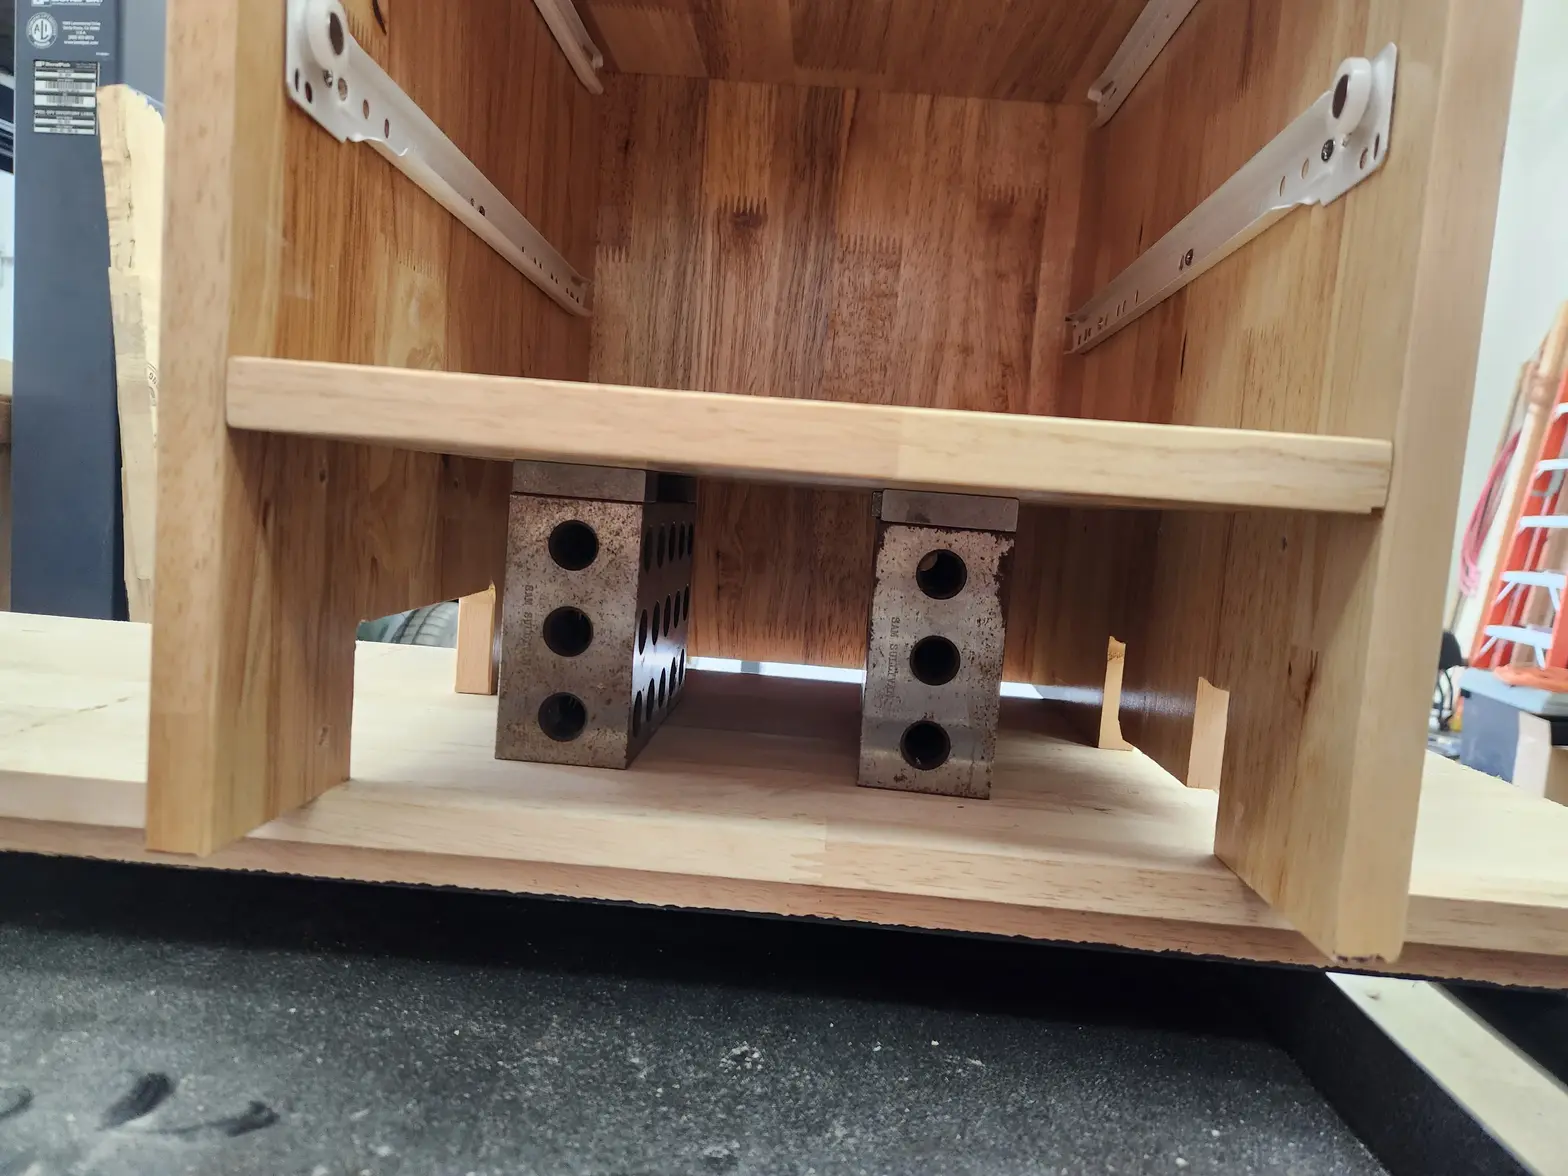
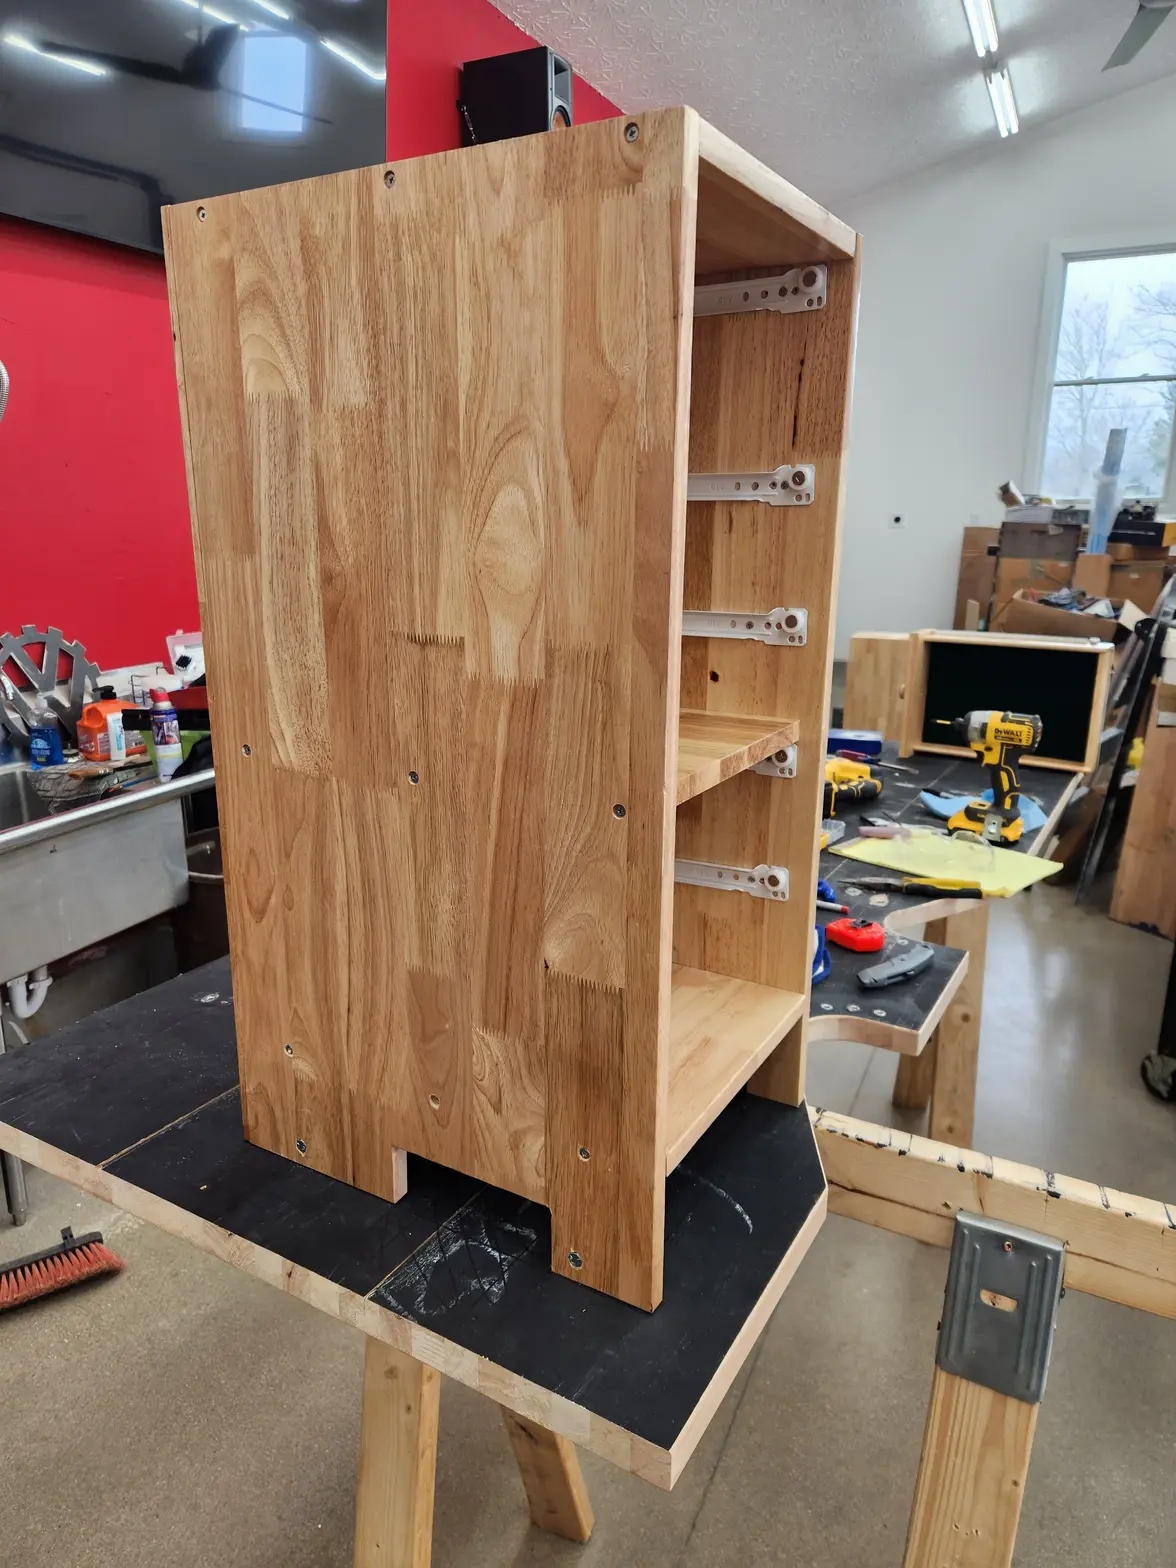
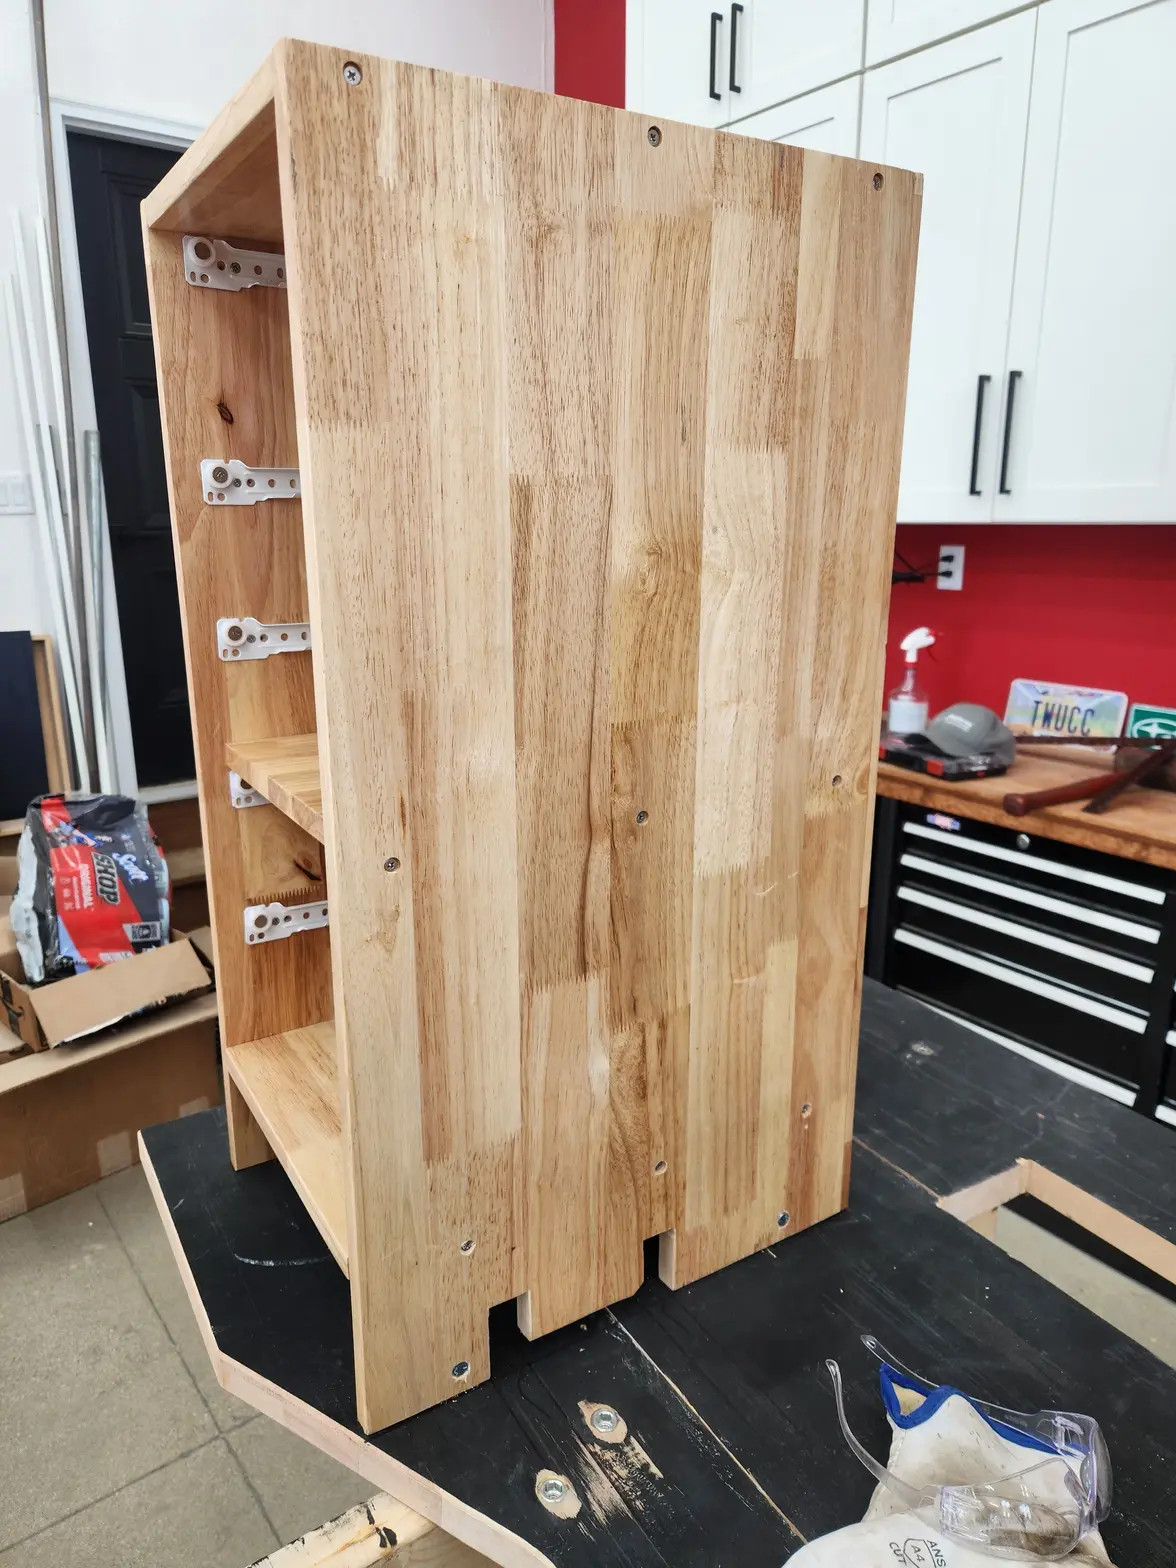
Laid out where the frame supports and motors are on the bottom the table top so I can place the drawers. Minor trimming and alterations made to accomodate the frame braces.
Put an 1/8" radius on the bottom of the top while it was flipped.
Laid out where the frame supports and motors are on the bottom the table top so I can place the drawers. Minor trimming and alterations made to accomodate the frame braces.
