samweldspoorly
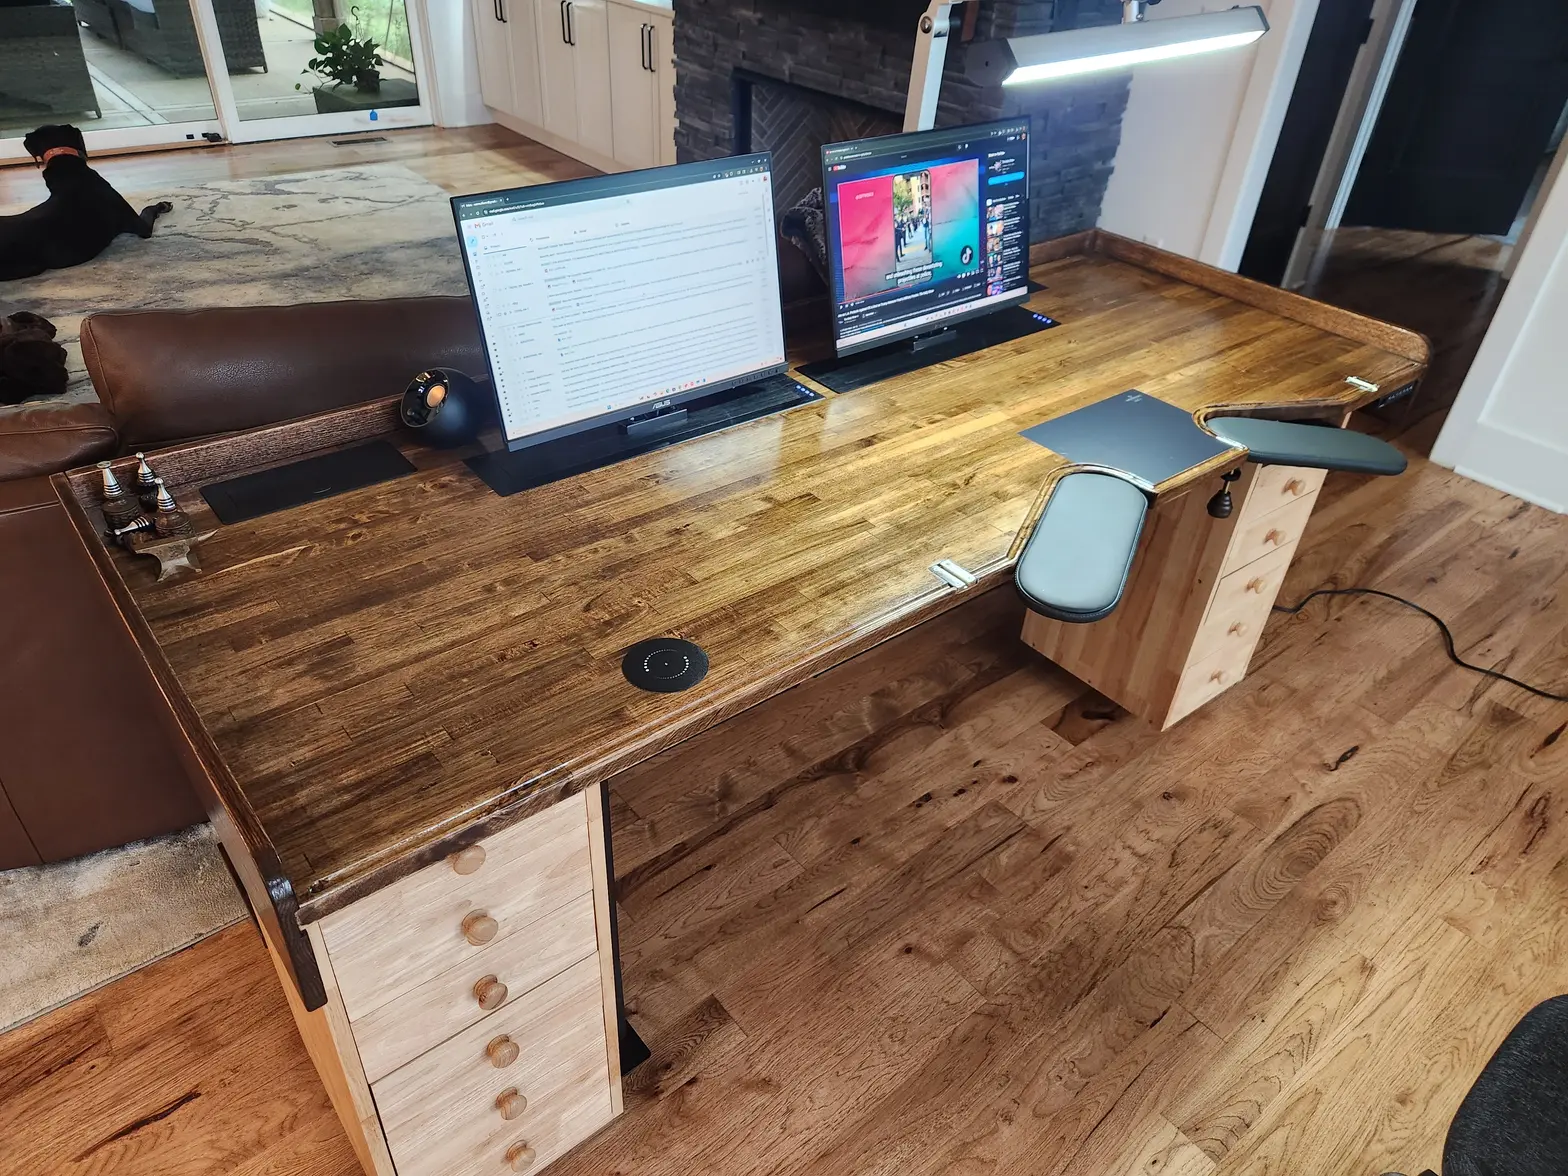
·In my latest exercise of free will, I custom built a DIY watchmakers bench. This thread will go into the details of my build.
Background. I am new to watchmaking. I am new to watch collecting. I blame Mounjaro, my GLP1 medication. I started it in 2023 and was amazed at how much “food noise” went away which freed up so much more mental bandwidth. It also abruptly changed my addictive centers around food, so I shifted my focus away from Twinkies onto something far more interesting. Horology. Over the last two years, I am down 80lbs, and on my way towards CW21 certification. I am fortunate to have been born in Cincinnati in the 80s and have been unknowingly driving past the AWCI headquarters for the last 30+ years. I have been taking basically every class offered over the last two years.
My vocation is welding and fabrication. I am a CWI or certified welding inspector. I taught welding for a number of years. I am currently self-employed and hold contracts with many fields, namely aerospace, US defense prime contractors, oil and gas, and petrochemical. I am versed in construction and quality of AS, ASME, NAVSEA, AWS, API machined and welded components. I have set my sights on independent manufacture. My goal is to make my own wristwatch as a microbrand atelier under my fabrication brand IgneoFab (shameless plug www.igneofab.com) . I already build custom bespoke items in the luxury space. So I want to expand that and push myself as far as I can, I want to personally fabricate as much of the watch and movement as possible; case, dial, hands, full movement etc etc… . I feel that I am uniquely positioned to take this jump and make something novel. These watchmaking classes and this bench are stepping stones to that ultimate goal. Thanks for coming along.
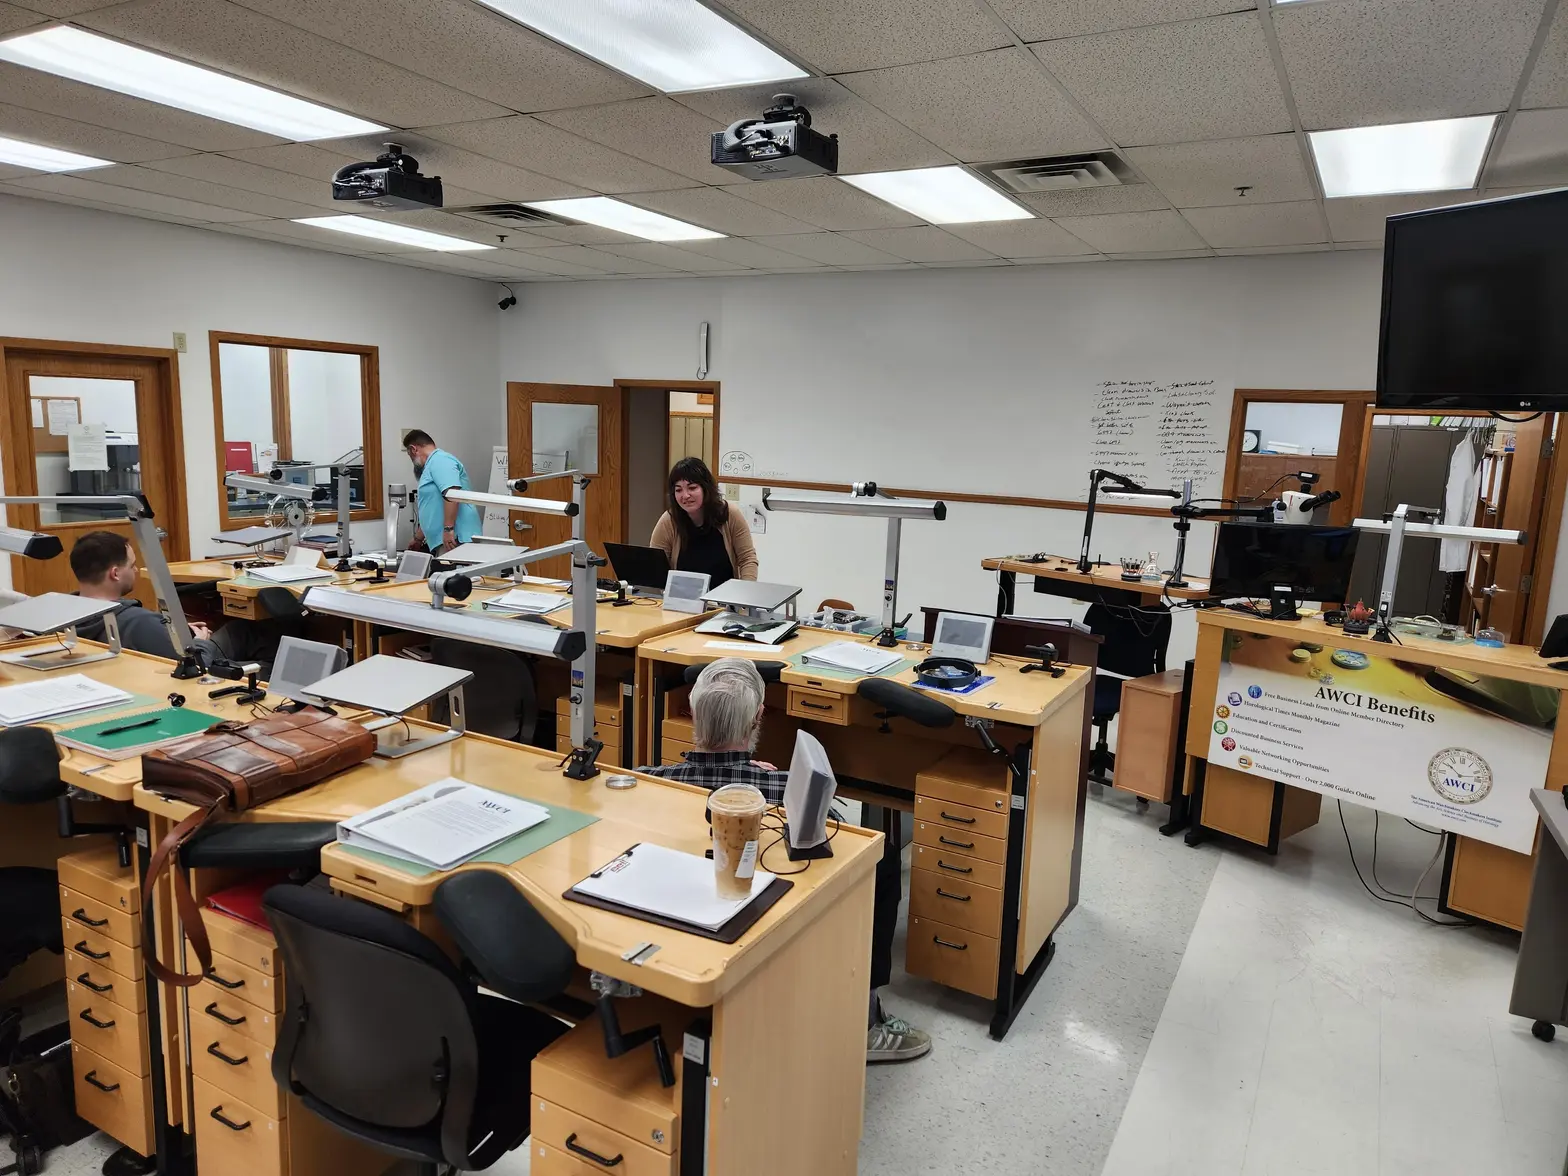
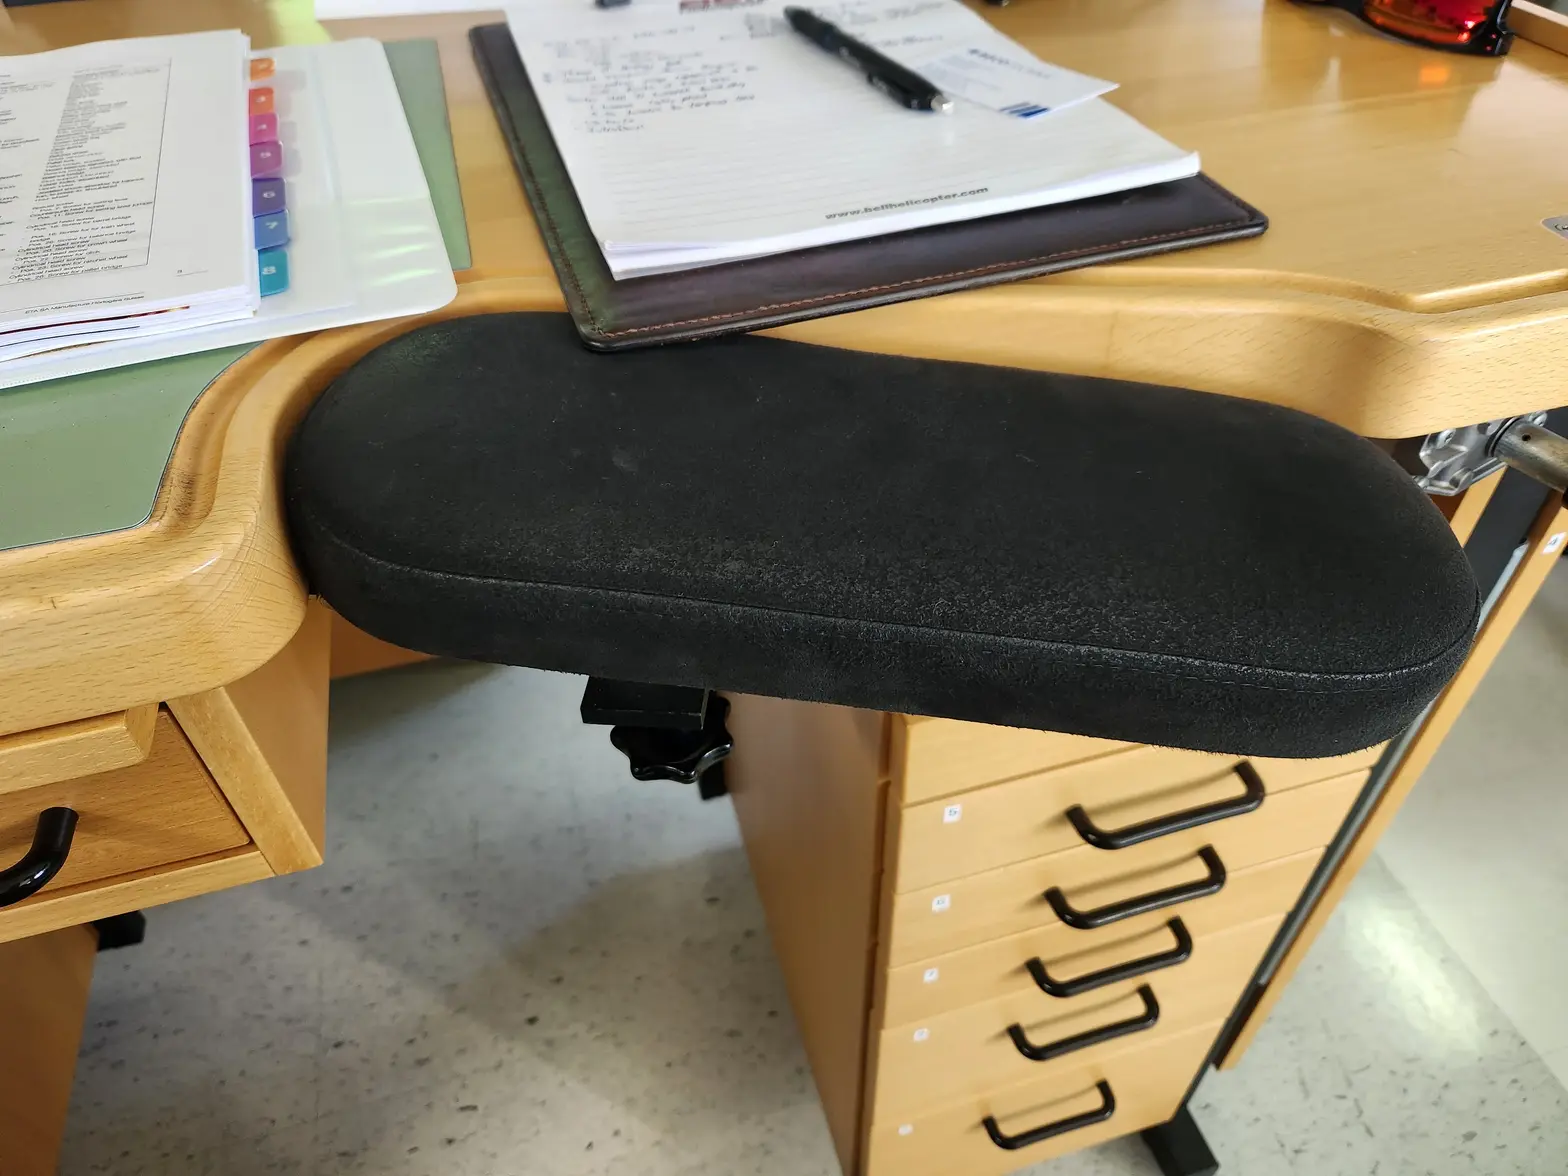
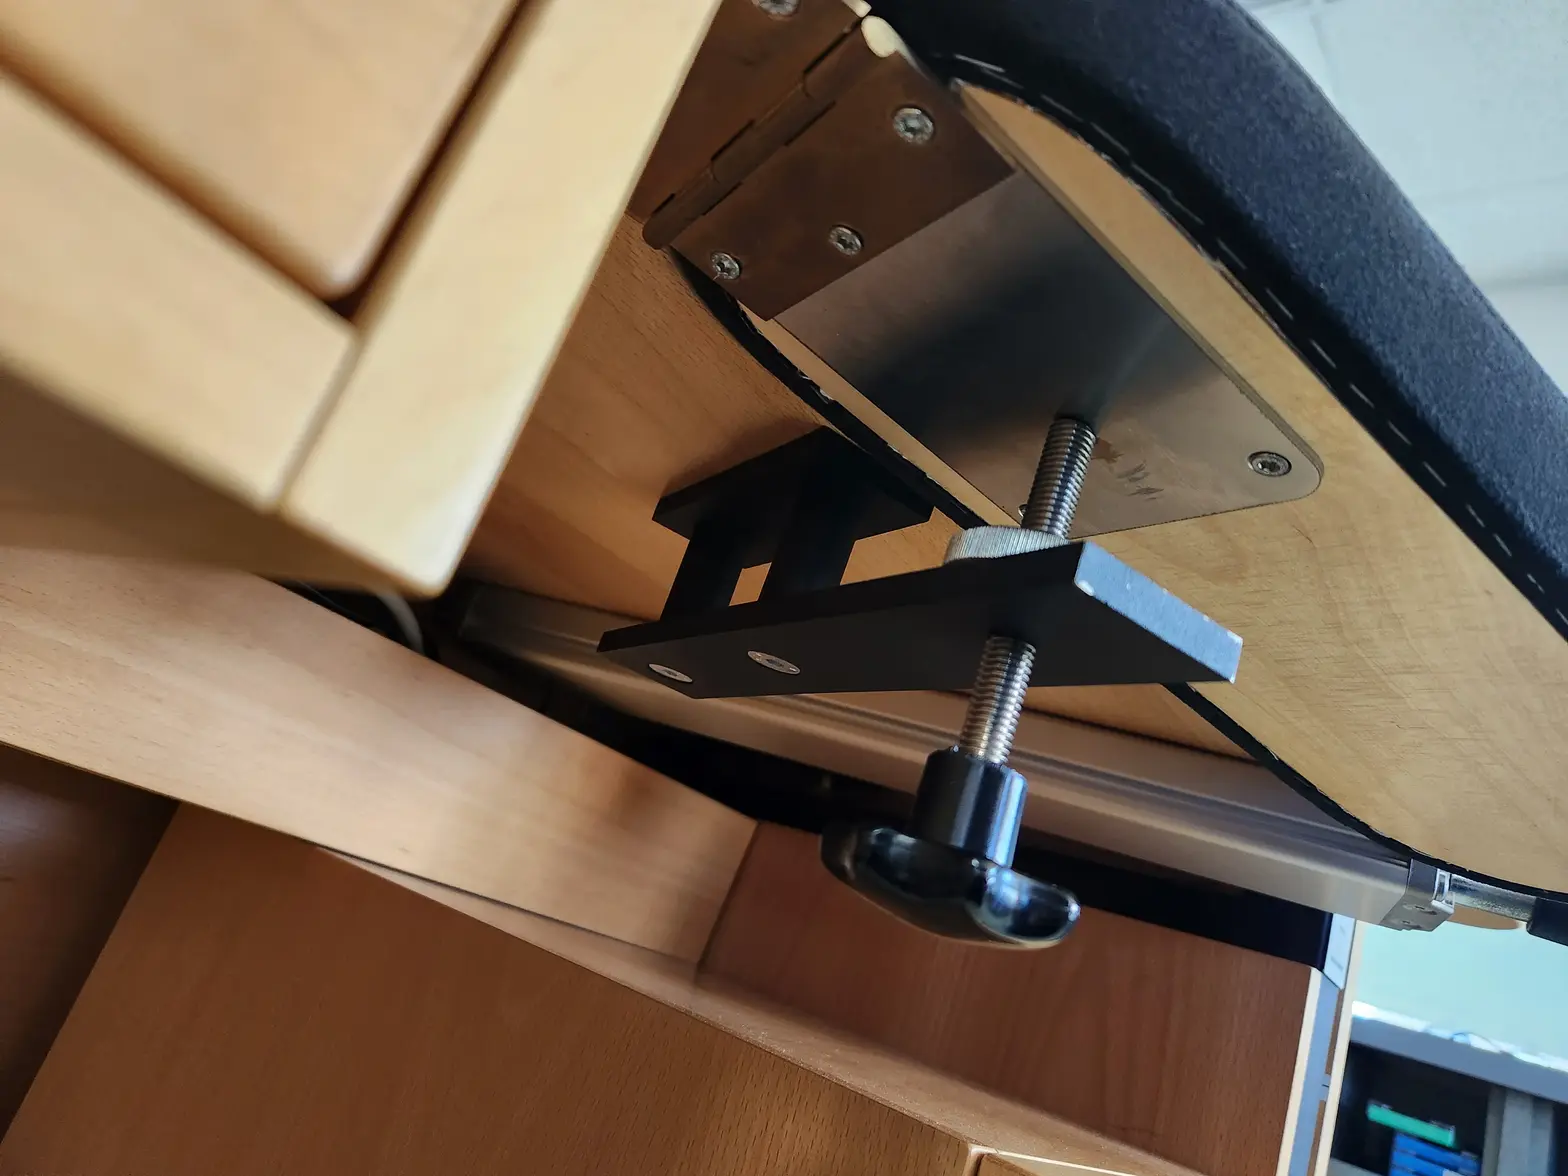
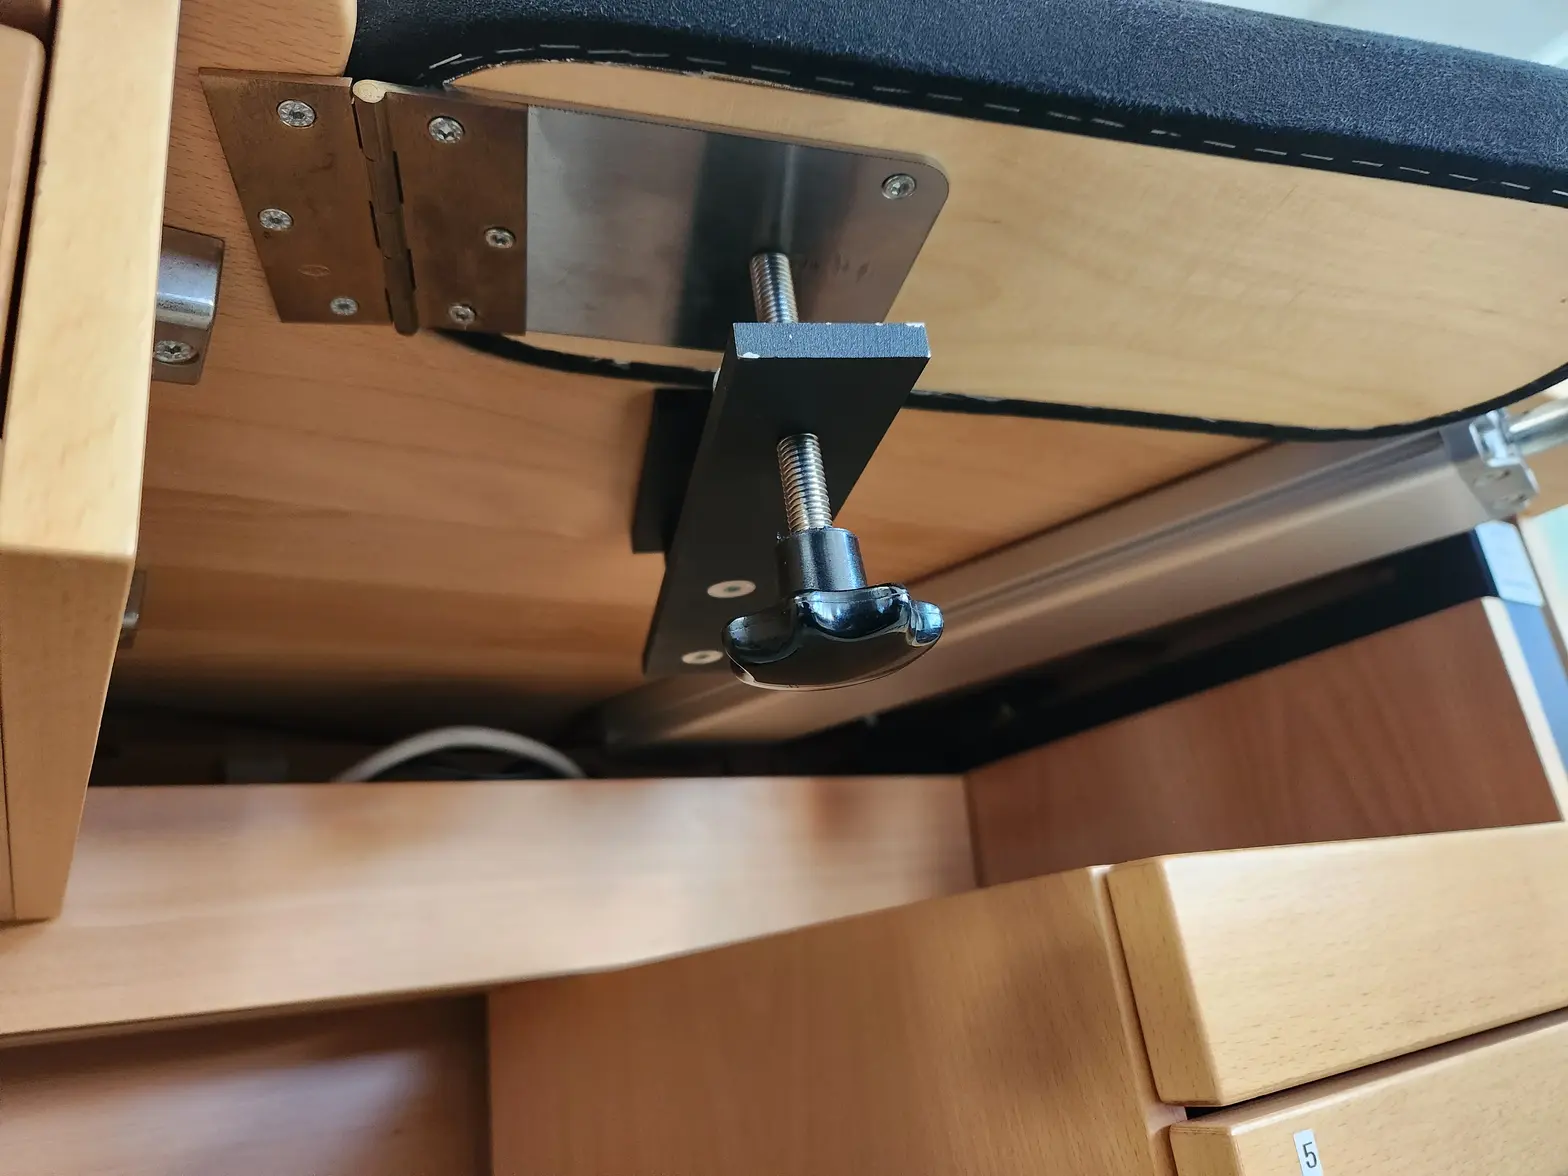
The bench. My needs: to be able to service movements on par or better than my bench from class. Pic for reference of my Beco bench from AWCI. I also need a general purpose work desk for writing reports when I am still working my day job. Needs to be able to raise and lower. So this has to be a multiuse bench. And it is going to live in my living room of our home so it has to at least look nice.
I have it currently about 99% of the way there. I just want to tweak a couple things. But currently it is working well servicing my friends 1961 SMDV cal 550.
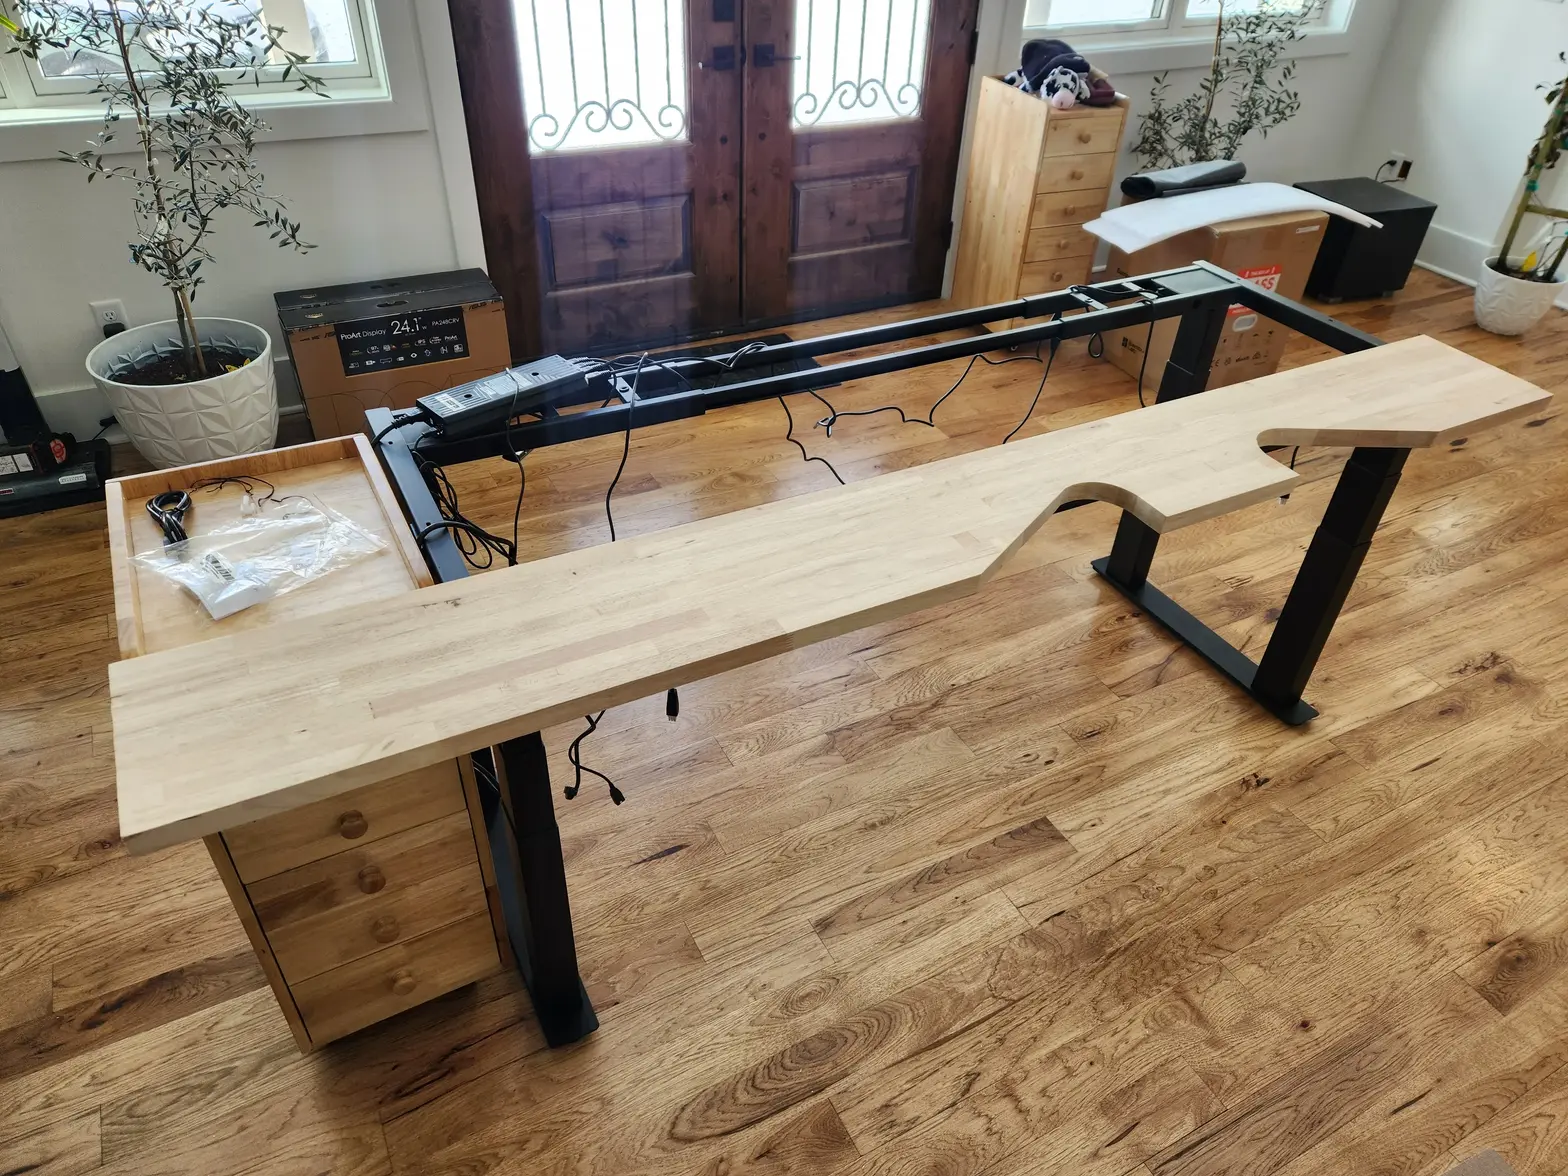
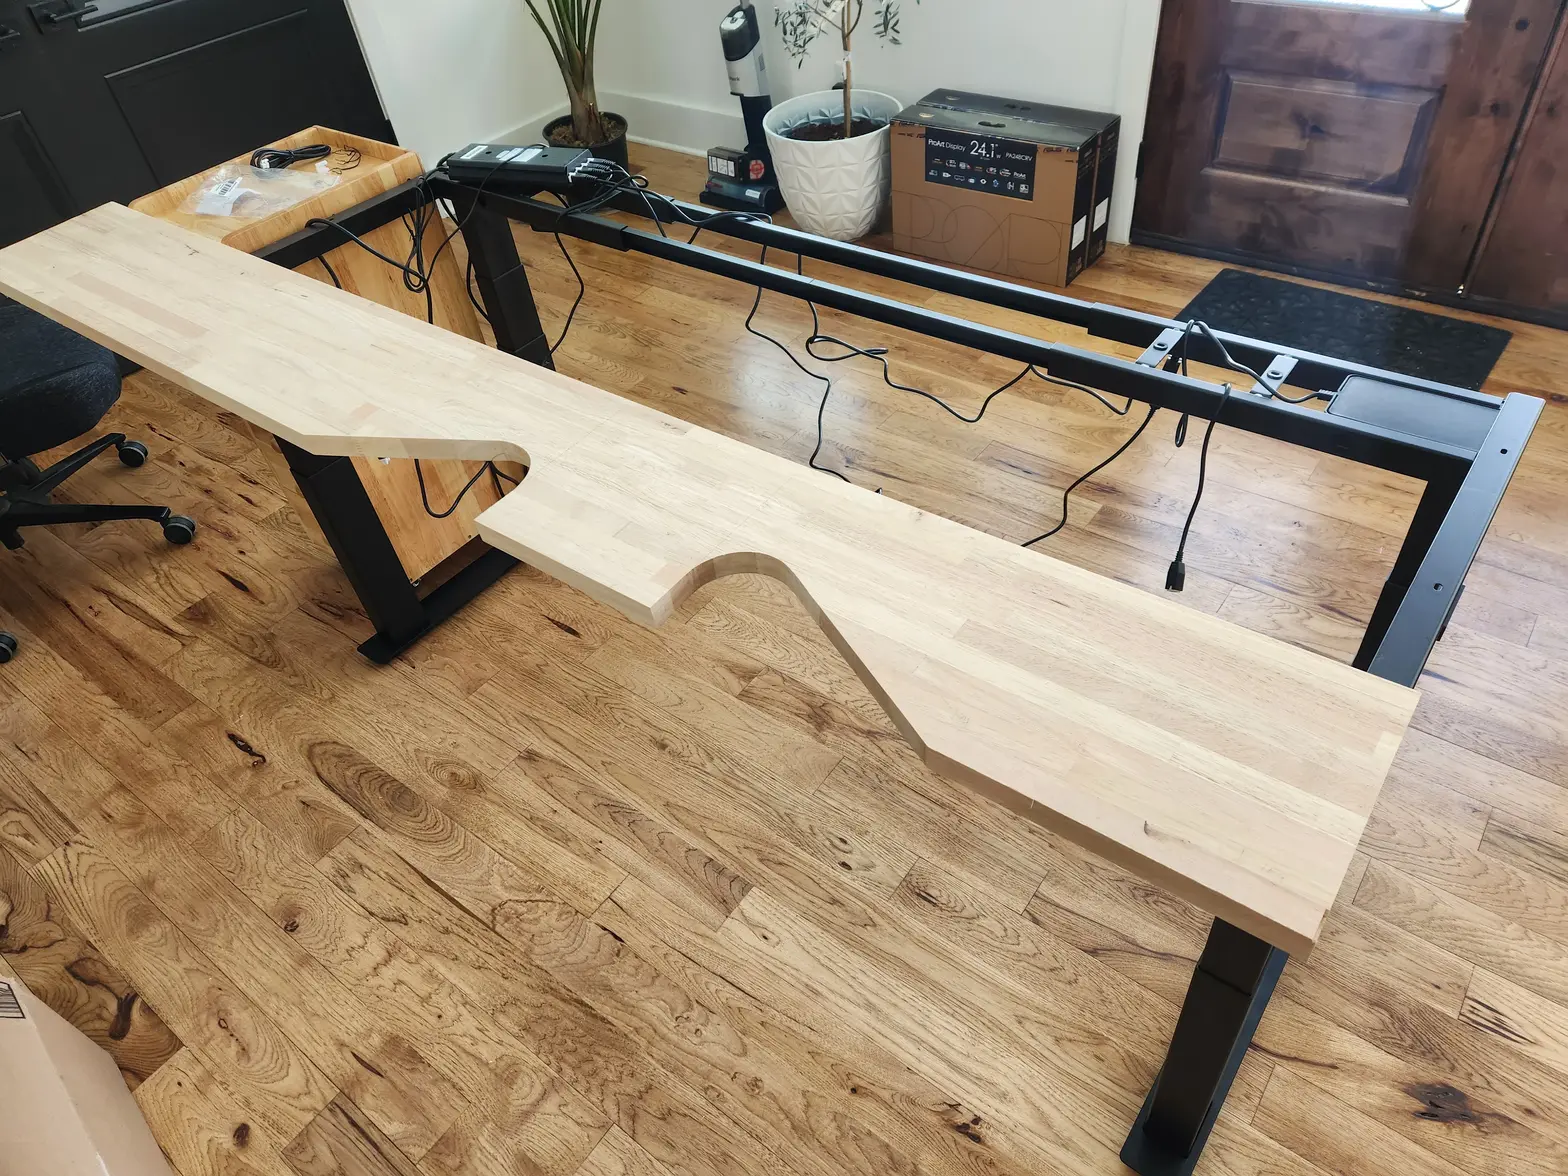
Construction: Some items are purchased, some are custom made. Depended on the level of difficulty I perceived while trying to reduce scope creep which I recognize myself being easily susceptible to. The bench is essentially 3 major components all fastened together. The frame, the top, and the integrated drawers.
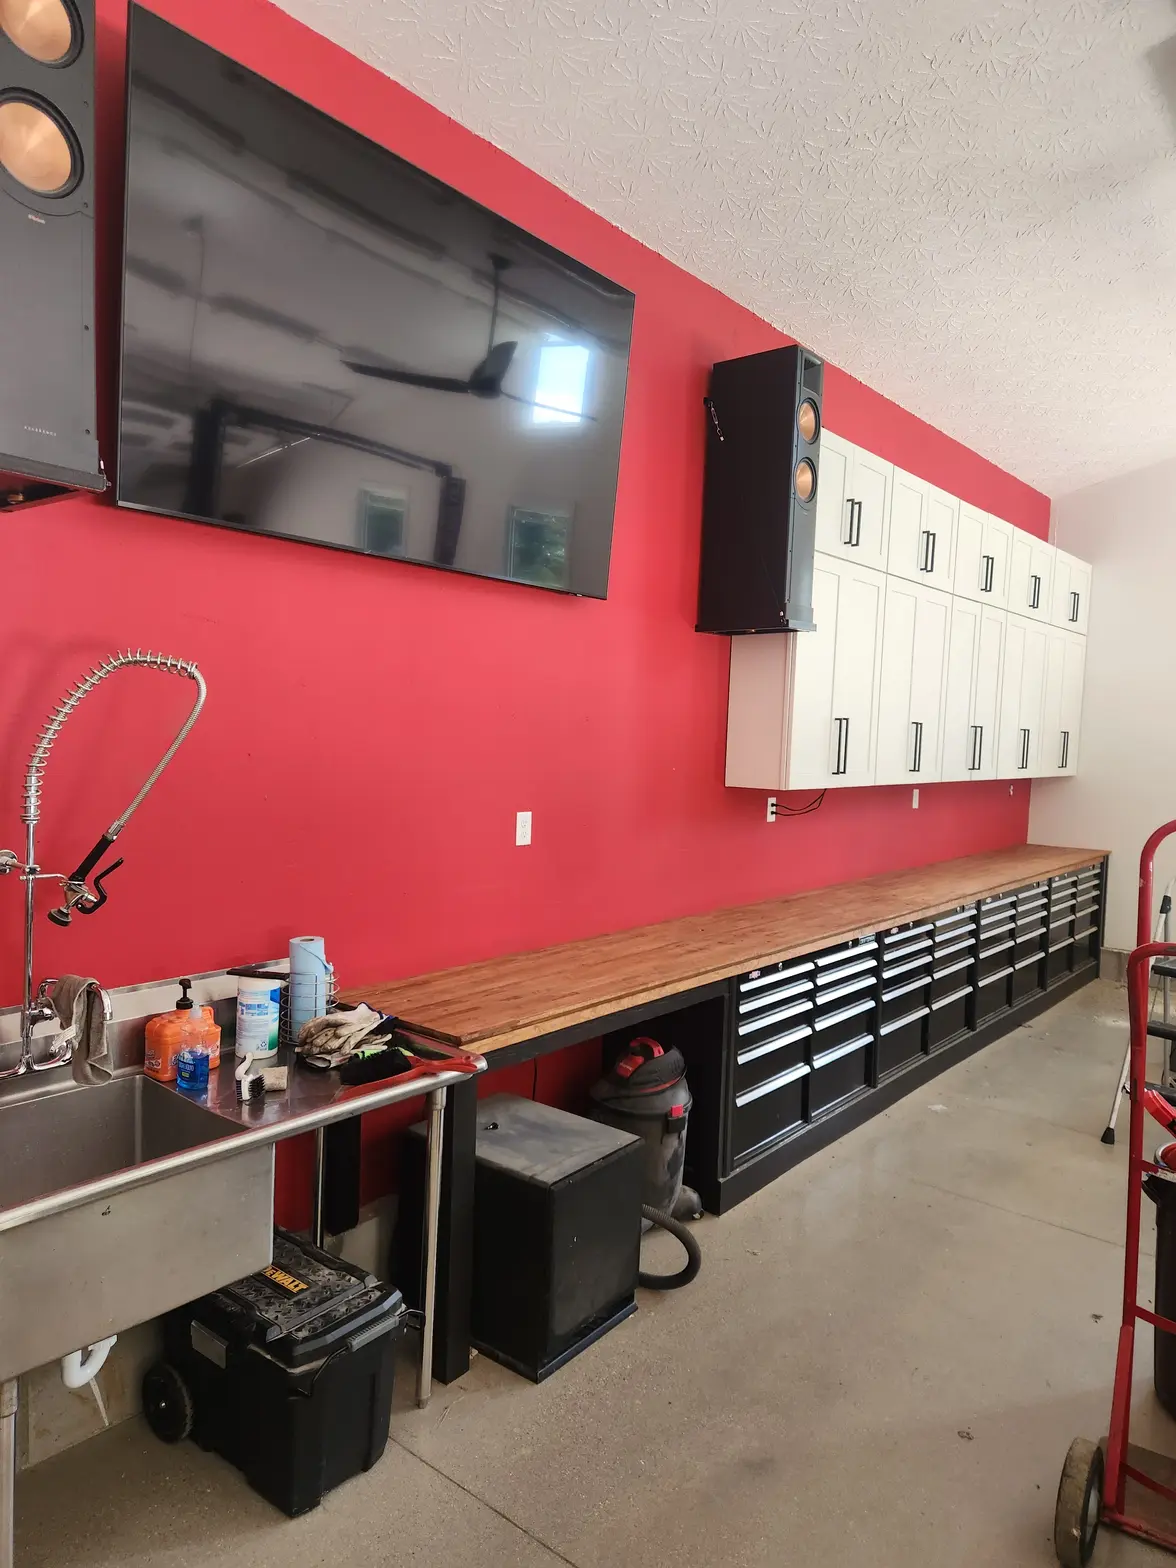
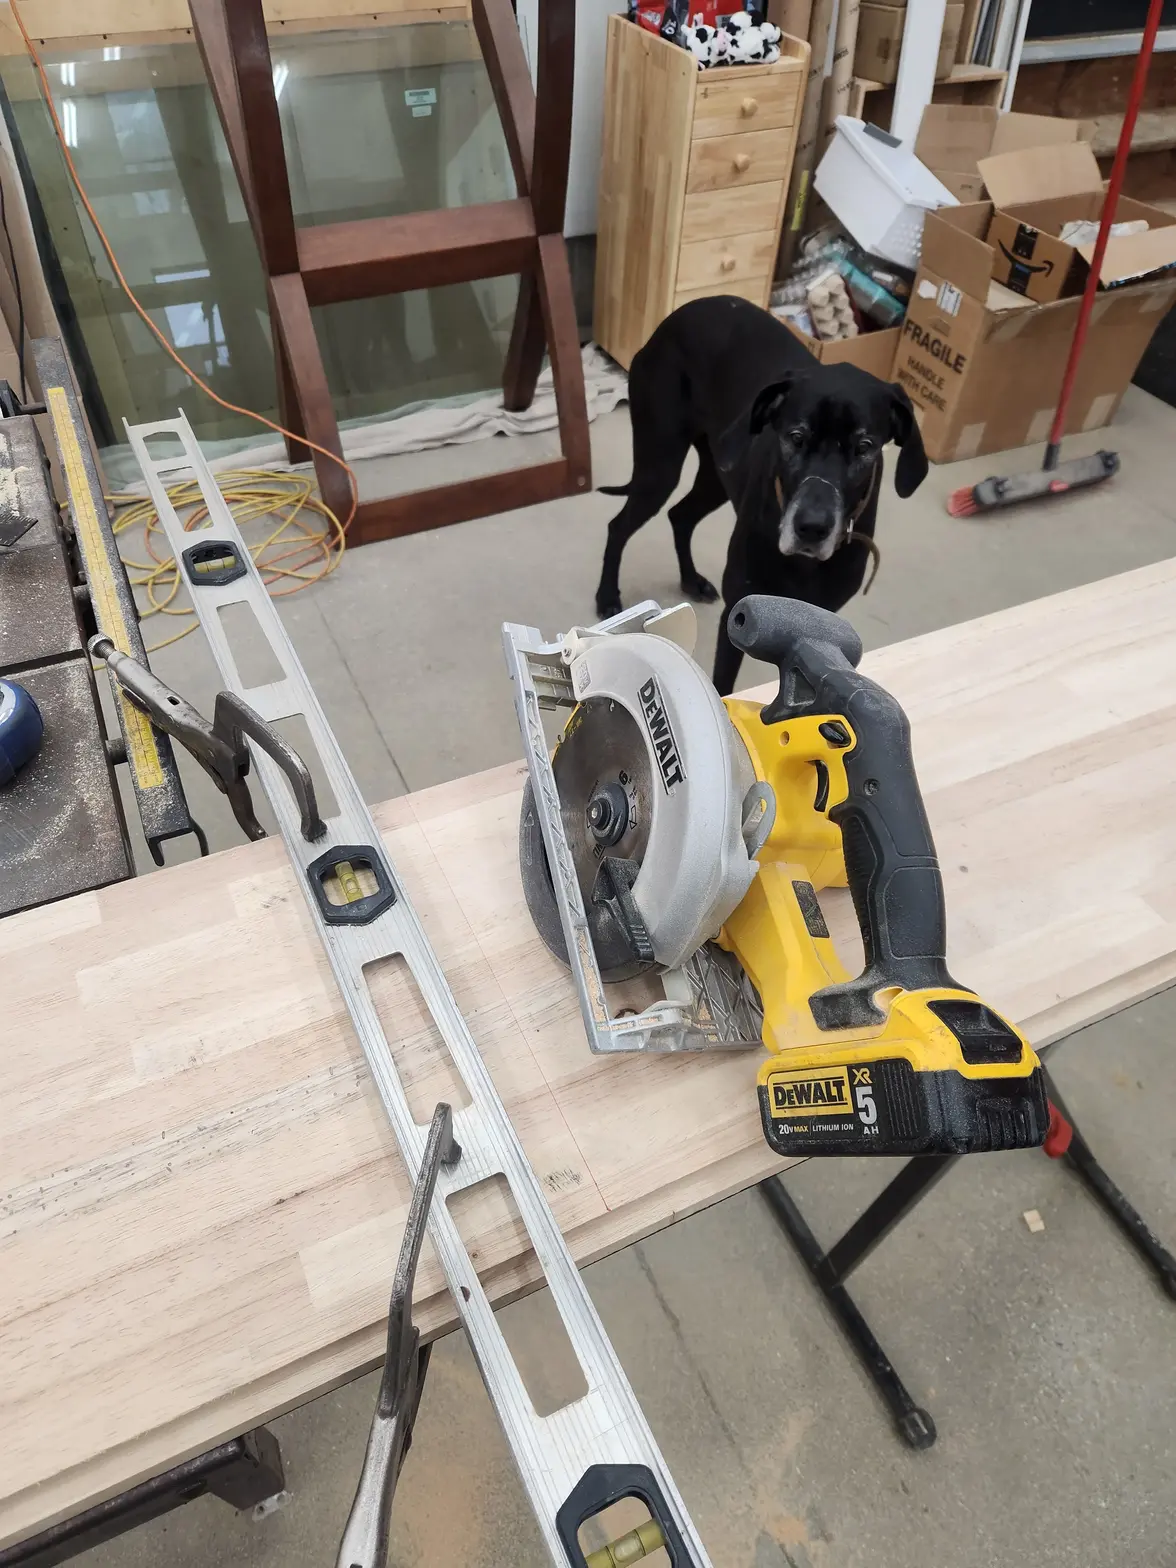
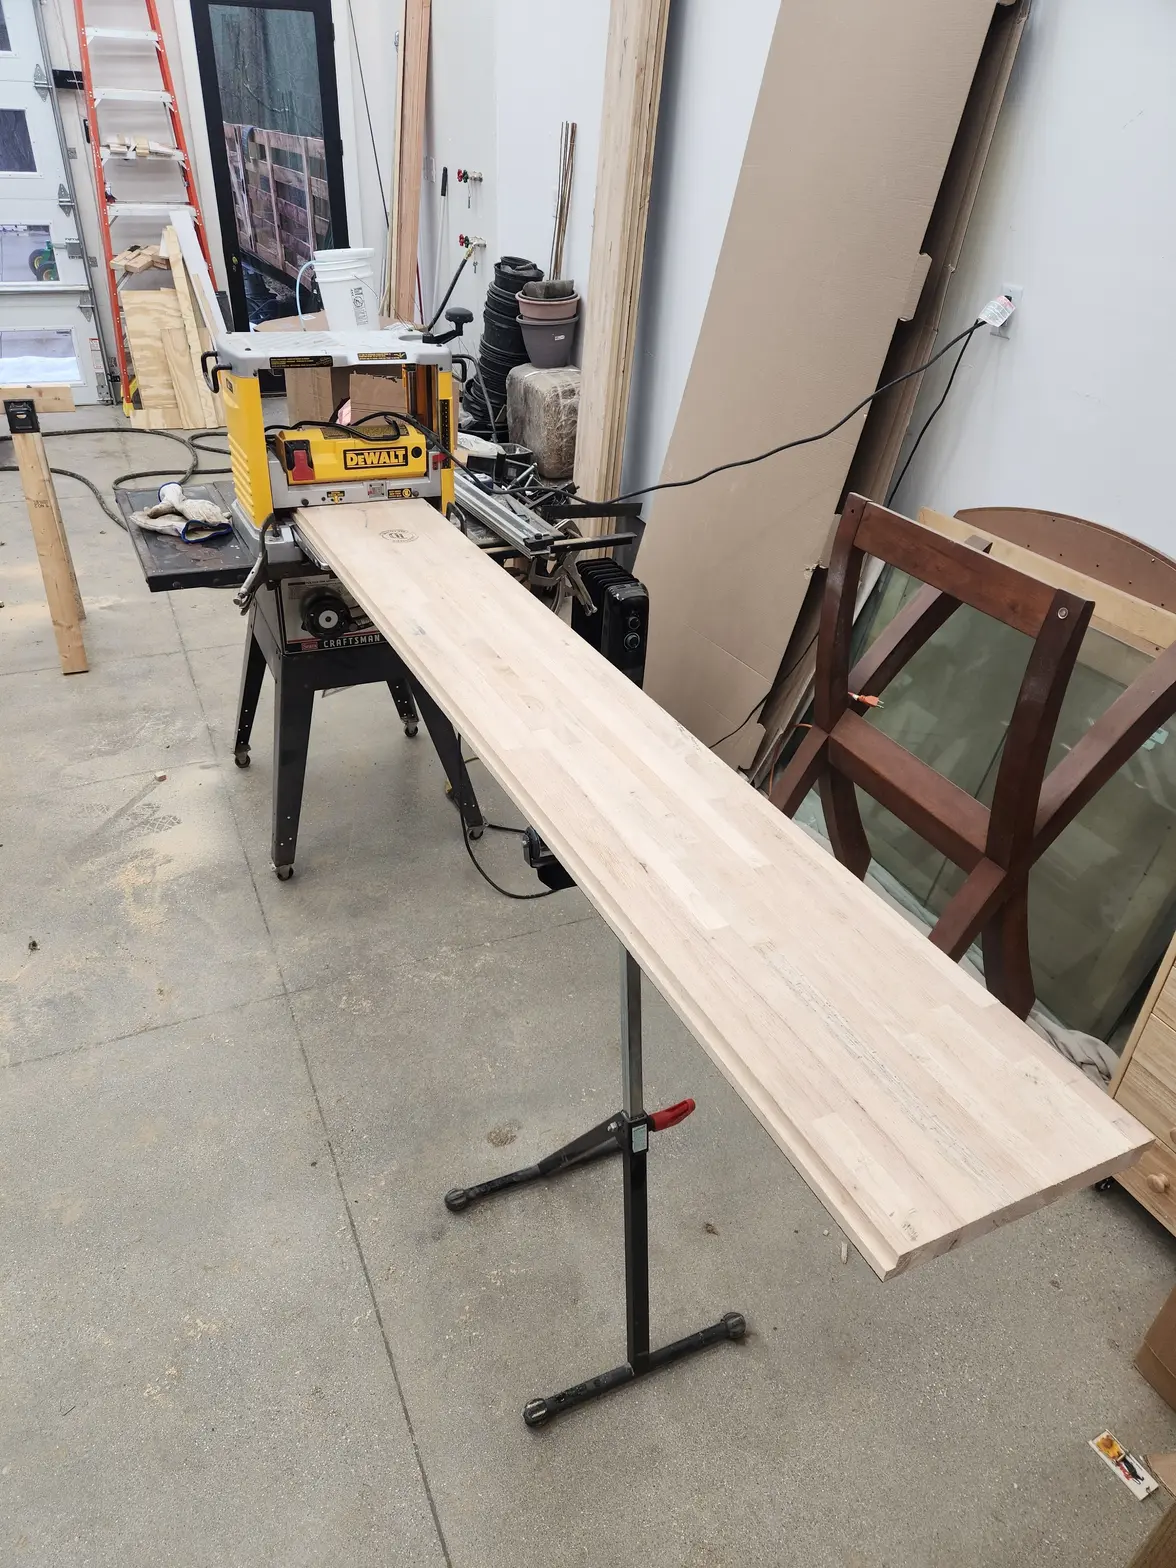
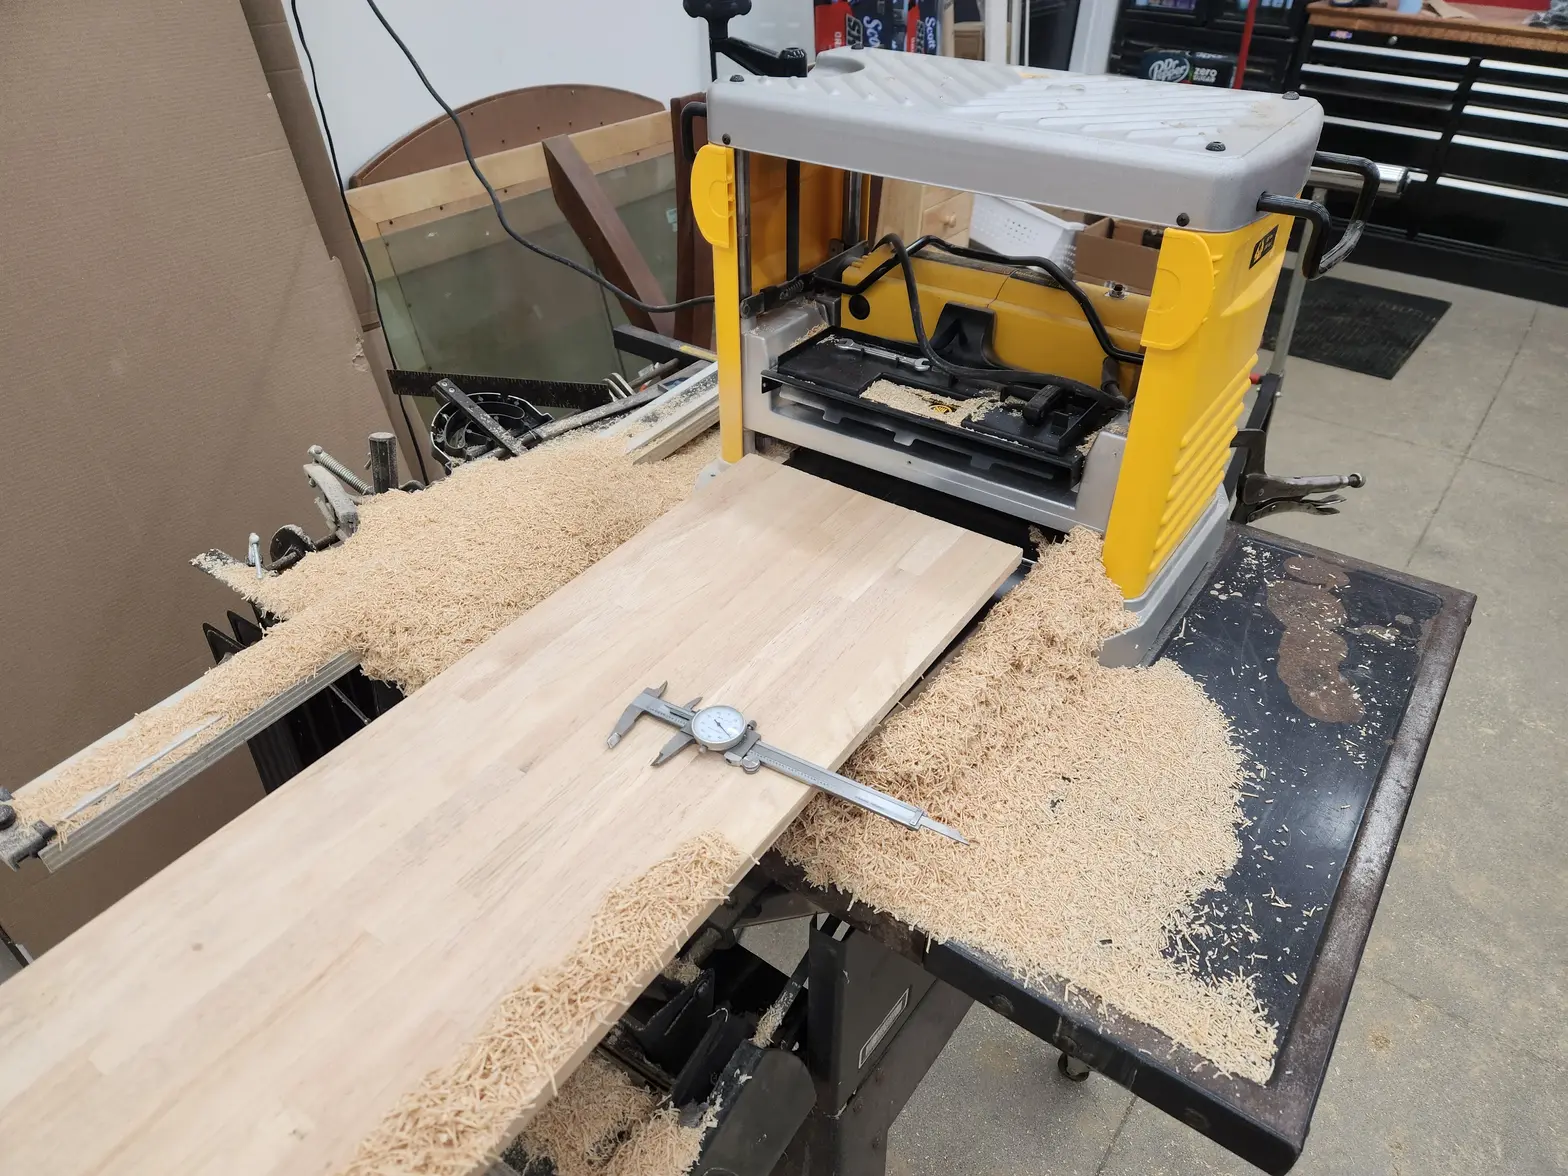
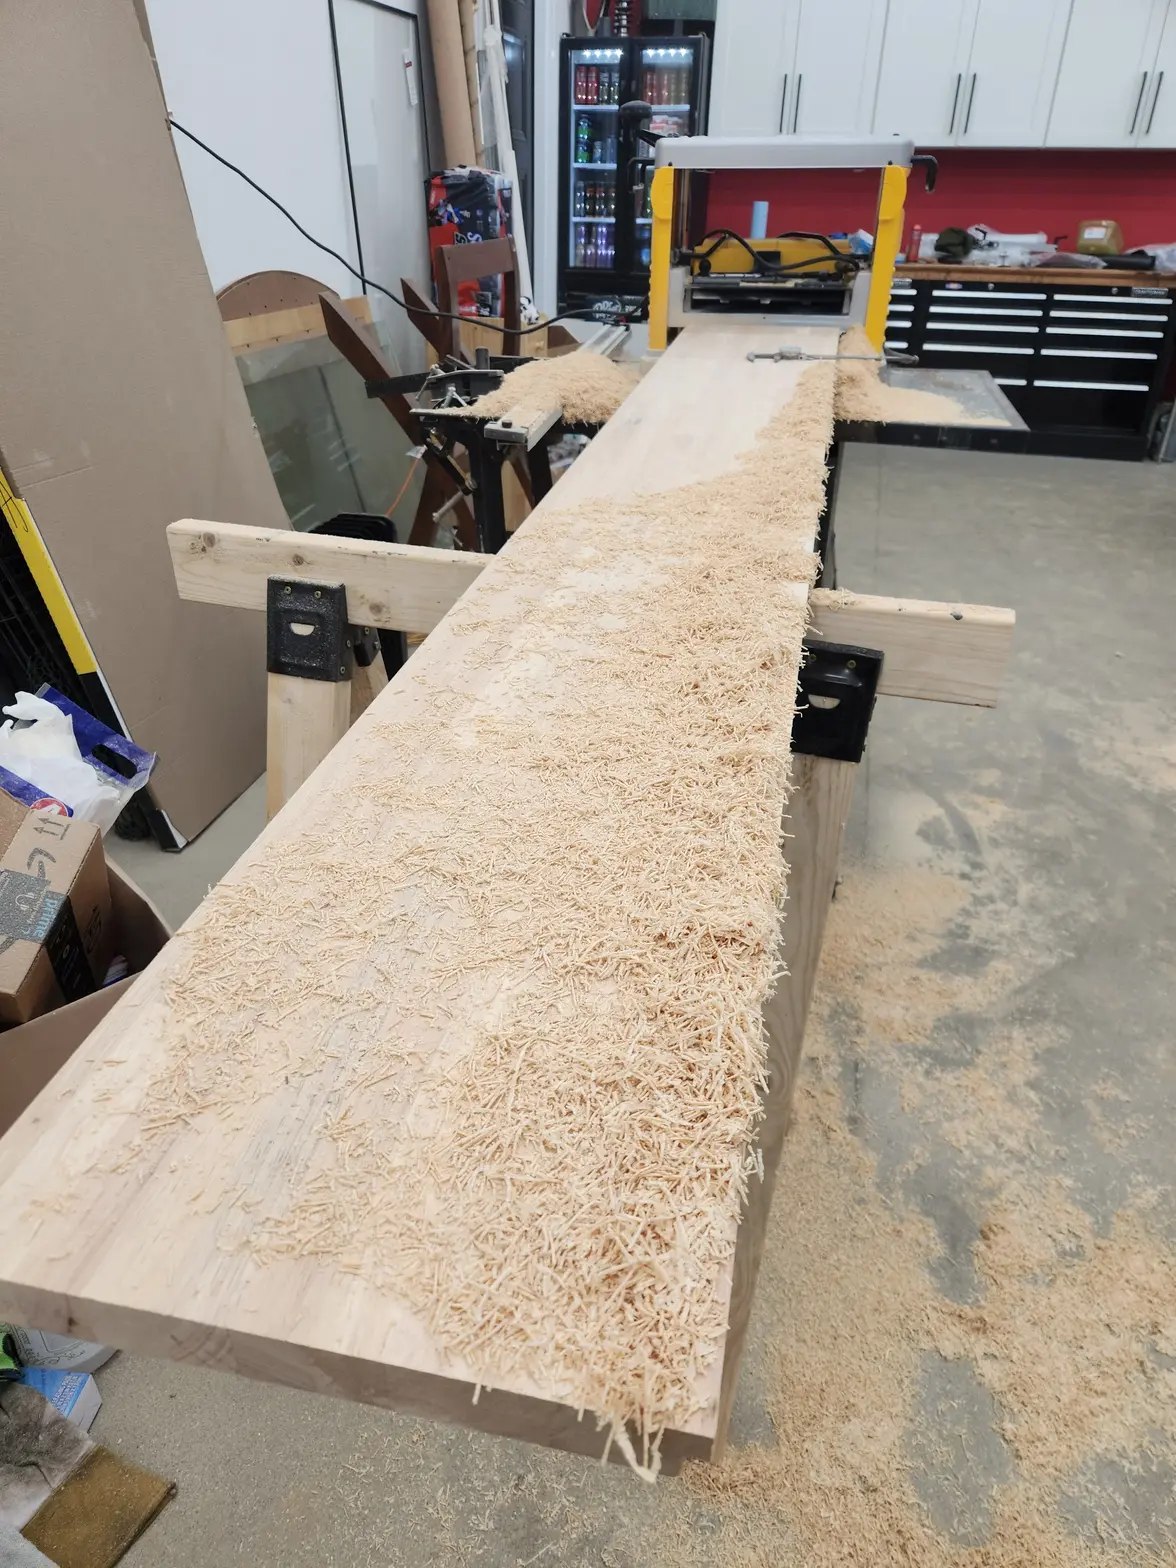
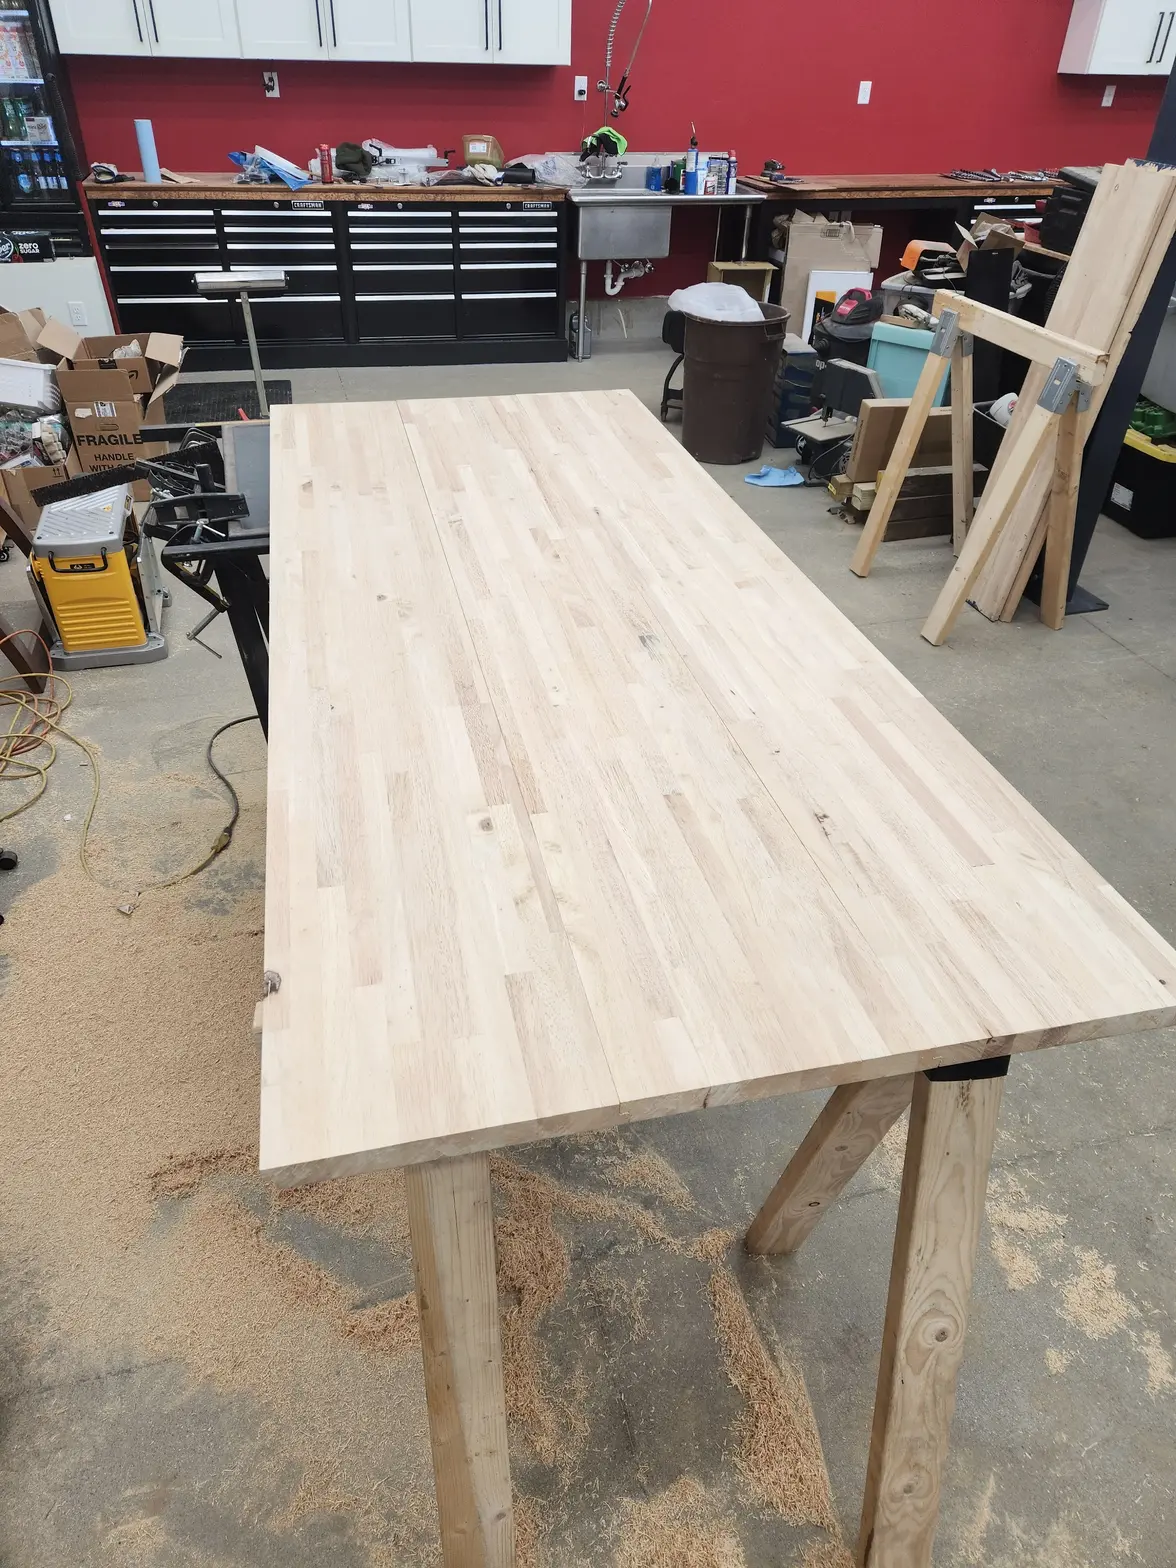
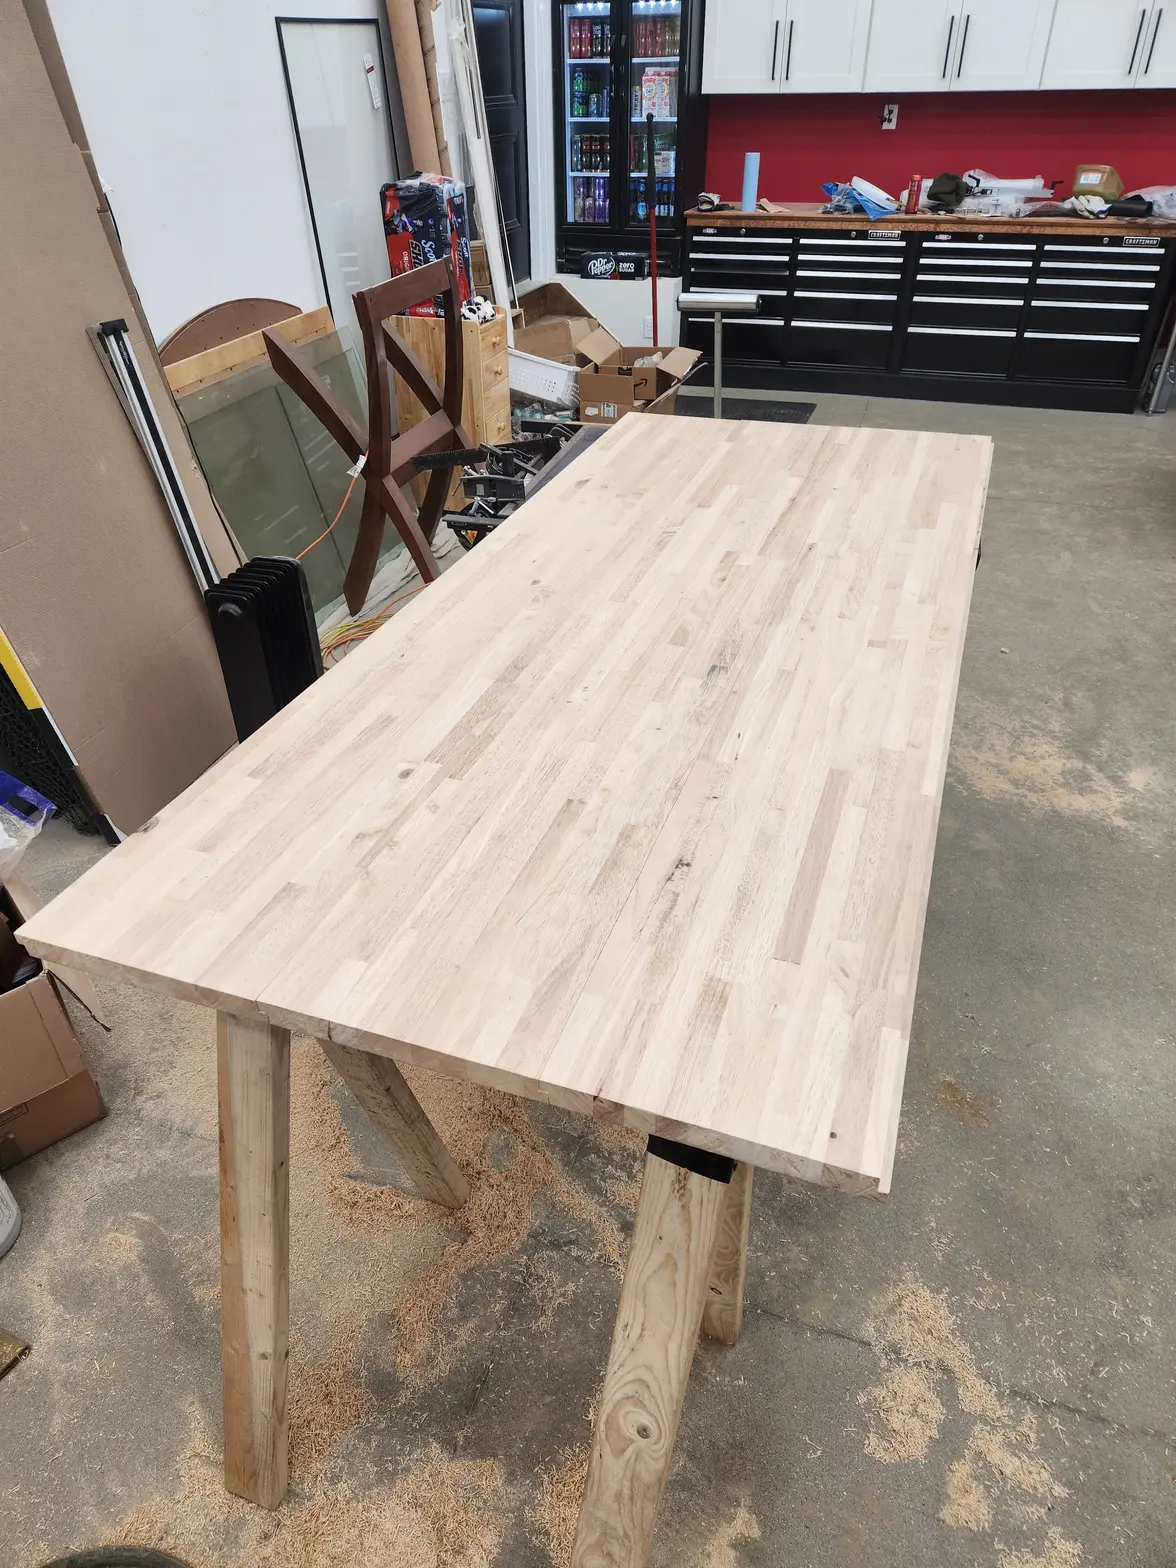
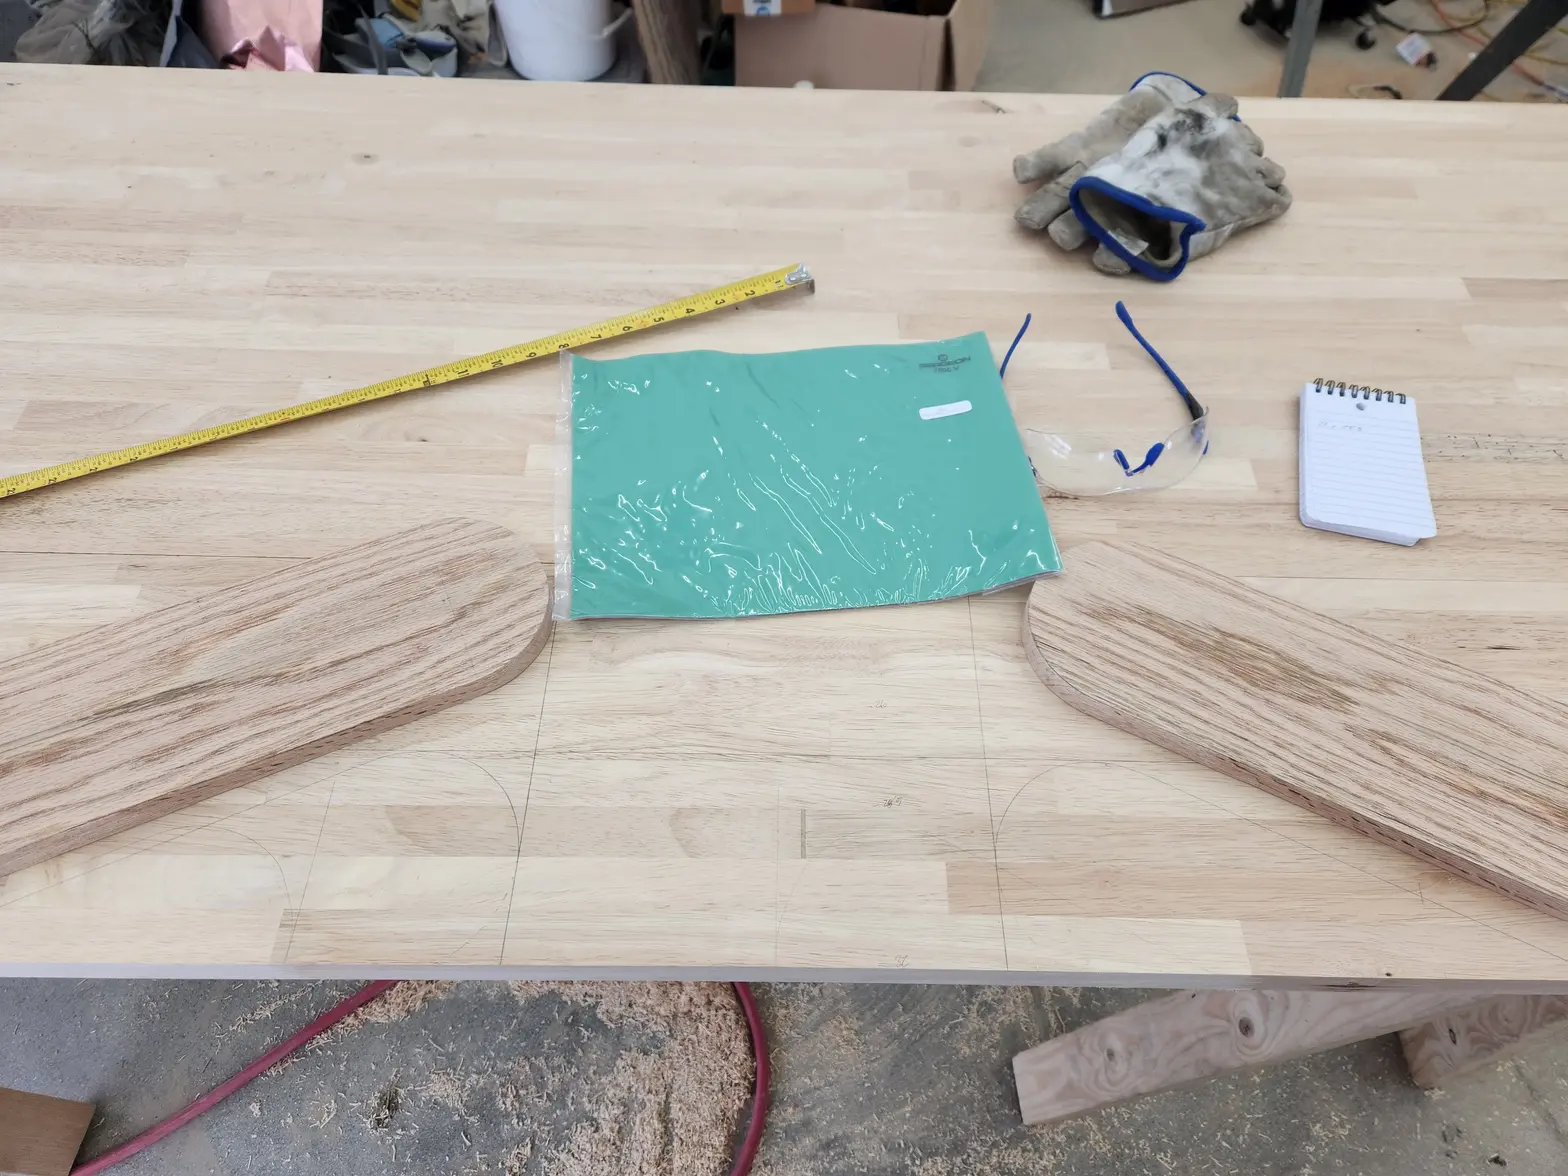
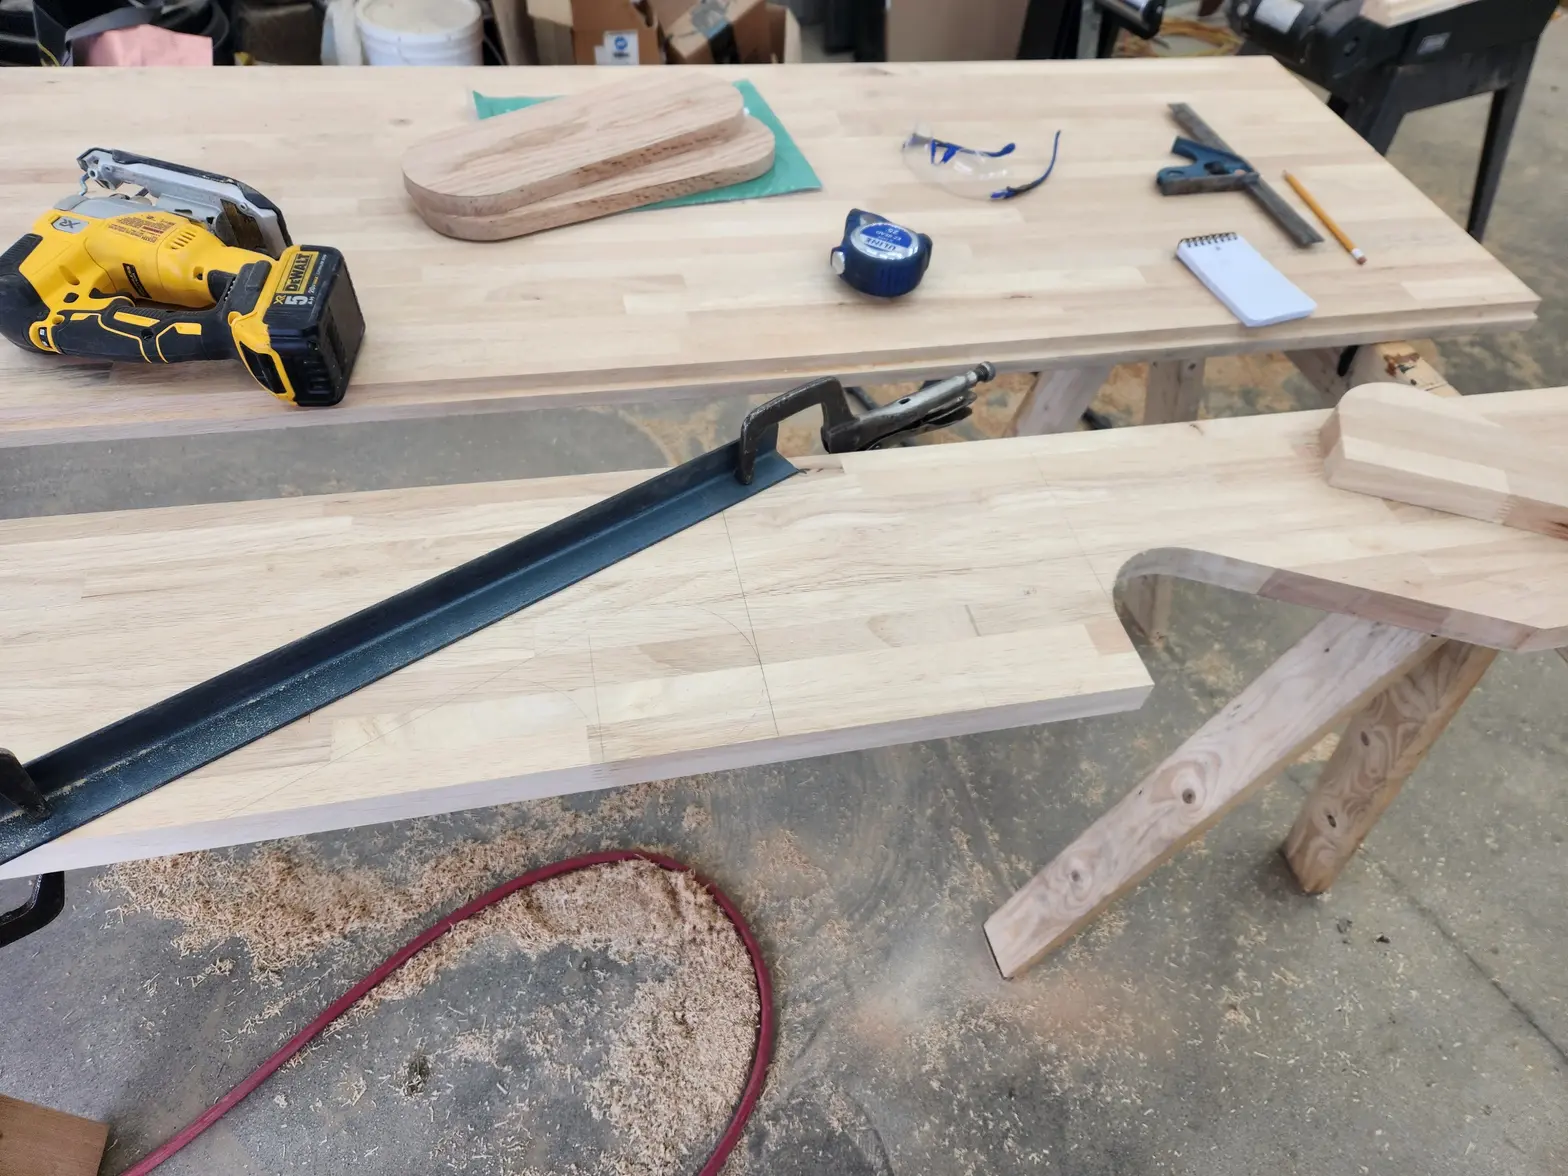
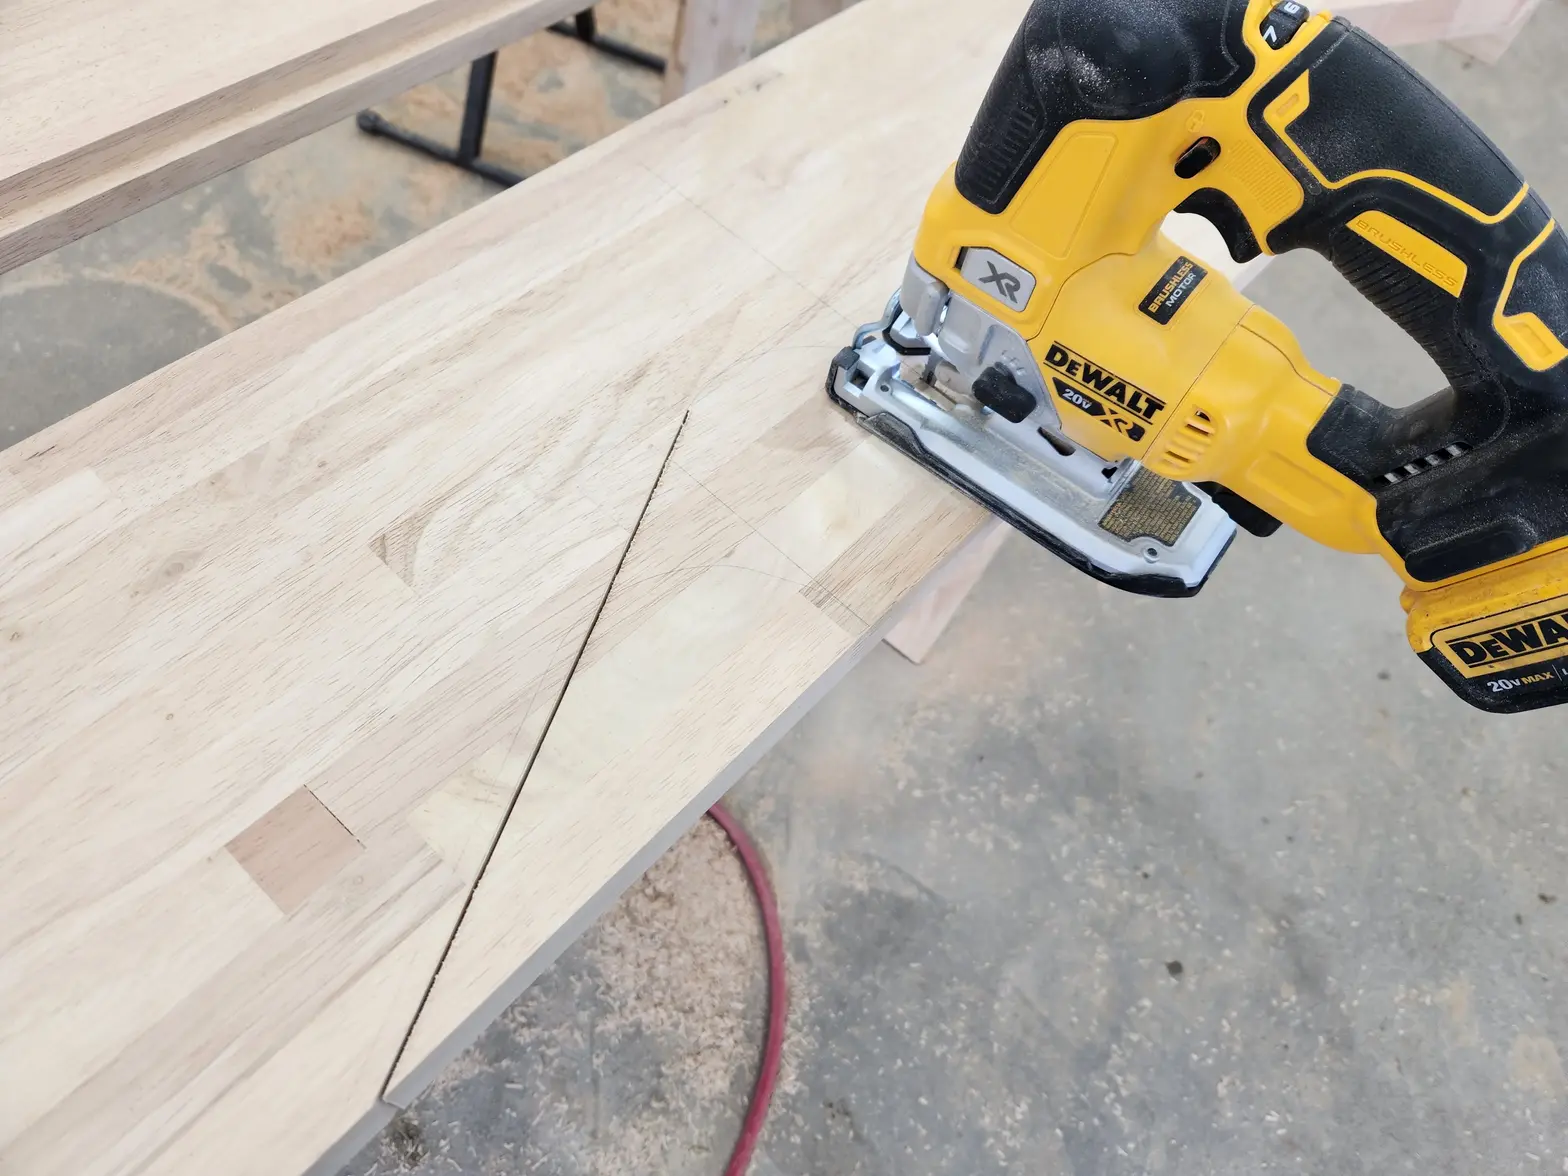
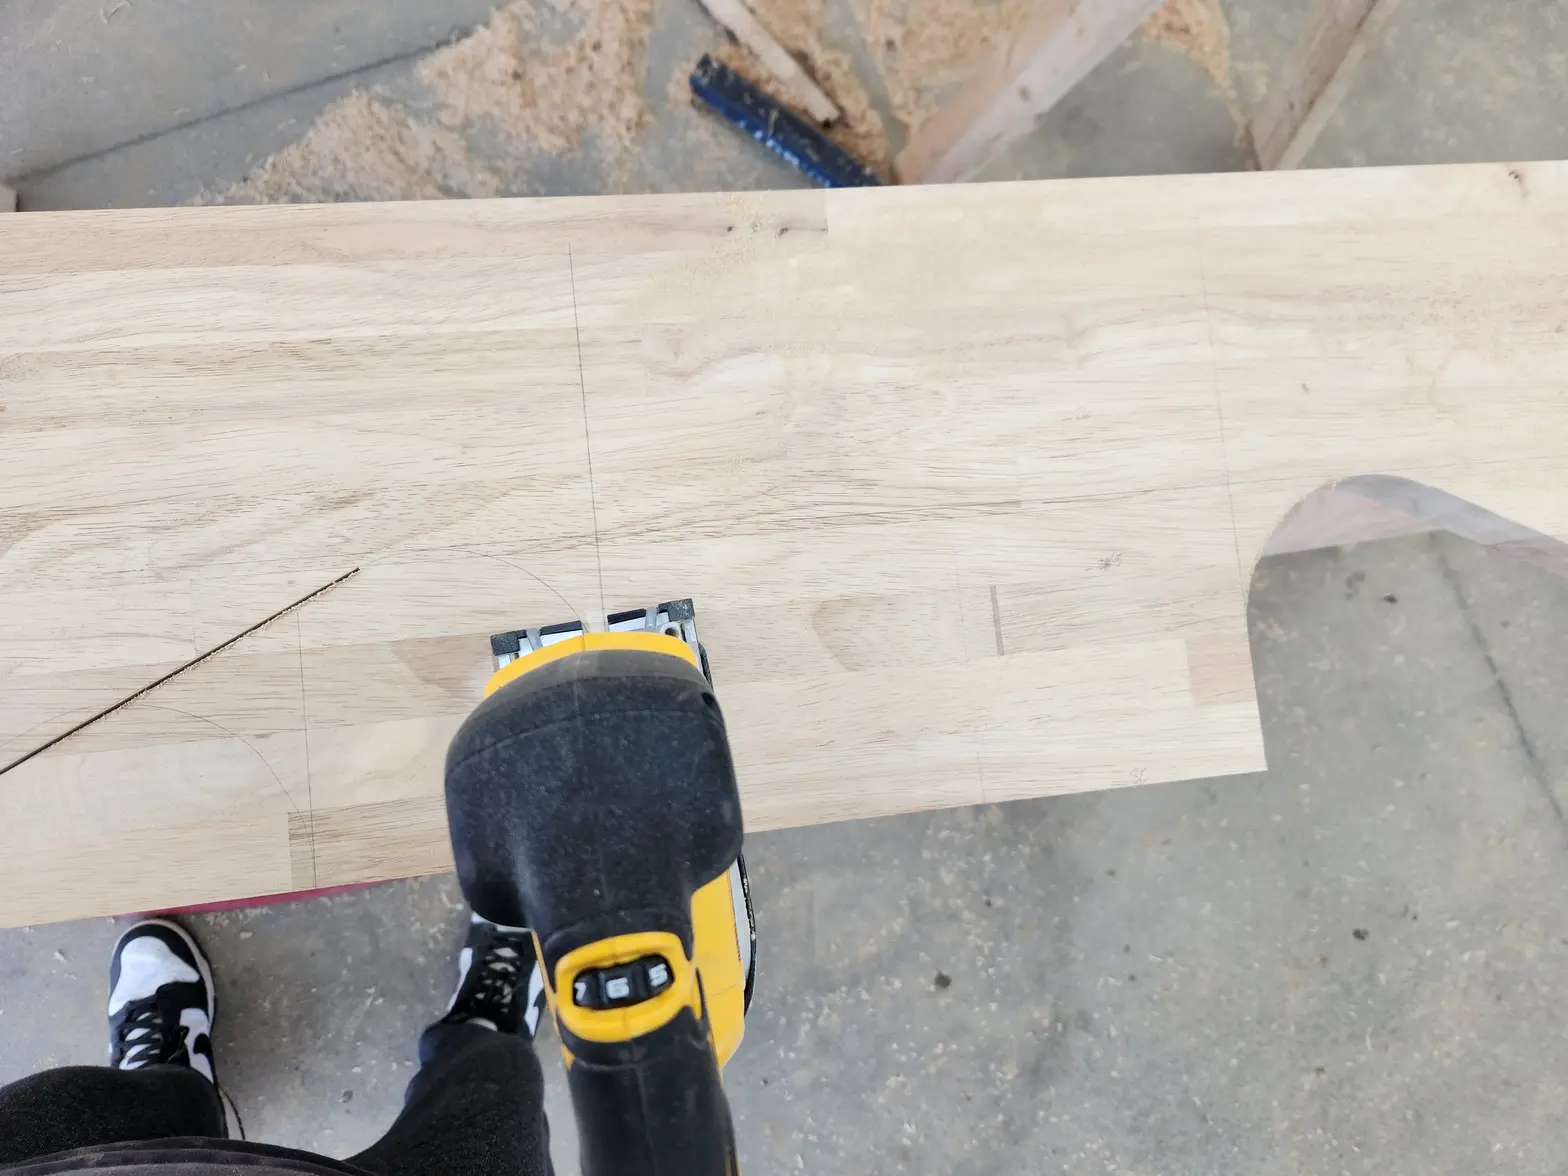
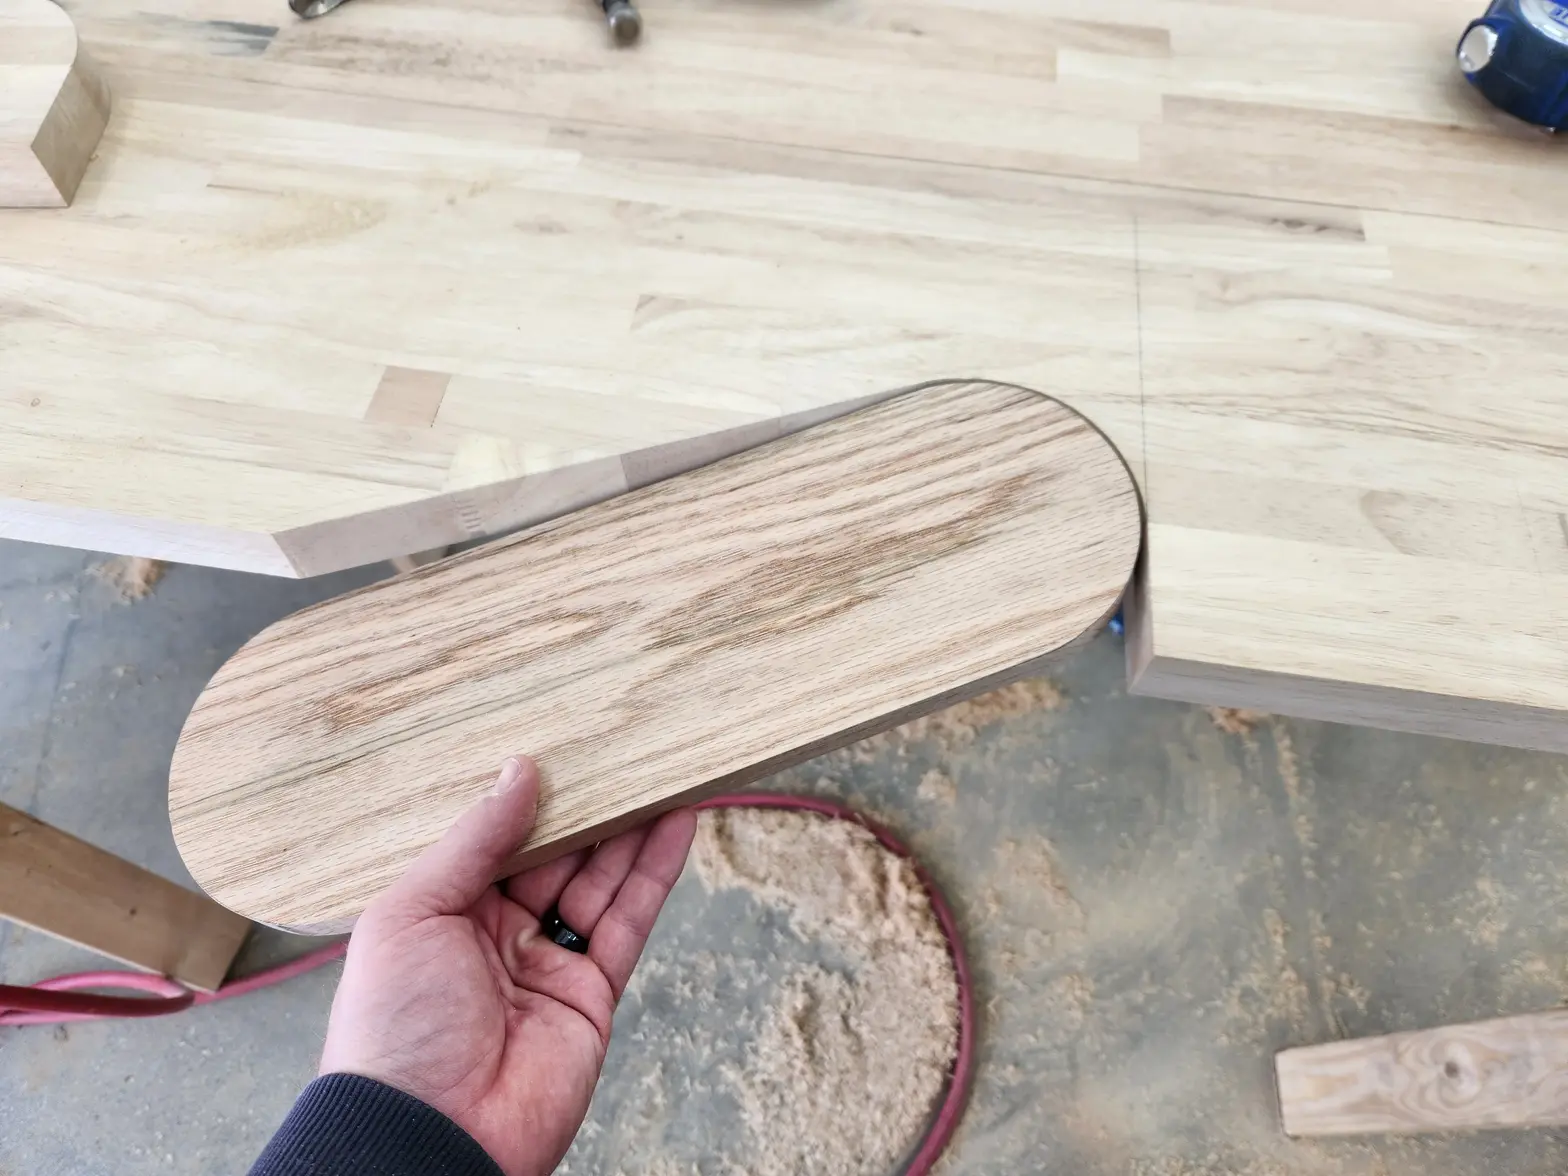
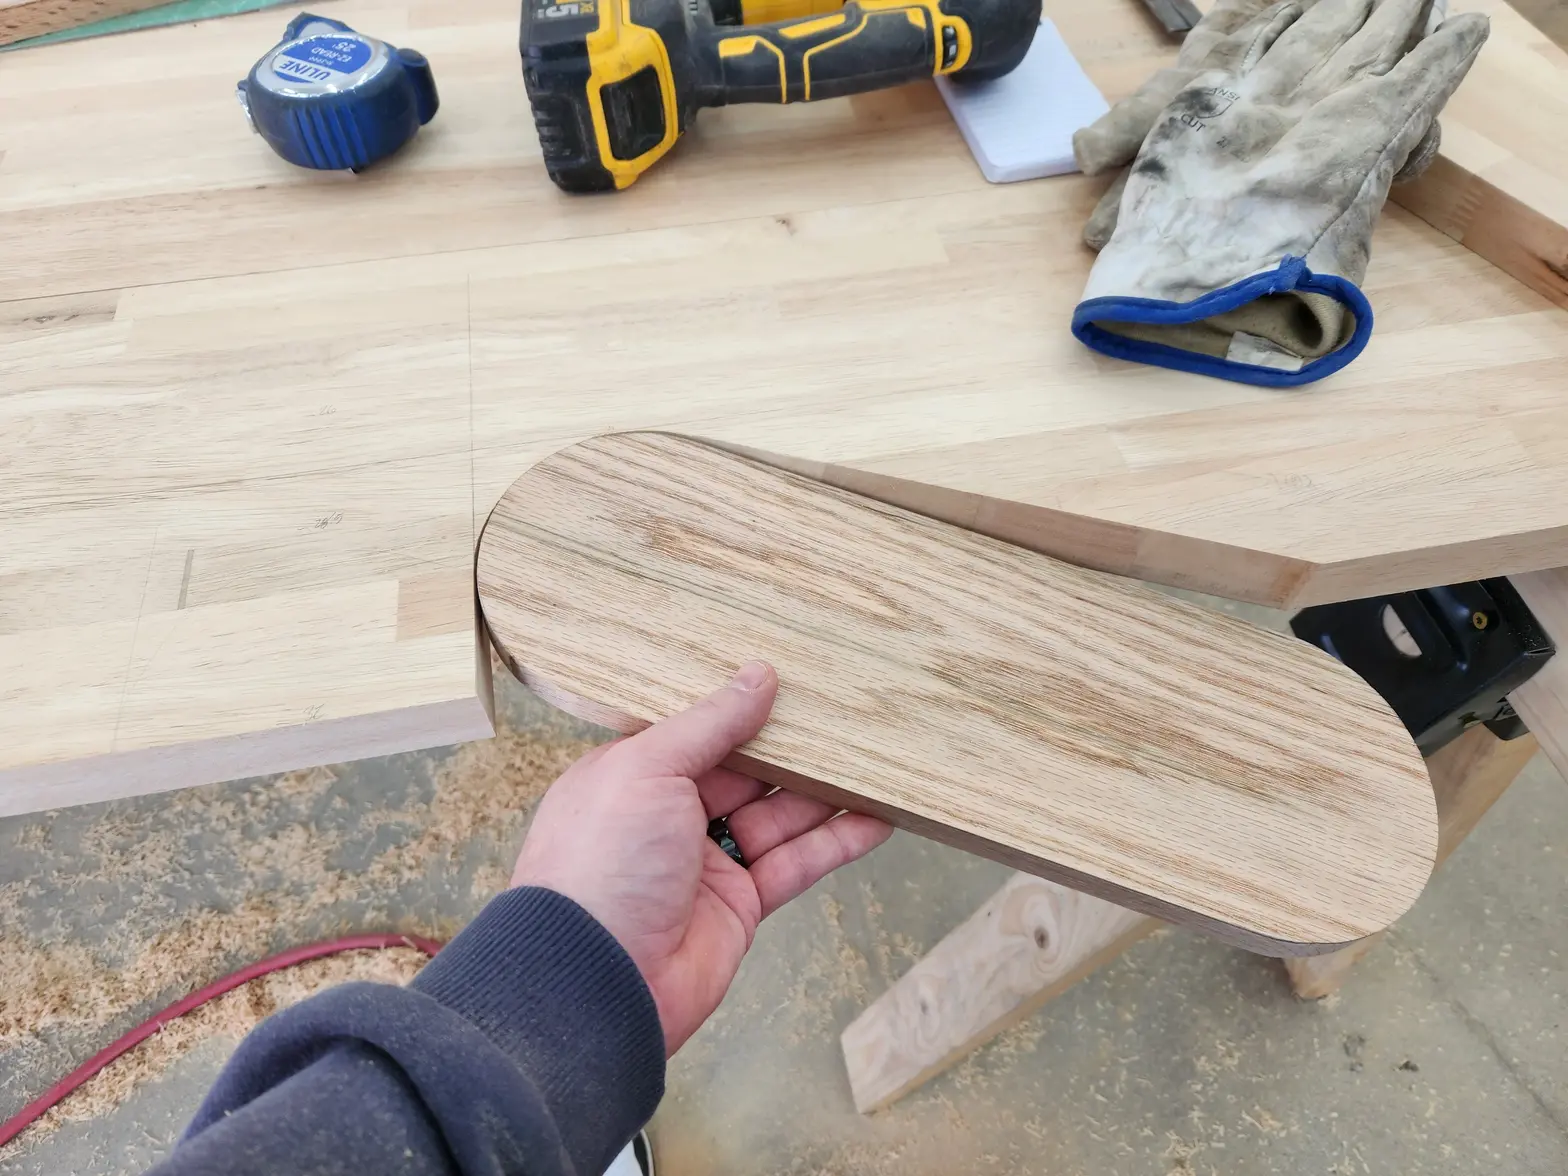
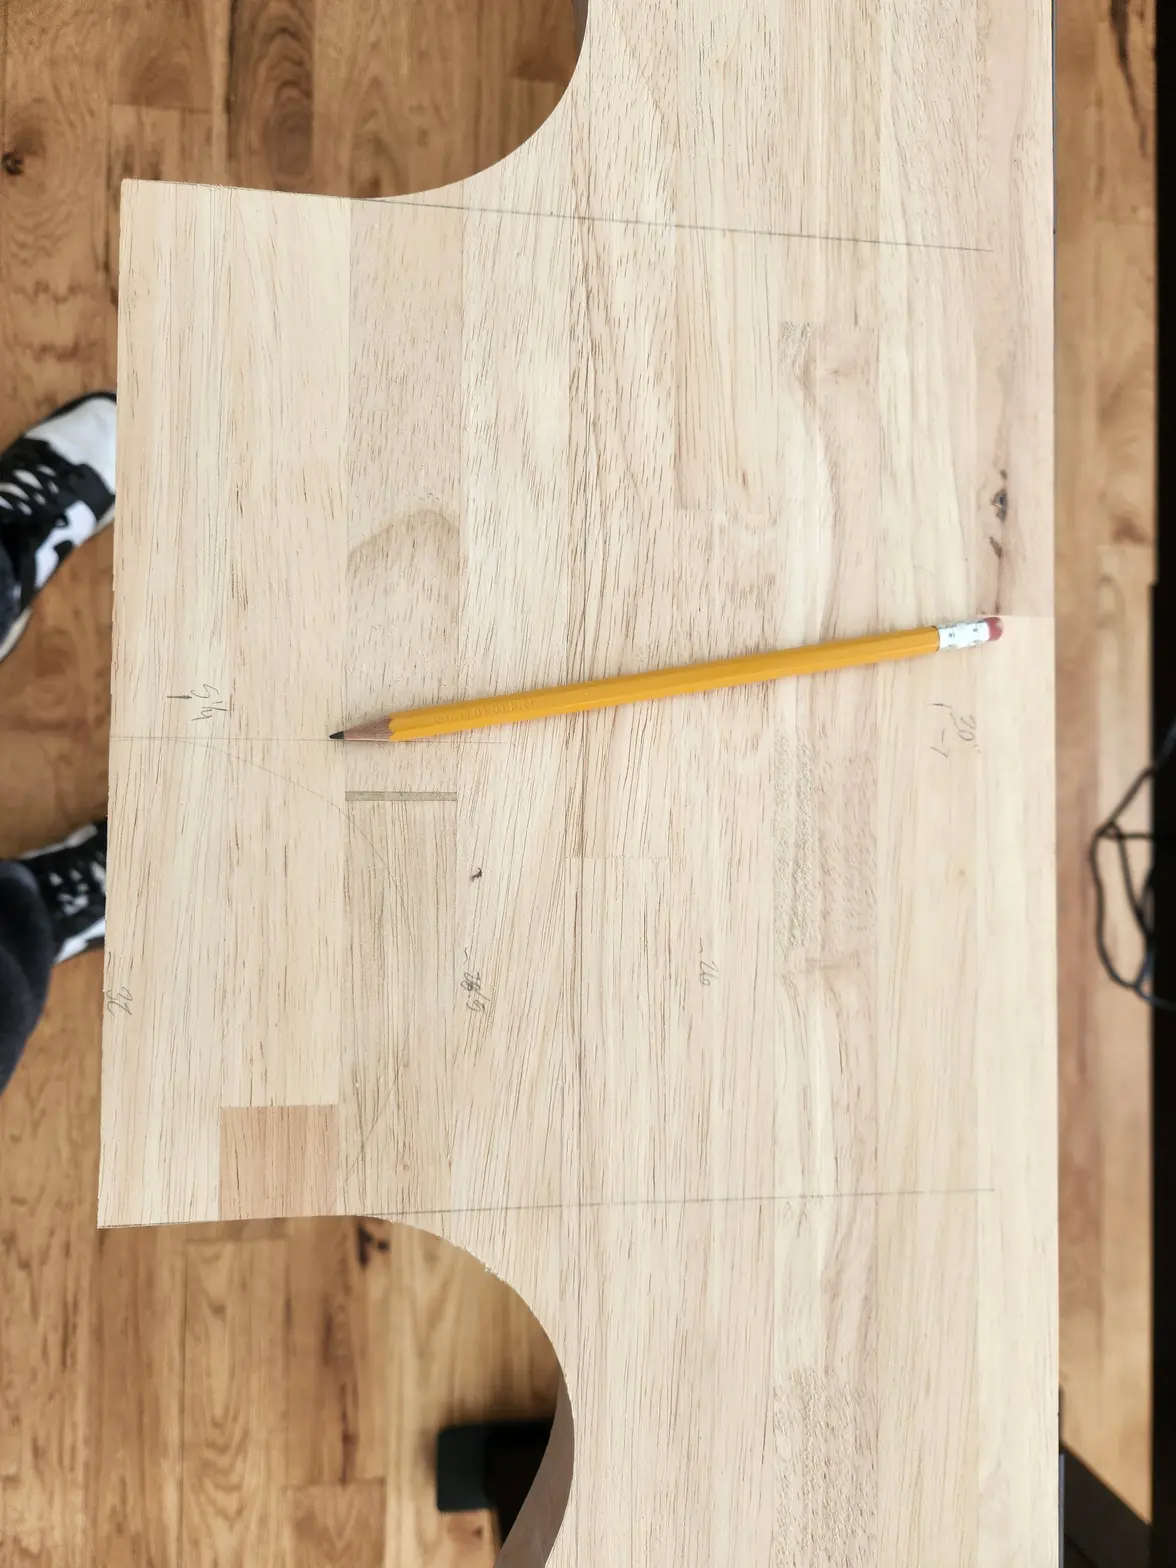
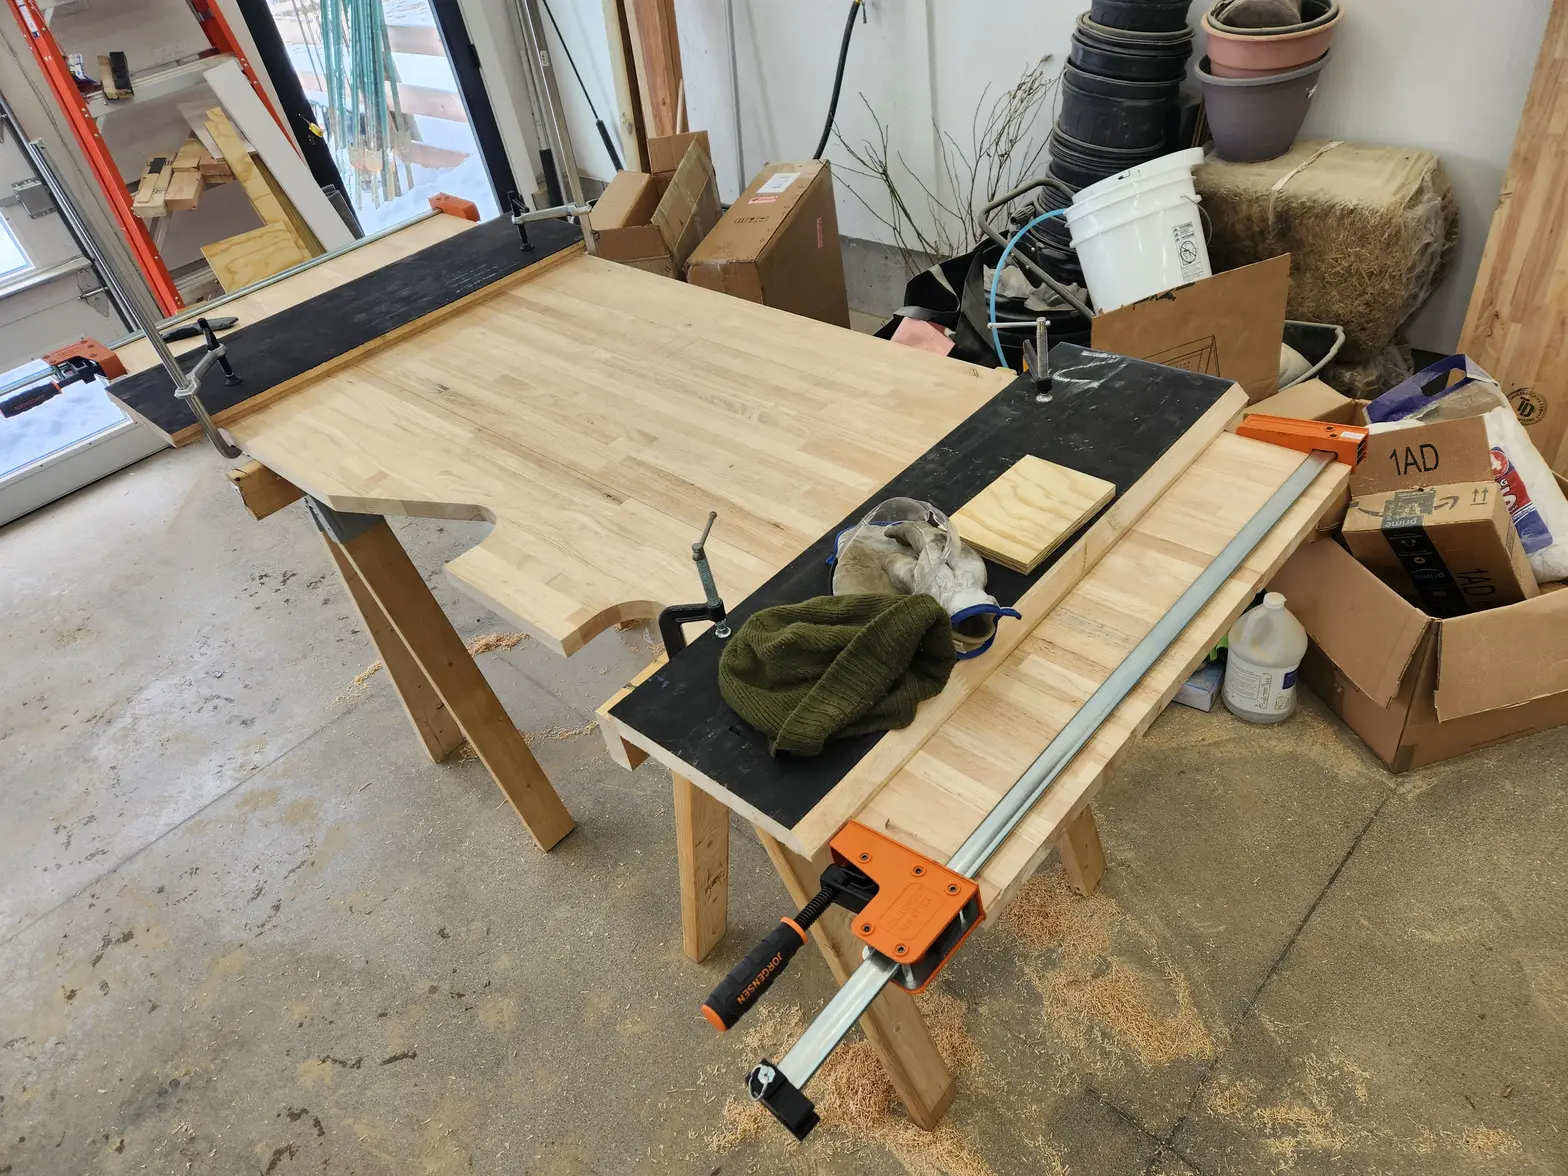
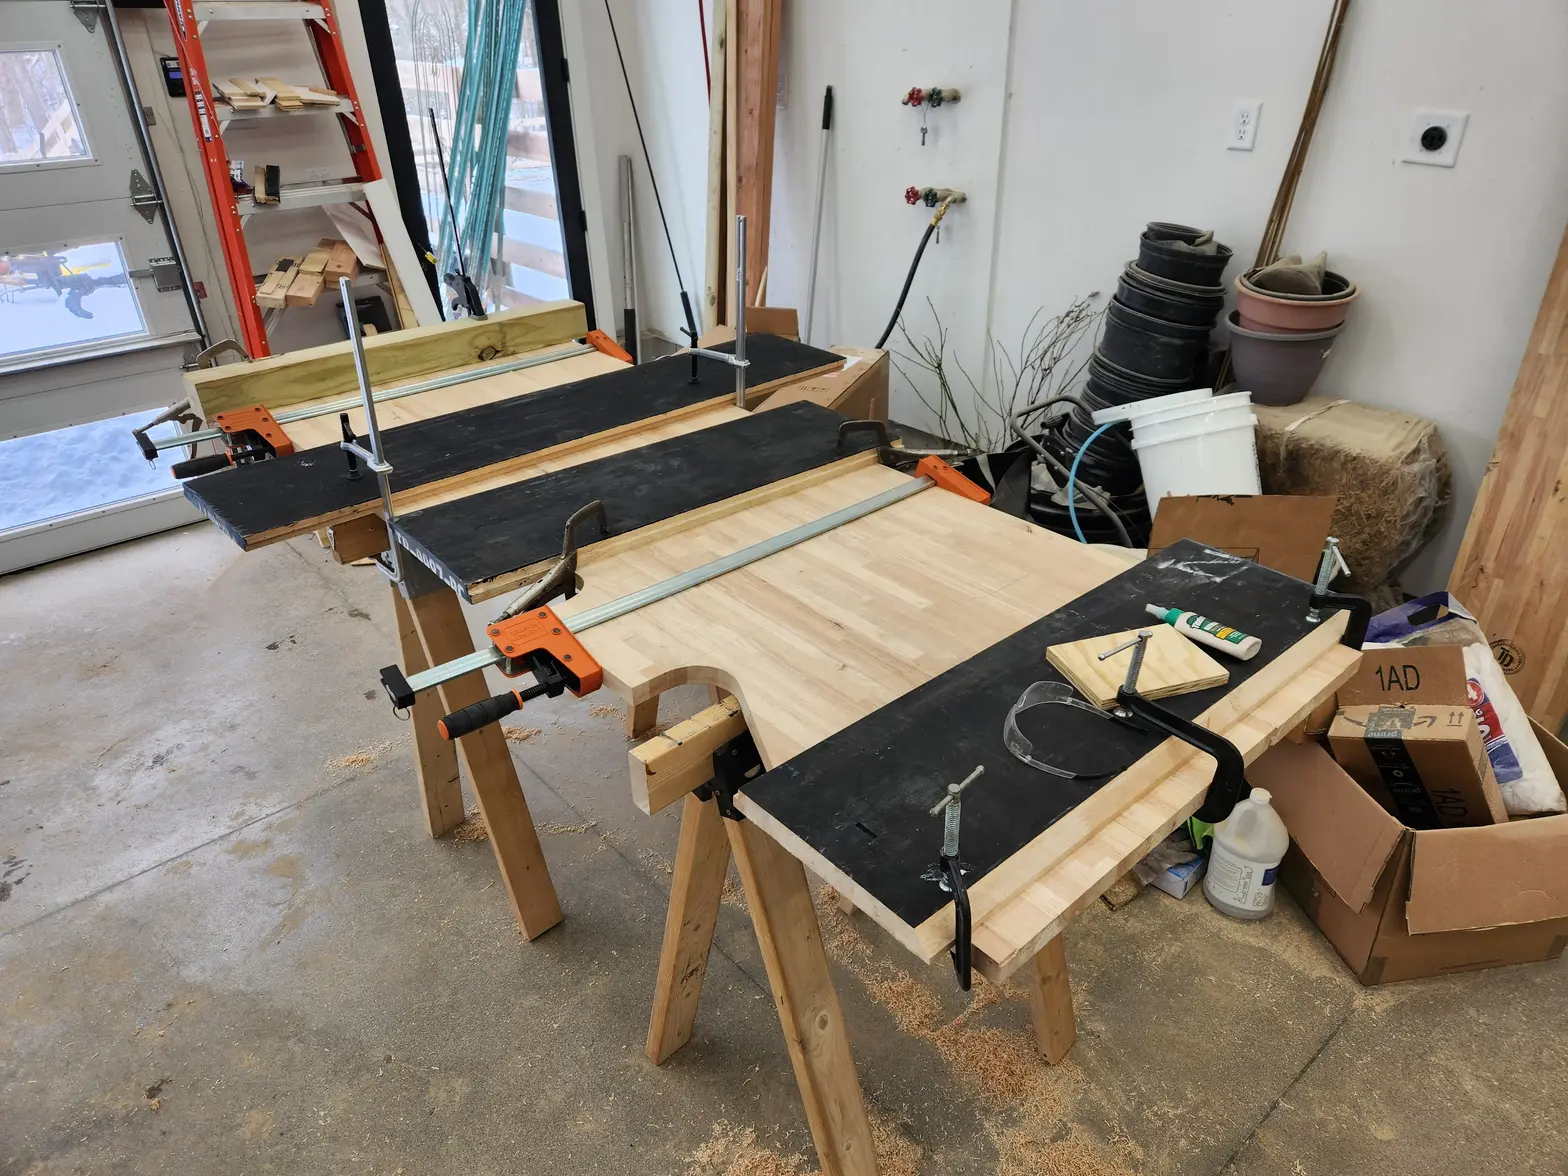
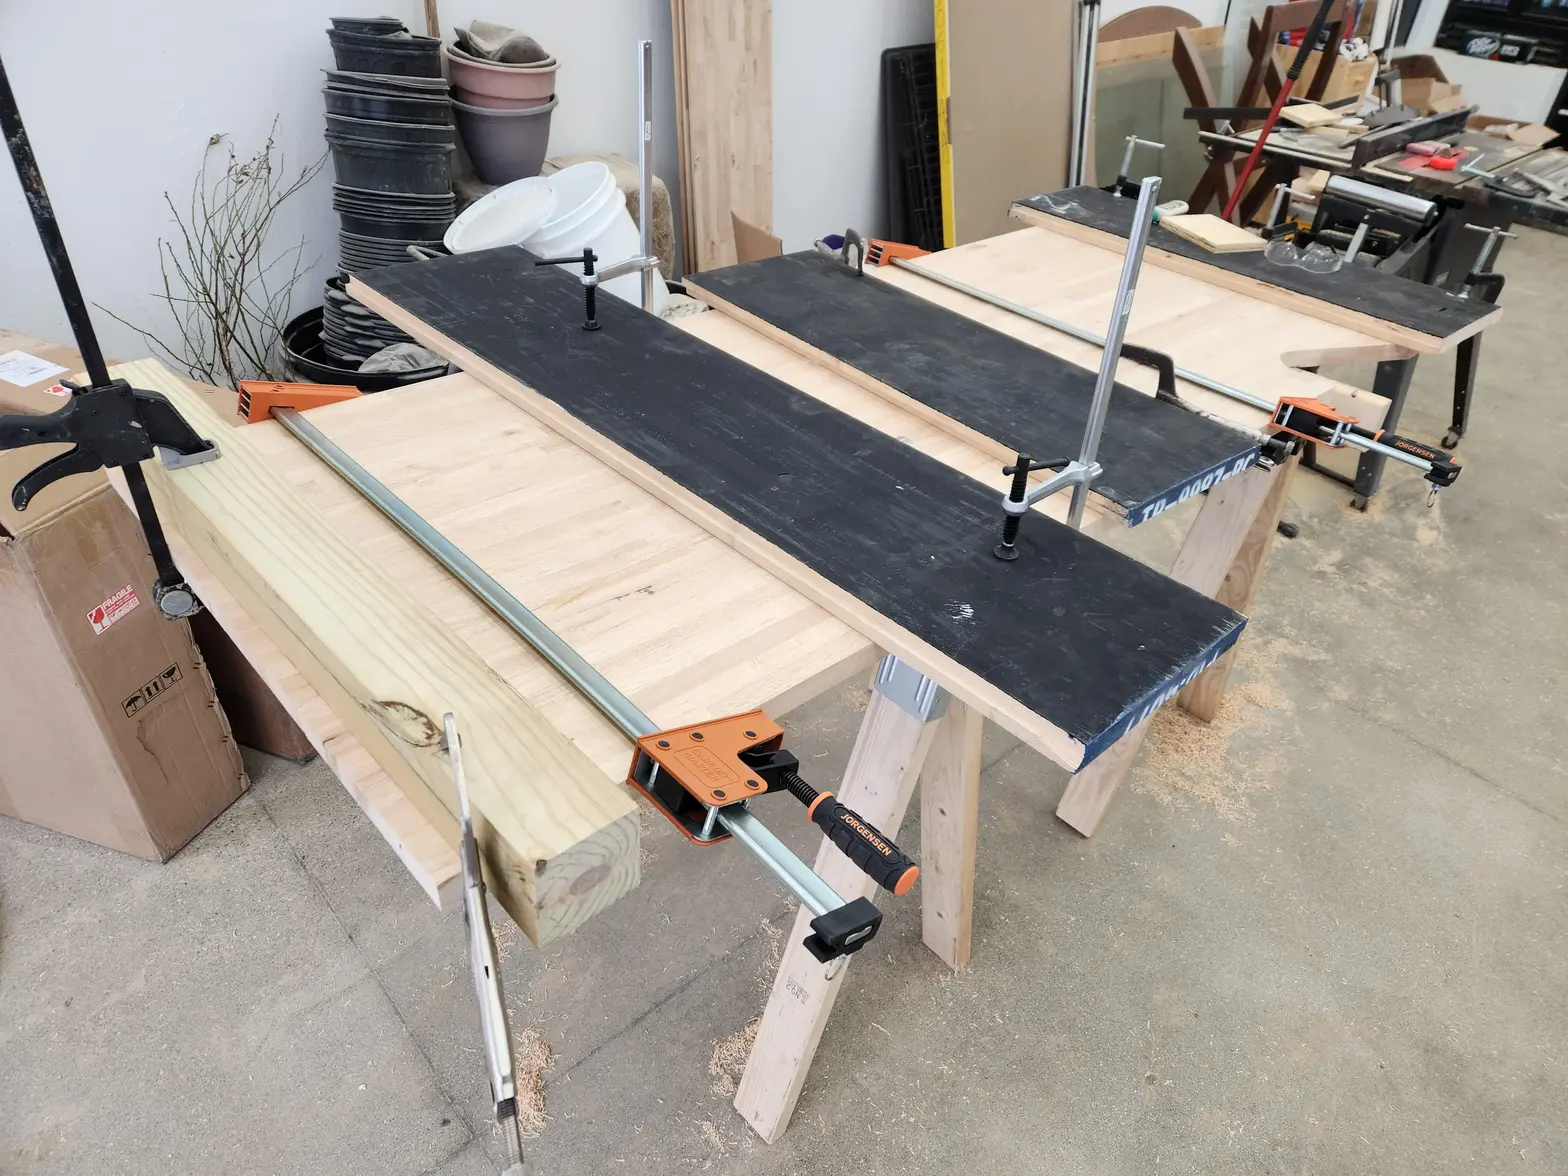
For the bench top, I had a bunch of left over “uninstalled tractor trailer flooring” I had sourced for my garage workbench. This is all hardwood laminate, mostly maple I think, and comes in 12”x 1.5”x 12’ boards. I mimicked the layout from a standard watchmakers bench for the arm rests.
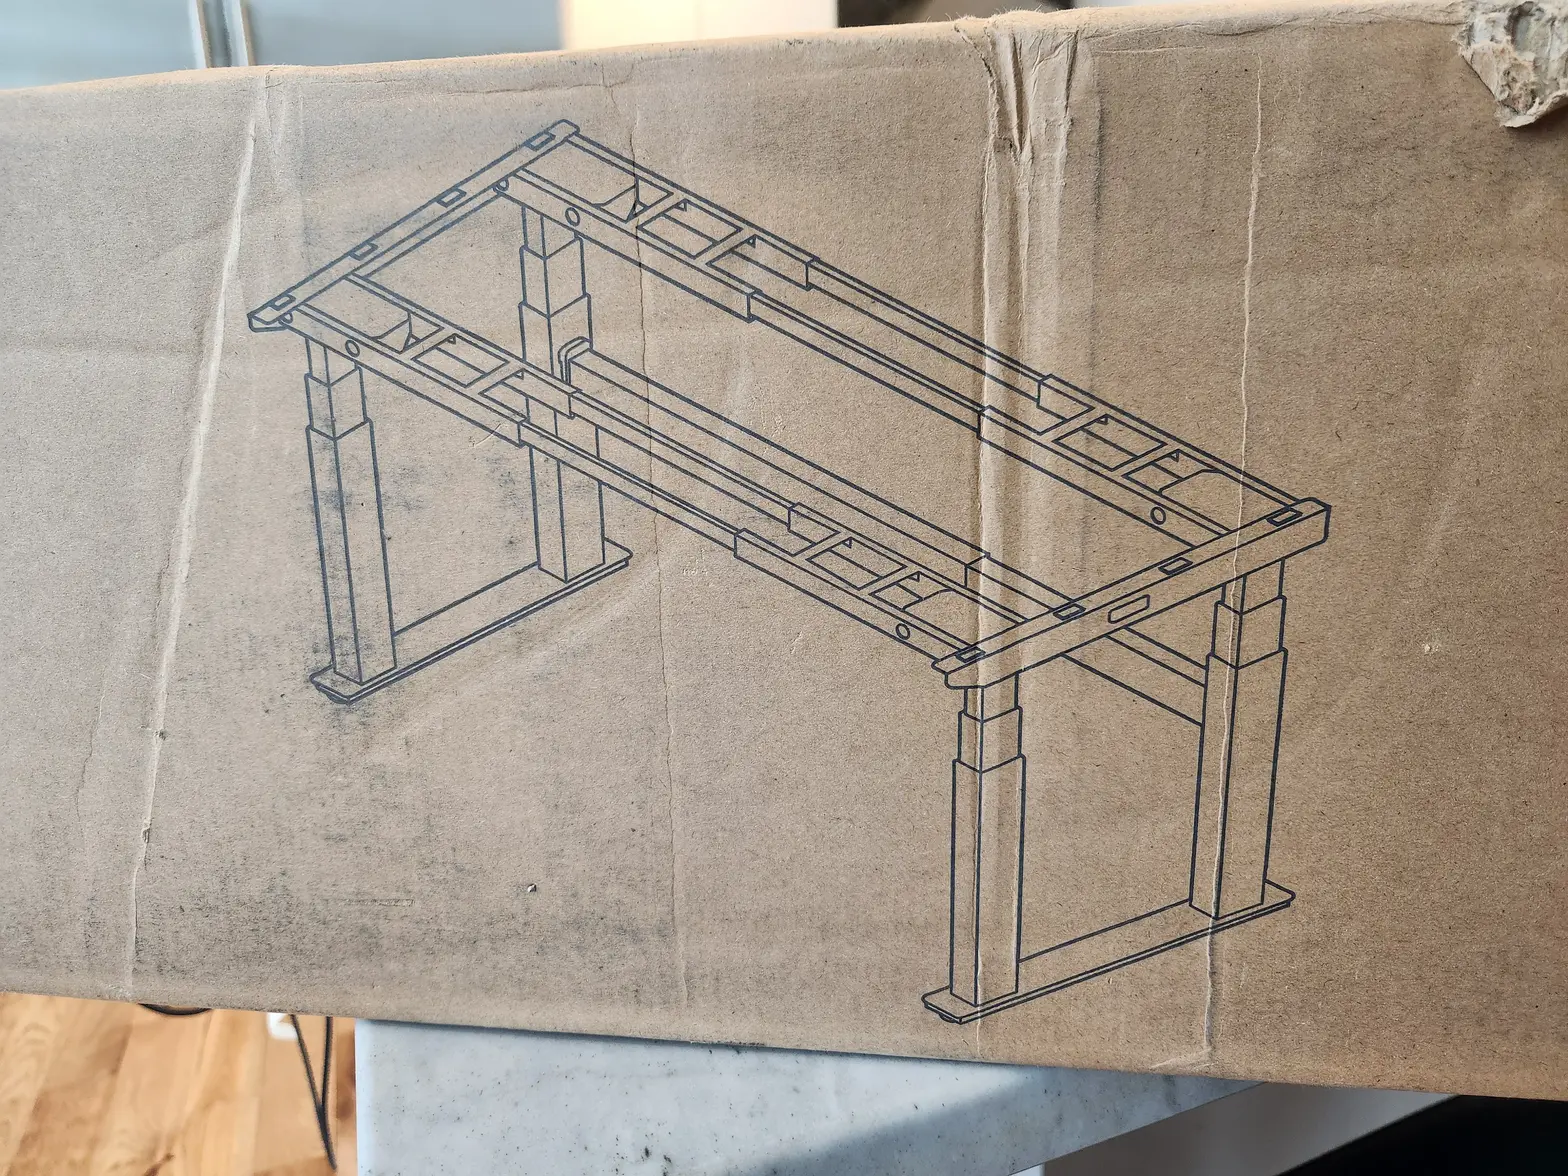
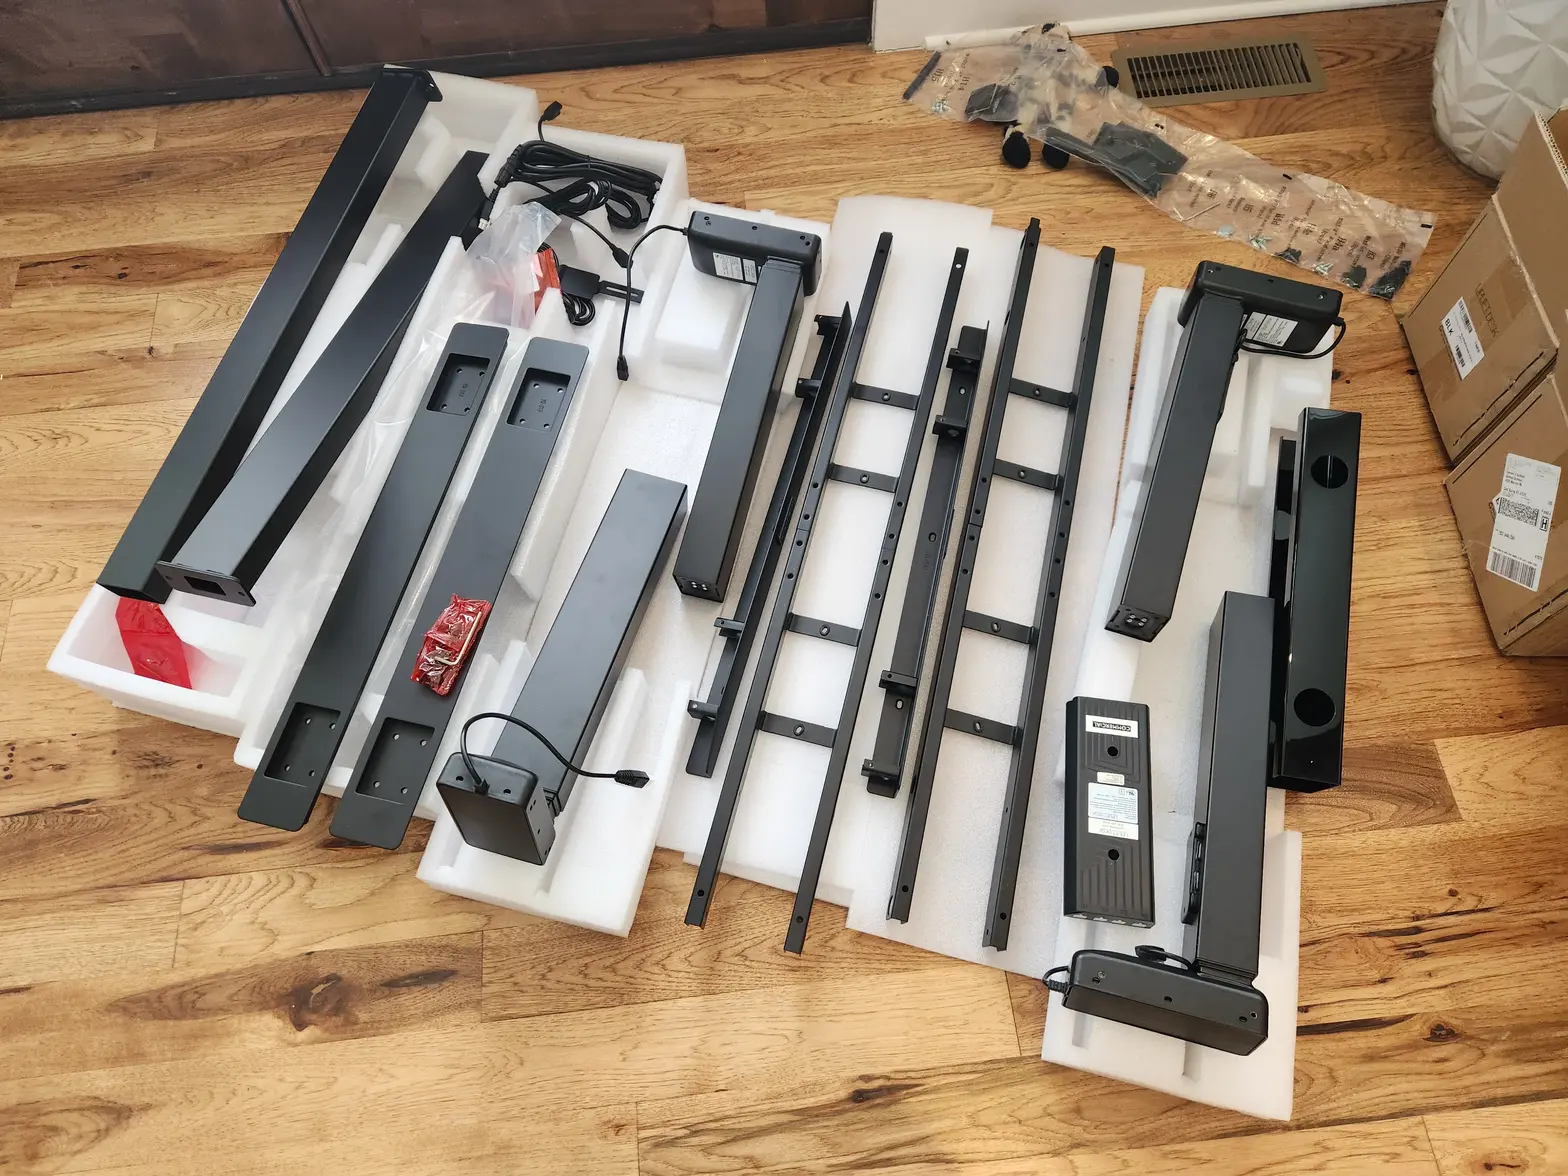
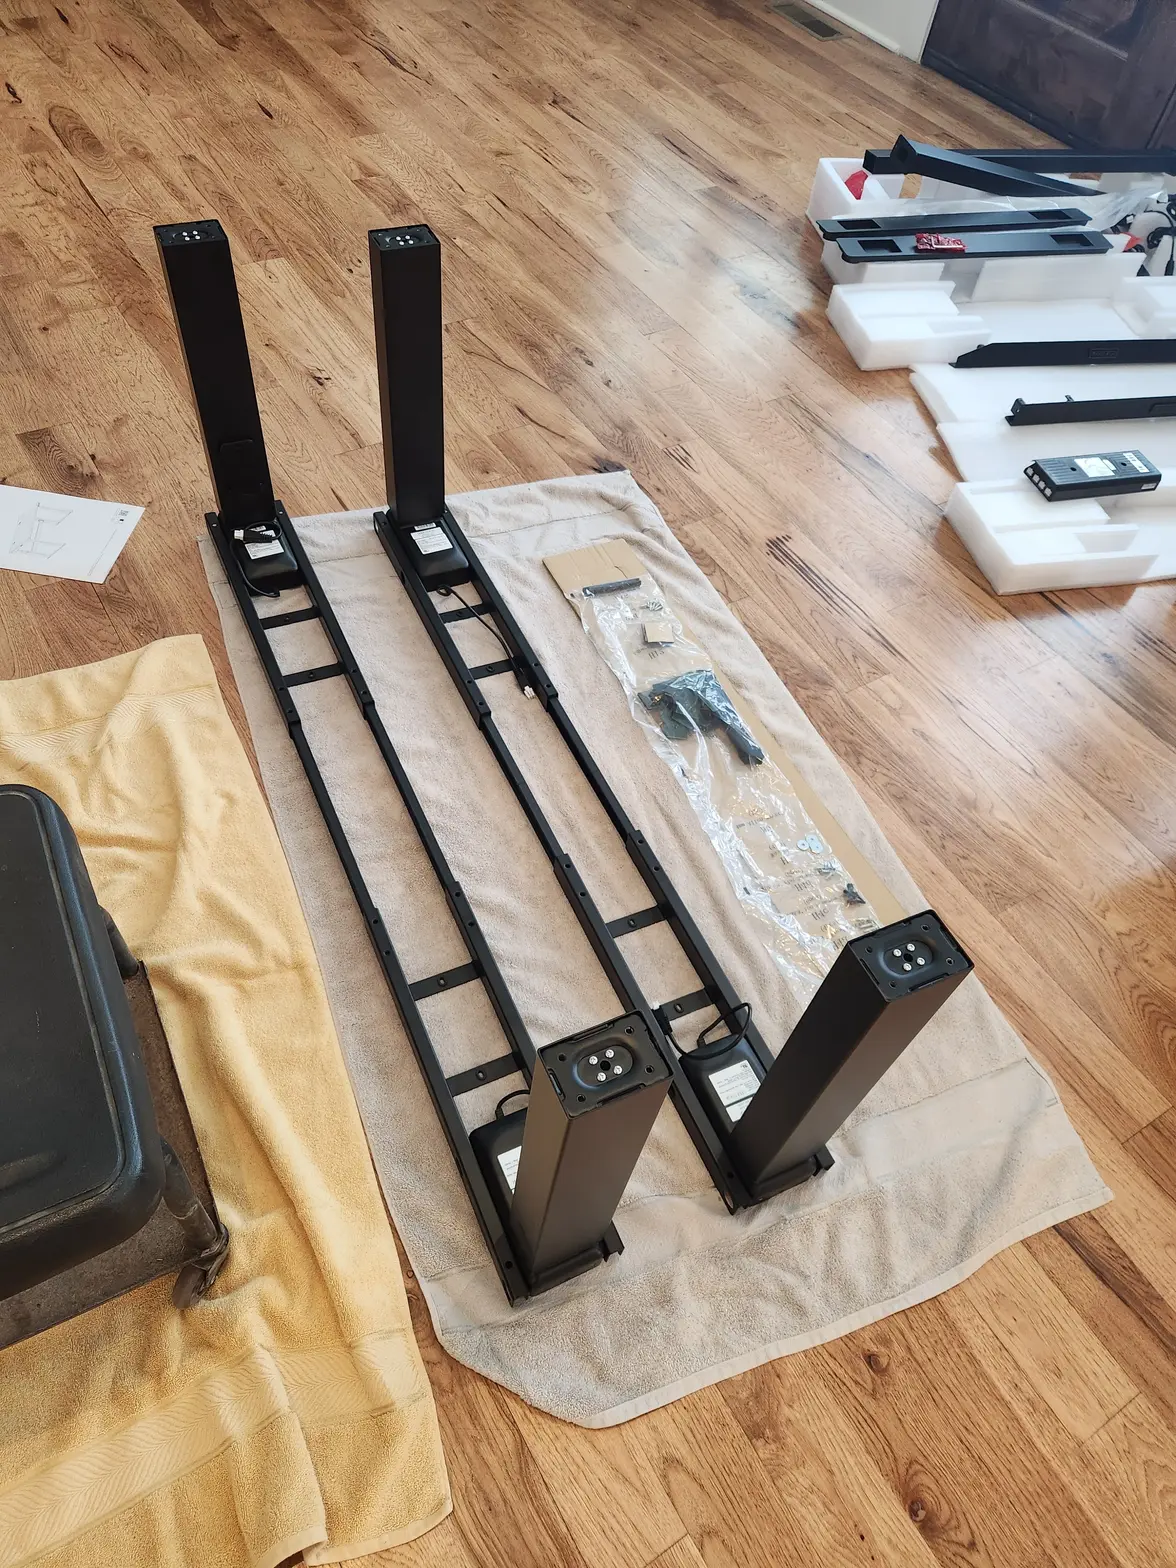
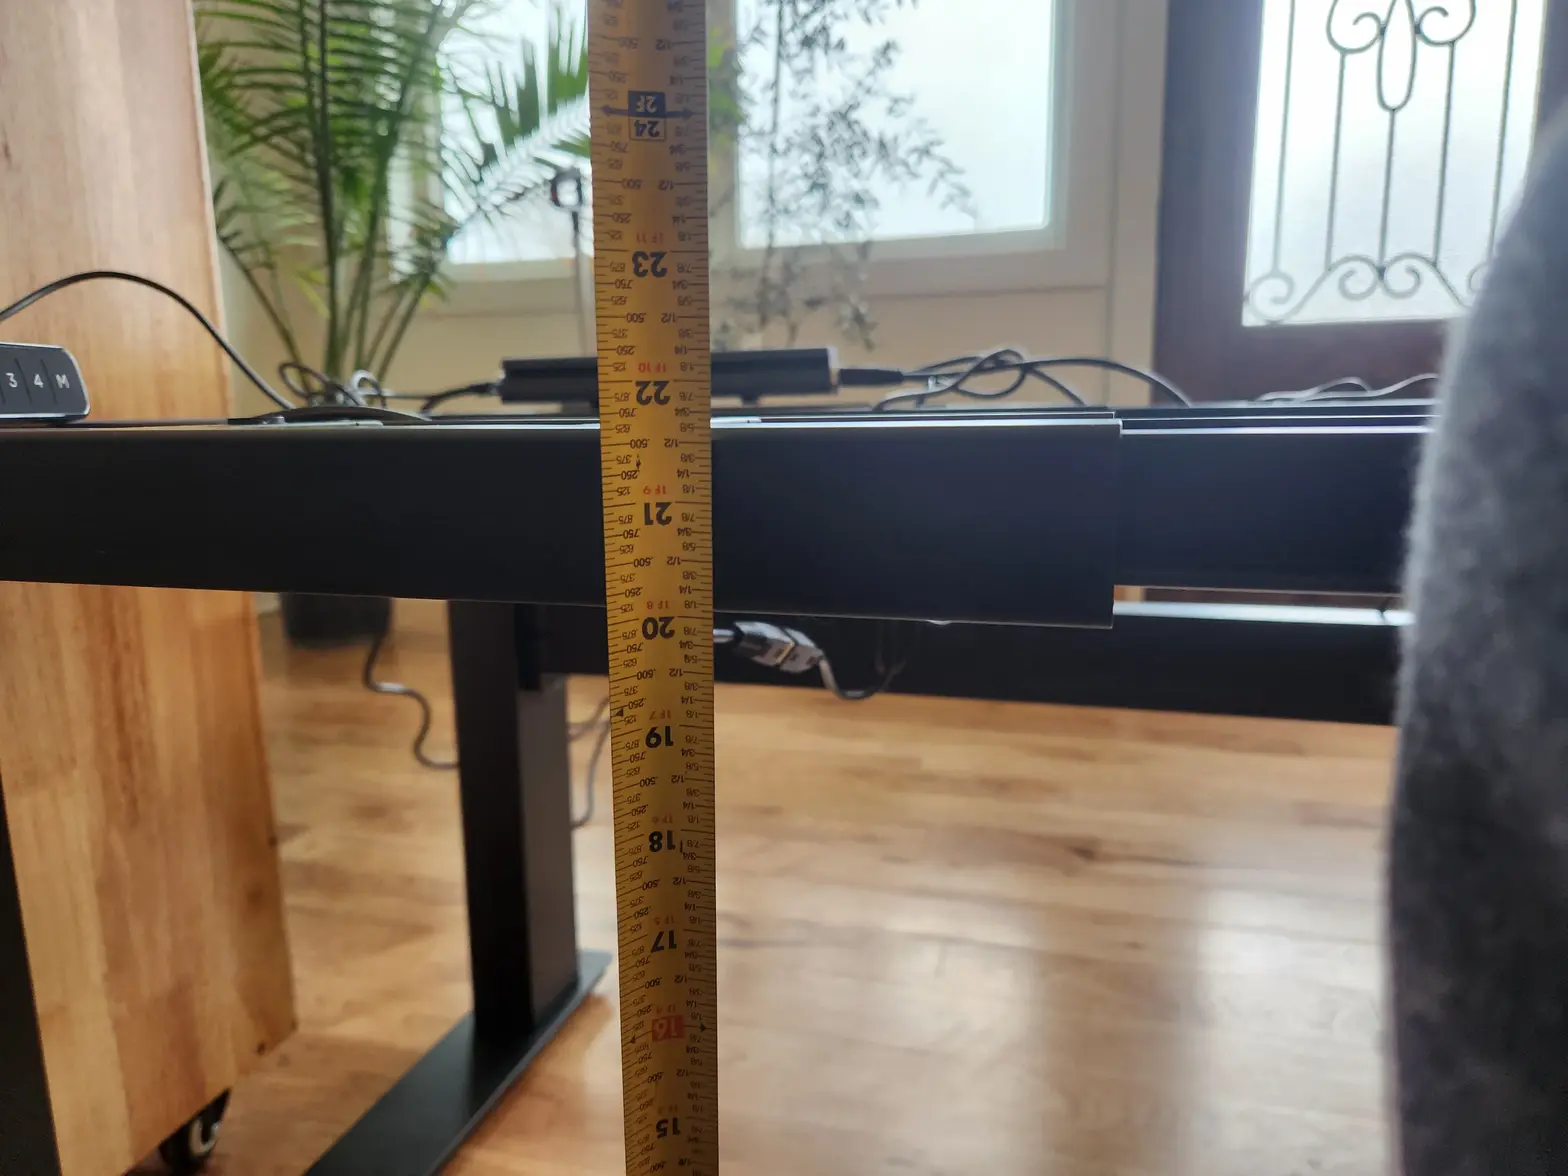
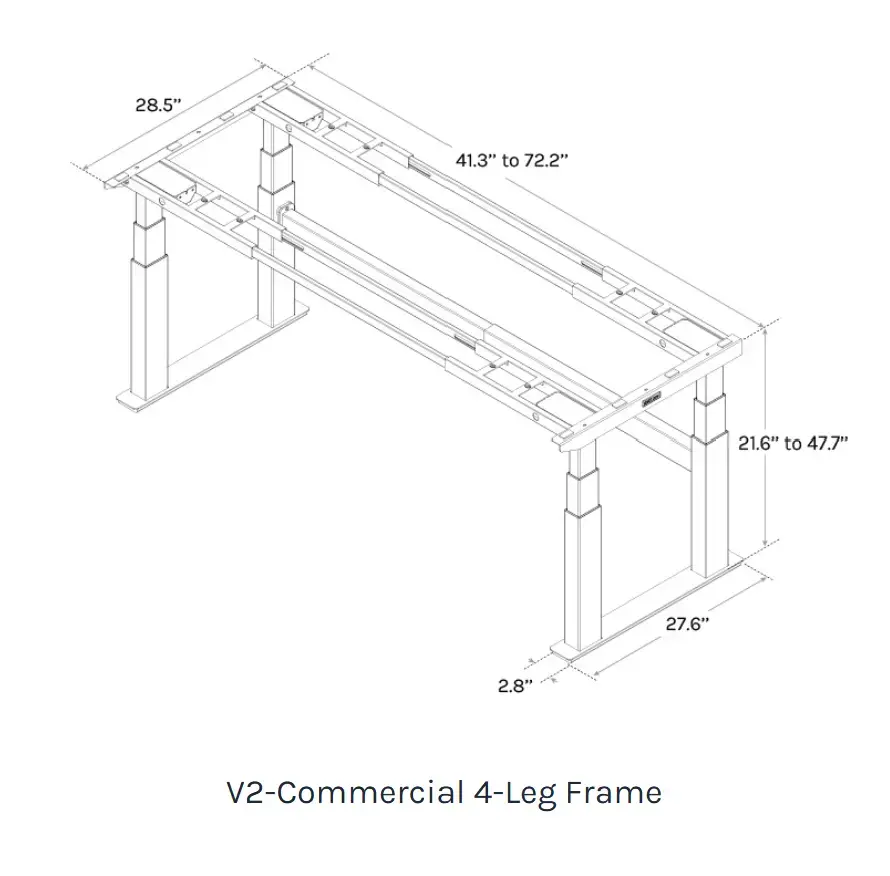
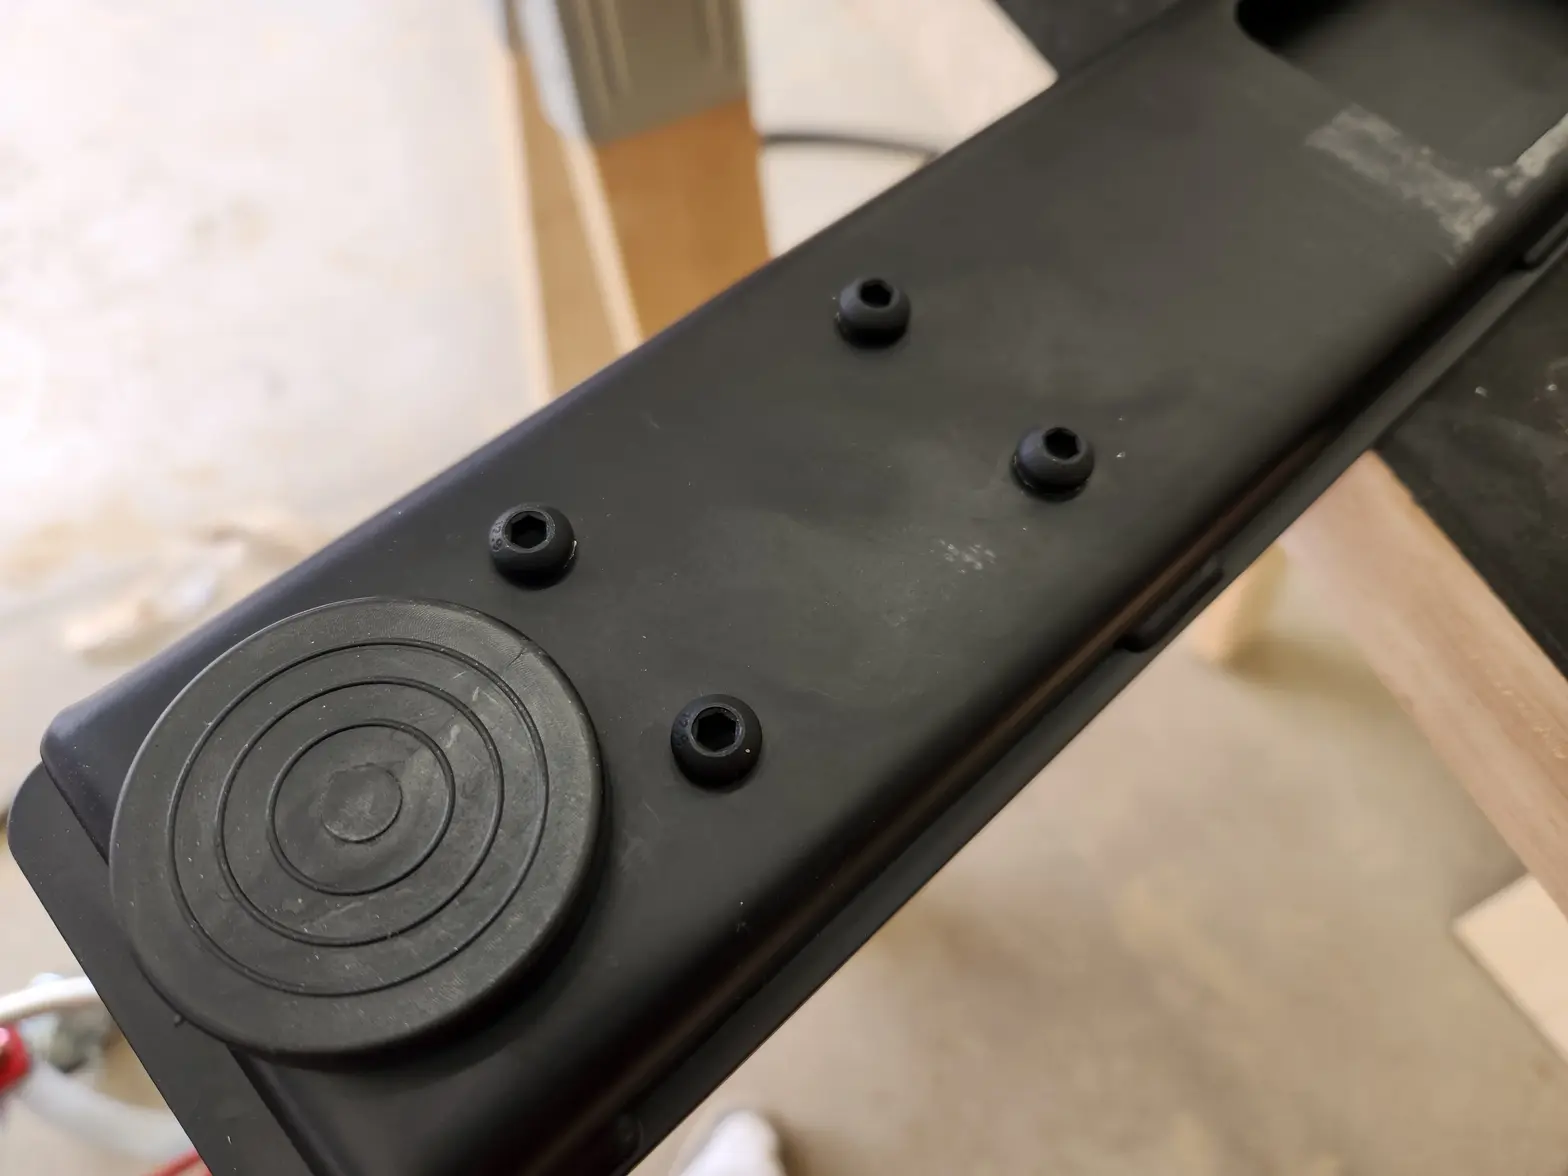
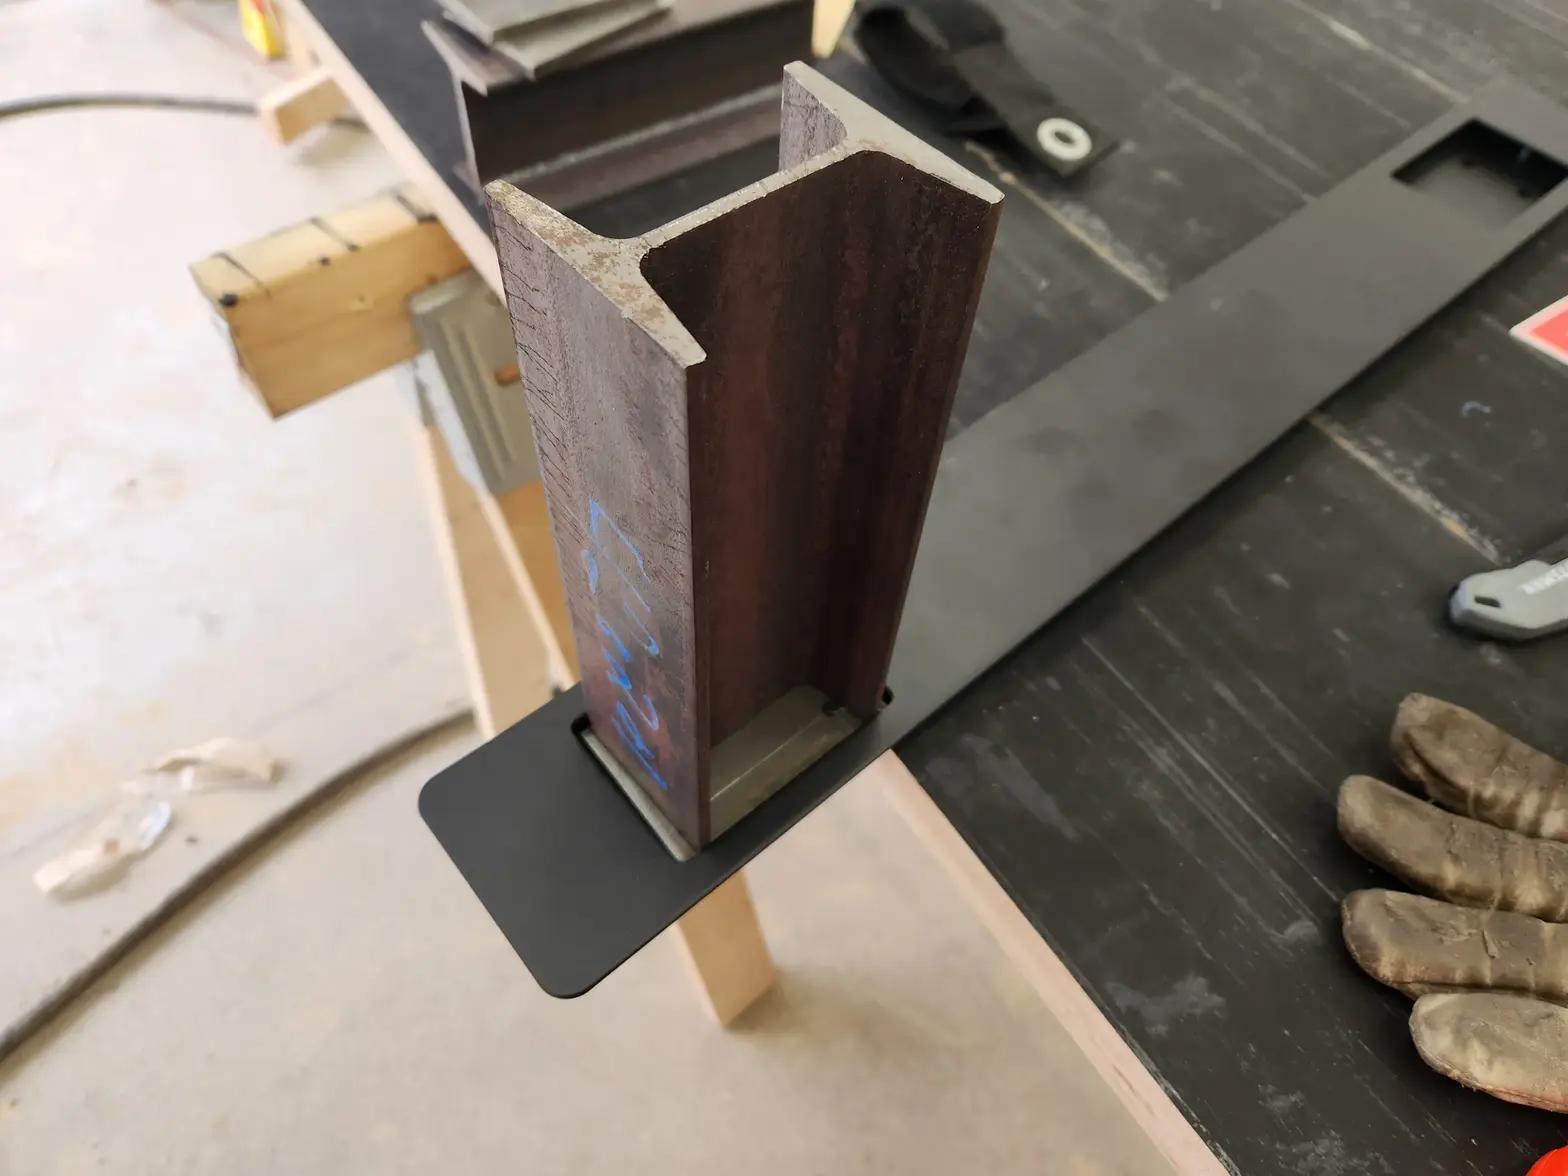
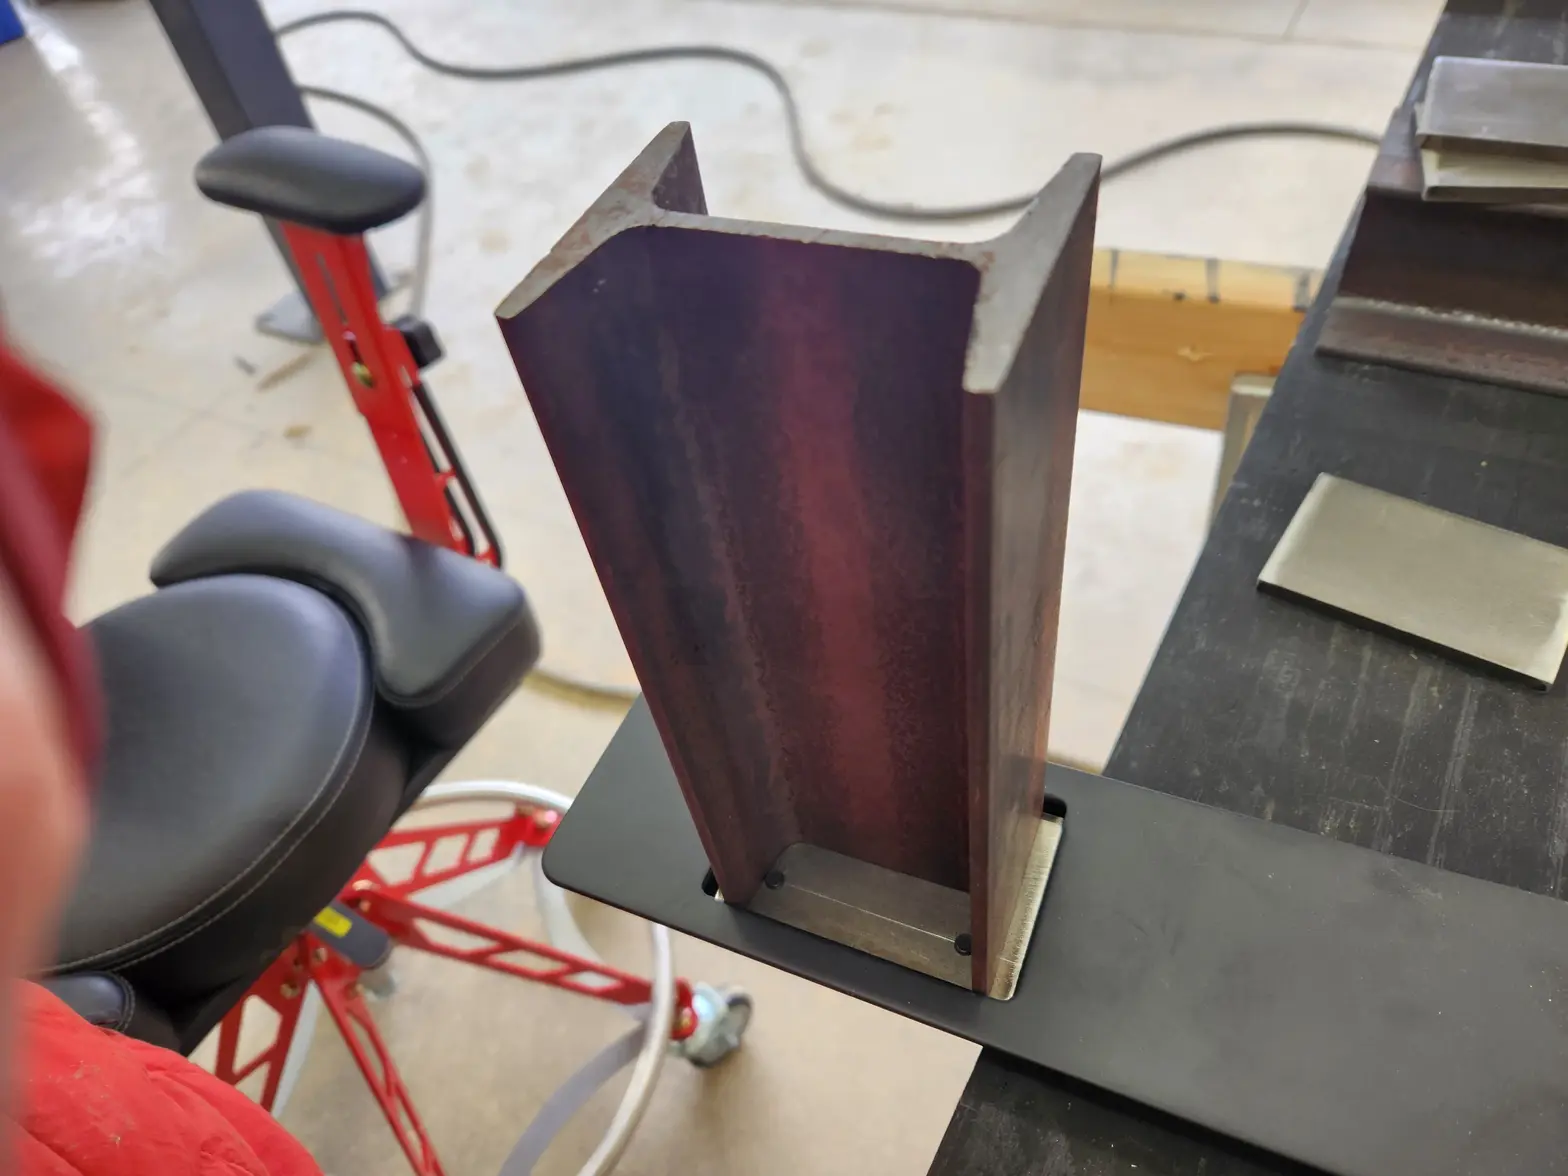
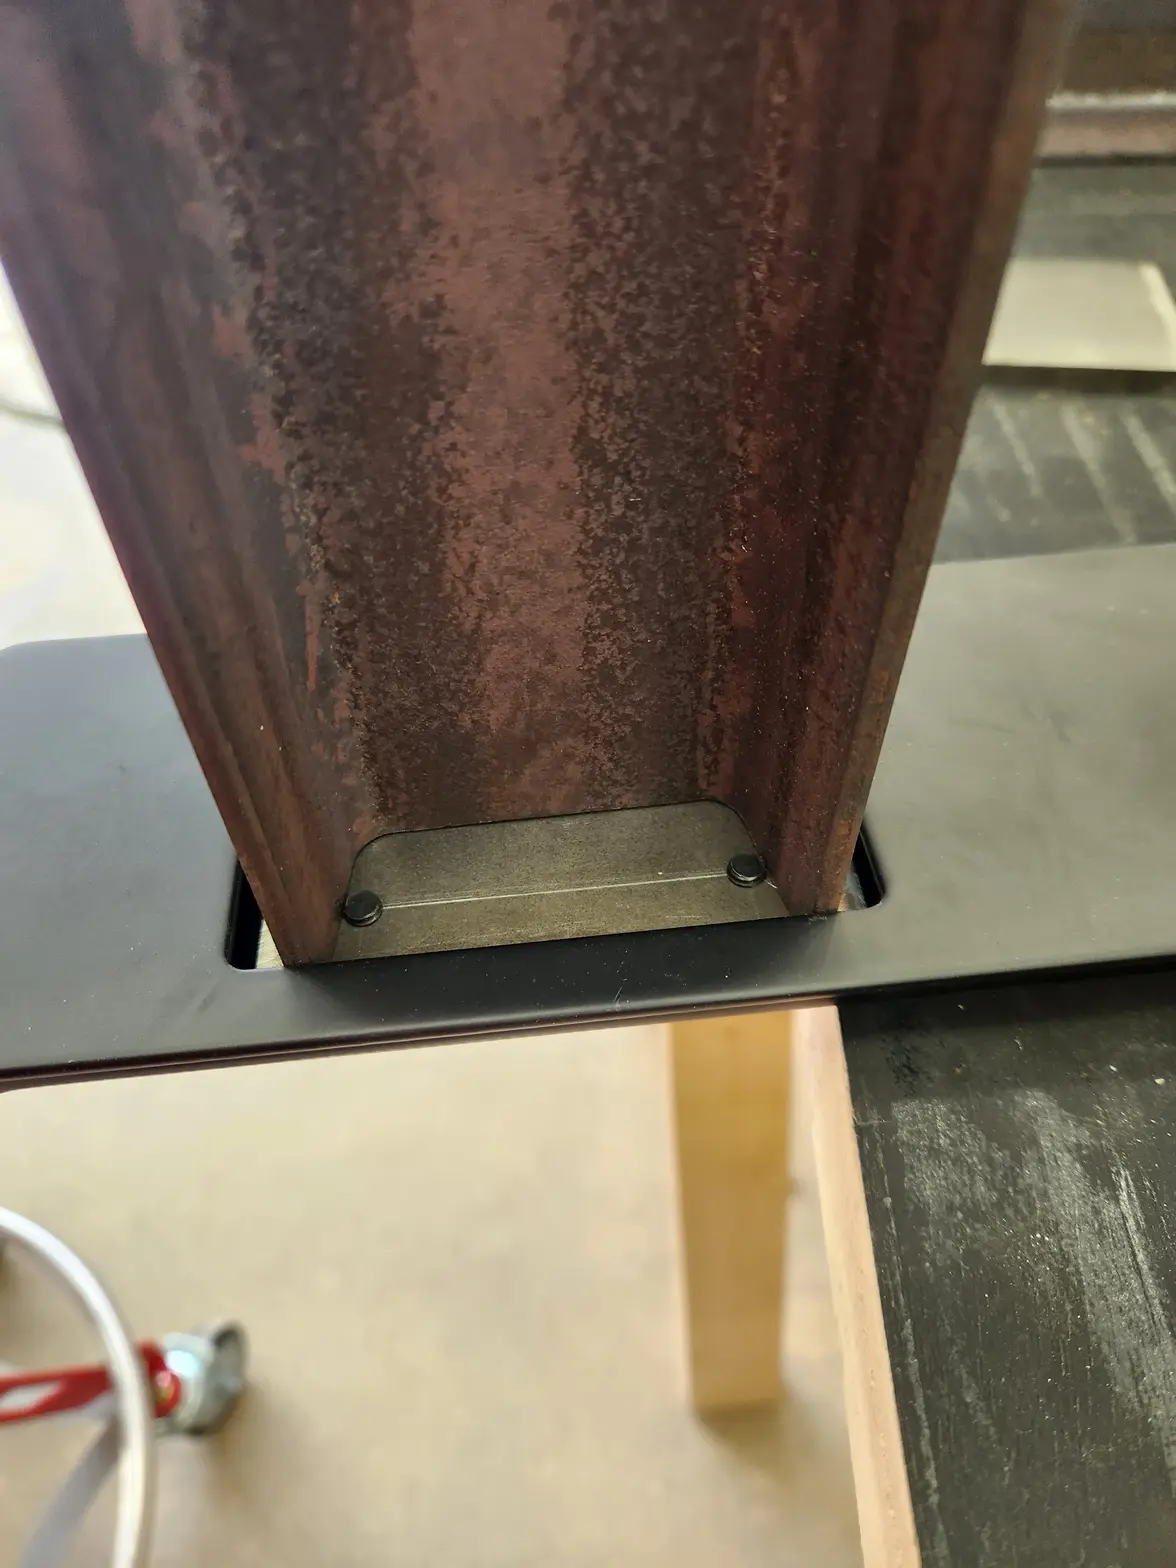
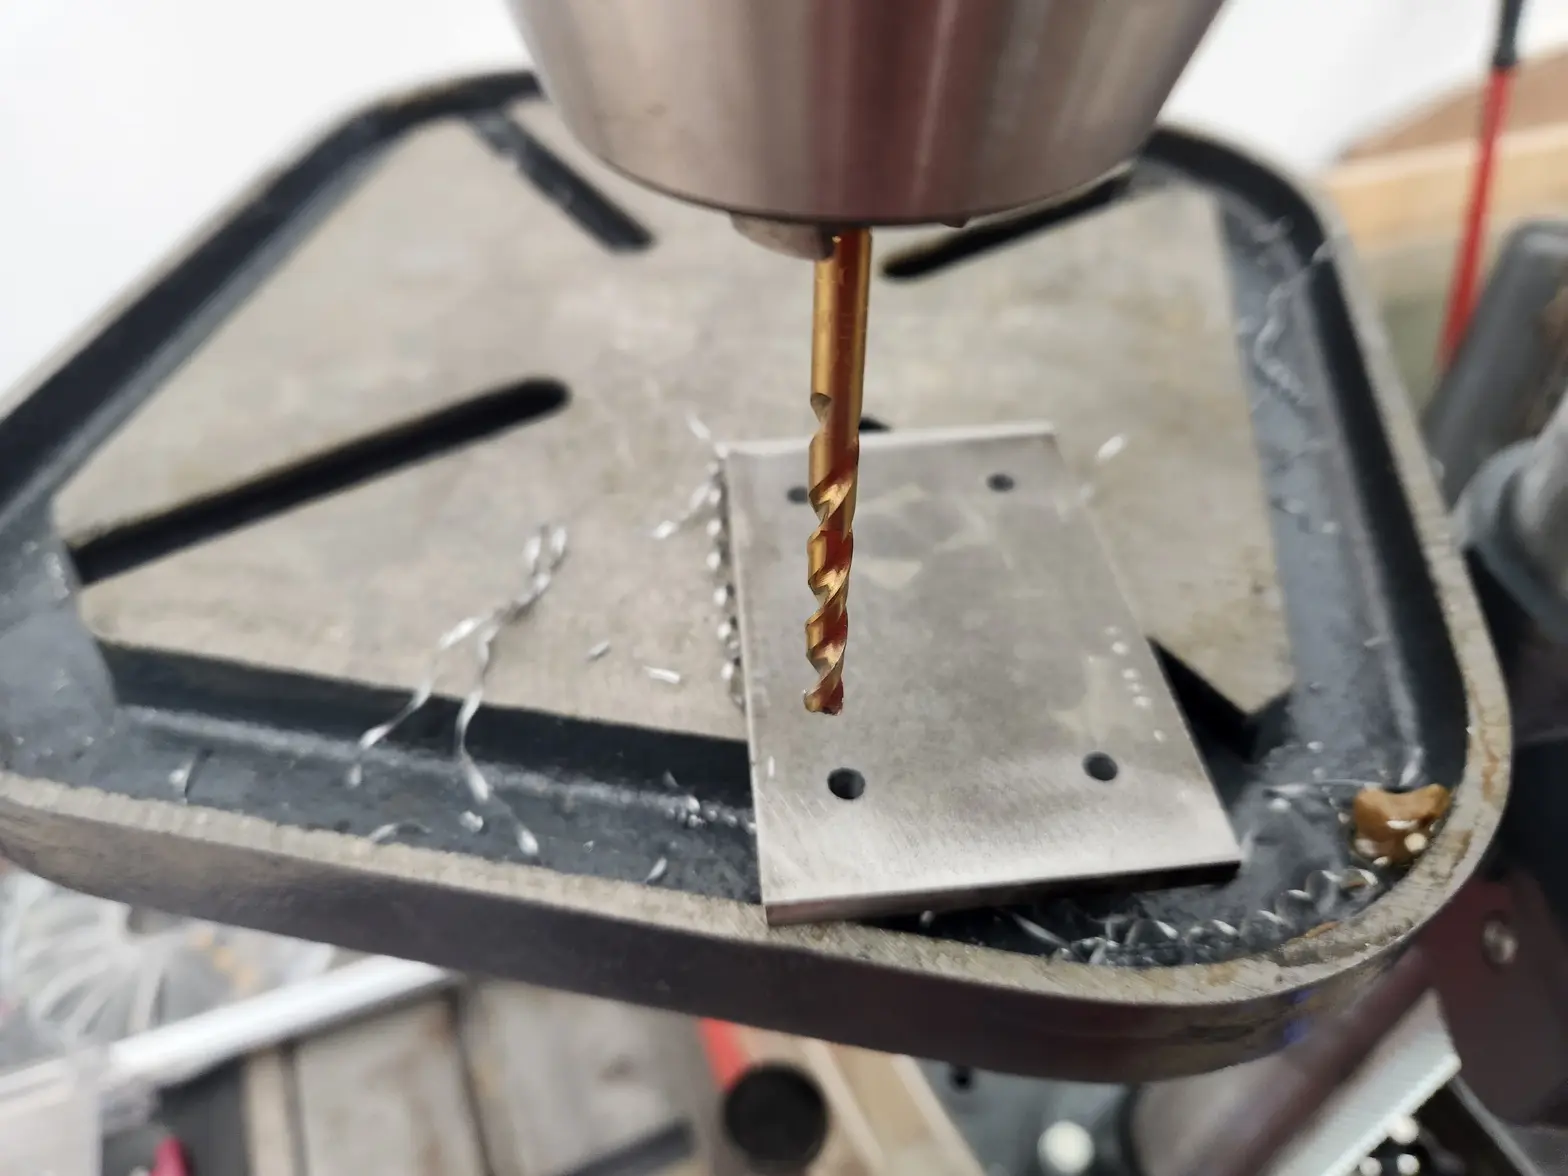
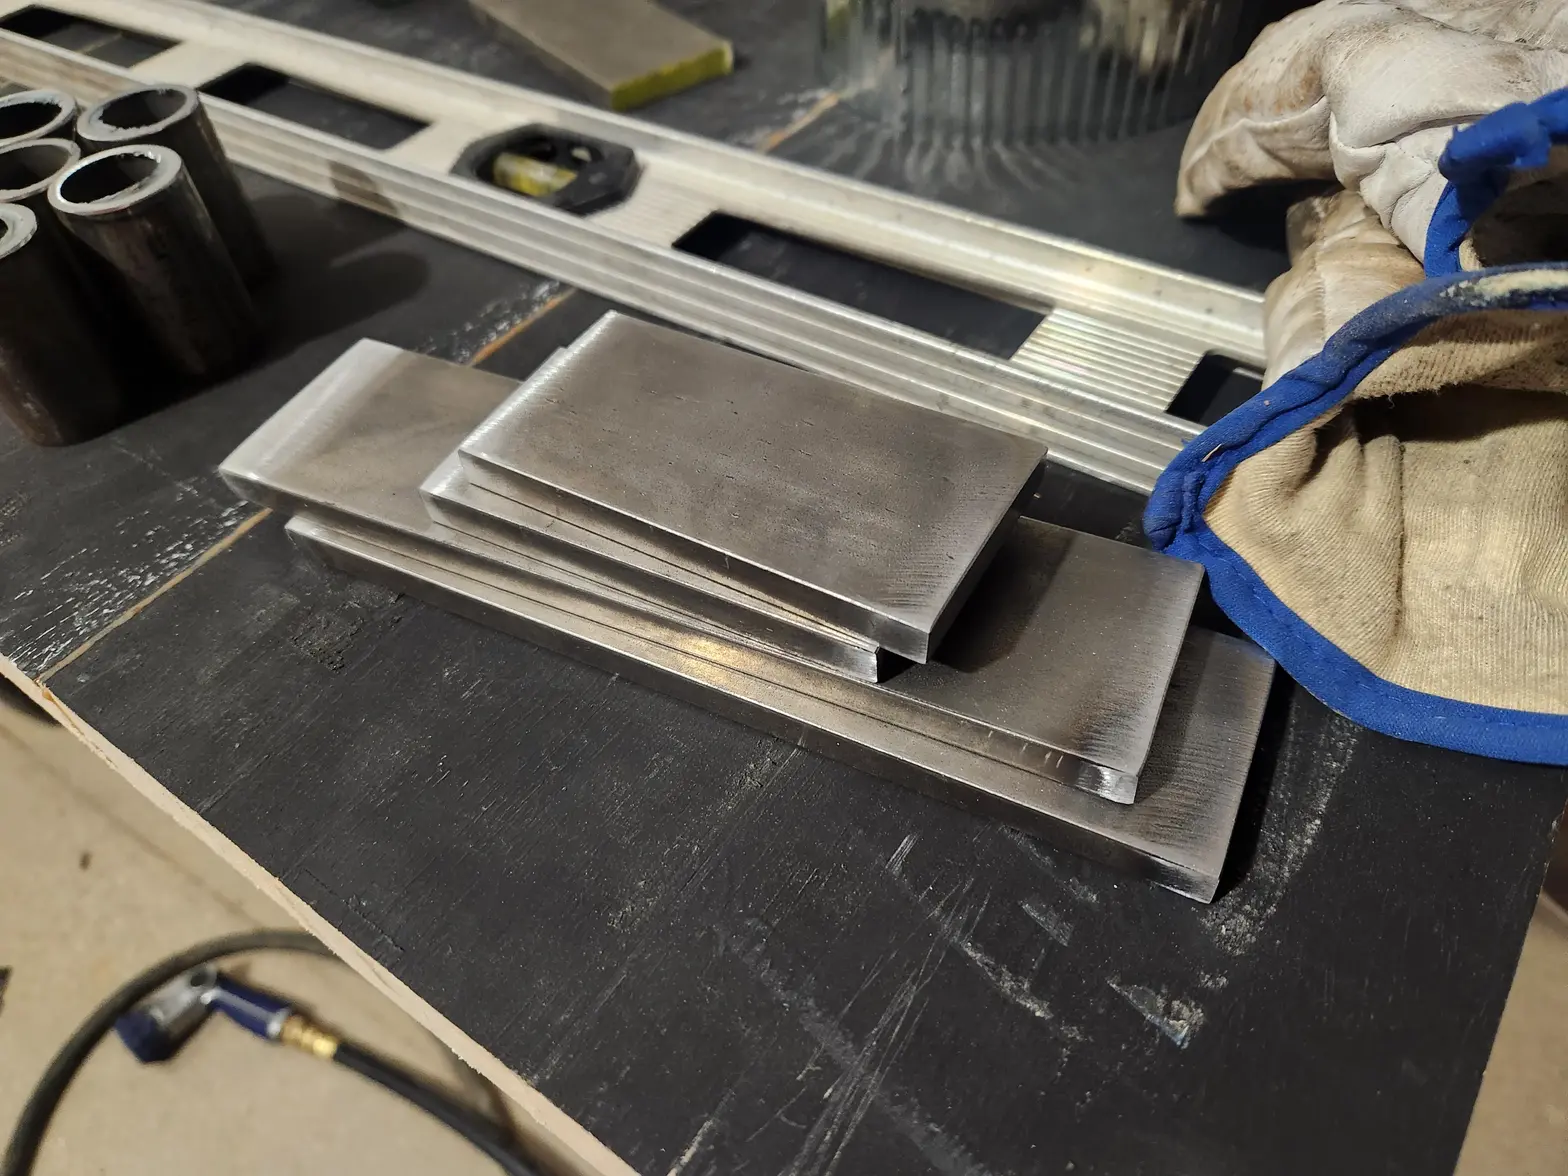
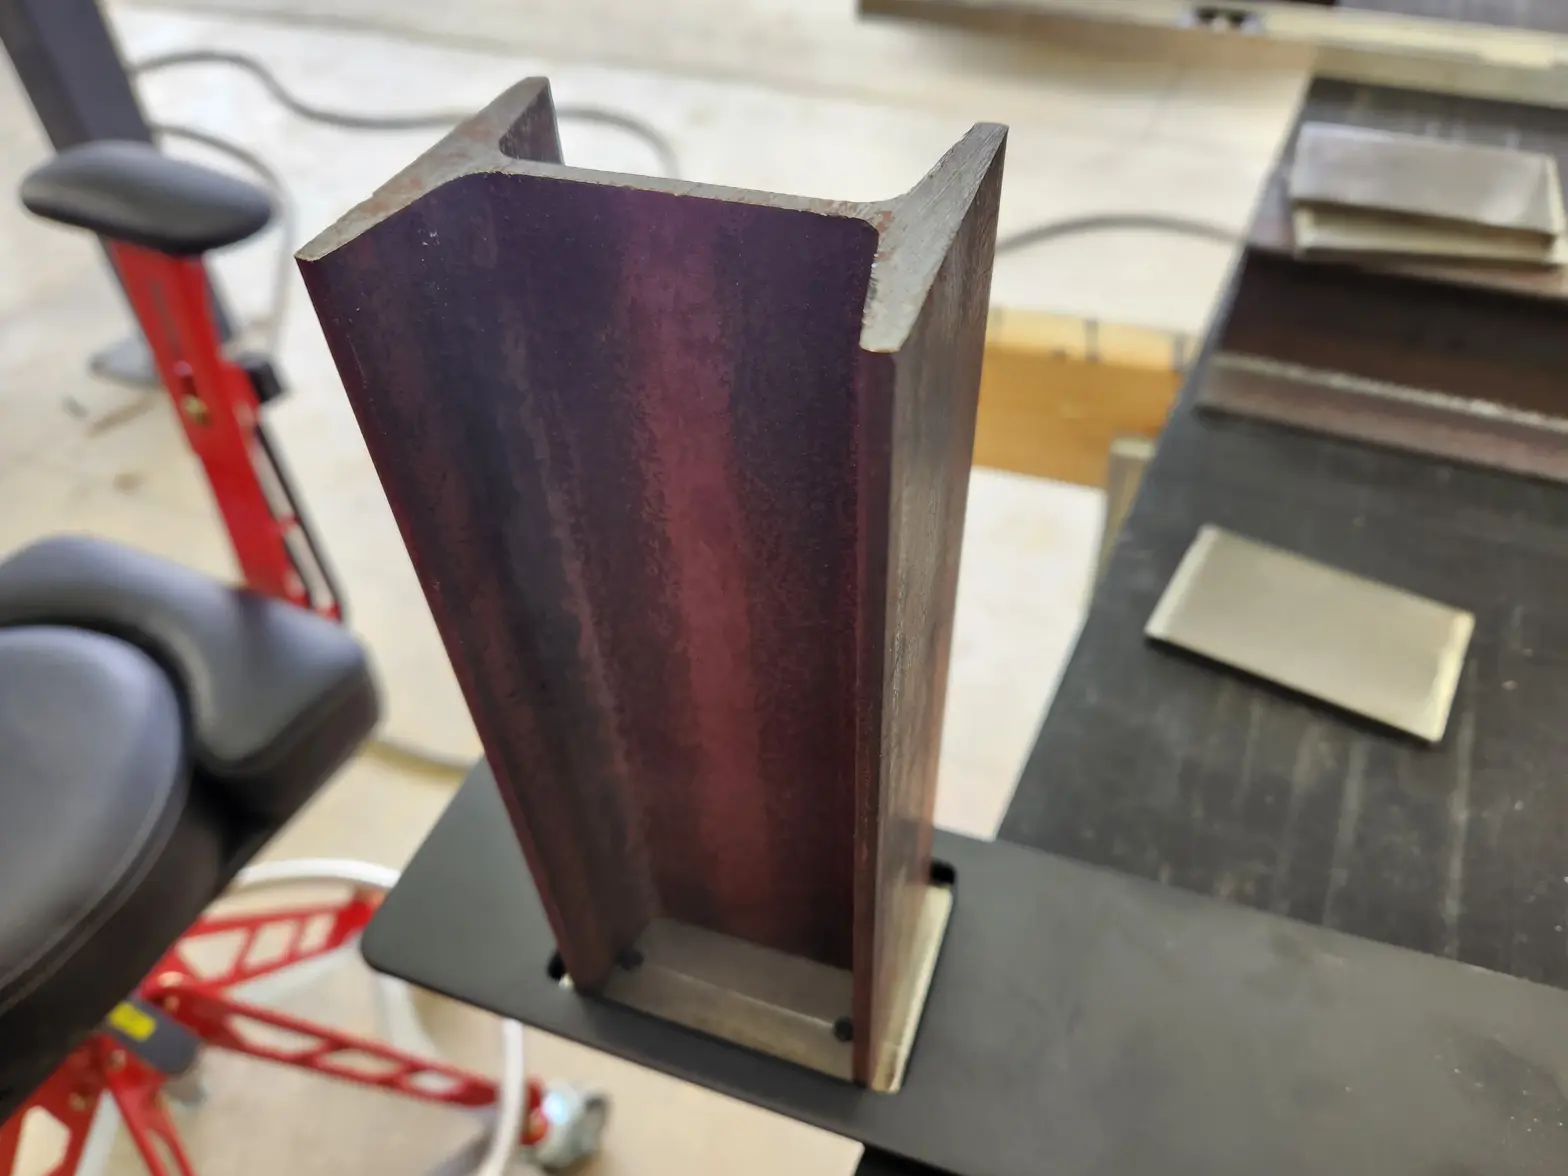
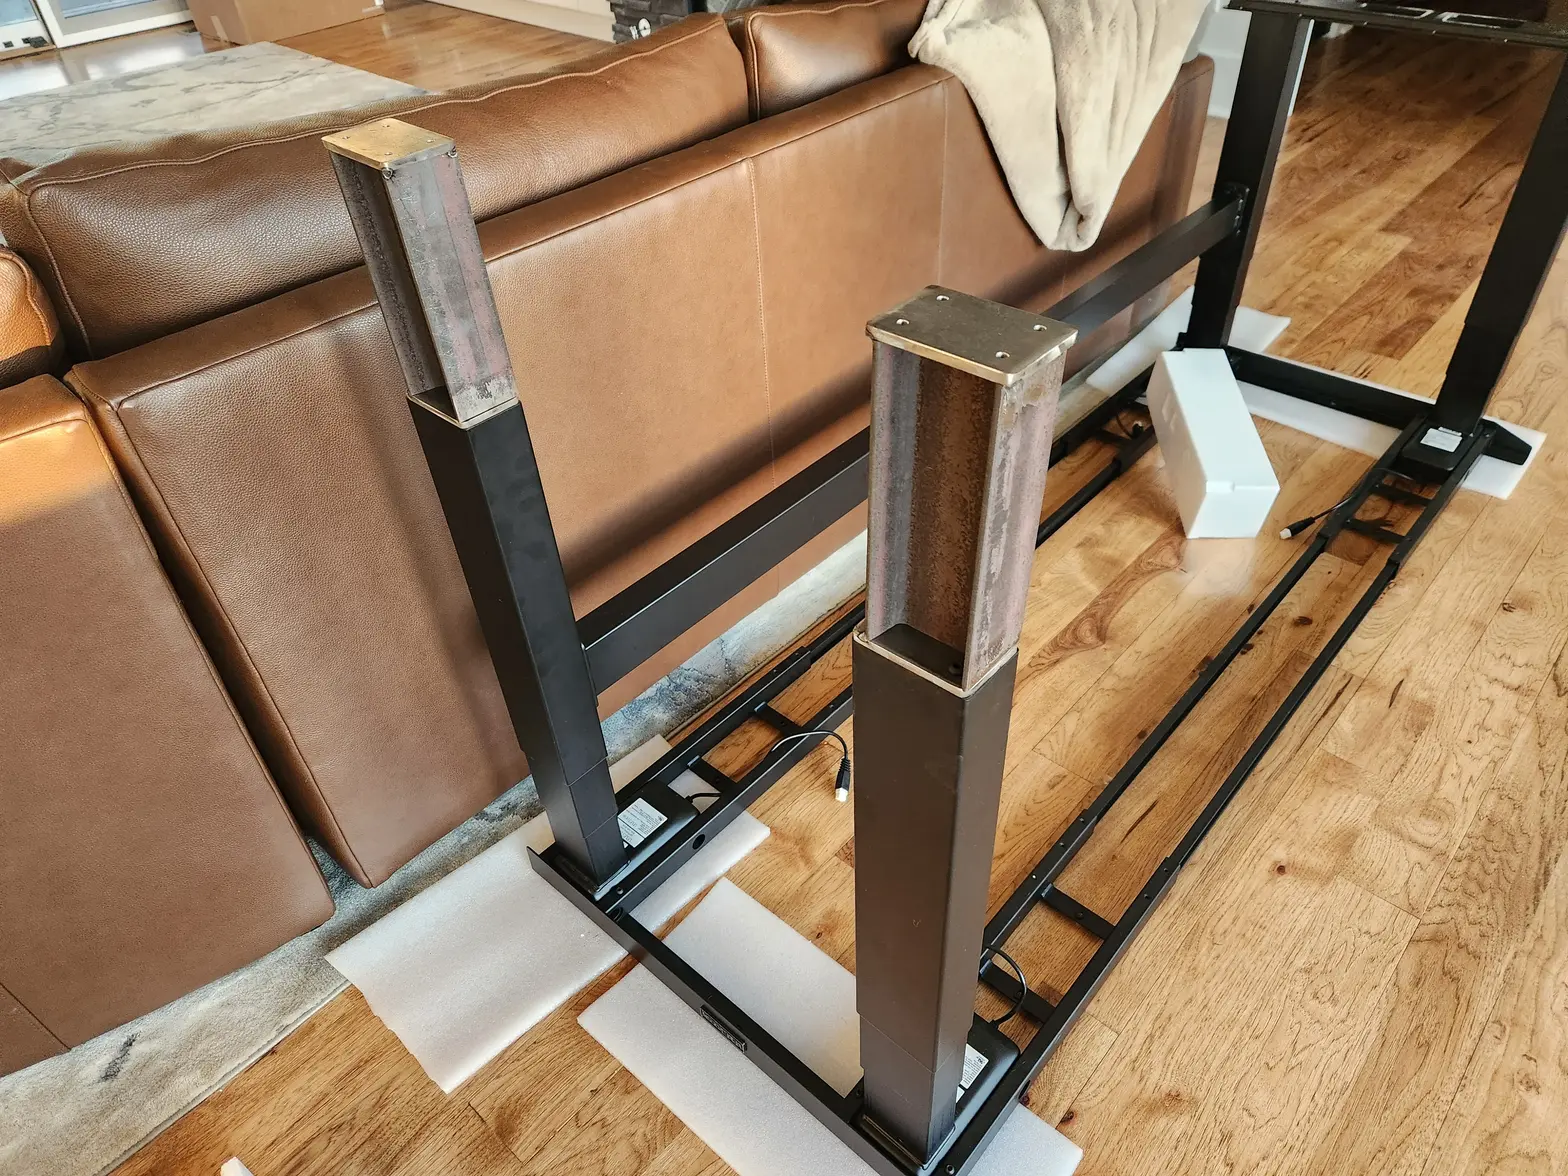
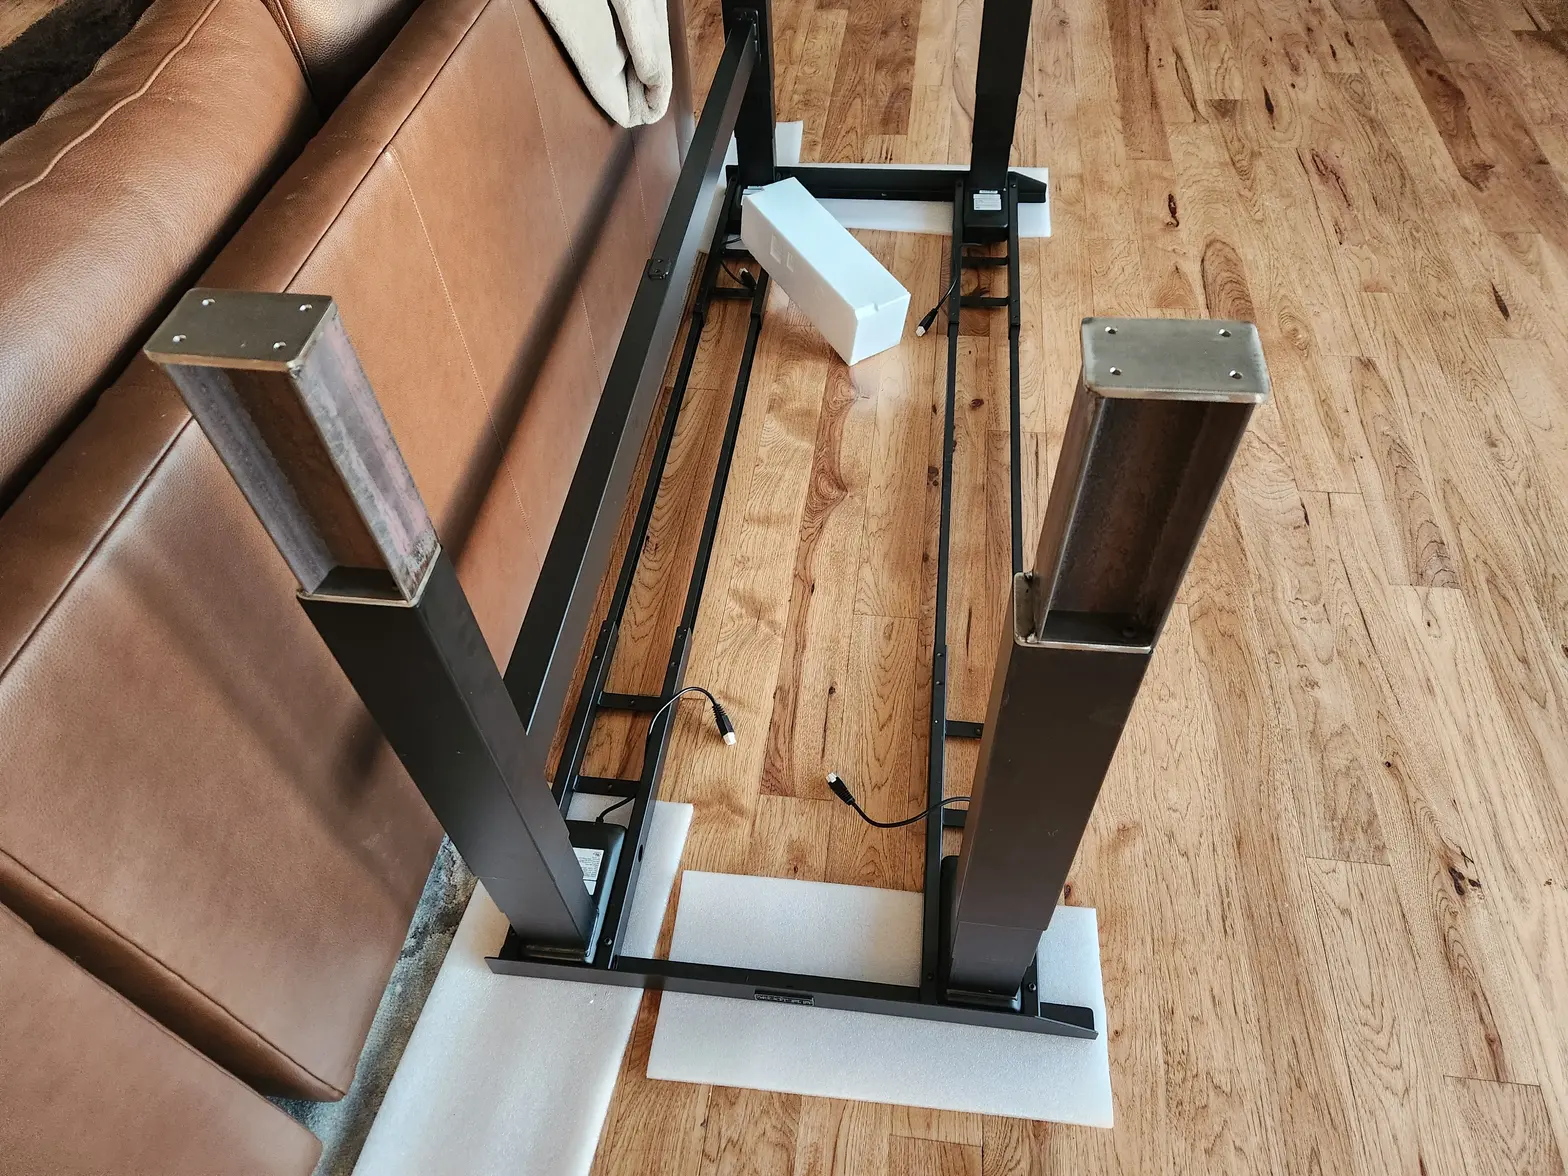
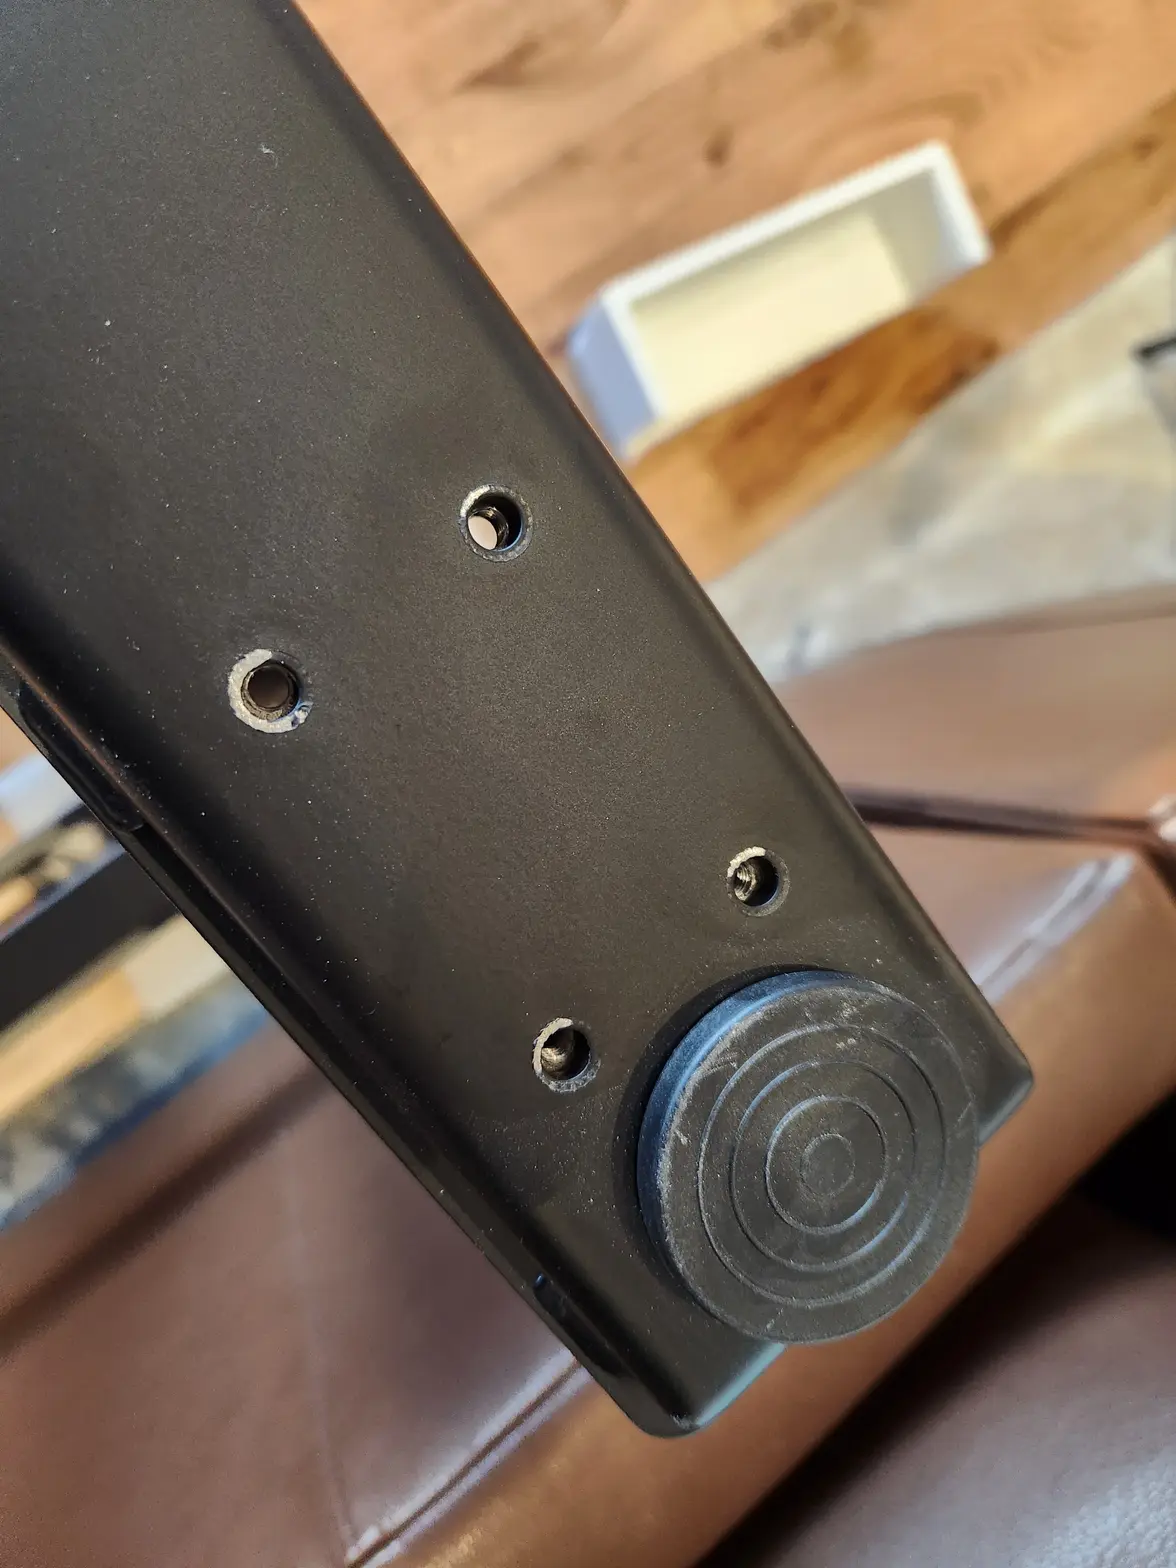
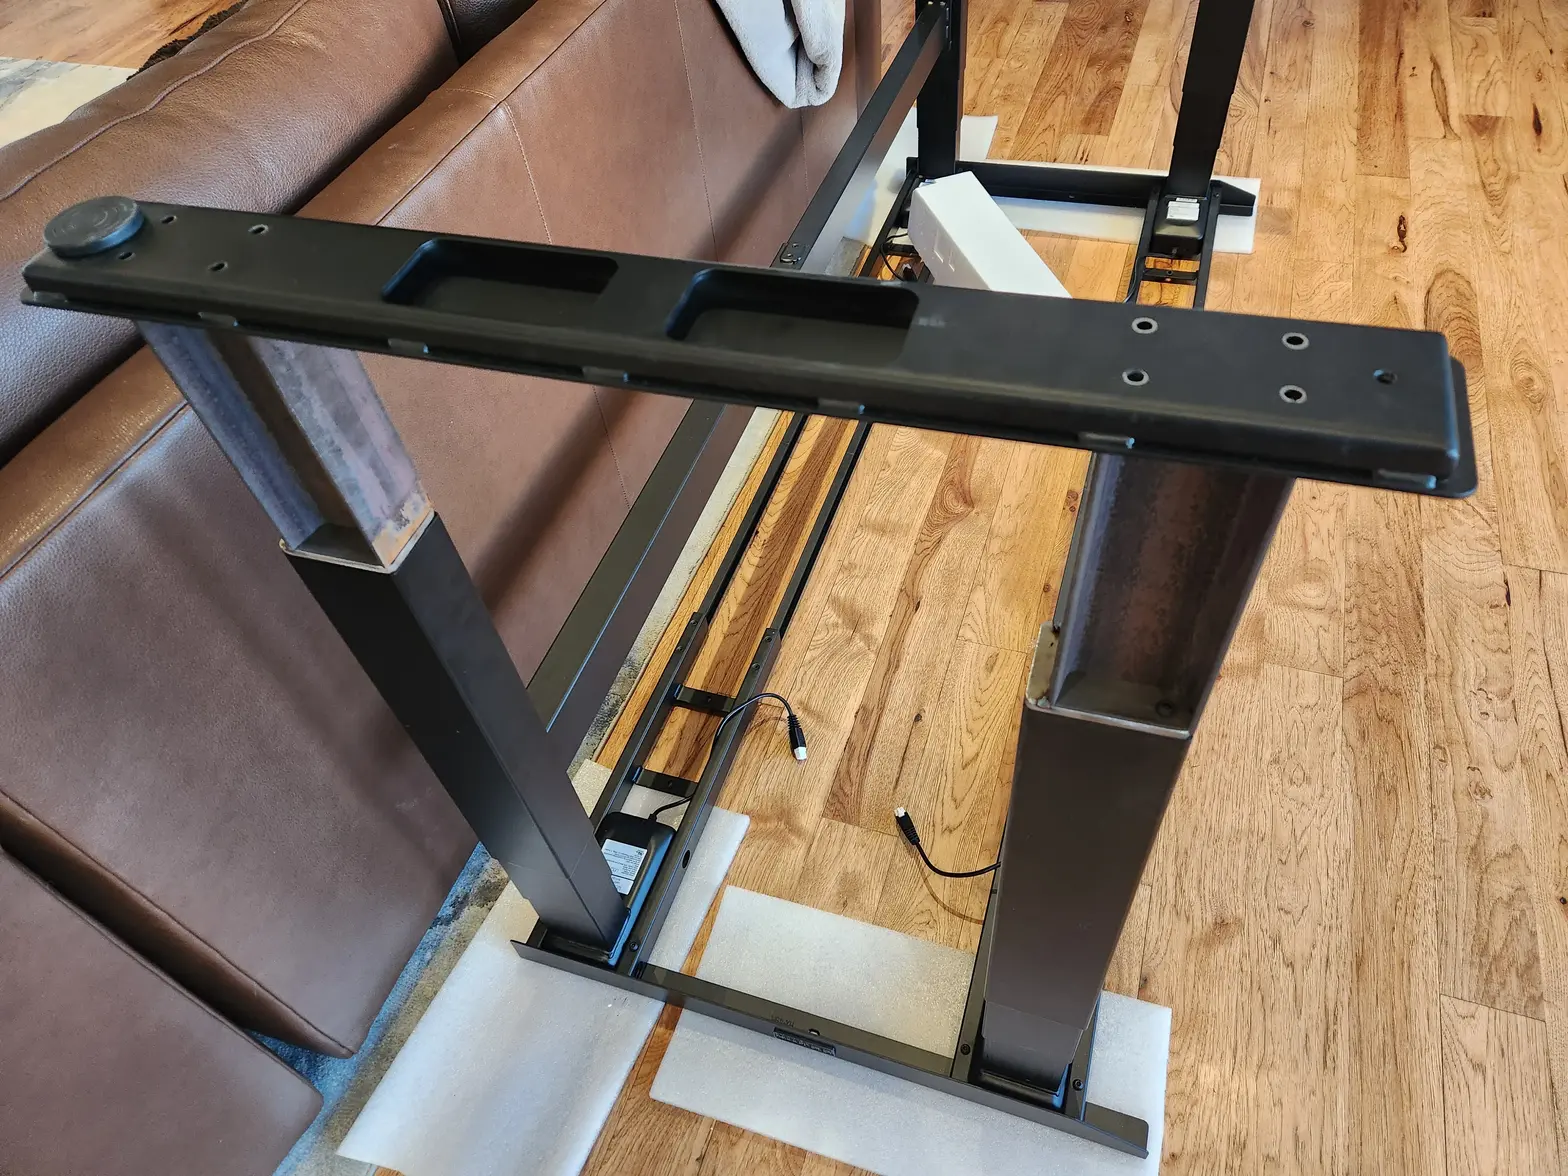
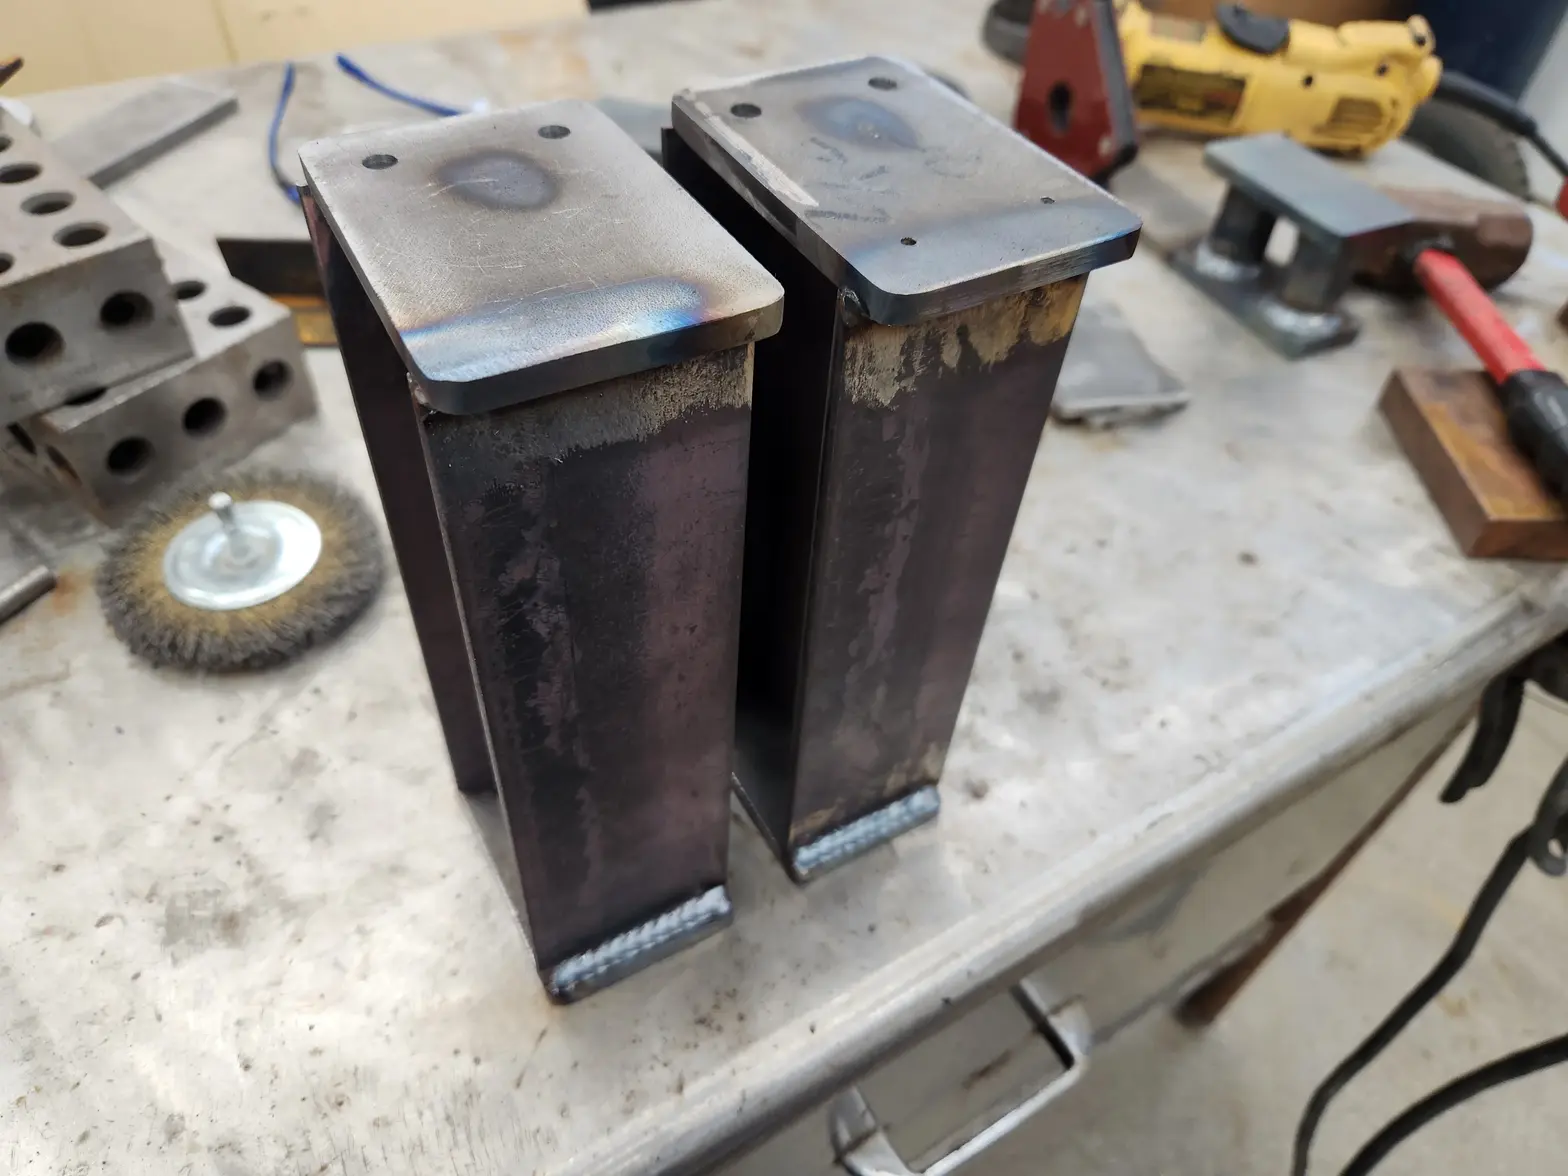
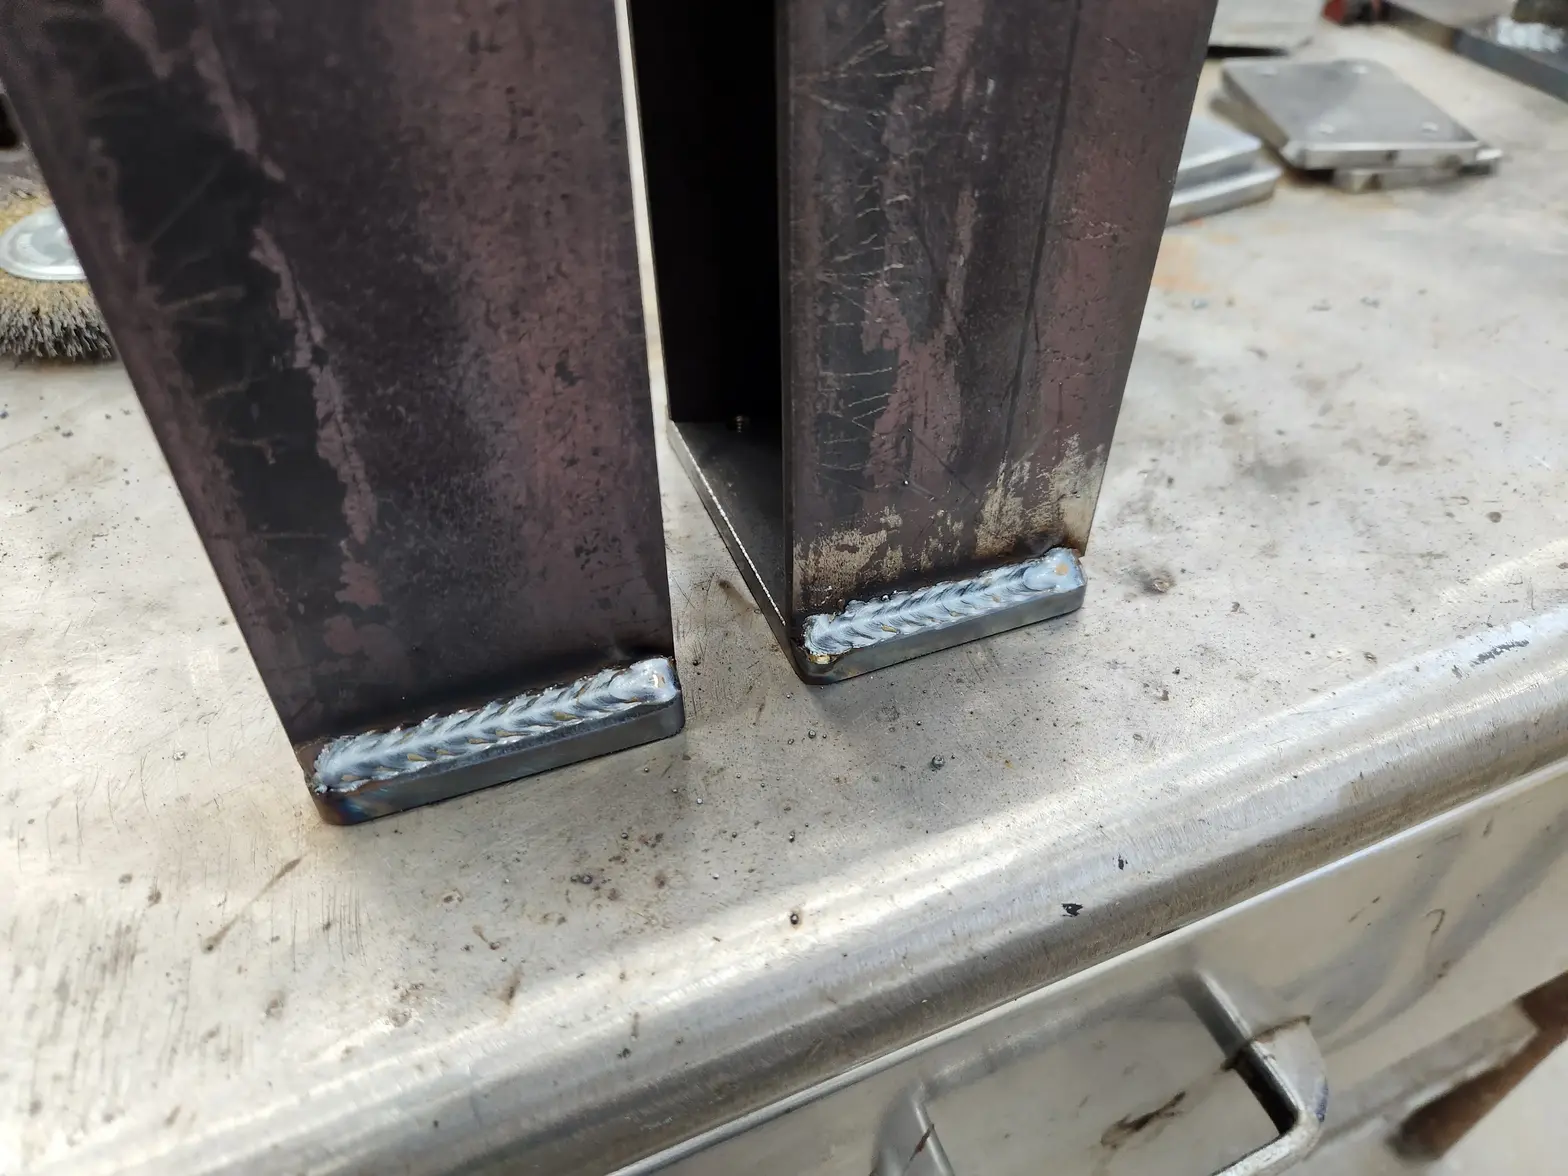
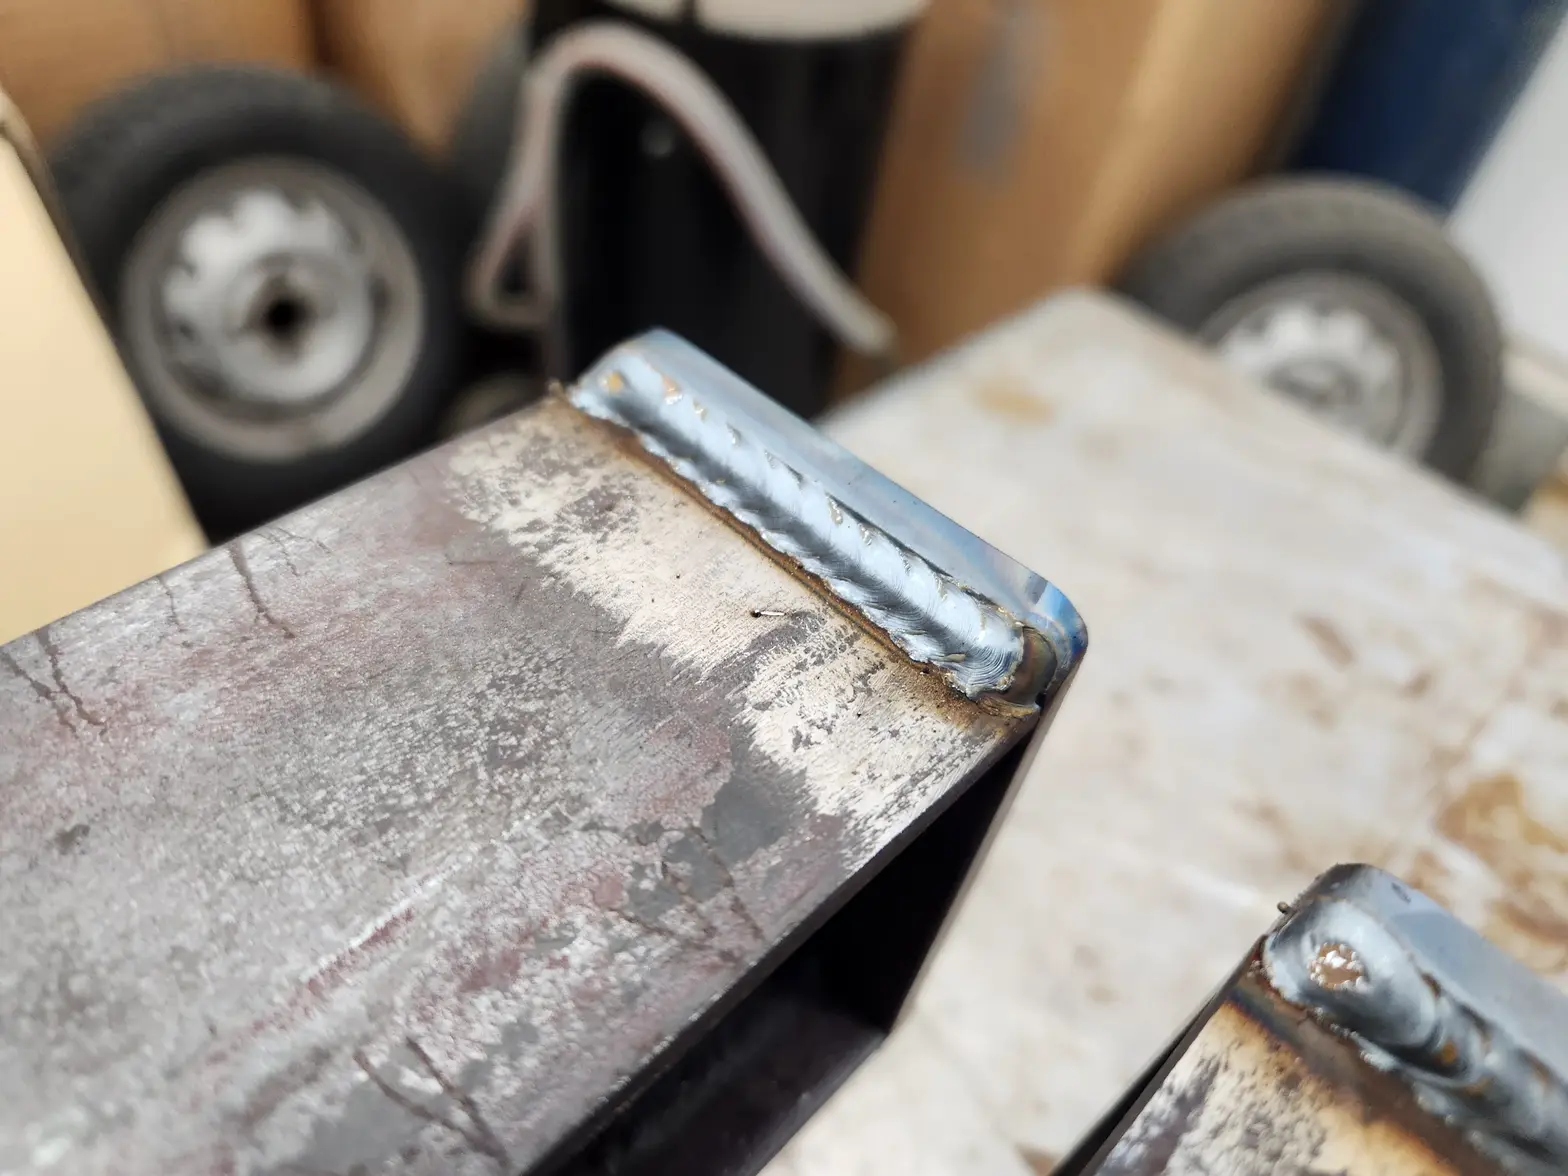
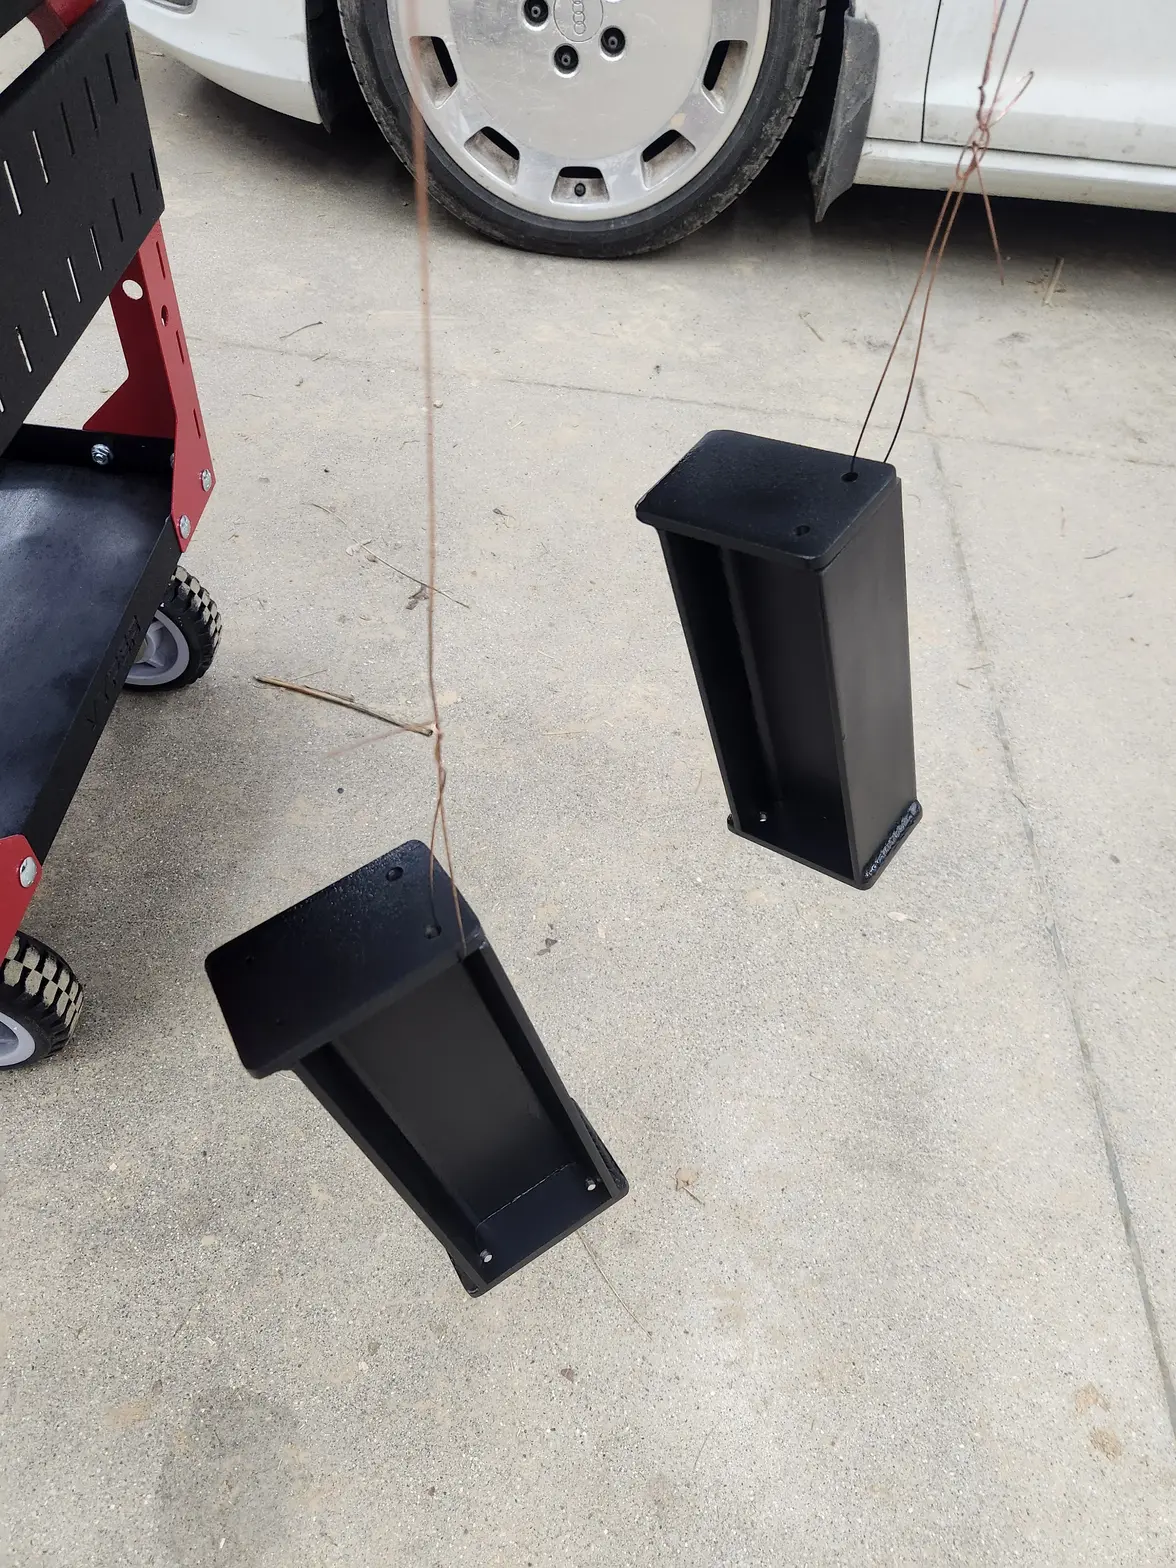
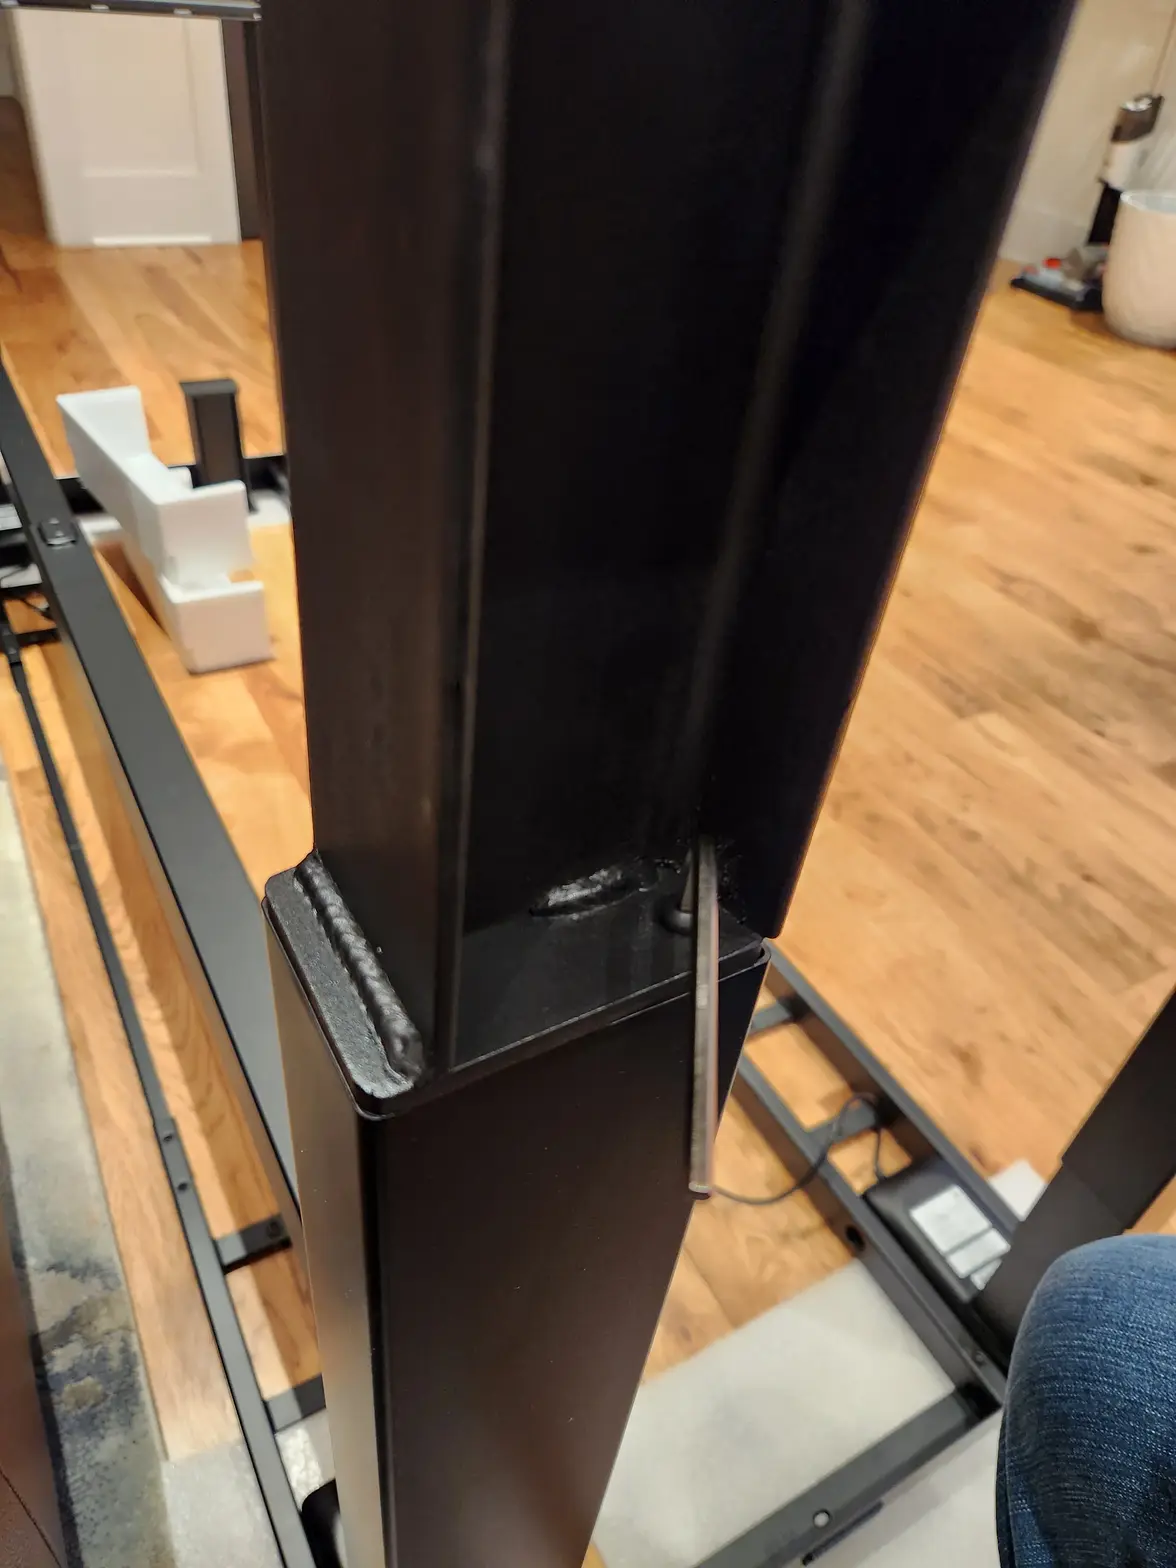
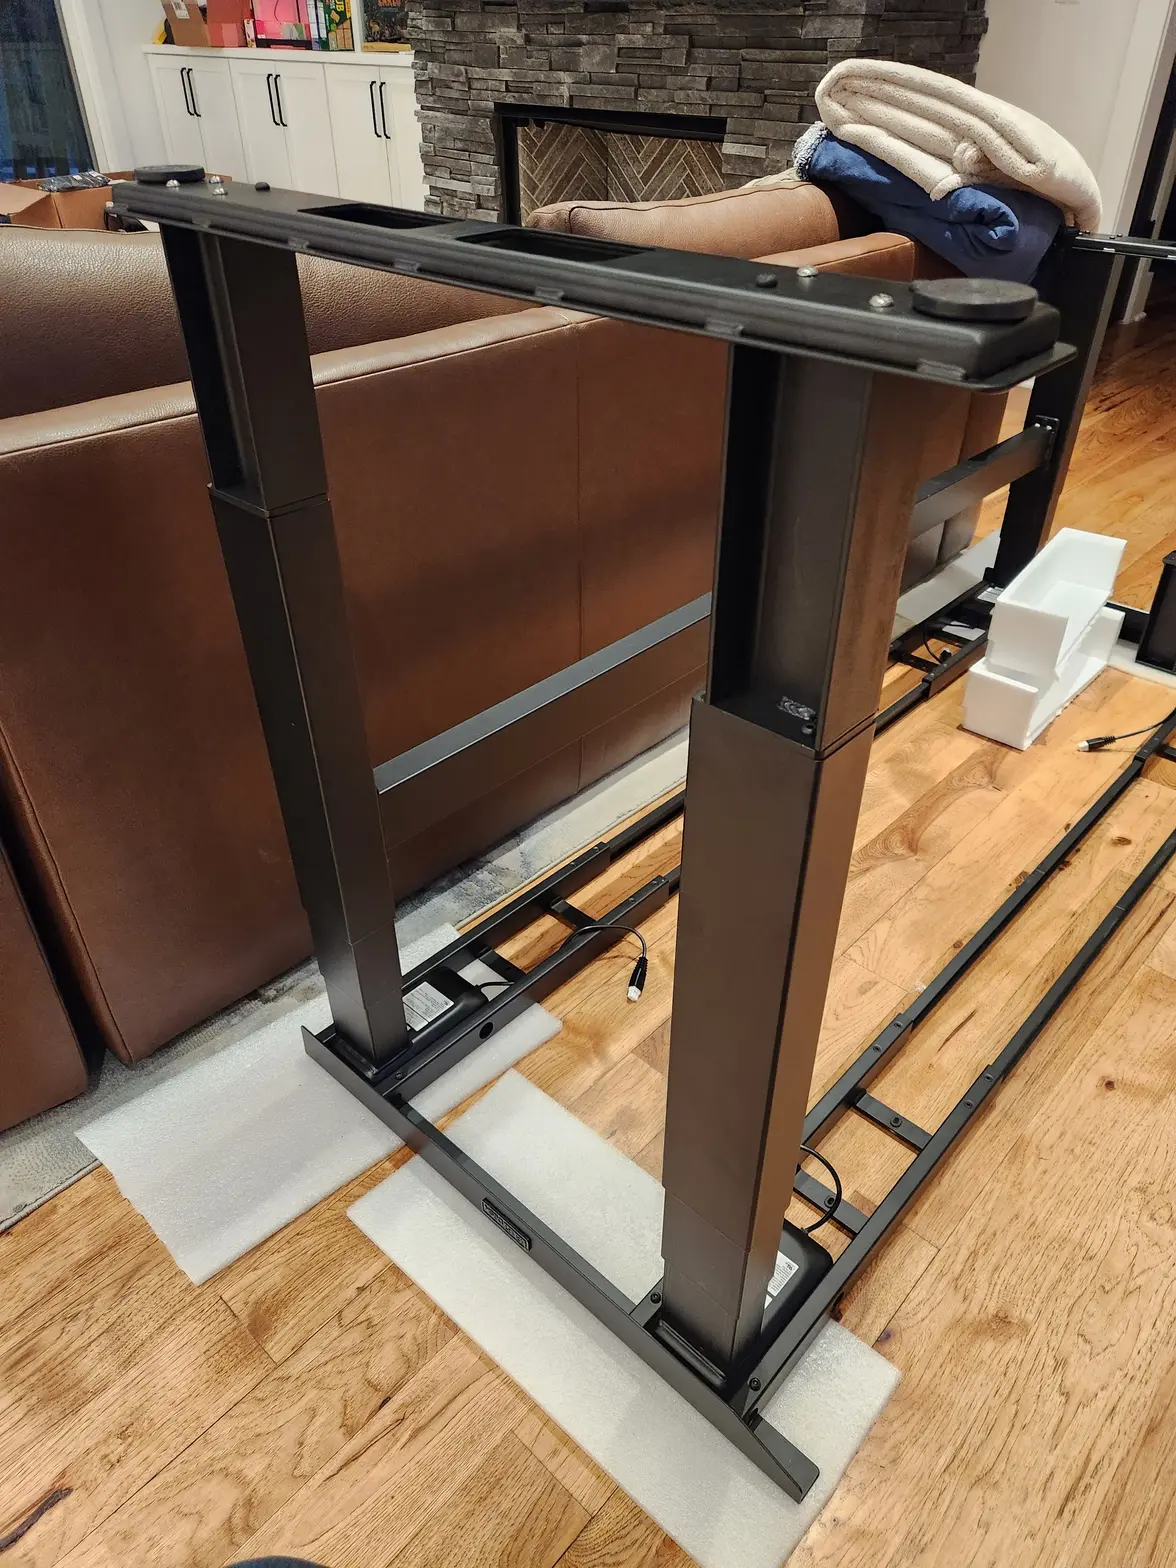
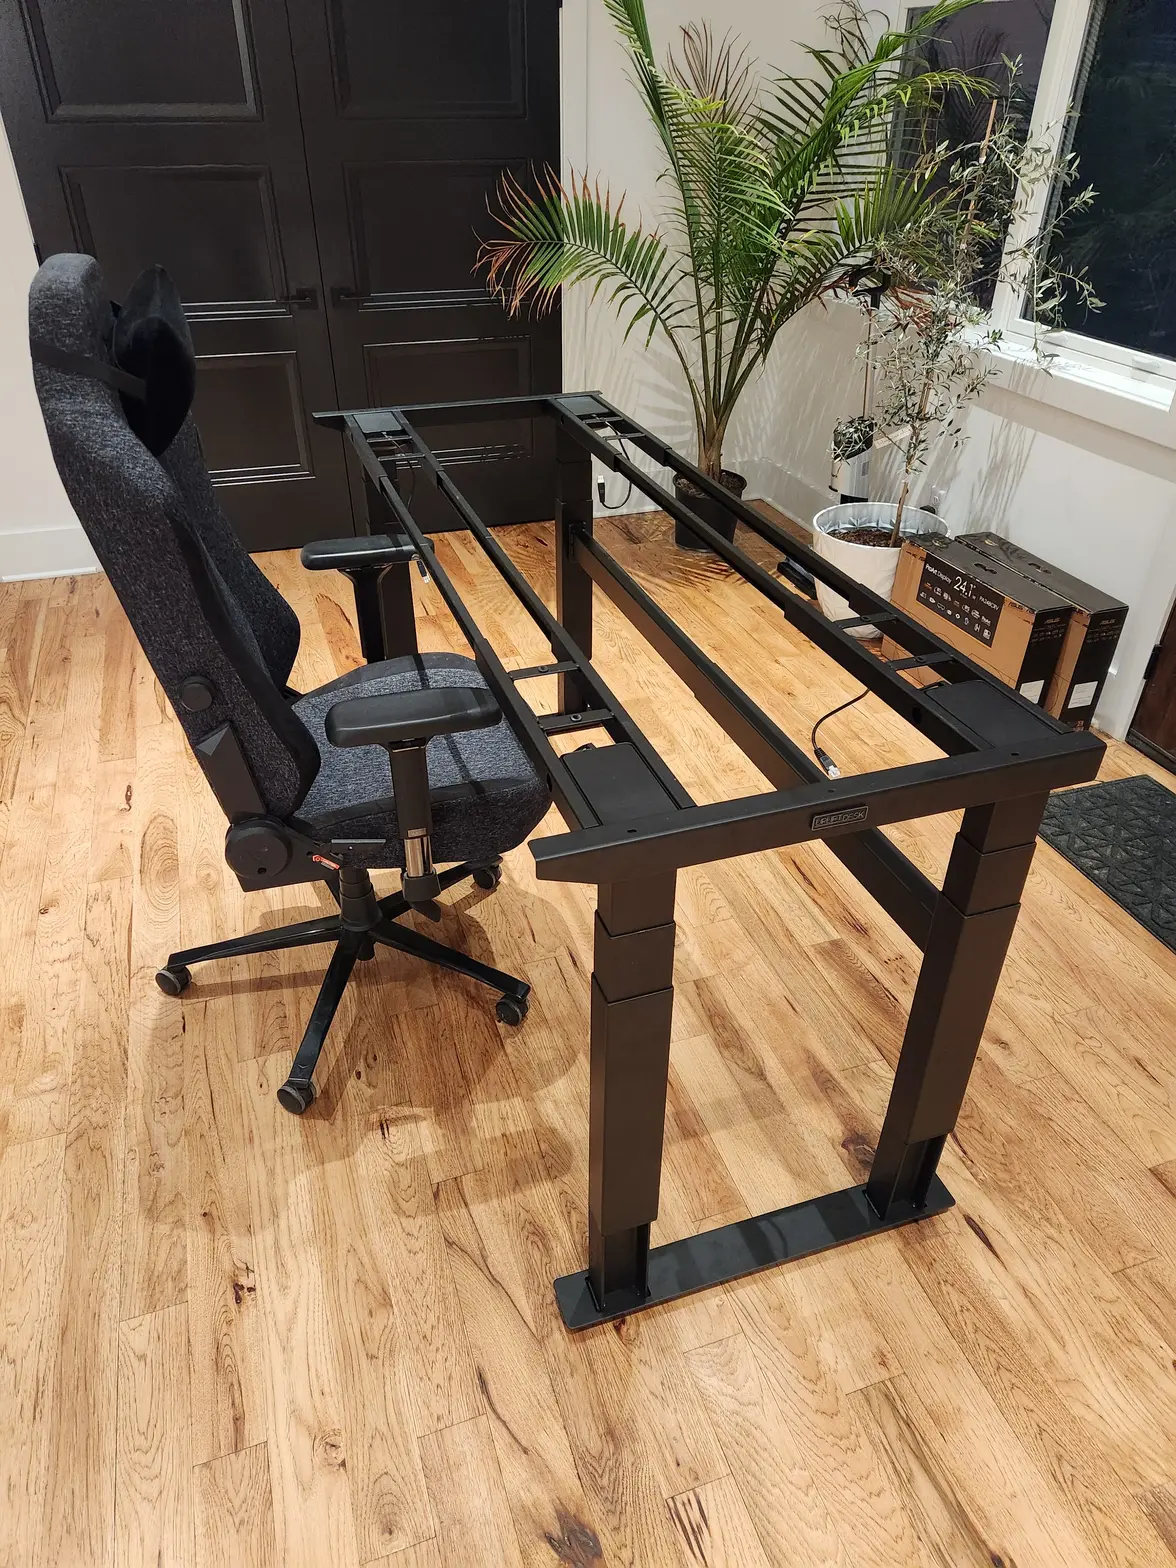
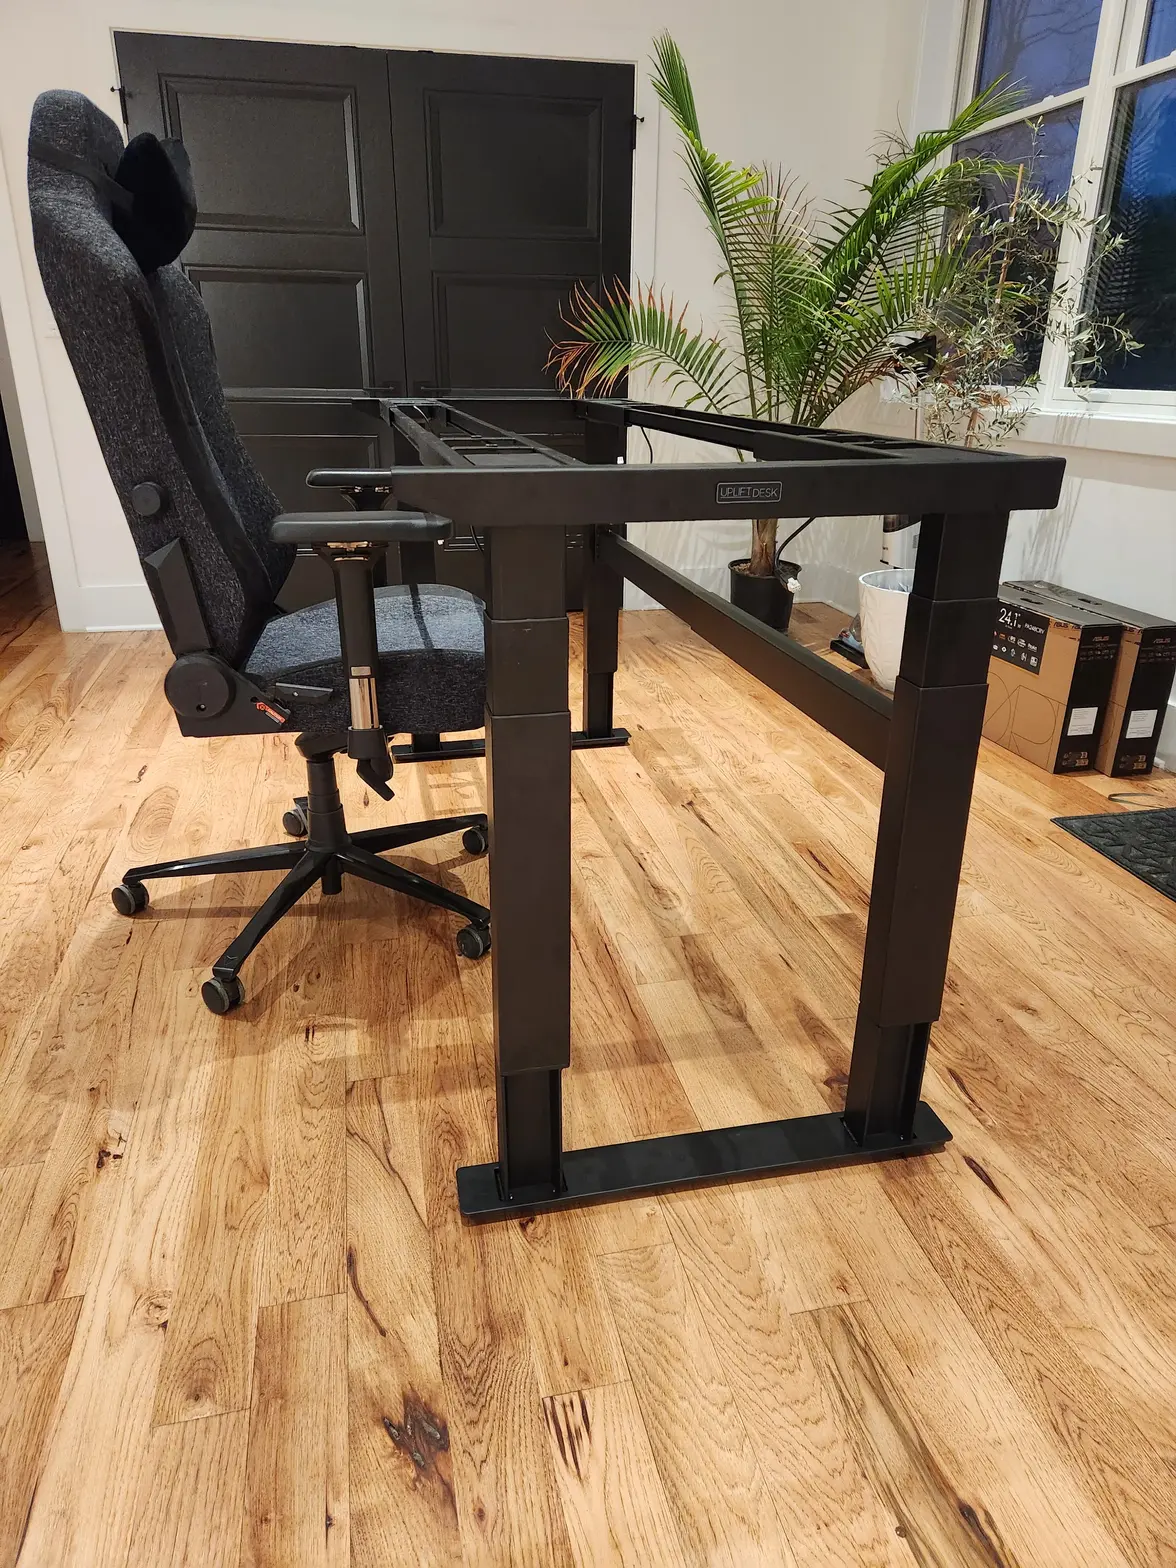
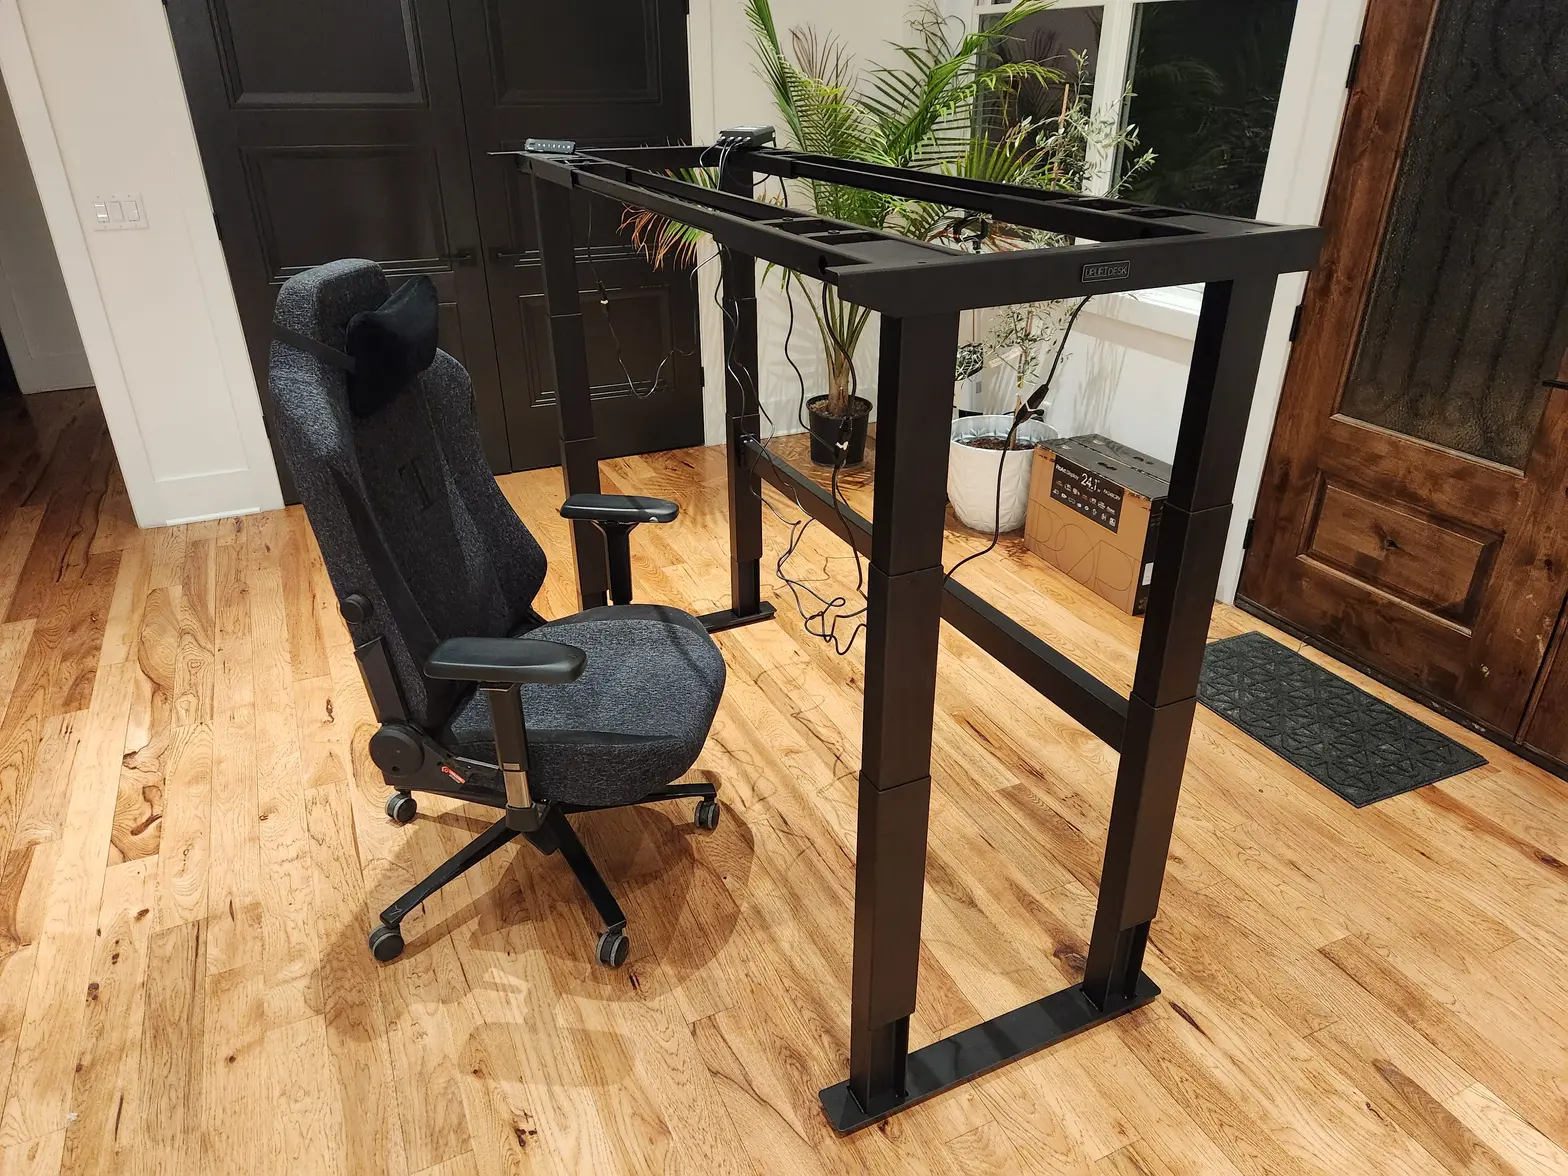
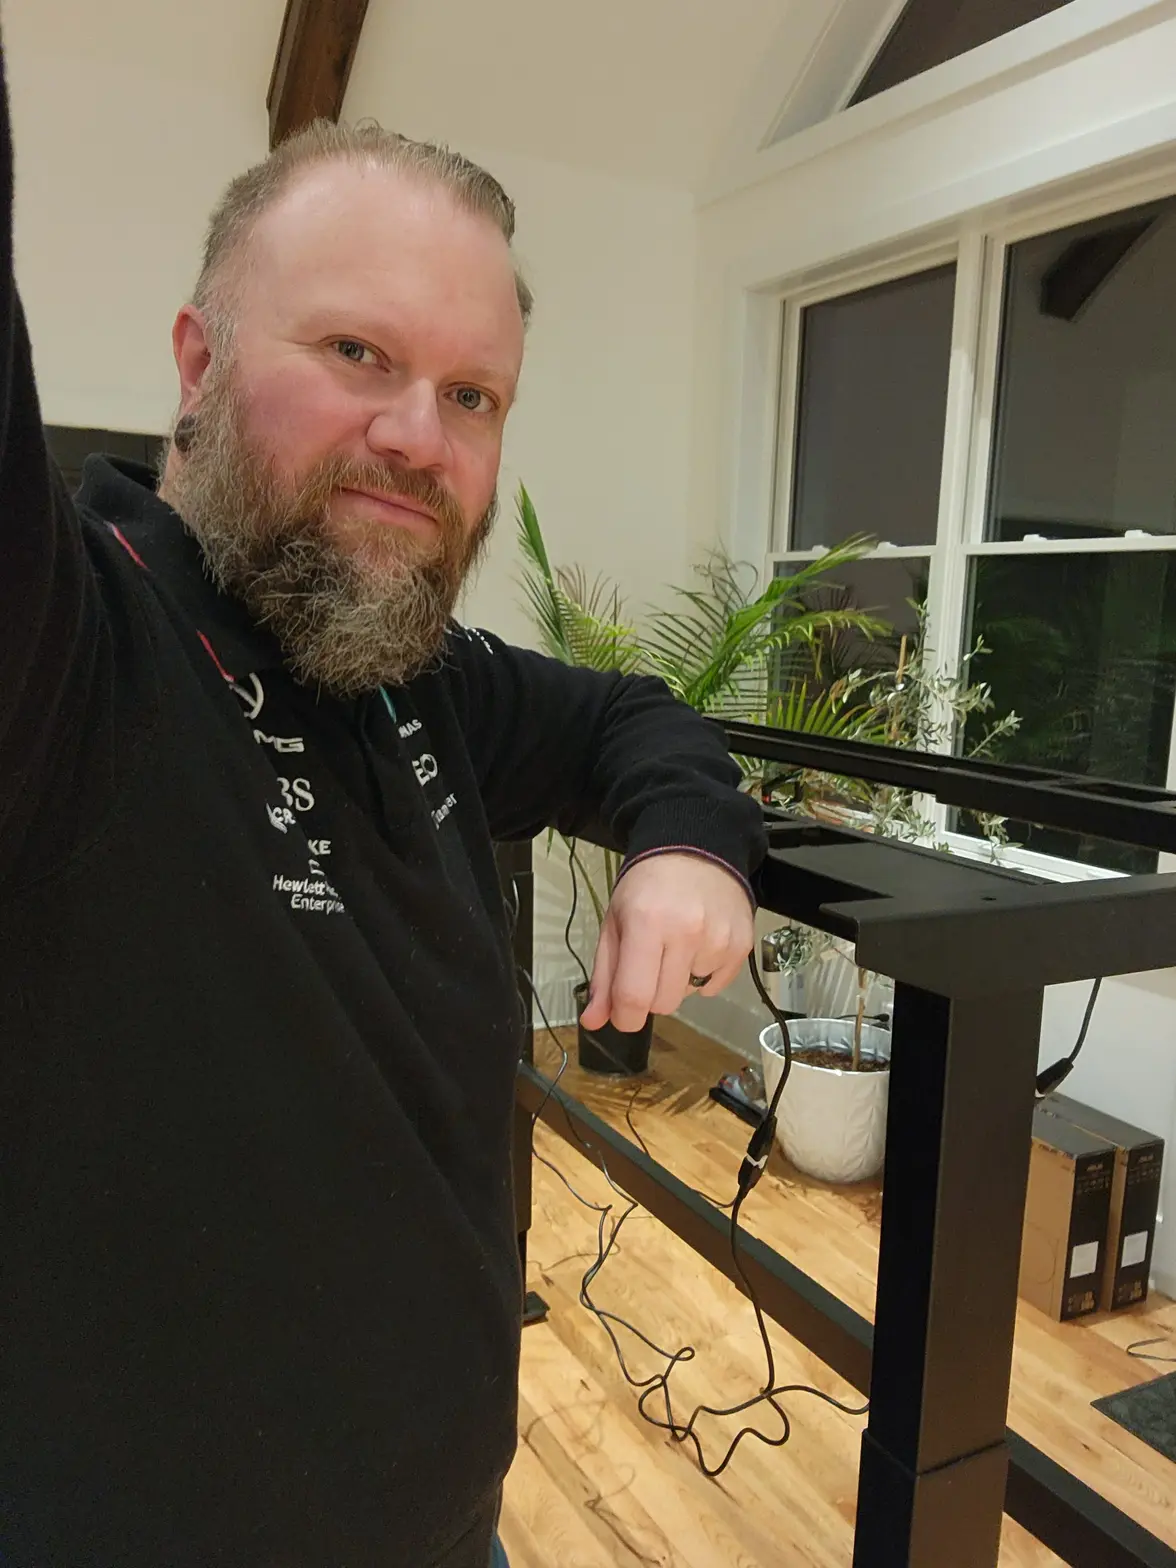
The frame. Purchased an UpLift industrial v2 4-leg/4-motor frame. linky This was the most costly bit of the whole project. A savvy pennypincher can find these identical components on AliX and Alibaba for a LOT less. But I didn’t know what I needed starting out and decided it was the easiest way to go. It is capable of 1000+lbs lift. The only downside is it only maxes out at like 52” height. I will address that below.
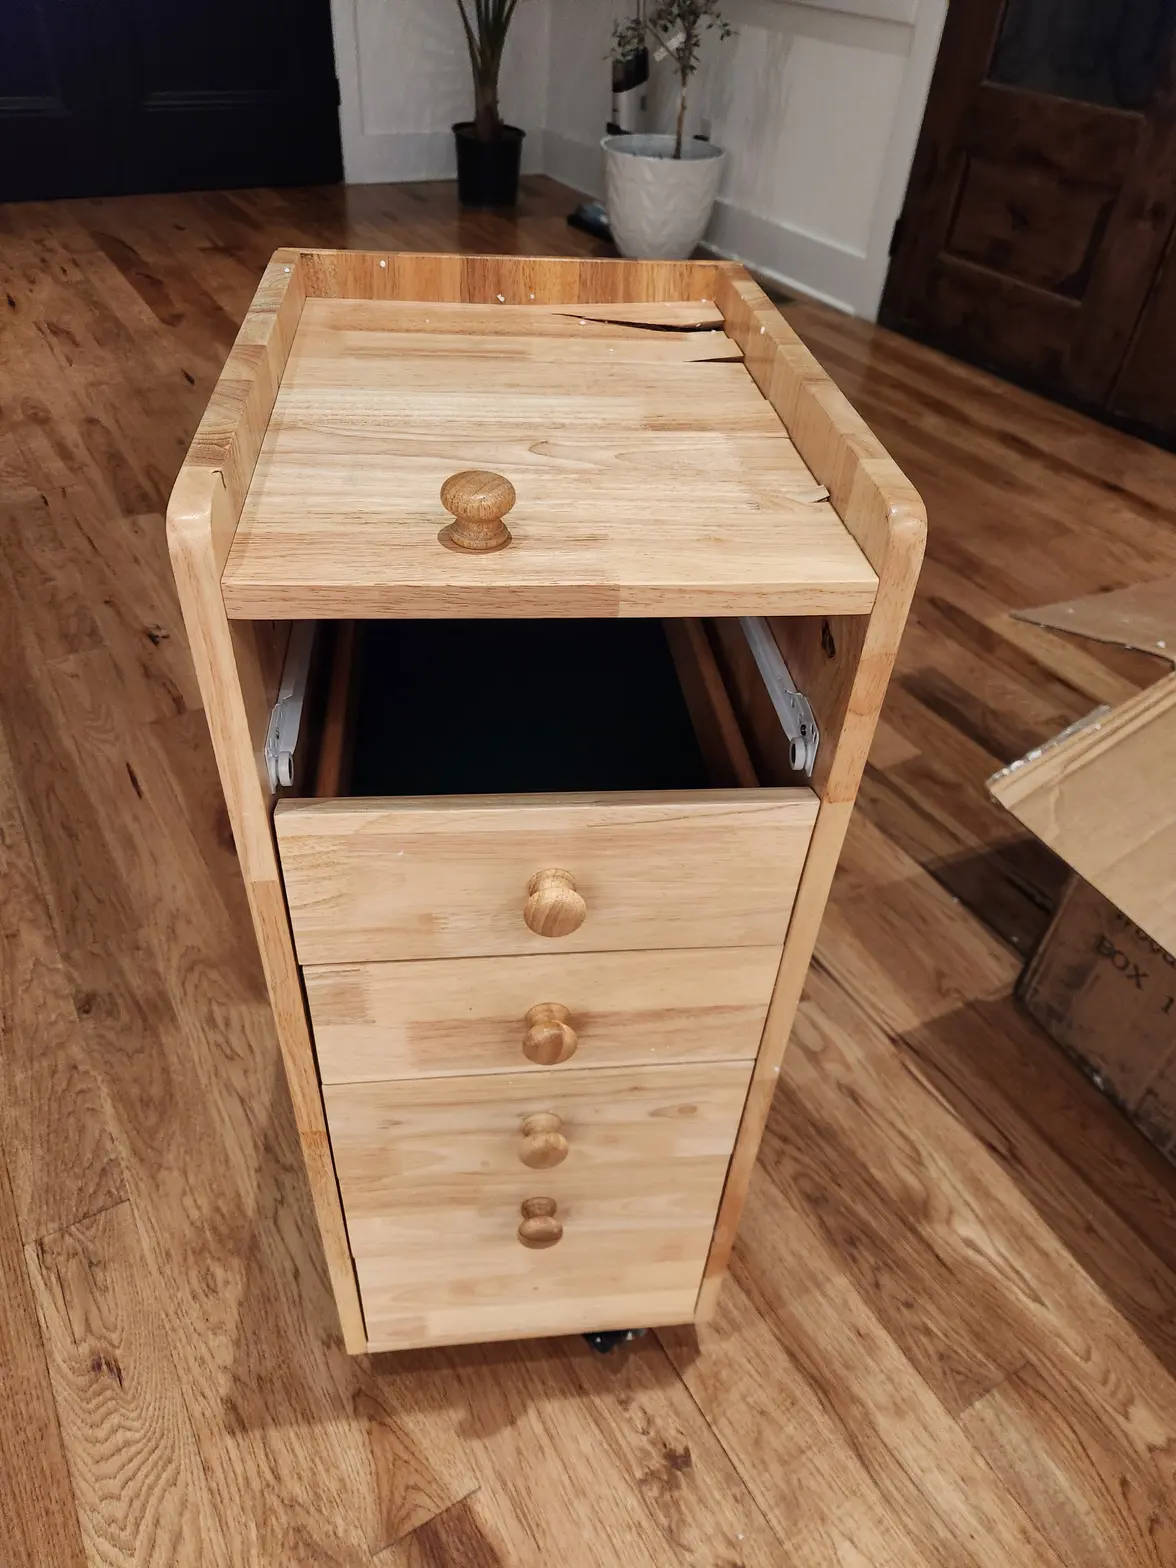
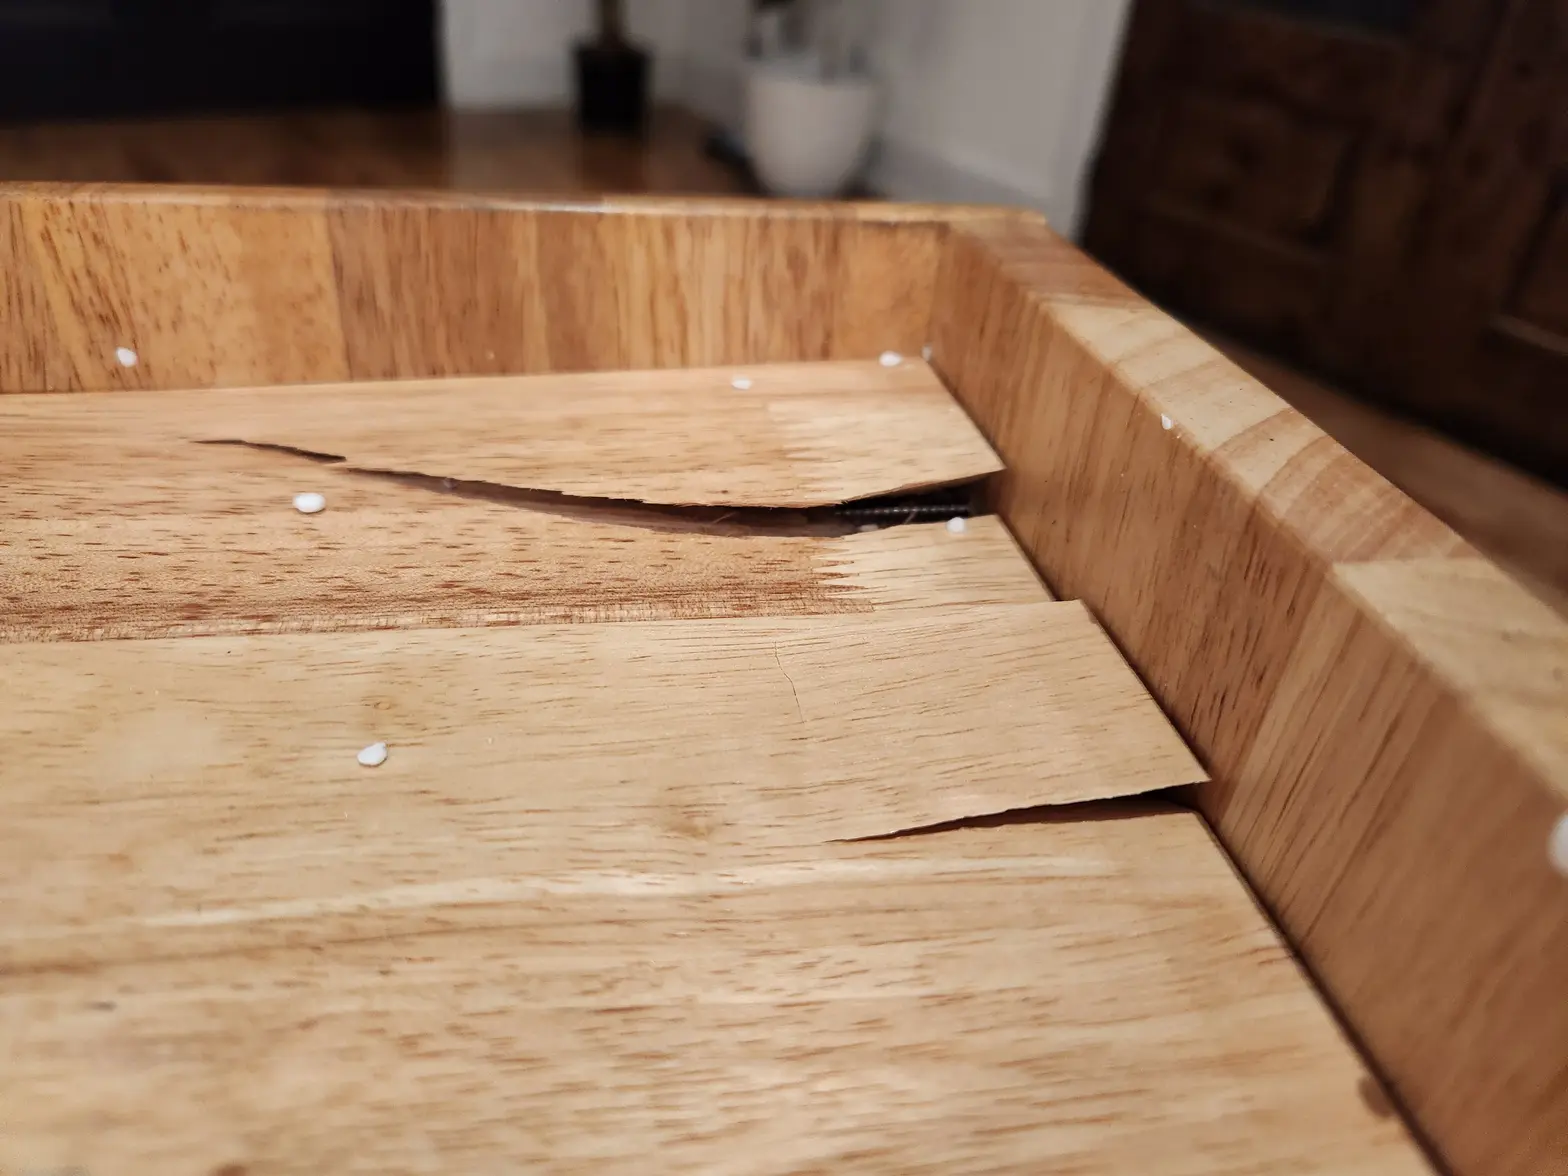
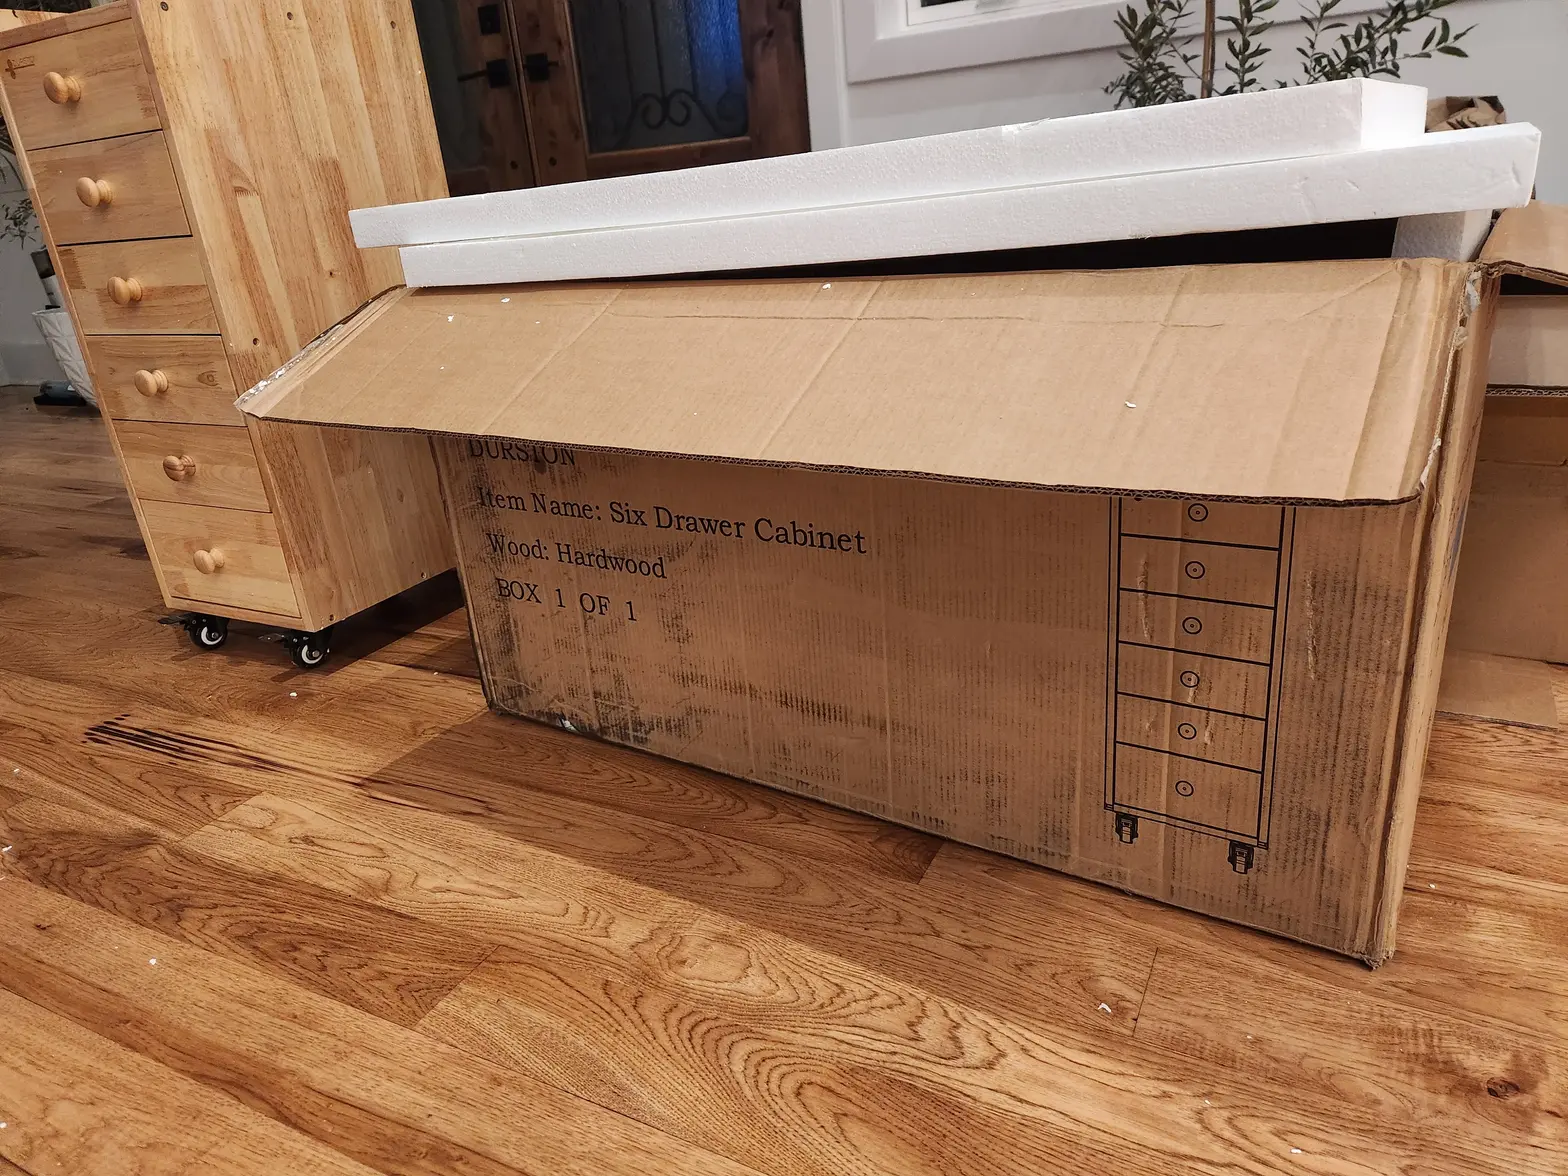
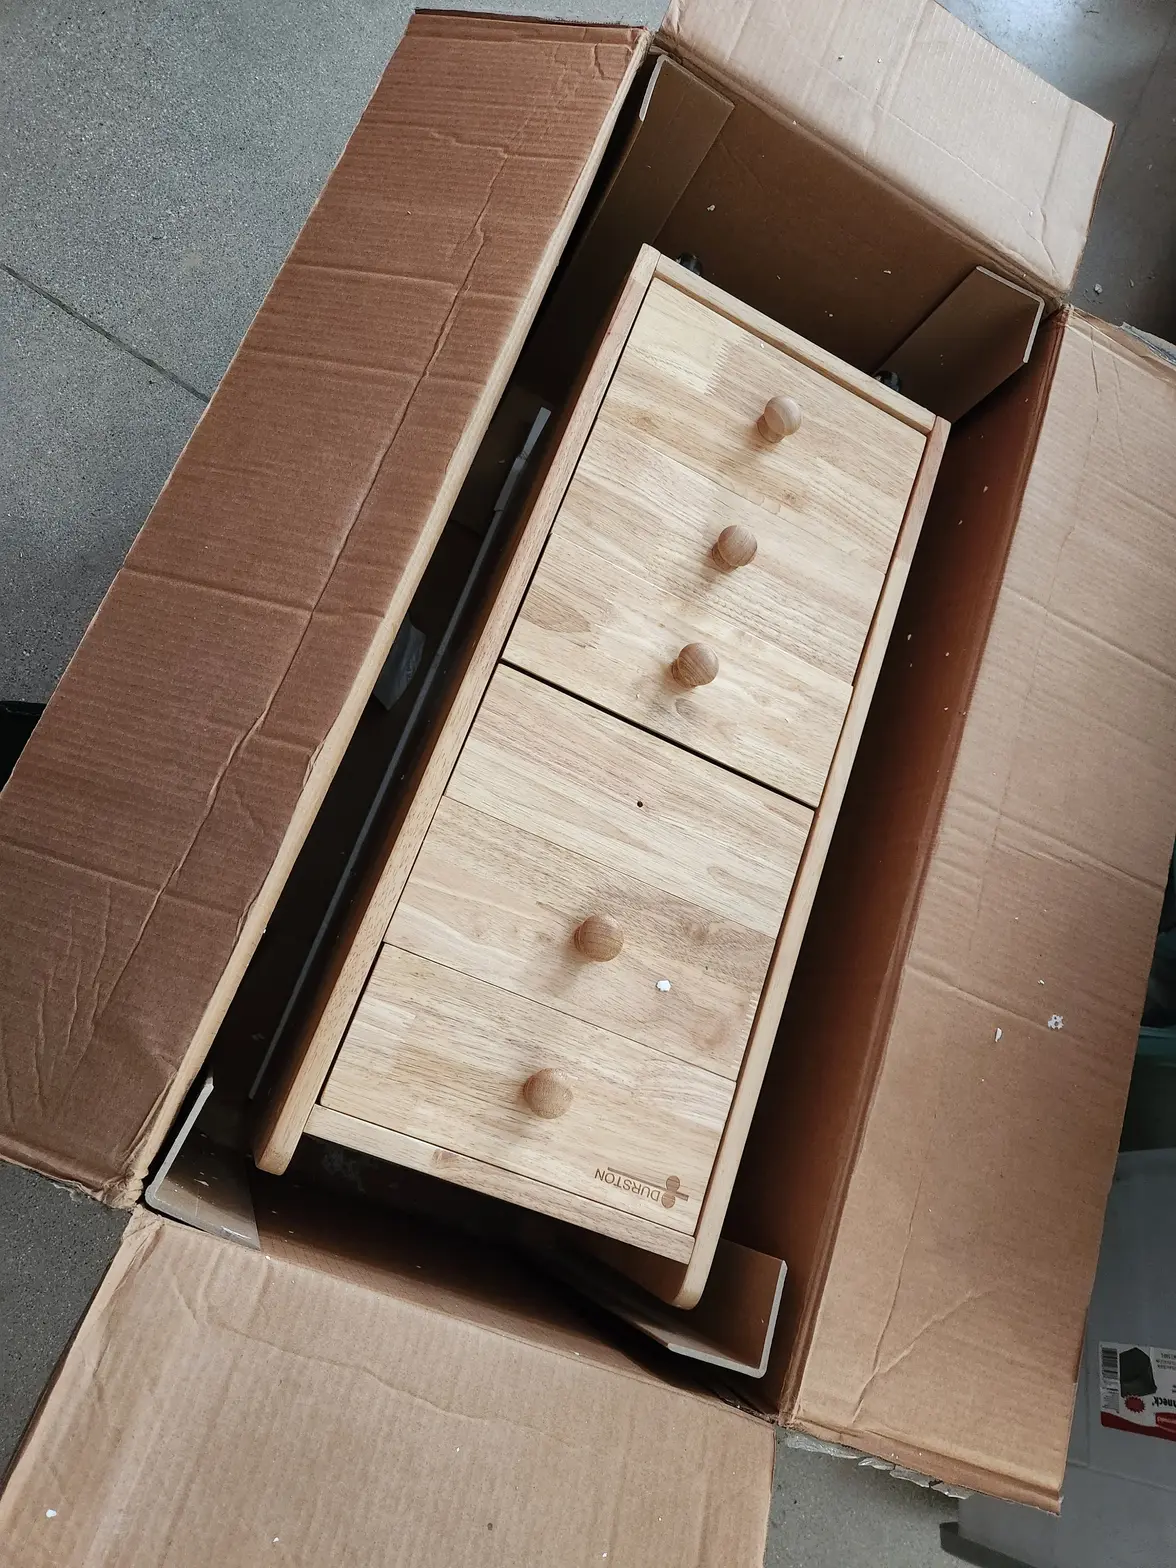
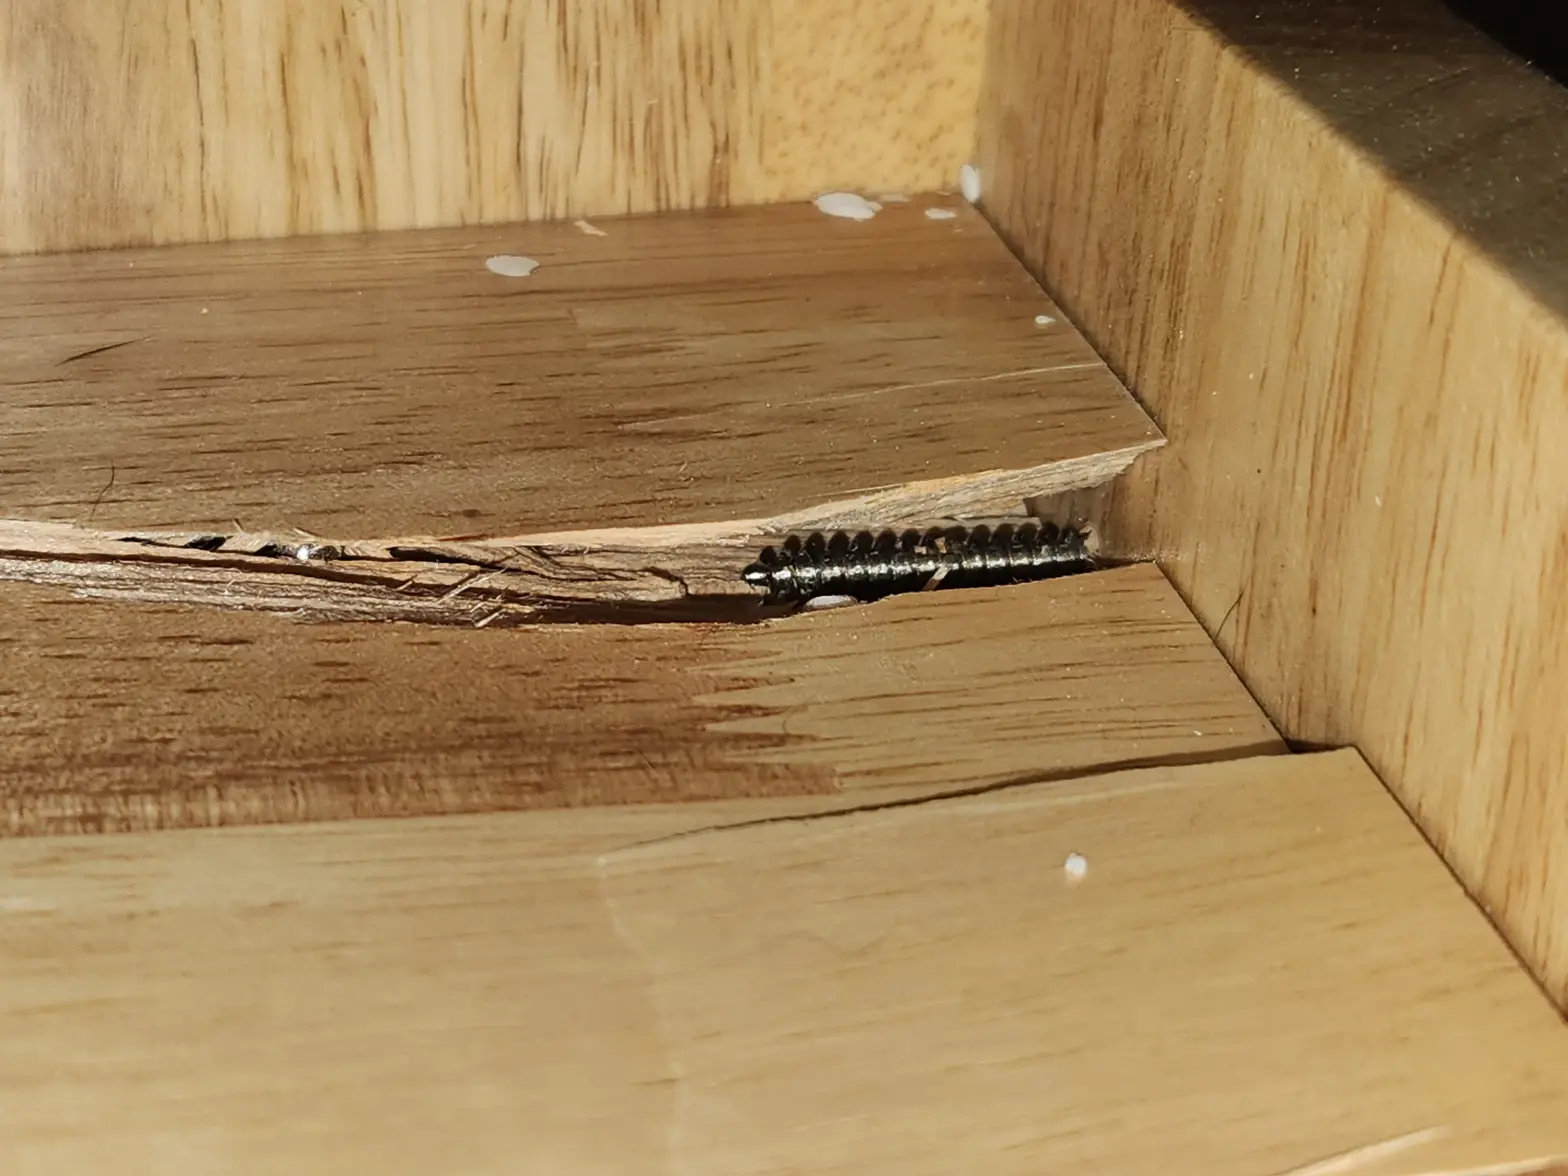
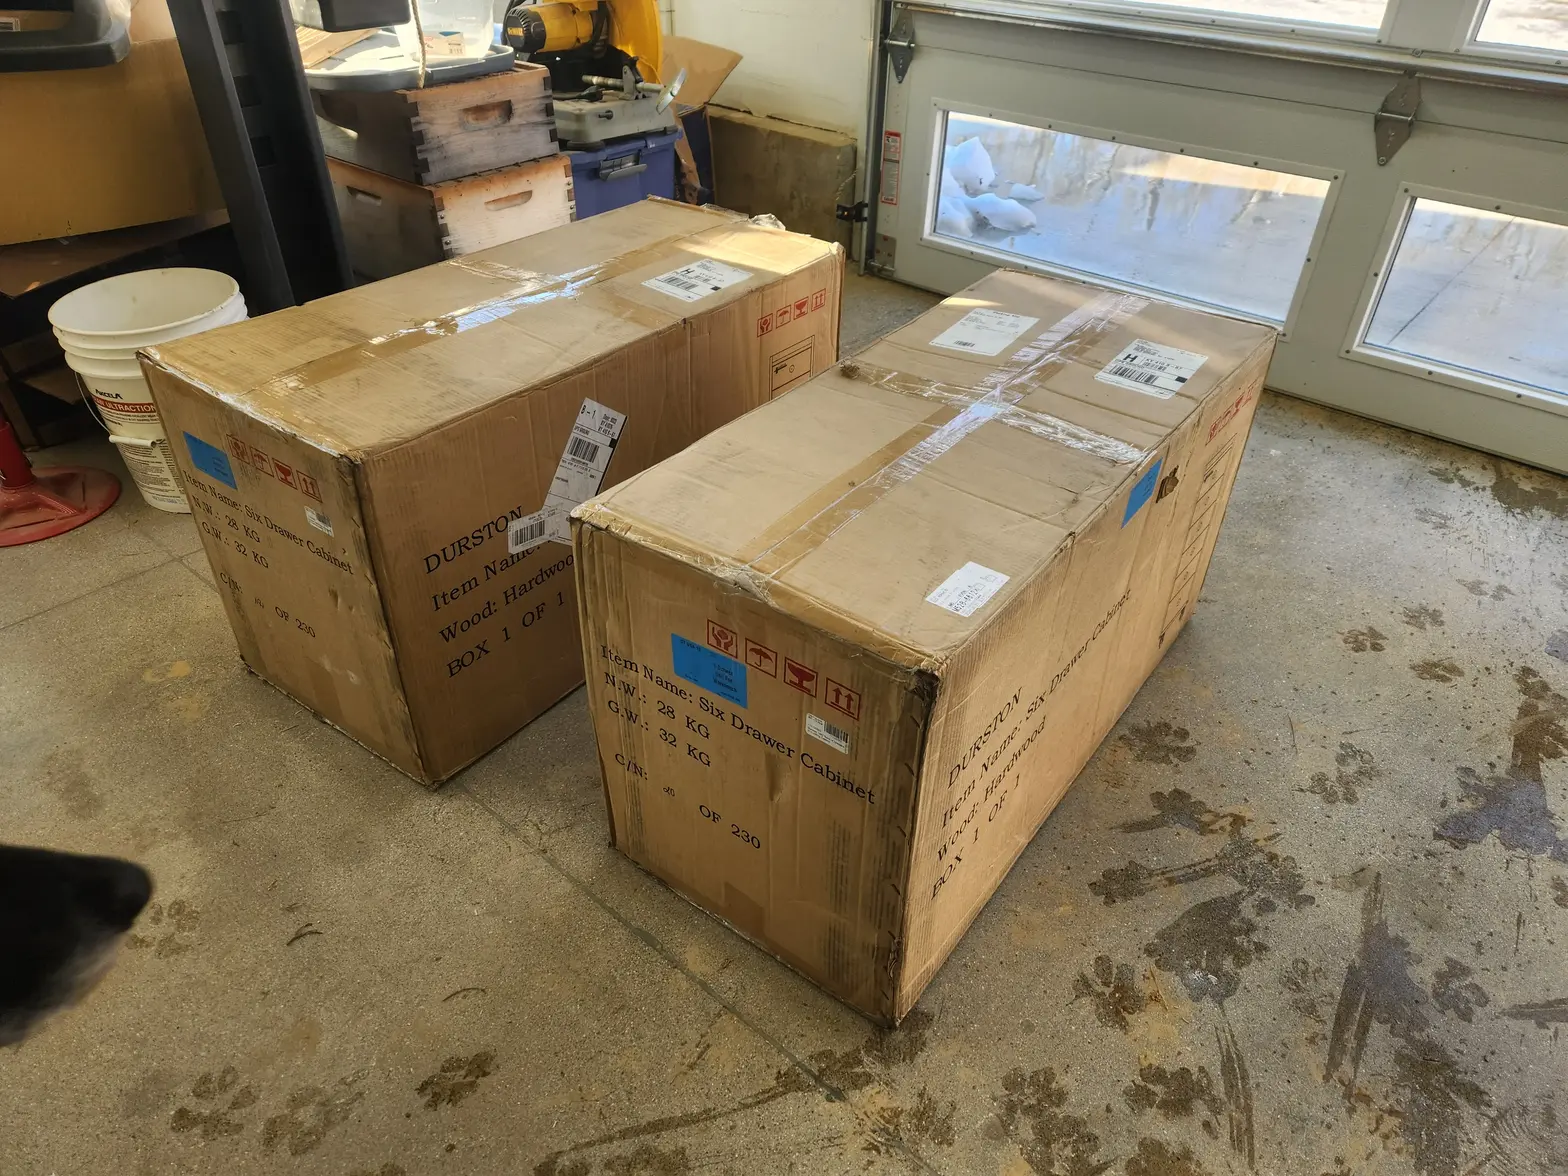
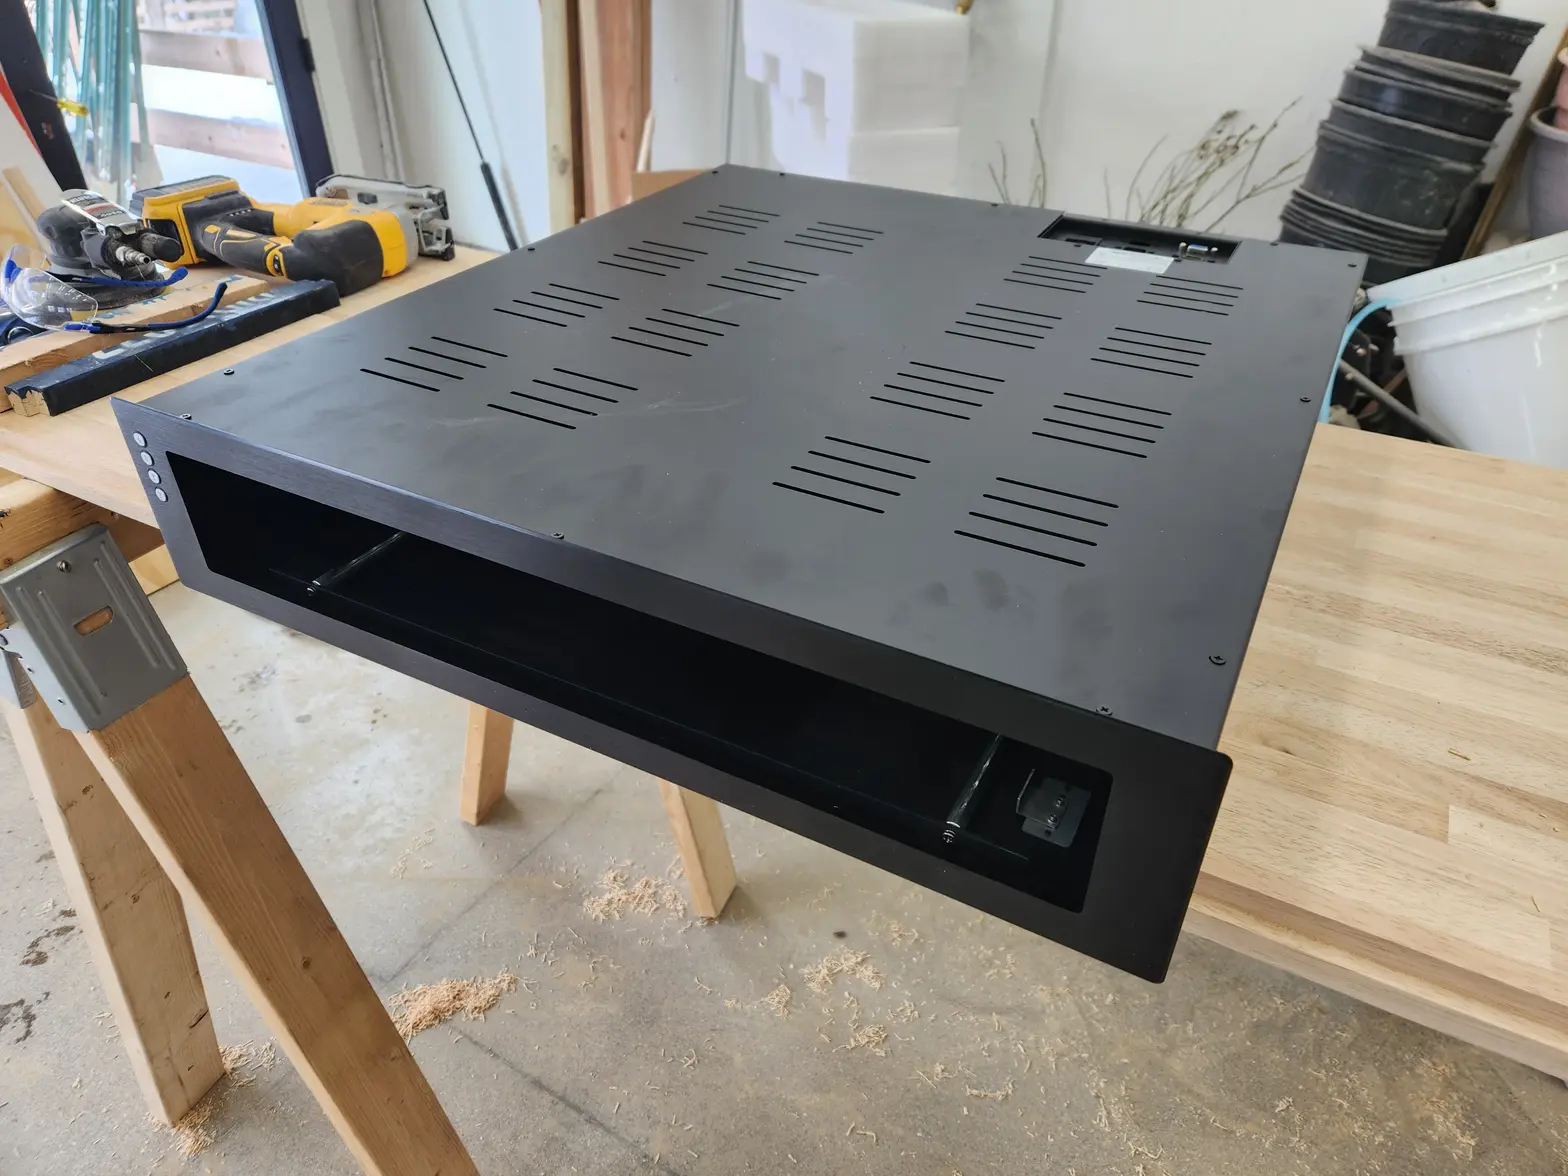
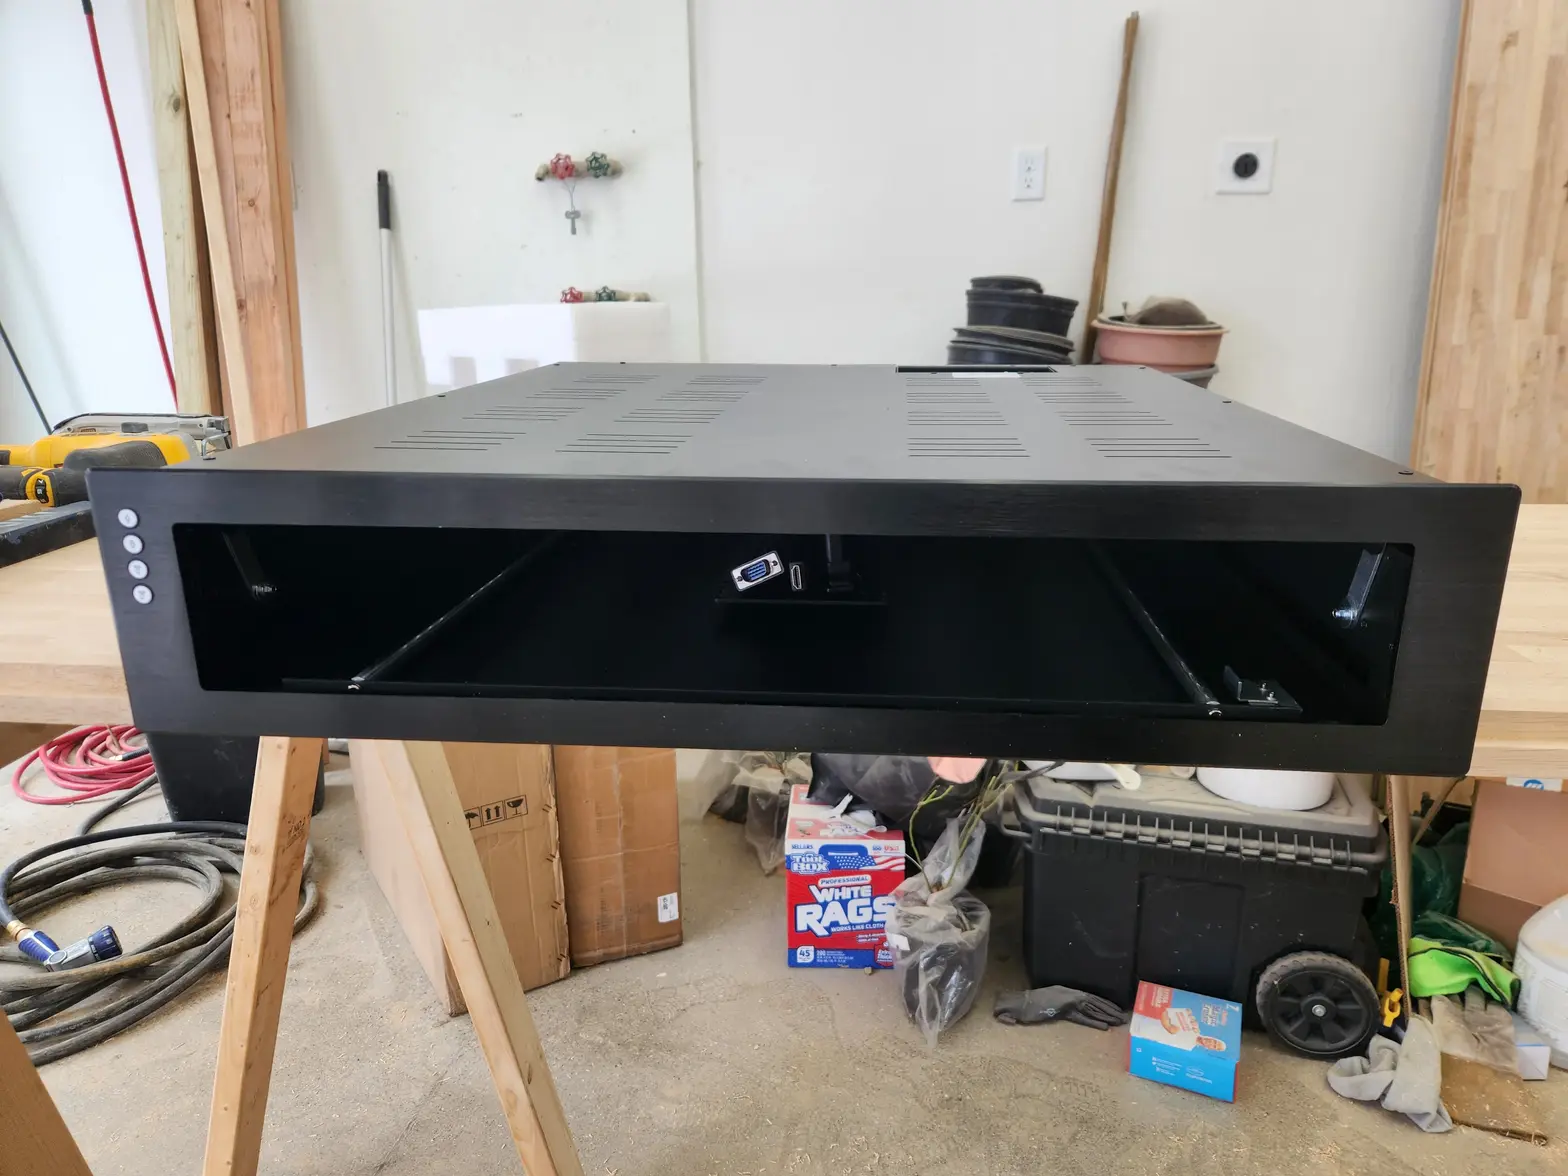
The cabinets. Durston brand name. Purchased from ofrei. Showed up broken. Not great quality. They sent free replacements. I hacked up the broken ones and attached to the bottom of the desk so they move with the desk heights. This is only thing I wish was better. The quality is VERY mid. But they work. I am not a carpenter or a cabinetmaker. So I have regrets here on these.
I will make specific posts walking through how I made this. But this is it for a first post. Feel free to ask questions, happy to answer them.
Edited:


