Hello all,
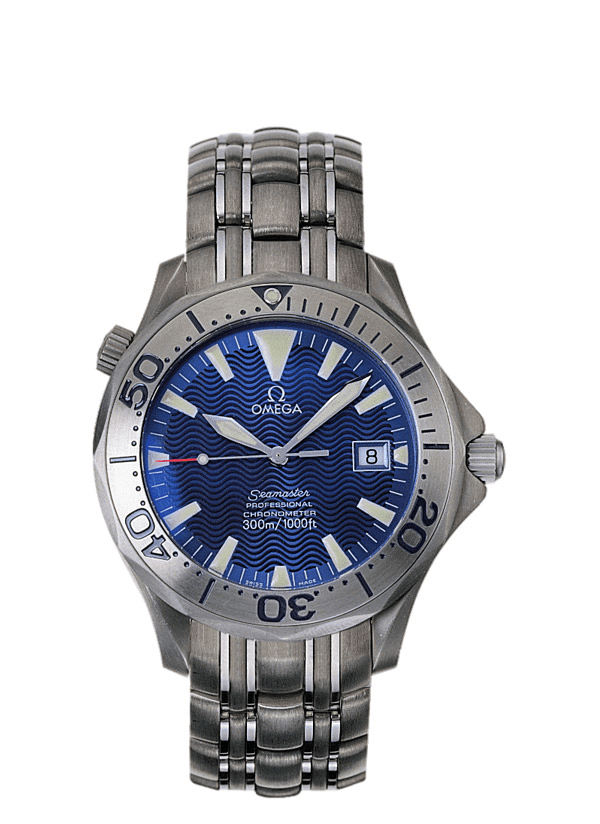
I'm Ben, new here to OF, but wanted to give back to this thread that made it possible for me to add the expanding clasp to my X-33 gen 2 bracelet. Heck, without this thread I would have never even have known Omega offered such a clasp!
So, a write-up of my experience with adding an expanding clasp to my X-33 bracelet.
I went with the stainless clasp and clasp links: I consider my watch a (nice) tool watch, and am not worried about the minor aesthetics differences between SS and Ti. And I must admit, price came into play here too 😀
Also, I purchased all my parts from Topper in late Jan 2019. This may be of relevance as you'll see a bit further on in my writings.
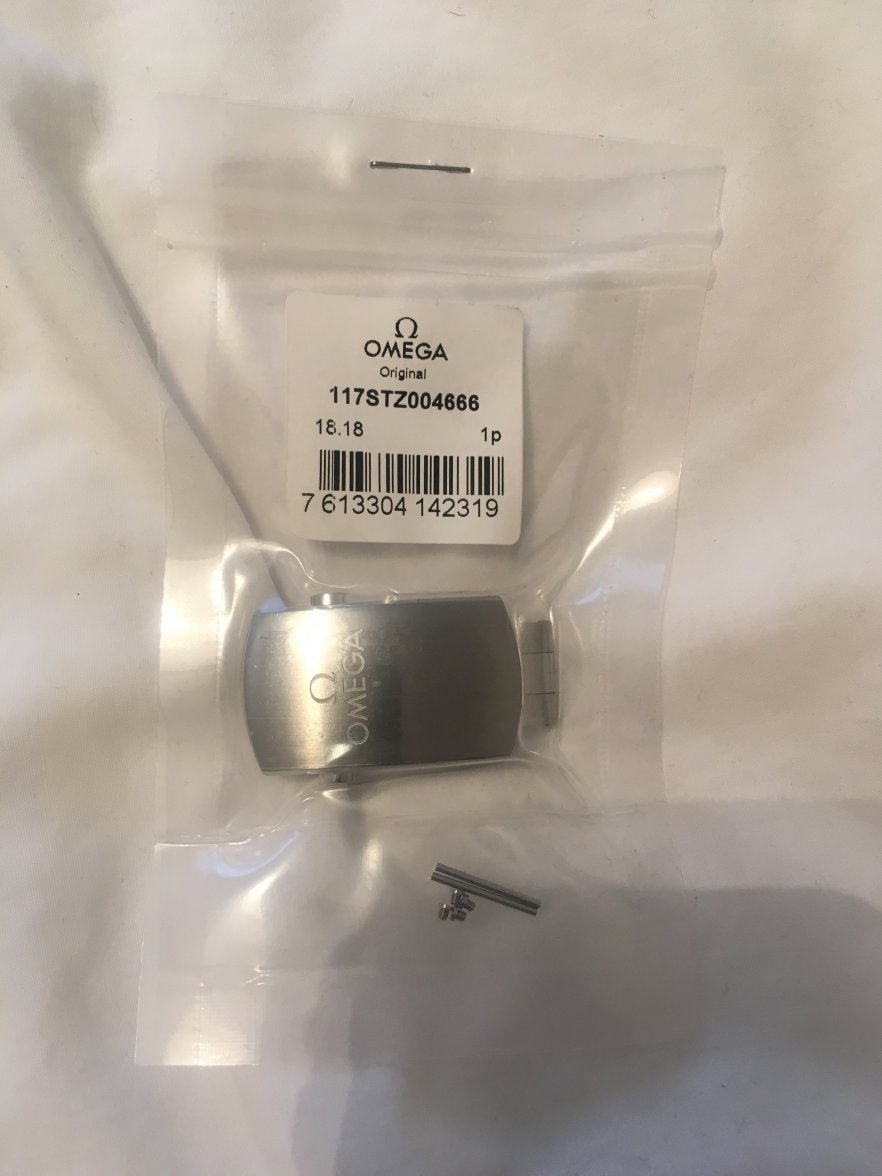
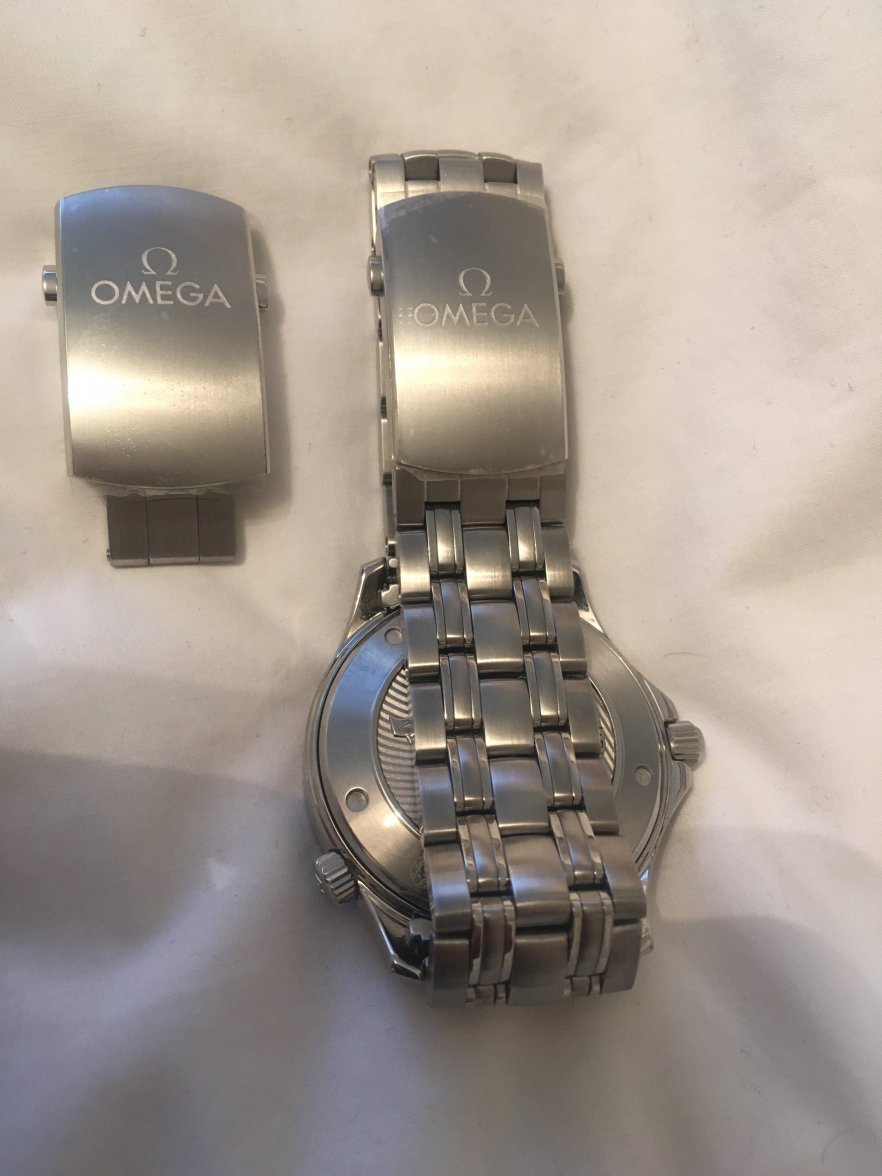
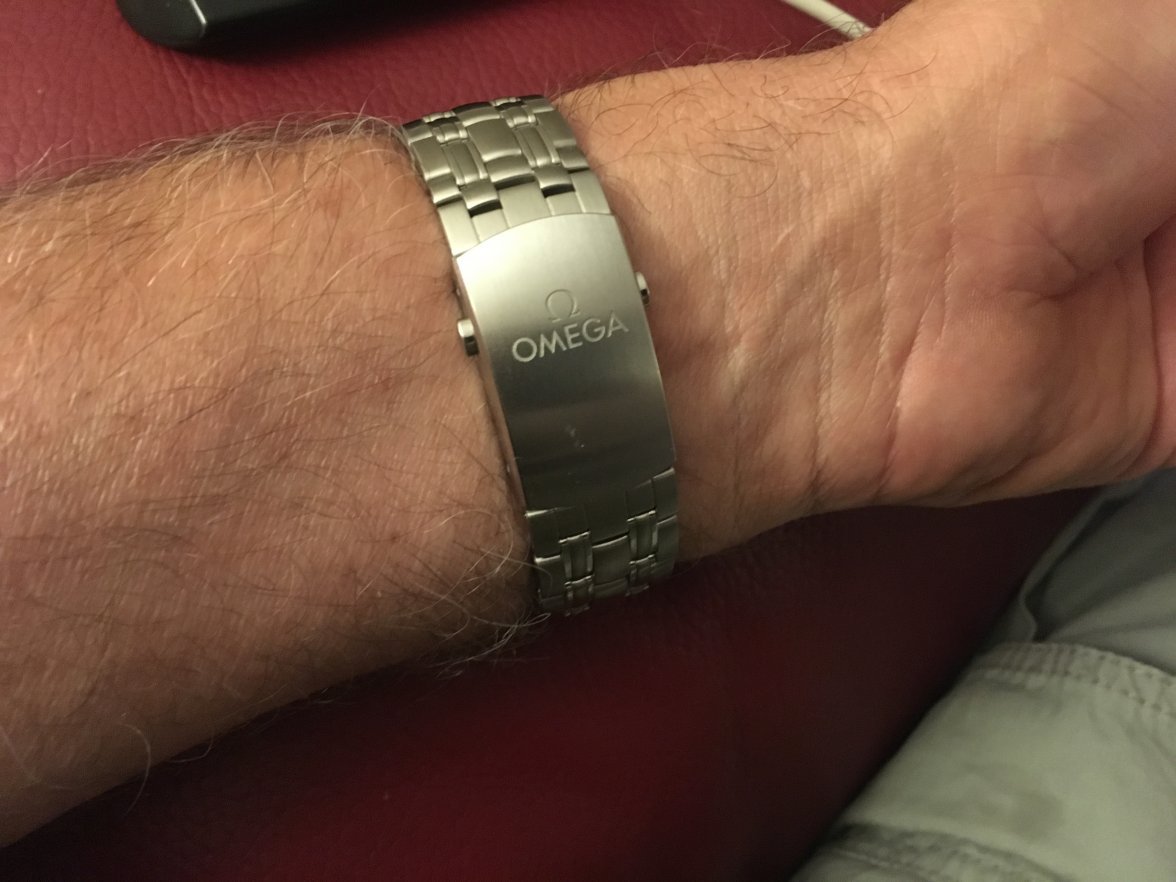
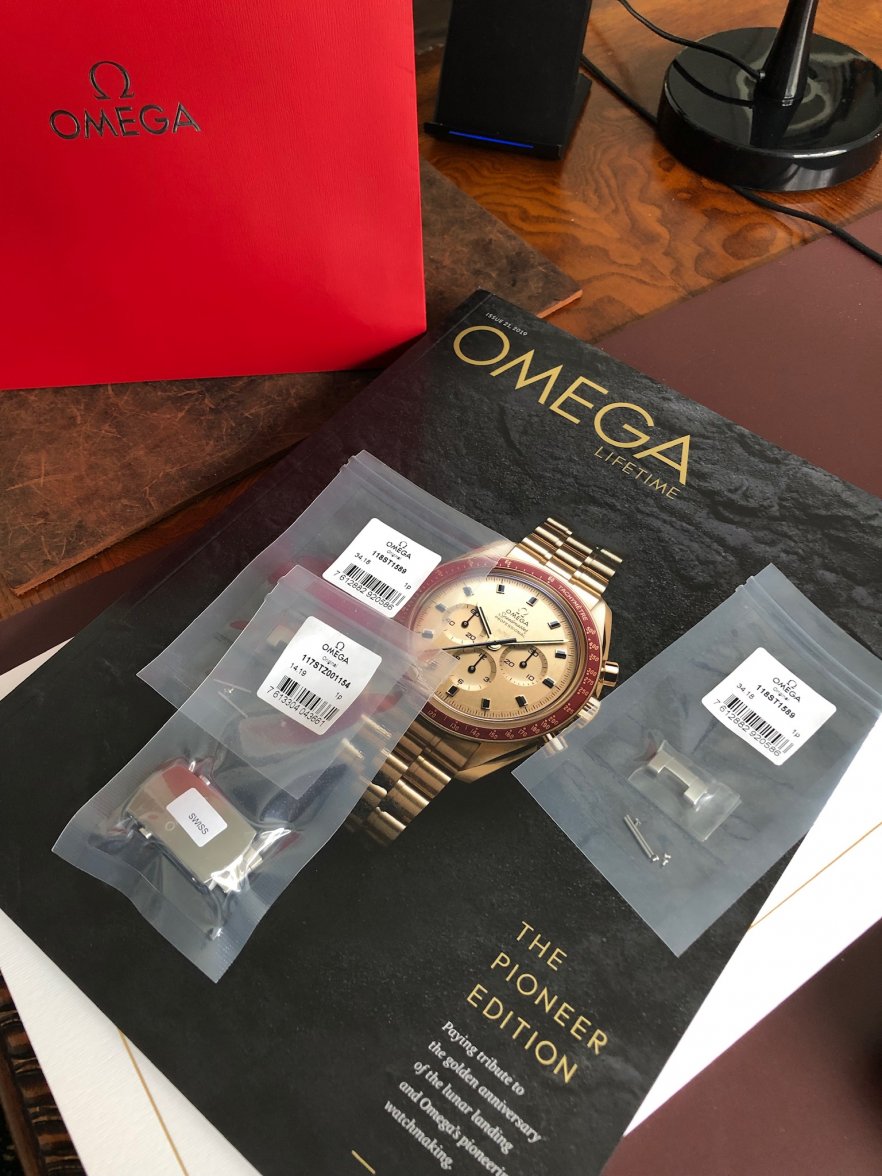
The X-33 bracelet is 20mm at the lugs and 18mm at the clasp (and of typical Speedy Pro design). Therefore I went with part number "117STZ004666" for the clasp. This stainless clasp is meant for a 20mm bracelet width at the clasp; it looks great on my 18mm bracelet IMHO. Doesn't hang over the sides in any significant manner, just looks like it belongs there.
Something to note, and may be related to the source of the parts and/or it being 2019 when the parts were ordered: The clasp came with two pins and 4 screws. In the past I believe the clasp came with no pins or screws. That was my assumption when I ordered my parts, at least.
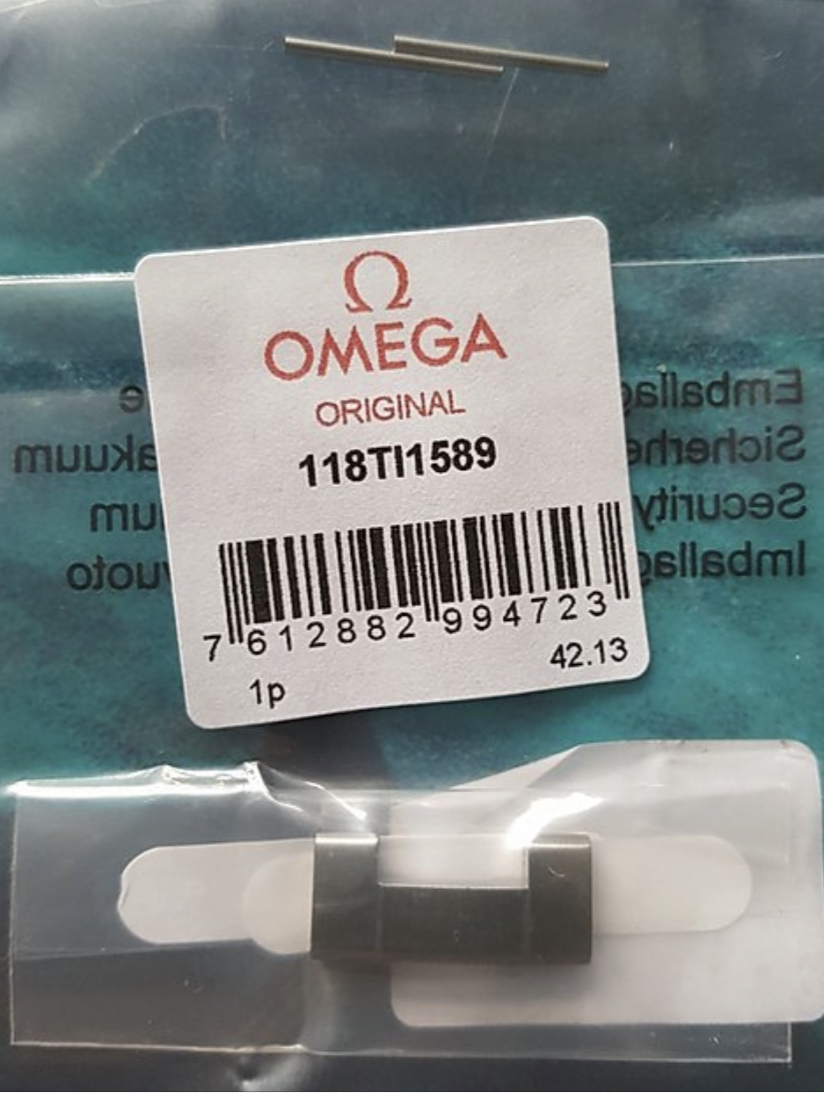
For clasp links, I ordered two of part # "118ST1589". Both of these clasp links shipped with two pins and 4 screws. It was my understanding the clasp links each shipped with only 1 pin and 2 screws.
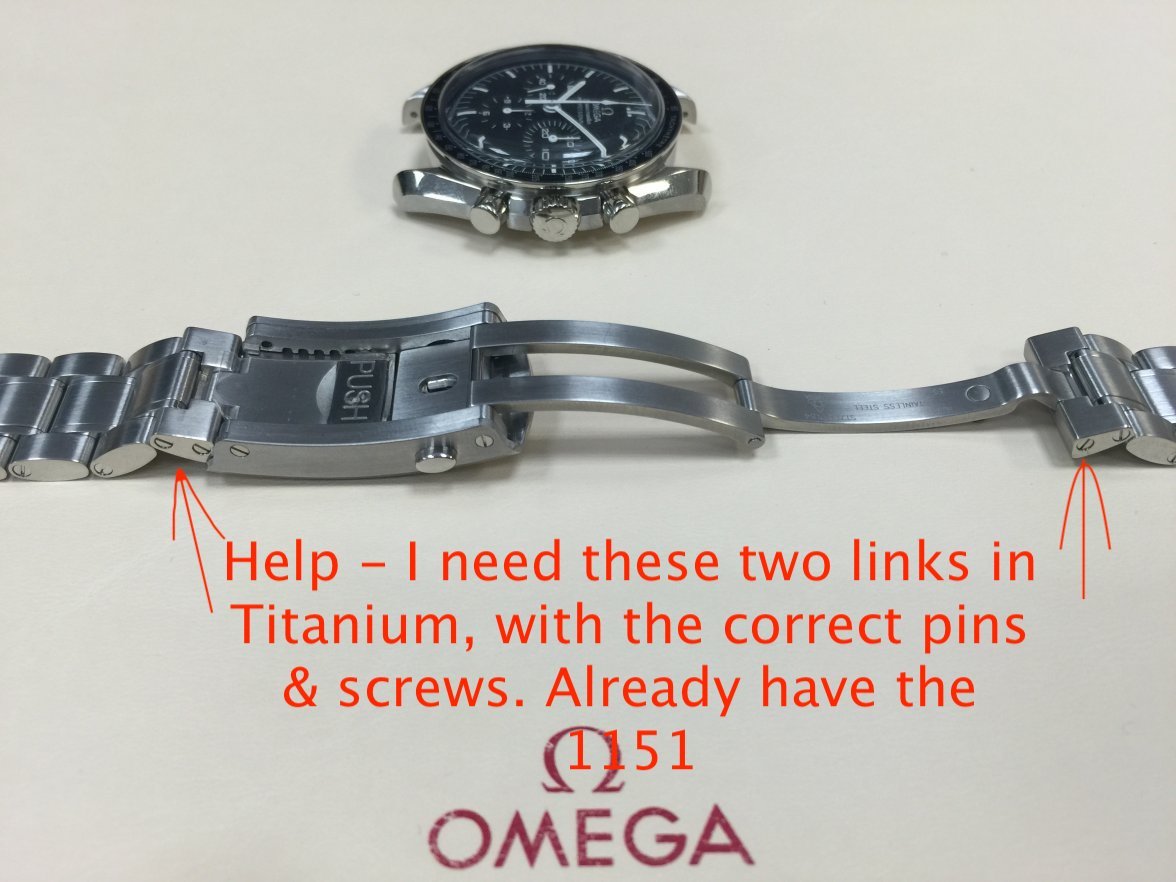
Also, these clasp links are 18mm wide, and so attach to my bracelet precisely.
Using a proper push pin and brass hammer, I removed the pin-and-sleeve link connectors on both of my original clasp links. I then attached each new clasp link to the ends of my bracelet using 1 screw; putting the pin thru from the other side; then put the other screw in on the side I put the pin in. I used a Bergeron screwdriver #160, the purple-marked one. With sharp tip, the screwdriver fit the screws with zero play or slop. Also, I used clear nail polish as my "thread locker", putting a dab on the threads as I got the screw almost screwed down. That should give just a bit of hold between the screw heads and the links, and be easy enough to break the screw free should I need to.
Then, using the same method of attaching the clasp links I attached those links to the clasp ends proper. Worked like a champ, and all parts were now successfully installed.
A word on bracelet length and the new clasp: I like to wear my bracelets so the watch does not flop around at all when worn. Basically no slack whatsoever. With that in mind, I removed a full-size link from my bracelet before attaching the clasp. This left me with 2 full-size links on one end, and 1 full-size link + 1 half-link on the other.
After I got it all together and tried it on, I discovered two things. First, the bracelet had too much slop (read, any at all) for my preference when the clasp adjustment was all the way in. So the half-link was pulled out, and the bracelet now fits at the middle adjustment point just fine in moderate household temperatures. And outside, where it's currently 34°F and snowing, the watch fits fine with the adjustment pulled all the way in.
The second thing I discovered was that, having now just an odd number (3) full-length links to work with, the clasp centered up better with there being 2 links on the side that slides out of the clasp when extended, and the remaining single full-size link on the static side of the clasp.
This type of link arrangement should translate to any situation where you have an odd number of links. Just put 1 more link on the clasp end that extends as compared to the static end.
Also, for those who like a little more slack in their bracelet fit, I strongly recommend the swap of a full-size length with a half link. This same advice has been given before and that was why I left my half link in initially. But again, I like my bracelets snug, so the half link had to also go.
Oh, and a word on all the parts I ordered. In addition to the clasp and clasp links, I ordered 2 more pins and 4 more screws. According to what I had read in the thread, these extra parts were required because of how many pins and screws (or lack thereof) shipped with each piece. However, as of this writing all 3 pieces came with more pins and screws than they had in the past. As a result I had 2 pins and 4 screws left over from just the three parts alone; add in the additional pins and screws I bought, and I ended up with 4 extra pins and 8 extra screws. Good to have spare parts, tho! 😀
And that's my write-up. Hope this will be of help to others that try this same modification to their watch. Thanks for reading! And take care.
-Ben
