Forums Latest Members

Basic watchmaking tips - replacing a balance staff

  1. ExpiredWatchdog Jul 1, 2020

    Posts
    548
    Likes
    645
    Thanks for taking the time to answer. I deduced the need to keep the wheel phasing as close to original as possible for the reasons you mention. I find it interesting that you use the stud as a reference; I would have thought it would be the most unreliable choice due to the possibility of the spring changing shape when removing or reinstalling. But I suppose a good watchmaker doesn't have that problem. The larger radius gives you more sensitivity in measurement.

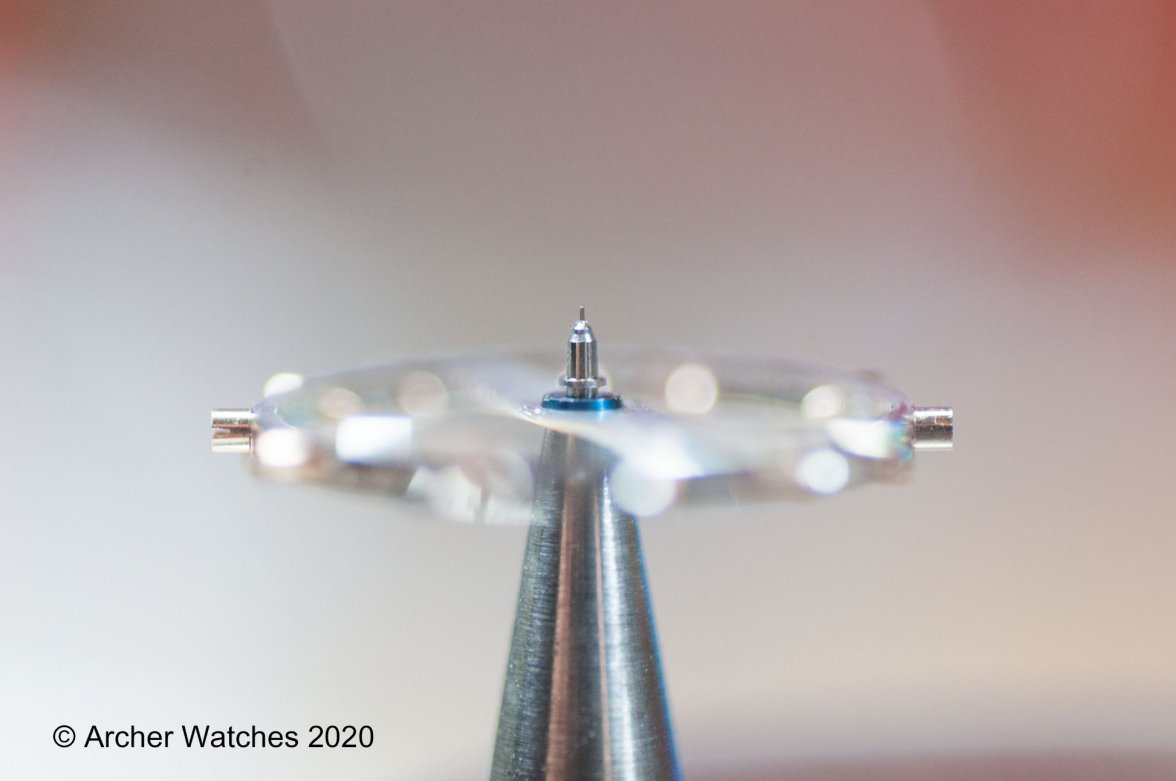
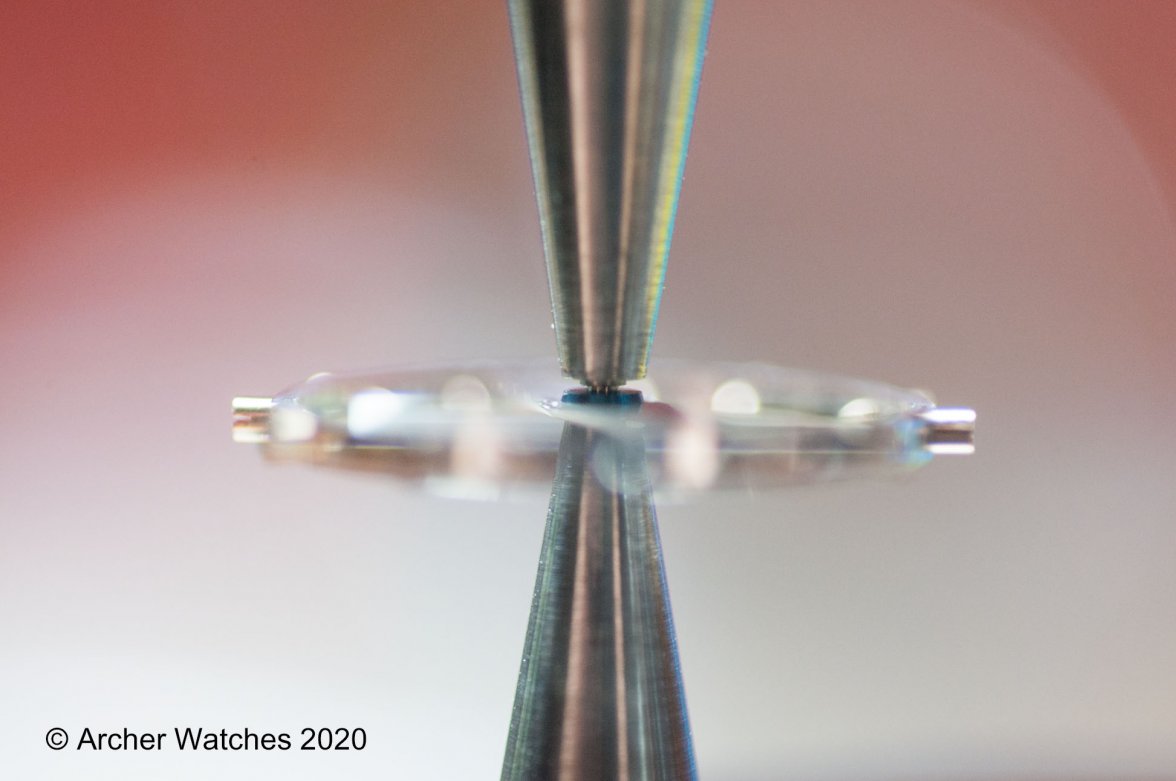
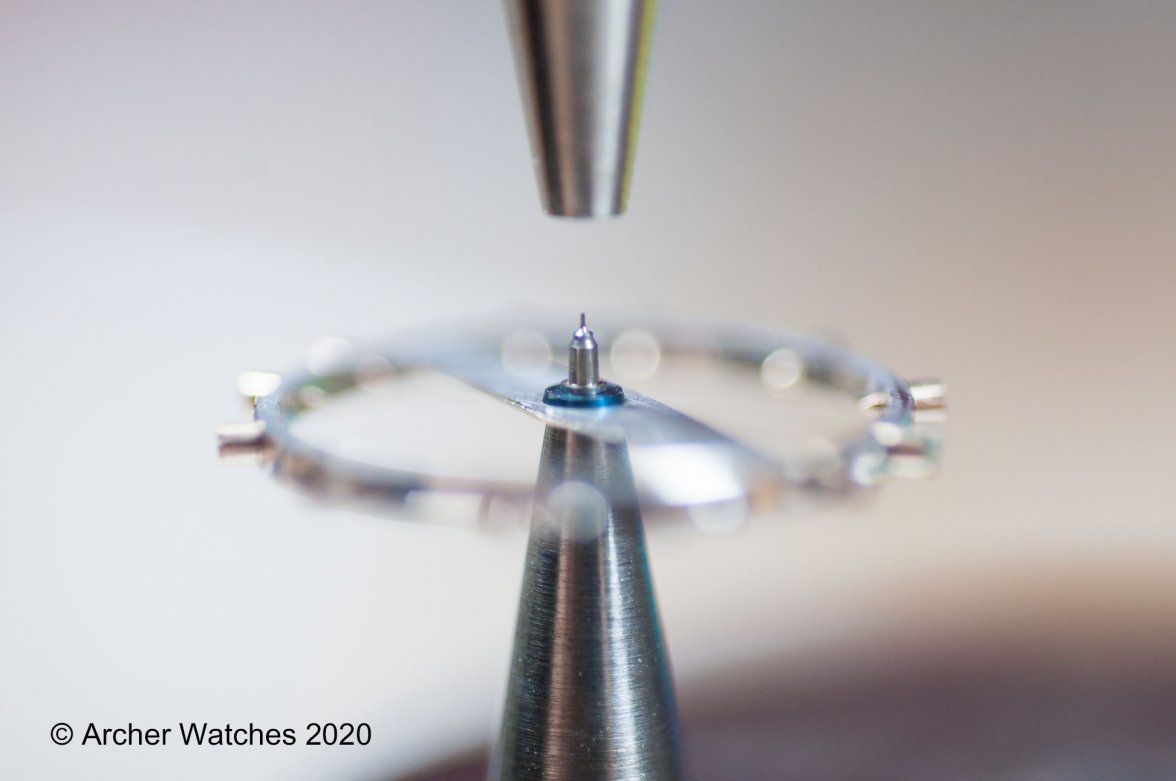
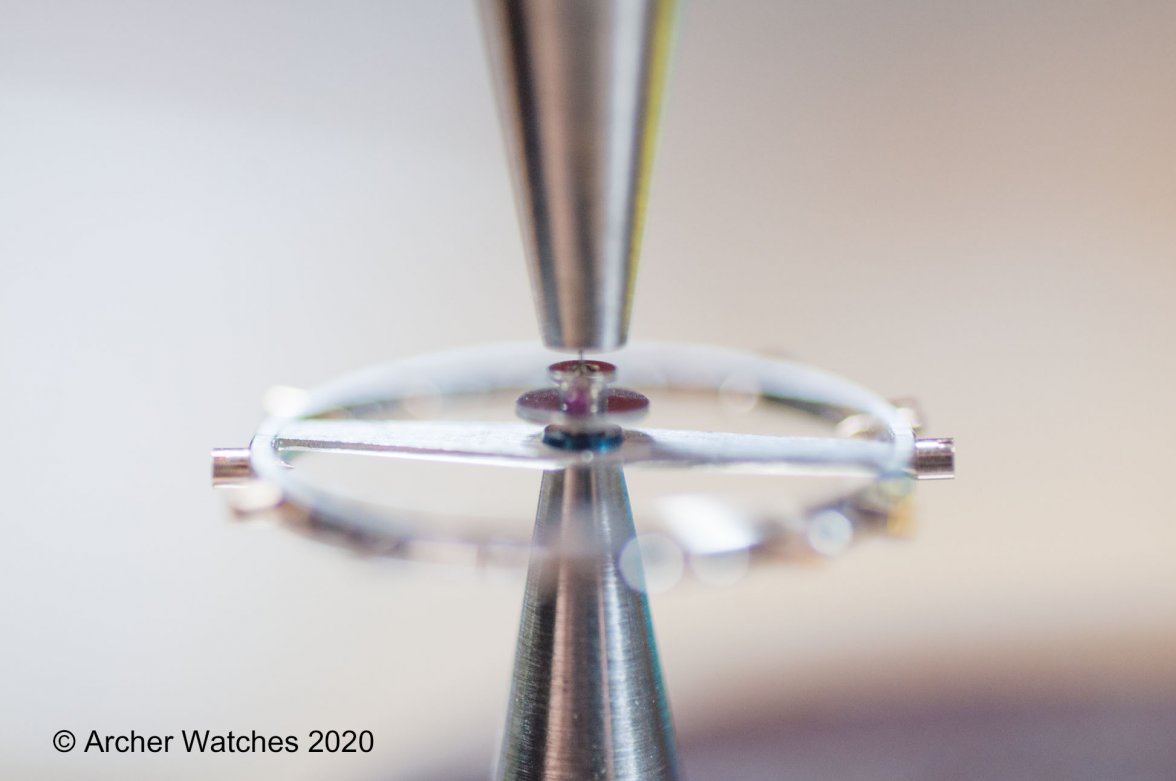
    Another question if you don't mind, you chose to put timing washers on opposite sides.Since the balance wheel has timing screws, it's a split bi-metal design, isn't it? What's the best location to put timing washers on to minimize the temperature variance? My guess is halfway between the fixed and floating ends of the rim segments as it's the place that's least likely to move upon temperature differences.
     
    Edited Jul 1, 2020
  2. Archer Omega Qualified Watchmaker Jul 1, 2020

    Posts
    26,463
    Likes
    65,602
    It’s not a split balance.
     
  3. ExpiredWatchdog Jul 1, 2020

    Posts
    548
    Likes
    645
    Thanks, I learn more every day.
     
  4. Archer Omega Qualified Watchmaker Jul 2, 2020

    Posts
    26,463
    Likes
    65,602
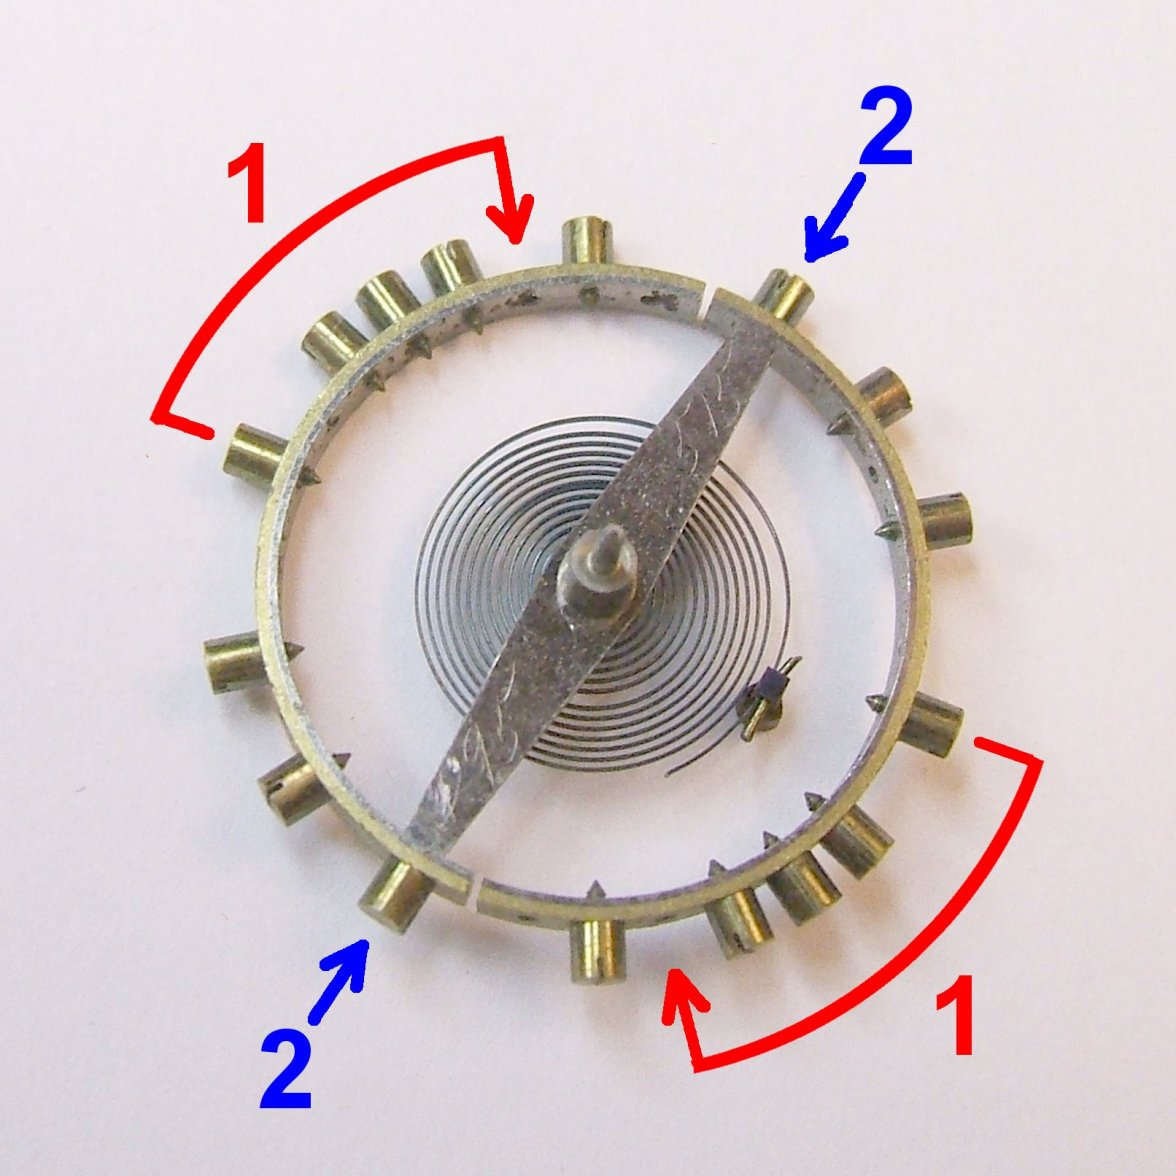
    So the first adjustment I made was just to slow the watch down, and that was installing two timing washers directly opposite each other. On a split balance you would do this on the screws that are right on the balance arms - those are the timing screws as shown here as "2":

    Pocket_Watch_Balance_Wheel.jpg

    Image from Wiki

    The others if you change those, you change the temperature compensation of the balance, so poising a balance like this gets tricky, as you don't want to change it too much for basic poising, as that will make a change to temperature compensation as well. This is why this type of balance was abandoned once more stable materials were found.
     
  5. ExpiredWatchdog Jul 3, 2020

    Posts
    548
    Likes
    645
    Thanks for the more detailed explanation. Today I was thinking about your original post and thought "Duh, how many macro shots did I need to look at to see that it wasn't split". Double Duh.

    I was going to award myself the "Master of the Obvious" badge over on WUS but then they removed that functionality. Mods, if you what to hand out tag-lines, I'll wear that one with pride.
     
    YY77 likes this.
  6. Archer Omega Qualified Watchmaker Jul 6, 2020

    Posts
    26,463
    Likes
    65,602
    So in my first post I mentioned that there are staffs that are not riveted, but fit into the balance by friction. I posted an image of the arrangement used by Waltham, but they were not the only makers to use this method of fitting staffs. To the best of my knowledge, this style of fitting staffs was used by US companies, and not really by others. I don't ever recall seeing or hearing of a Swiss company that used friction fits staffs for example - maybe there are but again it has never come to my attention.

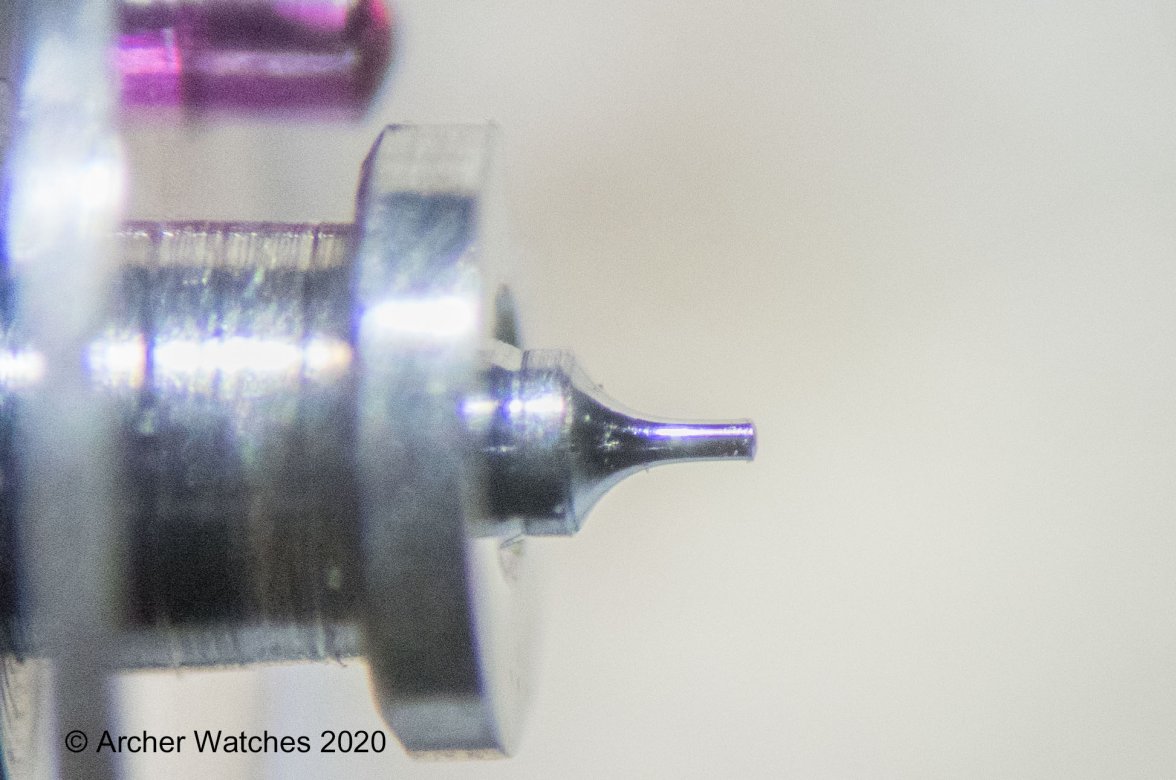
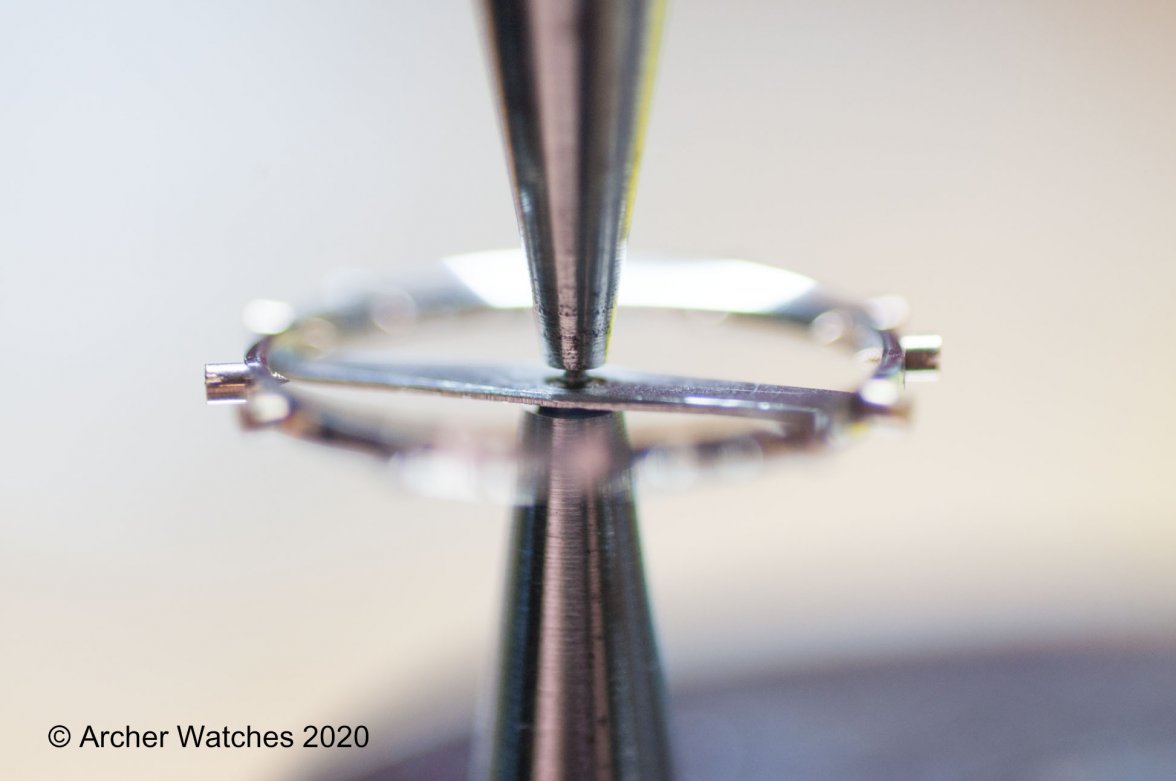
    I don't really work much on US pocket watches, so I don't often do this kind of staffing, however a watch with a Hamilton movement did come in for service and the staff was less than perfect:

    921 staff1.jpg

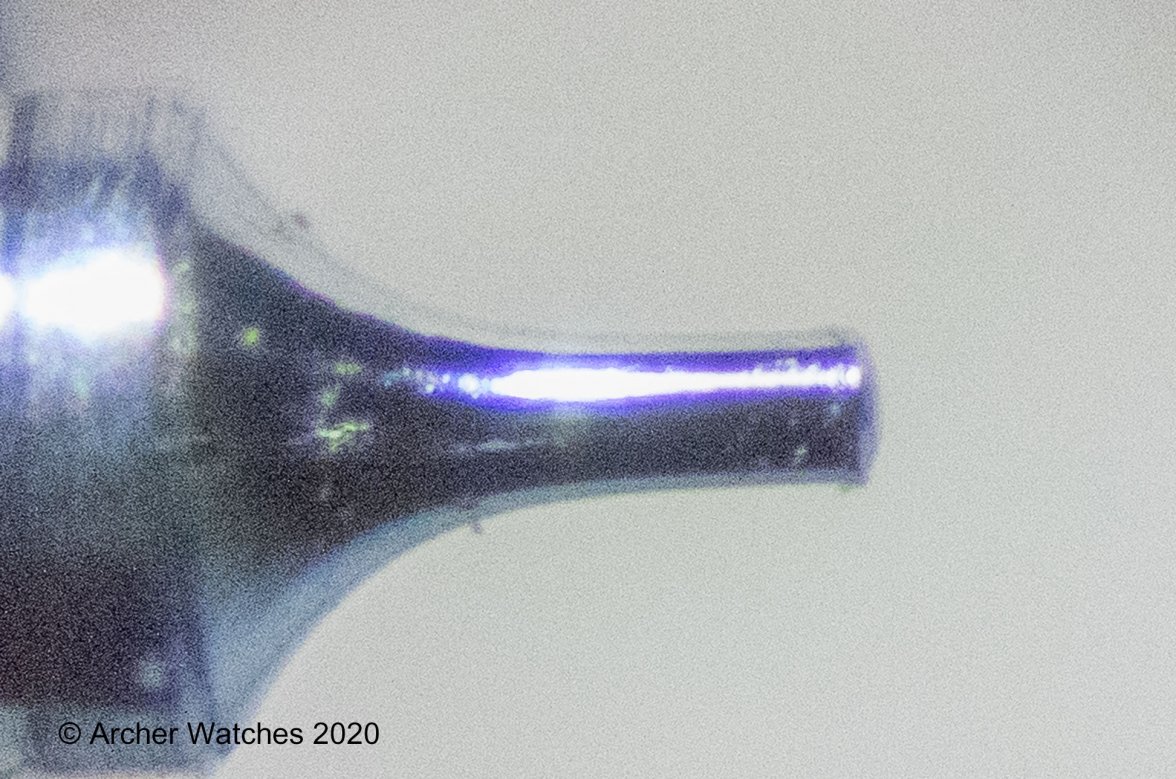
    Closer look:

    921 staff2.jpg

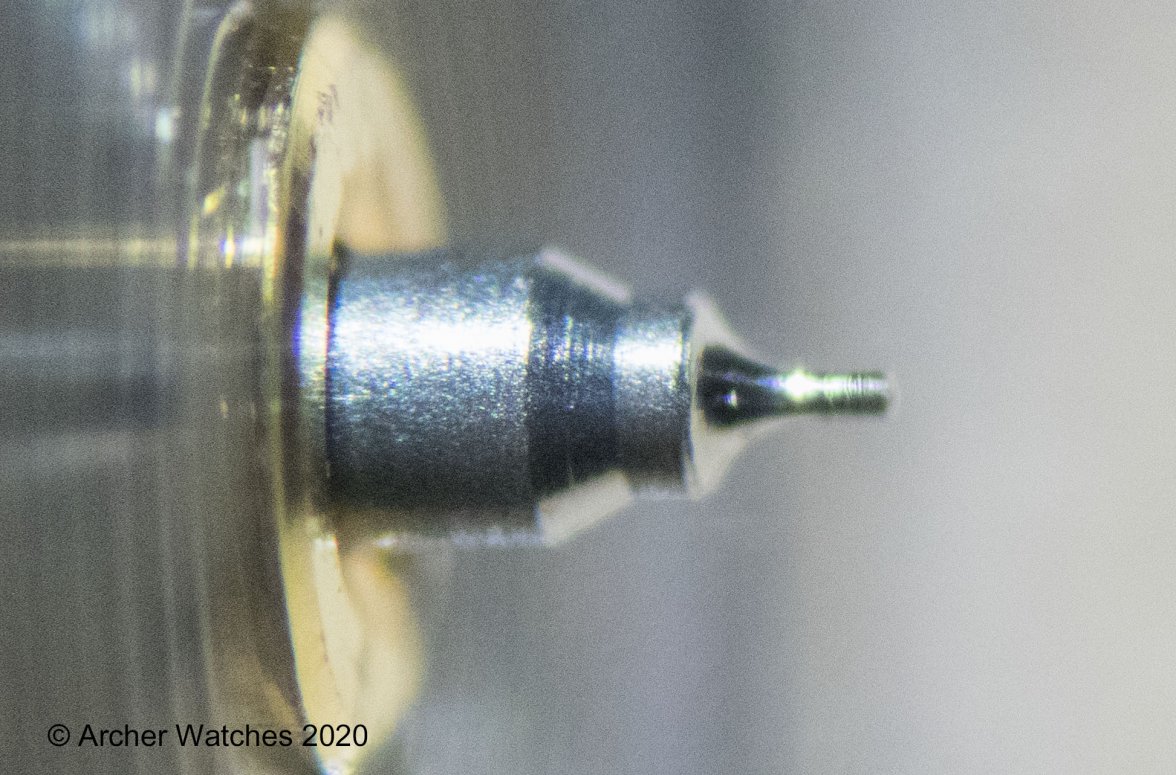
    The other side was worse:

    921 staff3.jpg
    921 staff4.jpg

    So the job starts out like any other staff replacement - I remove the balance spring and roller table, after marking their positions:

    921 staff5.jpg
    921 staff6.jpg
    921 staff7.jpg
    921 staff8.jpg

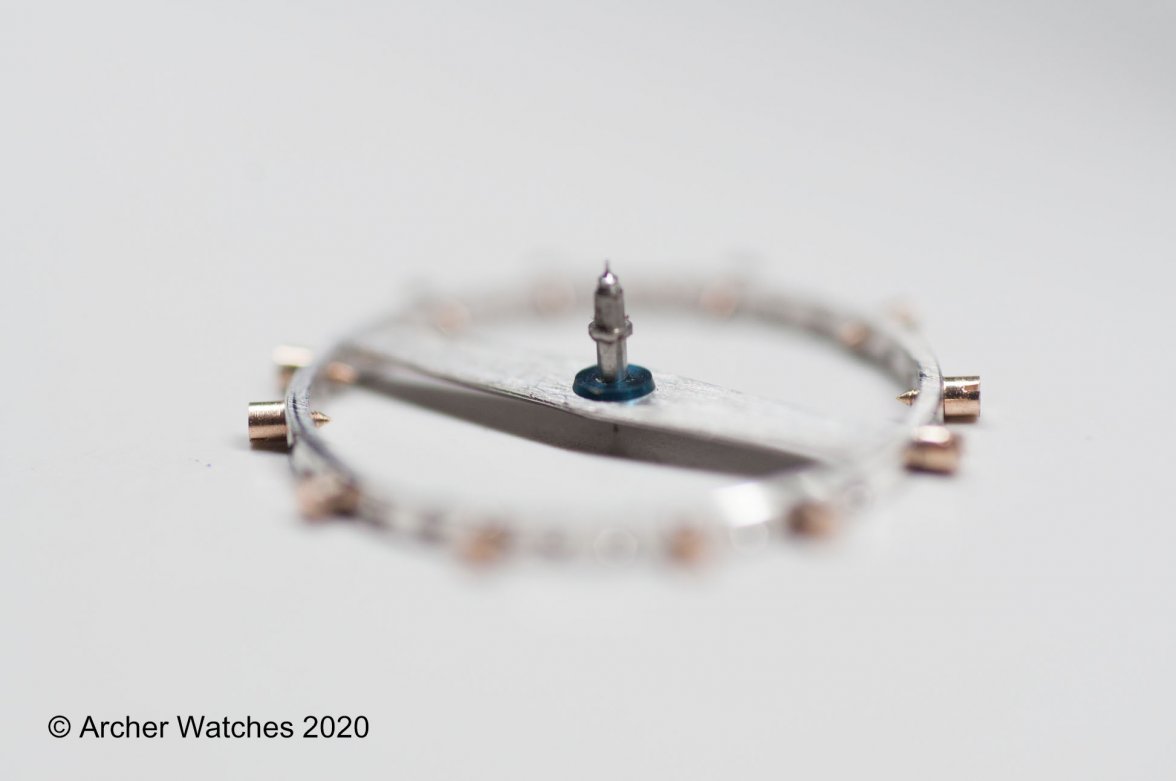
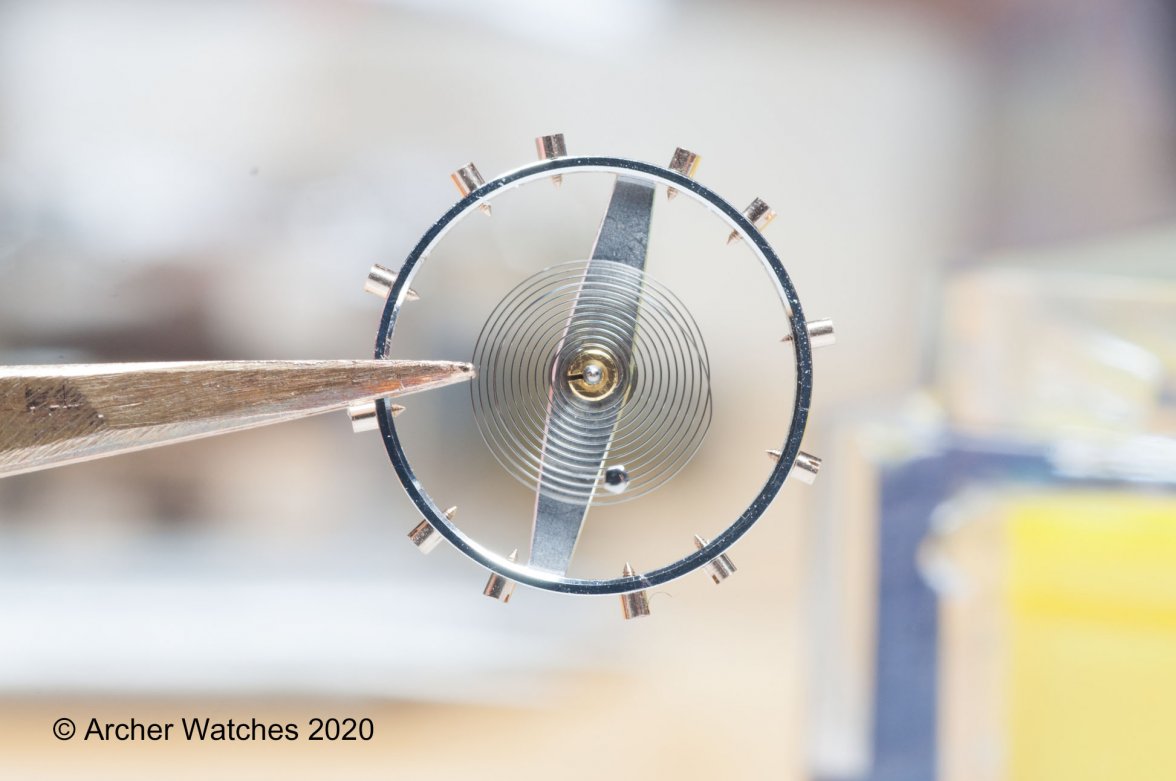
    So looking at the balance, you can see that there is a blued steel hub, and the staff goes through this hub:

    921 staff9.jpg

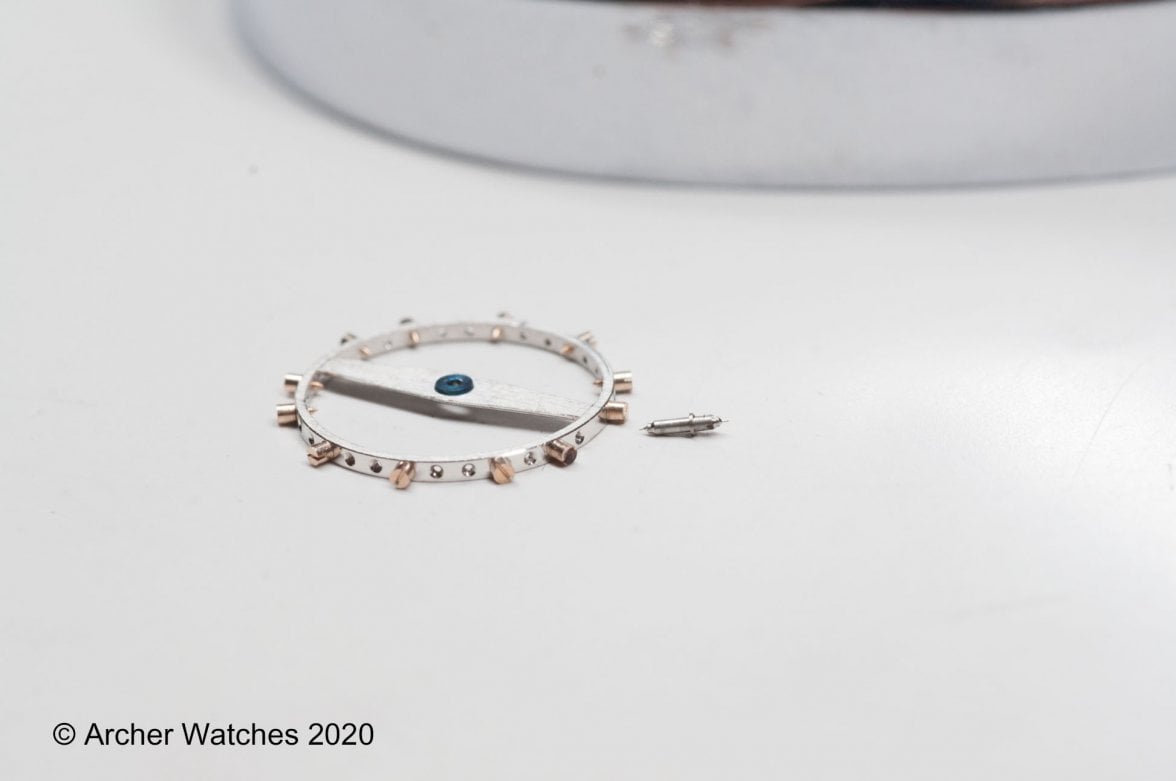
    The hub stays in the balance, and the staff is removed from the hub. I get out the staking set, and select the stumps and punches carefully so that the staff will go through, and the hub is fully supported:

    921 staff10.jpg

    I then used a punch to press on the staff, but not on the pivot:

    921 staff11.jpg

    Small taps with the hammer (very small) are enough to drive this out:

    921 staff12.jpg

    I'ce not fully removed it so you can see more detail of how the staff and hob go together:

    921 staff13.jpg

    921 staff14.jpg

    So I'll carry on in the next post with the installation...
     
  7. Archer Omega Qualified Watchmaker Jul 6, 2020

    Posts
    26,463
    Likes
    65,602
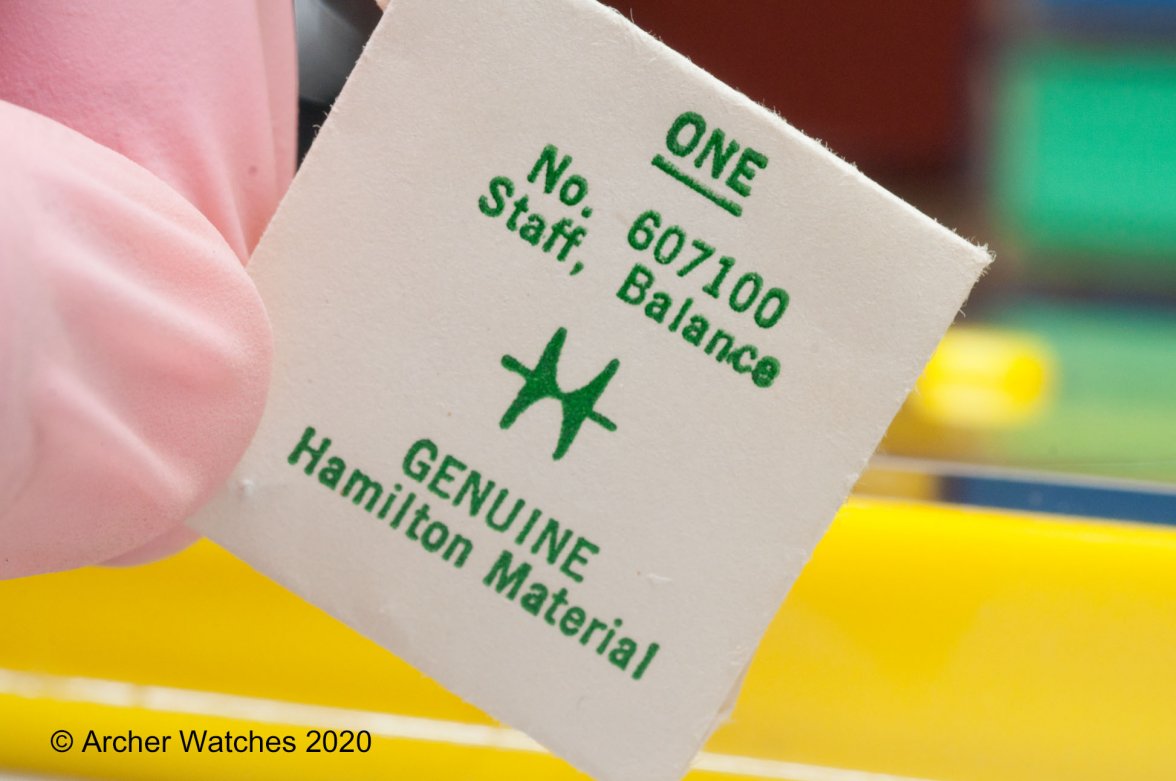
    So here is the new staff, original Hamilton staff:

    921 staff15.jpg

    Nice of Hamilton to make the staff the same for all these grades of 10 seized movement:

    921 staff16.jpg

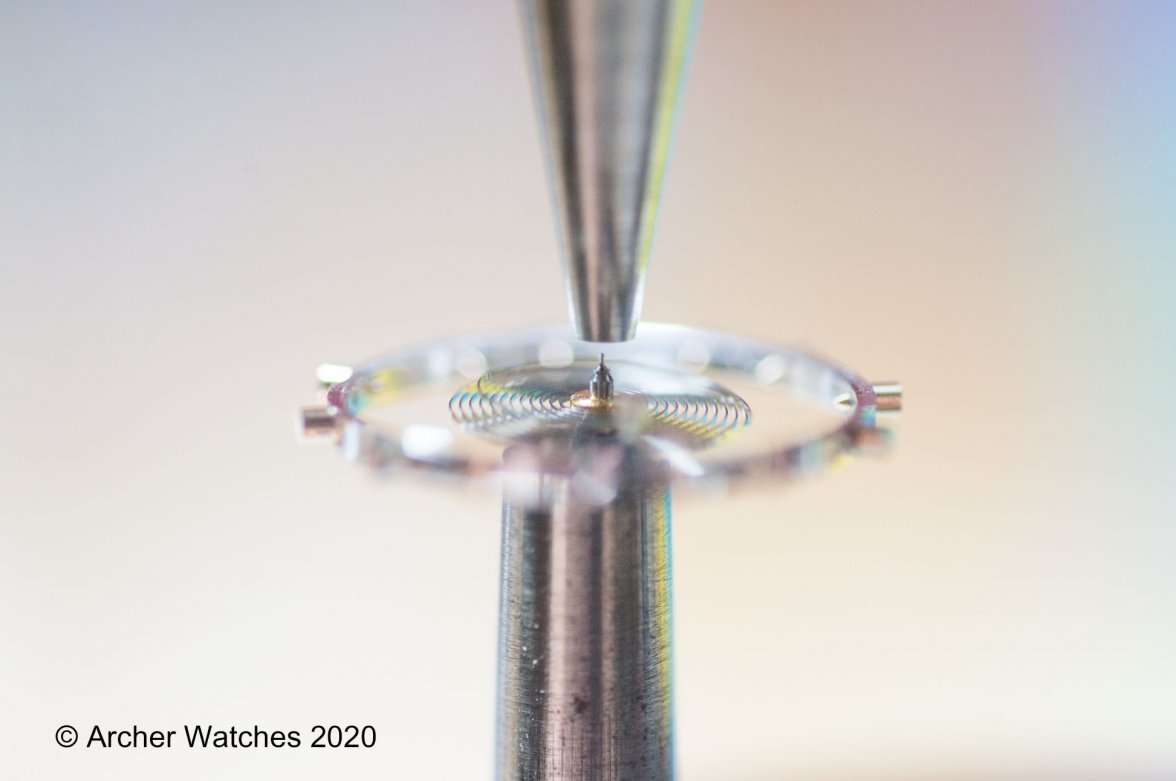
    So the balance is back on the staking set, flipped over from the last series of photos, and I've started the staff in the hub - note that it goes in quite a ways before tightening up:

    921 staff17.jpg

    I now use a punch to come down and press on the small shoulder on the staff:

    921 staff18.jpg

    And then press it in place - again very light taps using the watchmakers hammer:

    921 staff19.jpg

    Now I am already set-up to install the roller table back on:

    921 staff21.jpg

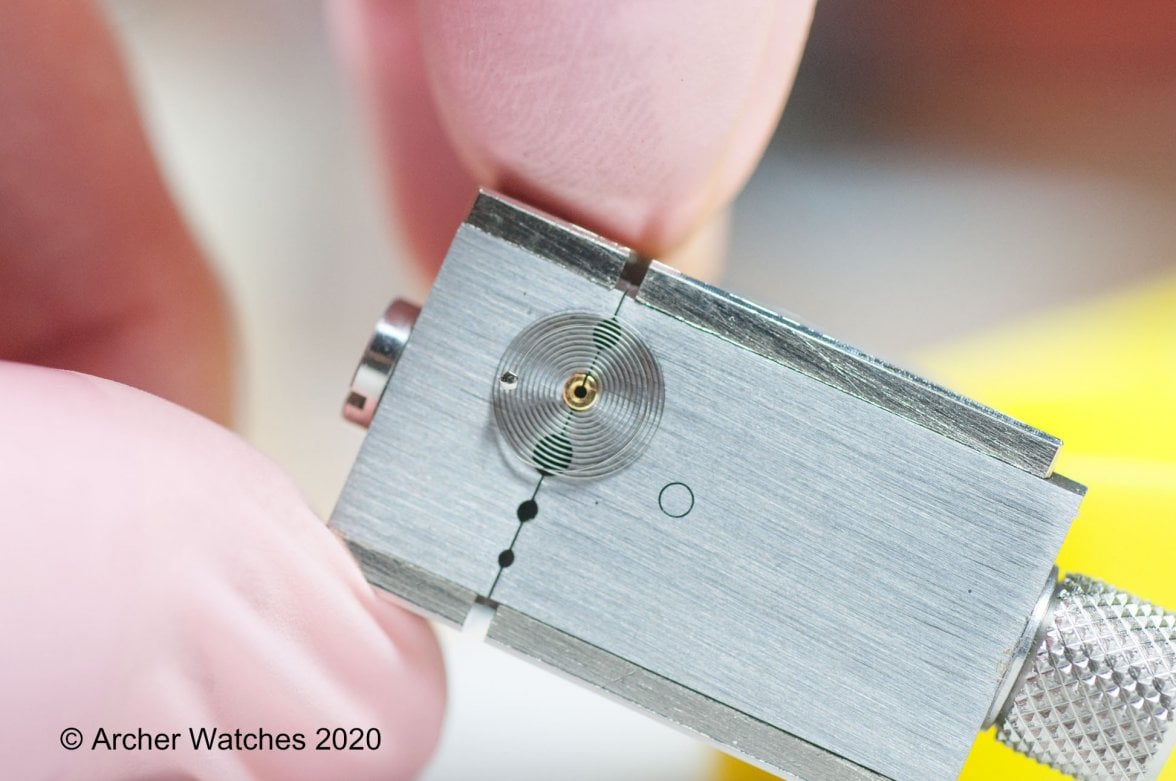
    Once that is installed, I flip the balance over to install the balance spring assembly. However the collet on this one is quite loose, so I use a collet closing tool to gently squeeze the collet tighter, keeping fingers crossed that the collet doesn't crack!

    921 staff22.jpg

    Now the collet fits snugly on the staff, so it's pressed in place:

    921 staff23.jpg

    The staff has now been changed:

    921 staff24.jpg

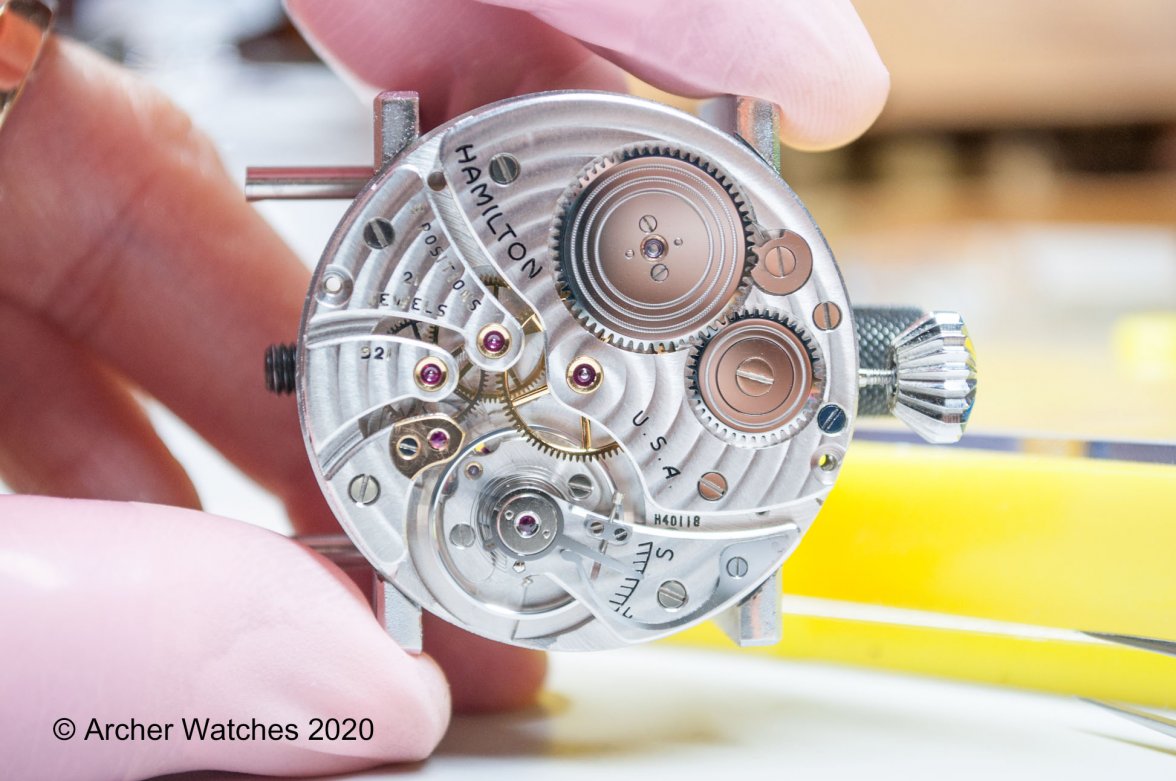
    And here it is in the 921 that dates to 1948, so this is 74 years young...

    921 staff25.jpg

    Cheers, Al
     
    UncleBuck, Deafcon and M'Bob like this.
  8. Archer Omega Qualified Watchmaker Sep 26, 2020

    Posts
    26,463
    Likes
    65,602
    Wanted to post another follow-up here. In my initial procedures, I mention a test that ensures that the staff is firmly riveted in place:

    [​IMG]

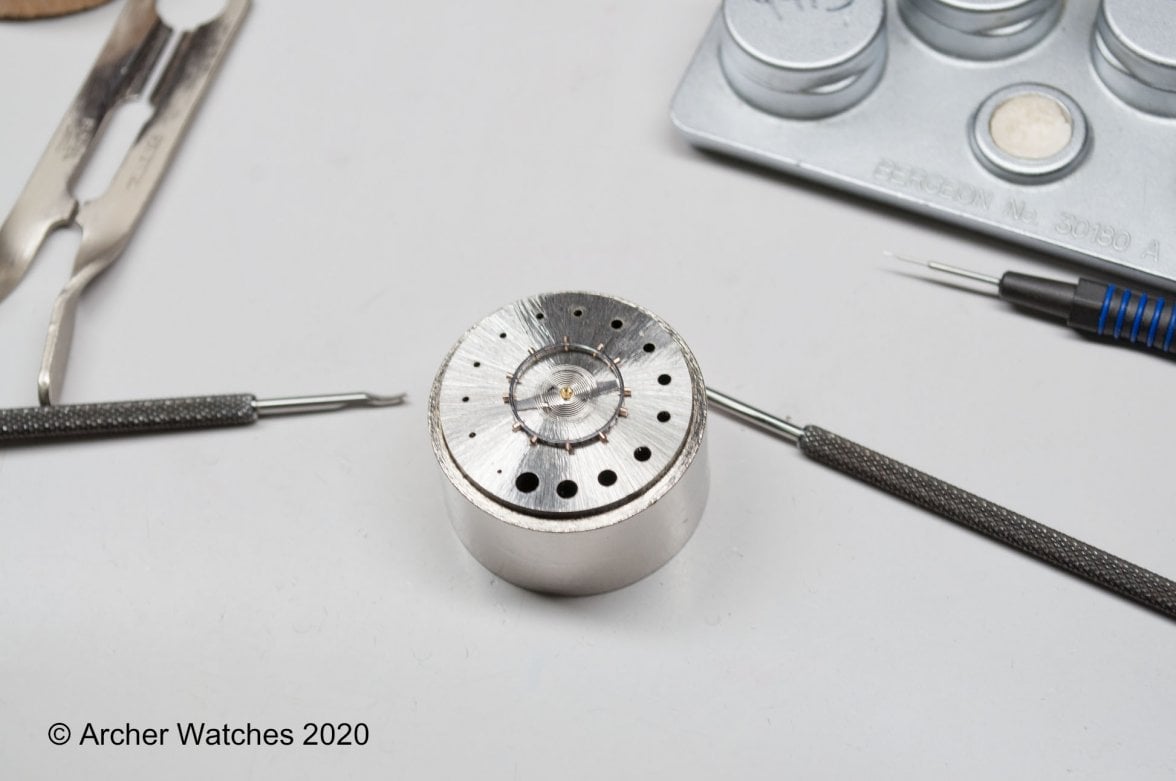
    So here's is an illustration of why this is important. I was working on a watch recently that came in not running, and the first thing I do when assembling the watch is to oil the balance jewels, and do some checking of the flatness and concentricity of the balance spring, so it's only the balance mounted on the main plate:

    [​IMG]

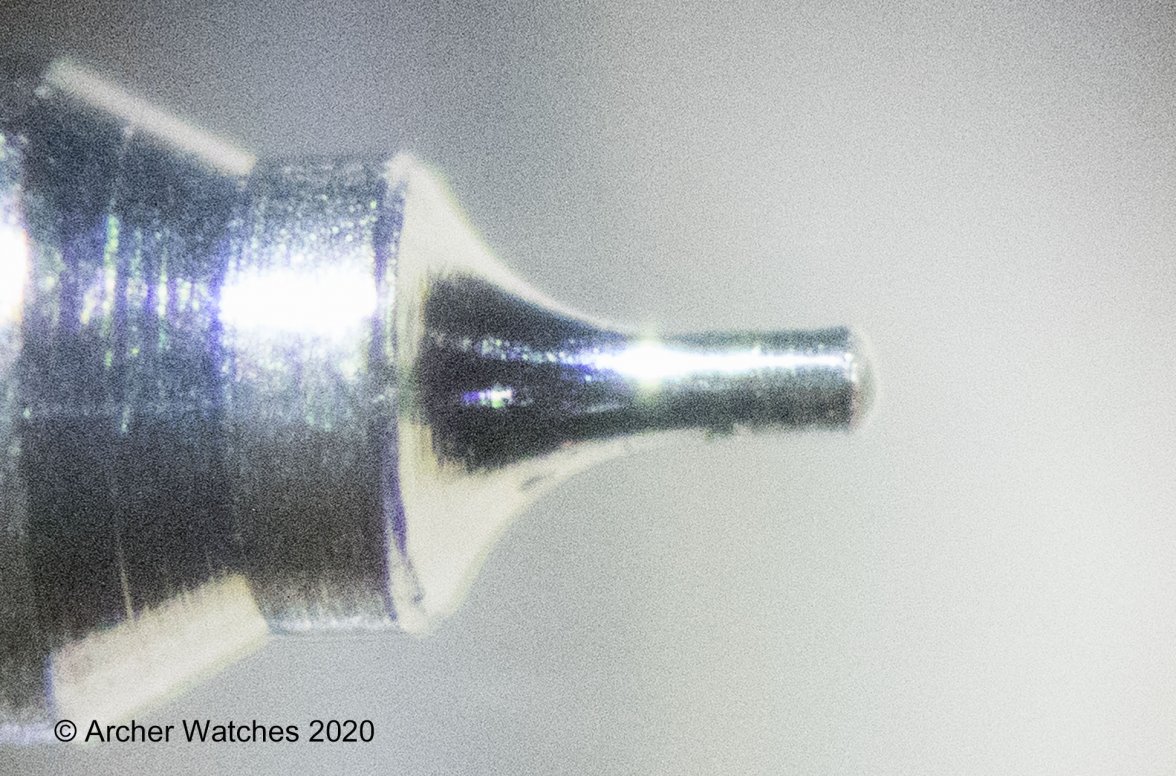
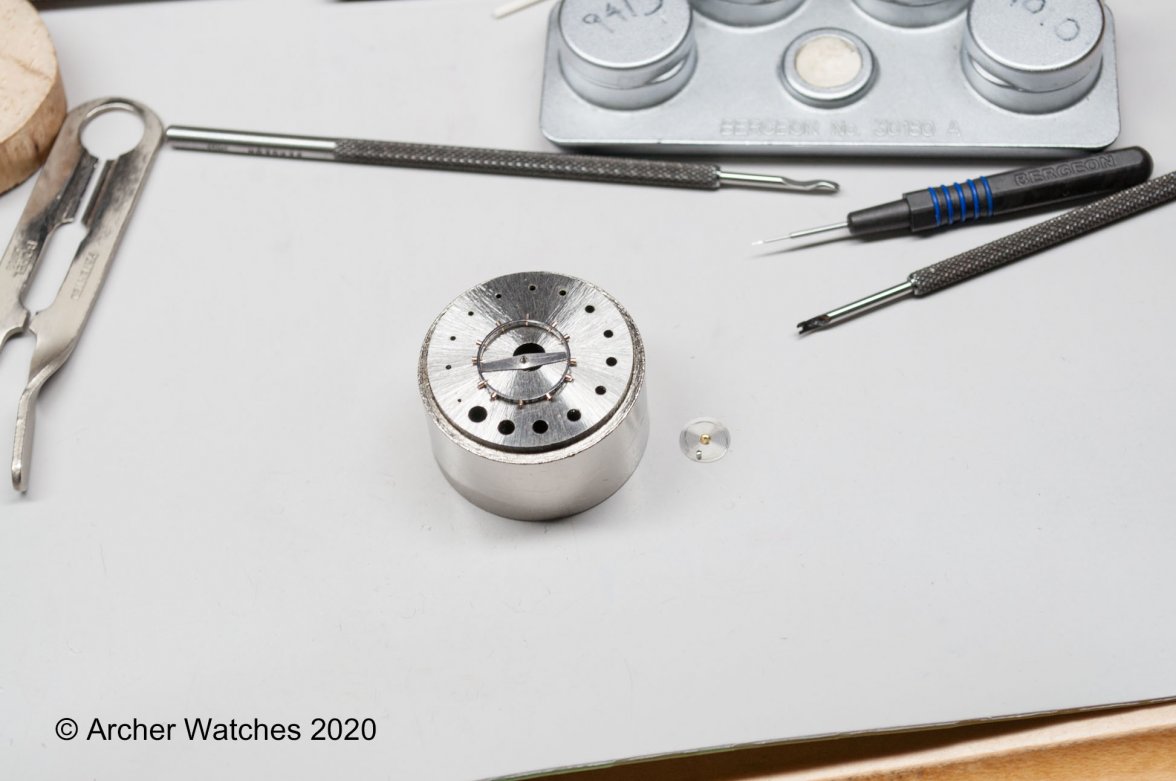
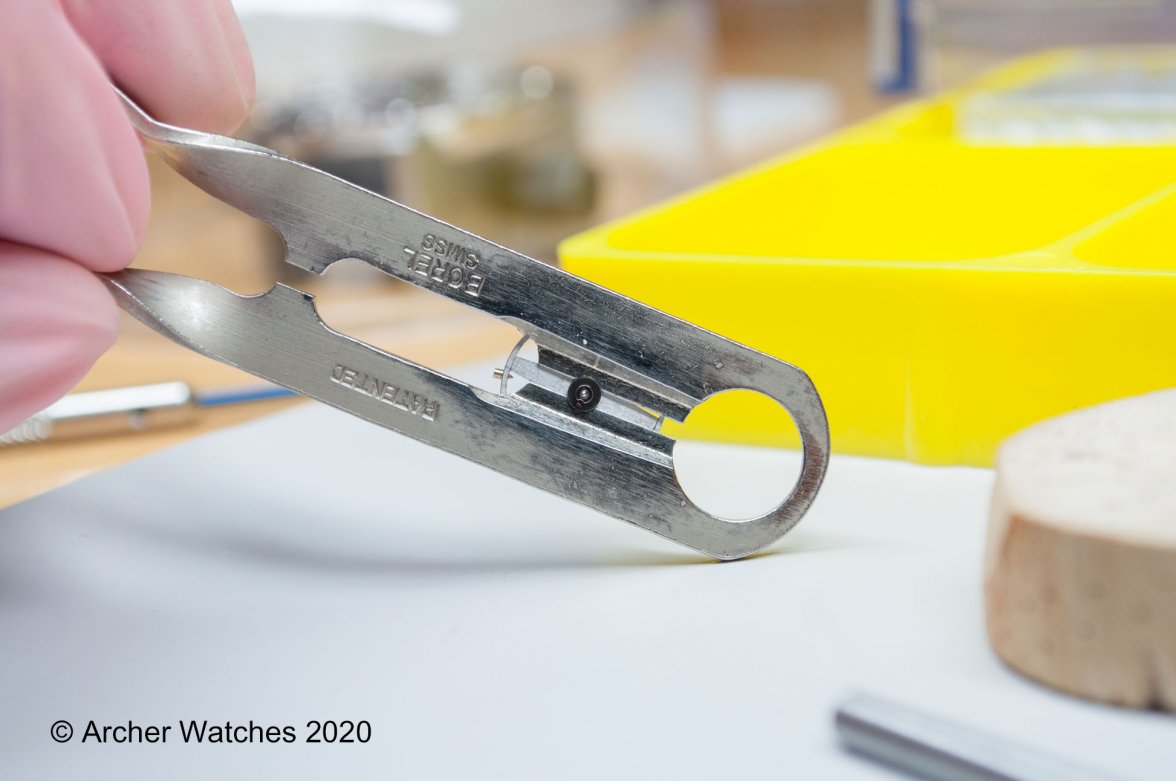
    Normally you can make a balance oscillate using a blower, or just by flicking the movement holder, but when I did that here, the balance almost stayed stationary. I though this might be a case where the collet for the balance was loose, so I took the balance out and found this:


    The balance staff was loose, so although the roller and balance spring were tight on the staff, the wheel was free to rotate. This meant that when the pallet fork would impart the impulse to the roller, instead of turning the entire wheel, it would just turn the staff.

    I ended up replacing the staff in this, as I wanted to make sure that it was properly riveted, and would not potentially come loose again. So whoever performed th last staff replacement on this watch, didn't ensure that the staff was riveted firmly enough.

    Cheers, Al
     
    michael22 and Eve like this.
  9. François Pépin Dec 21, 2020

    Posts
    1,531
    Likes
    1,081
    Thanks a lot Al! I came across your post quite late, but I really appreciate! The trick with alum
    could reveal useful for me as I still do not have a lathe.

    If you may, I have a question. When a balance has to be trued, what would be your regular procedure? I confess I still have issues with that operation...
     
  10. D YOUNG Dec 27, 2020

    Posts
    220
    Likes
    924
    Al ,great post. I used the alum truck to remove a broken stem from a crown . One thing that speeds up the process is to keep the solution warm. I used a coffee warmer plate but you could also use a potpourri warmer ( looks like a tiny crock pot ). Just keep an eye on it as it will evaporate.