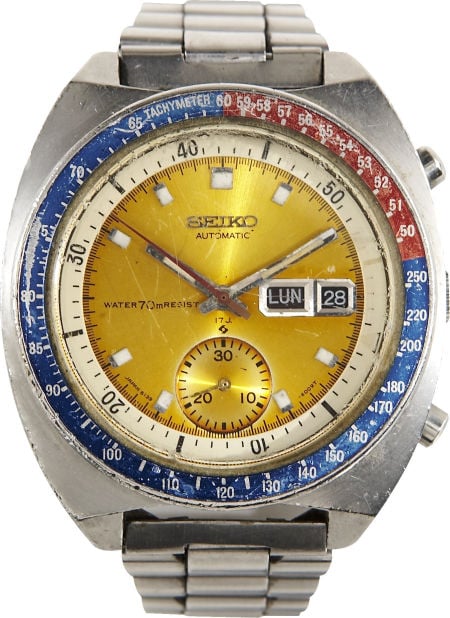
Adventure with Colonel Pogue - Seiko 6139-6002

Posts
16,268
Likes
34,314
Ingenuity developed from a need to pull apart a household alarm clock when I was about seven or eight.

And further honed in my military career.

On my first IED course our instructor told us we had a device in a culvert under the road, we only had a stick, some fencing wire and a plastic bag. What would we do?

My question as to the length of the stick, and when being told it was two metres long, and asking for one twenty metres long got me Number One on our first real scenario.

The point of that first question wasn't for us to find a real solution, but to make us think.
Like wire on stick, pull device out, use bag to preserve forensics, or six of the other weird solutions the rest of the class came up with.

I've used that "improvise, adapt, overcome" approach way before Clint said it in Heartbreak Ridge. 😁
 
Posts
586
Likes
655
@JimInOz the only comparison I was making between you and @Archer was that you both contribute photo processes of your work........skill.....that topic we shall leave untouched! 😉 I grew up on the farm here in the states and we fixed everything ourselves. Now that I am a city boy with soft hands, I still have the need to tinker. These threads will help me decide if this is something that I want to get into. My thought is not to become a watchmaker and fix Omegas or Rolex but rather to tackle something like the Seikos or......? Truly appreciate your work! 😀
 
Posts
16,268
Likes
34,314
A quick question.

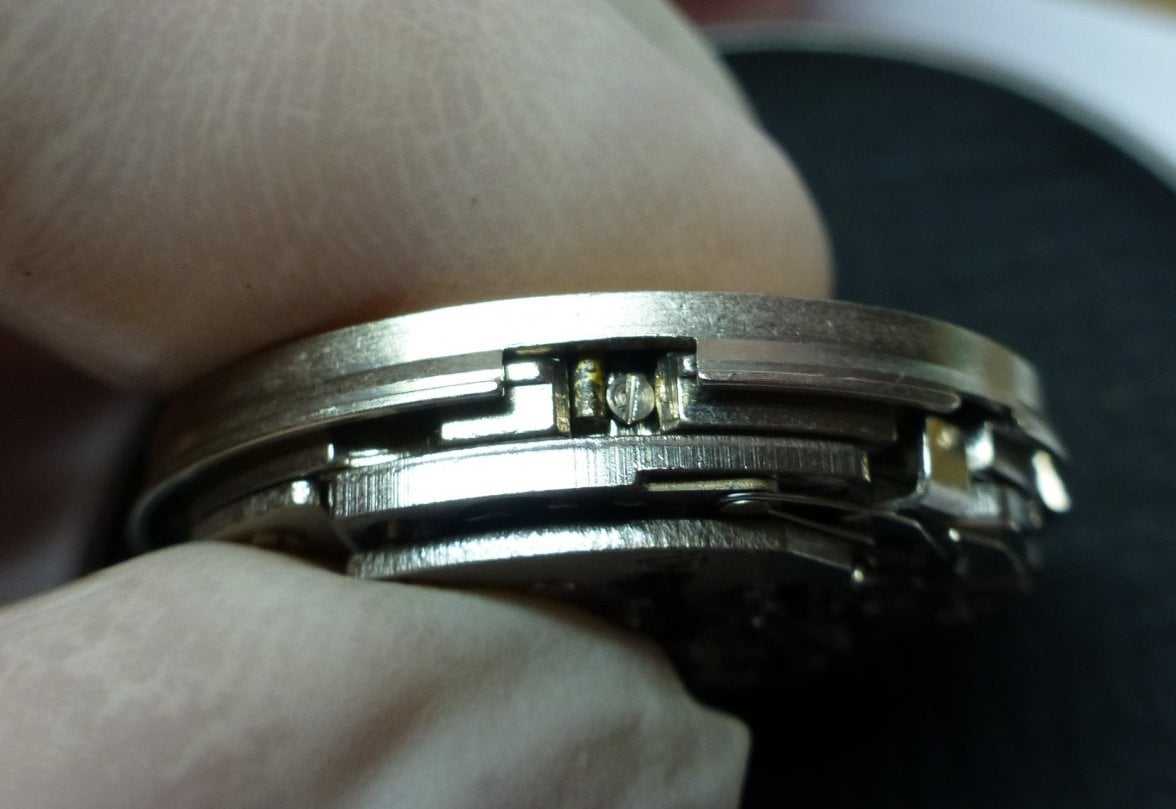
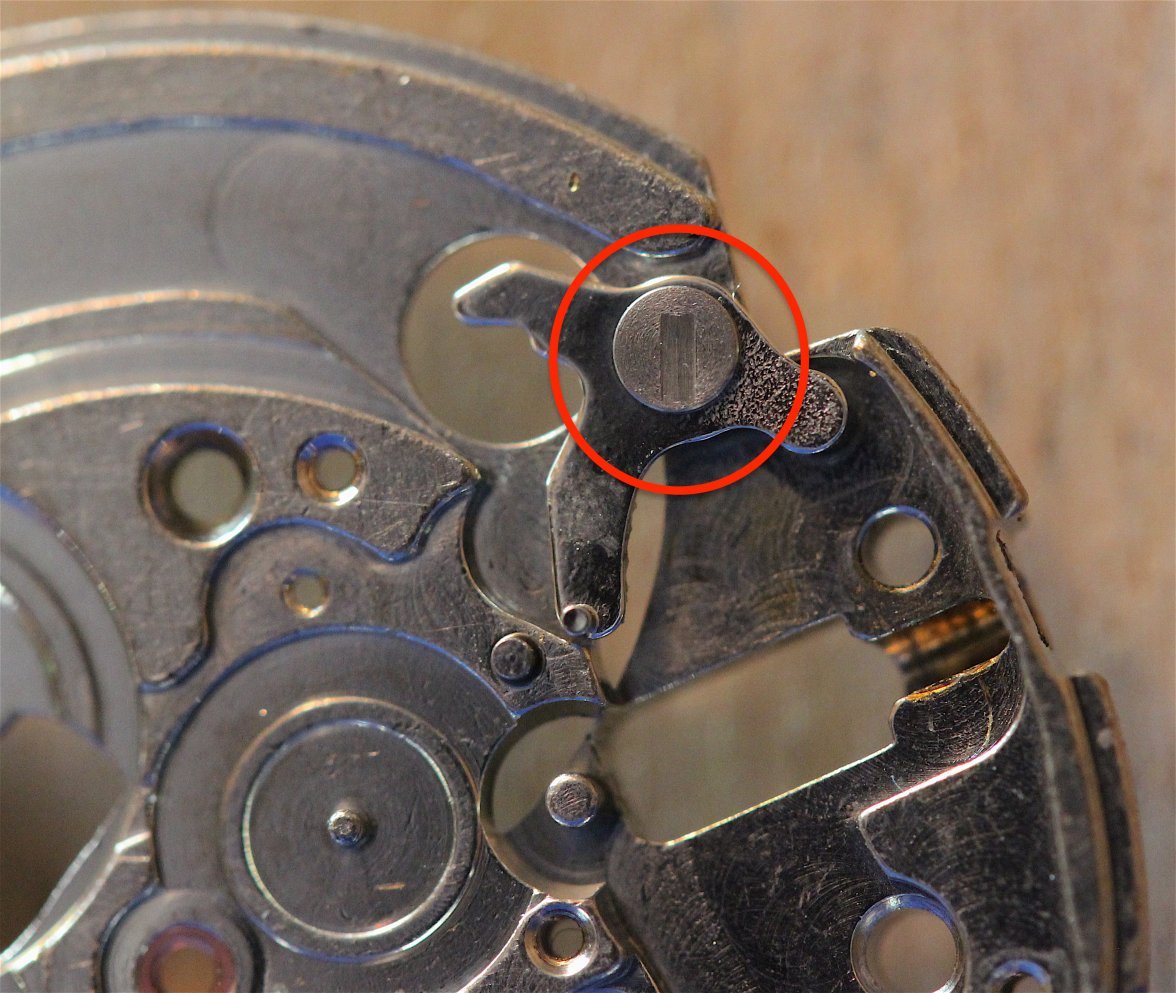
There are a number of posts that appear to be pressed or riveted into the plate. The heads have a mark but no slot so obviously not screw posts.

Are they "unremovable" items?

 
Posts
16,268
Likes
34,314
So, after a hiatus (I think that means skiving off to other things) I'm back on the job.

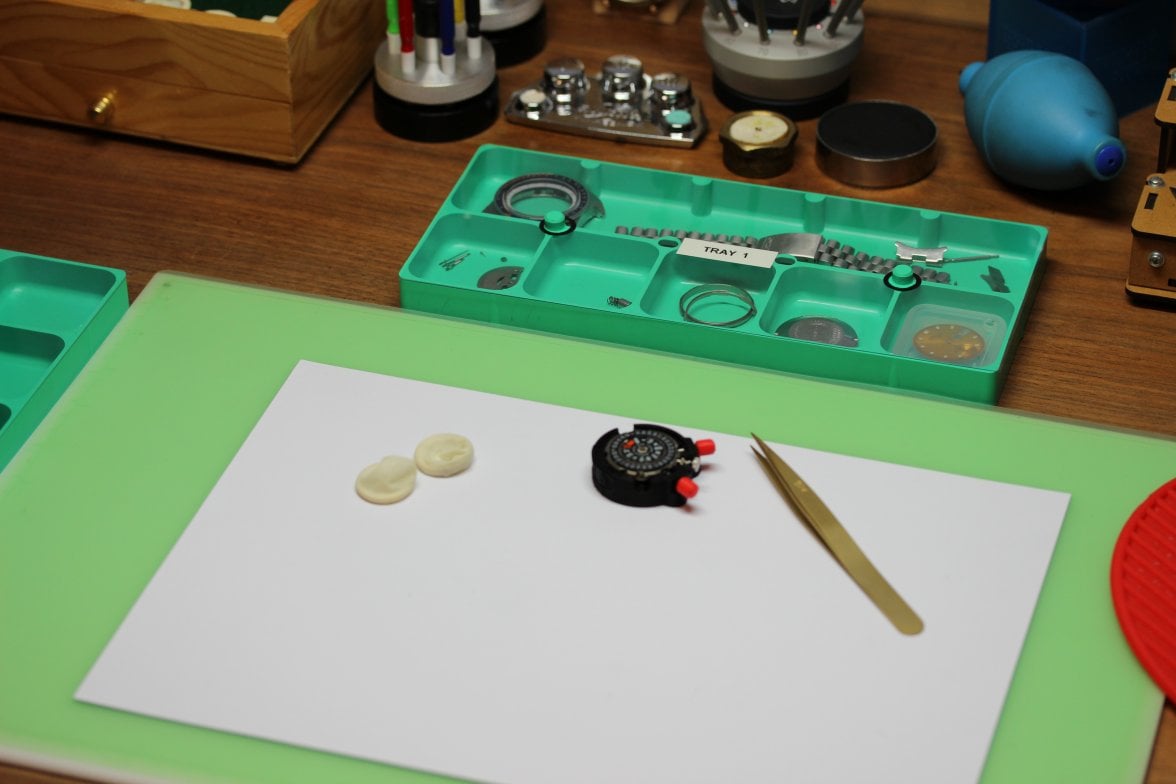
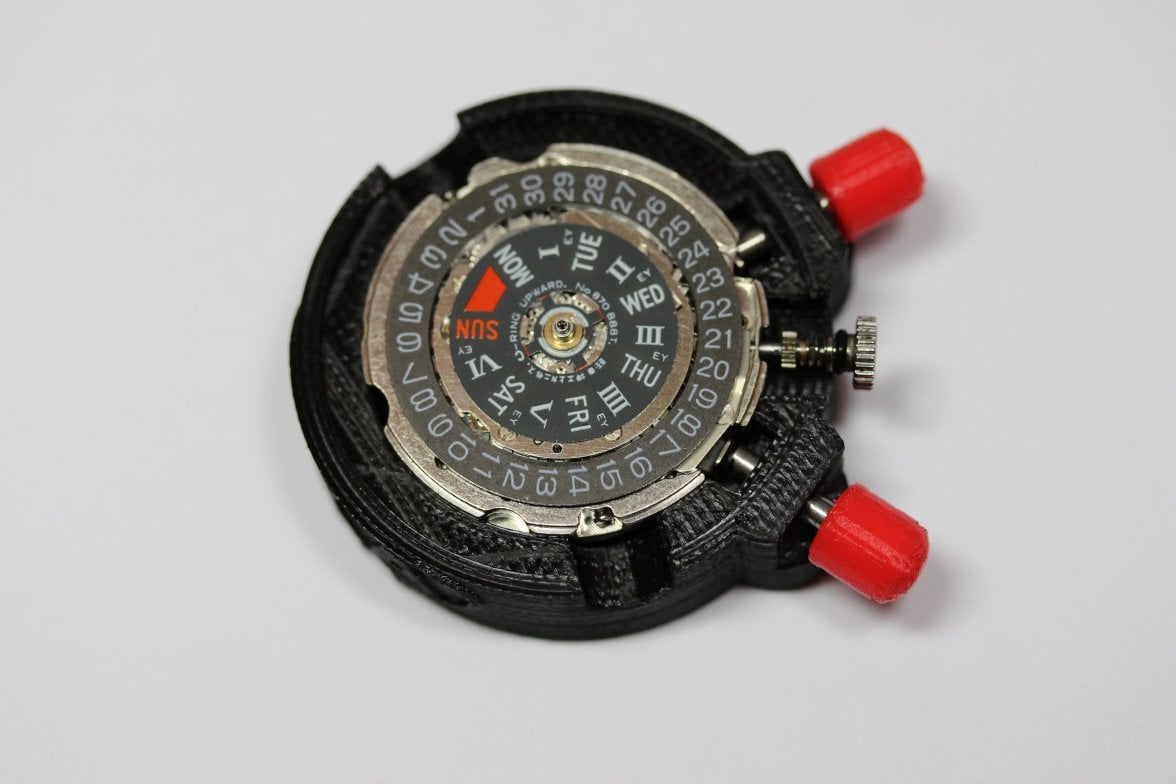
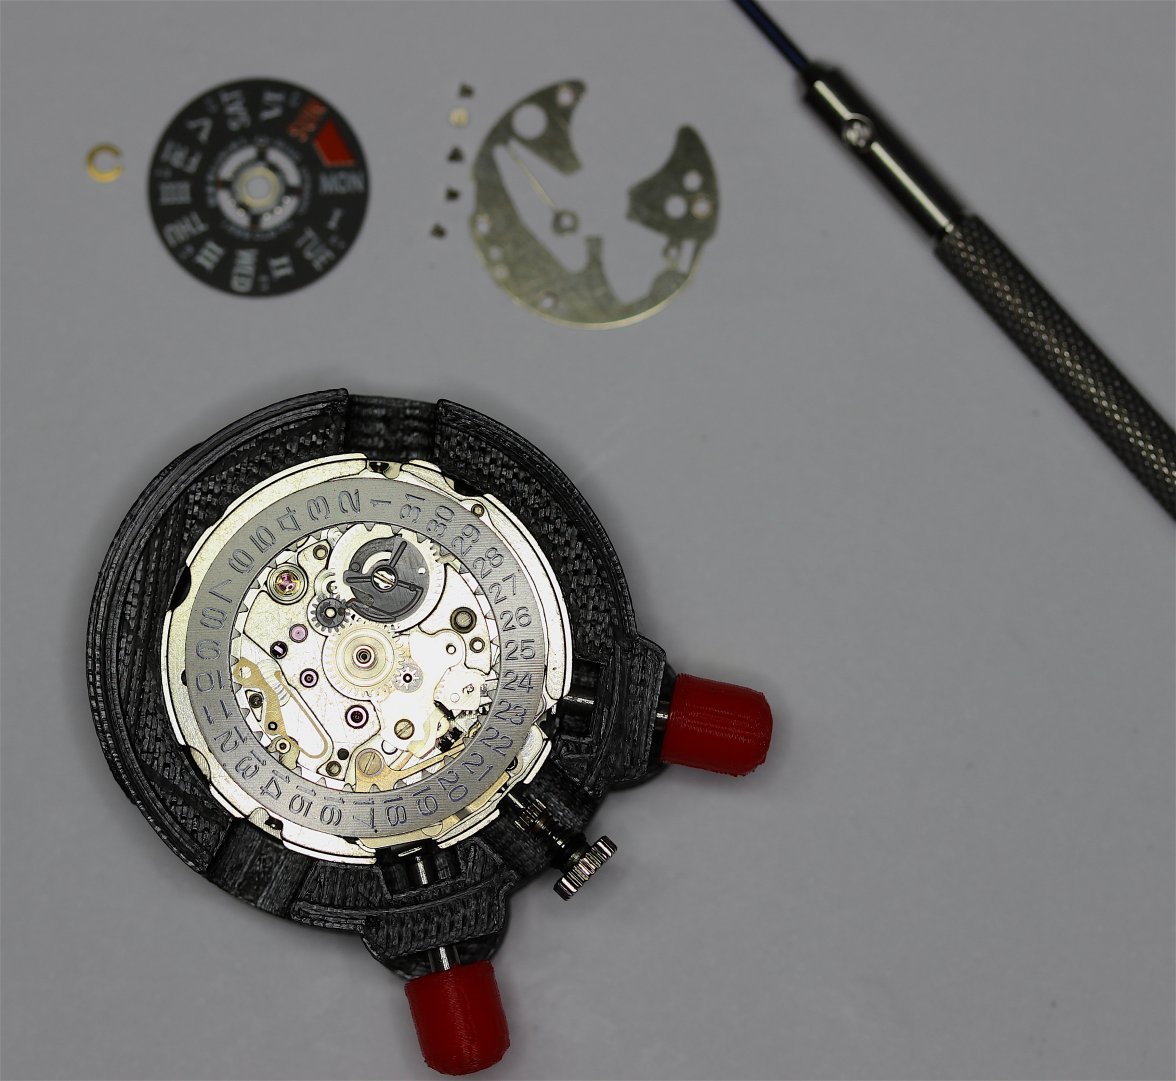
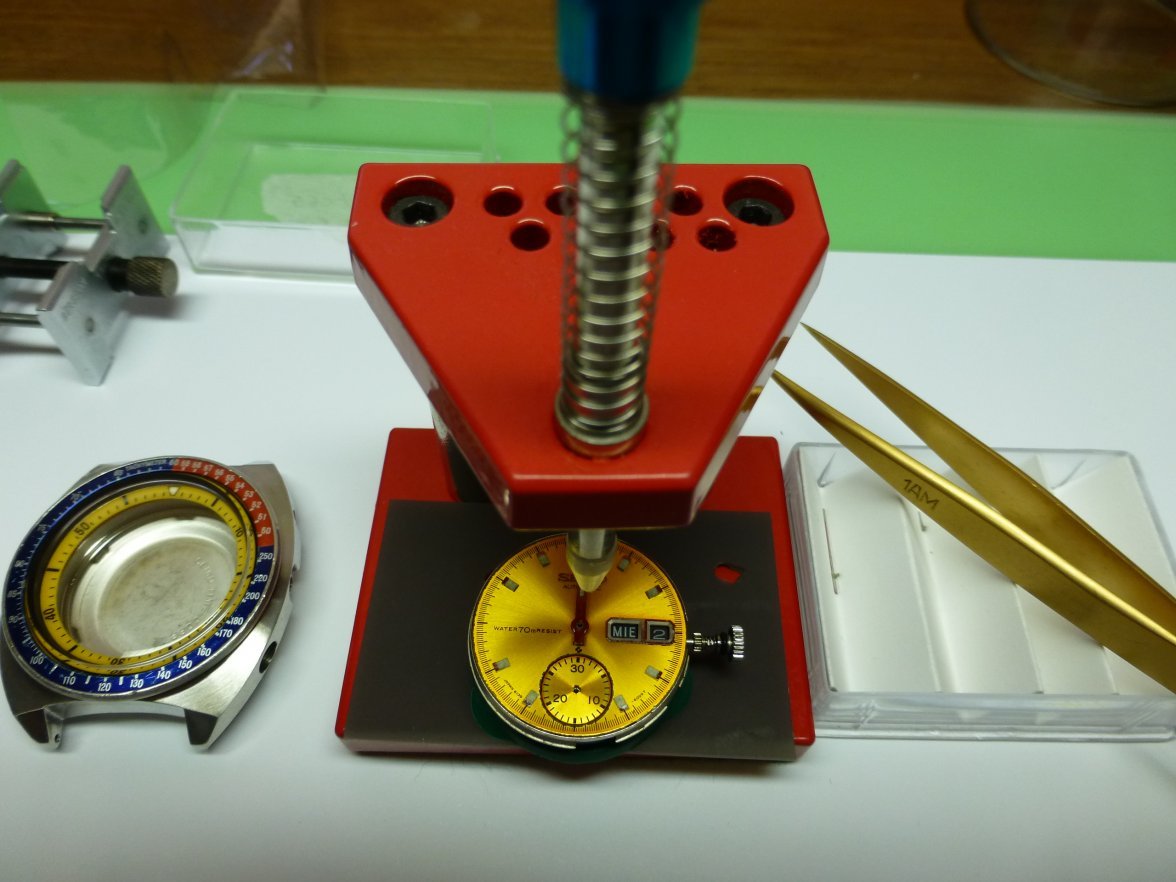
Here we are all ready, the hands, dial and rotor have been removed and the movement is ready to be disassembled.


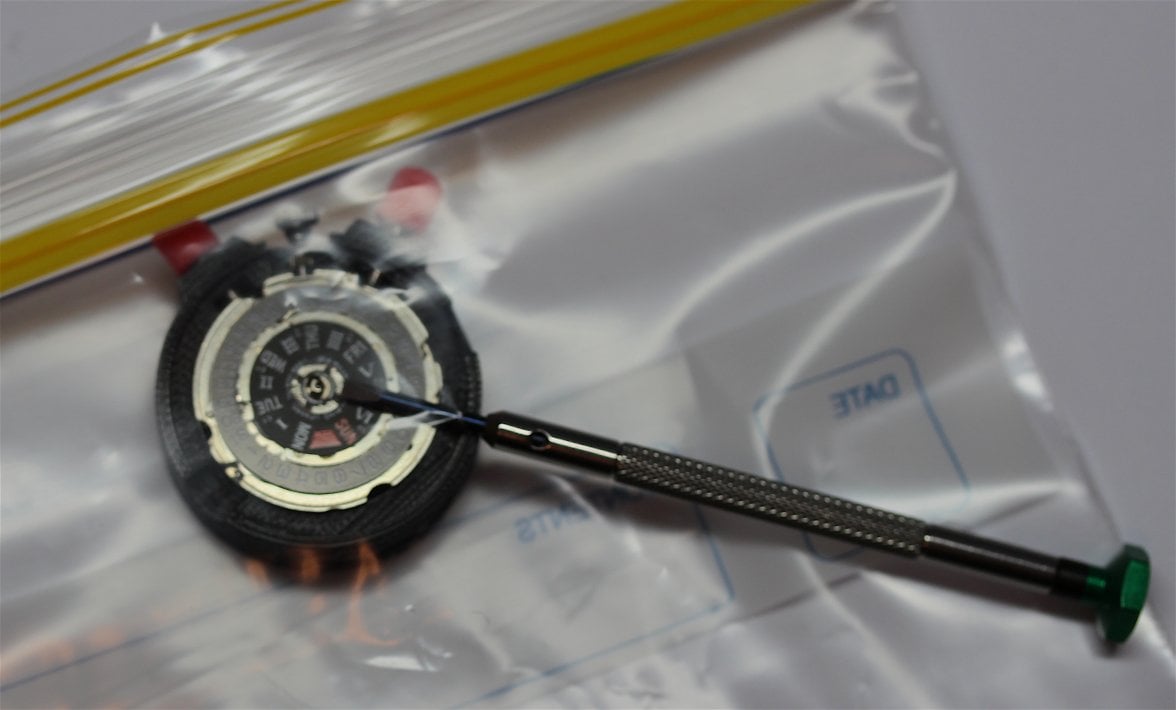
The first thing to do is remove the Day Wheel. It's held in by a springy clip and I hate them.


This is the culprit of so many searches in hobby rooms all over the world.


So that I don't lose it, removal is done in my "anti-ping" device. This time it came off quite easily, but I bet that if I hadn't bagged it the thing would shoot off into the ether.


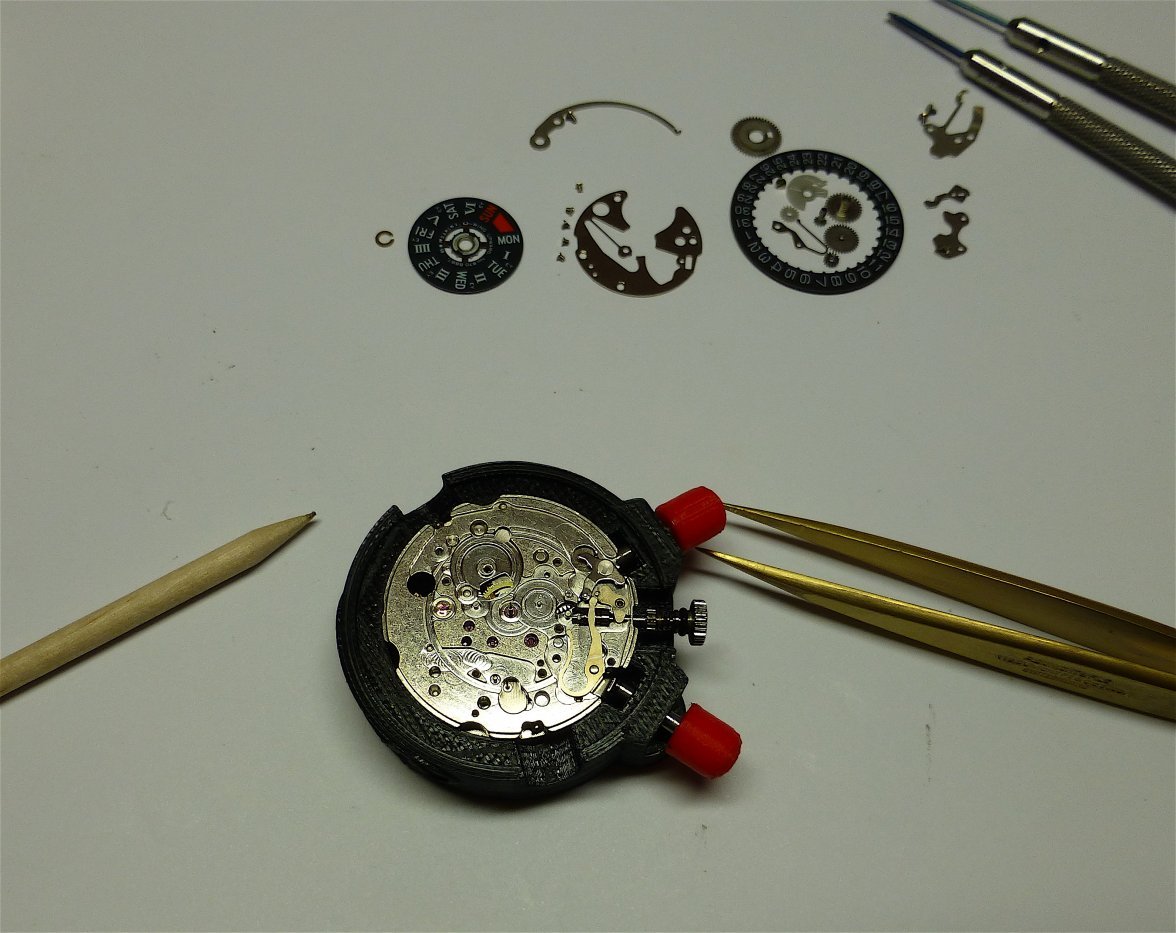
Now that the Day wheel is off, we can remove the Date Wheel plate and all of the remaining dial side components.


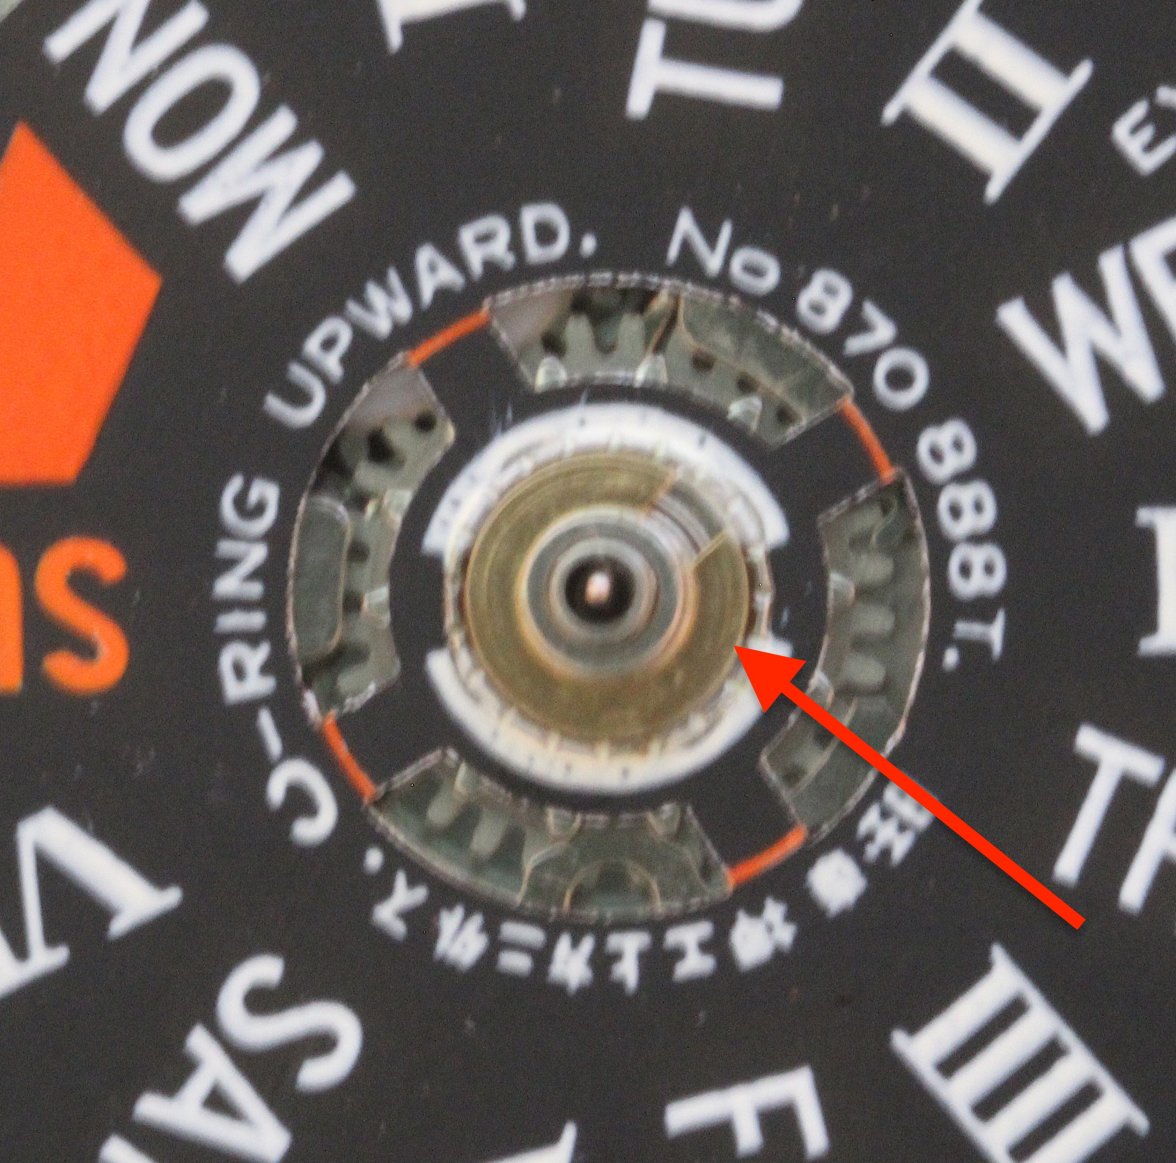
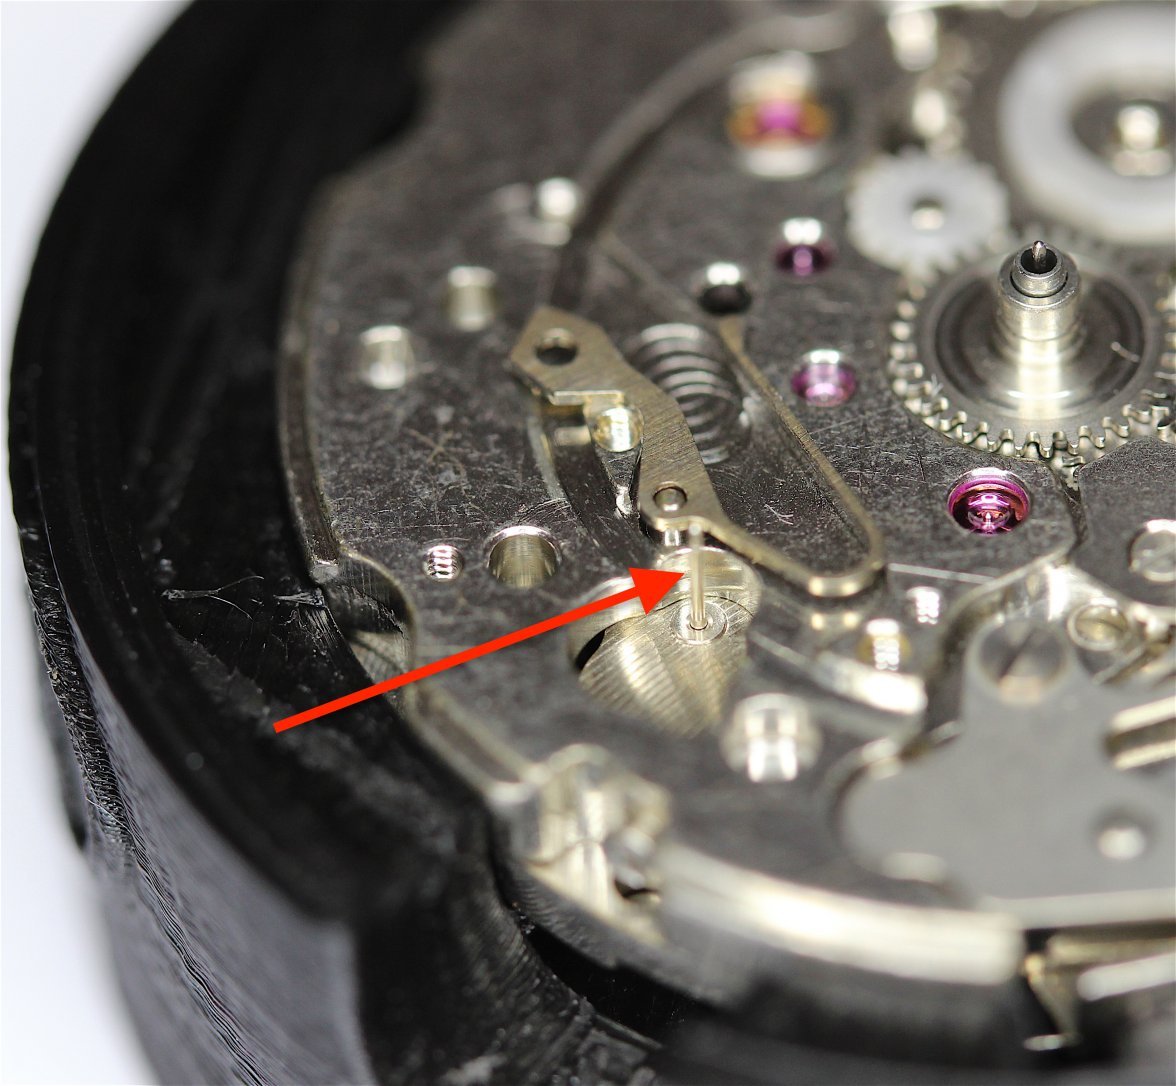
One thing to take care with is the Date Wheel Jumper. It's a spring, and like all springs it has a mind of its own. It's also very close to the Minute Recorder pinion, so remove it so that it or your tools avoid contact with that tiny pinion.


Once all of the dial side components are done it's time to take a breather and get ready for the chrono side. I just need to remove the stem, clutch wheel and setting lever parts and turn the movement over.

 
Posts
1,173
Likes
1,751
Do you keep a record of where each part that you remove came from? Or can you tell just by looking at it?

Saw this thread for the first time yesterday. I love watch restorations. Wasn't aware of the significance of this Seiko either.

Anyway, interesting read and thanks for sharing.
 
Posts
16,268
Likes
34,314
Do you keep a record of where each part that you remove came from? Or can you tell just by looking at it?

Saw this thread for the first time yesterday. I love watch restorations. Wasn't aware of the significance of this Seiko either.

Anyway, interesting read and thanks for sharing.

I keep a record in my mind, but that's usually vaporised the next day.

I try to keep groups of parts in segmented trays and when re-assembling I use the technical sheets as well as the invaluable information on this forum and other internet resources.

And another little surprise for me.

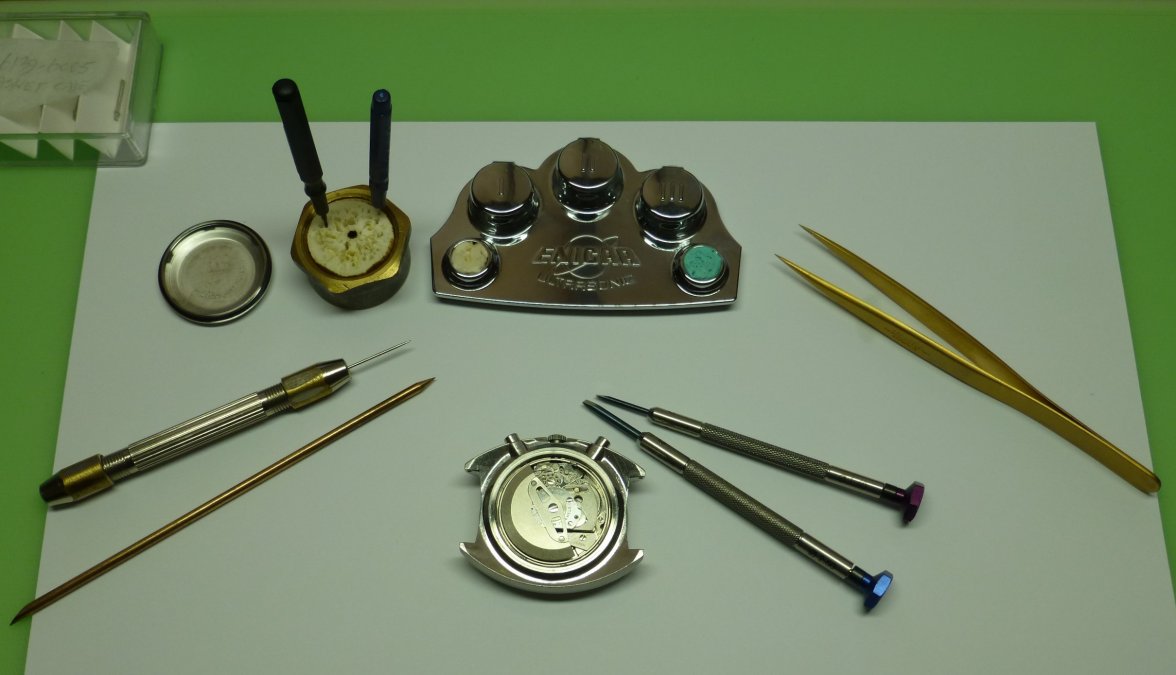
Always use the correct size screwdrivers, if you do then this won't happen!

 
Posts
16,268
Likes
34,314
Any update on the Colonel Jim?
Sure we all like a nice Pogue.

No I'm sorry to say. I'm away from home for a few weeks while friends are in Europe.

But they return on QFA10 on Friday evening so I'll be back to normal, as soon as I get all of my watches out of the safe and back where they belong.

It's a nice break with great side benefits, but there's no place like home.
 
Posts
16,268
Likes
34,314
A 95" telly!

Well, it seemed like it, compared to my 42" one here at home. I'm sure he'll buy one as soon as they're available though.
 
Posts
16,268
Likes
34,314
So where were we.

OK, back to Seiko Pogues.

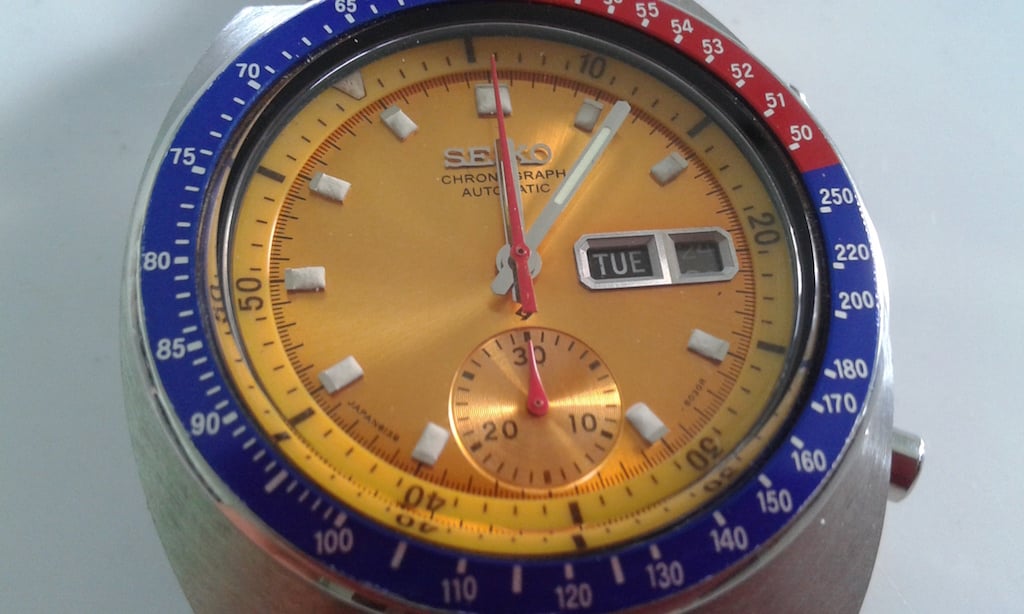
I’d got as far as tarting up the case, stripping the dial side of my 6002, and was ready to strip the chrono movement when @Tubber posted a shot of a beautiful “True Pogue”.
Damn, I was no longer satisfied with a half Pogue, I wanted one as close as the original one old Bill wore, so I placed my project on hold.

About a week later I got an alert from @STANDY, @watchknut had a basket case Seiko for sale for spares.
It wasn’t just any old Seiko but a genuine Pogue with most of the correct details (wrong crown) but the movement looked a bit rough.


No probs I thought, “that’ll buff right out”. I grabbed the watch and waited patiently for the shipment from the USA to arrive.
 
Posts
16,268
Likes
34,314
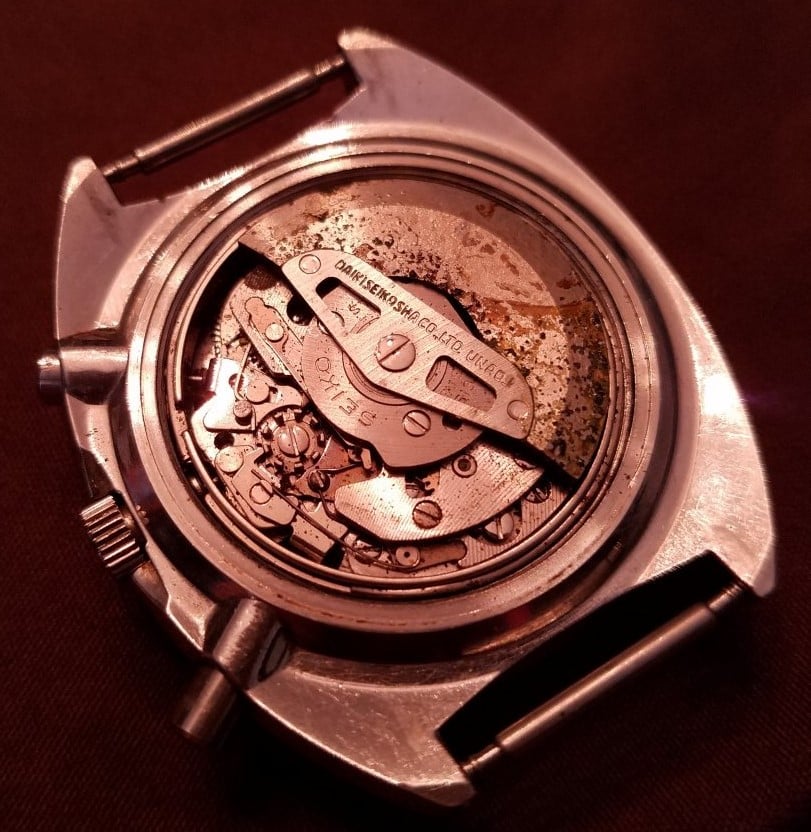
Came the day of arrival and I was straight into my watch room to inspect my new addition. Well, it wasn’t good news. The movement was badly affected by water, to the extent that the automatic winding transmission wheel had turned to a rusty crumbly blob.


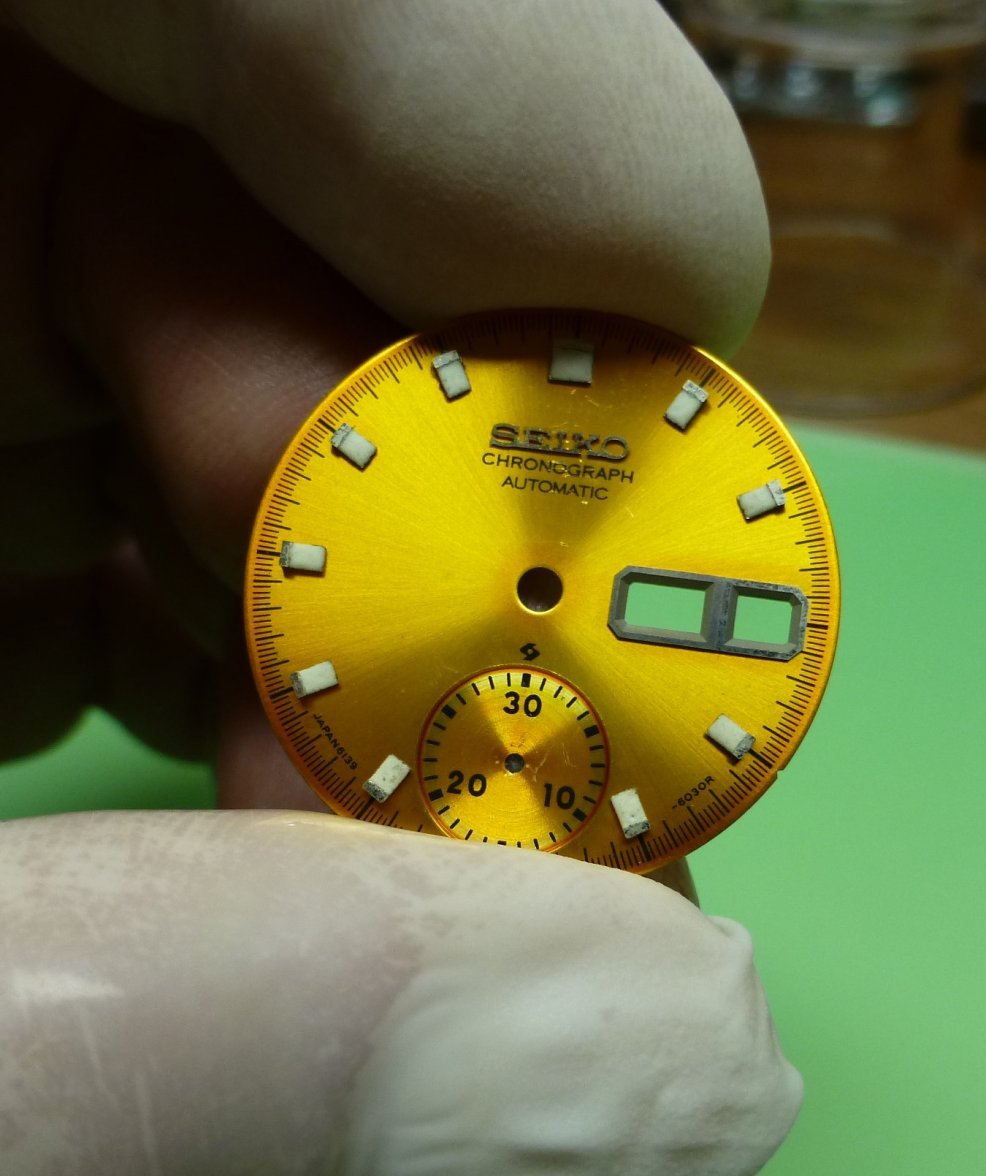
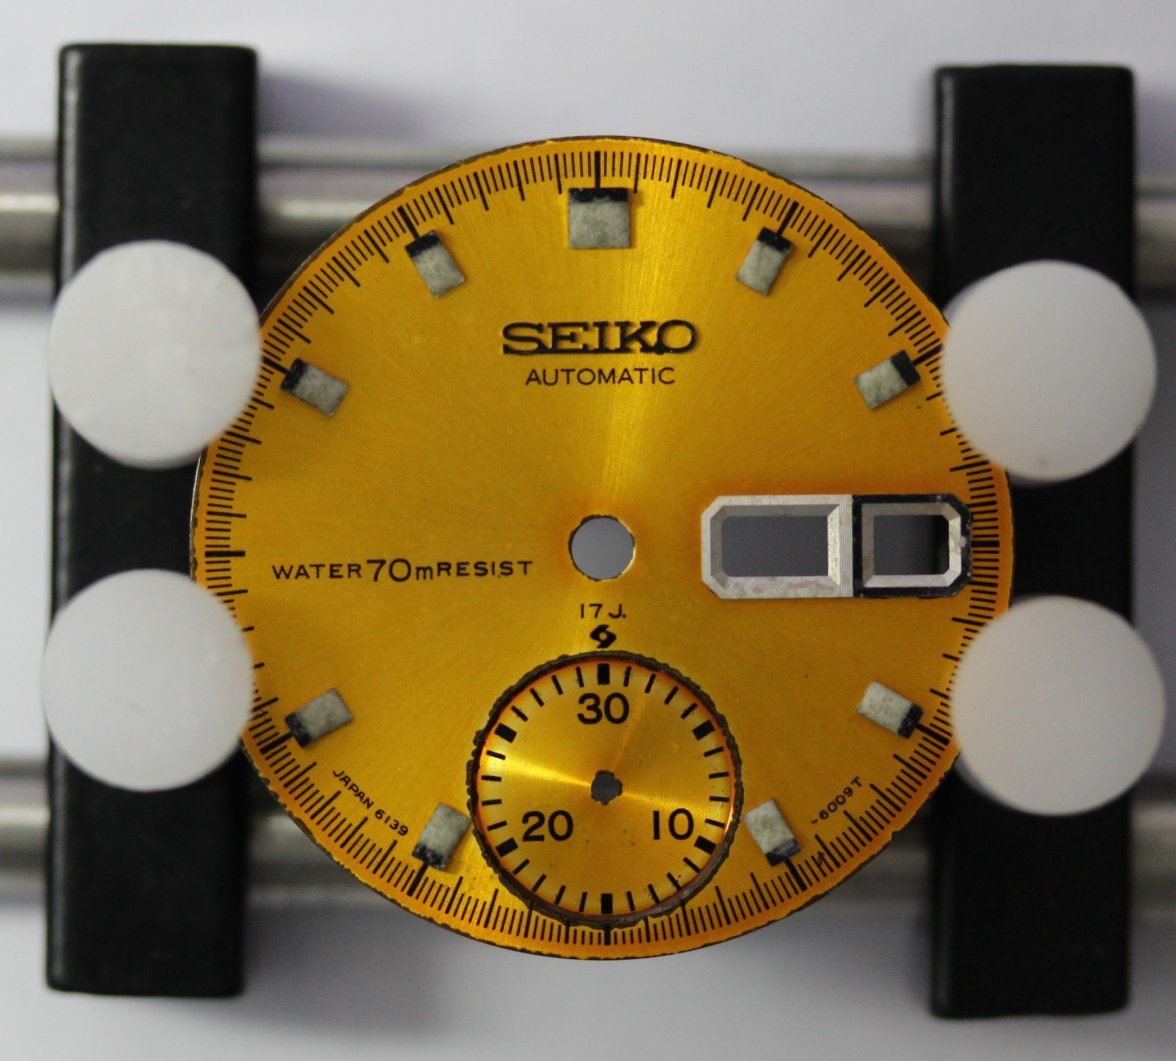
However! The dial was in reasonable condition with the usual corrosion around the minute counter sub dial, common for these dials and even on Bill’s watch. The inner bezel was still bright yellow with clear black numerals. My first task was to carefully remove these items for later attention.

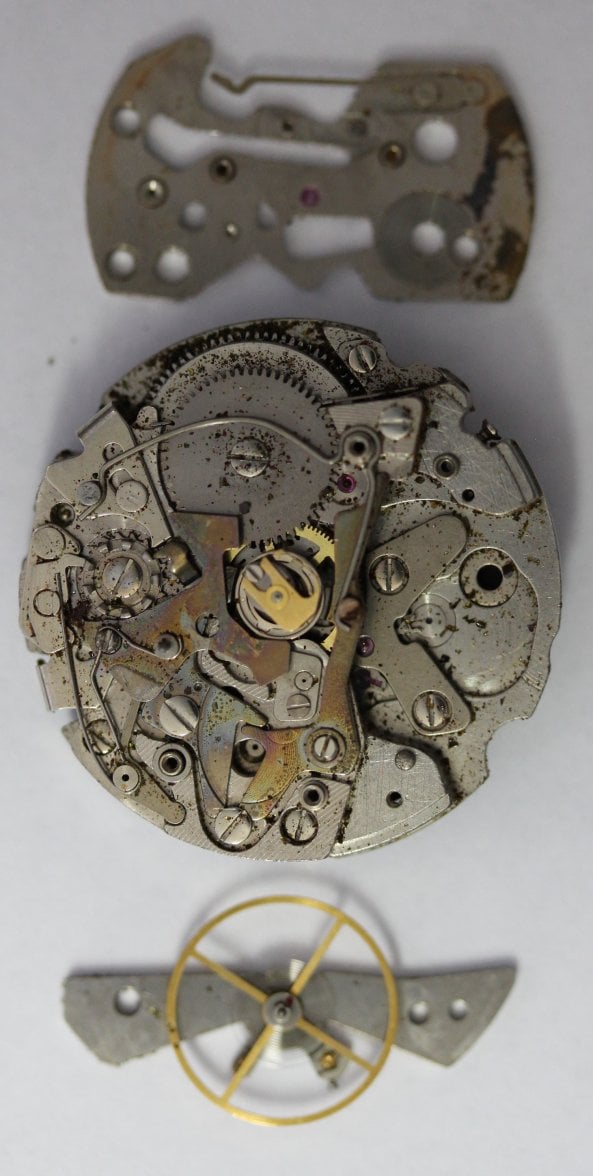
I then stripped down the rest of the movement to see what else could be salvaged and then turned my attention to “the project”.
 
Posts
16,268
Likes
34,314
I now had a 6002 with a good 6139B movement but a non-resist dial.


I had a real Pogue with a toasted movement, so what do you think my decision was.


Of course. 😁

So the task was now to simply service my good movement and install it into the 6005.

Simple task? Servicing my first (and the world’s first) automatic chronograph movement?

Nothing for it but to forge ahead. A standard strip down of the remaining parts, inspection and rough clean and then into the cleaning machine for a full clean and final inspection. The back side of the movement (with all of the chrono gubbins) was a challenge, especially getting the right amount of oil to the pallets and escape and to the chrono clutch.

There was a bit of a bit of a setback when I was removing the balance after running the movement in to remove epilame from the escape wheel and the pallet faces, however with advice from @Archer and @ChrisN I managed to get the hairspring back into reasonable shape and get the balance re-installed.
 
Posts
16,268
Likes
34,314
With the train side all done it was time for the dial side. Due to the push day/date corrector and a couple of other bits this took longer than usual and I had to take care not to damage the minute recorder post which is very close to the date wheel.
I had spent about an hour cleaning the donor dial and removing the crud from the markers so they now shone again, although with a bit of tarnish damage. (I cleaned all of the hands at the same time).


With all of that done, the dial was fitted and the dial post screws tightened.


Next the hour and minute hands were pressed on at 12 o’clock after turning the movement until the day/date changed.


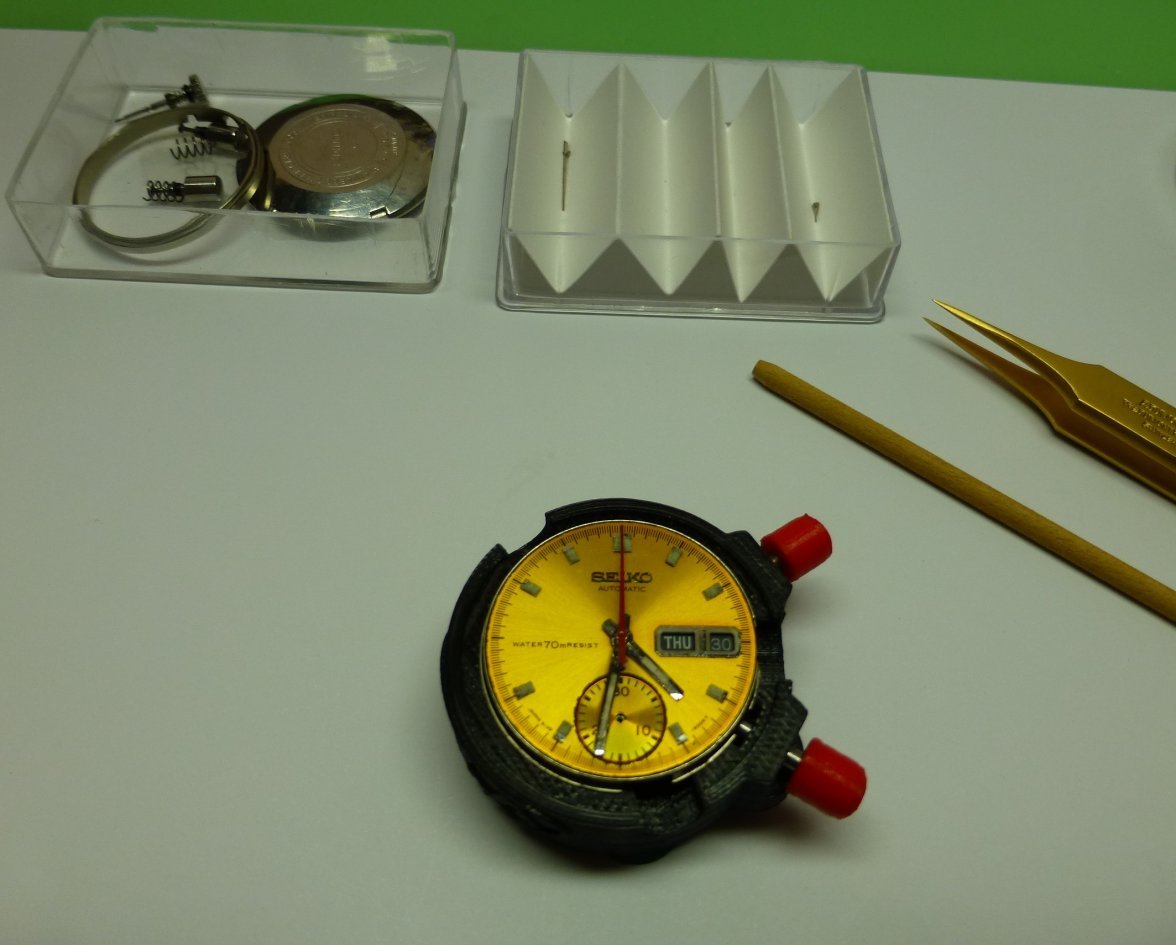
Now for the harder part, installing the chrono sweep and minute recorder hands. The post for the sweep hand has a chiselled point and getting the hand aligned directly over TDC and pressed on has to be done with the fly-back pusher held fully in. A job needing three hands, but with my trusty pegwood hand setter I managed to get both hands on correctly.

 
Posts
16,268
Likes
34,314
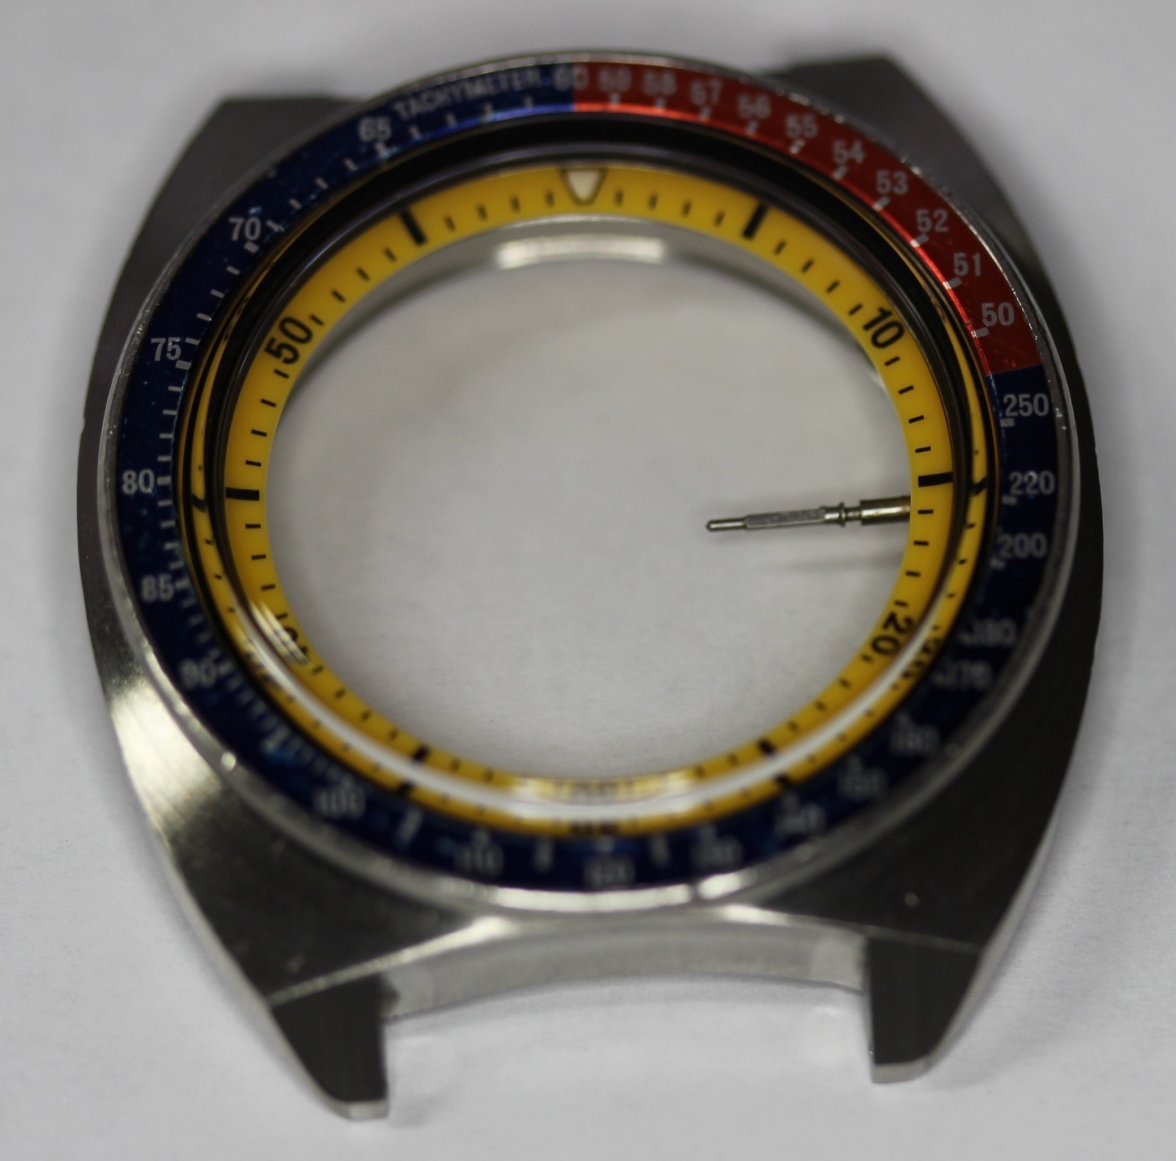
With the movement completed and running on the timegrapher, I checked the case. I had stripped it, done a heavy ultrasonic on the SS parts and fitted new crown/pusher/crystal and caseback gaskets and replaced the crown with the mini dish version and a new crystal made a huge difference.


I didn't go into "restoration mode" on the case this time, I wanted it to look a bit worn as it still had great shape and it would match the bracelet.

So now we were ready to case up.

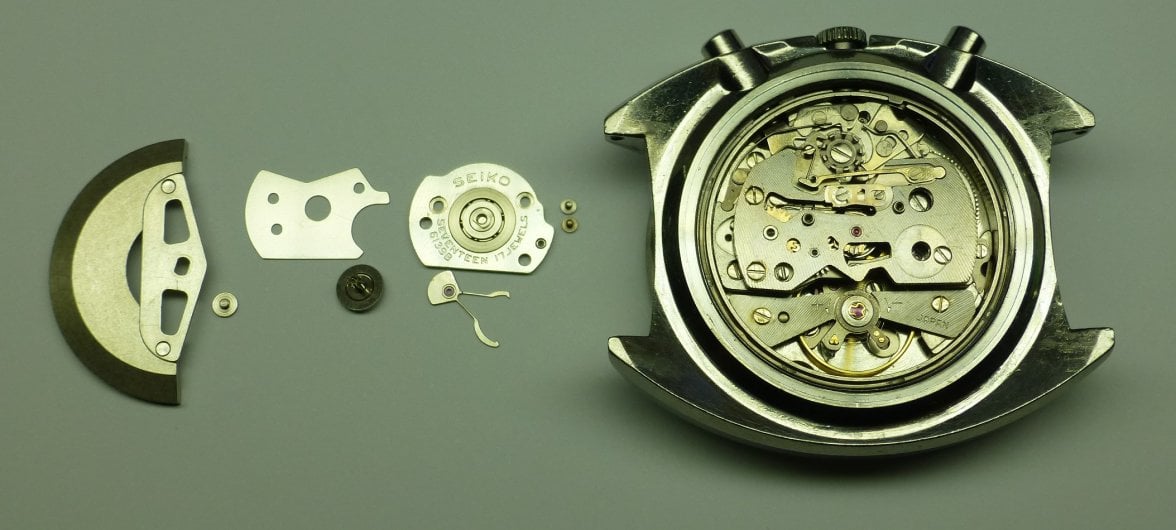
The movement is fitted to the case, minus auto winder so I could adjust final timing and beat.


After getting it to FD -3 seconds/day and 0.0ms beat error it was time to fit the auto mechanism.


And now only the caseback to put on, getting close now.
 
Posts
16,268
Likes
34,314
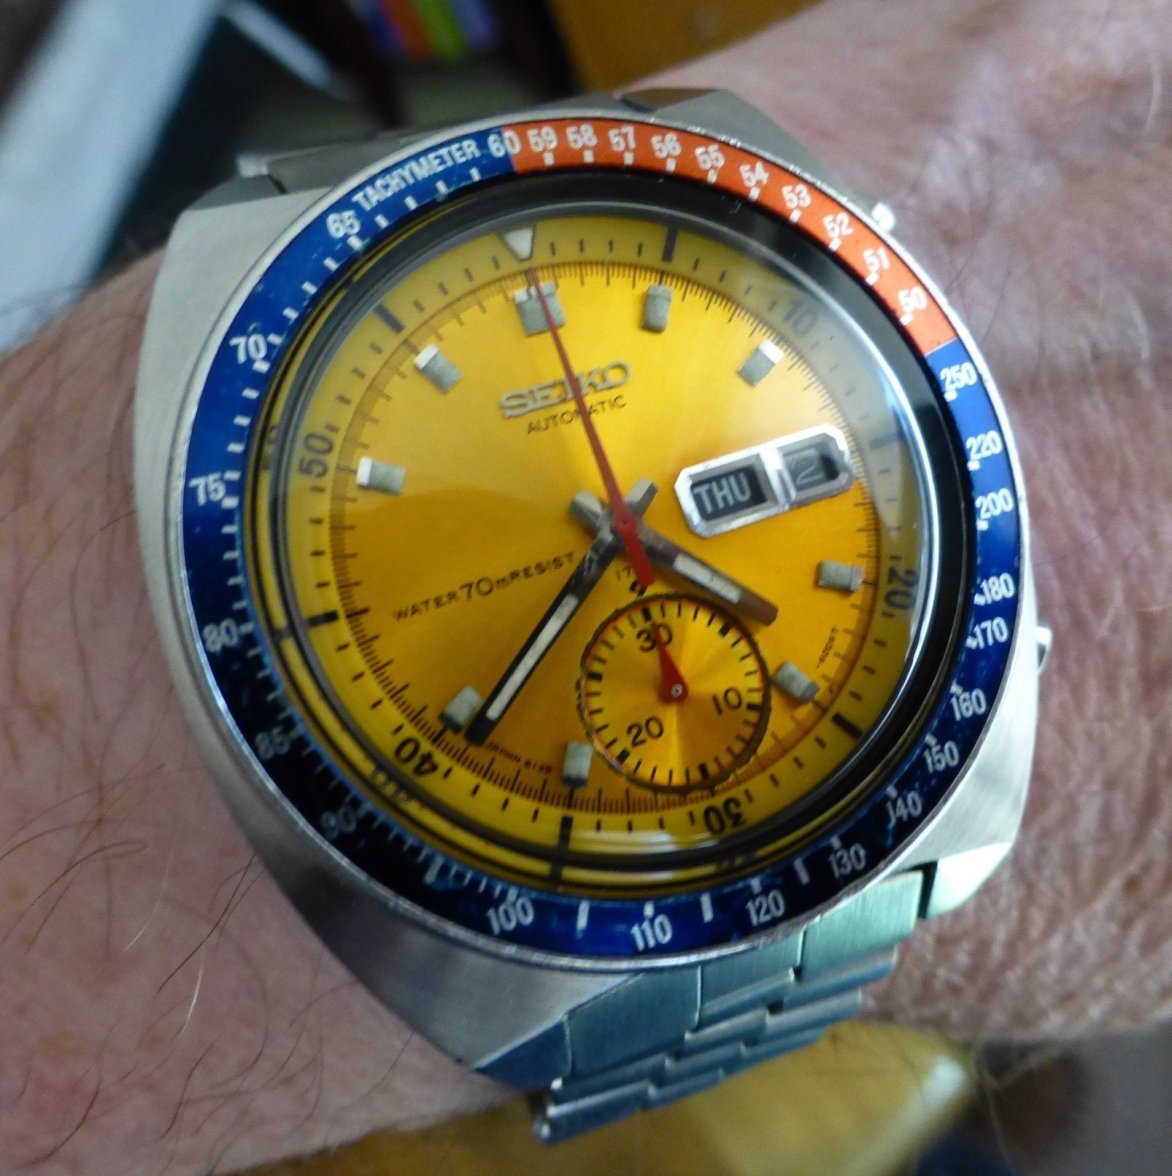
The last stage, I fitted the vintage Seiko Stellux bracelet and tried it on the wrist for the first time.

Excuse the pic, I didn't focus properly.


So that's the end of the project, I now have my "Colonel Bill Pogue" homage and a parts watch that will support this and my other two 6139s.

The End
 
Posts
16,268
Likes
34,314
Or is it the end?


😁


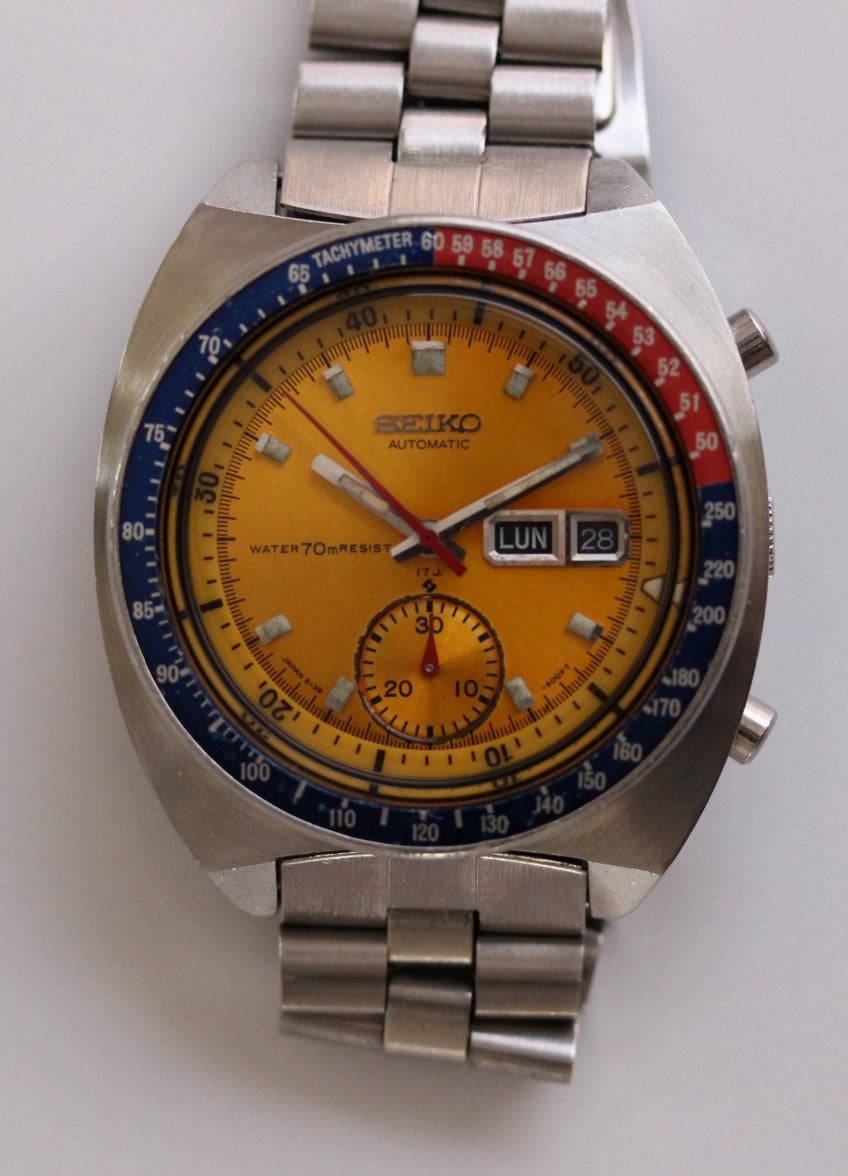
I decided to post one last shot of my watch in true Pogue mode, I couldn't replicate Bill's minute recorder hand though but I'd like to think that his watch looked like this at some stage of it's life.

My Pogue


The True Pogue