On My Bench - Seiko 6139-6002 - The First Automatic Chronograph

Posts
16,176
Likes
34,122
So now that the Zenith crowd and fans of watches using famous Caliber 11 have just had the WIS equivalent of an apoplexy, let me continue.

A nice 6139-6002 recently arrived and as advised by the owner, it was dead, not working, defunct etc etc.

As this was a known, I didn't bother trying to start it, just straight into photos.

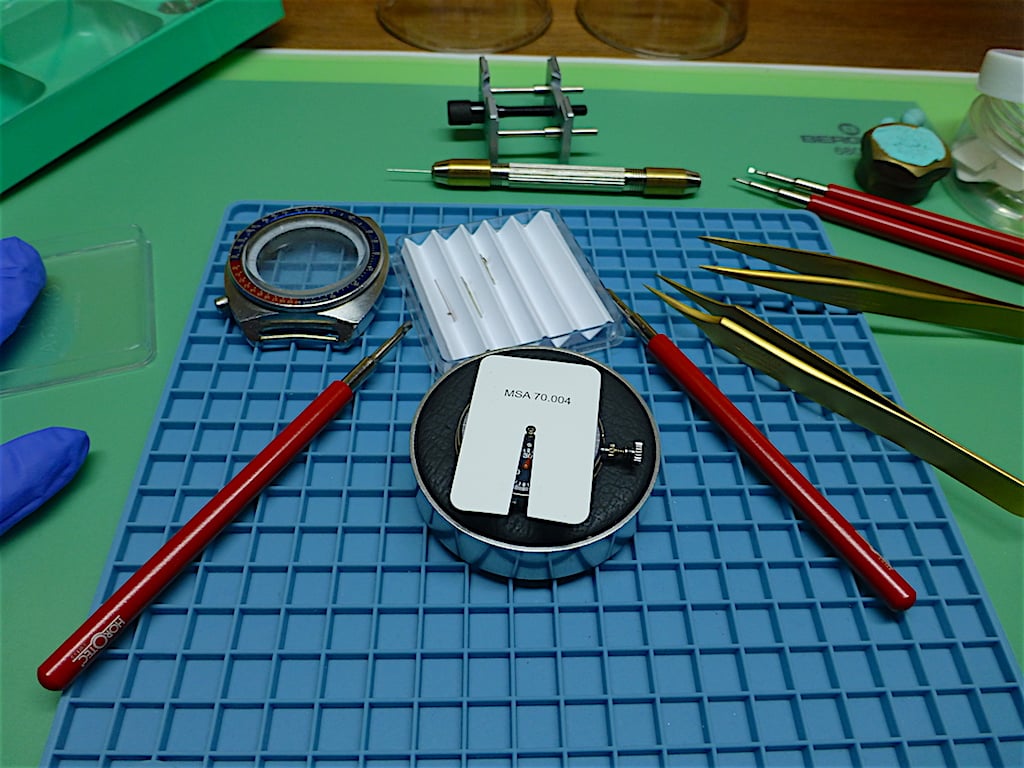
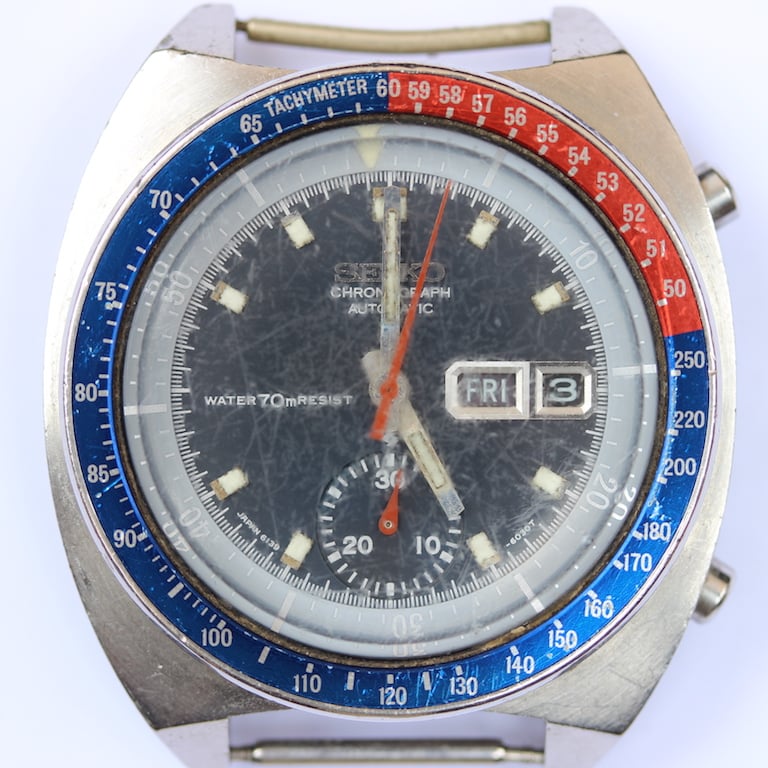
A rather nice bezel, aged crystal and reasonable case shape when seen from the front.


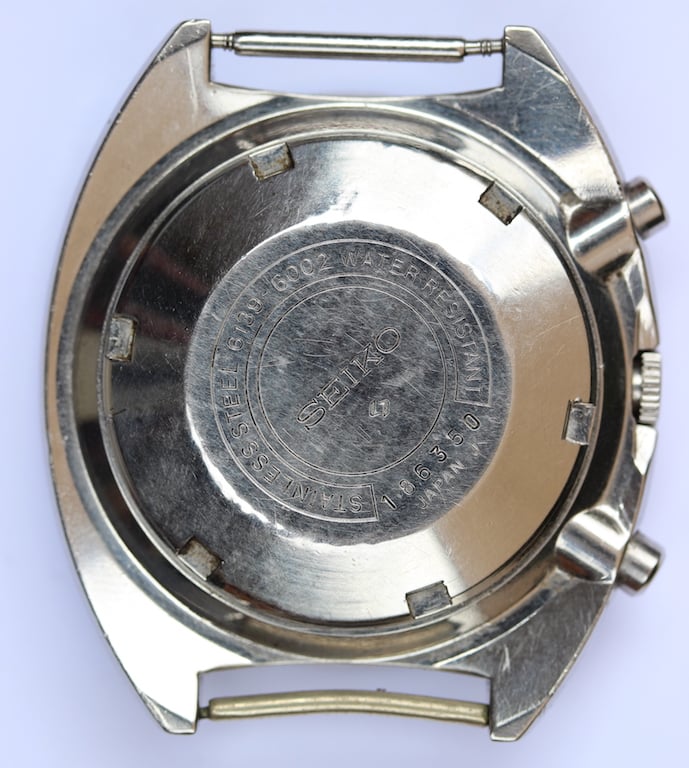
The caseback is pretty normal, and the information tels us that this watch dates to August 1971, so about 48 years and 6 months old.


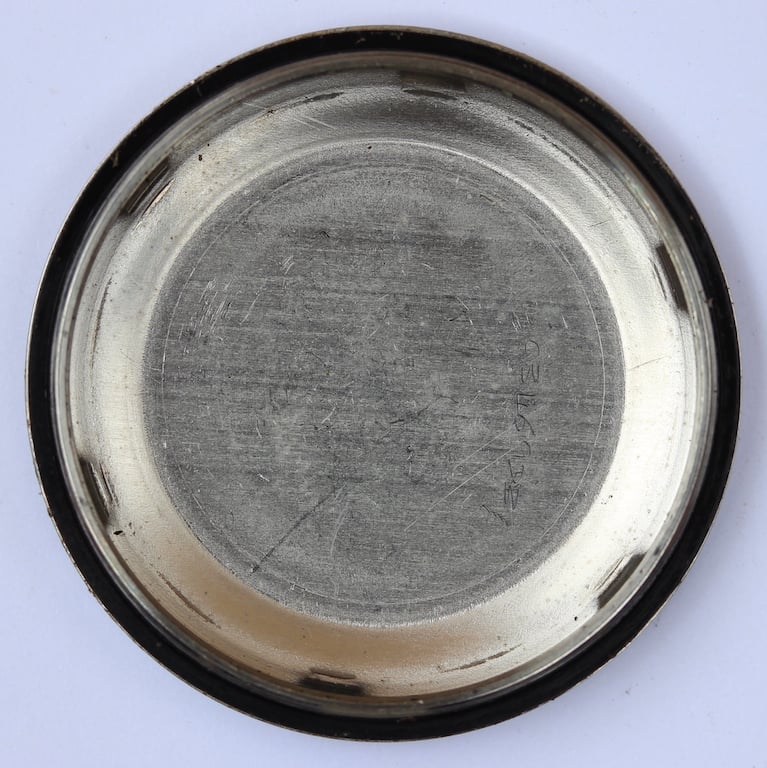
First thing was to get the caseback off. Nothing very interesting there.


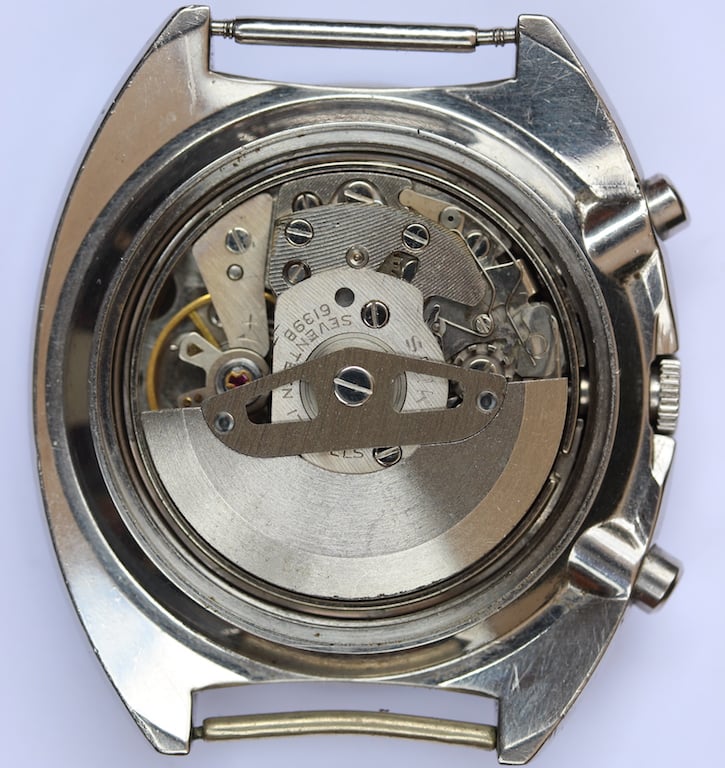
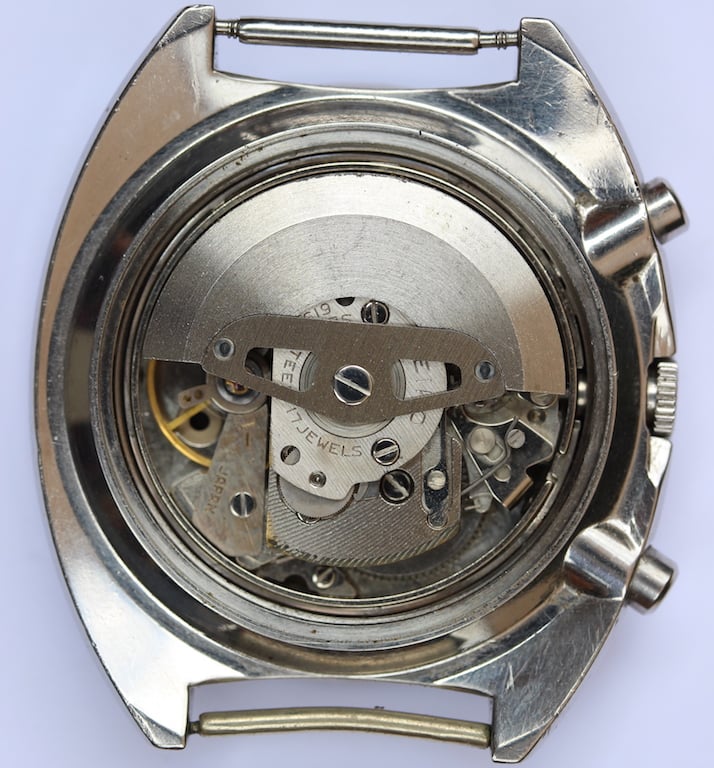
So let's have a quick look inside.

The upper half of the movement looks OK, shows a little rubbing on the bridge but not too serious.


The lower section is much the same, not too bad but the visible jewels are very dry and there's lots of "stuff" around the movement.


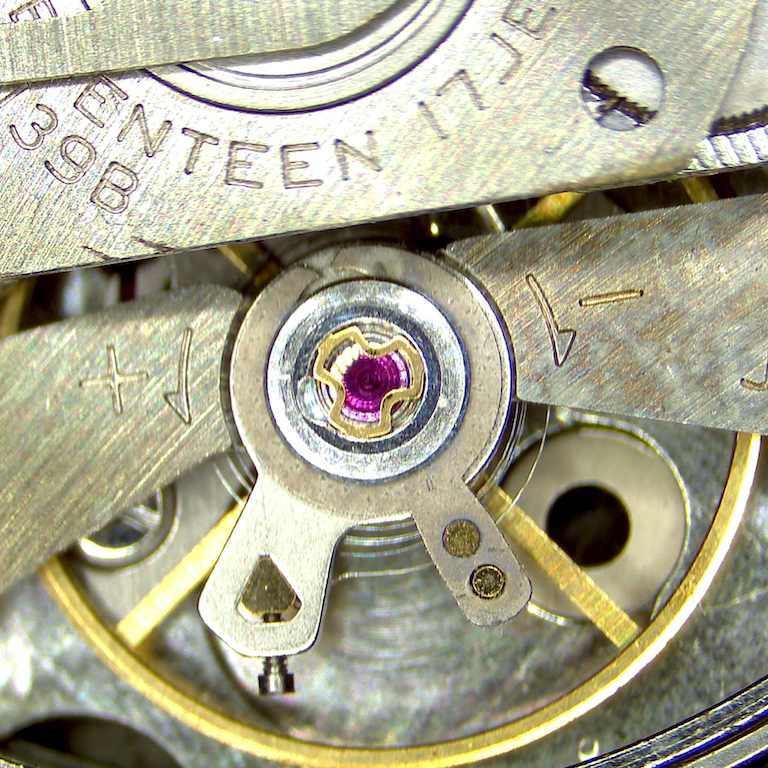
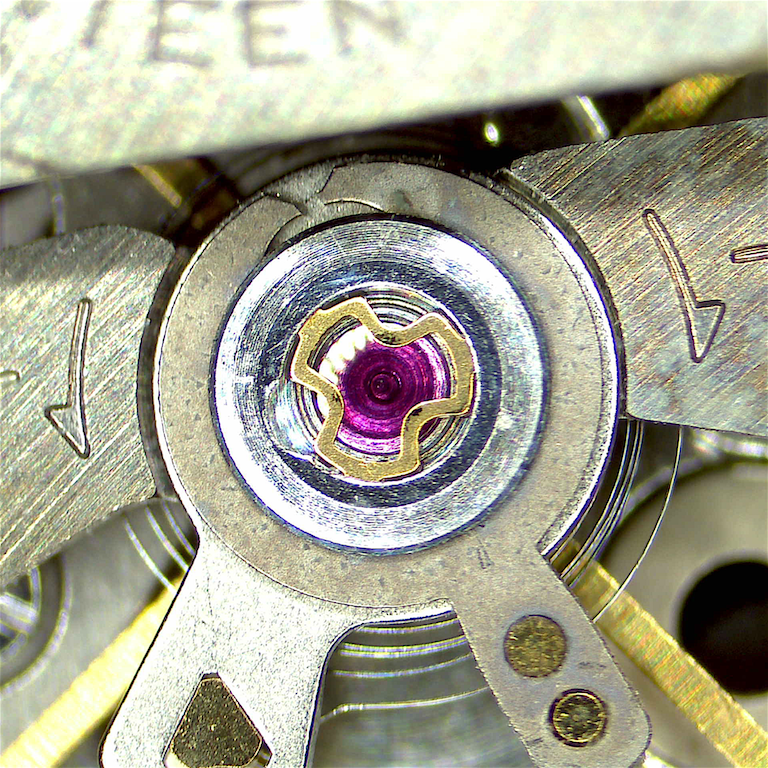
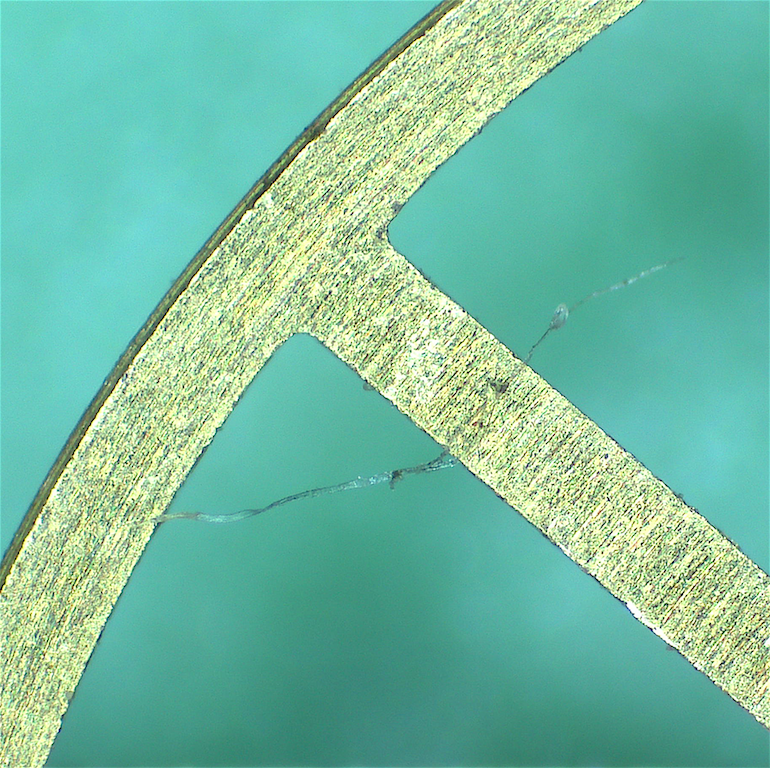
A closer look at the hairspring shows some coil binding. Oil? Magnetism? Or something else?


A closer look and not much more is visible.............


.............so I'll remove the balance assembly as it's easy to do while the movement is still in the case.

With the balance removed, the problem is obvious.


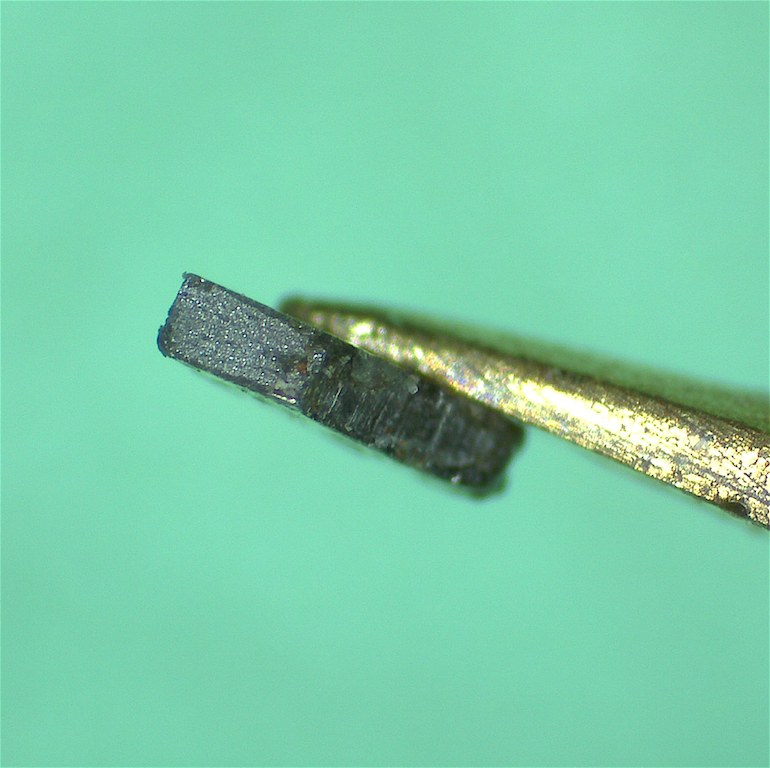
Can't see it? It's the lump of metal blocking the pallet lever.


With my fine tweezers it's removed and bagged as "evidence".


Now it's time to do some detective work.
 
Posts
16,176
Likes
34,122
The pallet lever moved freely and no other damage is apparent, so the balance assembly is put back in to see if the movement will run.

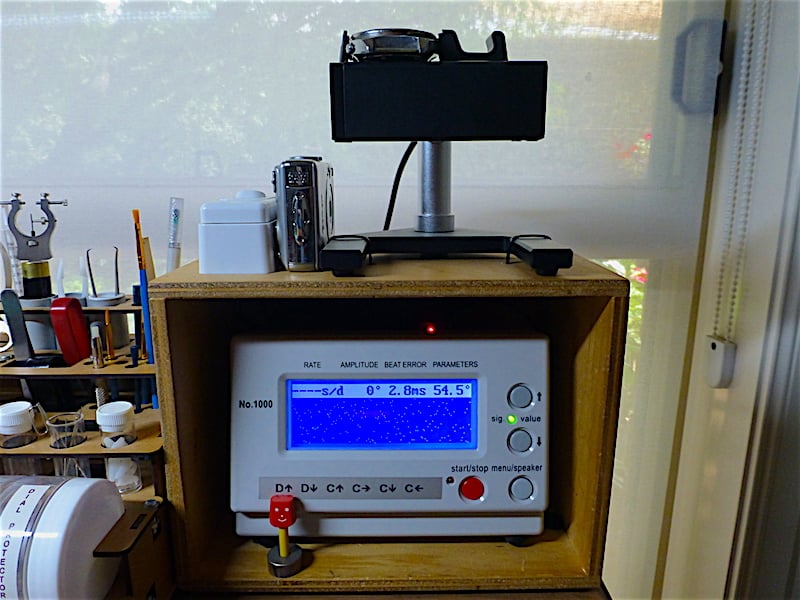
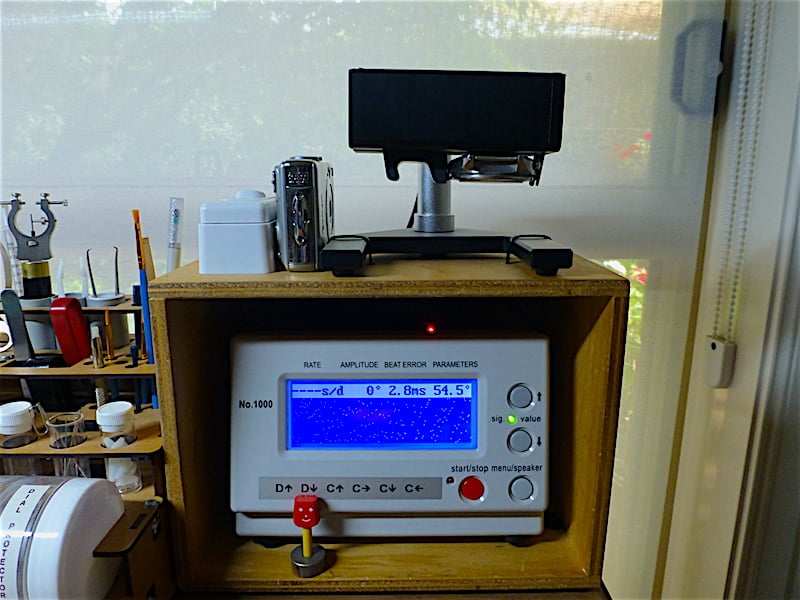
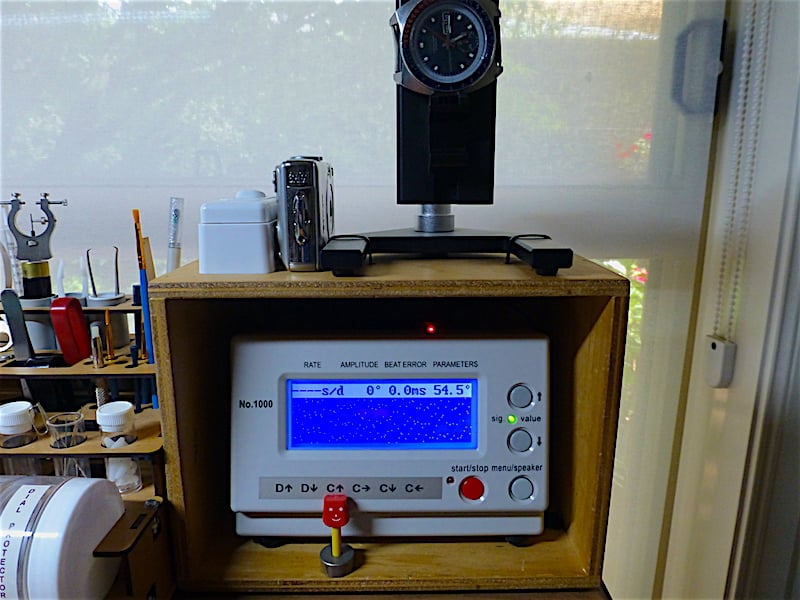
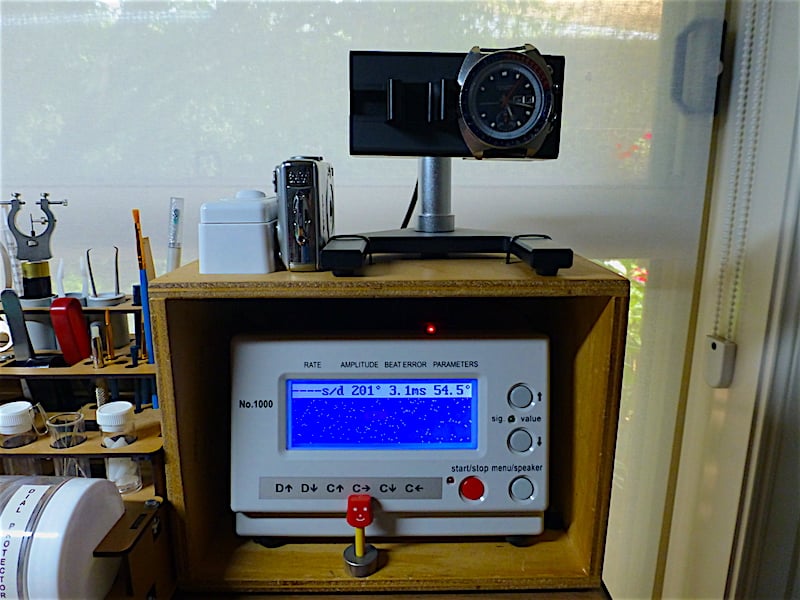
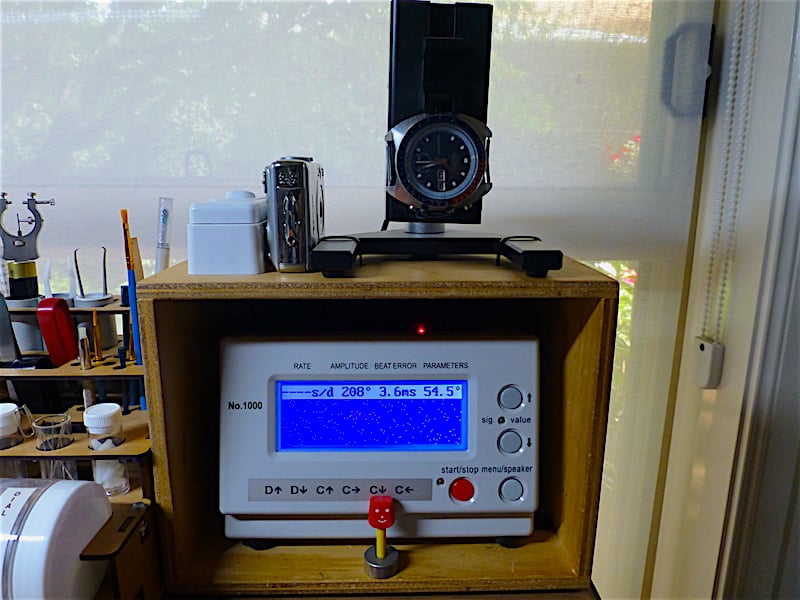
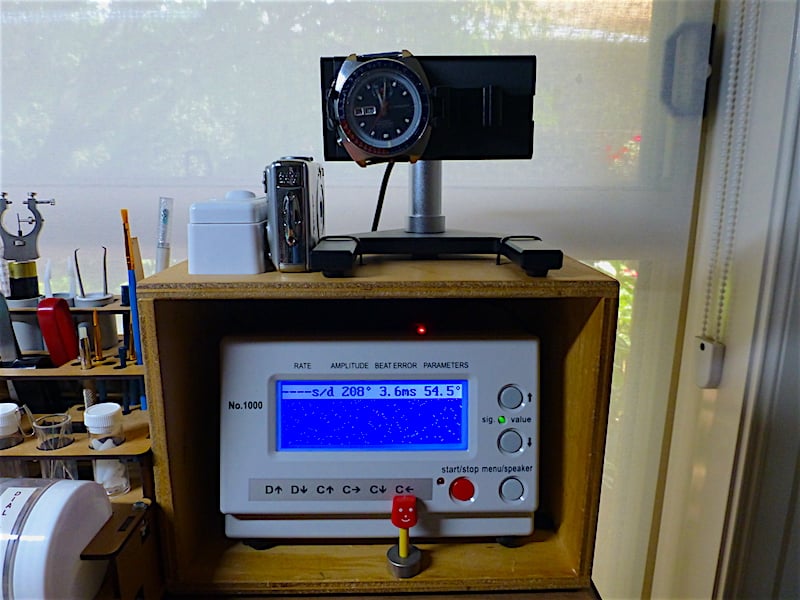
Onto the Timegrapher for a quick check.


Nothing to be seen here, something is not right so on we go. Hmmm, I wonder if this affected things?


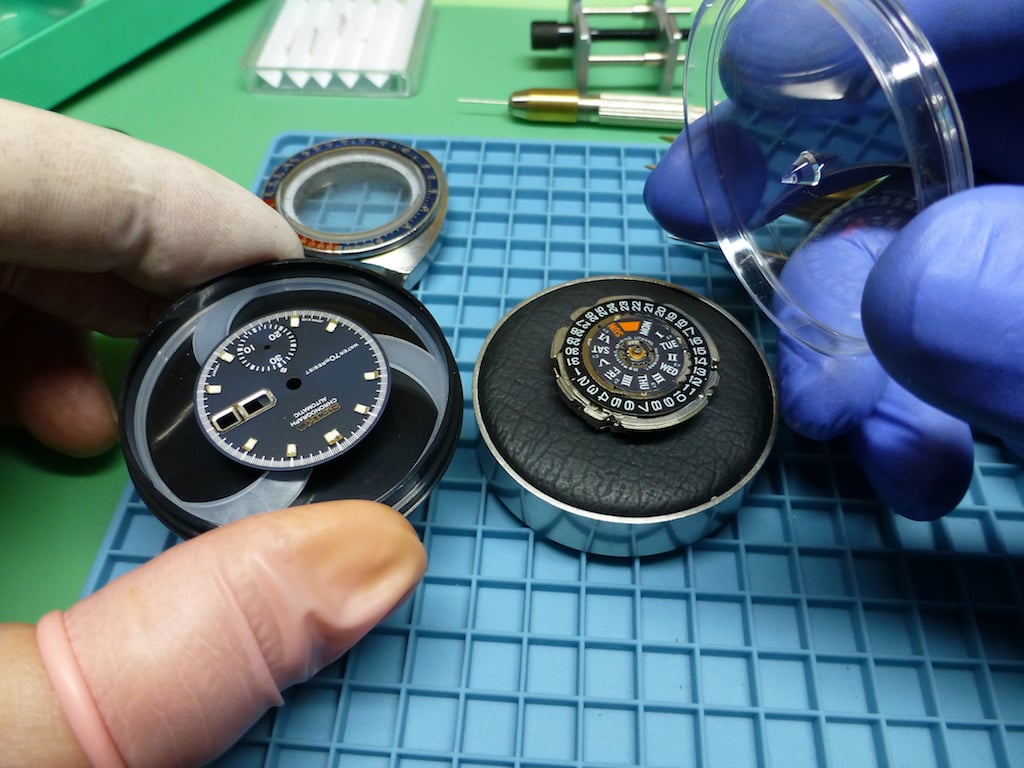
Maybe not, but we will commence disassembly. With the movement out we start by removing the big hands (they're the easy ones) and storing them to prevent damage.


Then the tiny Seconds hand goes into storage.


The removal of the dial is next, and after loosening the two dial feet screws, the dial goes into hibernation.


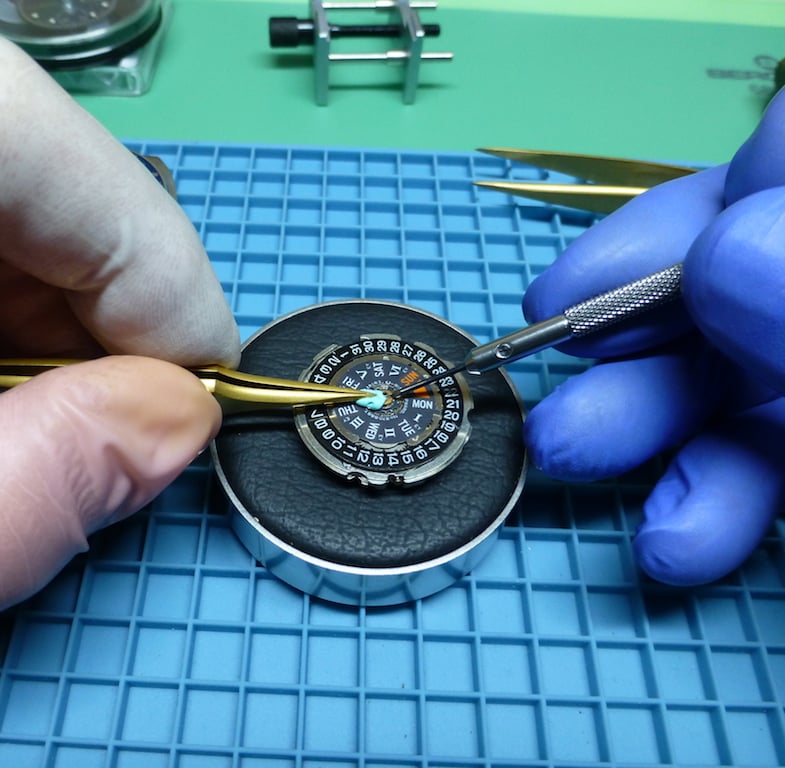
Which leaves us with the day and date wheels to remove. The retaining clip is held with clean Rodico in case it wants to depart the scene.


With them safely stored we can turn the movement over to see if we can find the source of the broken particle.
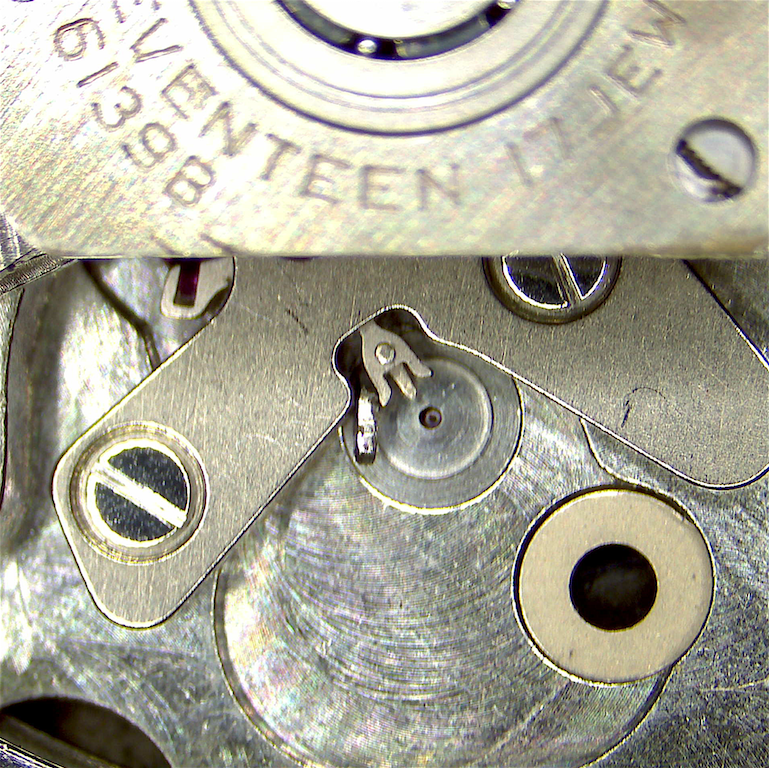
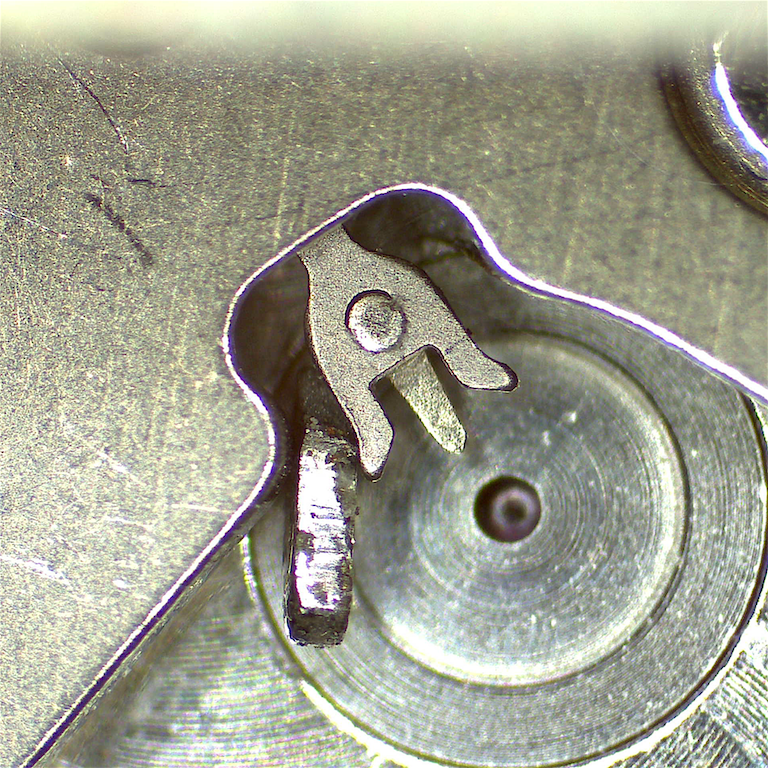
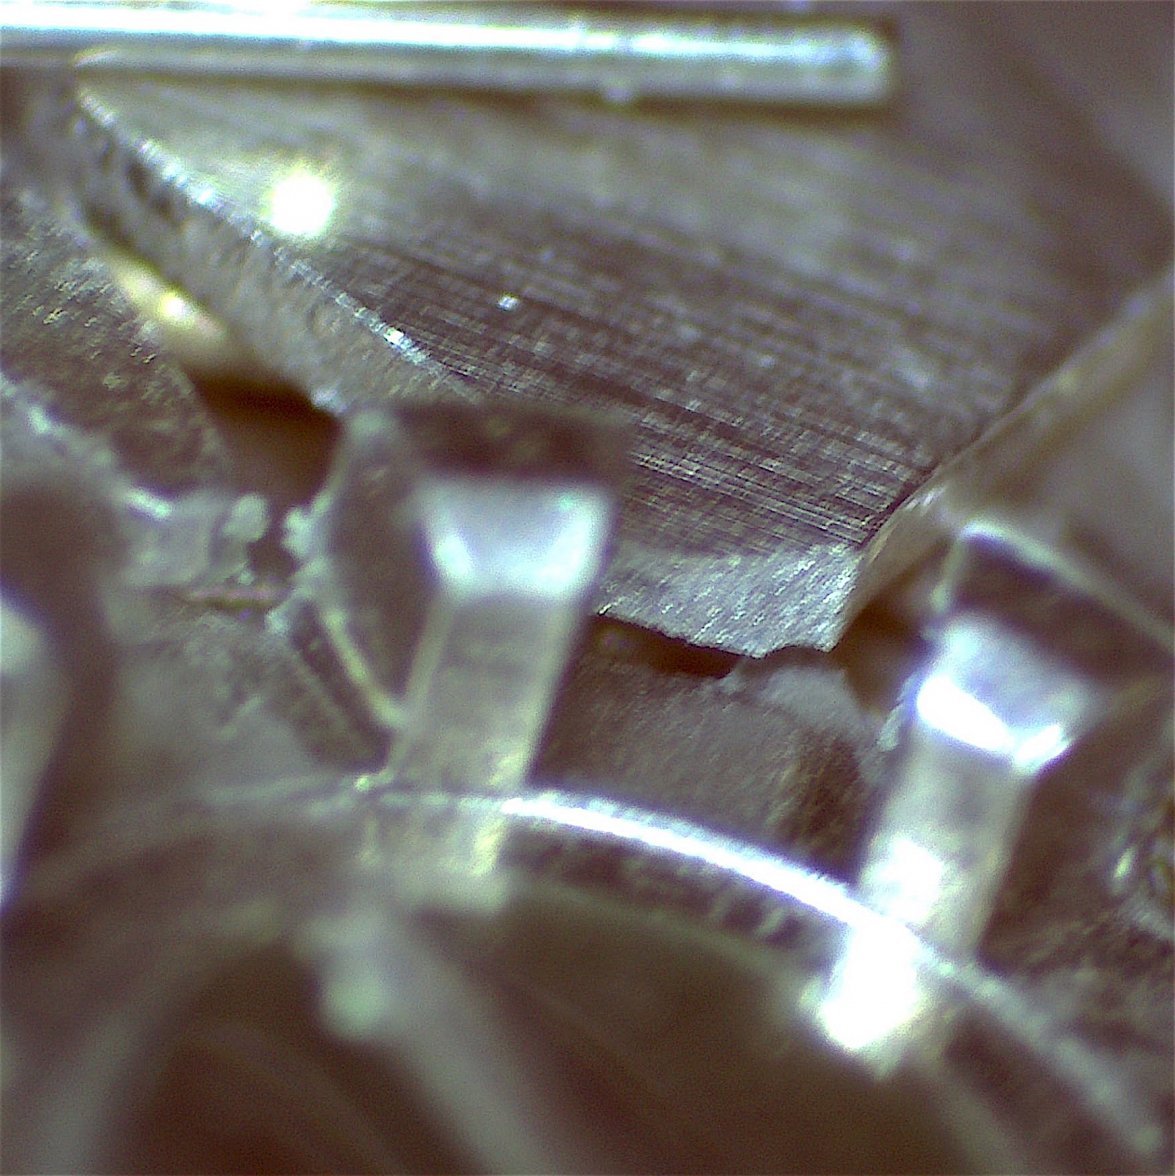
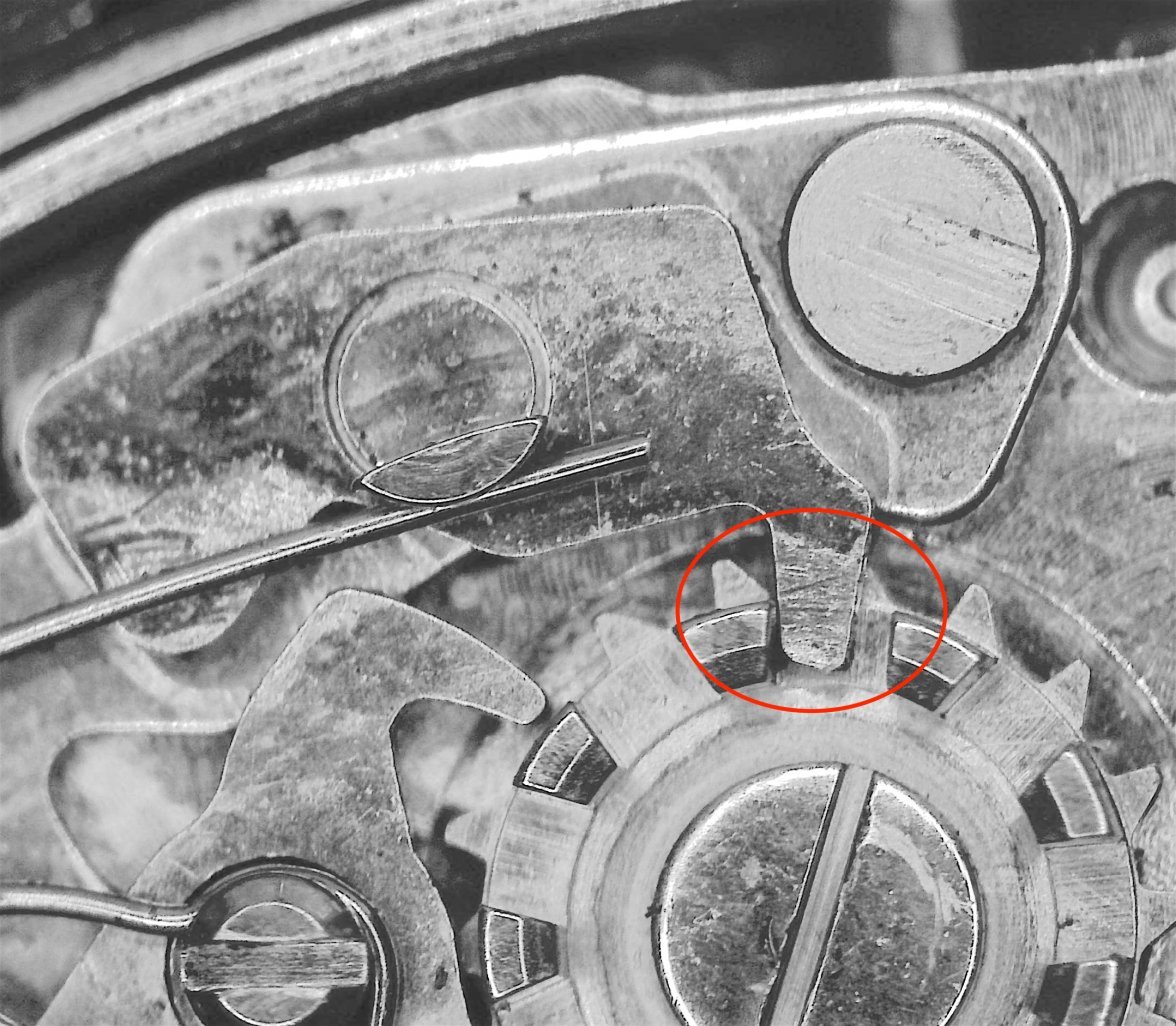
It doesn't take too long to find that the tooth of the Intermediate Fly-Back Lever has broken off.


Here's an example from another watch showing what it should look like.


First success, we found something wrong!
The movement will now be completely disassembled and normal inspection and cleaning will be carried out.
 
Posts
1,541
Likes
3,349
I’m delighted you’re doing this. I’m really getting into Seiko watches. Thank you.
 
Posts
1,417
Likes
8,683
Waou. Big contribution, thanks a lot. My 6139-6002 thanks you too!
Edited:
 
Posts
1,980
Likes
3,340
Great detective work 👍 - I also love the stick figure, did it come with the timegrapher? 😉
 
Posts
27,344
Likes
69,730
Hi Jim,

When you get this disassembled and cleaned, pay attention to the holes in the main plate and bridge that the barrel arbor go through - sort of notorious wear points on these. If these are worn and the barrel can tip too much, it will need to be addressed.

A friend of mine has had custom jewels made so that he can open up the worn holes and install jewels in both these locations.

Cheers, Al
 
Posts
16,176
Likes
34,122
Great detective work 👍 - I also love the stick figure, did it come with the timegrapher? 😉

It's the top off a child's acrylic knitting needle that I cut off. I use the other bit as a non-marring stick/probe/helper.

Hi Jim,

When you get this disassembled and cleaned, pay attention to the holes in the main plate and bridge that the barrel arbor go through - sort of notorious wear points on these. If these are worn and the barrel can tip too much, it will need to be addressed.

A friend of mine has had custom jewels made so that he can open up the worn holes and install jewels in both these locations.

Cheers, Al

Thanks Al, noted.
As the highest loaded holes it would have been a good idea to at least bush them, although these movements were being built to a budget and expected to be maintained whereas most Seiko owners seemed to take pride in the fact that "my watch has been running for 20 years and never needed a service".
I'll let you know what I find.
 
Posts
27,344
Likes
69,730
most Seiko owners seemed to take pride in the fact that "my watch has been running for 20 years and never needed a service".

Yep...the two most common brands I hear that comment about are Seiko and Rolex. And as a result there are a ton of Seiko and Rolex out there that worn to crap...
 
Posts
16,176
Likes
34,122
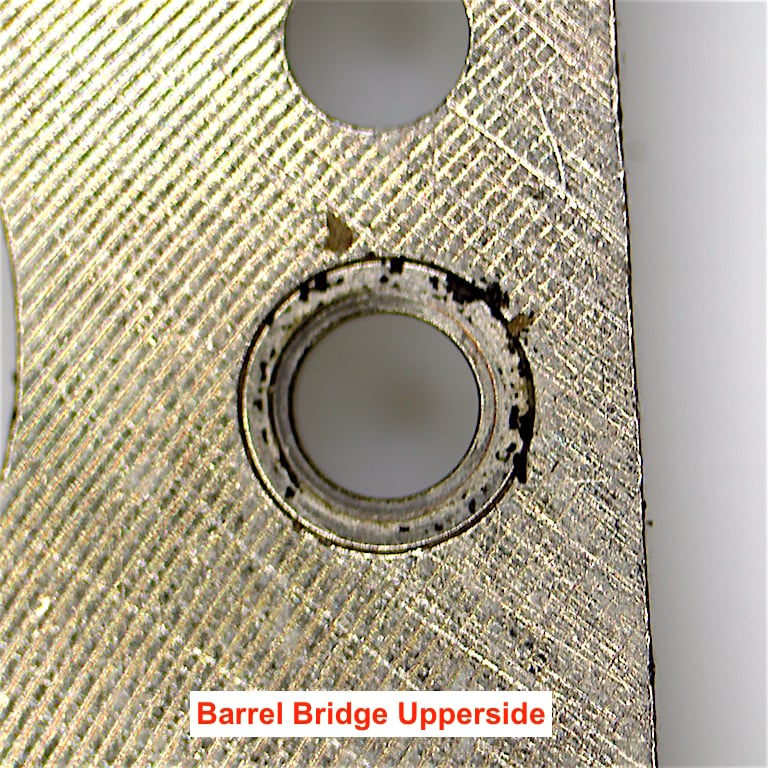
Just took a couple of quick shots during disassembly.
The arbor holes look OK, if a little gungy. The one in the plate has some nice dried grease, or garnish? I'm not sure.


The barrel bridge arbor hole looks to be good too, and it's even bushed.


Back to work now.
 
Posts
16,176
Likes
34,122
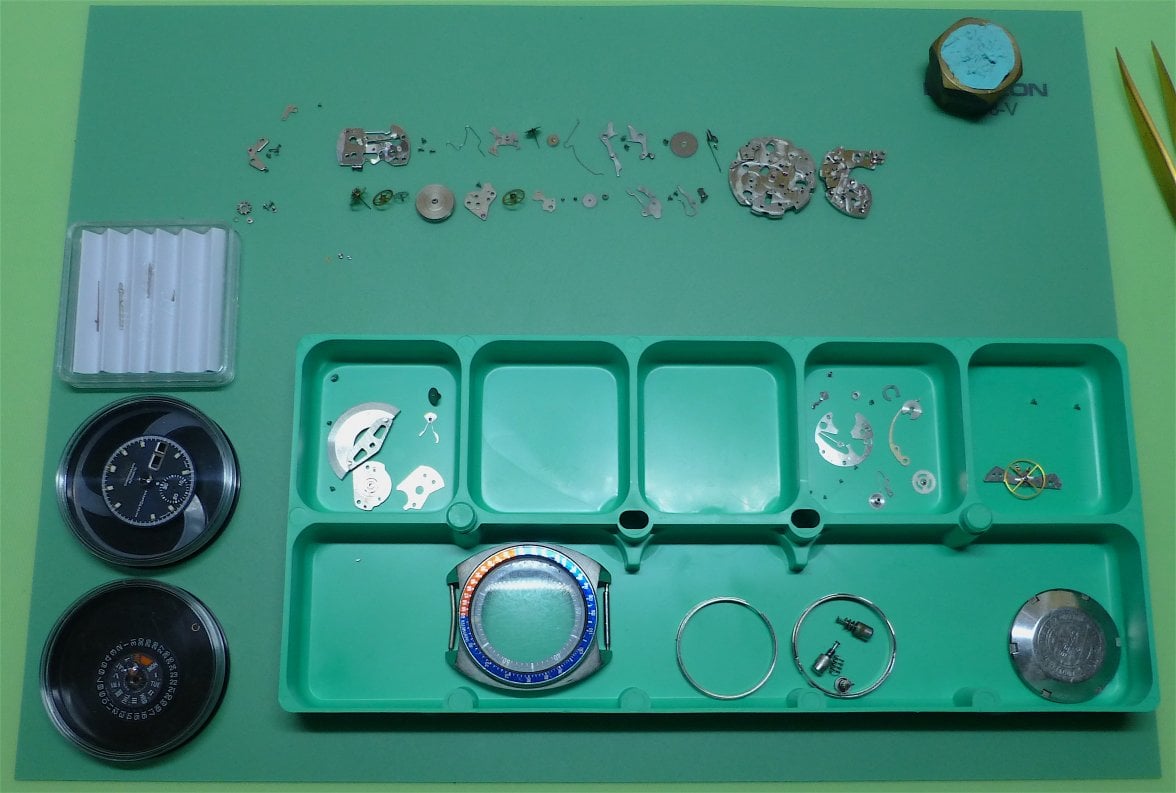
Done with disassembly.


All of the parts with the exception of the Intermediate Flyback Lever look fine, if somewhat dry and dirty.

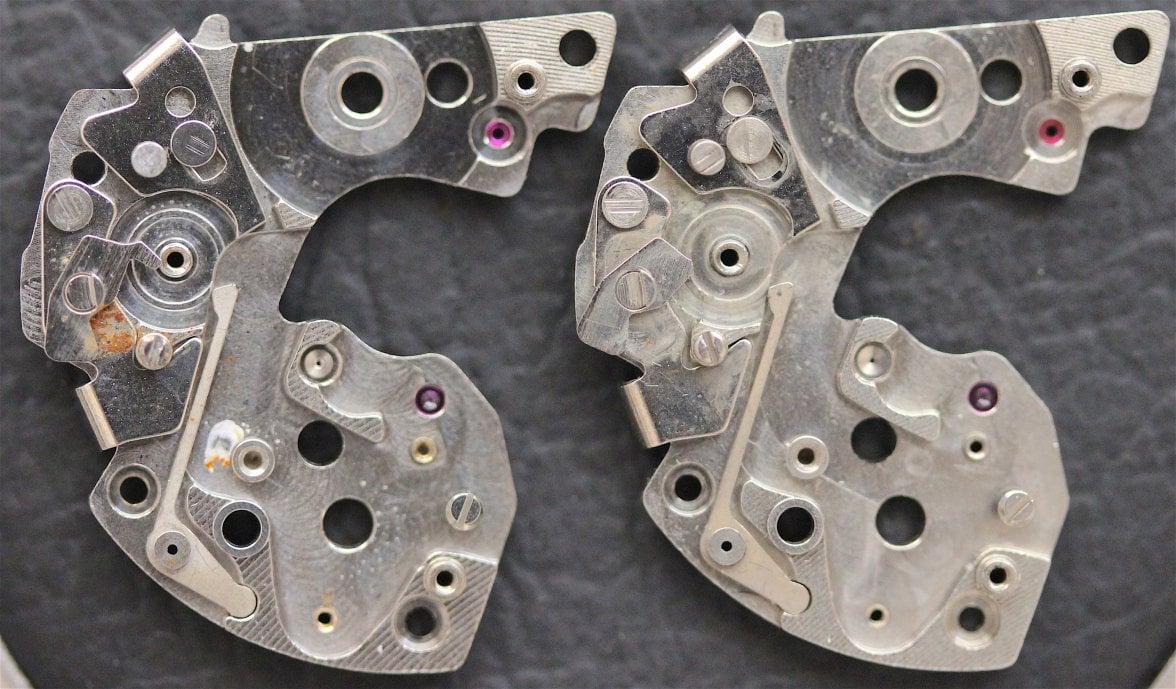
Seiko, for some reason, has staked the chrono levers and a few other items to the main parts, so they are non-replaceable, it requires a whole new parent assembly.

Luckily I have a donor movement on hand so that'll save some time, no waiting for parts to come from Spain, UK, Philippines, USA etc.


It will need rust removal and cleaning, but as it's approaching 40ºC right now in my watch cleaning room (AKA garage) it'll all have to wait until Saturday (tomorrow is booked for gardening and stuff 🙁).
 
Posts
12,910
Likes
51,616
Yep...the two most common brands I hear that comment about are Seiko and Rolex. And as a result there are a ton of Seiko and Rolex out there that worn to crap...
I have a friend with a late 80s Sub who spews that nonsense. I’ve been begging him to send it in for service. No amount of explanation can sway him. He thinks it’s immortal.
 
Posts
2,426
Likes
6,539
I have a friend with a late 80s Sub who spews that nonsense. I’ve been begging him to send it in for service. No amount of explanation can sway him. He thinks it’s immortal.

that will be a fun “One owner” watch with all original parts.
Ready to go to the safe deposit box. No one wears valuable Rolex anymore.
😁
 
Posts
27,344
Likes
69,730
The arbor holes look OK, if a little gungy.

I don't usually tell by looking at the holes directly, since a slight bit of oval on the hole can be tough to see directly.

Look for signs that the barrel is tipping in the movement, so shiny wear spots between the main plate and barrel bridge, or material missing where the ratchet wheel rides from tipping and "digging in" to the bridge.

Also, when you start assembling the watch back together, mount the barrel and barrel bridge only, and screw the bridge down. Then take you brass/bronze tweezers and try to lift up on the edge of the barrel - if it tips enough to be close to touching something, then it will need repairing.

Cheers, Al
 
Posts
16,176
Likes
34,122
I don't usually tell by looking at the holes directly, since a slight bit of oval on the hole can be tough to see directly.

Look for signs that the barrel is tipping in the movement, so shiny wear spots between the main plate and barrel bridge, or material missing where the ratchet wheel rides from tipping and "digging in" to the bridge.

Also, when you start assembling the watch back together, mount the barrel and barrel bridge only, and screw the bridge down. Then take you brass/bronze tweezers and try to lift up on the edge of the barrel - if it tips enough to be close to touching something, then it will need repairing.

Cheers, Al

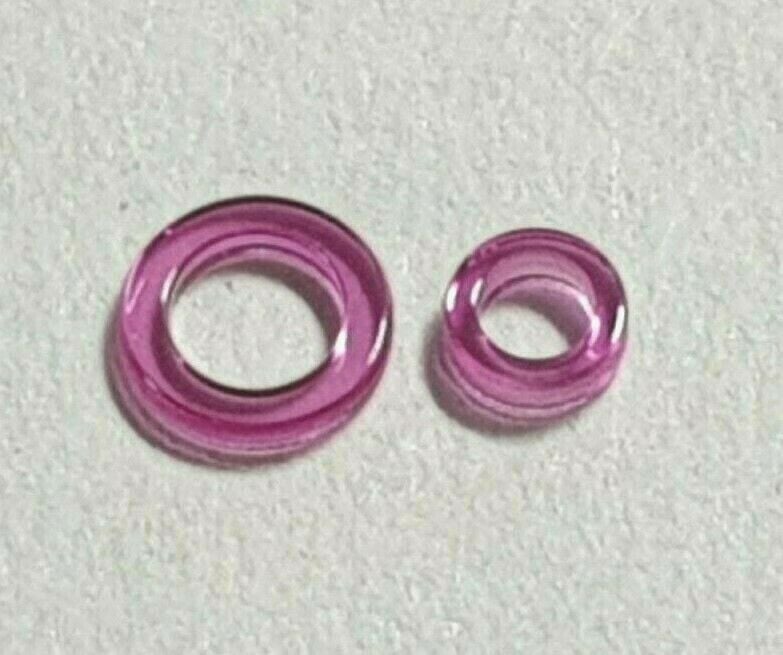
Well, while ordering a new crystal, seals and gaskets, I found a jewel kit for the barrel arbor, so that part's on hold until they arrive.
 
Posts
16,176
Likes
34,122
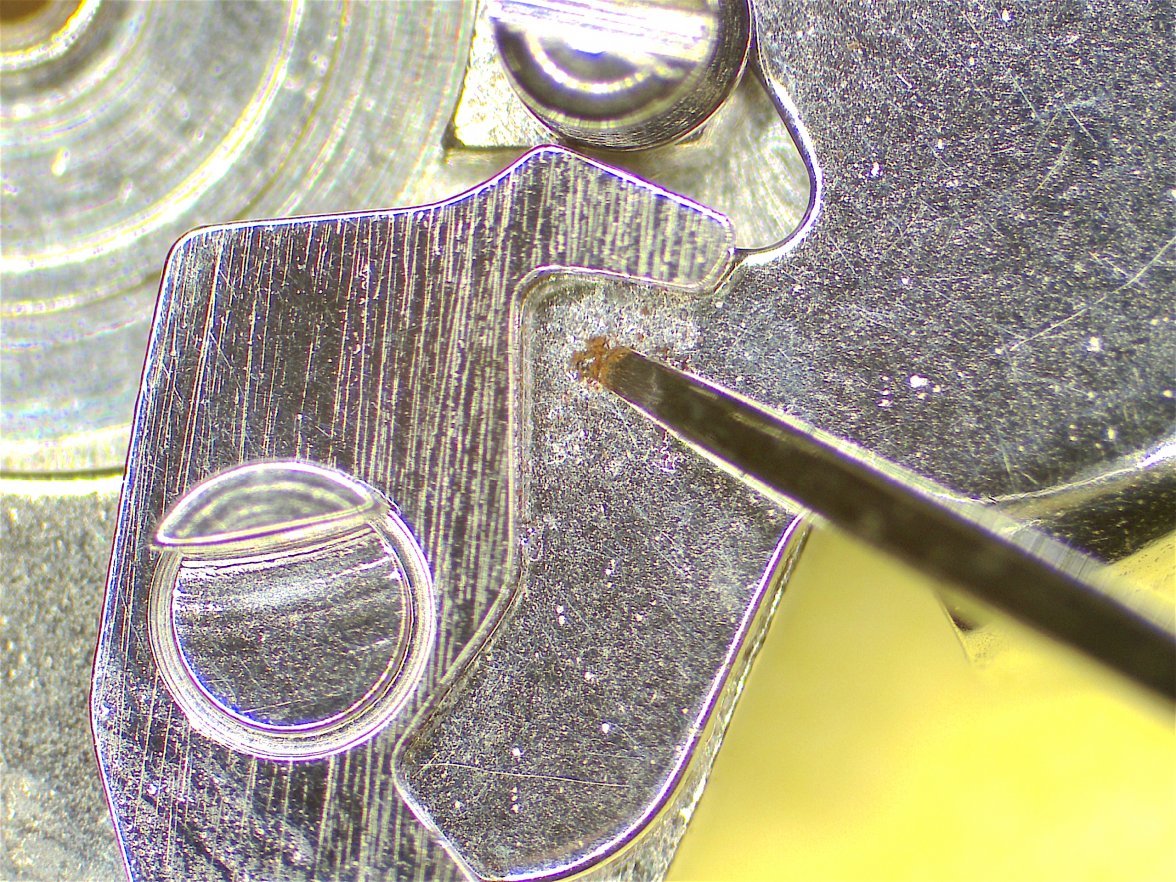
In the meantime I've used a sharpened needle to remove the rust scabs from the levers.


Next week I'll get some rust removing solution to get rid of the staining.
 
Posts
16,176
Likes
34,122
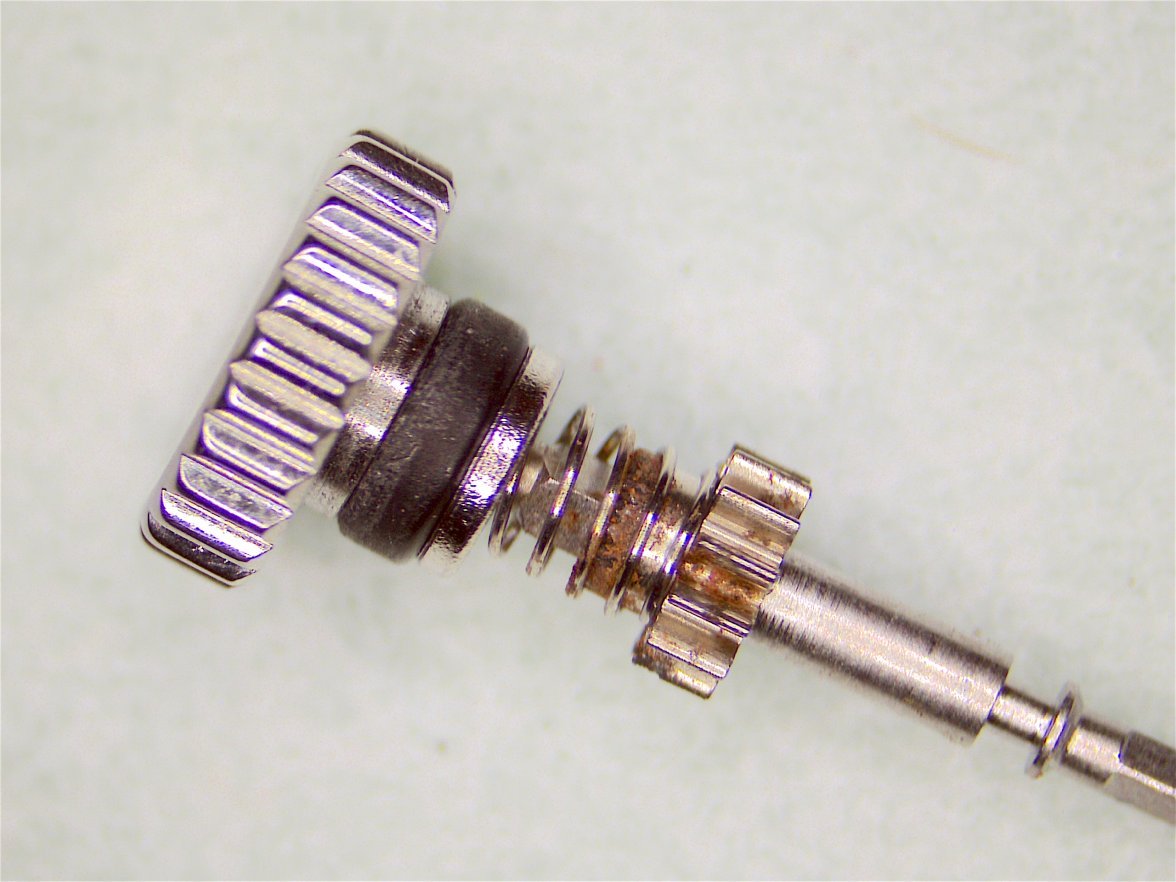
Next I had a look at the crown/stem and seal as this is usually where water gets in and therefore rust happens!

After a run in the ultrasonic, it's a bit easier to see what's going on.

This will need to be taken apart and rectified.

 
Posts
16,176
Likes
34,122
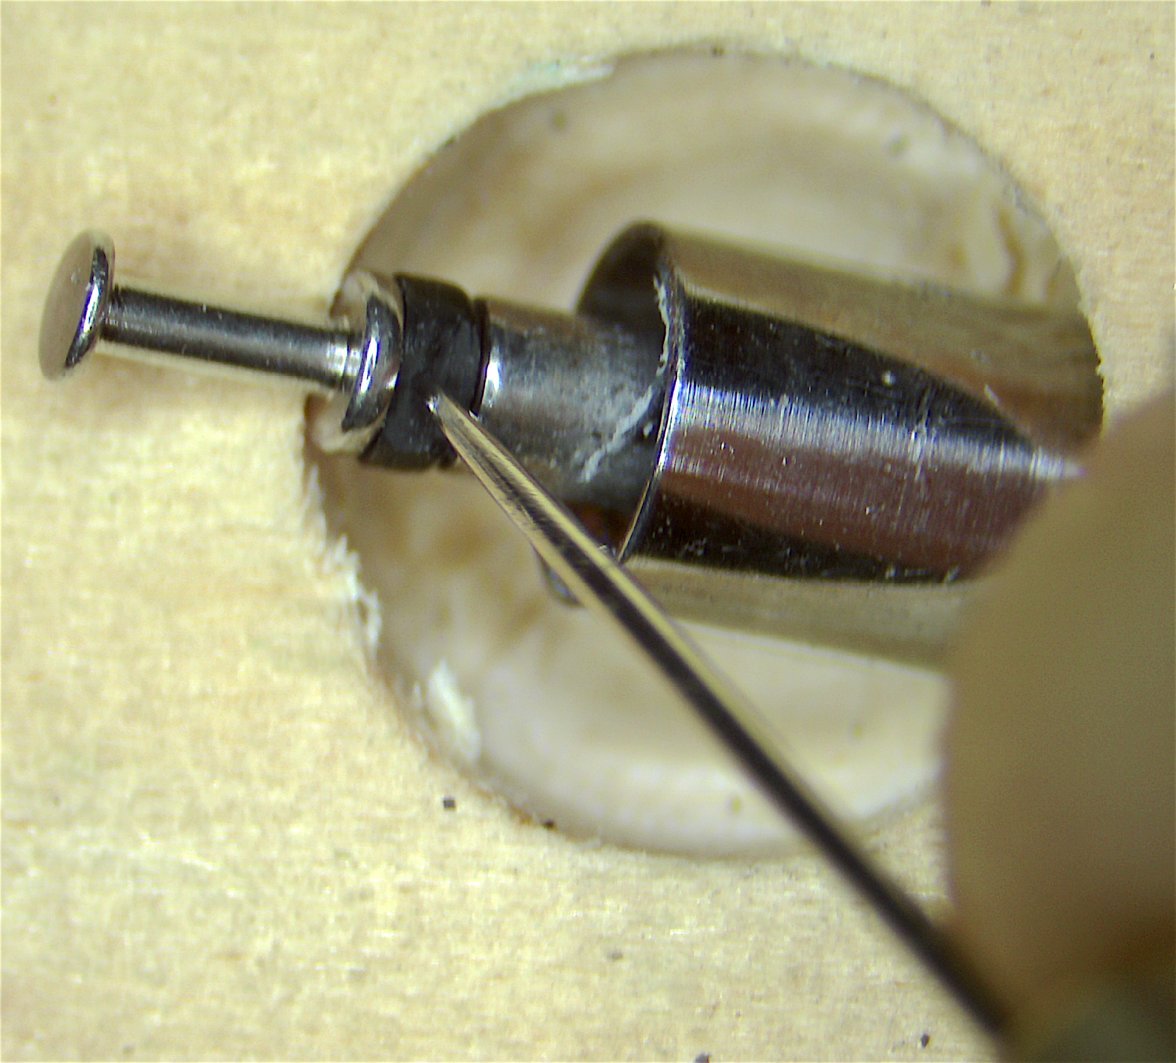
While I was rust hunting I checked the pushers. Here's an example, there's a lot of crud in there (looking down into the inside of the pusher).


So off with the old seal (almost had to be chipped off).


To remove the gunk inside the pusher (ultrasonic didn't do it) I put the pusher in a collet on the lathe, made a scraper from a soft copper wire with the tip flattened. This loosened most of the crud and rust solution will clean up the remains.


Enough for today, I'll have to clean up the rusty crud on my bench before I settle down with a beer.