Experiences/Tips on getting started with servicing for myself?

Posts
1,088
Likes
1,164
The "old" one is the standard bridge arrangement for the ETA version. The "new" one has that bridge and regulator arrangement because it is commonly used in fake Panerai watches.
AH! That explains it! Thanks for the info! Thats interesting to know.

I presume I'll not lose the benefit of the practice with this movement?
 
Posts
1,088
Likes
1,164
Good news: I got it together, and it runs!

Bad news: How it went 馃榾

-I ended up losing the click screw AGAIN, so I had to hunt that down,but managed to find it, so that worked.
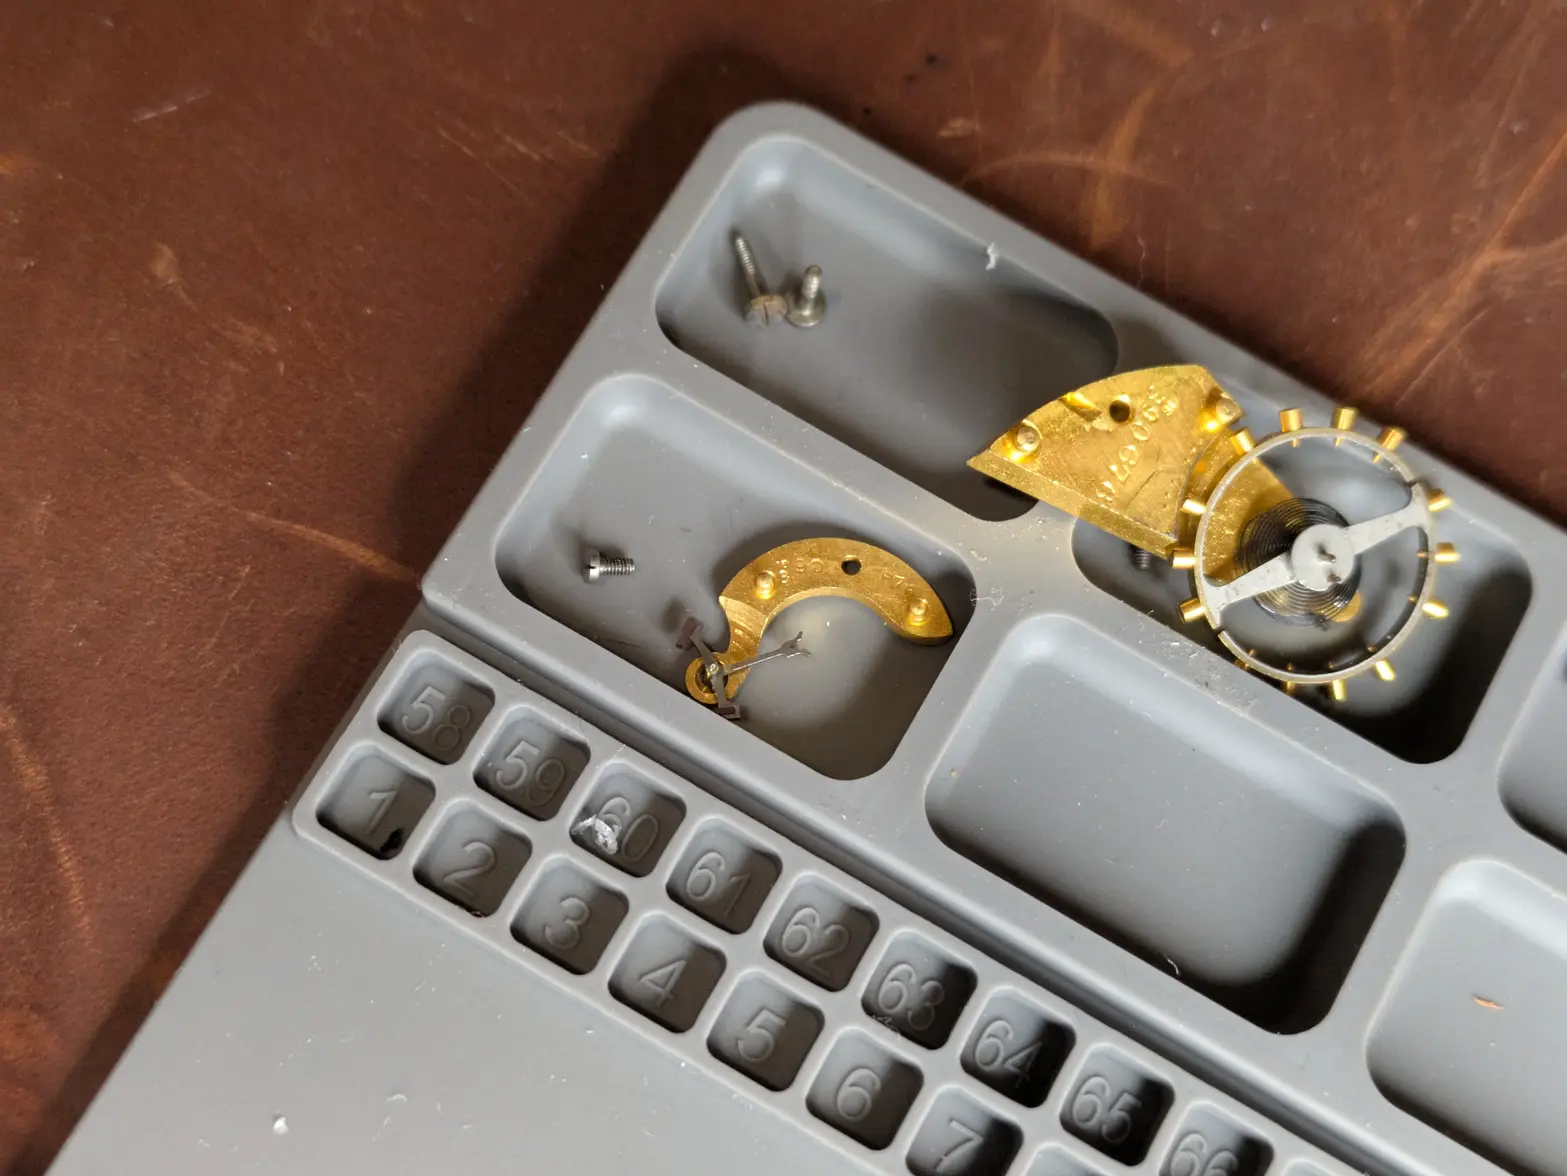
-I discovered while assembling that the pivot on the pallet fork was broken! I actually found said pivot part in my 'parts tray', so it happened either during disassembly, or during storage. I probably would do better getting a 2nd tray so I could put less things in the same tray, as I suspect with both of the cocks in there, it got jostled off. I was able to steel the pallet fork off the old one.

Otherwise, I put some wind into it, and it fired right up! I haven't measured it yet as I'm a little too stressed to see it, but at least SOMEWHAT successful progress?
 
Posts
11
Likes
3
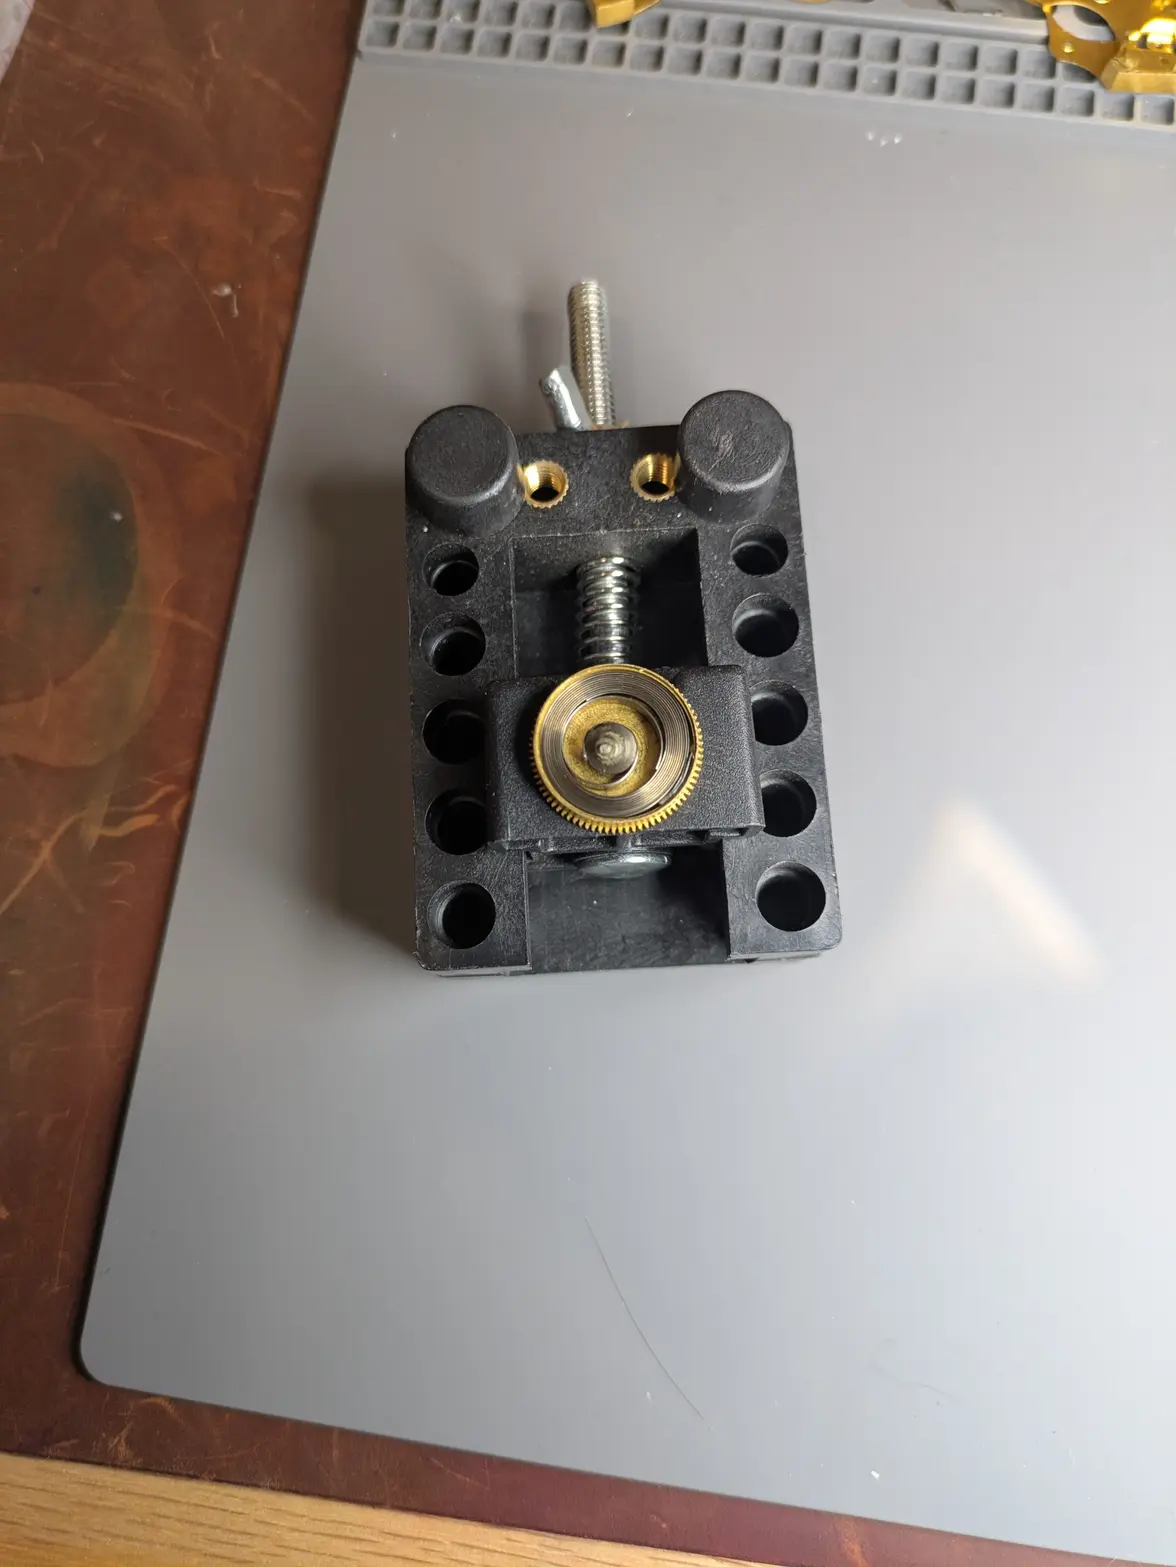
If you are actually replacing the mainspring (installing a new spring) you don't typically need a winder for that. Unless the spring has a special end (tee end or something like it) the spring can usually be pressed directly into the barrel from it's shipping ring.

I have a full set of Bergeon winders I bought used many years ago - I use them only a few times per year.
So are you simply purchasing a new spring for every reassembly? What do you find best.
 
Posts
29,113
Likes
75,240
So are you simply purchasing a new spring for every reassembly? What do you find best.
It is standard practice to replace the mainspring at every service.
 
Posts
1,088
Likes
1,164
SO, I was able to tear down my NH34. It is quite a bit smaller, and a little harder to figure out all of what is going on with the Automatic works (which is quite a complicated one?), Date complication, and the jumping hour/GMT hand.

There are quite a few things that are riveted to the movement that can't really be removed. Also, I couldn't get the automatic works too far apart, so I left that together.

One thing I DID seem to struggle with, some of the screws were a little on the smaller side for my small screwdriver. So far, I've been doing fine with a 2 pack of screwdrivers from my DIY Watch Club pack. They are 2.5mm and 1.25mm it appears (at least width wise), but the 1.25 is a little thick for some of the screws I think. SO, I've ordered the Bergeon 9 screwdriver kit that everyone on youtube seems to have 馃榾

In the meantime, I might file the small one a little thinner.

Unfortunately as well, tomorrow is likely my last day for a while, I'm going on a business trip to Austria on Friday, so only 1 more day taking breaks working on these movements 馃榾
Spent time on/off today, and was able to get the NH34 back together, and everything seems to work! My pictures and https://www.timemodule.com/uploads/attachments/download/Technical Guide/NH34_TG.pdf came in handy quite a few times!

Overall a pretty fun experience.
 
Posts
1,088
Likes
1,164
WARNING, picture heavy!


Alright, I decided to get to my first attempt at actually 'doing good' on this learning experience. I mentioned before I have a pair of pocket watches, 1 that works, 1 that doesn't. I opted to start on the 'non-functional' one first.


I am doing this for three reasons:


1- I am leaving tomorrow for a week-long business trip, so if I forget stuff, I'll feel 'less bad' about taking a broken one making it worse.
2- I think the little more practice using a pocket watch would be nice.

3- The replacement mainspring has yet to arrive (showing up Saturday after I leave!), so any replacement parts that would delay re-assembly can be ordered while I'm gone.


HELP NEEDED:

I figured I'd put together a list of the help I need 馃榾 Here it is!

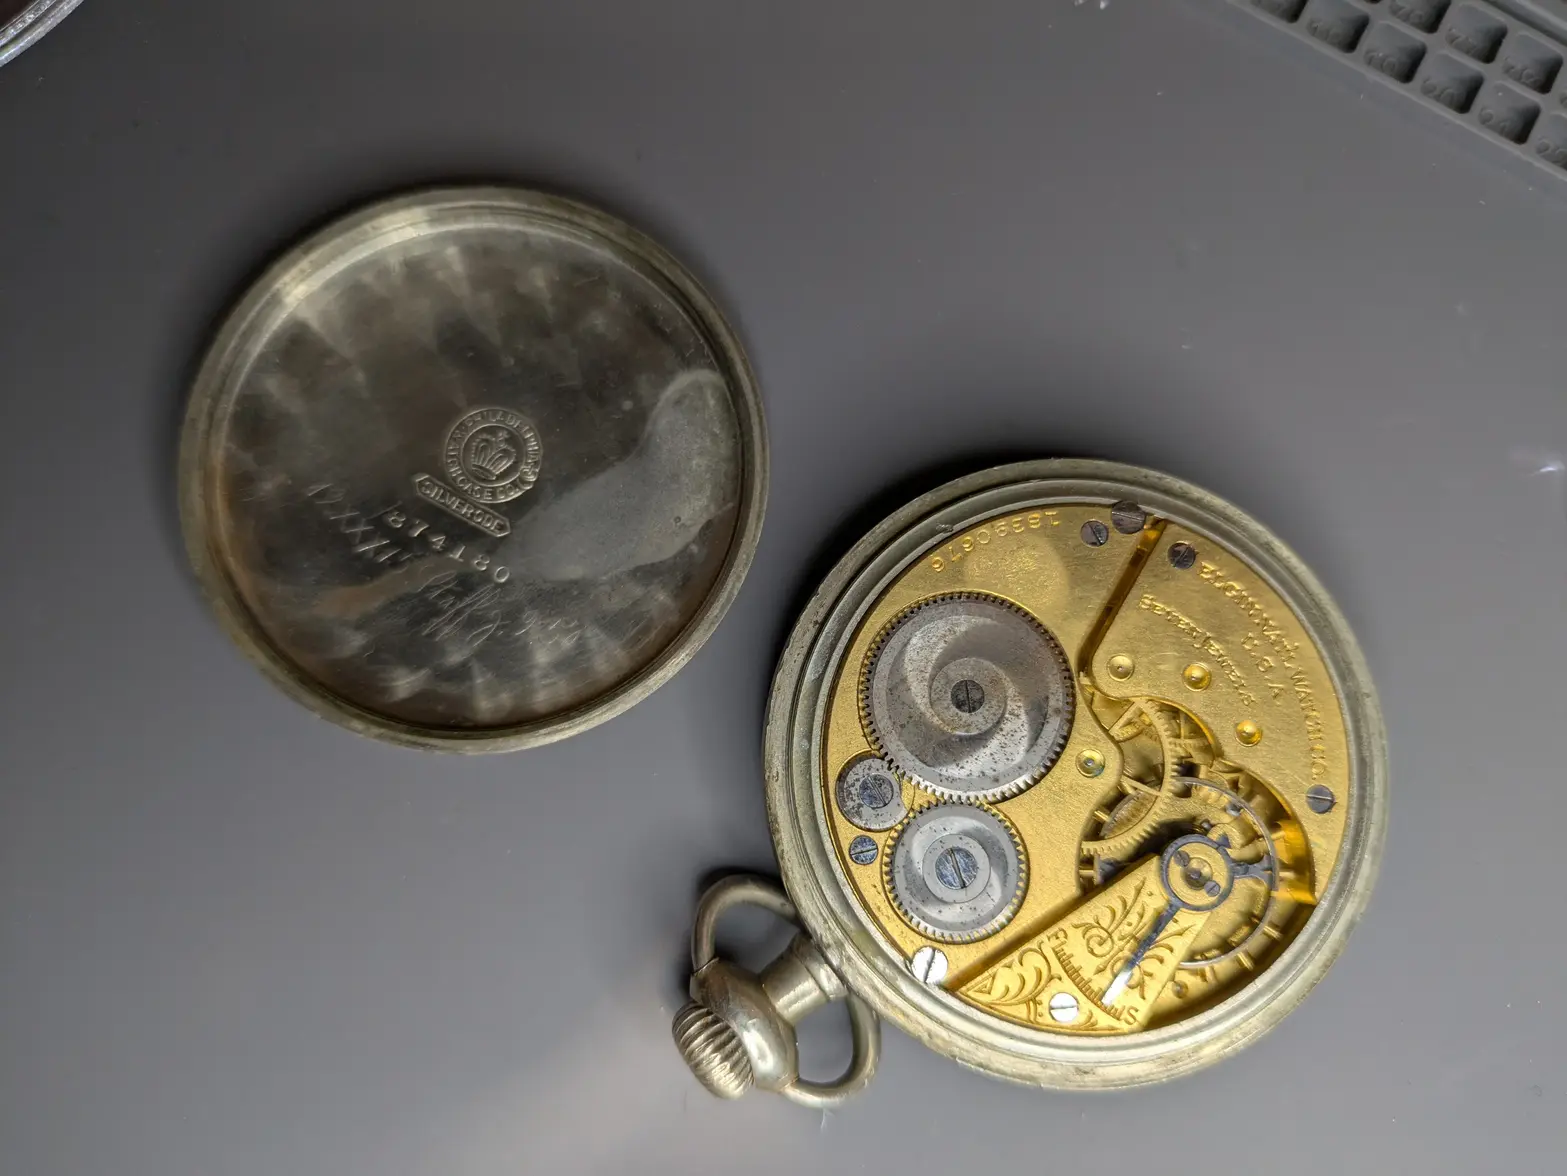
-ANY idea what the inscription inside the case back means?

-ANYONE have any idea how to remove the dial? (see side picture with lever near the bottom!)

-Can you confirm the stem is supposed to be 2 parts?


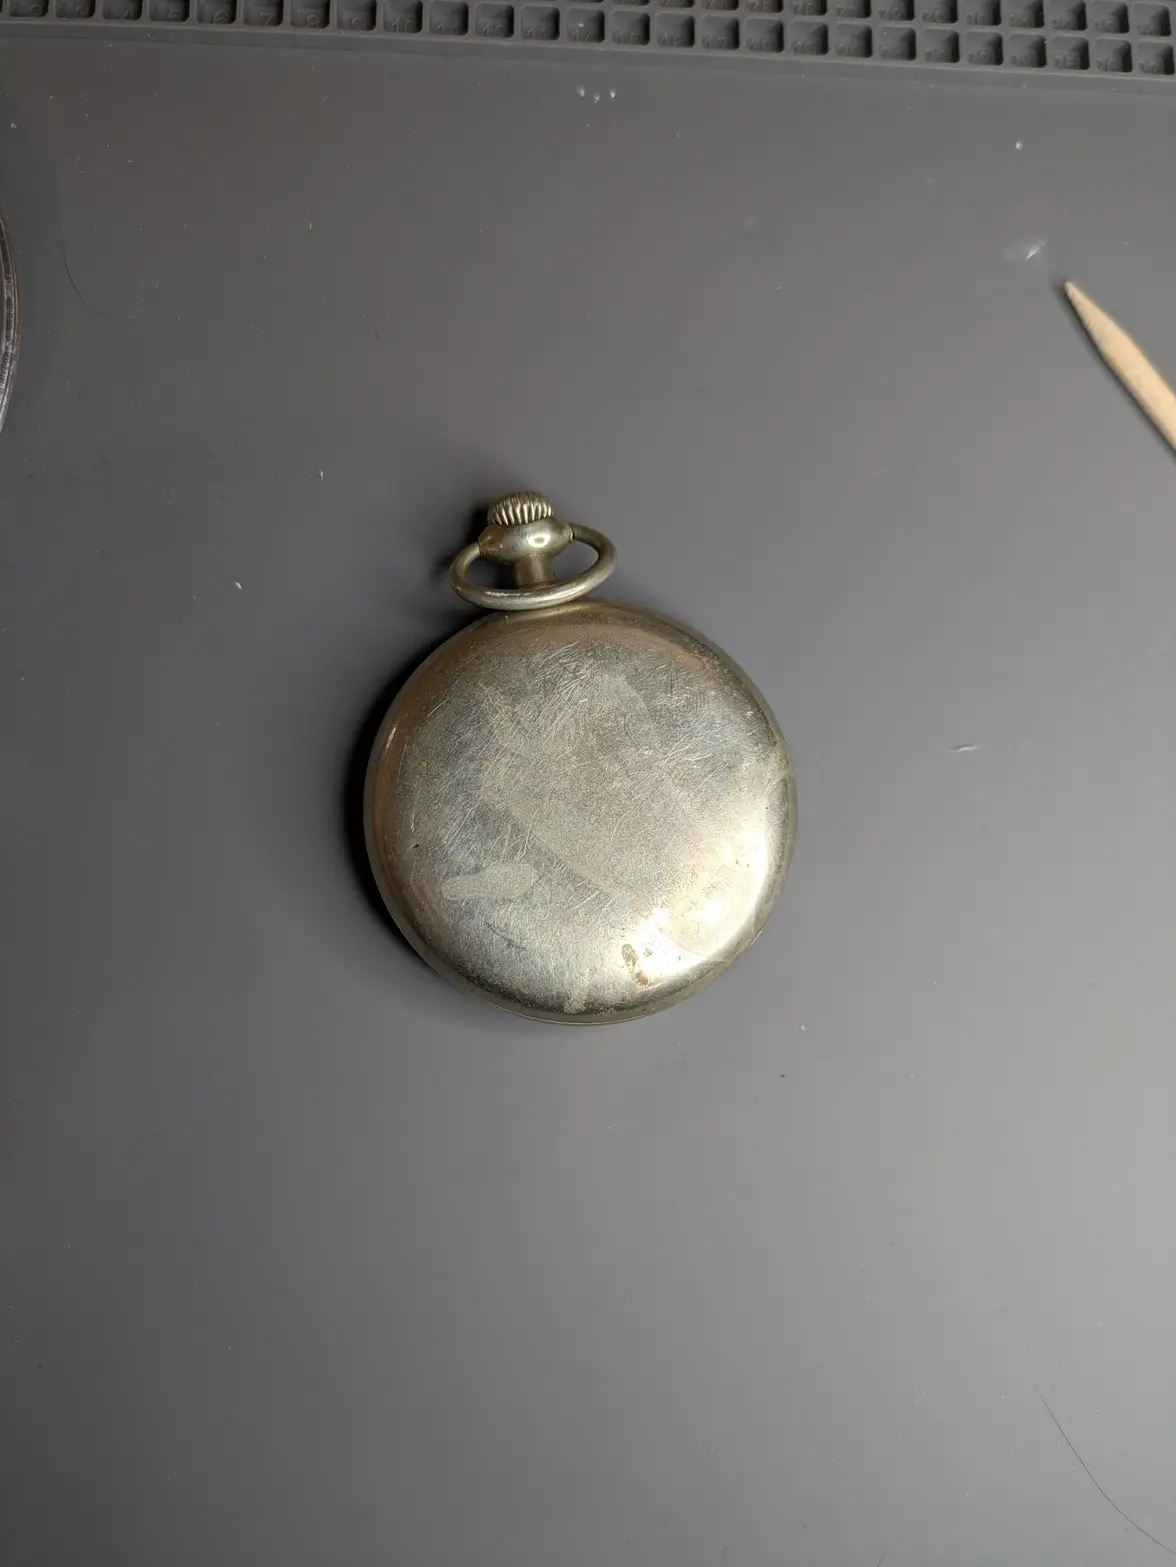
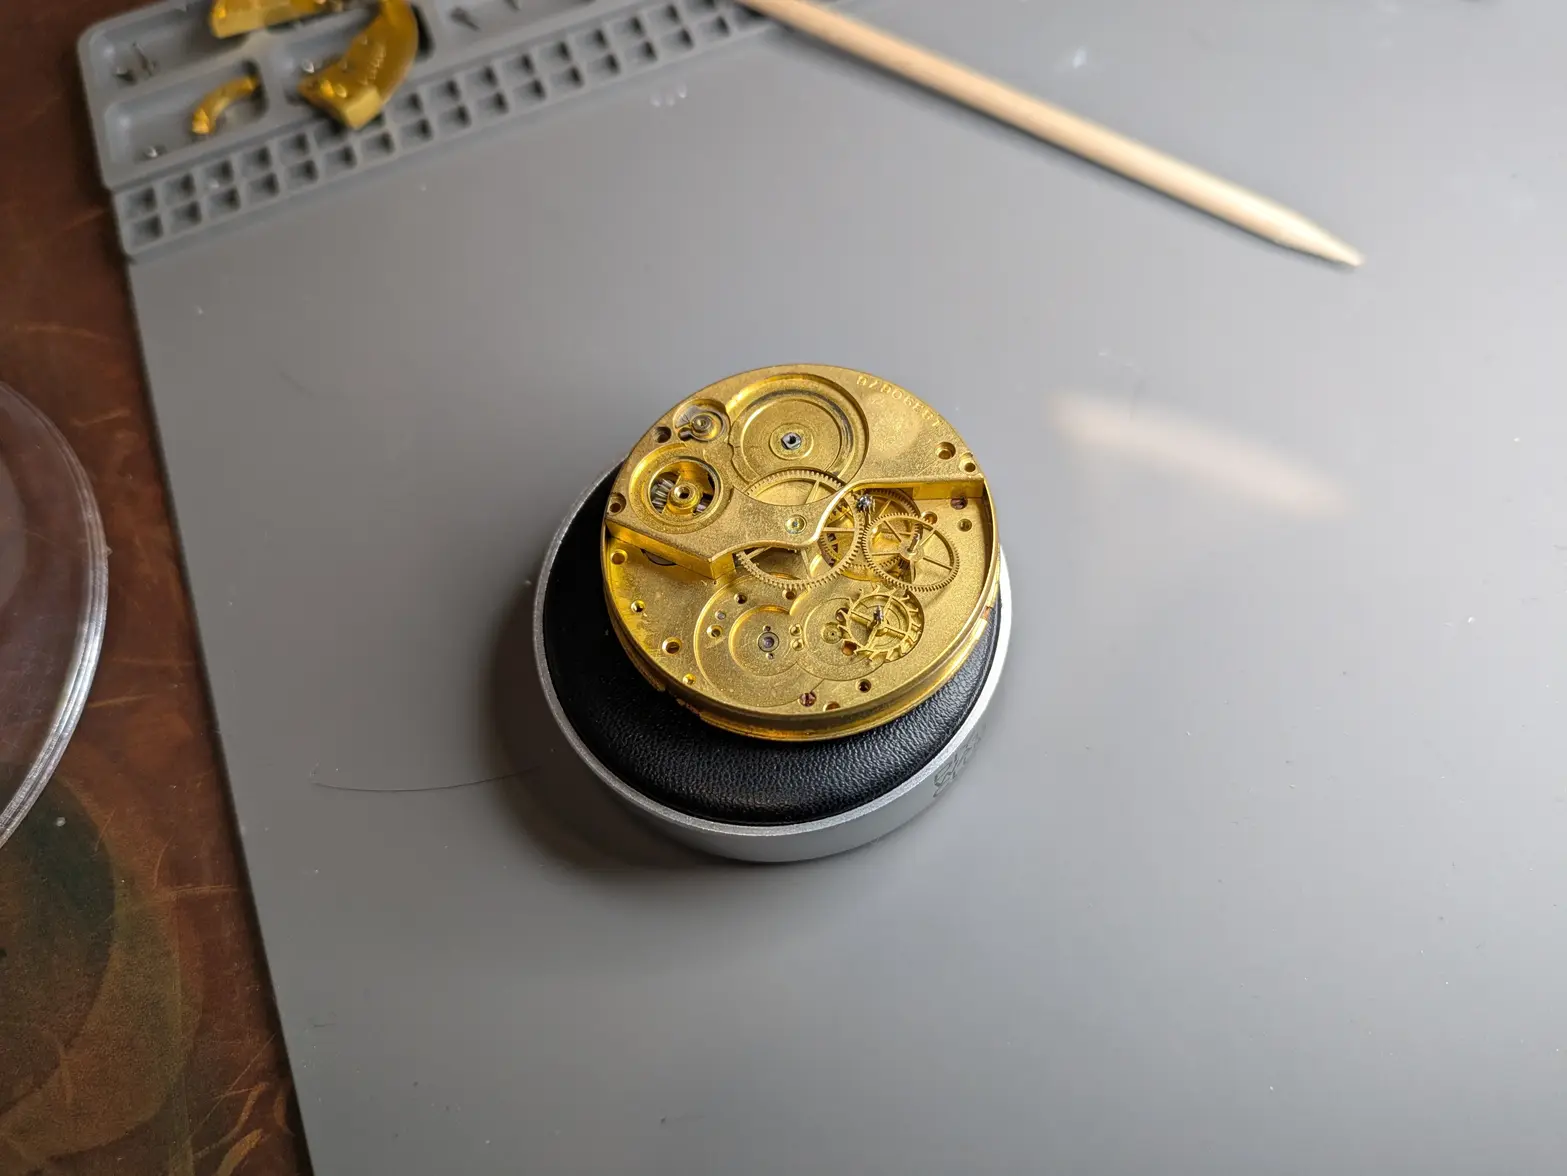
SO, here is the watch itself. A quick function check shows that the crown 'turns' and 'clicks' in 1 direction, and makes no noise in the other direction. I cannot 'pull' it in any way, so there isn't an obvious way how to set it at the point of initial function check. AS far as I can tell it is a silverode cased Elgin 293 movement. I'm only into it < $75 (including the main spring), so hoping I can make it 'nice' enough to be a desk-toy or a gift for a friend. The back is blank, but the hands are nicely blued.


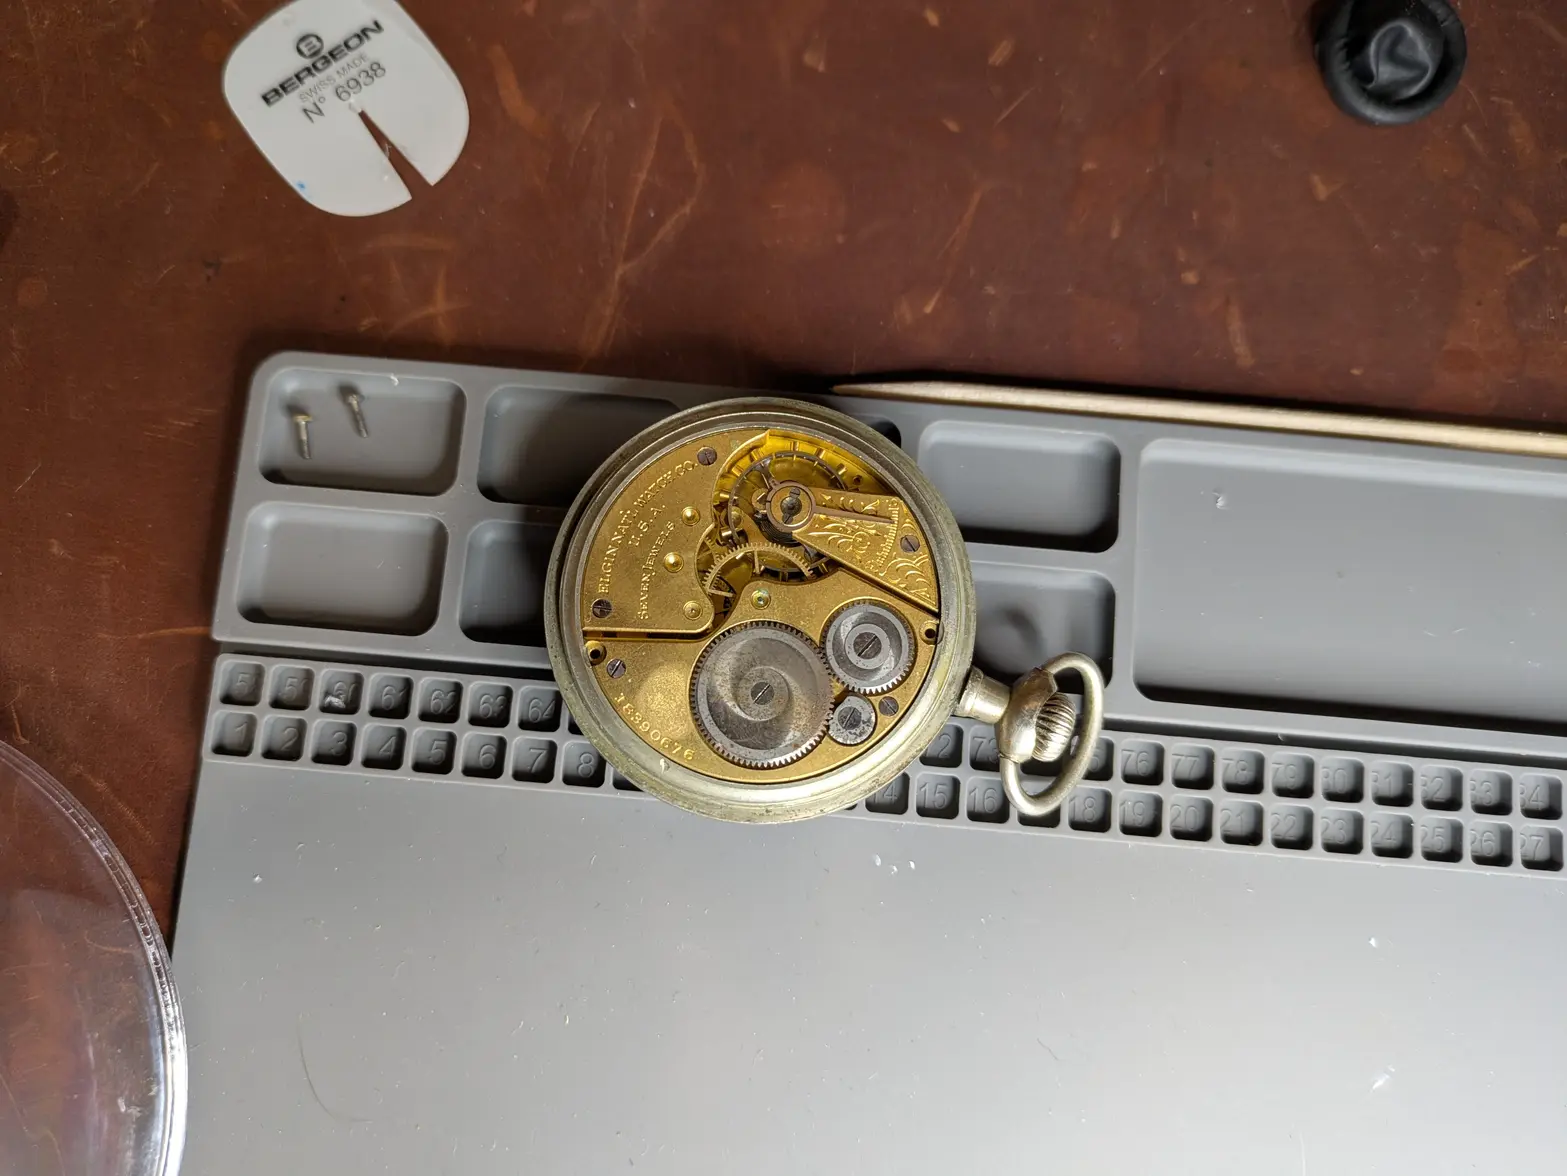
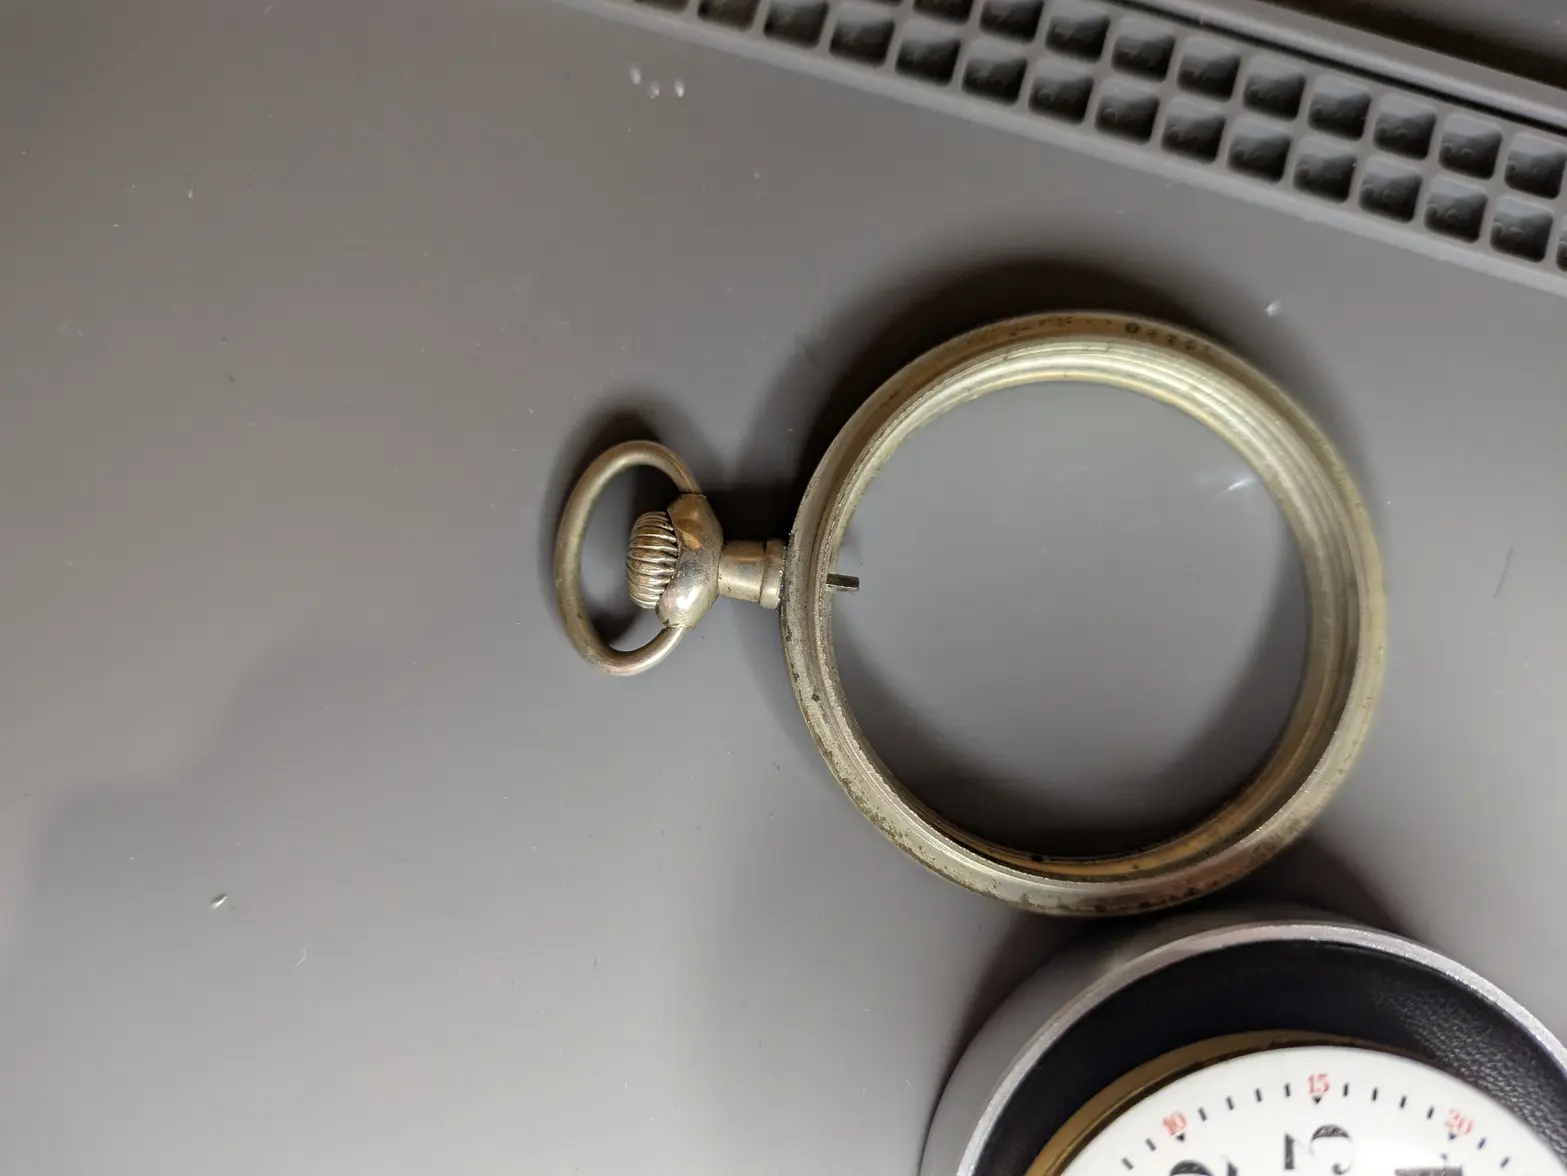
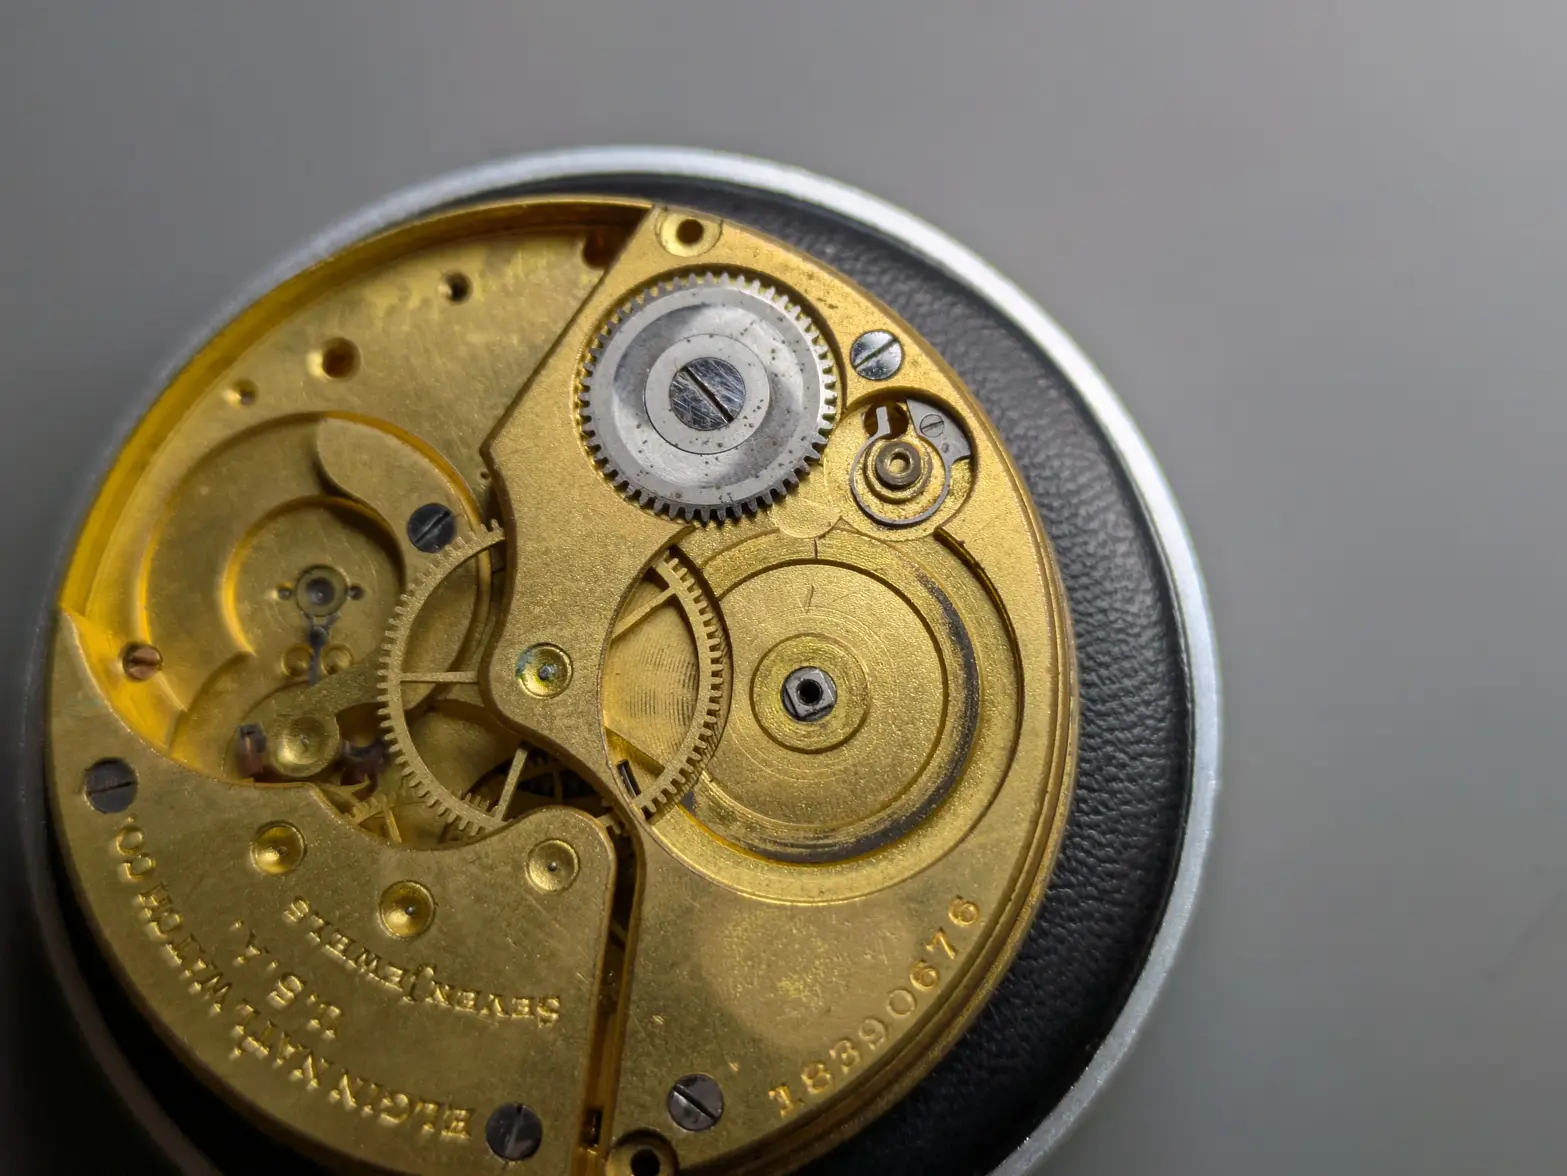
First, the case screws into 3 parts, the crystal, back, and 'main' frame. Here is the movement sans-back. As you can see, there is a bit of surface rust that I'll end up having to/wanting to clean up best I can. The Philadelphia Watch Case Co marking is neat looking, and 'silverode' (which I believe is a nickel alloy). The manual inscription says 12xxx15 Staff J.9.50. I presume that means this was a mark that this was serviced in 1950? No idea what the 12xxx15 means though.


FIRST step I did was to remove what looks like the case screws. These ended up being shockingly long, which is the story of the screws in this movement! It has an interesting bridge design (with a flat-plate as the base instead of raised areas) which necessitates it. At this point, I was expecting it to fall out of the case, but it did not.


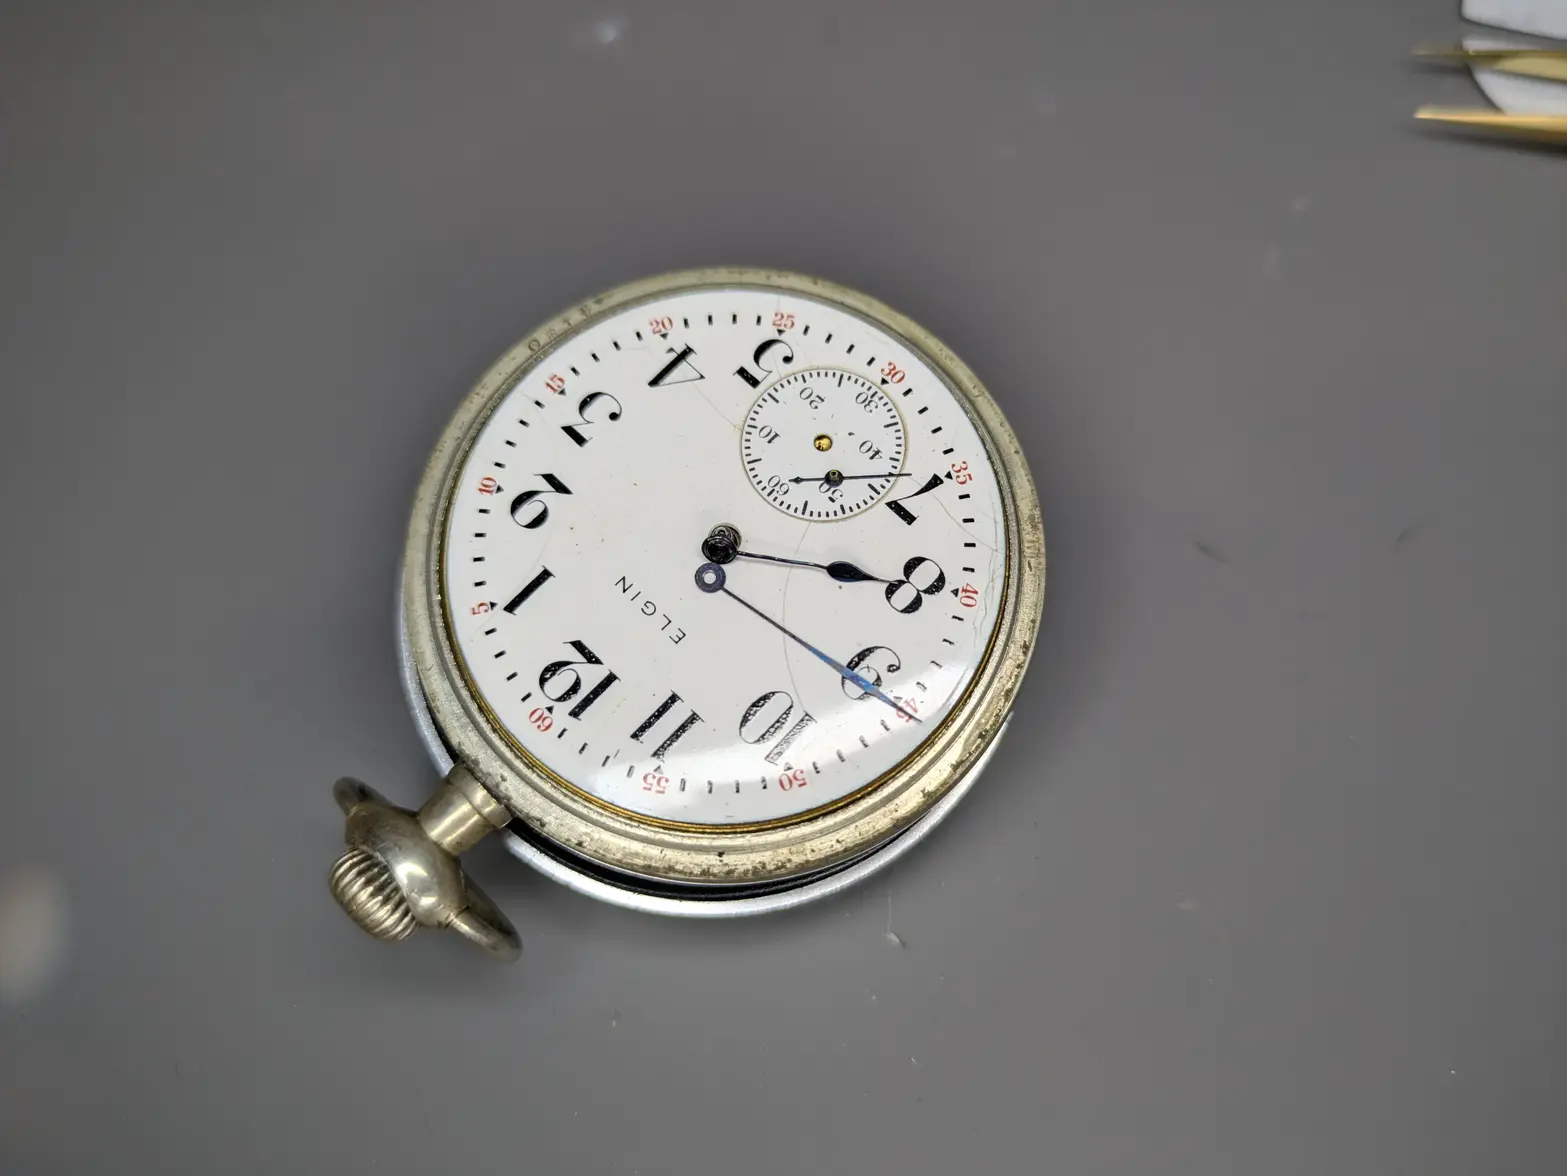
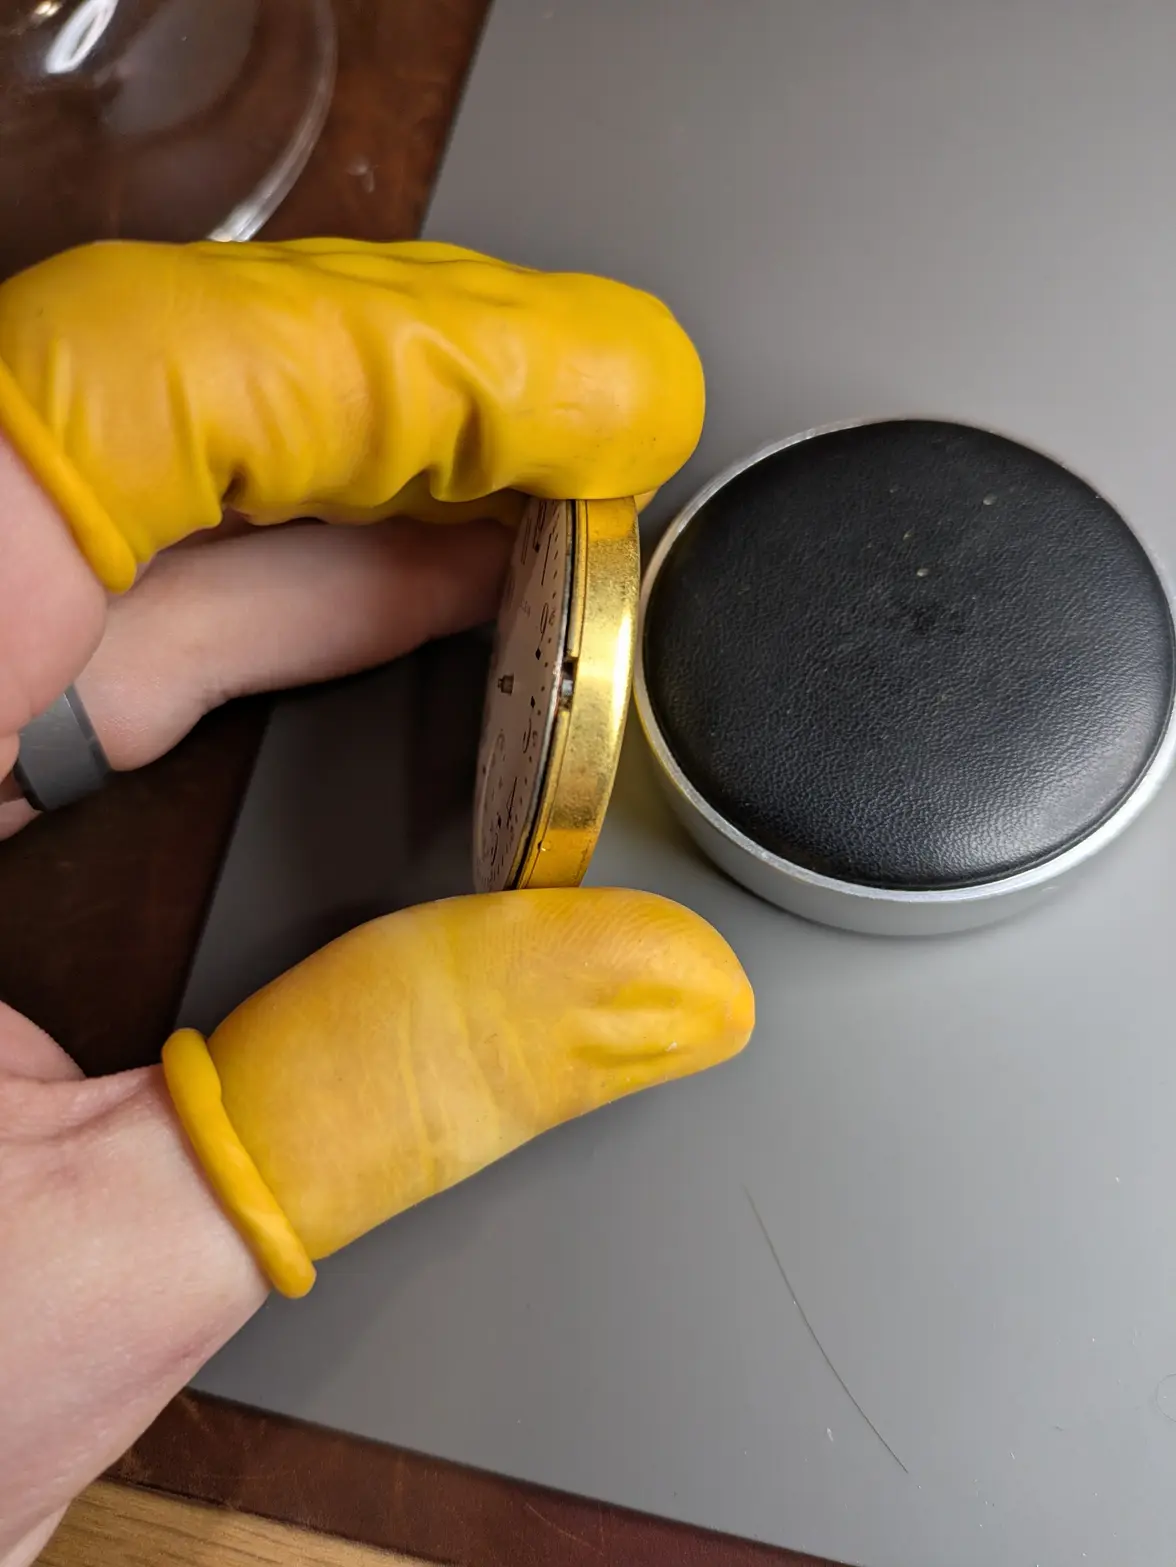
SO I carried on. I took off the 'glass' part off the case, and pulled the hands. This happened quite uneventfully. I was scared with how much came off of the seconds hand, and disappointed that the hour hand is a little rippled, but after 110 years, I can't complain too much.


Once I did this, it actually pivoted pretty nicely out of the case by pushing at about 6, and it rolled off the crown. I was a little concerned here at the time, as it seems a little short, but with no obvious way to remove the crown I presume this is the way it is supposed to work. The crown, separated from the movement, actually has a 2nd position that it clicks into. I find myself suspecting that it was 'gunked' into the movement (to be a theme!) and I just needed to hit it with my purse 馃榾


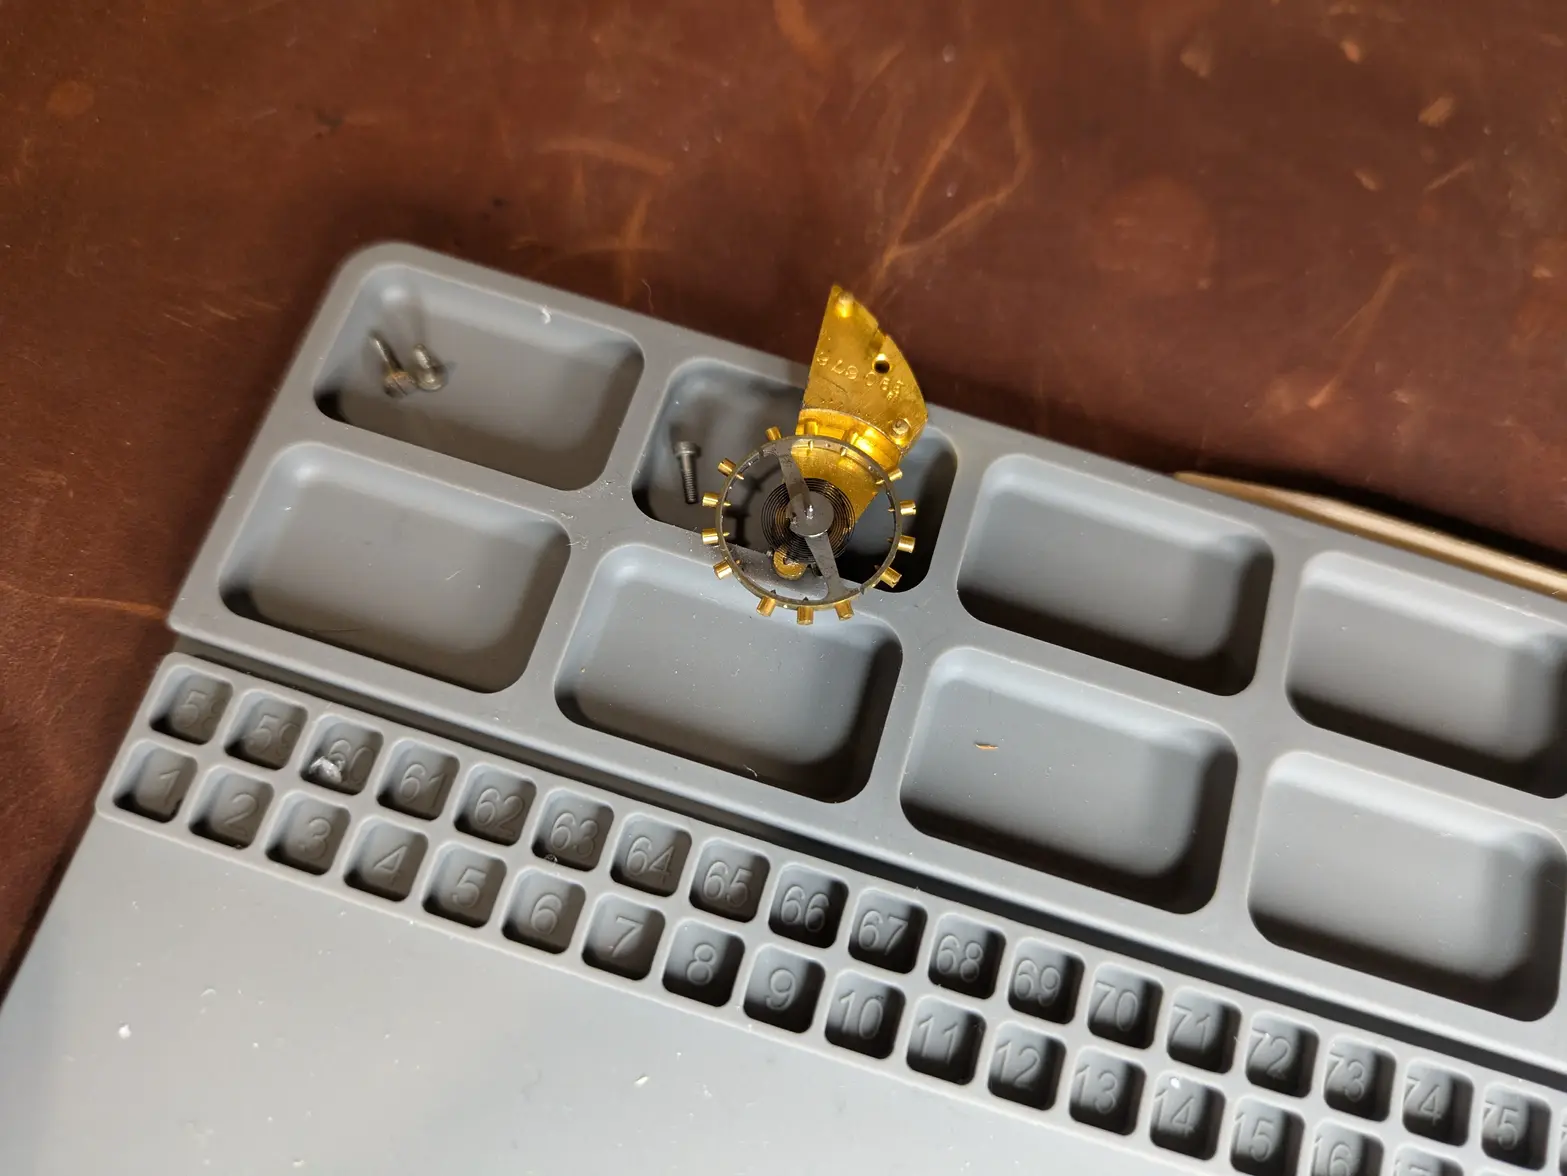
At this point, i was a little confused. There isn't any real obvious way to remove the dial. It seems to be bonded to some sort of metal plate, and there is no obvious mechanism on the side to remove it. There is one little 'switch' that doesn't actually seem to do anything. Additionally, there are these little copper-looking screws (that don't turn?) that protrude into the plate. You can see one under the balance wheel here, which I've removed:
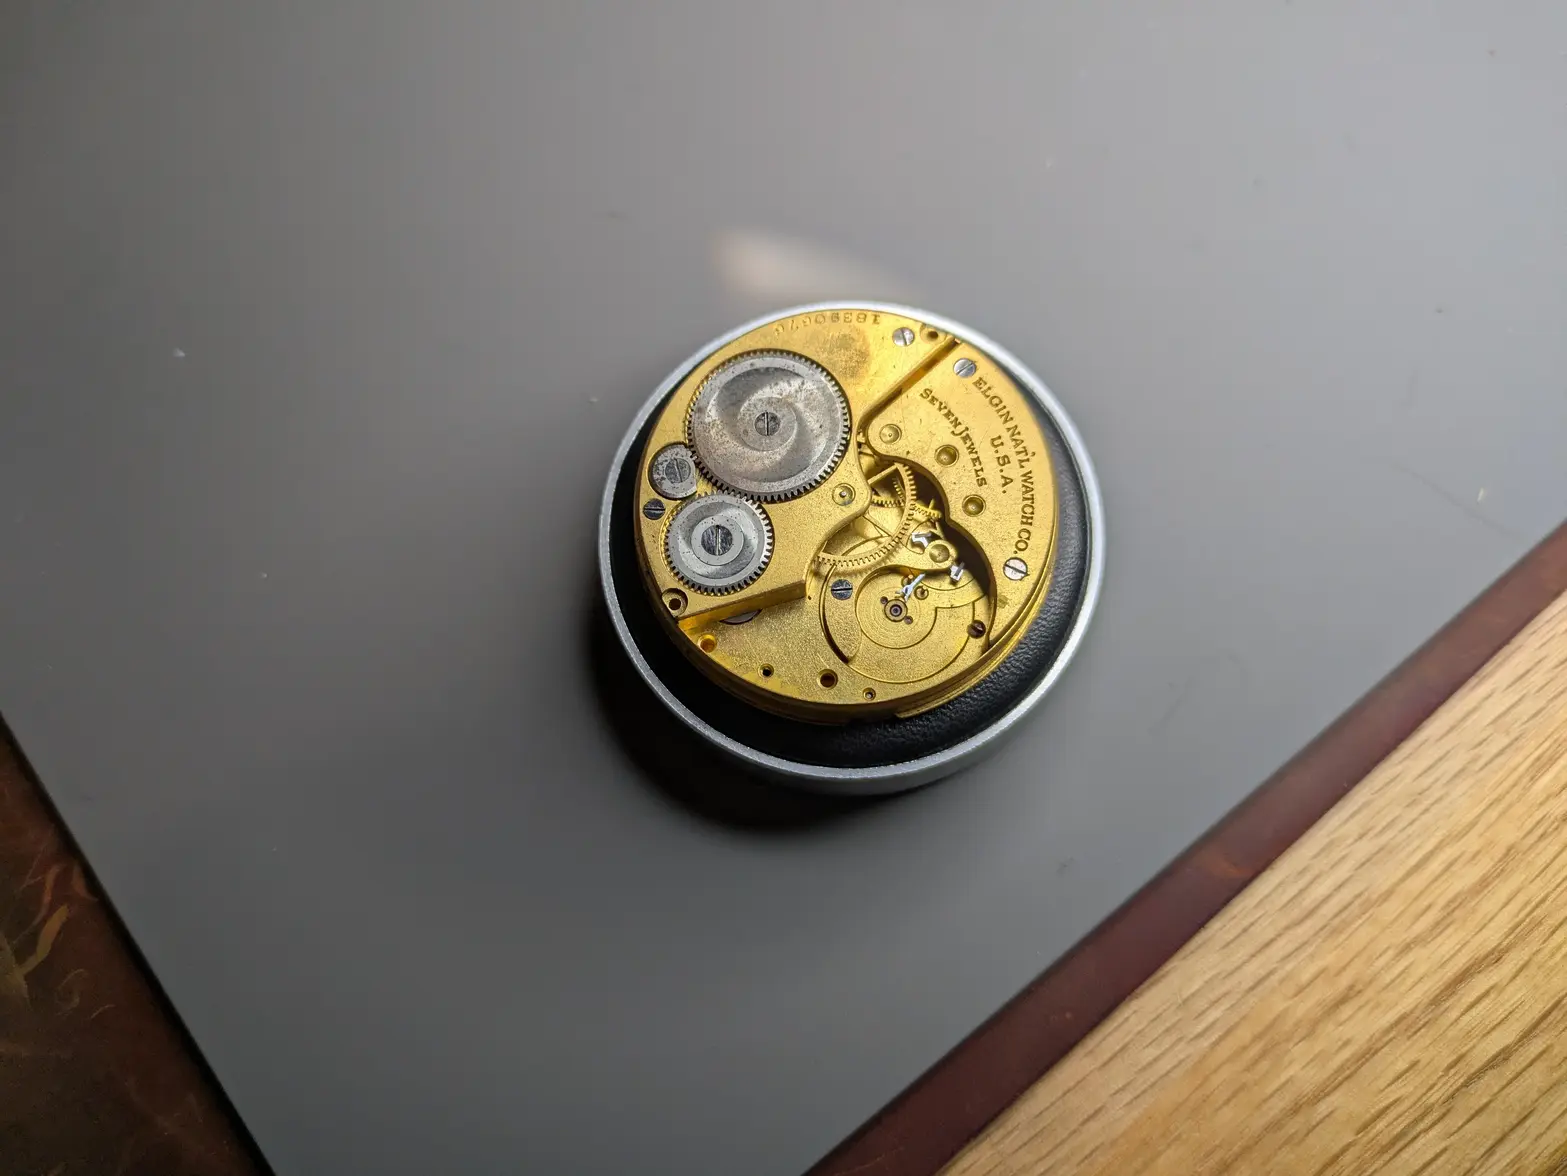


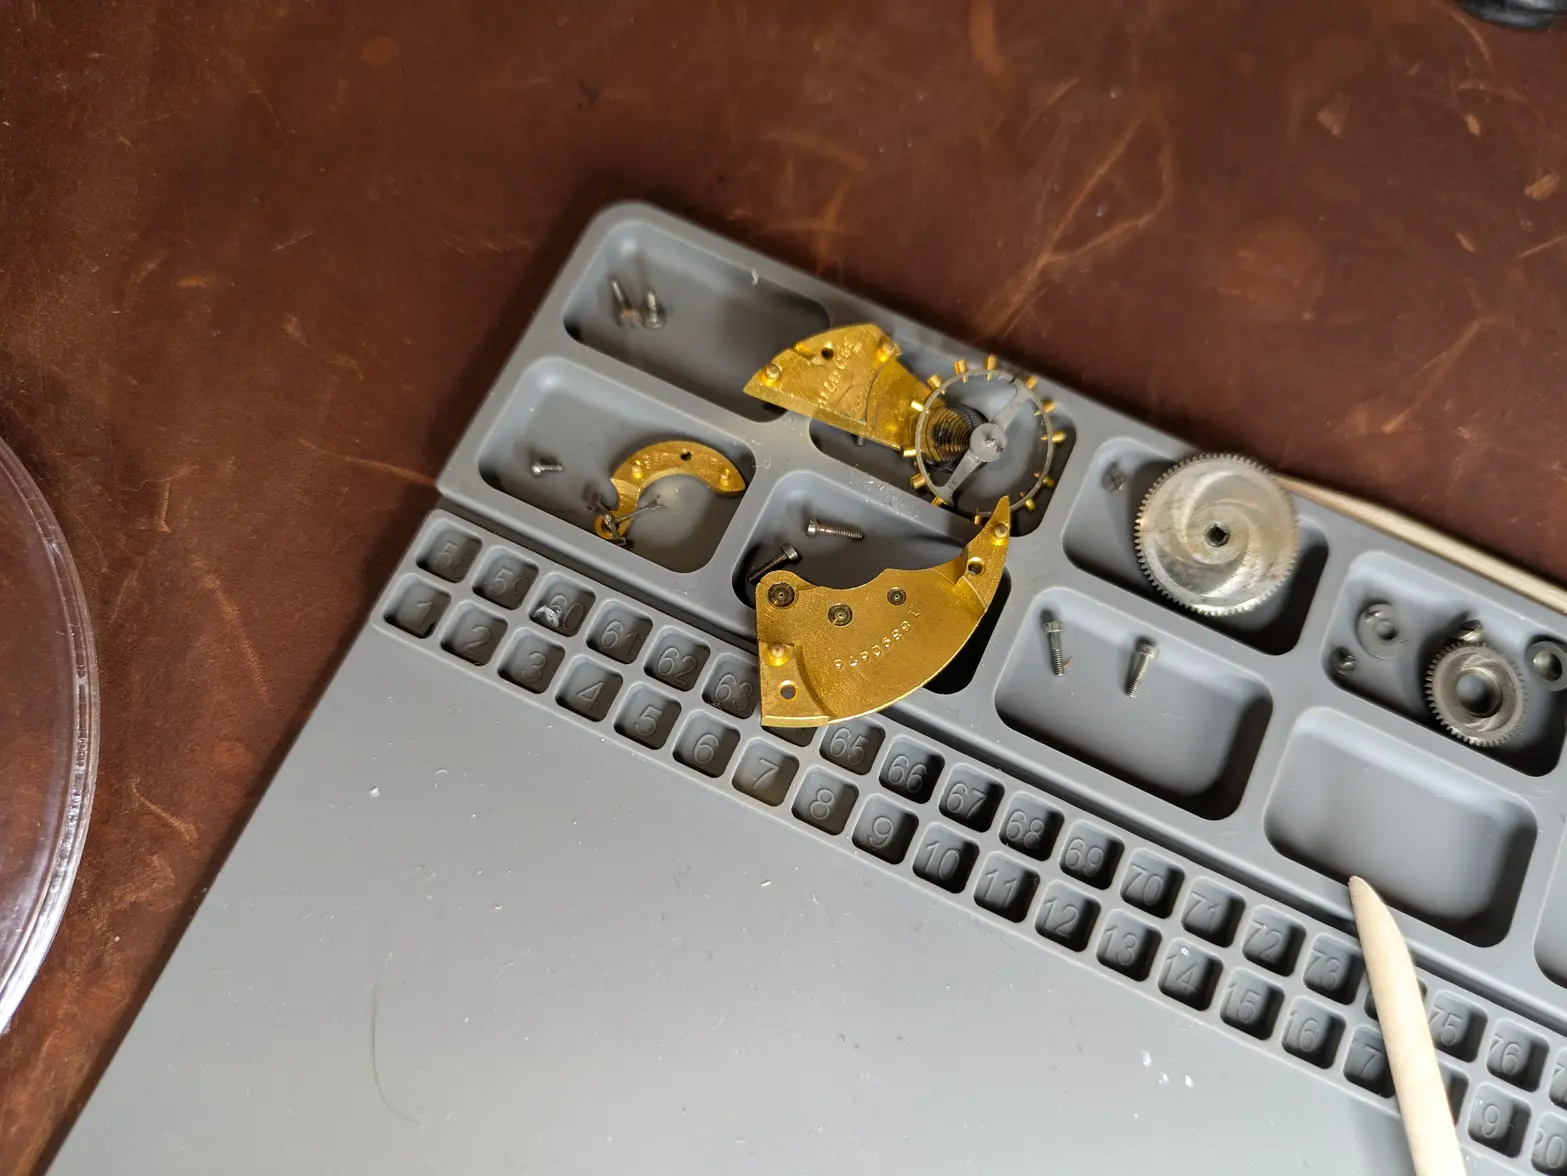
Here is the balance. it seems healthy enough, though the 'using weights' to set the beat error (particularly as I don't have any spares, AND you have to remove the balance to be able to touch these!) has me praying that this is one I don't have to touch. Also note the bridge is imprinted with the serial number that matches the movement! The balance wheel didn't actually MOVE with air, though spun a little when moved. Now that it is out, I can tell this is because the pivots are FILTHY. It took a bit of prodding to get it to come out of the main plate.


I tried to release the mainspring here, but despite having spun the crown a bunch (and observing it move hte ratchet wheel/click working), there was NOTHING here. Then, I pulled the ratchet wheel, which was uneventful. There IS a bit of scuffing on the movement, but I don't think it has been touching TOO much? I guess I'll see once it is cleaned up better. You can also see more crud on the center wheel pivot here.
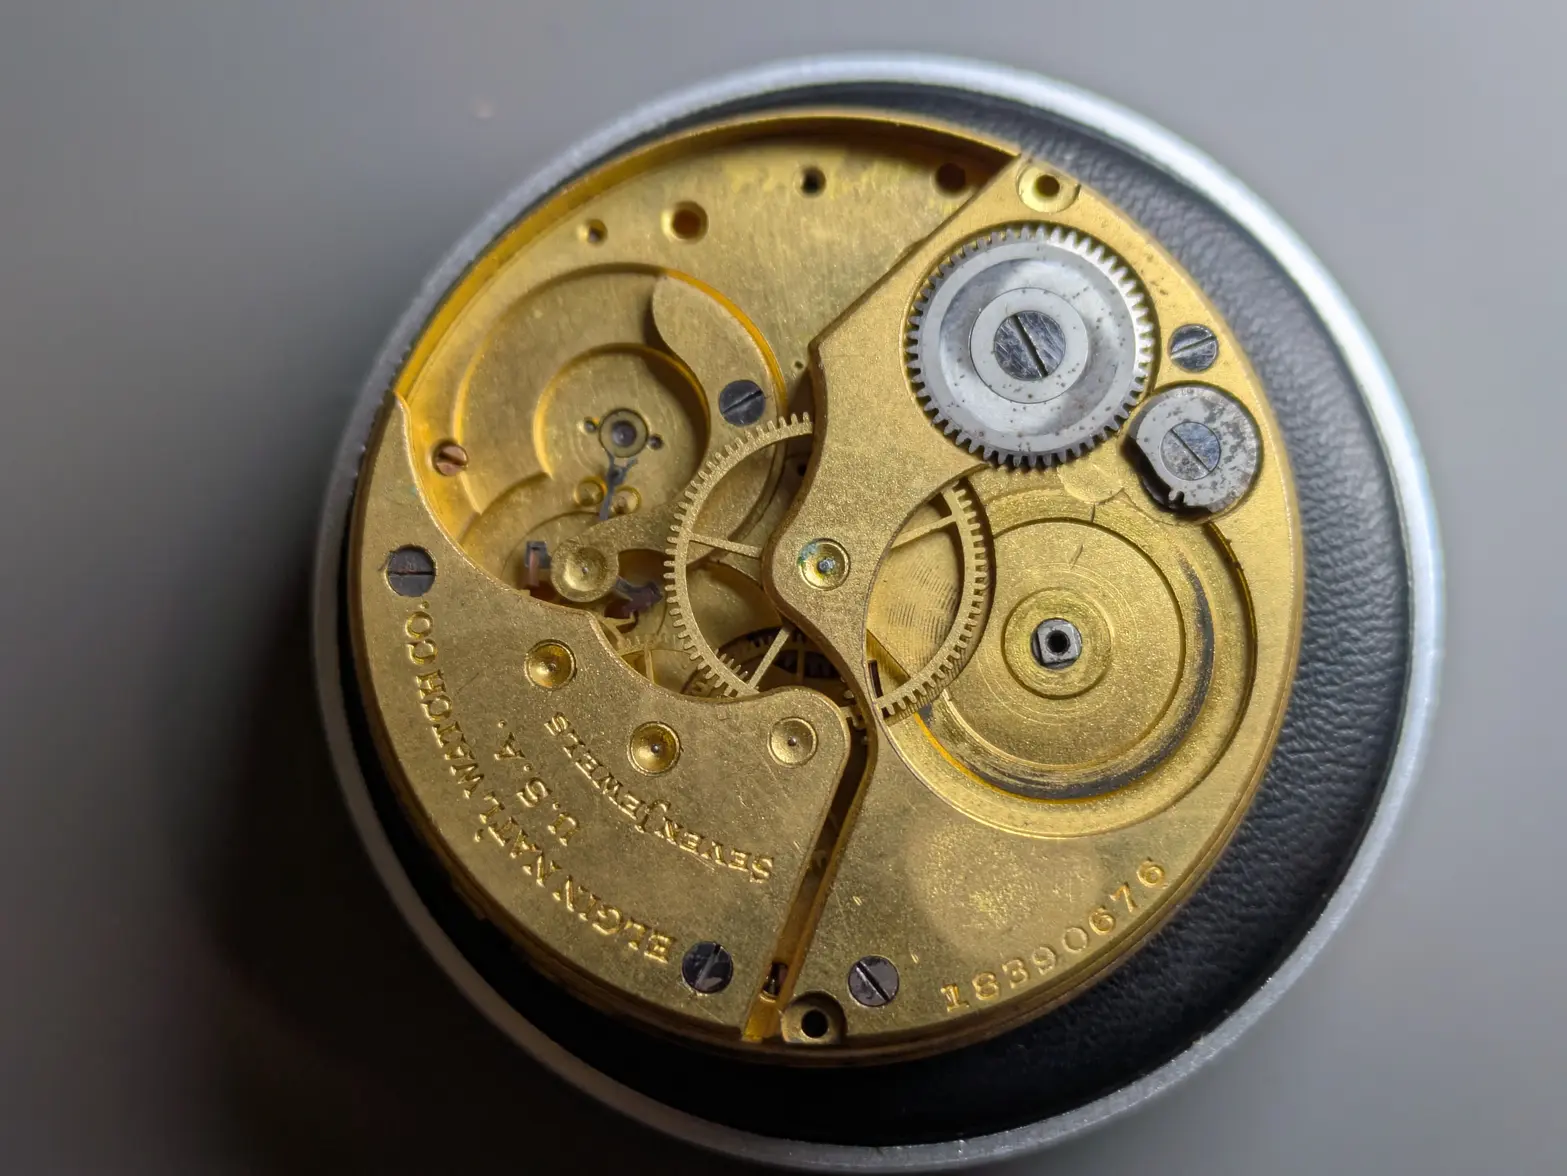


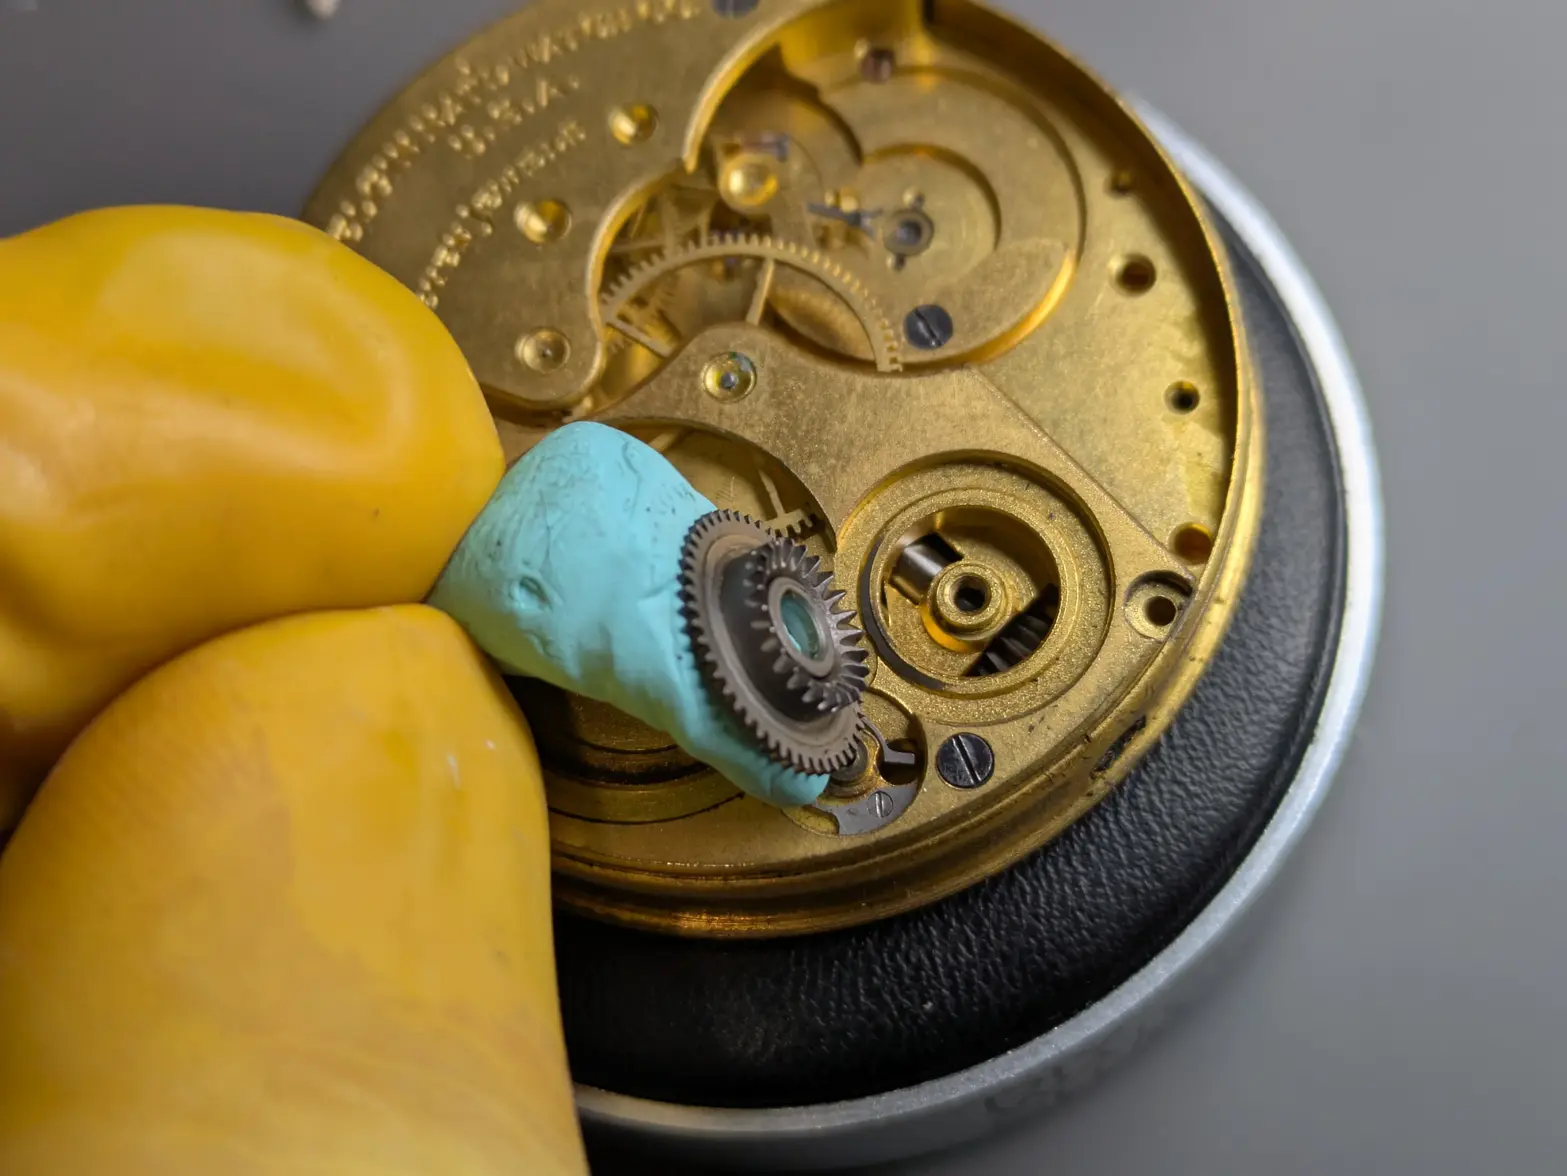
The click came off uneventfully as well, though two things: The spring is an interesting design (though the screw is too small for the screwdrivers I have, so it'll have to come out later). I also noticed that the crown wheel is interesting! it has a really neat looking two-part construction that interacts with the keyless works in a way that seems pretty unique. Note it is two pieces, but the Rodico picked up both together. SEPARATING these was a little bit of work to confirm they were actually two parts (there was a seam but they didn't actually move when lightly prodded), but it fell apart once the gunk was broken free.


The pallet fork bridge was a little stuck, but came out easily enough. it DID come with the pallet fork stuck into the pivot. I used a little bit of wiggling after this picture (actually after I was done!) to remove it. Note again we h ave a matching serial number!


I TRIED to take the mainspring bridge/center wheel bridge out first. I took out the screws, but it was stuck in there pretty good. I didn't really have any way to wedge it out, so opted to take the wheeltrain bridge out first. It ALSO was quite stuck (and wheels stuck to various pivots and required some wiggling to free up). BEFORE I did this I actually confirmed that the wheels actually all spin, and spin each other, which gets me hopeful of the condition here. I took this picture with the wheels put back into place for future reference 馃榾 Note THIS bridge also has a matching serial number!


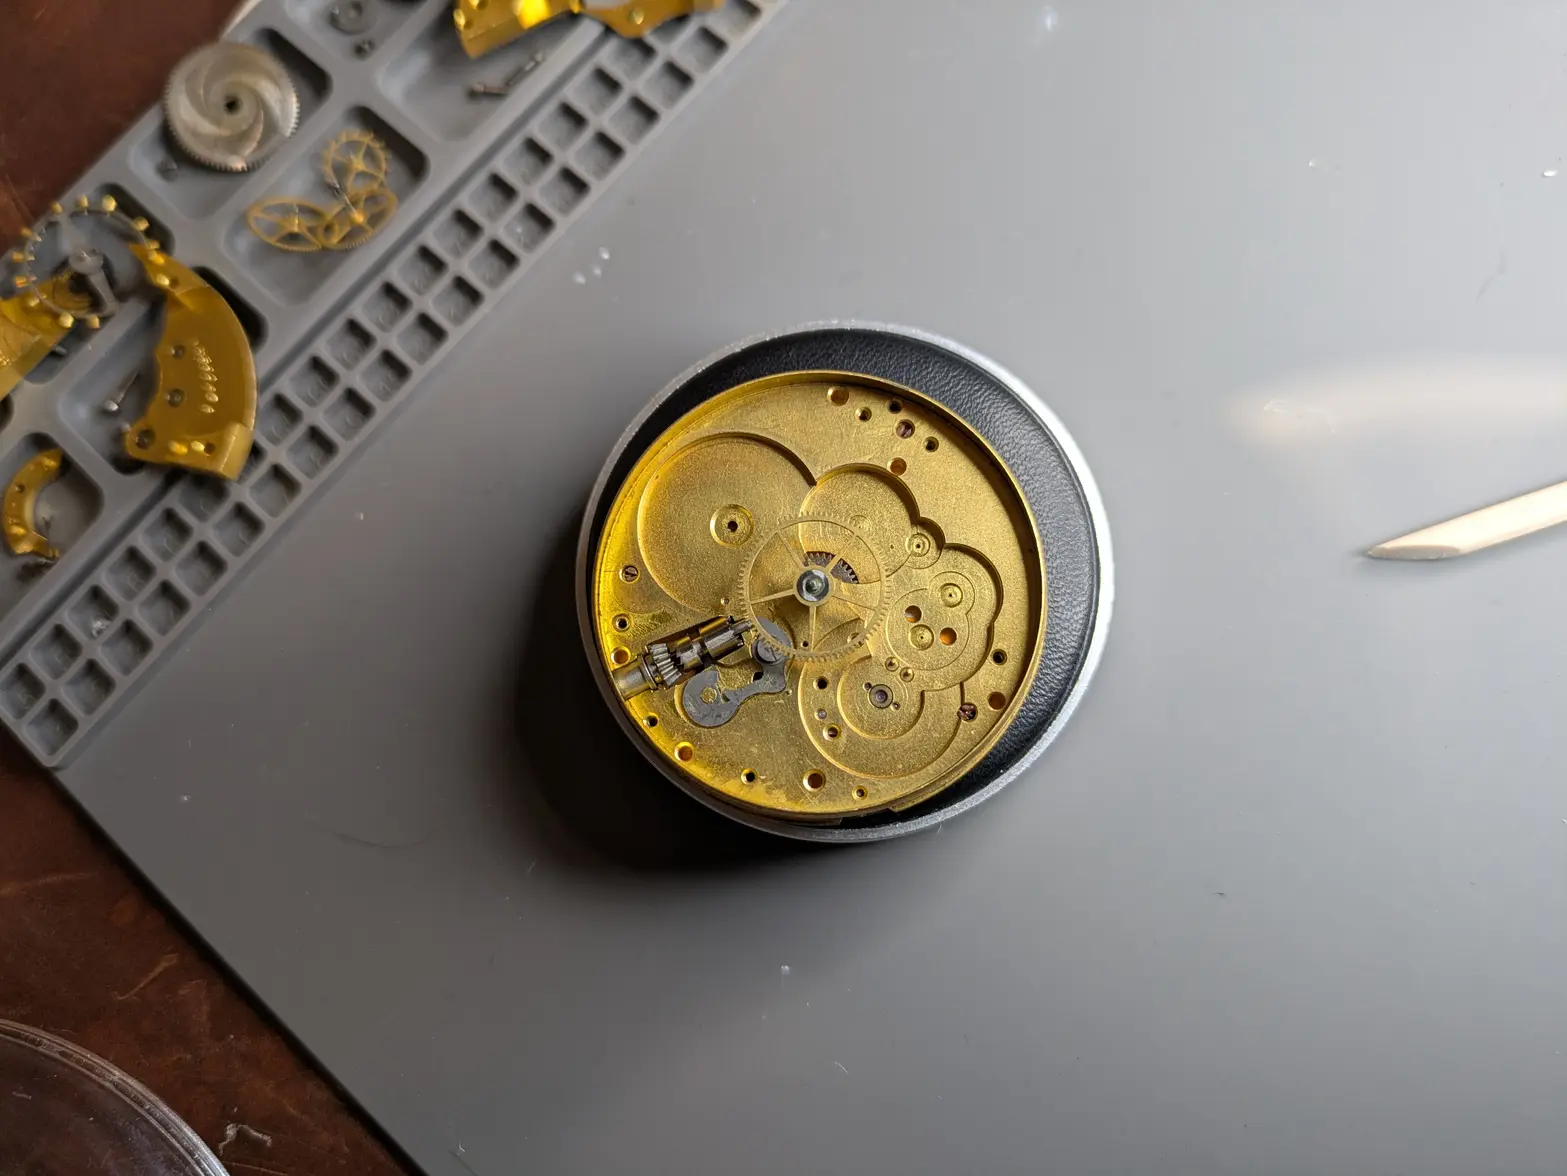
At THIS point I was able to wedge the mainspring barrel bridge out of place. It went pretty easy at this point, though was a little gunked down. Just care to make sure I didn't break pivots, and it loosened up well. You can see the interesting construction here, the main plate has some minimal milling work, and a ring around the outside. This picture is also interesting, you can see more of those copper screw-like-things, plus the keyless works. The bridge itself had the same serial number, but on the top side (outer side?) so it all matched. At this point, I was able to give it a quick/light shake and the mainspring barrel popped out.


I then opted to try to work on the center wheel. I used my tweezers and some little bit of work, and was able to pop it out. You can see the gear under it (which I presume is either on the cannon pinion), but it popped out with minimal effort.


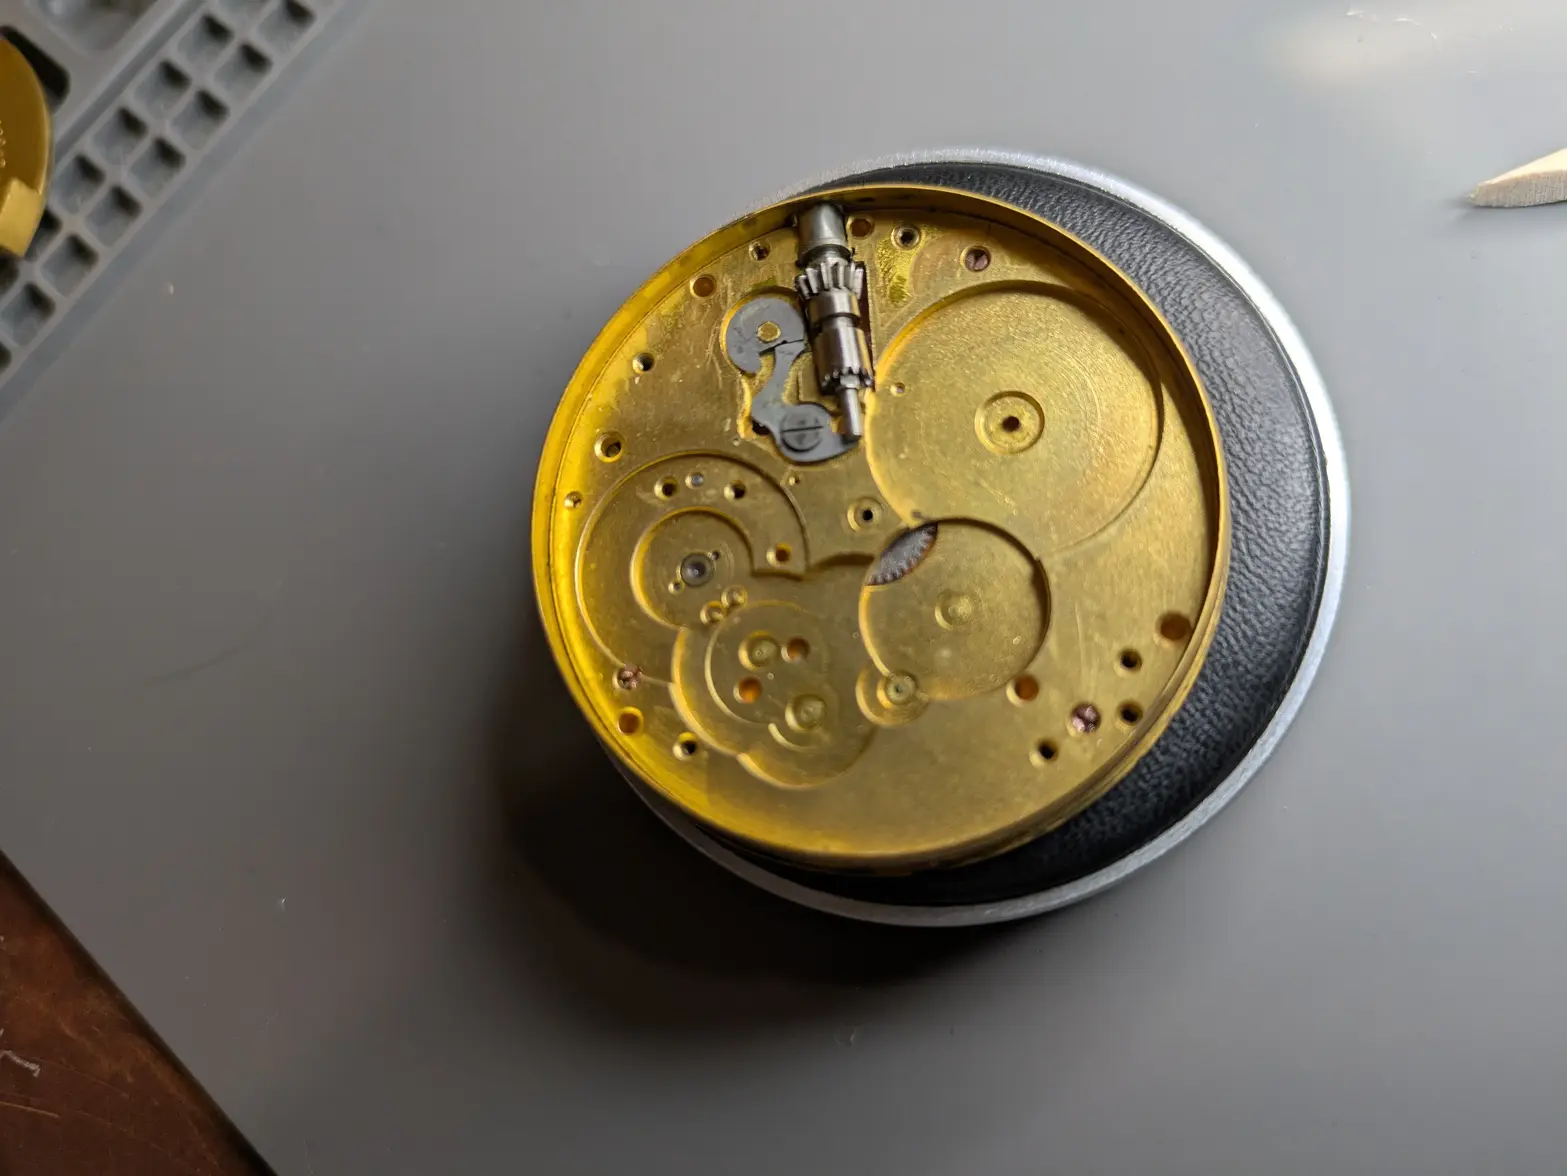
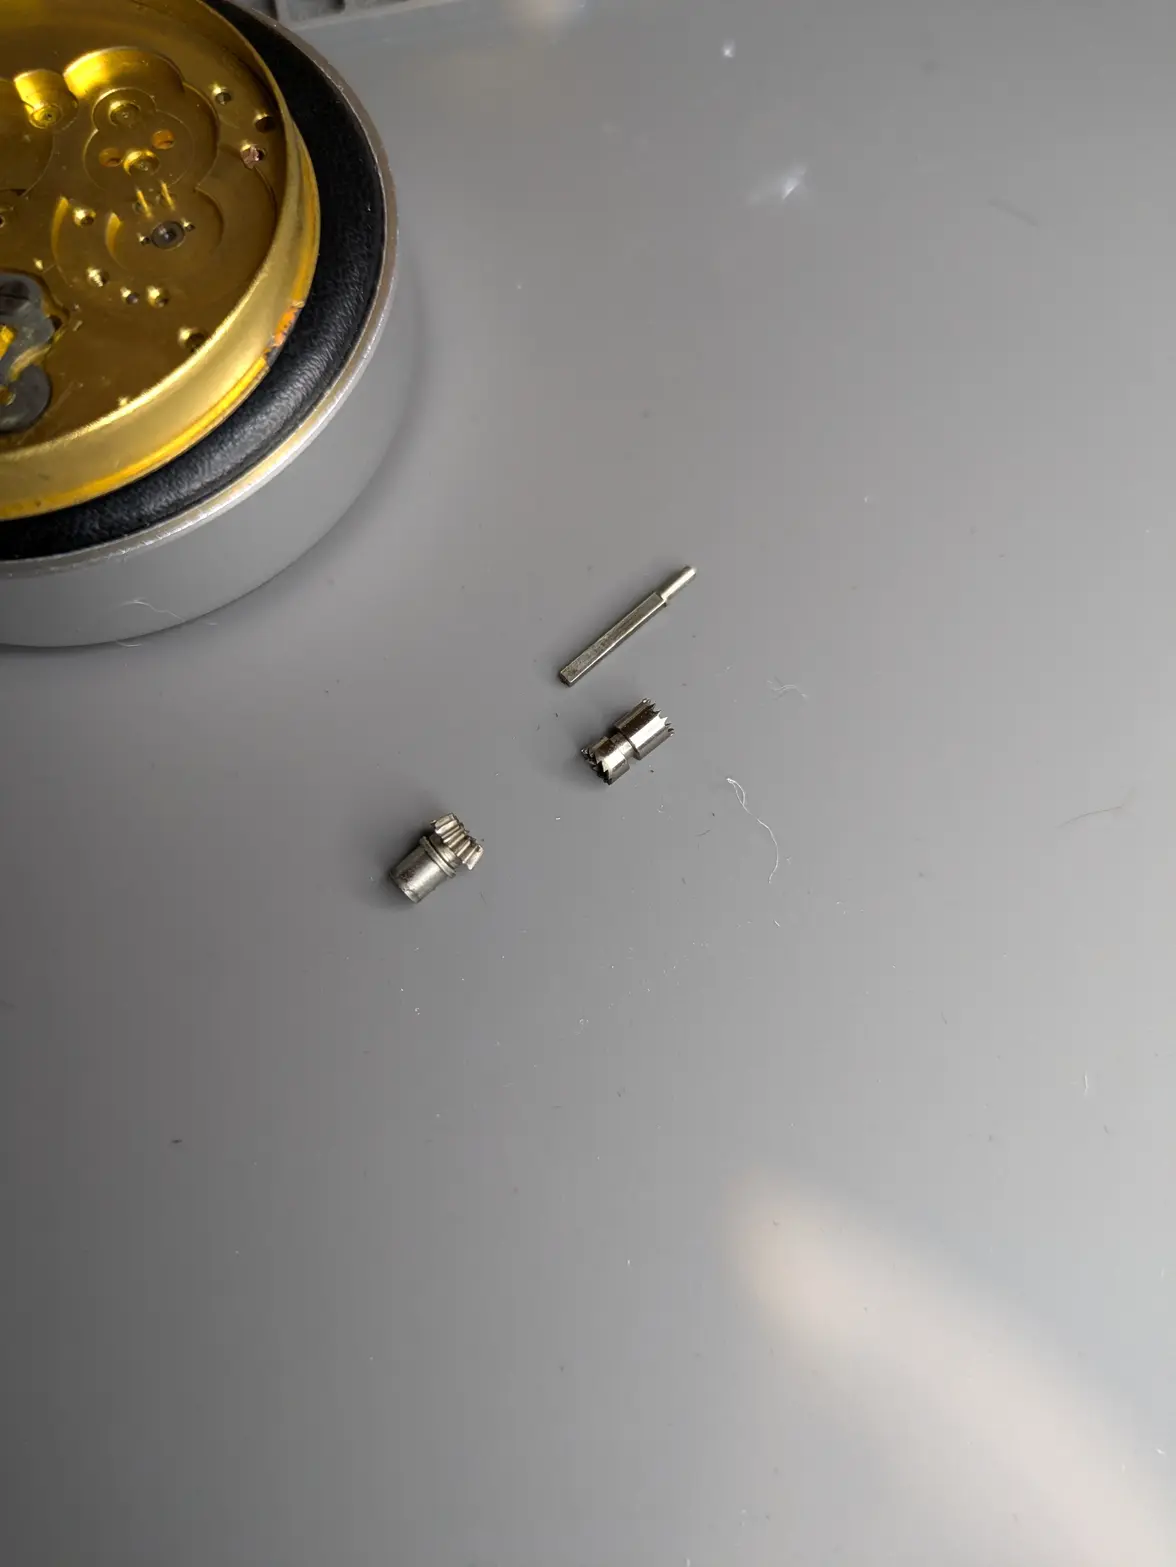
At this point, the keyless works parts were pretty trivial to pop out. I note there is what LOOKS like a second part of the winding stem, but the 'break' between the two looks intentional. Additionally the 'left' side (with the bevel gear) is square broached. I was able to move them and spin them, and see that the wheel on the other side of the movement turns if I push it right, but I have no idea how the two positions work here.


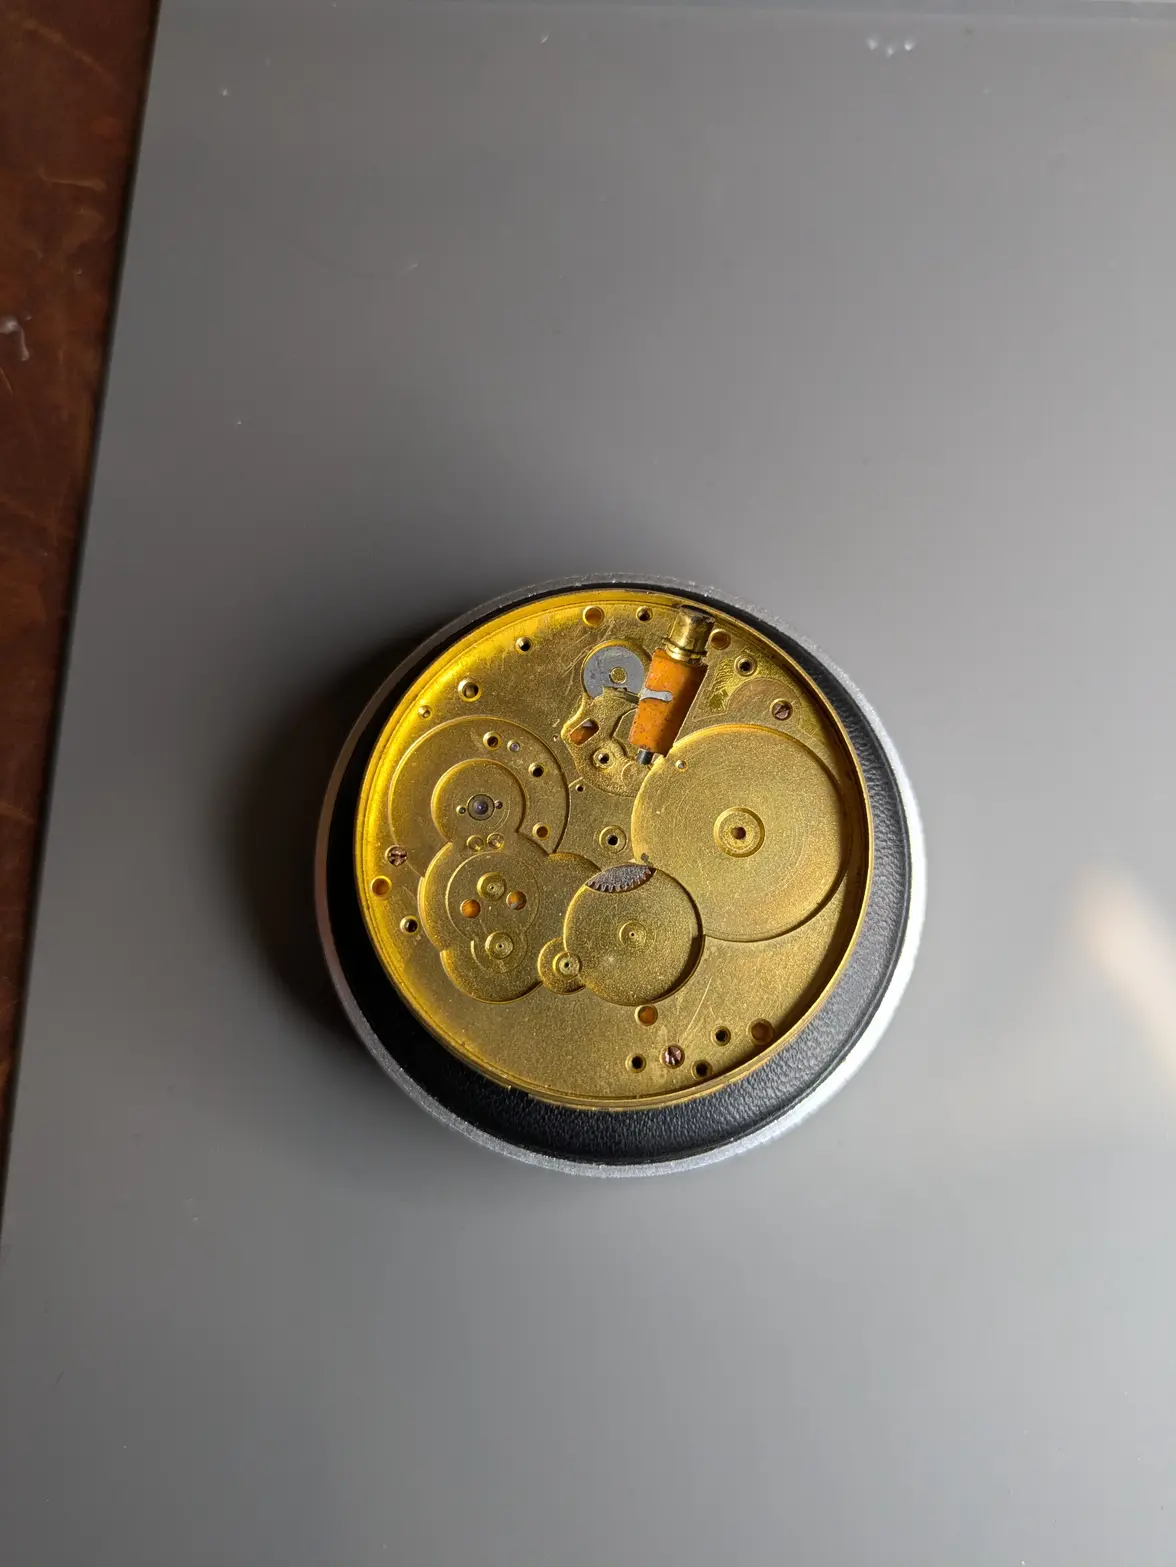
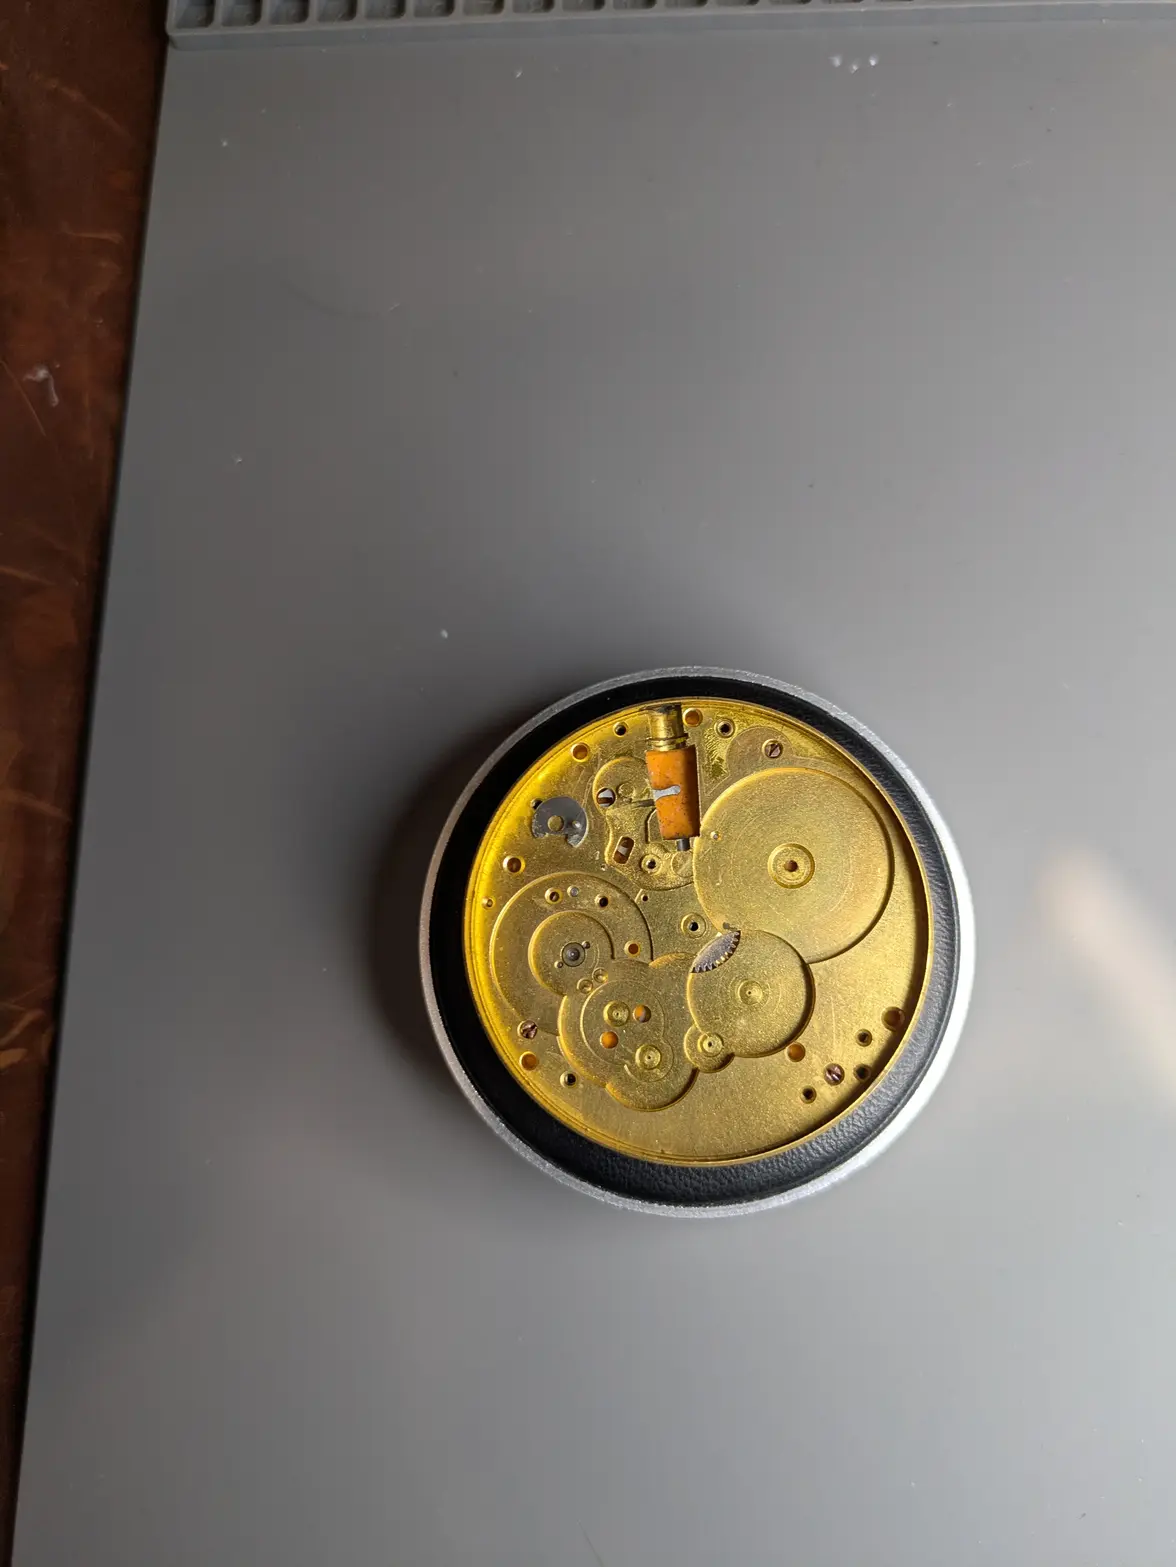
The screw holding down the lever part here came off uneventfully, as did the part itself. The other part (the round one) was a little 'stuck', and seemed to move the other side. I was a little afraid it was a single piece, but couldn't figure out how that would work, so I hit it with Rodico. Once off, it became pretty clear how it works/interacts with the other side (see it flipped over in the 2nd image):


I went back to looking at the dial, but have no idea. I see this little switch on the side (which can be moved 'down' or 'up' in this direction, and I can see where it pivots from the other side, but it is completely unclear what it does. It doesn't seem to loosen the dial in the least.


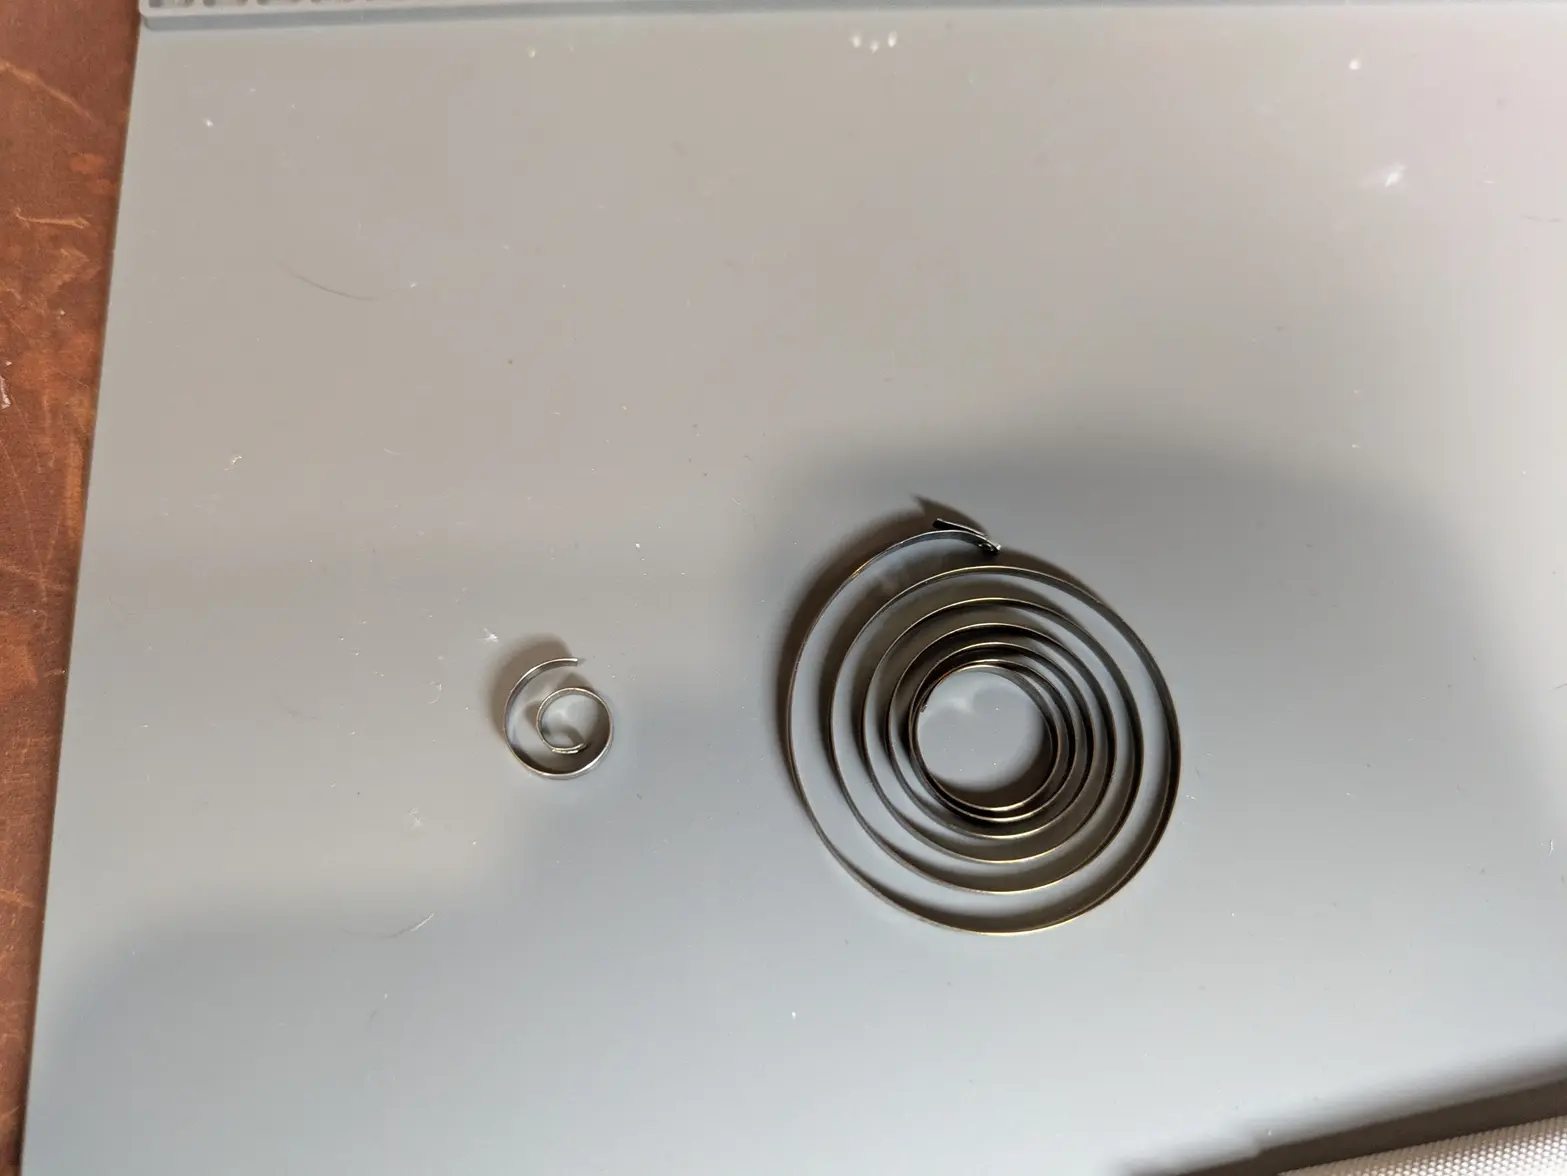
At this point, I decided to open the mainspring barrel. HERE it became perfectly clear why this watch doesn't run (in addition to the gunk). the mainspring is clearly broken in two! Fortunately I ordered a replacement. It LOOKS to be the right one for this 293 movement (as advertised, and it looks like that movement?).


SO, that is it for today! I'm going to toss the case into the ultrasonic and try to get it cleaned up a little. I might use some polywatch on the crystal to clean it up a touch, and some cape cod cloths to make it look a little shinier, but thats about it.


Thanks for making it this far, I hope you enjoyed my progress!
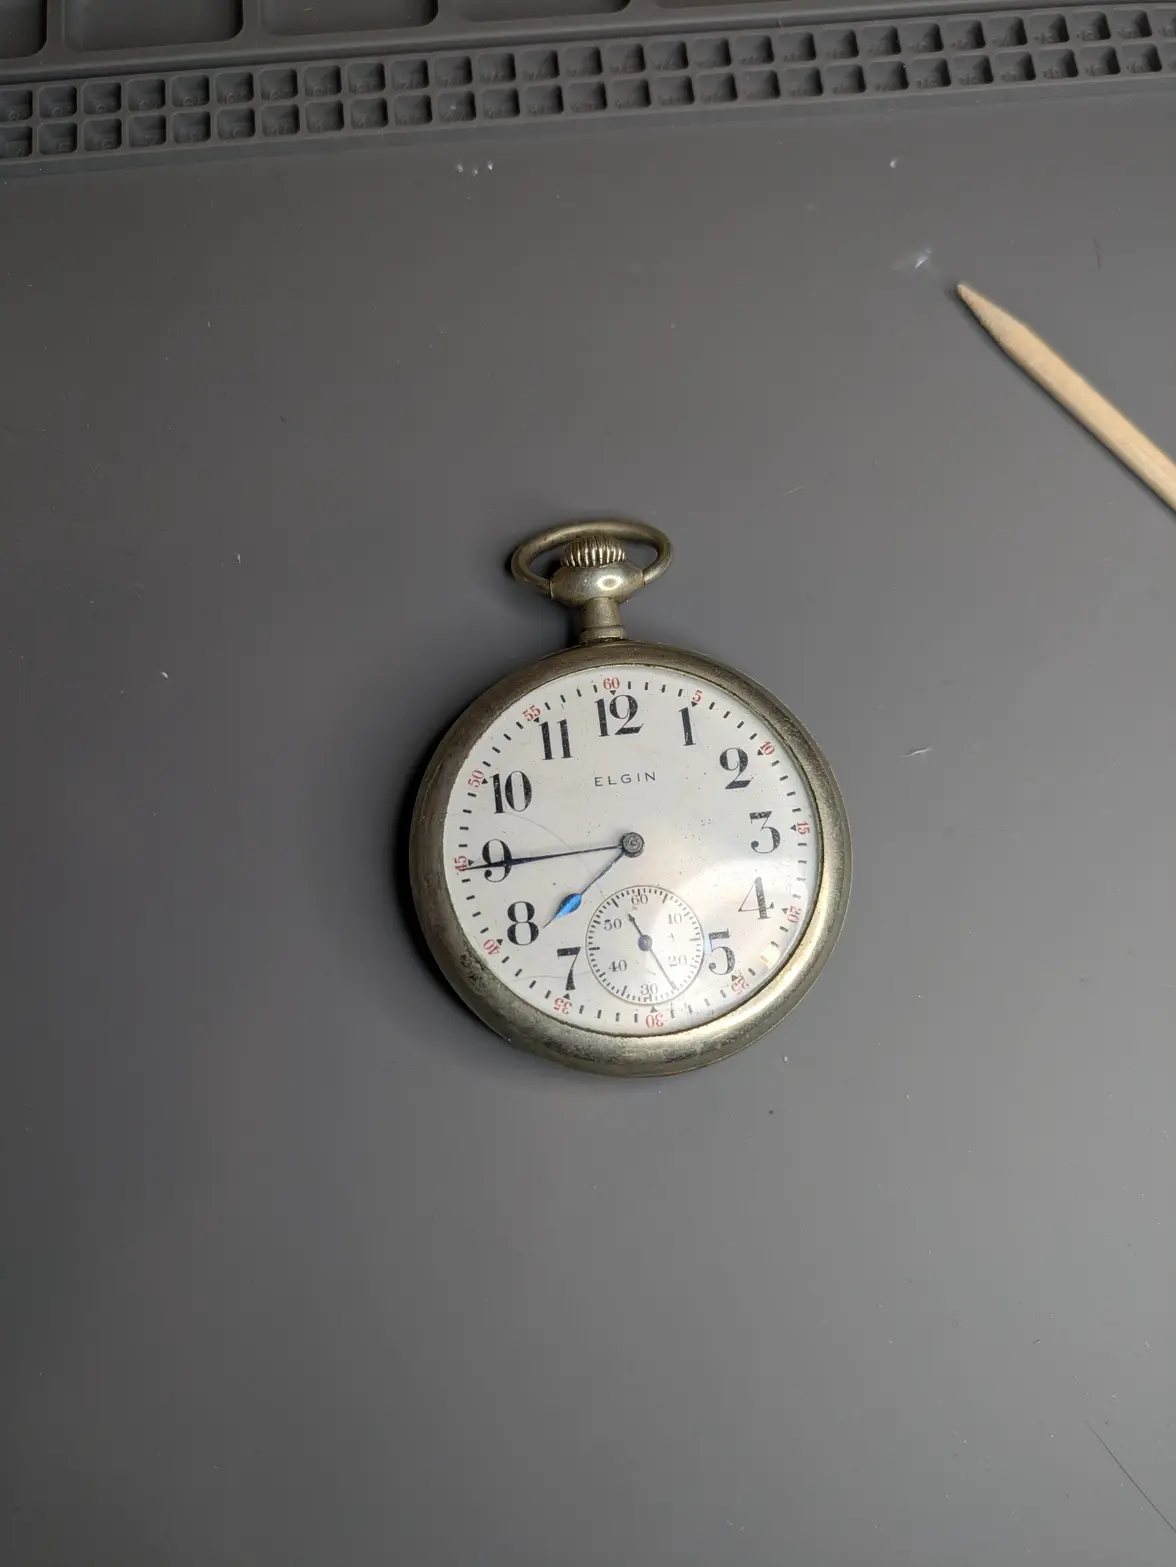
 
Posts
1,088
Likes
1,164
>-ANYONE have any idea how to remove the dial? (see side picture with lever near the bottom!)

WELP, I Think i figured it out by accident! I was moving the movement around a little to make room for my case polishing, and the outer ring popped off! It revealed there are 3 screws that go into the dial! Those copper things are the feet, and the screws go into the feet, which are 'split' kinda thing. They are too small to use my current screwdrivers, it'll have to wait until the Bergeon set shows up!

As far as polishing: The crystal came out in the ultrasonic, but cleaned up REALLY nicely. It has a few swirls and a pretty big gouge, but most of what was there was apparently gunk! It made cleaning the case easy, since I could assemble it and not worry about the crystal. I did a LIGHT polish just enough to clean up the gunk/bad looking stuff, and give it a little shine. There are a few dents and deeper scratches, but nothing concerning.

SO, I am at a stopping point. I can't finish taking it down until the screwdrivers show up, so it'll be delayed until I'm back from my trip. I'm grateful to find that the problem is perhaps just the broken mainspring (unless you guys see something I missed!), which is ALSO delayed due to shipping.

Overall, a successful day messing with this one, and I'm hopeful I'll end this one with a nice running watch.
 
Posts
29,113
Likes
75,240
HELP NEEDED:

I figured I'd put together a list of the help I need 馃榾 Here it is!

-ANY idea what the inscription inside the case back means?

-ANYONE have any idea how to remove the dial? (see side picture with lever near the bottom!)

-Can you confirm the stem is supposed to be 2 parts?

1 - Maker information plus likely watchmaker marks. Those are typically a code only known to the person that did the work.

2 - You got it already.

3 - Yes. This is how most American pocket watches work.

I'm grateful to find that the problem is perhaps just the broken mainspring (unless you guys see something I missed!), which is ALSO delayed due to shipping.
Until you have cleaned the movement parts thoroughly, inspected them all for wear or damage, you have no idea if the mainspring is the limit of the problems. Often these old pocket watches have broken jewels - those are difficult to replace as they are bezel set jewels, and those damaged jewels often lead to damaged pivots on wheels. So you need to go over everything thoroughly before putting any of it back together.
 
Posts
1,088
Likes
1,164
1 - Maker information plus likely watchmaker marks. Those are typically a code only known to the person that did the work.

2 - You got it already.

3 - Yes. This is how most American pocket watches work.


Until you have cleaned the movement parts thoroughly, inspected them all for wear or damage, you have no idea if the mainspring is the limit of the problems. Often these old pocket watches have broken jewels - those are difficult to replace as they are bezel set jewels, and those damaged jewels often lead to damaged pivots on wheels. So you need to go over everything thoroughly before putting any of it back together.
Thanks! Your answers are incredibly helpful!

I was hoping the watchmaker mark had some sort of "if you know you know" bit to it, but guess not!

And you're right of course about the jewels, I don't have a great idea until I get everything cleaned. That said, I'm hopeful? When I first started playing with it, I was afraid the problem was going to be something on the balance (in part because the balance wouldn't move!), so it is a relief to know that wasn't the primary problem.
 
Posts
1,088
Likes
1,164
Looking at this(https://pocketwatchdatabase.com/reference/jewels) I see how they count the jewels. Which is... a little tricky. Despite being a 7 jewel movement, only the balance wheel has jeweled pivots (but they count that for FOUR of the jewels)! The other 3: They count both of the pallet fork jewels, AND the impulse jewel.

So presumably there aren't any jewels to be troublesome, right? There might be pivots in need of help, and metal bearings, but at least no cracked jewels to be worried about, other than removable ones.
 
Posts
2,656
Likes
5,352
I鈥檓 halfway through watchFIX.com online beginners course by Mark Lovick. It鈥檚 reasonably priced and very user friendly. I picked up some knowledge here and there and did some crystal polishing, crystal replacing, gasket replacement, bracelet fiddling etc. but without guidance for approach to disassembly and cleaning and reassembly I was stuck. I bought a couple of the trainer movements he uses in course and am using them to practice.
The watchFiX.com provides this approach, after which I will work my way through @Archers generous lessons here on OF before trying to do anything with an Omega.
 
Posts
1,088
Likes
1,164
I鈥檓 halfway through watchFIX.com online beginners course by Mark Lovick. It鈥檚 reasonably priced and very user friendly. I picked up some knowledge here and there and did some crystal polishing, crystal replacing, gasket replacement, bracelet fiddling etc. but without guidance for approach to disassembly and cleaning and reassembly I was stuck. I bought a couple of the trainer movements he uses in course and am using them to practice.
The watchFiX.com provides this approach, after which I will work my way through @Archers generous lessons here on OF before trying to do anything with an Omega.
I tried a few sets of training videos, but sadly, I am a "do things" learner and always have been. I do a very poor job learning from books and videos unfortunately.

And a few of those are no different.
 
Posts
2,399
Likes
6,935
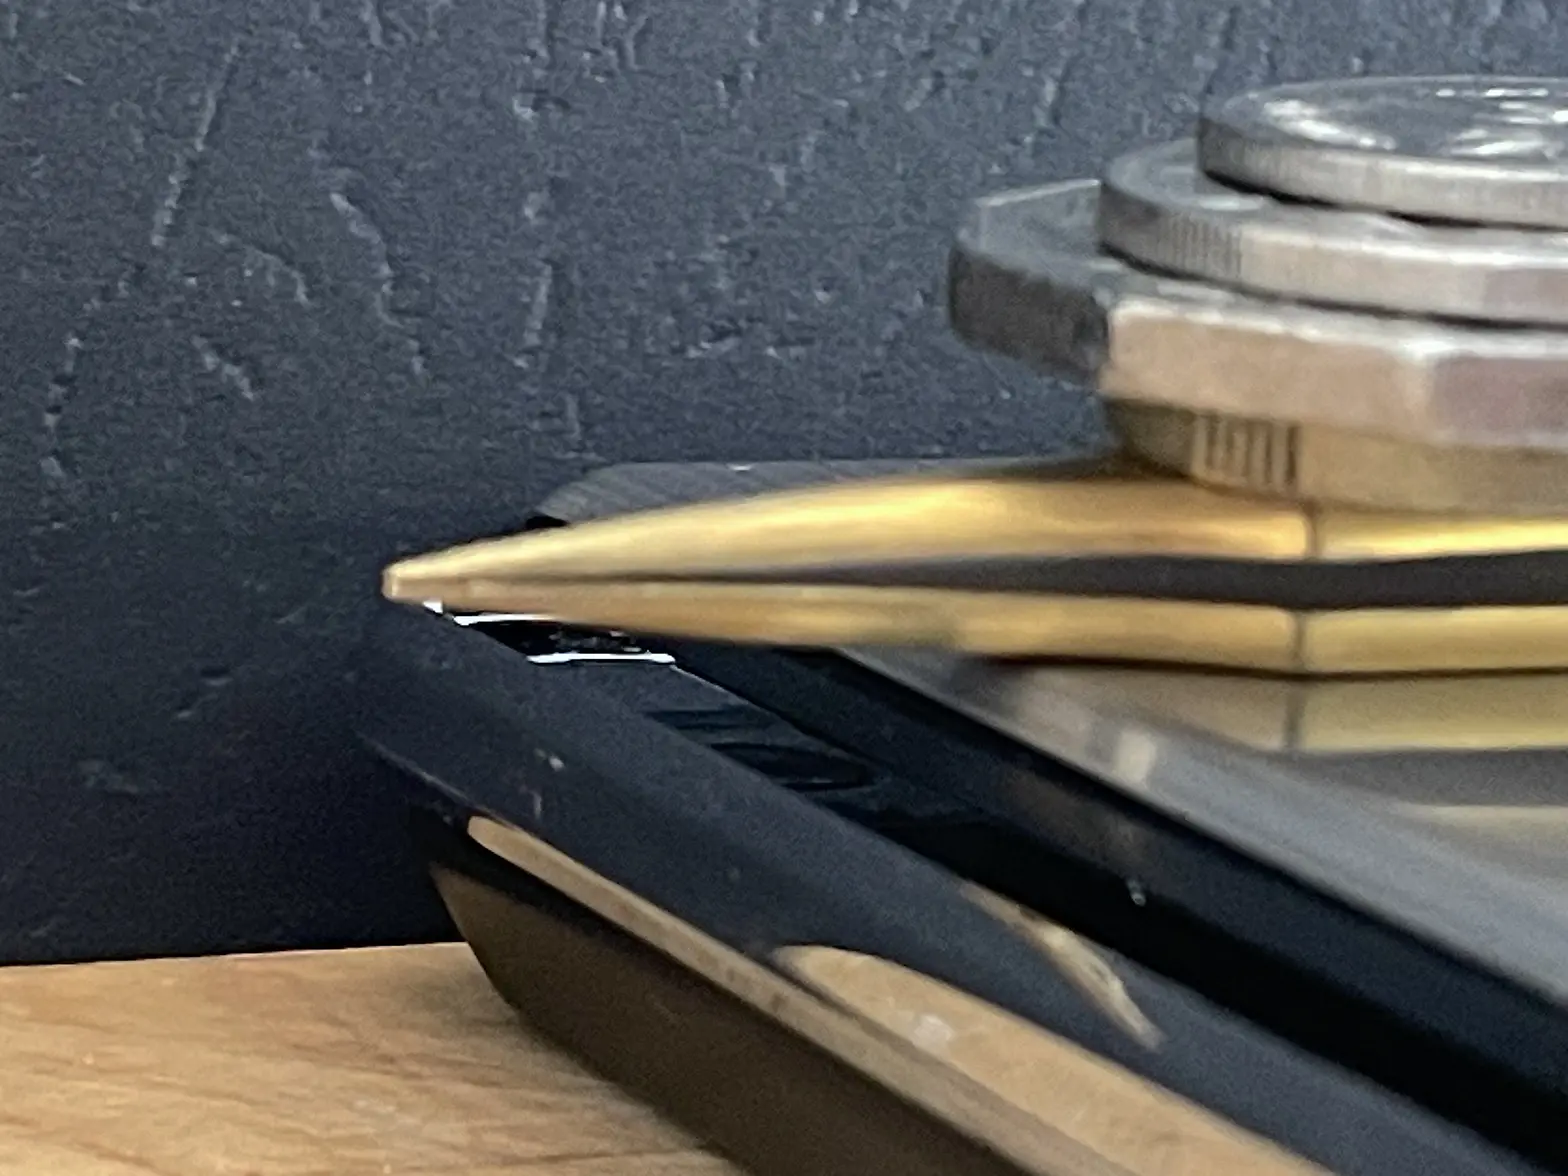
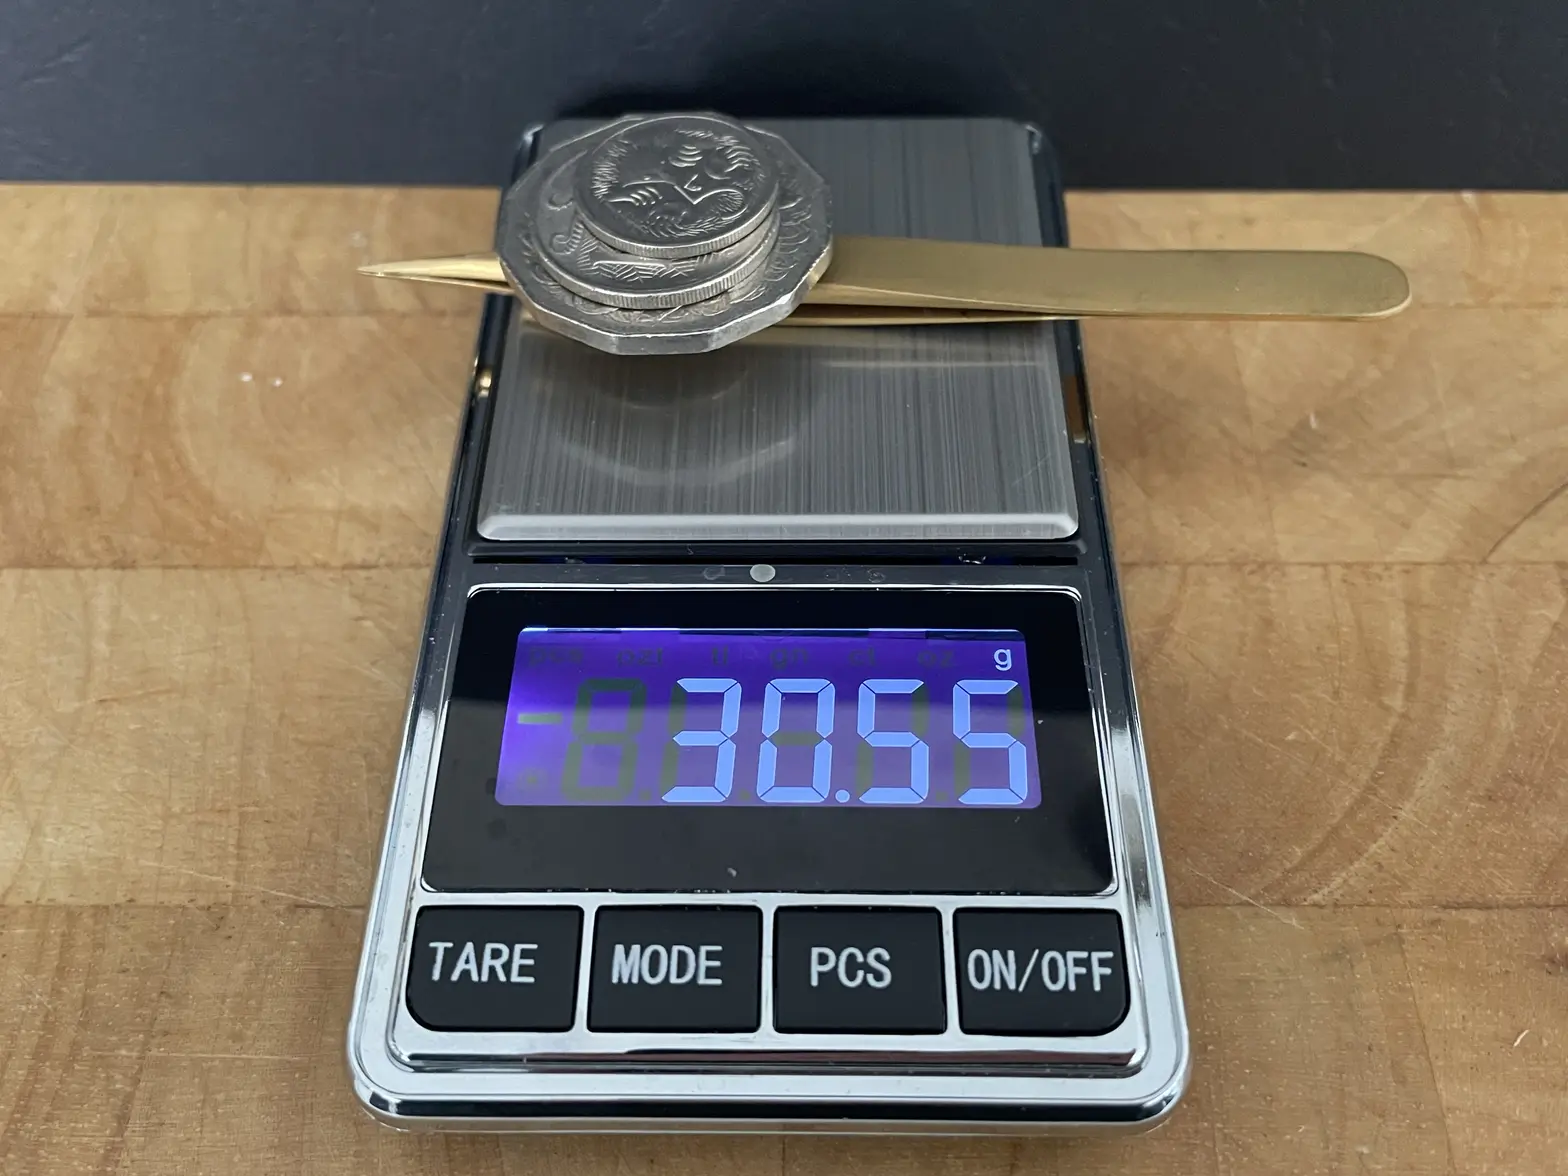
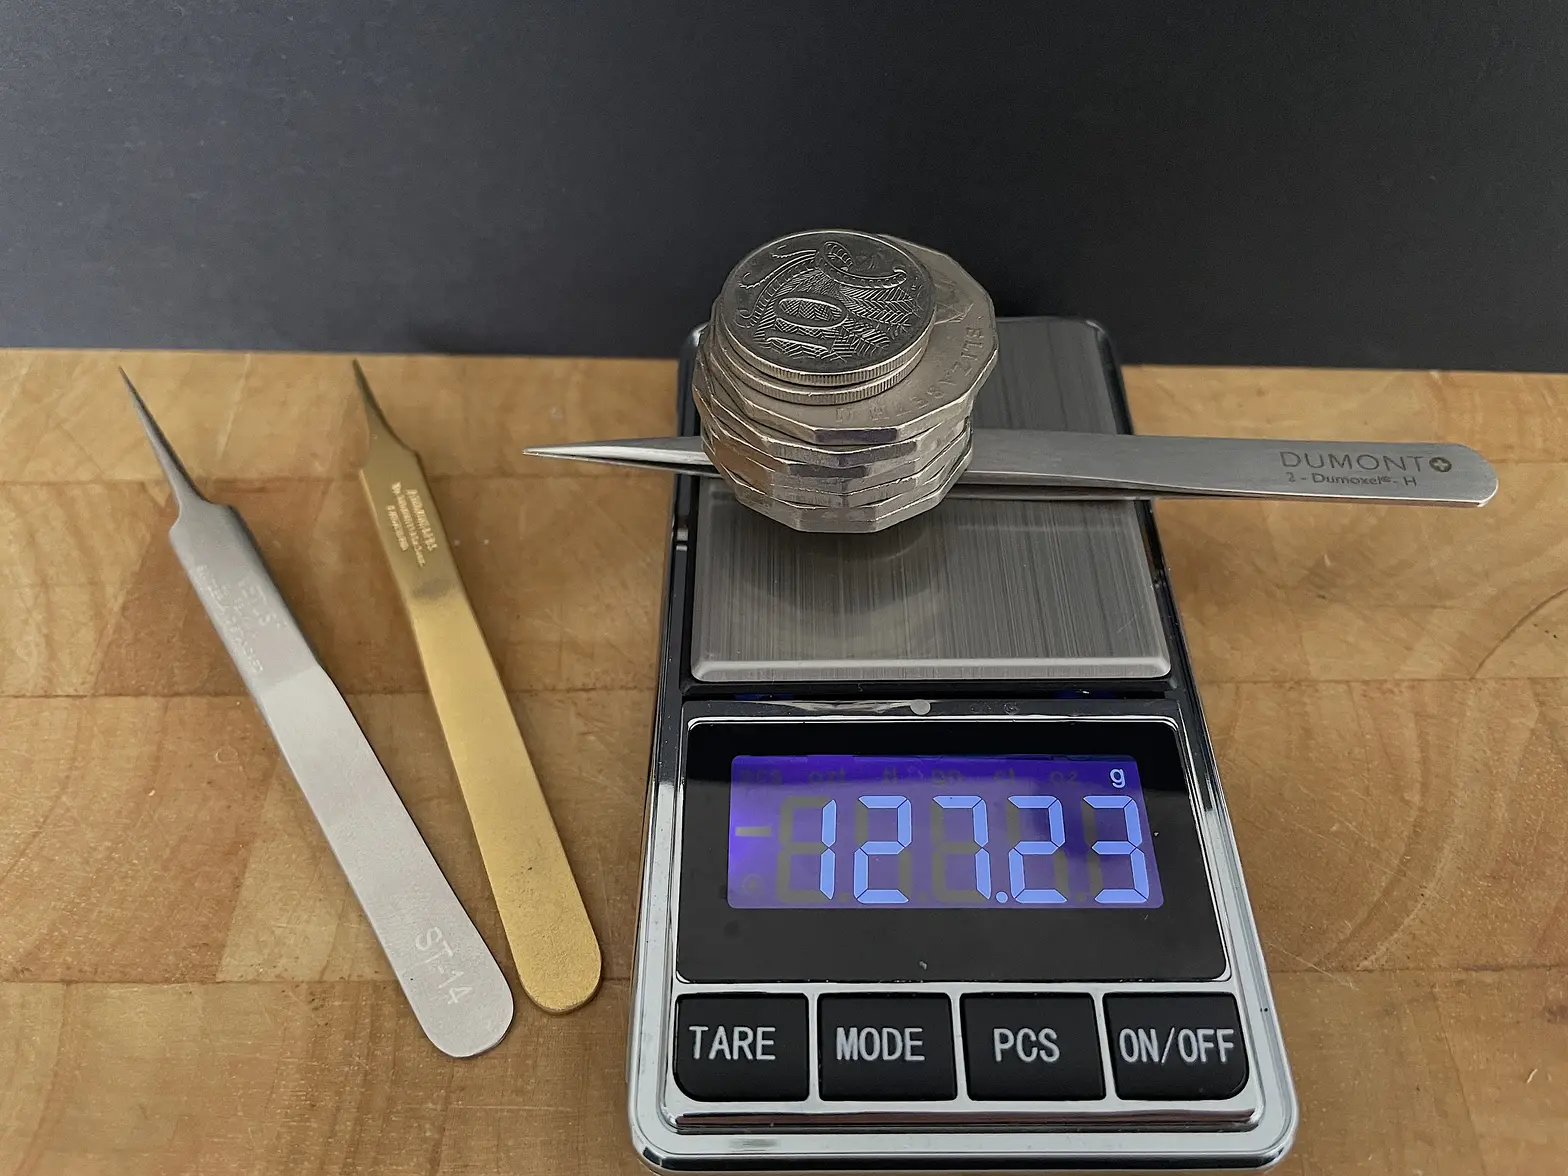
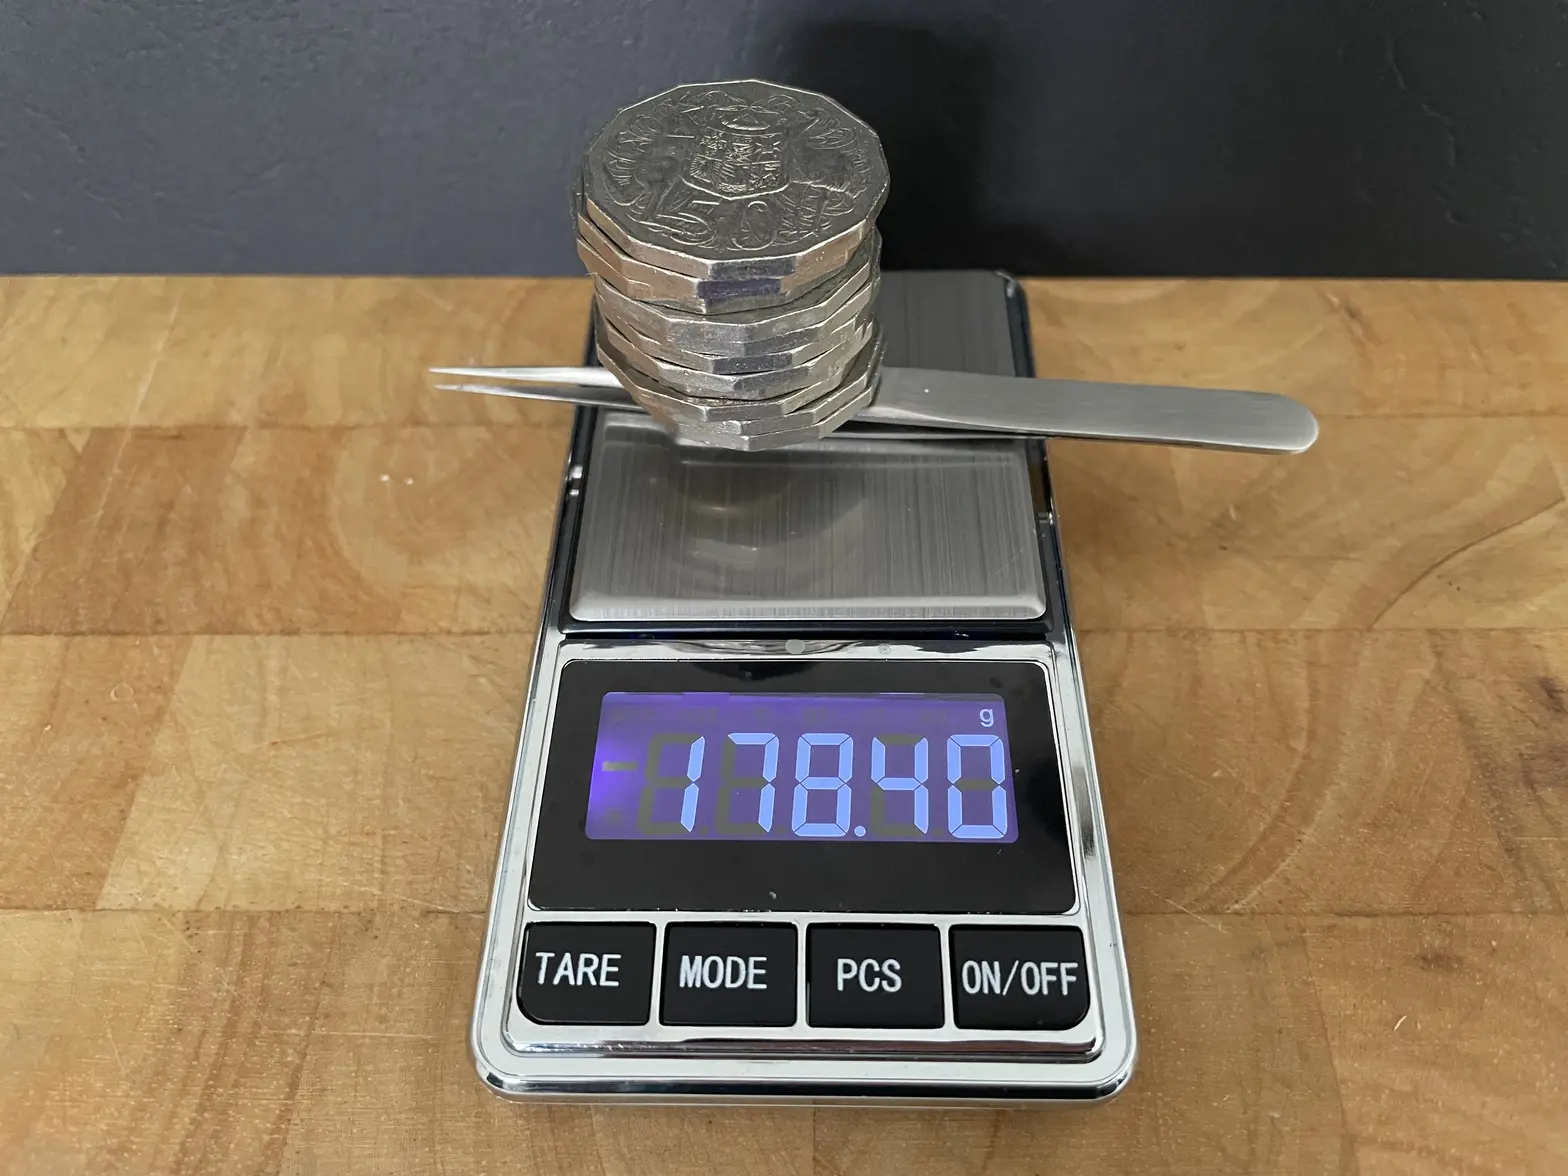
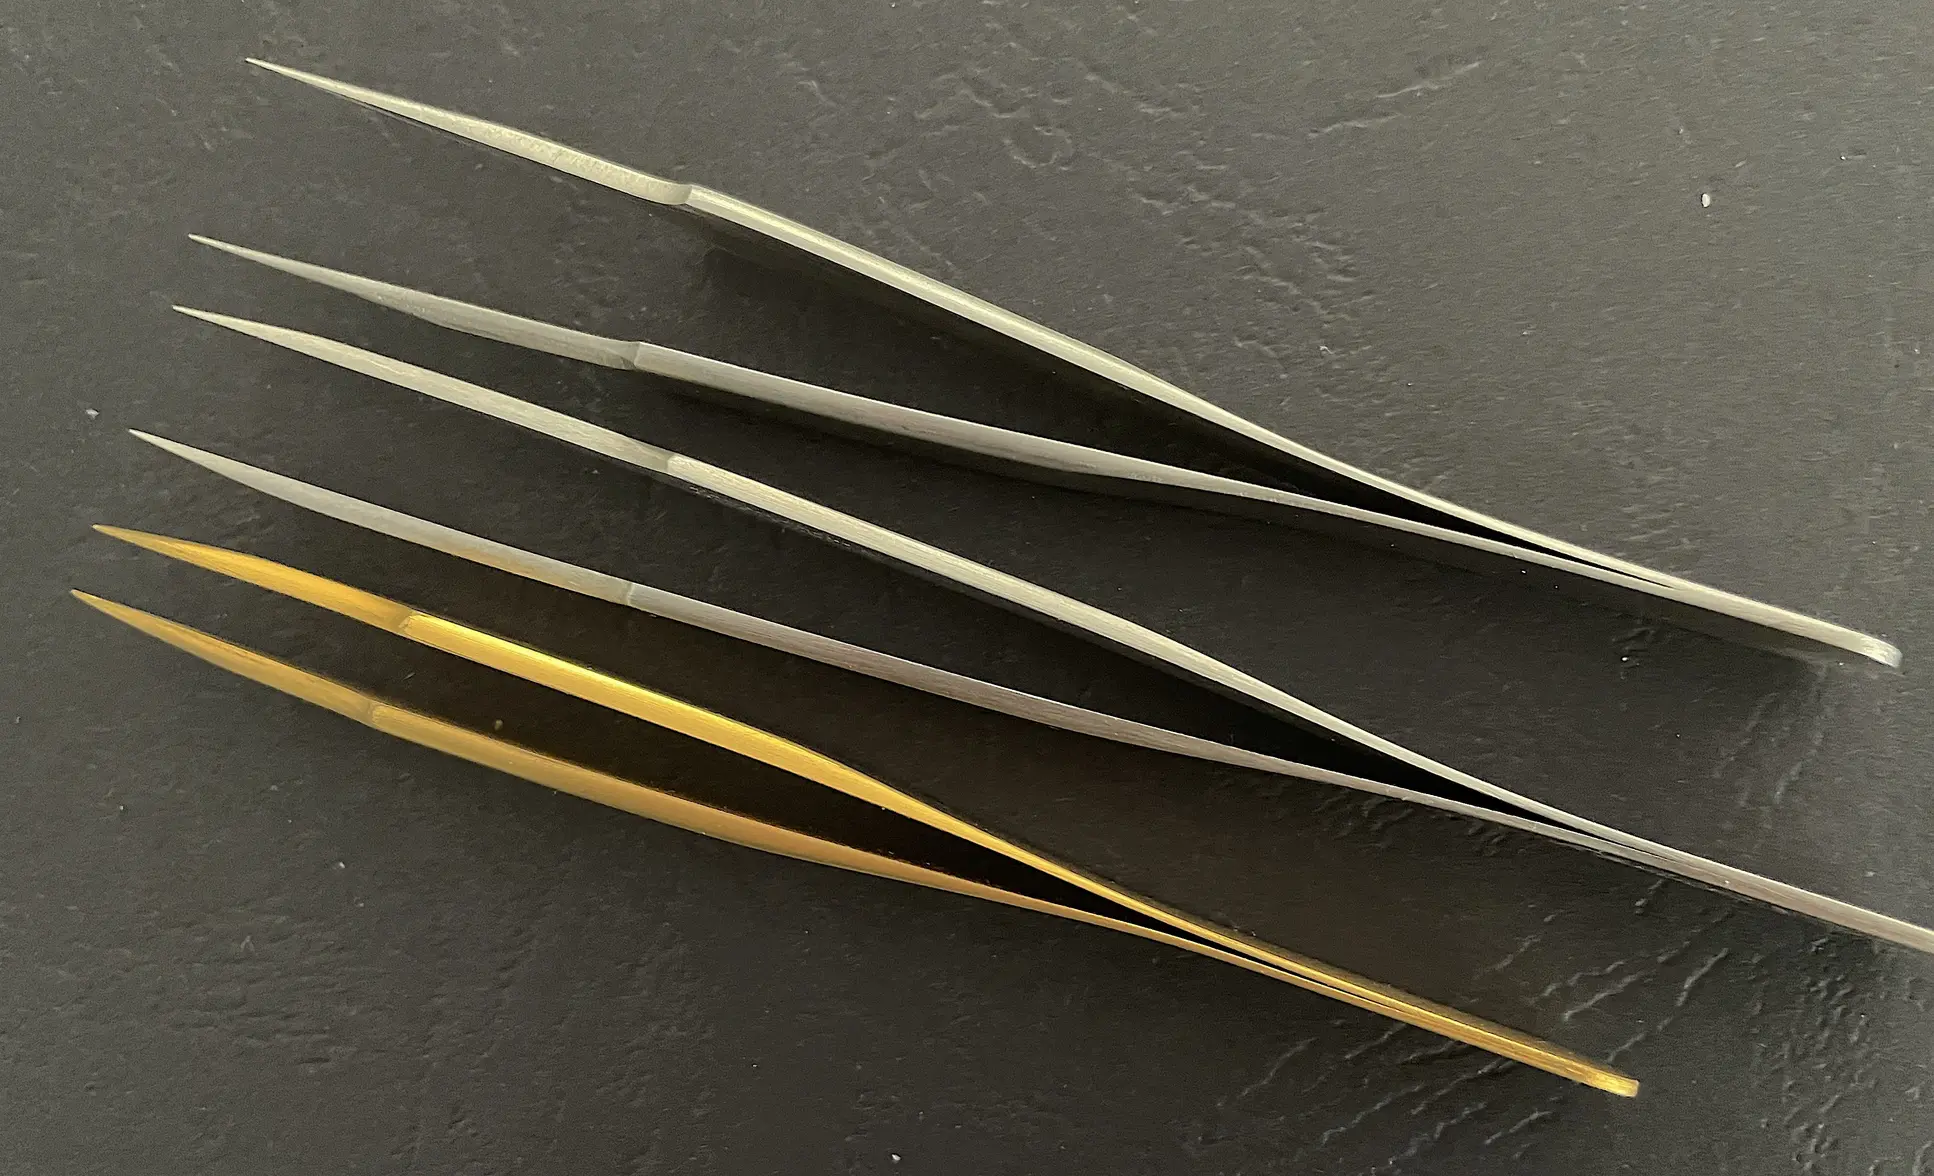
To give you an idea of the force required to used them. I selected my standard Dumont No4 Bronze, a set of Dumont Dumoxel No2 and a set of Vetus ST-14 Stainless tweezers to compare.

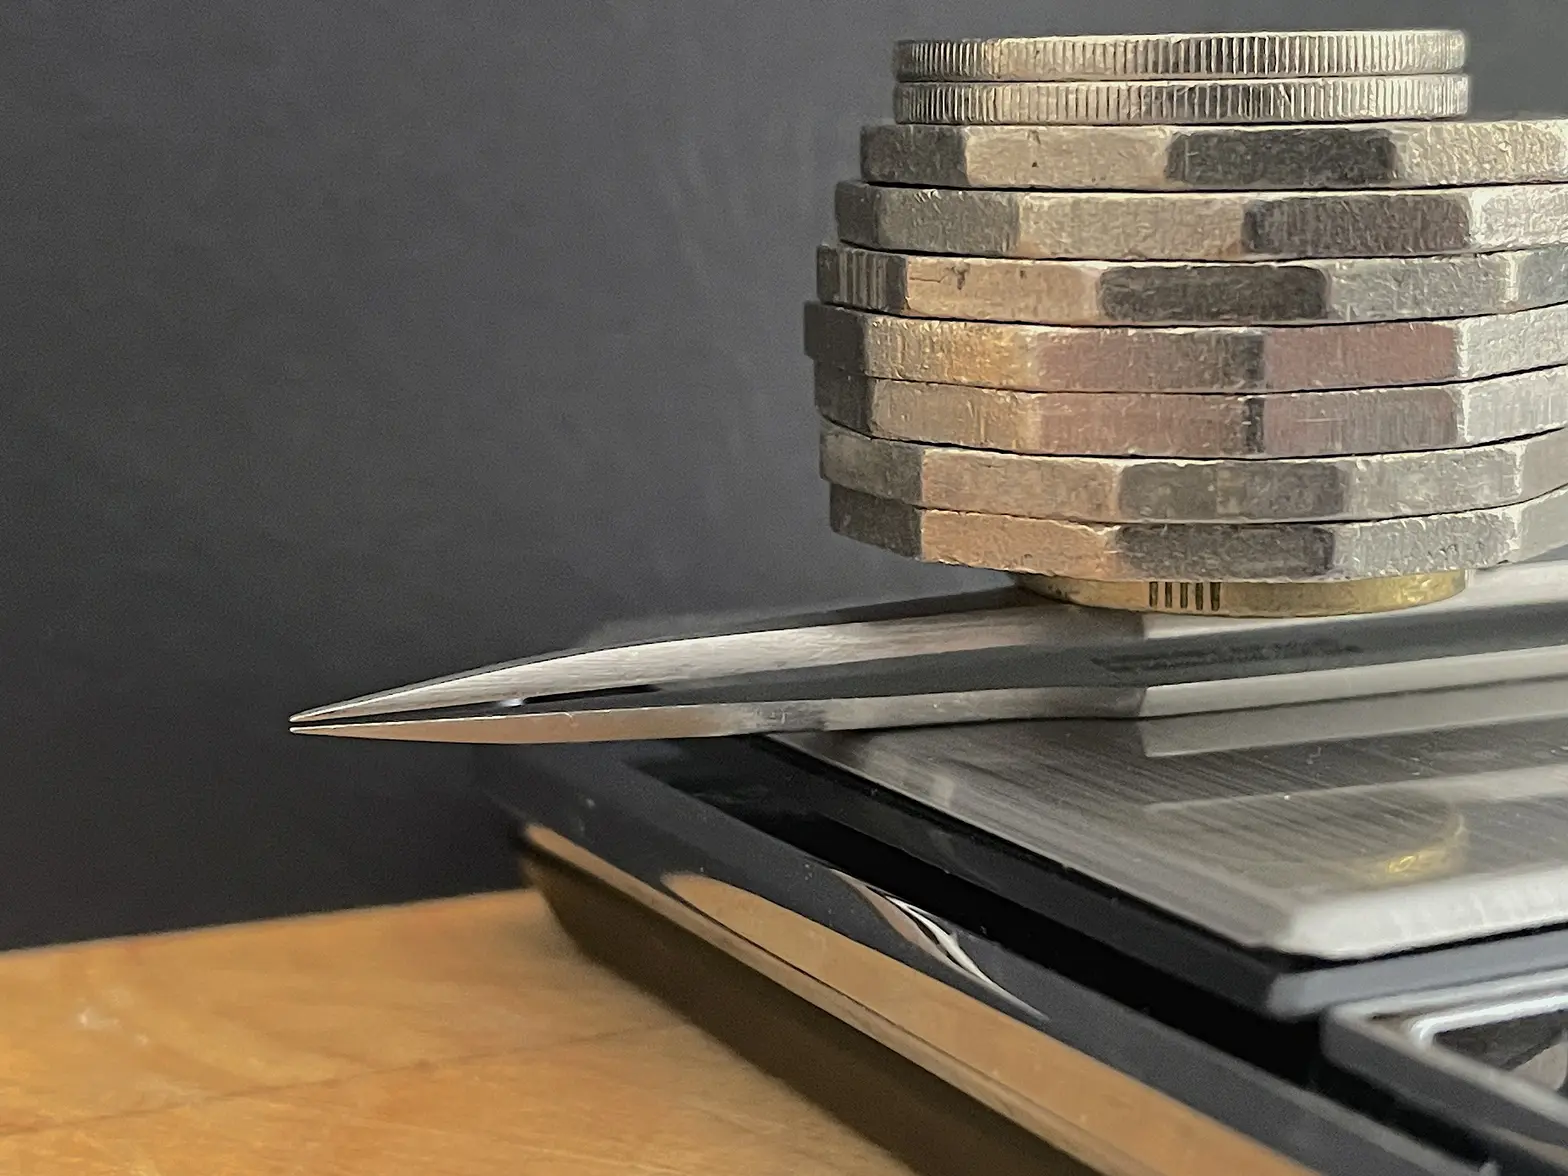
Not having a scientific force gauge, I used my jewelers scales and Australian coins to provide weight. The first coin was a $2 placed at the point where your fingers would normally press, the remainder of the coins were then stacked until the tips were just closed.

First test with my favourites.

Just closed.


and only 30.55 grammes required.


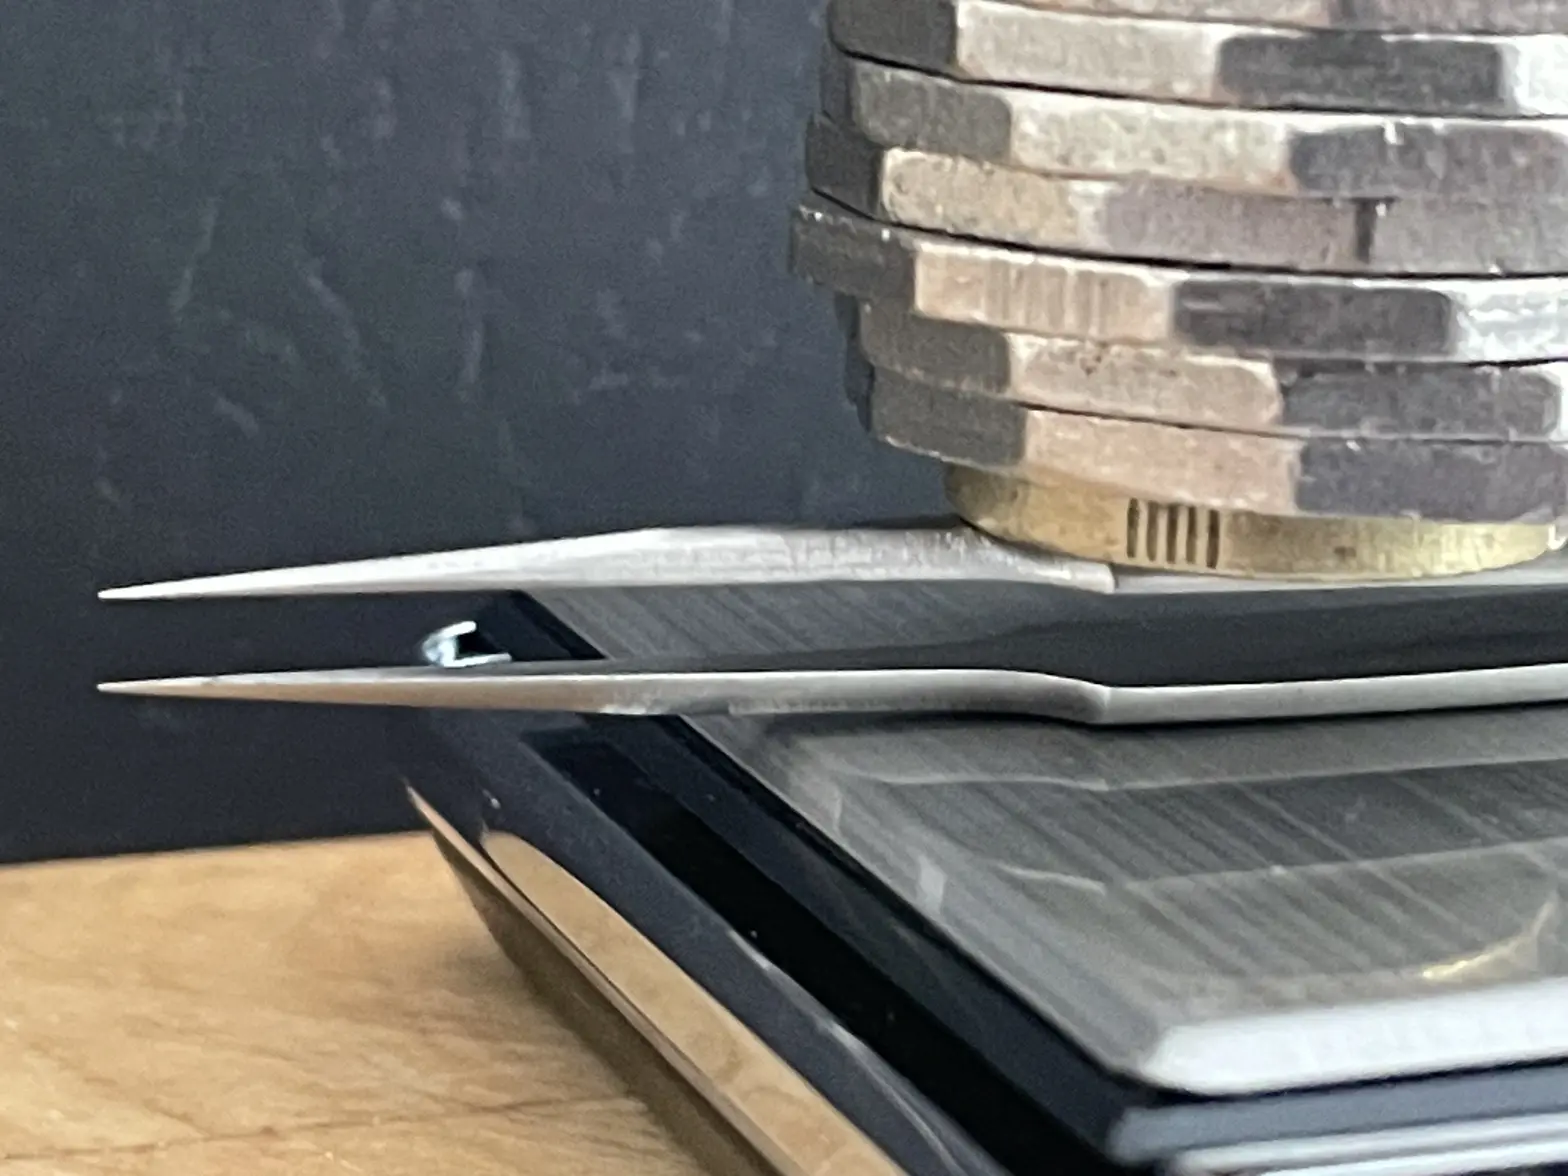
Next the Dumont No2.


they required 127+ grammes.


Lastly, the Vetus. I got sick of stacking coins so the force required is significantly more than desirable.


even close to 180 grammes wasn't enough.


Finally a shot of all three showing the tip distances. As you can see, the bronze Dumonts have perfectly adequate clearance for all of the screws and parts I come across, even bridges and plates.

That's really interesting. I just tried with mine (stainless steel and brass), and most are around 80 - 100 g to close them. I will modify an inexpensive pair by "thinning out" the metal near the attached ends to reduce the required closing force.

BTW, no weights needed to do this test with the scale. A force is a force, just use a finger instead.
 
Posts
792
Likes
915
In fact the vast majority of mainsprings you will encounter are installed CCW, not CW.
For posterities sake, I was speaking of the direction you turn the winder when facing the crank end.
 
Posts
17,465
Likes
36,611
That's really interesting. I just tried with mine (stainless steel and brass), and most are around 80 - 100 g to close them. I will modify an inexpensive pair by "thinning out" the metal near the attached ends to reduce the required closing force.

BTW, no weights needed to do this test with the scale. A force is a force, just use a finger instead.
I don't trust finger force.

It must be a hangover from my childhood when my Mum always whispered to me "watch his finger" when the grocer or the butcher was weighing our purchases.

One local butcher was well known for resting his hand on the scales. "Just to steady it" was always the comeback.

Ah.....life as a kid in the 1950s. Learning didn't stop at school.
 
Posts
179
Likes
81
I'm still learning as well and have a few lessons learned. Lighting is important. Magnification is too. A good de-magnetizer. Lube, and for flinging parts I ordered a square covered spray painting tent. It's 12in x 12in x 12in and zips closed. It's helped me a few times while I fine tune my pressure. A part flings, it can only go into the tent, quick and easy to find. I can send a picture. I'm sure as I get more into this hobby I will out grow the tent, but for now, it's saved me a few purchases of spare parts.
 
Posts
792
Likes
915
I find the floor is the biggest help. That and not having any creepy-crawly places like loose mop strips. I've always wondered why watch benches don't have high sides and back.

A shredder also isn't a good idea.
 
Posts
17,465
Likes
36,611
I find the floor is the biggest help. That and not having any creepy-crawly places like loose mop strips. I've always wondered why watch benches don't have high sides and back.

A shredder also isn't a good idea.
I'm still looking for a sub-dial hand fro a 7750 chrono that flew off a couple of years ago.
Magnet sweep was unsuccessful and subsequent passes with a sterile vacuum cleaner (when other things get lost) have proved fruitless.

It'll turn up one day though.
 
Posts
29,113
Likes
75,240
I'm still looking for a sub-dial hand fro a 7750 chrono that flew off a couple of years ago.
Magnet sweep was unsuccessful and subsequent passes with a sterile vacuum cleaner (when other things get lost) have proved fruitless.

It'll turn up one day though.
Magnets are great for some things, but since hands are often made of brass, not good for hands most of the time.