Scarecrow Boat
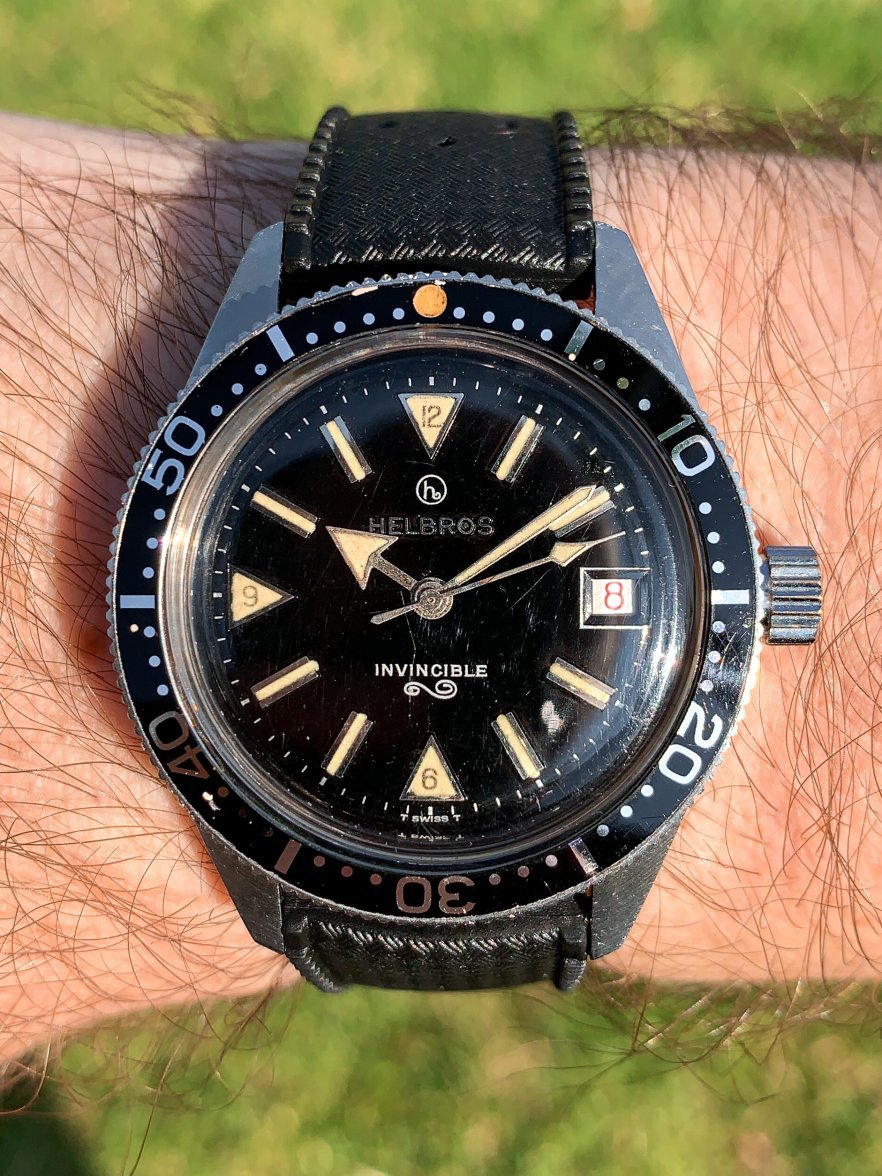
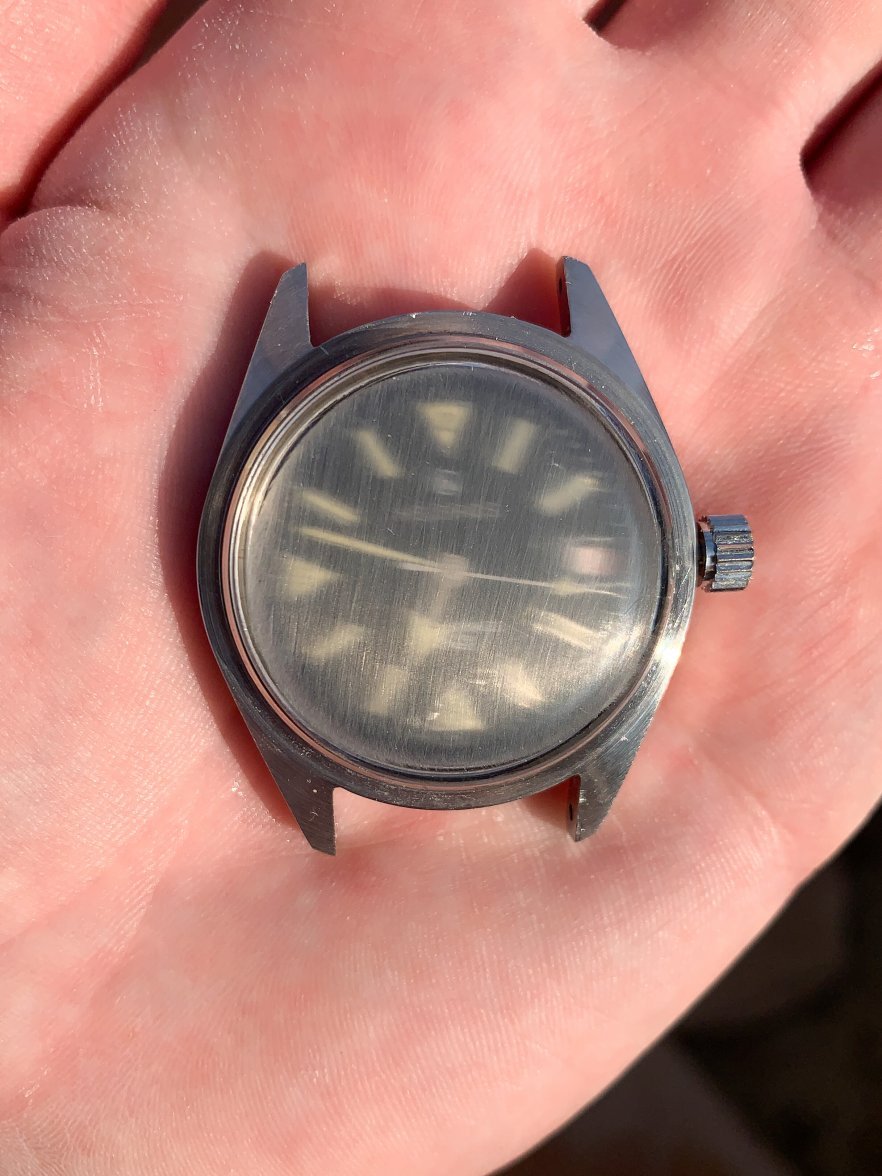
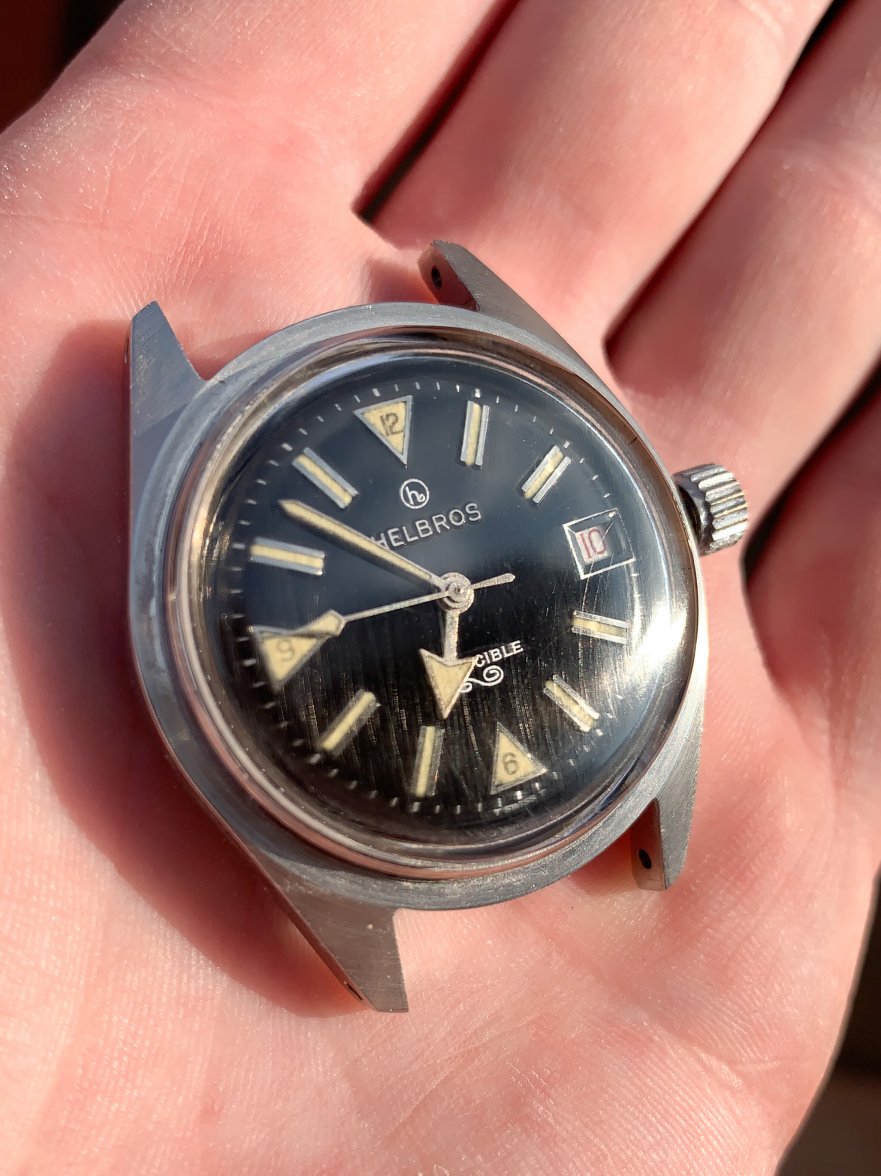
··Burt Macklin, FBII recently bought this late '60s Helbros Invincible skin-diver and the watch was beautiful. Nice sharp case edges, great looking dial, with matching yellow aged tritium hands. The acrylic crystal however looked pretty abused... a lot like a previous owner had used wool as a cleaning cloth. The crystal was covered with both superficial, coarse, and deep grooves/scratches. It was hard to show everything but here is a decent picture (before). A lot of the scratches aren't shown in this. It was bad. At certain viewing angles the dial became distorted.
I don't own Polywatch nor was I going to buy any as I knew it wouldn't cut deep enough to get the deep scratches, so I proceeded with wet sanding. I unfortunately didn't have any high grit paper on hand so I made do with 800 grit. (High grit between 1500 and 2000 would have just made the work faster). **For anyone wanting to try this: Take your time and mask off or remove the bezel. The last thing you want to do is scratch your bezel. Also, with even light pressure, sand across the entire surface of the crystal to create a uniform and smooth result. Sandpaper will eat through the crystal if you either apply too much pressure and/or focus the sanding just on the scratch (do not do this).
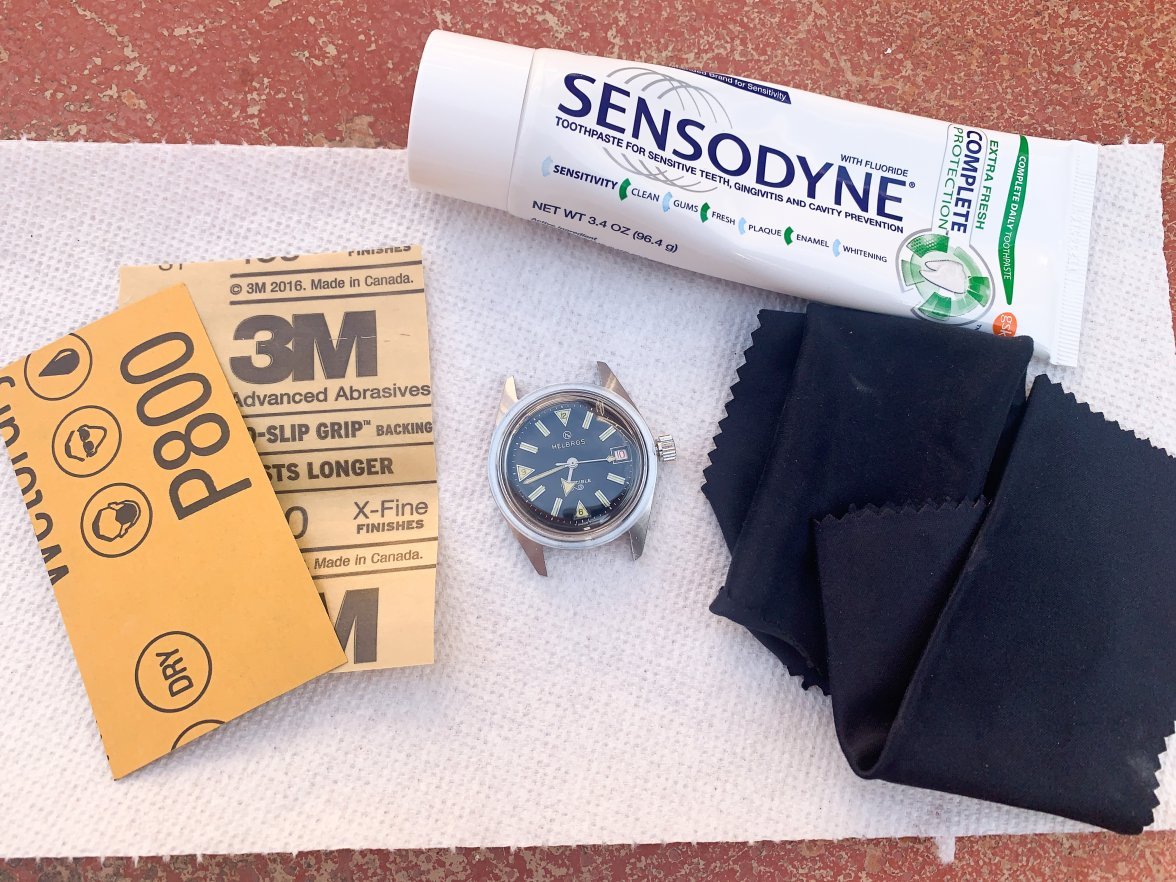
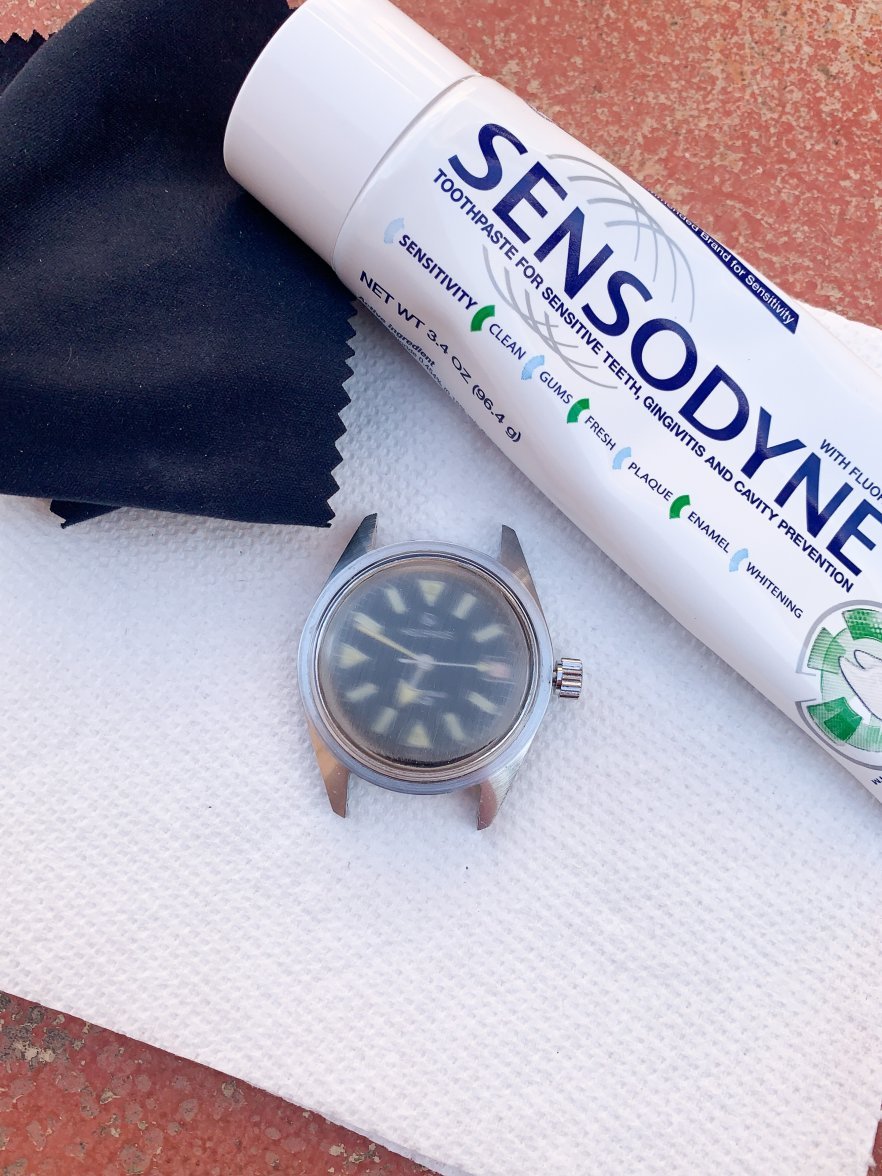
Here is everything I used. Note: I removed the bezel prior to sanding.
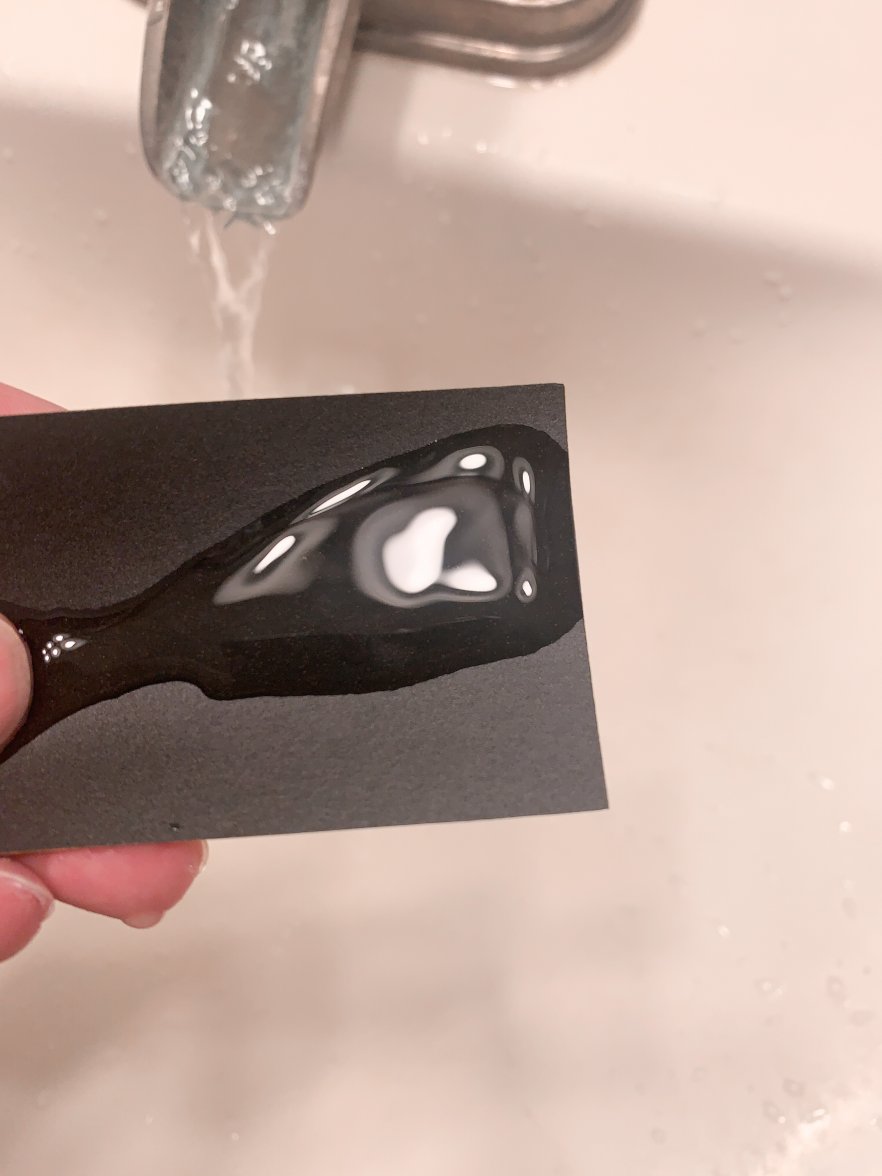
Now, wet the sandpaper and get to it
After sanding and you get your first glimpse of your work, you might sit back and begin to panic. Thinking "what the F@CK did I just do??" and begin to build up a cold sweat. But don't worry. You are on the right track.
Sand and review your work. Depending on how deep your scratches are, you might have to repeat. Be mindful of the soft curved edges of the crystal. You will want to follow those to avoid creating a flat-top.
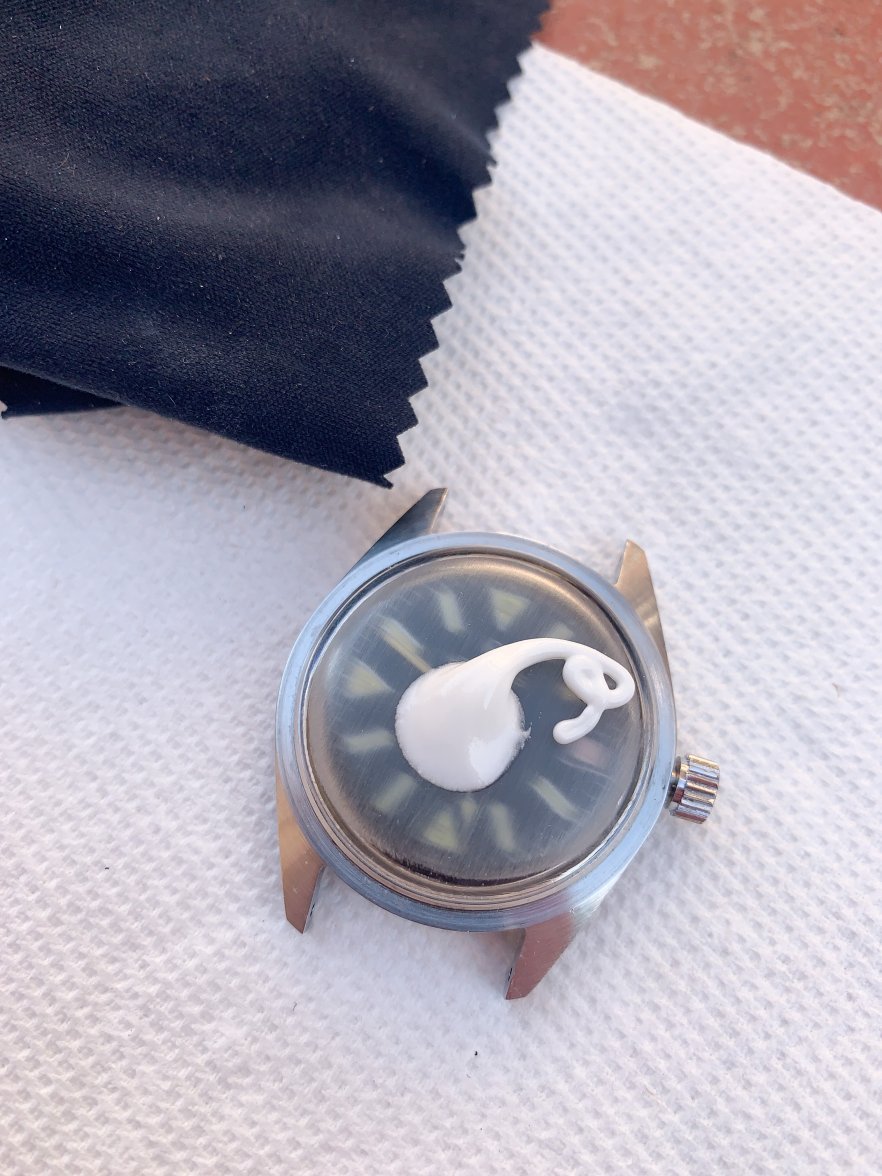
Now to the toothpaste. If you don't have Polywatch, you can save yourself money and use what you already (hopefully) have- toothpaste. Toothpaste isn't just to prevent cavities as it is also a polishing compound. How else would you achieve white teeth? I first used my wife's Crest toothpaste but found it wasn't gritty enough so I used my Sensodyne. This is a lot thicker with a little more grit.
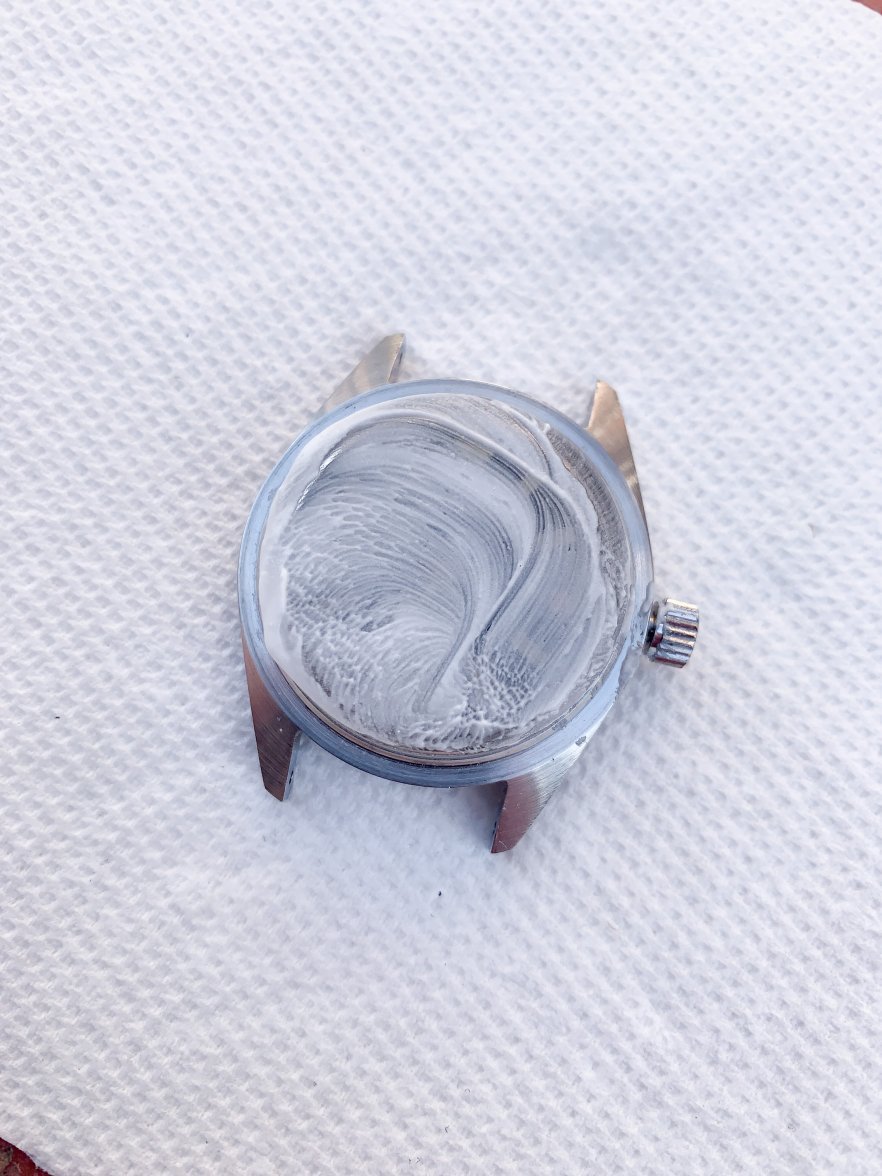
Using a soft cloth, apply firm and even pressure to rub the toothpaste (or Poywatch) in. Keep repeating until you achieve your desired polished result.
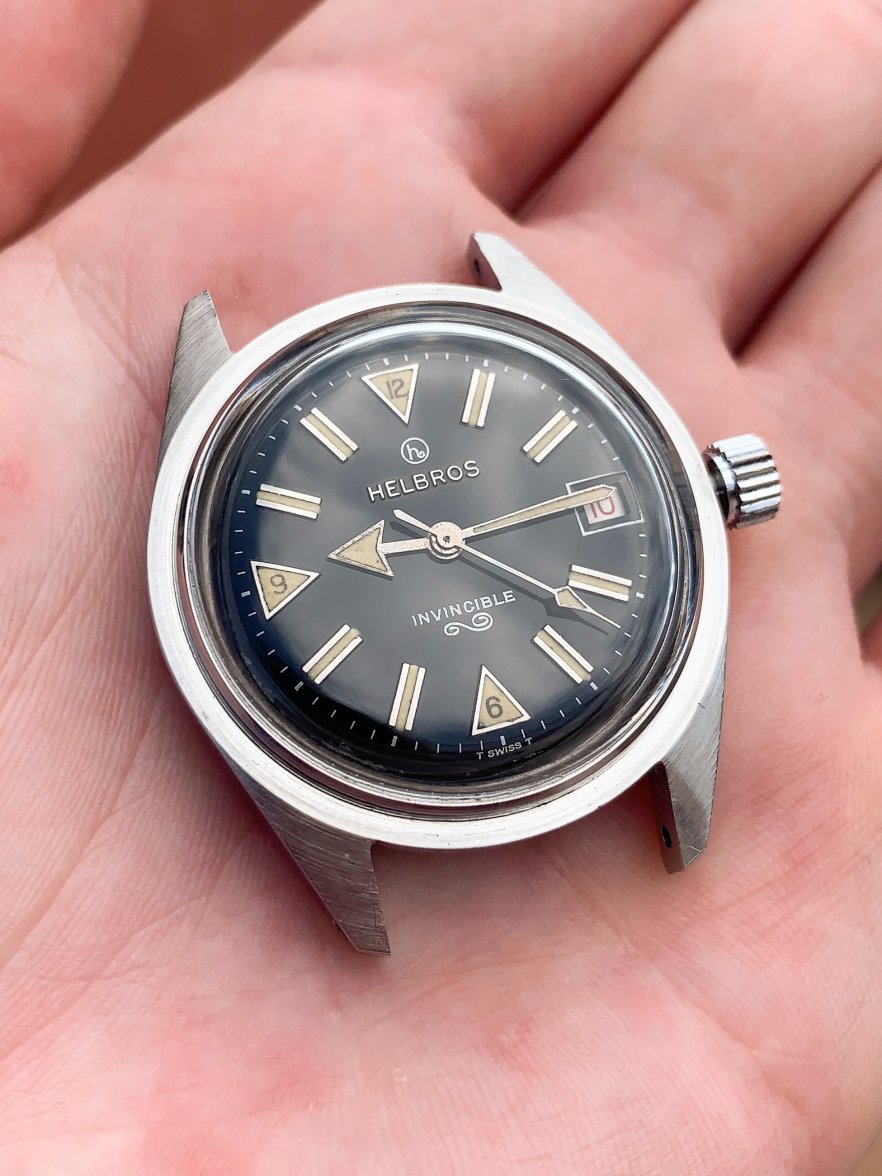
Now, this is where the high grit sandpaper would have made short work of the polishing. Because the 800 grit left deeper more spaced apart grooves (compared to say 2000 grit), I had to repeat this toothpaste step a lot more than I would have with higher grit. Here is the result after the "first" polish.
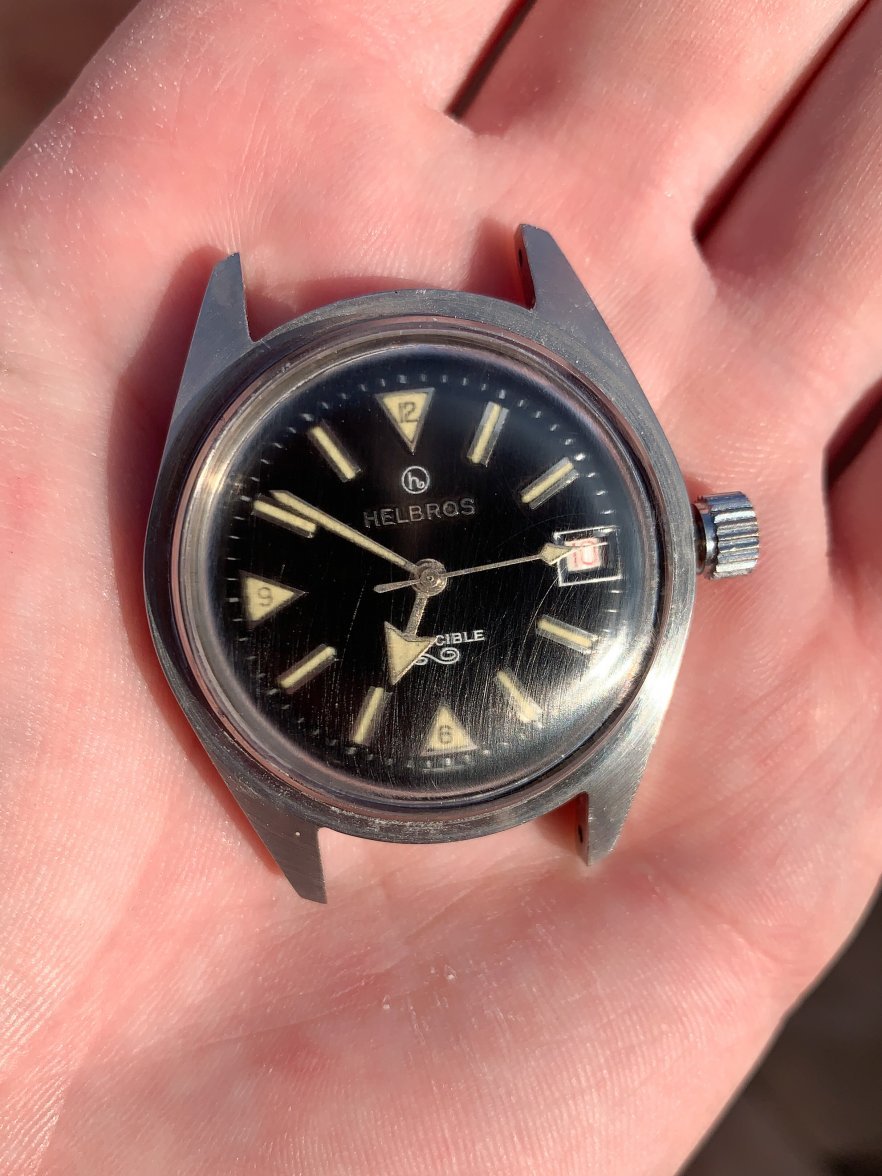
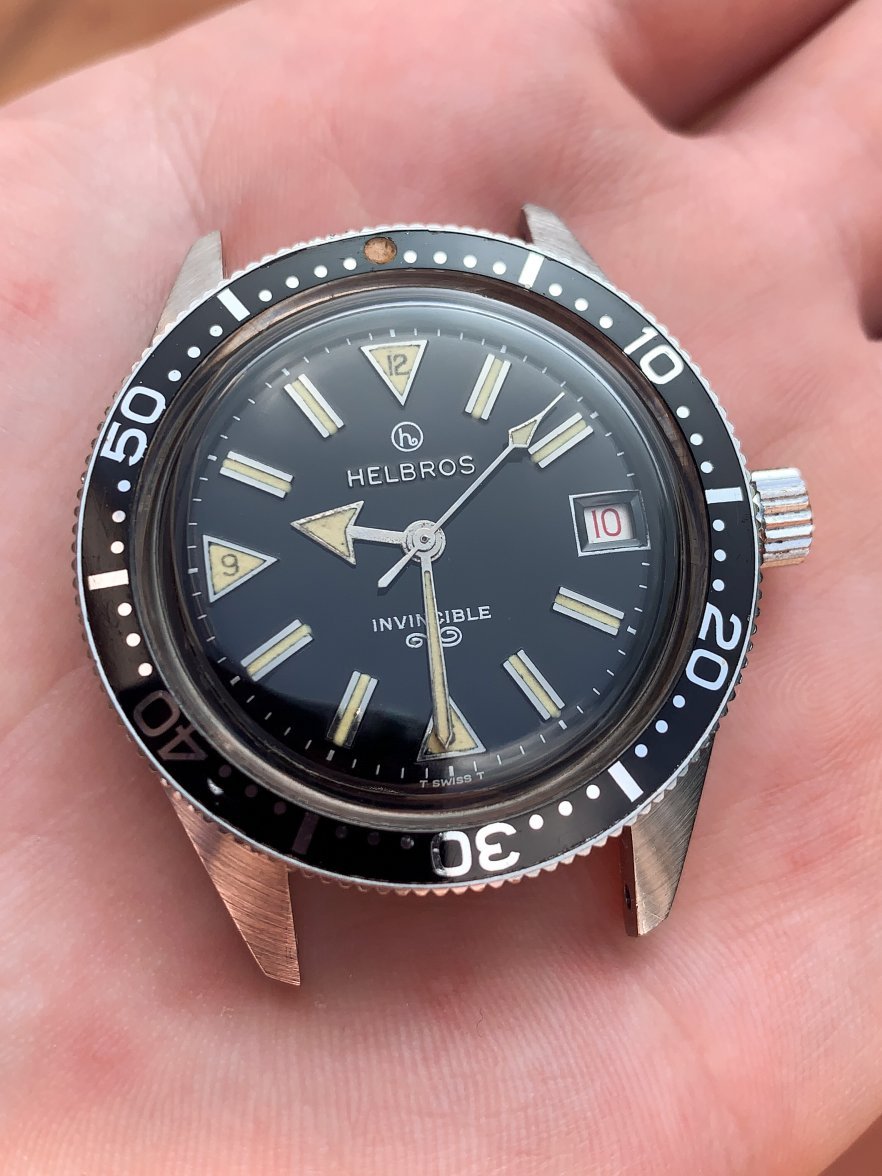
You can see the crystal is A LOT clearer than it was right after sanding. To spare you all very attempt, here is about 45 minutes later (after a breakfast break). The crystal is now "crystal clear."
With the bezel returned to the watch
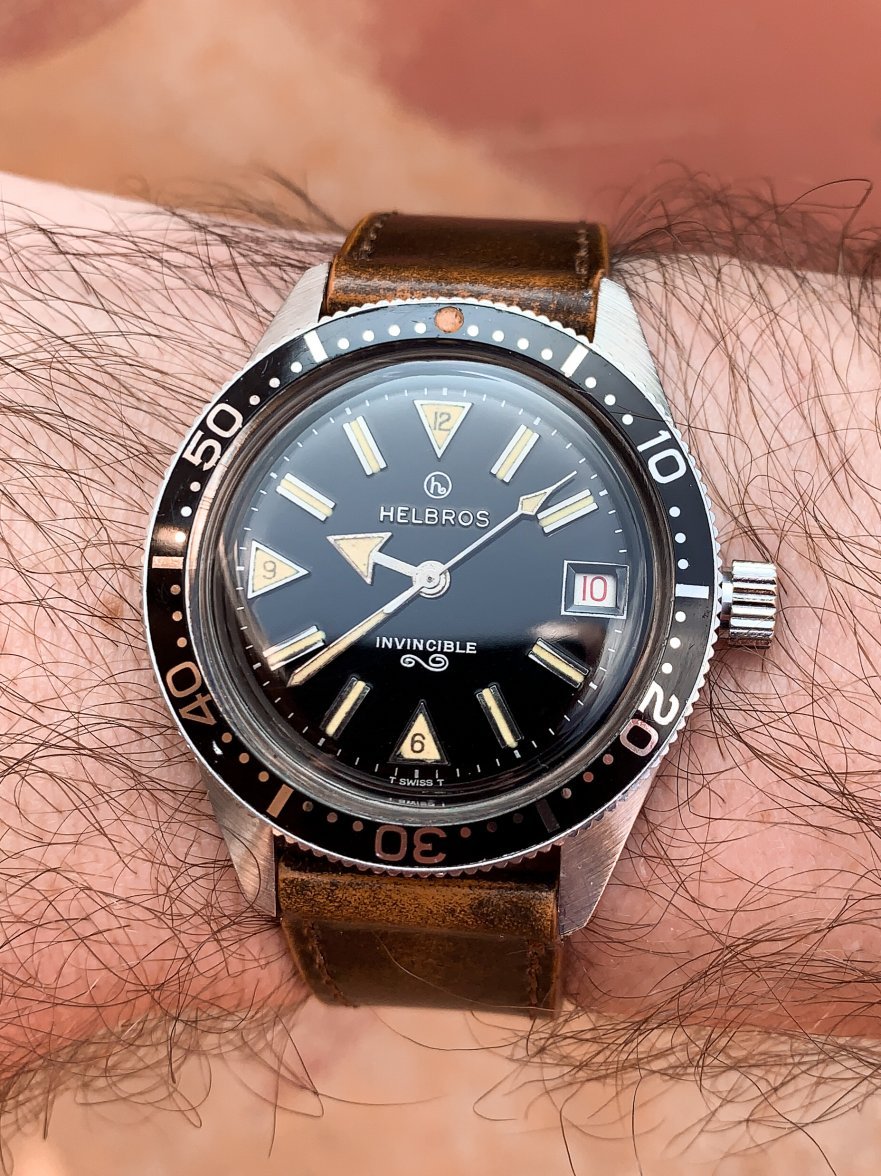
Annnd a side by side before and after wrist shot
Thanks for reading a long!
