A morning of tool making…
Refusing to be beaten and with thanks to
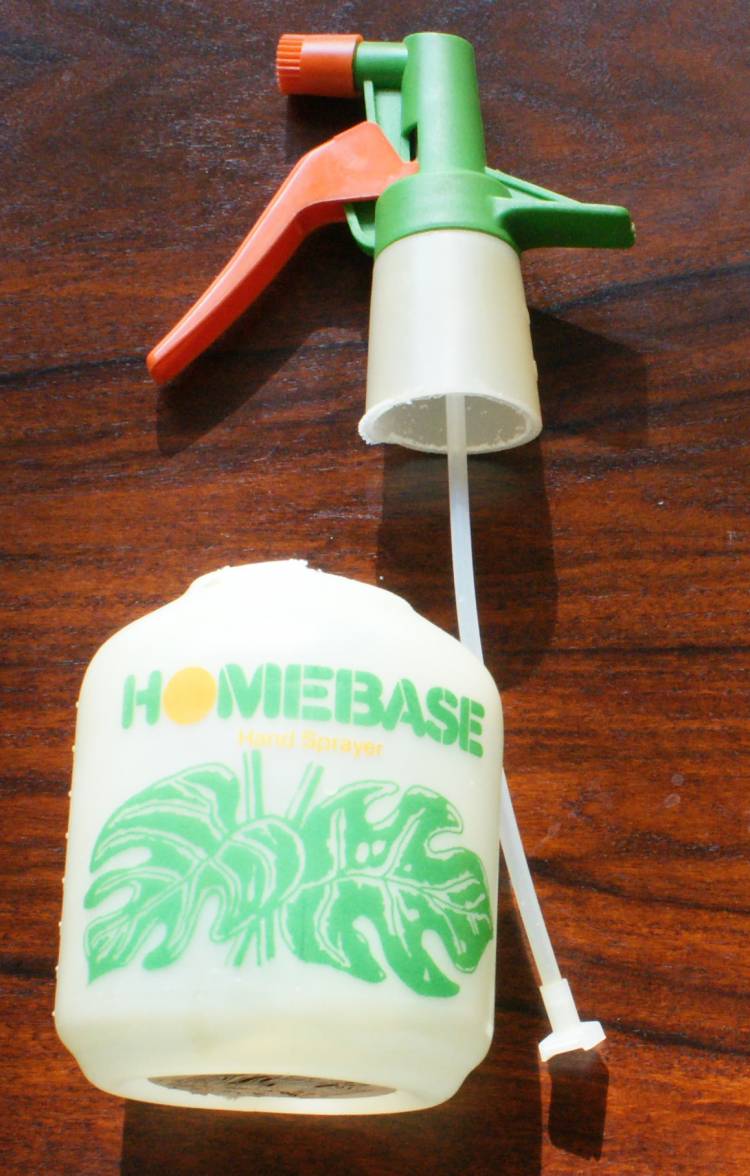
pascs for his picture and inspiration, I spent a good hour rummaging around for suitable materials, armed only with imagination and a Vernier caliper. Dismissing various plastic containers as too wide, too narrow, not thick enough etc. I stumbled on an old, half litre, household plant sprayer - the type with a bulbous bottom and a long, slowly tapering neck (no, not J. Lo.) hidden at the back of the cupboard under the sink. Perfect.
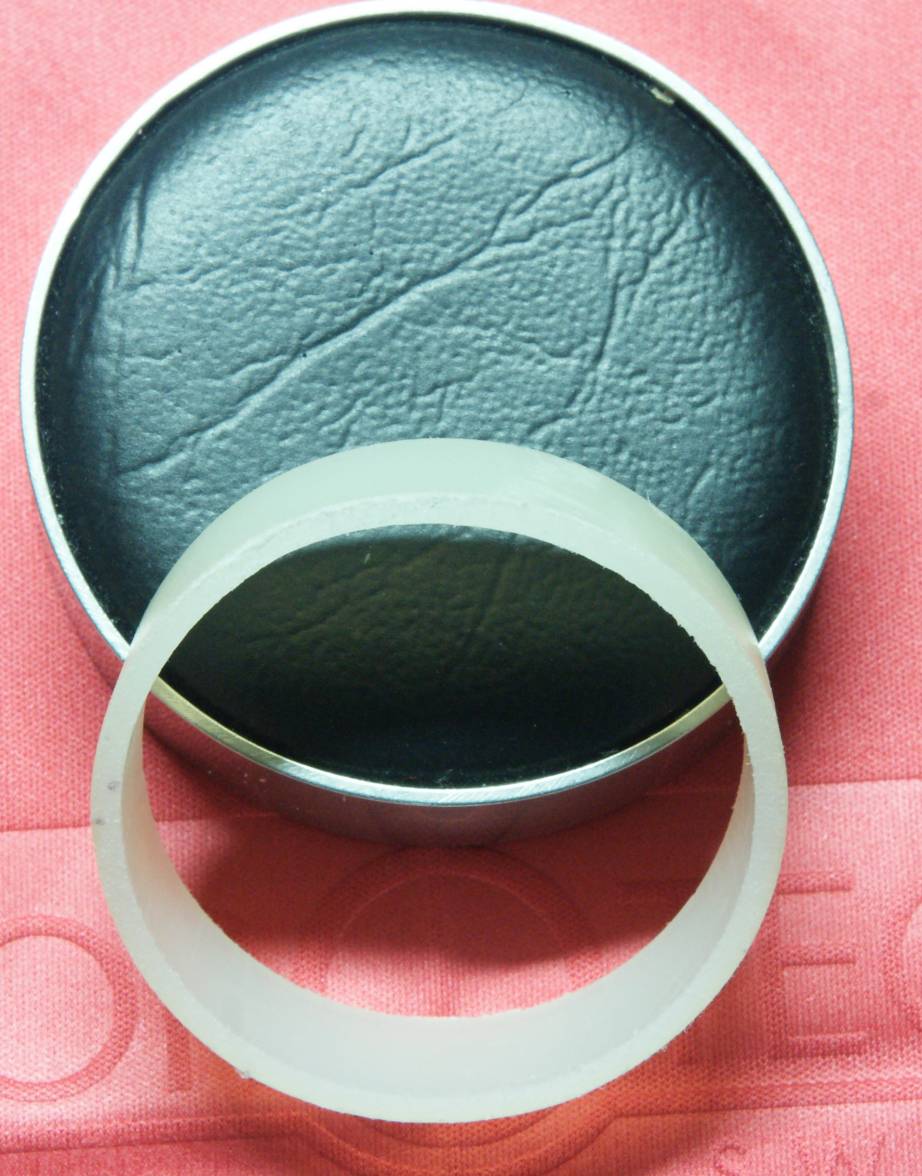
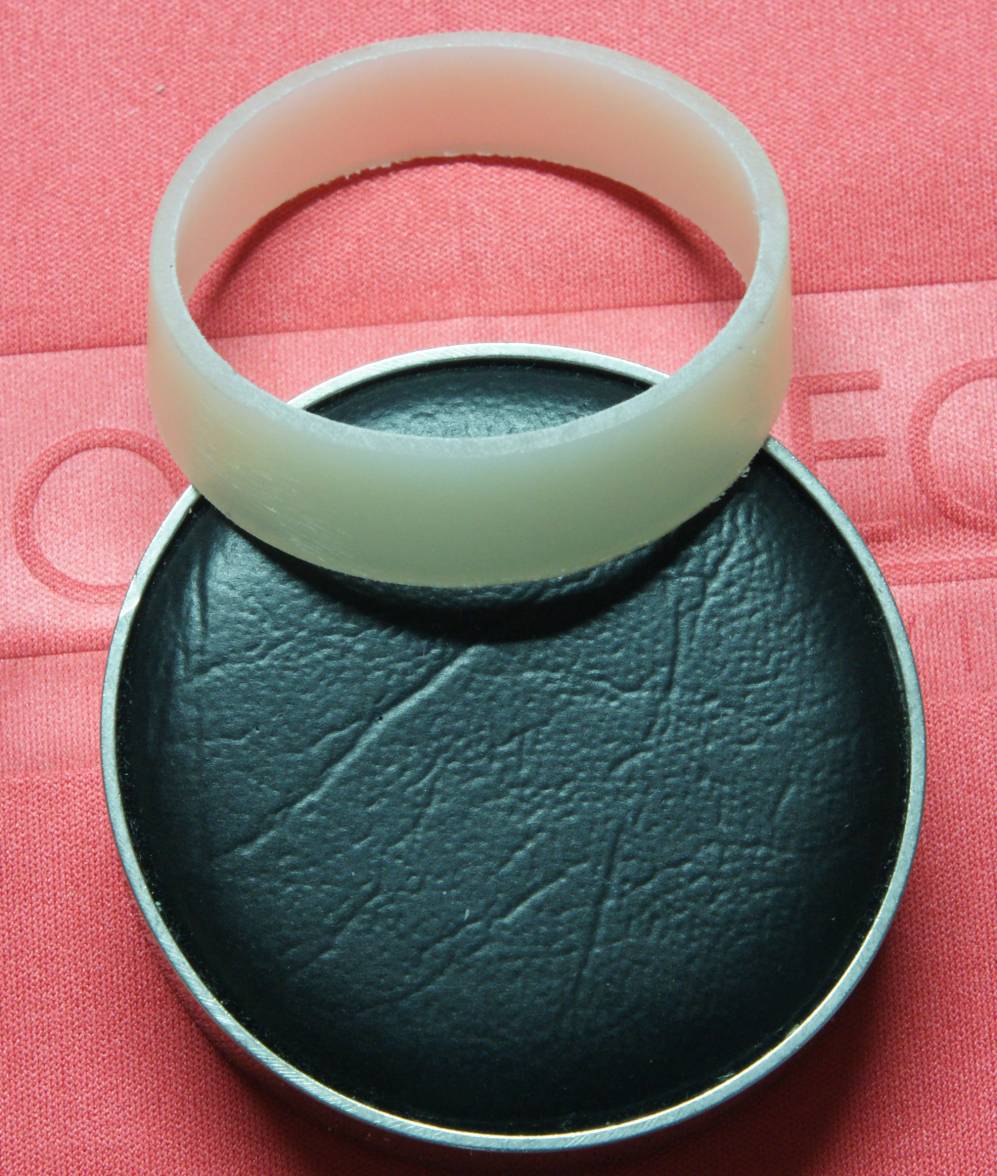
This is what’s left of it but I’m sure you know the type I mean.
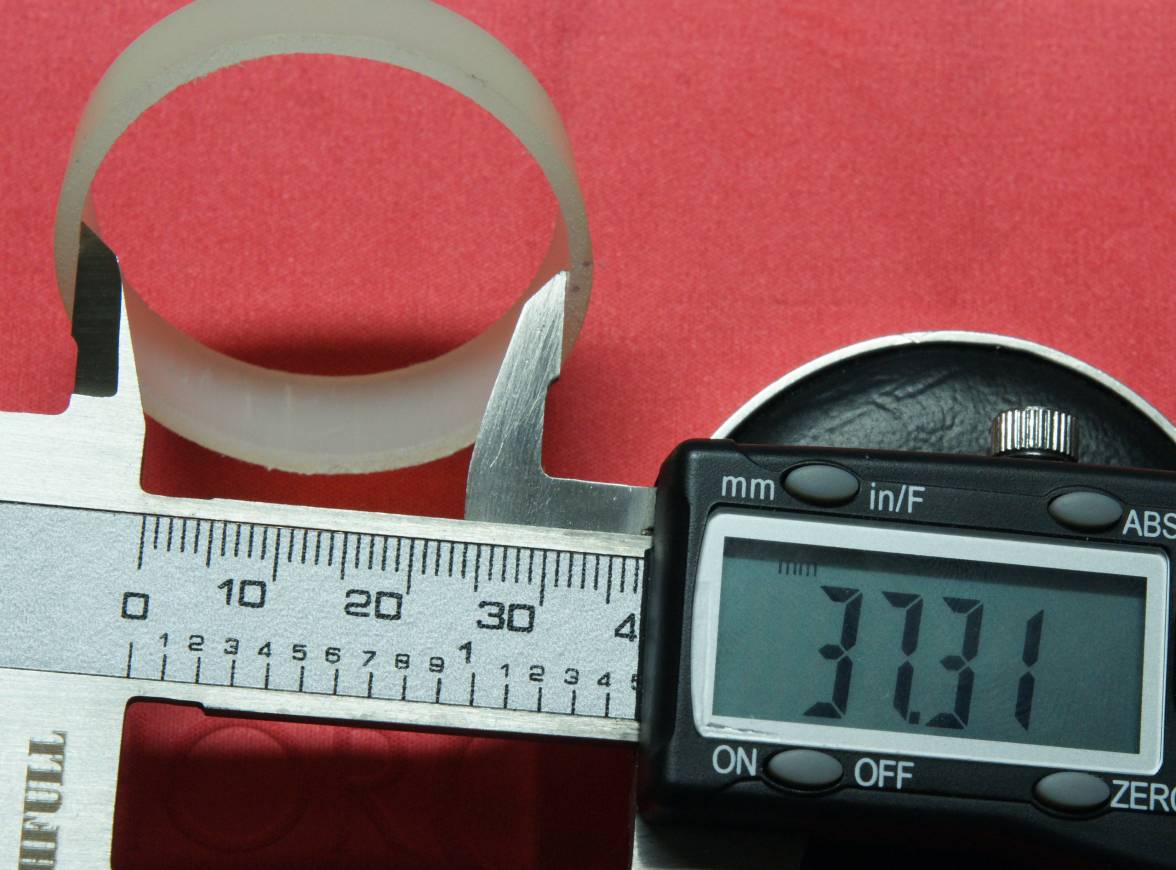
Knowing that the diameter of the crystal is 36.5mm and that the base of the tool has to be perfectly flat, I needed some kind of former to make the get it level. So, having hacksawed the neck off at an appropriate length (leaving enough to be able to hold the work) I found the perfect former in the shape of a 25mm socket with an o.d. of 33.71mm. Going this small meant I would have more finishing to do but also meant that there was more room for error as I only had one sprayer. Jamming the socket inside the sprayer neck, I used a Stanley knife to trim the plastic down (in stages) until the bottom surface was perfectly aligned with the face of the socket - remembering to keep checking that the socket was centred inside.
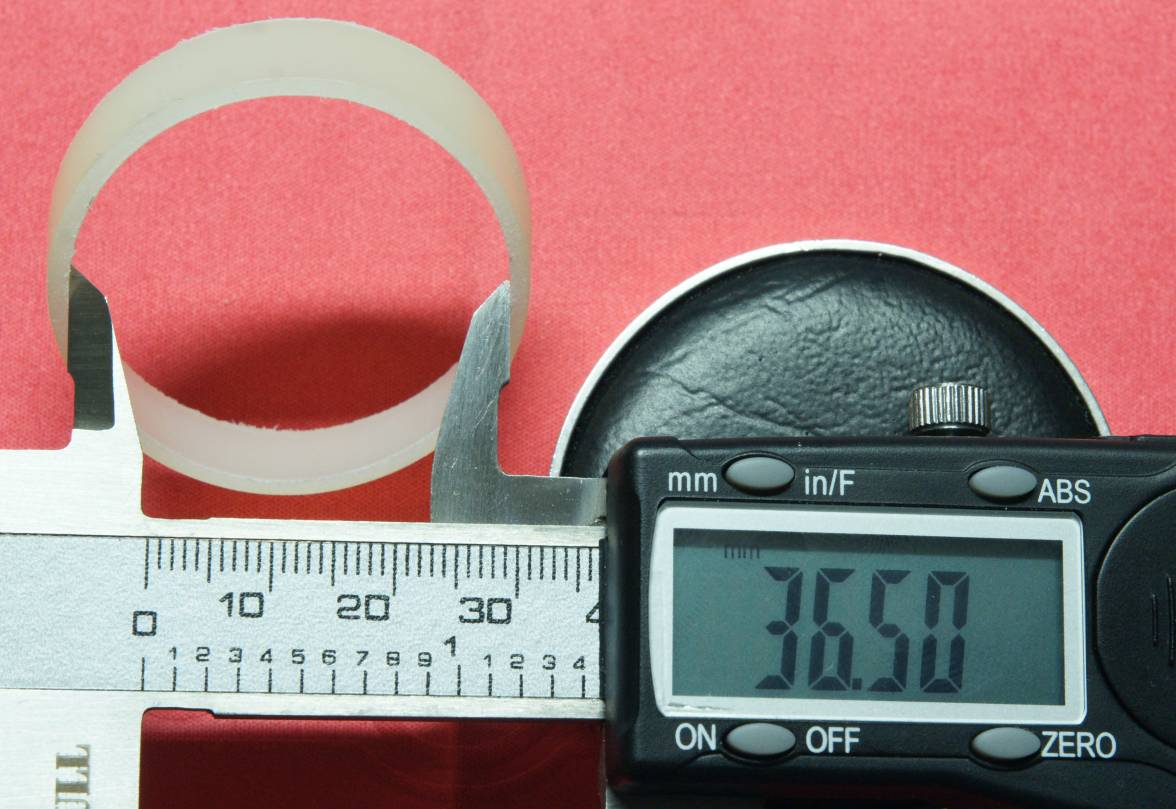
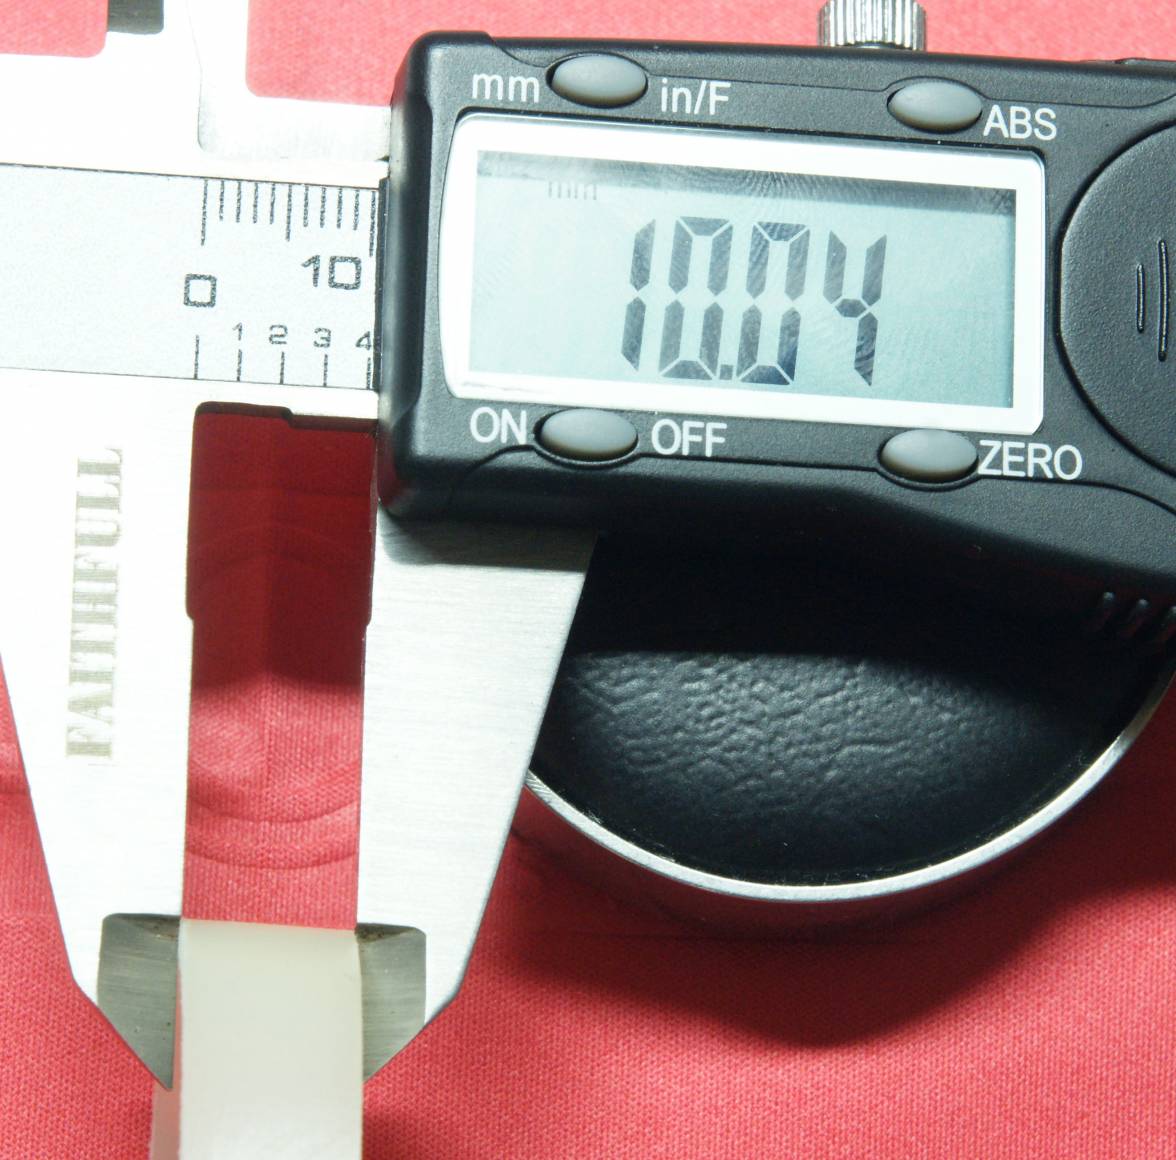
Now I needed a perfectly flat working surface so that I could grind the plastic down to the right level and this turned out to be the ceramic hob in my kitchen. Starting with 40 grit aluminium oxide paper I took the length of the work down a little at a time, regularly checking the i.d. with both the caliper and the crystal. I moved onto 80 grit as the bulk of the material was removed and finished with 120 grit wet & dry. The crystal is now a perfect fit and the caliper shows 36.50mm. I then trimmed the top of the tool (as I then considered it) to give a height of 10mm. As
pascs rightly observes, the top doesn’t need to be perfect so the fact that it varies in height between 9.8mm and 10.3mm doesn’t matter. I did sand the top down though, just to improve appearances.
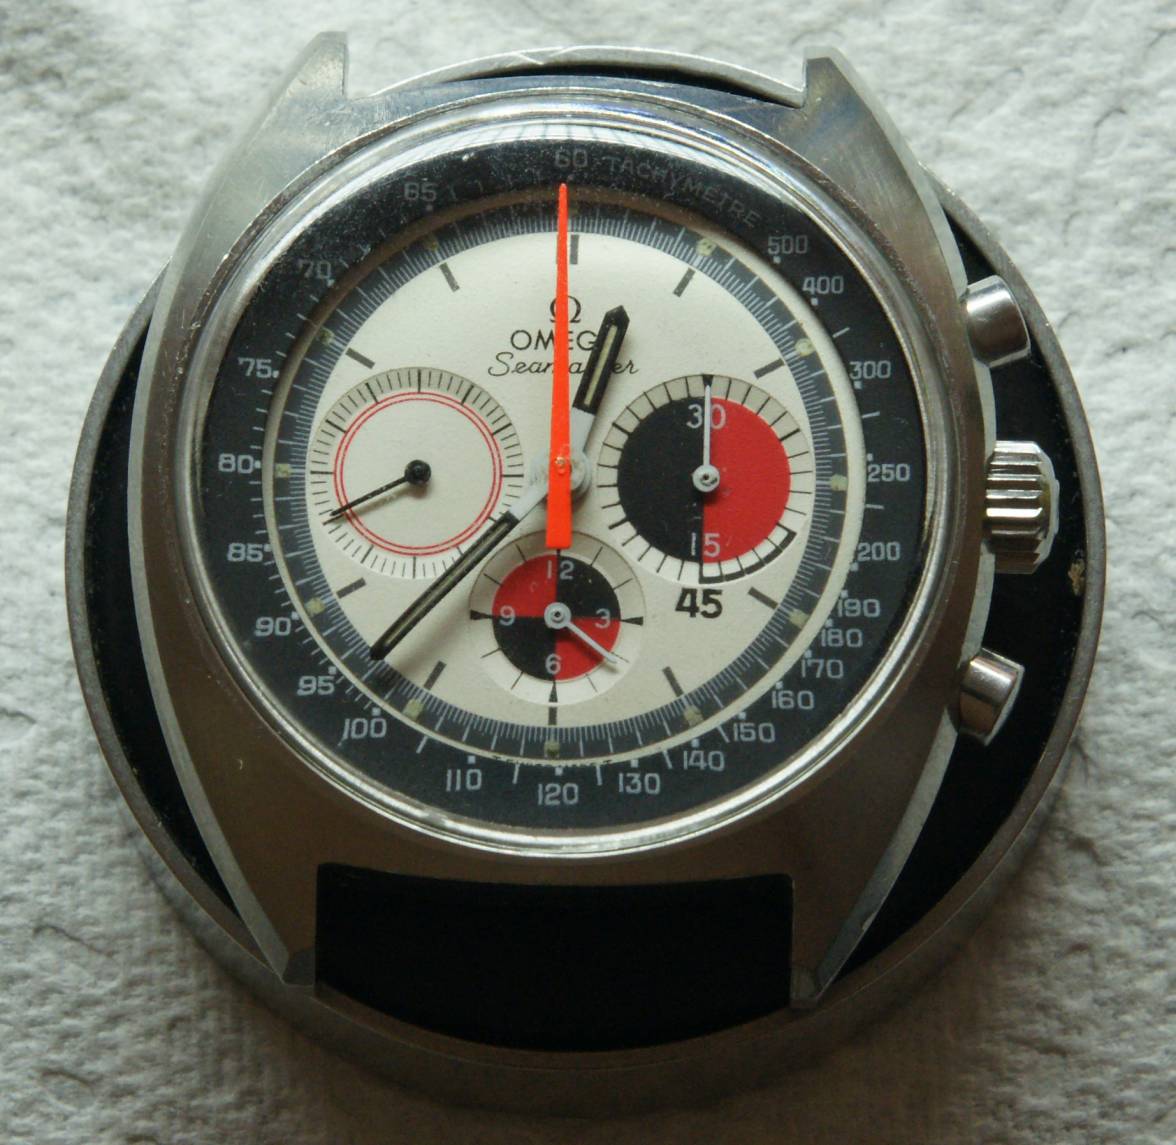
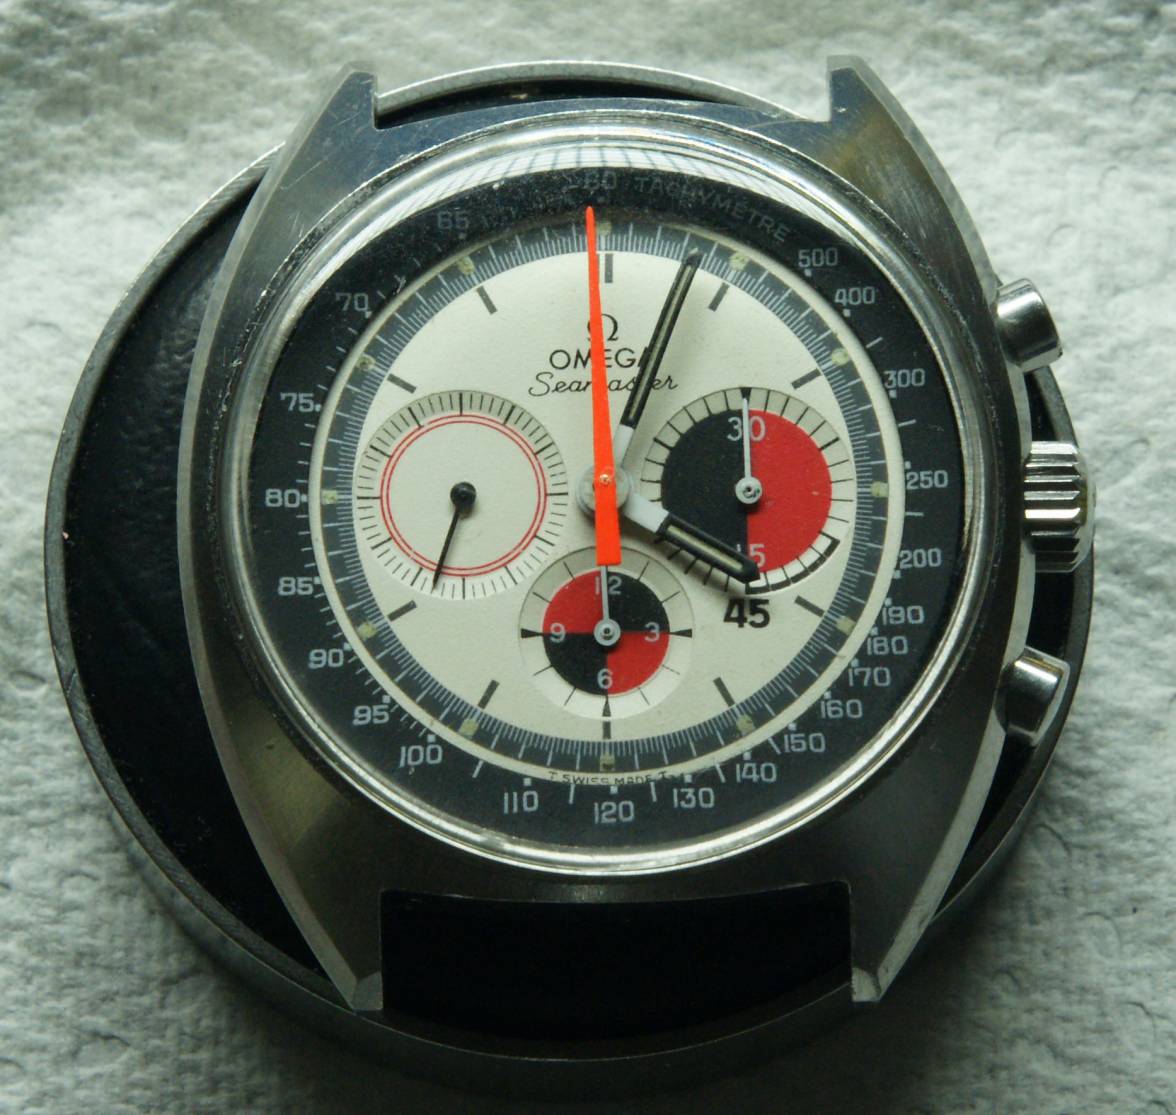
Now for the moment of truth, a trial fitting of the crystal. Into the tool with the gasket on and pressed down onto a flat surface - perfect. Offer it up to the watch case (that I still have to work on) - that’s awkward because you no longer have a centring reference because the Tachy ring is a thin, printed film on the back of the crystal. Apply pressure and…
…cracking sounds.
🤬 This tool needs re-thinking. As the Tachy ring is at the point of contact, there is no hiding this so it means a new crystal. At least that one came with the watch but it does mean that I have something to experiment with.
The problem arises from alignment so I need to come up with a way of overcoming this “blindness”. The crystal is 3mm thick and the 0.8mm groove for the gasket is 1.6mm from the top and 0.6mm from the bottom so it occurred to me that I need a way of getting the bottom of the crystal to sit up to 0.6mm (no more) below the bottom of the tool.
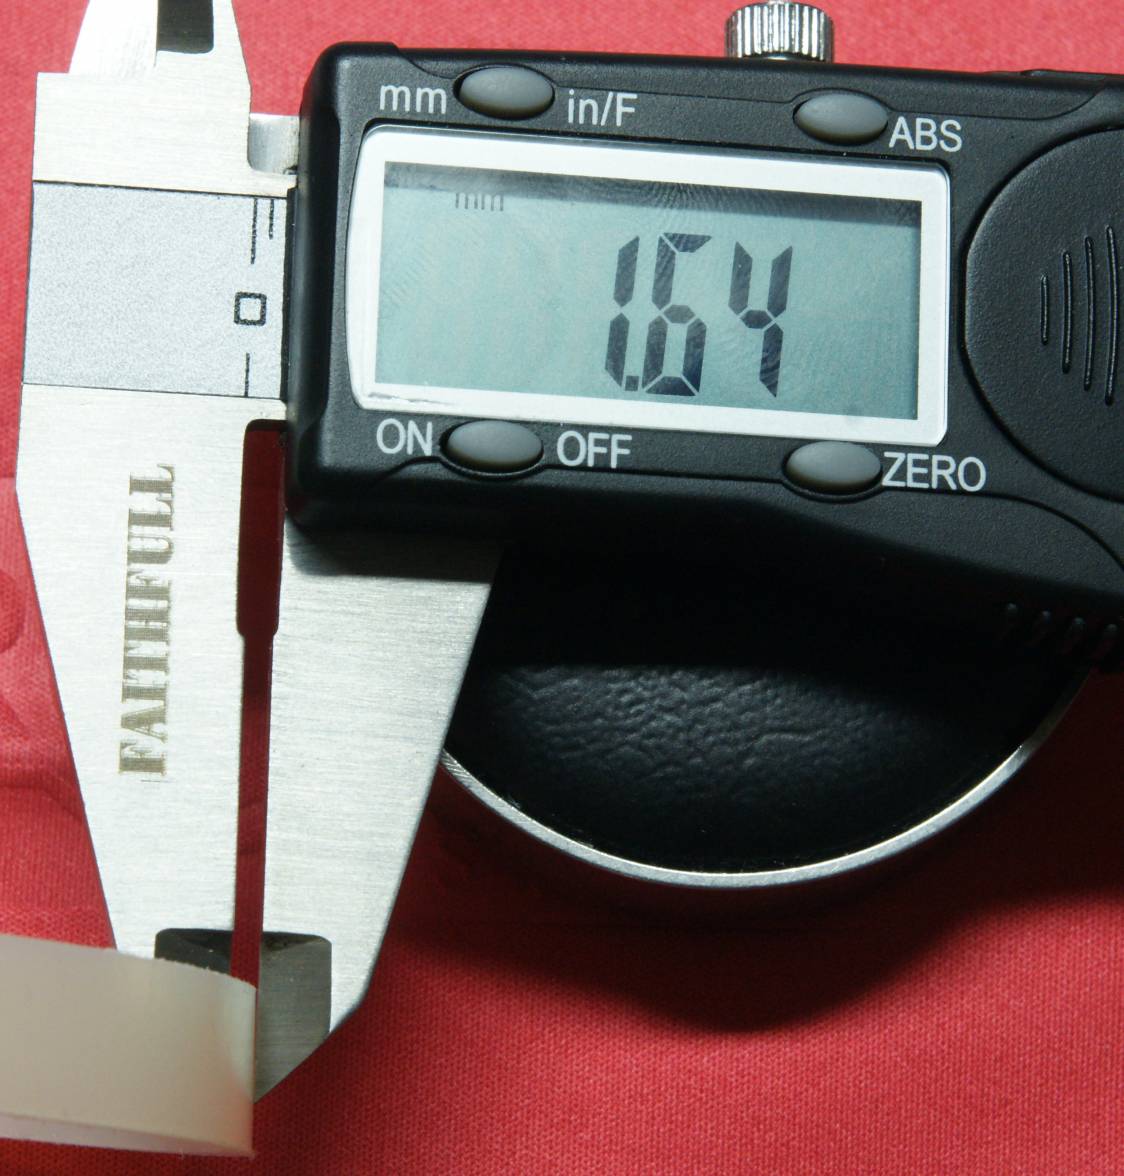
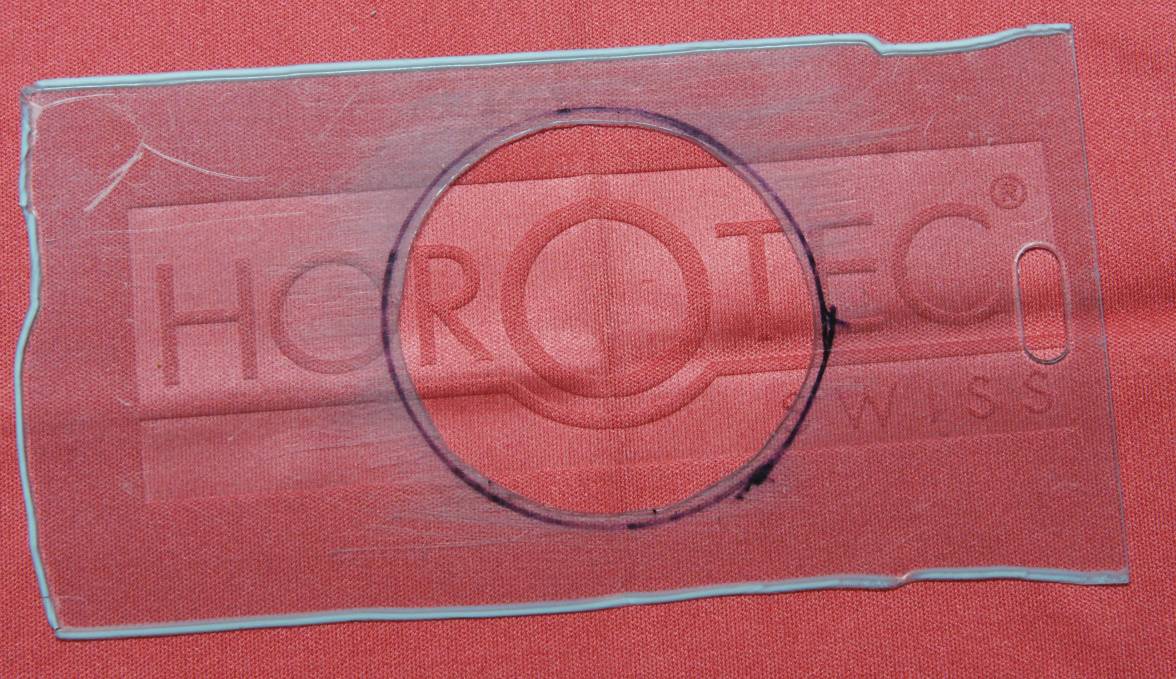
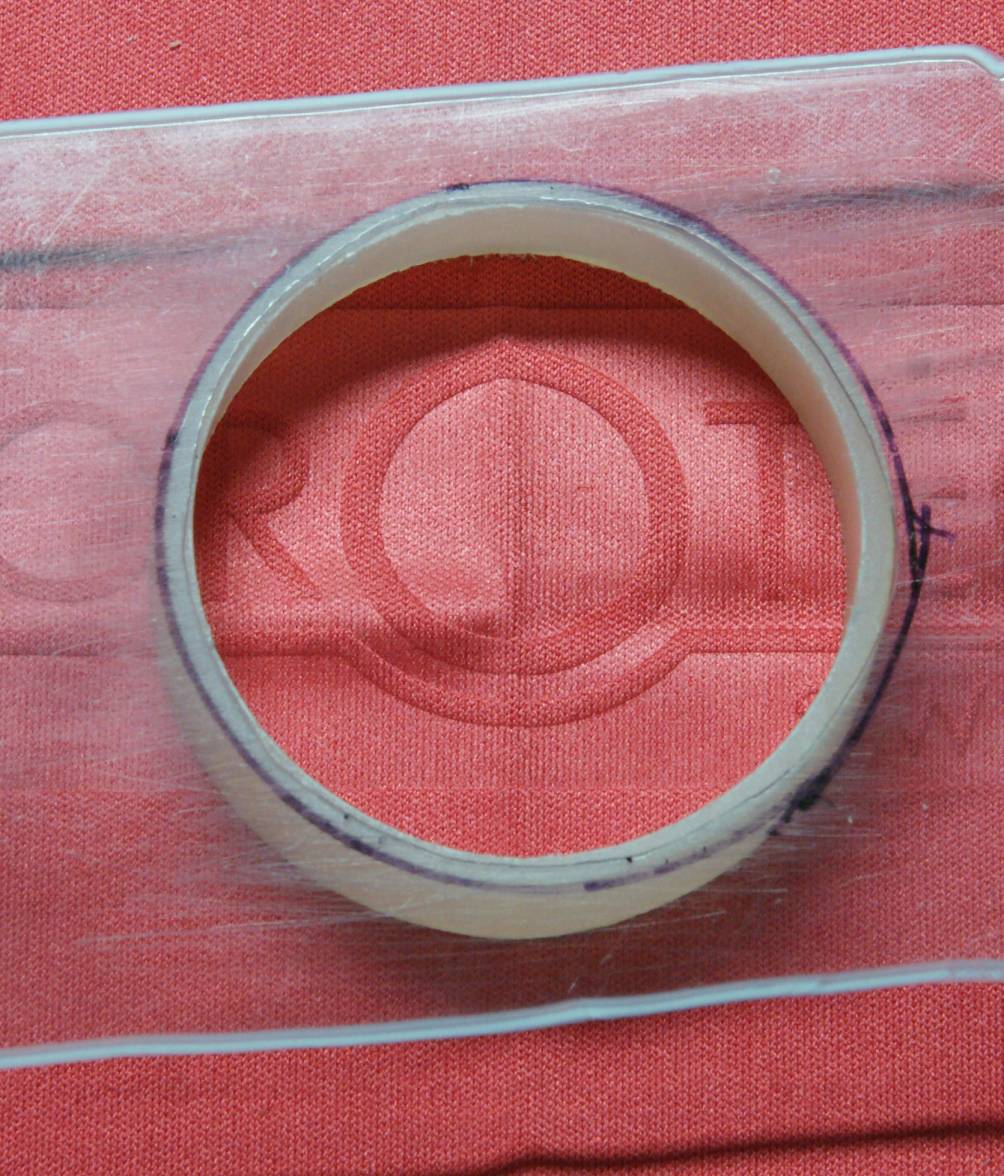
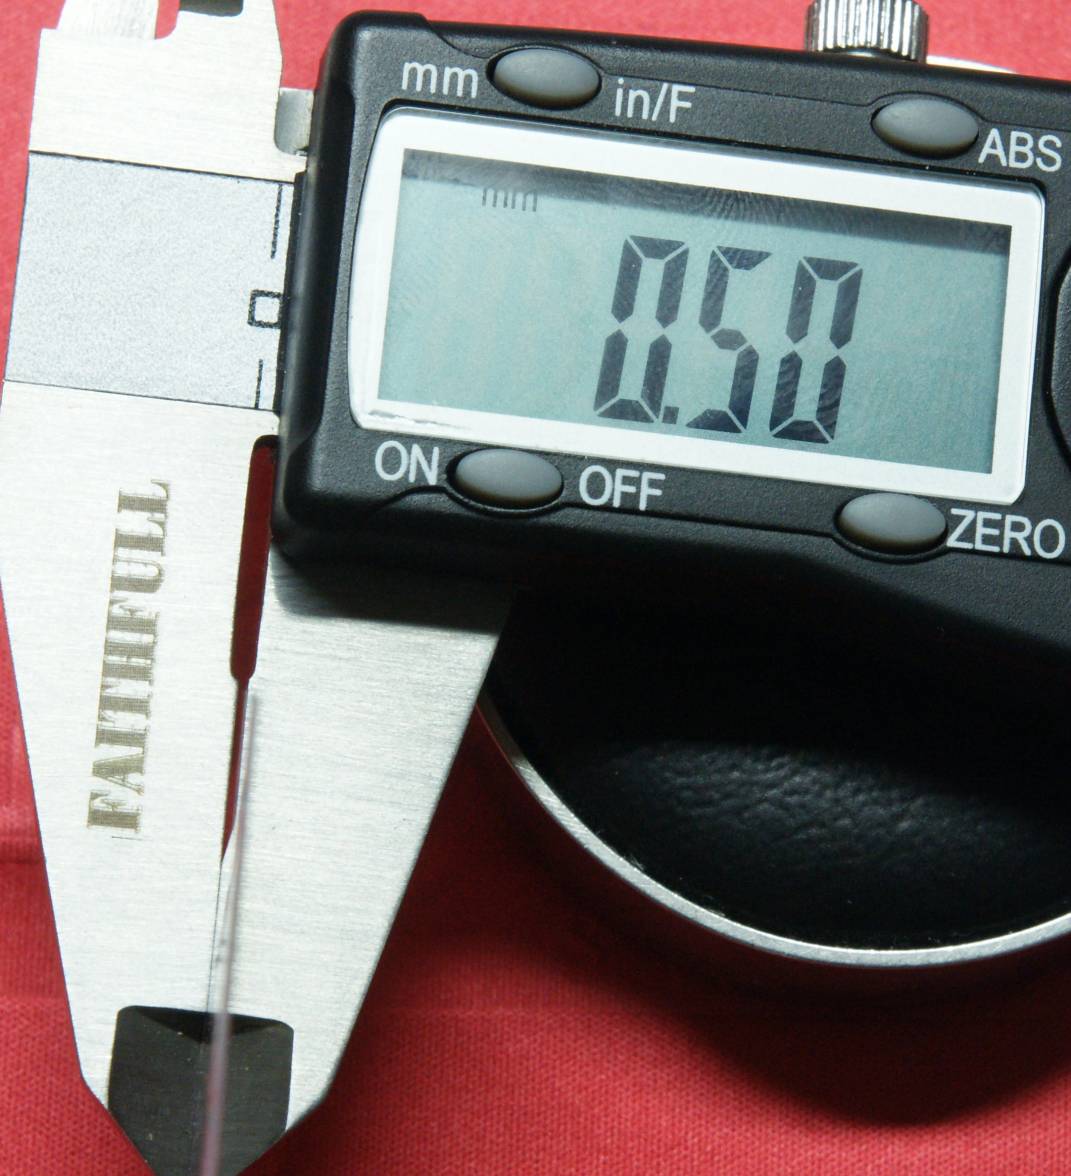
More hunting around, this time armed with a micrometre, looking for something solid, flat and less than 0.6mm thick. Then I stumbled across a hard plastic luggage tag that I picked up at the London Ski Show a few years ago. The clear side was 0.5mm thick - thank you Ski New Hampshire. Drawing around both the inside and outside edges of the tool, all I needed to do was to cut out between the two lines and the crystal will pass through but the tool will not. The hole doesn’t need to be perfectly round, it just has to be inside of the outer line. Try with the damaged crystal, separate the two parts and it works nicely. There is a nice 0.5mm of crystal poking out from the bottom of the tool. So I offer it up to the case and the protruding crystal locates into the hole perfectly. Apply pressure and…
…the crystal slides in. Knock it out, try it again and…
…job’s a good ‘un.
OK, it has cost me £38 for a new crystal but it is very satisfying to have realised the problem, thought of the solution and manufactured the tool.
I have put this down in such detail, partly because of the honest and open way this thread about my project has evolved - warts and all - but also so that anybody wanting to make their own tool can do so without having to worry about the problems I encountered.
In use, I would suggest loading the crystal into the tool so that it is flat at the bottom and then placing it over the spacing plate and pressing again to achieve the protrusion. Of course I can’t guarantee that you won’t break your crystal if you copy my idea but it will certainly help you avoid doing so.
