ChrisN
·Dangerous thing to say😉
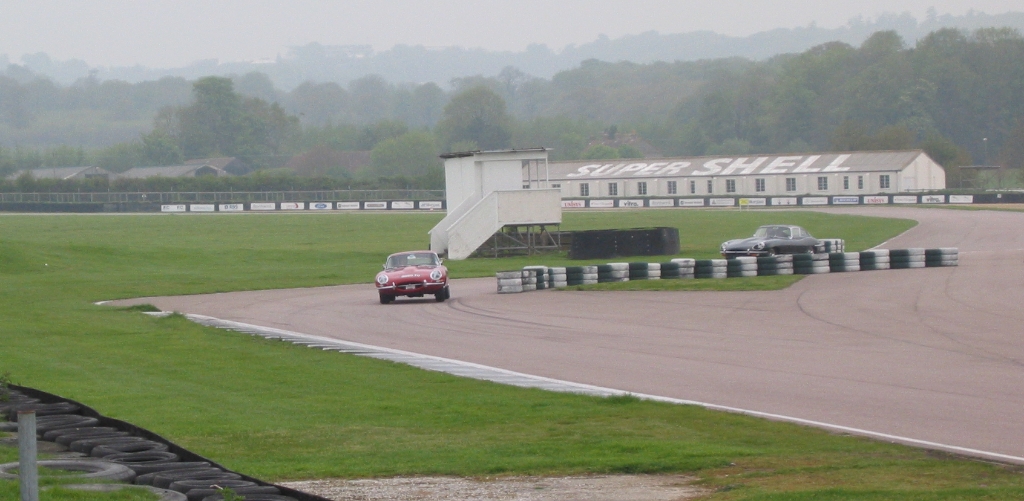
Here exiting the Goodwood chicane some years ago. Taken from inside the circuit. I used to have an oil cooler then in front of the rad and blanked it off for the day with cooking foil. Extra cooling is completely unnecessary for a properly set up E but I was younger then and easily led... I had clearly just outbraked the Series 2 at Woodcote to sneak past (or was he lapping me🙄). She looks like the nose is coming up so, I have the power down.
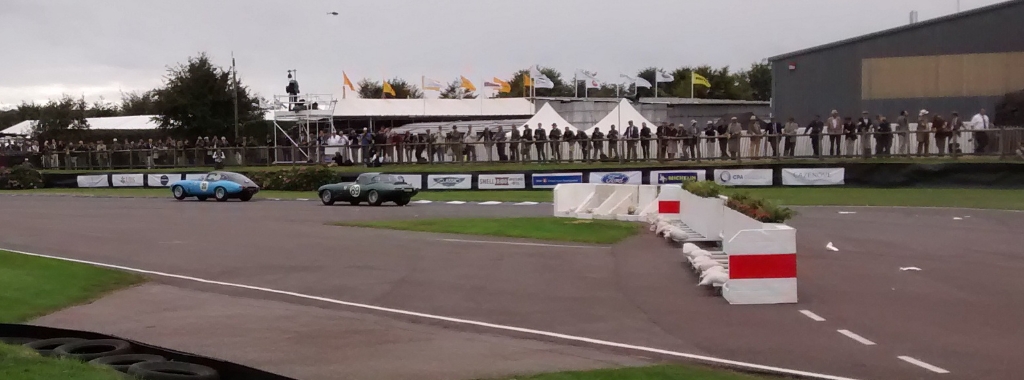
Out of interest, same chicane at the Goodwood Revival this year but a quick phone photo (I decided to leave the real camera at home and took a hip flask full of Jura instead...) from the outside of the track. They put up these nice polystyrene blocks for real racing. This is the RAC TT race and that blue fixed head lifted his front inside wheel every time he powered out of here. He probably has 30-50% more power than me and twice the ability. Didn't do him much good as that roadster behind won the race.
I know a Guy with a racing XK150 FHC who was at one of these track days setting up the car for the season and he offered to take me out for a few laps. As I sat watching him do up his 5 point harness, I looked for my passenger belt and found nothing. I sort of thought it was worth mentioning (as you do) and his retort was "Well, if we have an accident, can you think of a nicer place to die?" Couldn't disagree with that so spent half a dozen laps hanging on to the roll cage.
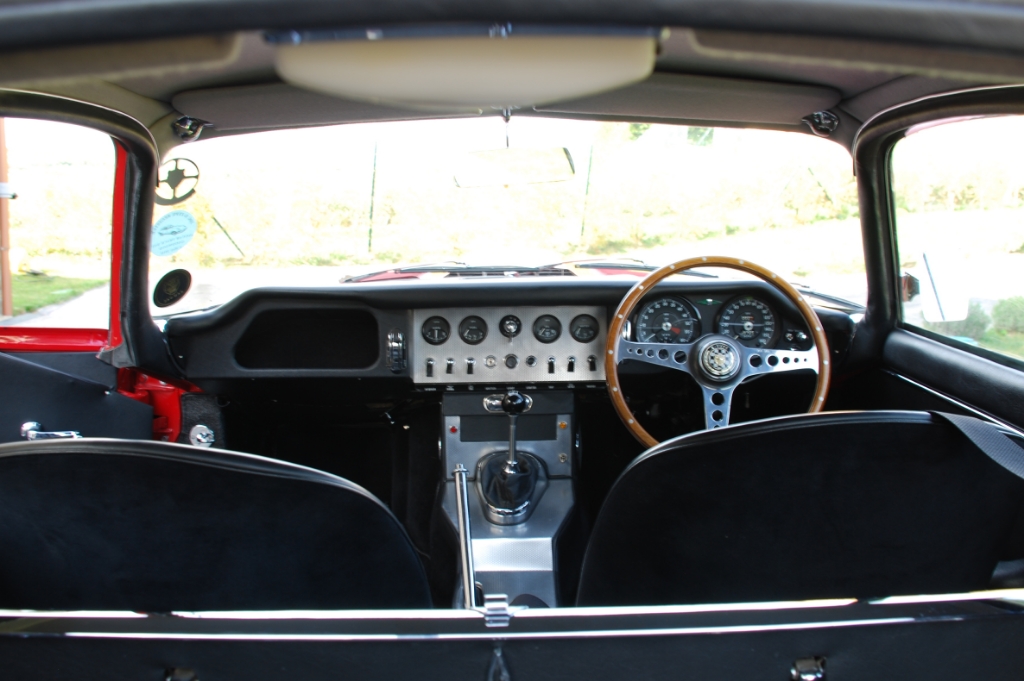
Here's where you work in an E. Hardly the wood of some Healeys but plenty to make you feel you're piloting a 40s fighter👍
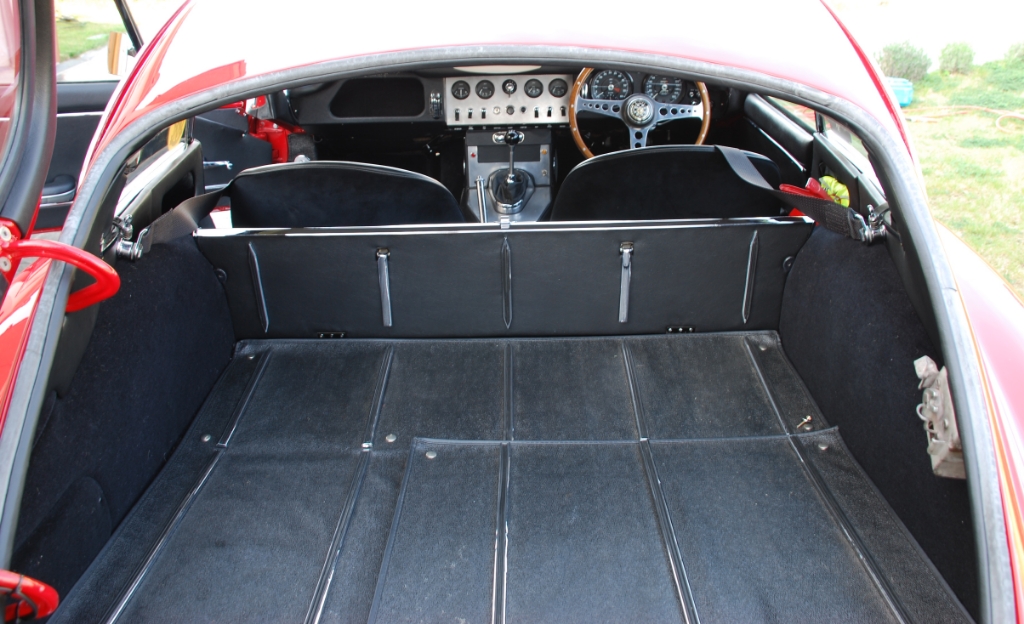
At the bottom is a shelf that folds down to expand the "estate car" area by another 8 inches. Right in the middle, you'll see a hook style fitting. This is the only thing that has ever made a permanent deep scratch on my 20 year old Speedmaster crystal🤦. Obligatory watch content there.
I've put all sorts in here from cases to guitars to bags of garden waste. Poor old thing. I seem to be transporting a screw and washer here....
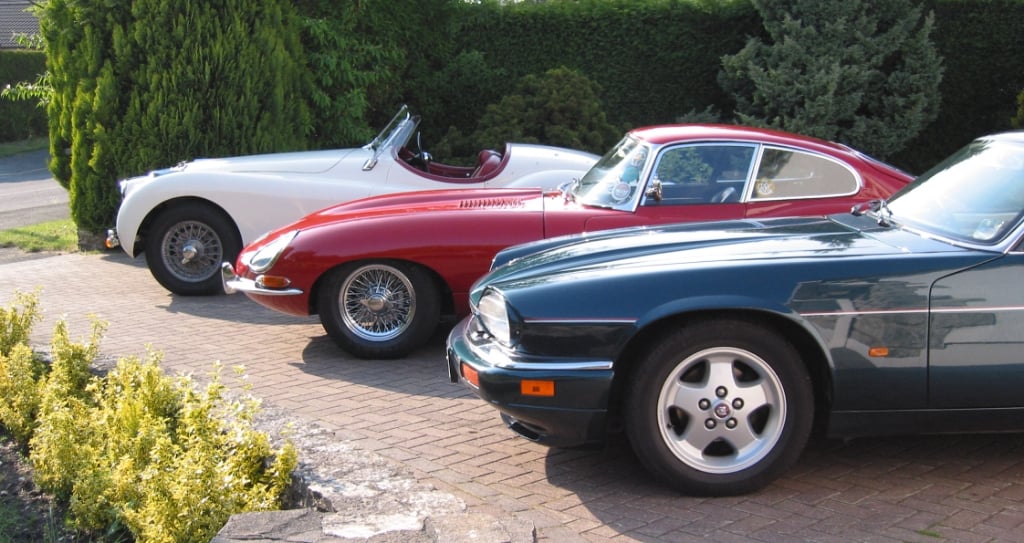
And here with older and younger sisters, my 120 and the wife's XJS.
Cheers, Chris
