ChrisN
·Hi Guys
After finishing my wife's baby Seamaster in early January, I decided it was time to have a go at a Chronograph to develop my amateur watch tinkering abilities. First time with a chrono so anticipated it would take some time for the chrono part but of course the base movement would be very similar to all the other movements I've worked on so pretty quick to do. Famous last words.
Bought a "Giroxa" which comes with a Landeron 48. Not a bad place to start, I understand. It had a few faults: huge 4.0 ms beat error; chronograph second hand resetting to random locations; minute counter sometimes jumping one minute when the counter started; watch stopping sometimes when chrono engaged.
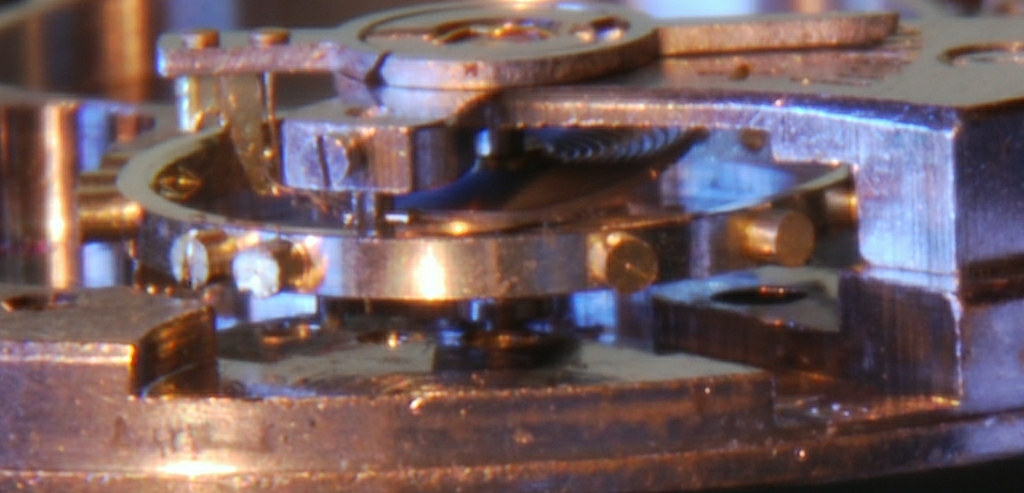
Well teardown produced a bit of a surprise as the hairspring was a long way out of true. This is post cleaning and with just Incablocs and balance installed on the plate. It's meant to be parallel to the plate....
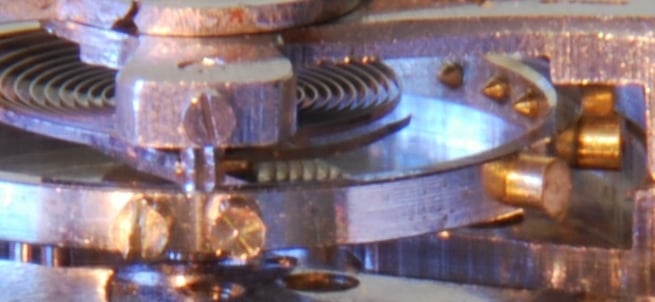
It was deformed close to the stud and after some effort I managed to get it like this and am quite surprised at how my hairspring manipulation has gone. Clearly channelling the force of true watchmakers...
You can also see that the spring is not brilliantly installed and there is a long tail to the right of the stud.
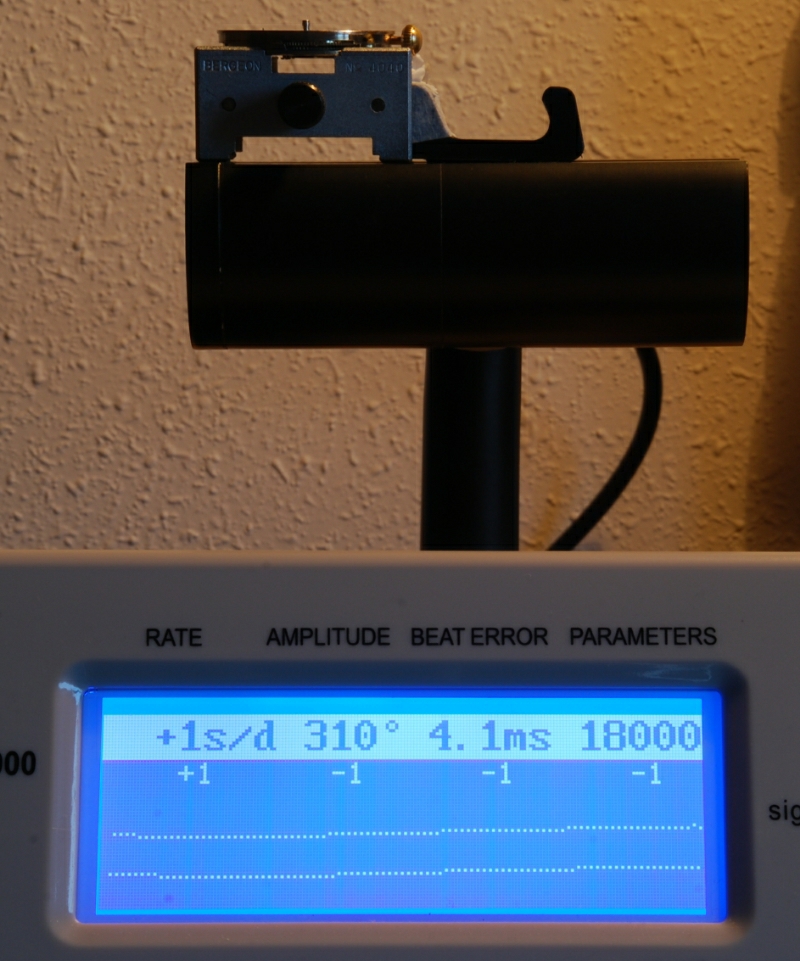
It's parallel now but there is still a slight dish however, move on and build the base movement. Checked with Al (thanks!) who recommended moving the stud down even further than I had. Now it's looking great and installed, it shows huge amplitude with a lift angle of 42 degrees so on to fix the beat error by turning the collet on the balance.
This is a bit hit and miss but after more advice from Al, three tries in and have 0.5-1.0 ms in five positions. The force is strong in me now and am operating above all normal levels so decide I should also trim that excess hairspring. Of course, all I need to do is remove the stud from the cock and trim it but my clarity of vision is such that I choose to remove the pin that holds the hairspring to the stud, trim the hairspring and reinstall it in the stud. Yes, these pins are tiny but how hard can this be with my new found ability? Cutting a long story with much swearing (in two languages) short, I eventually have the movement running again.
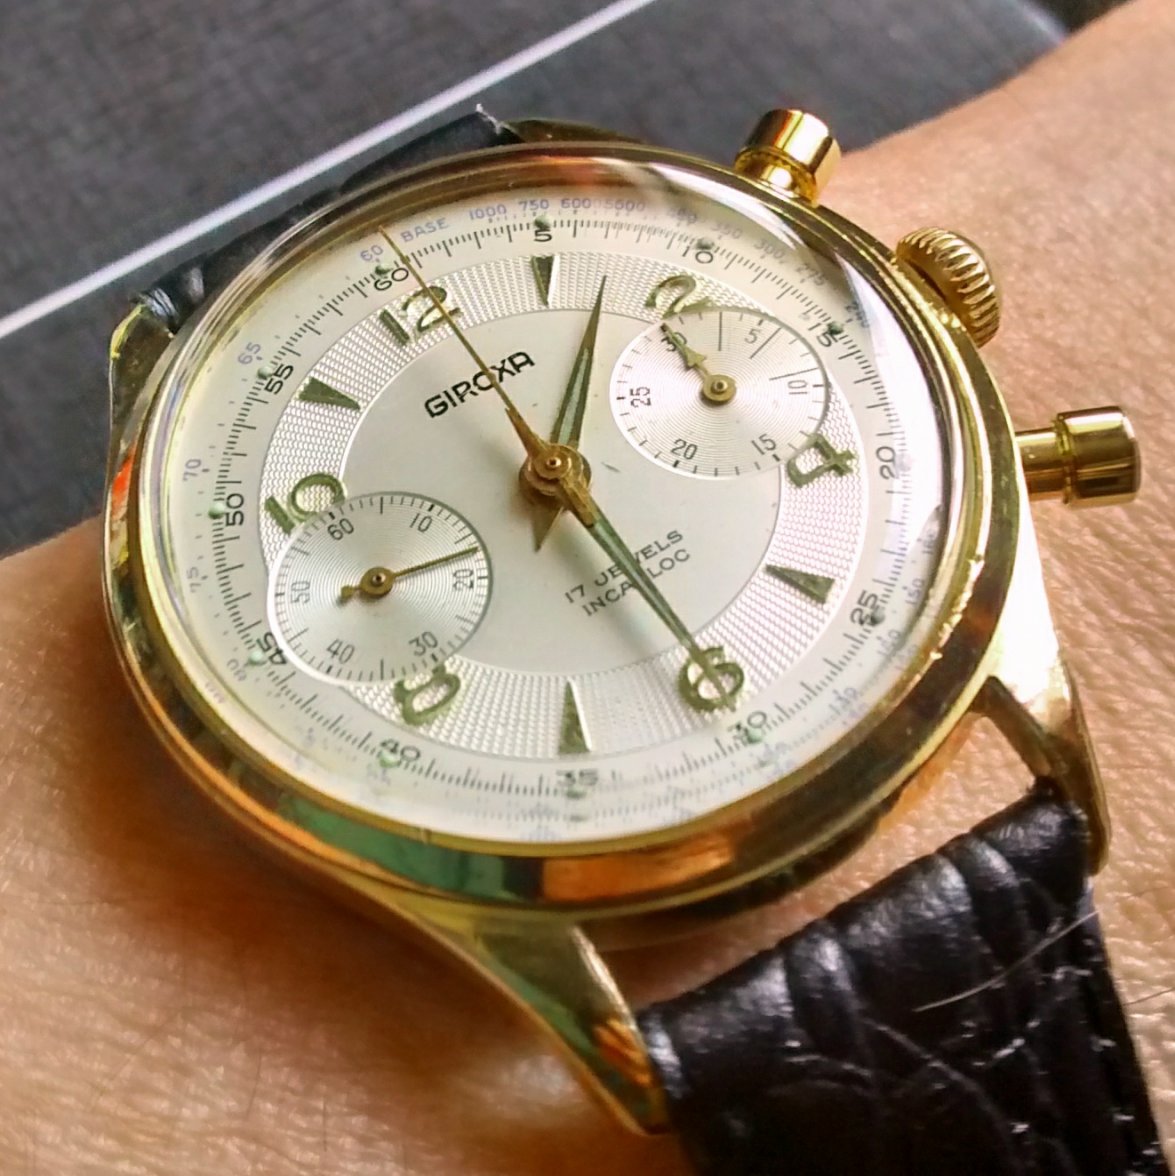
Now the watch is built, running well. The chrono part was interesting but not too difficult although I may have been a little generous with the grease. Some depthing adjustments required to solve the original problems but all seemed logical. It's no Vacheron but it is the first chrono I have serviced so will get some wrist time. Must shorten the new pushers.
So for the other amateur tinkerers, how do you install the spring and pin in the stud? Short answer is try, try, try again until you damage the spring, go to the internet and buy a running L248 movement and take from that the complete balance.... That hairspring pin was a bridge too far for me. Hell, it's about 0.25 mm in diameter and needs to be pressed into the stud hole while holding the spring in place. Will need Yoda (or Al) in attendance before trying that again! Realised later that when you buy a hairspring, it usually comes with a stud attached...
Cheers, Chris
