- Posts
- 7,095
- Likes
- 23,029
M'Bob
·*and probably some others of similar construction.
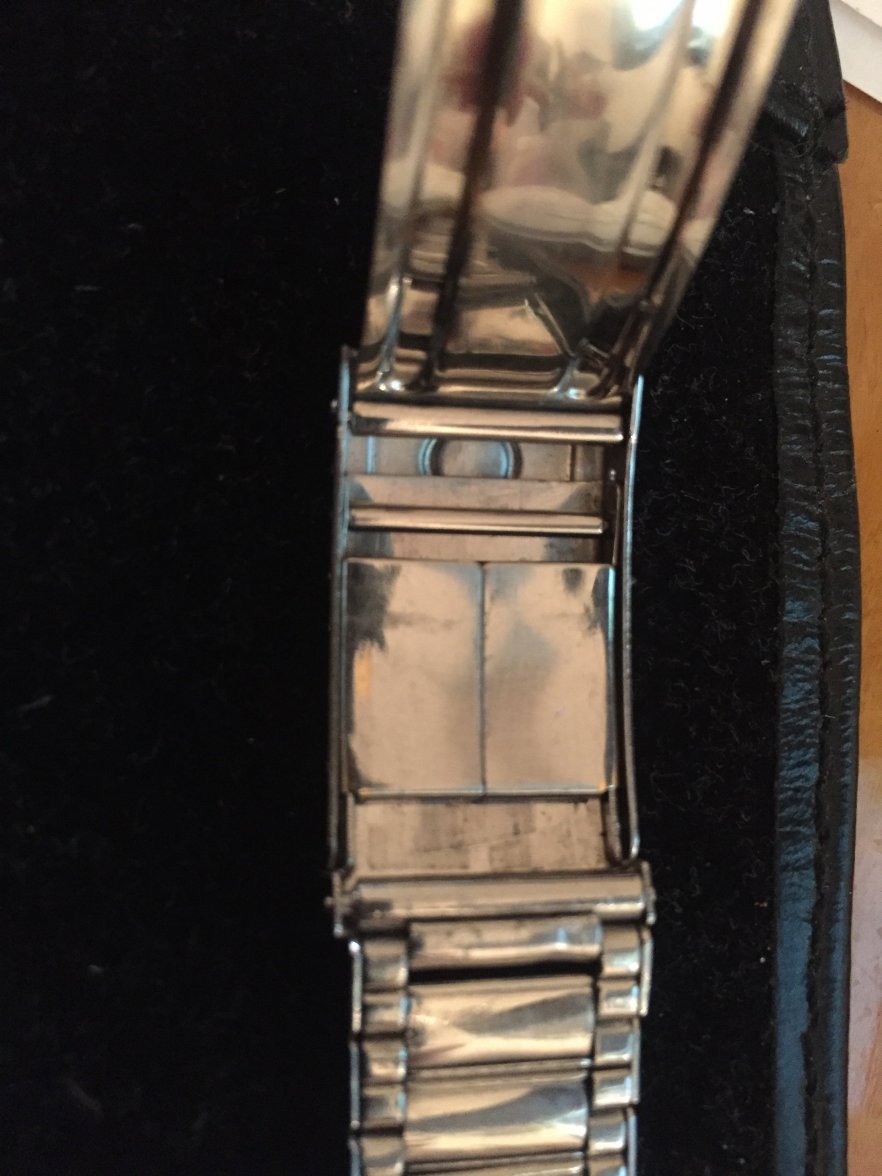
If you want to fine-tune the adjustment of your flat-link bracelet, the set-up looks like this:

The tubular part in the top of the photo will have a little spring bar. You take that end, engage a hole on one side inside the clasp, flip it over, line up the tip of the bar with the hole on the other side of the bracelet (but outside of it, resting against its edge), compress the tip, slide it under the clasp lip, and engage the corresponding hole. Straightforward enough.
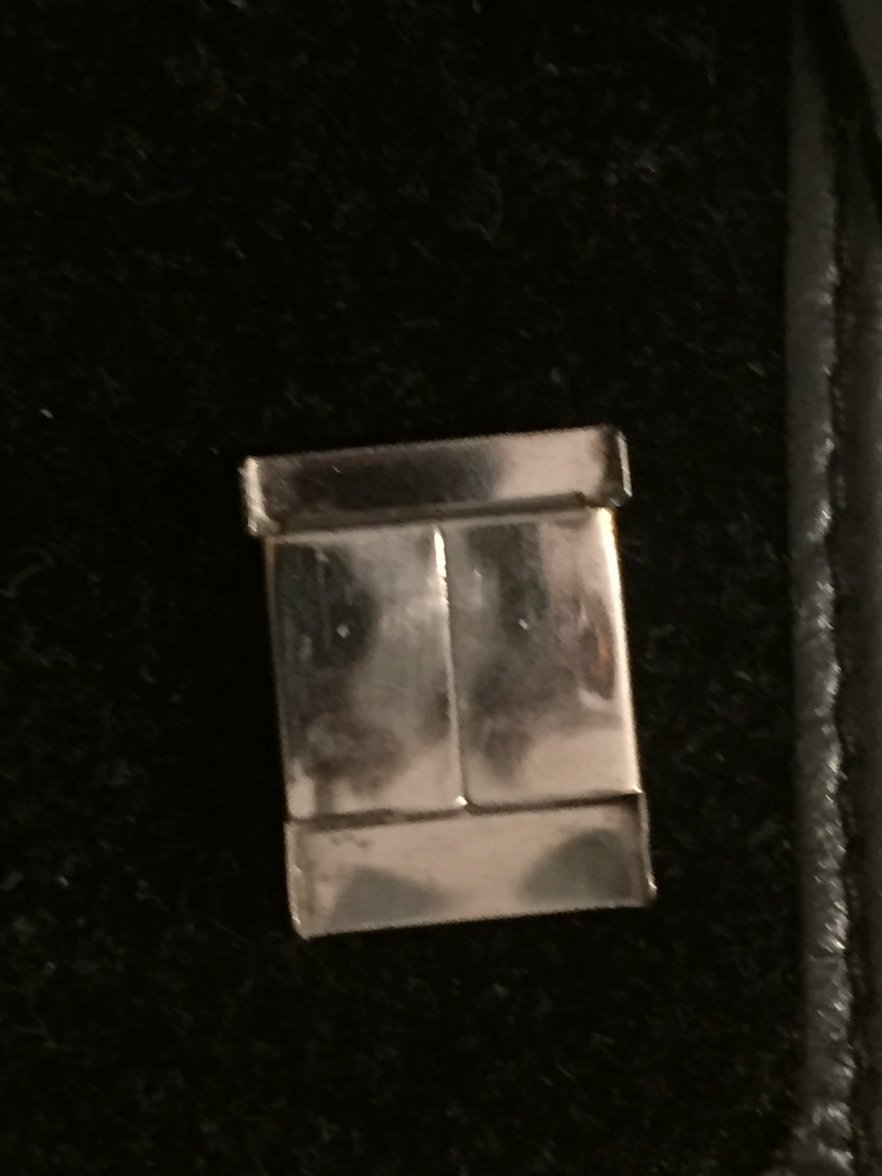
If you want to make it a tad tighter or looser, you don’t have to remove the spring bar. Just compress the bar tip from the outside with a toothpick or pointy end of your spring bar tool, grab the bar from inside the clasp, move the tip to either side of the hole it’s in (to make it tighter of looser), flip it over, and repeat. Again, very intuitive.
But let’s say you’d like to open your bracelet up fully, to remove it for cleaning, to get access to the movement, etc. This is where you need to fully remove the spring bar inside the clasp, and here’s where you have to be really careful.

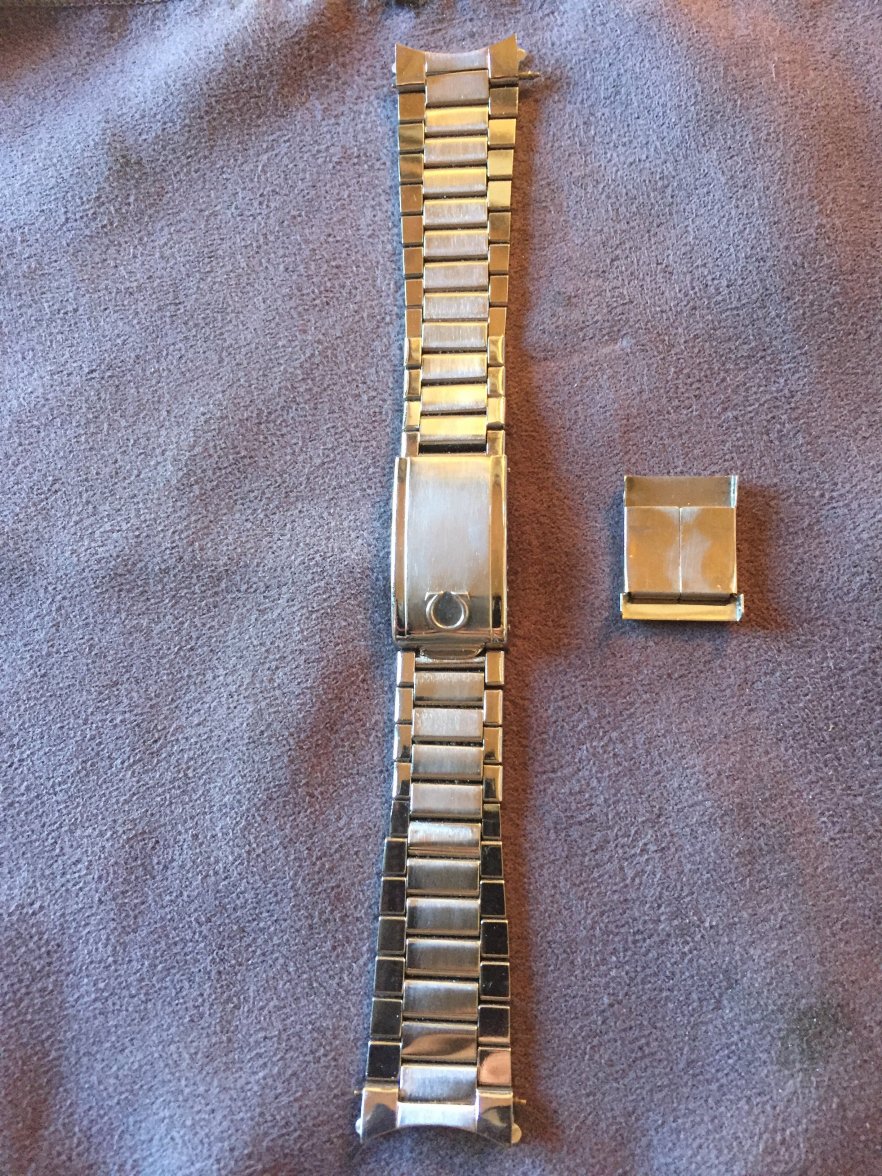
What you’re looking at are two spring bars that will fit and work inside the clasp. The one on the right is original, the left is a replacement. So what’s the difference?
You can see that the original has very little compression distance. This means that if you stick your tool in from the outside, compressing the tip, and slide it out to the side freeing it from under the clasp, it will mostly just sit there.
On the other hand: the aftermarket bar has much greater compression distance and force, and if you slide it out from the the clasp, and you’re not extremely careful, it can launch vertically with such force that it could penetrate your eye. When I did this, it just missed my head, and it hit the ceiling.
The problem is, it’s very difficult to tell from the outside which type bar is in there, so better to err on the side of caution: cover and cup your hand over the clasp as the bar is sliding out to the side, or wear glasses or goggles.
Hope this helps.
If you want to fine-tune the adjustment of your flat-link bracelet, the set-up looks like this:
The tubular part in the top of the photo will have a little spring bar. You take that end, engage a hole on one side inside the clasp, flip it over, line up the tip of the bar with the hole on the other side of the bracelet (but outside of it, resting against its edge), compress the tip, slide it under the clasp lip, and engage the corresponding hole. Straightforward enough.
If you want to make it a tad tighter or looser, you don’t have to remove the spring bar. Just compress the bar tip from the outside with a toothpick or pointy end of your spring bar tool, grab the bar from inside the clasp, move the tip to either side of the hole it’s in (to make it tighter of looser), flip it over, and repeat. Again, very intuitive.
But let’s say you’d like to open your bracelet up fully, to remove it for cleaning, to get access to the movement, etc. This is where you need to fully remove the spring bar inside the clasp, and here’s where you have to be really careful.
What you’re looking at are two spring bars that will fit and work inside the clasp. The one on the right is original, the left is a replacement. So what’s the difference?
You can see that the original has very little compression distance. This means that if you stick your tool in from the outside, compressing the tip, and slide it out to the side freeing it from under the clasp, it will mostly just sit there.
On the other hand: the aftermarket bar has much greater compression distance and force, and if you slide it out from the the clasp, and you’re not extremely careful, it can launch vertically with such force that it could penetrate your eye. When I did this, it just missed my head, and it hit the ceiling.
The problem is, it’s very difficult to tell from the outside which type bar is in there, so better to err on the side of caution: cover and cup your hand over the clasp as the bar is sliding out to the side, or wear glasses or goggles.
Hope this helps.