
- Posts
- 323
- Likes
- 1,445
G___
·I've got a vintage watch problem, and one of those problems is needed a case back for a Universal Geneve dress watch. Because I bought cheap one without a caseback, how hard could it be to find one? Hard. Anyone need a couple UGs? 1 case back between the two of them....
"What does this have to do with a Speed-Timer?", you ask. Well, dear reader, I was slumming around buyee.jp's junk watch auctions having bought buying a cheap enough UG ジャンク時計 (Junk Watch) and I decided to get some value from the Japan to Canada shipping. For those who don't know buyee is one of the proxy services that non-Japanese residents can use to buy from yahoo.co.jp auctions et al. and you have 30 days from the first purchase hitting buyee's warehouse to add other purchases to the shipment. Challenge Accepted.
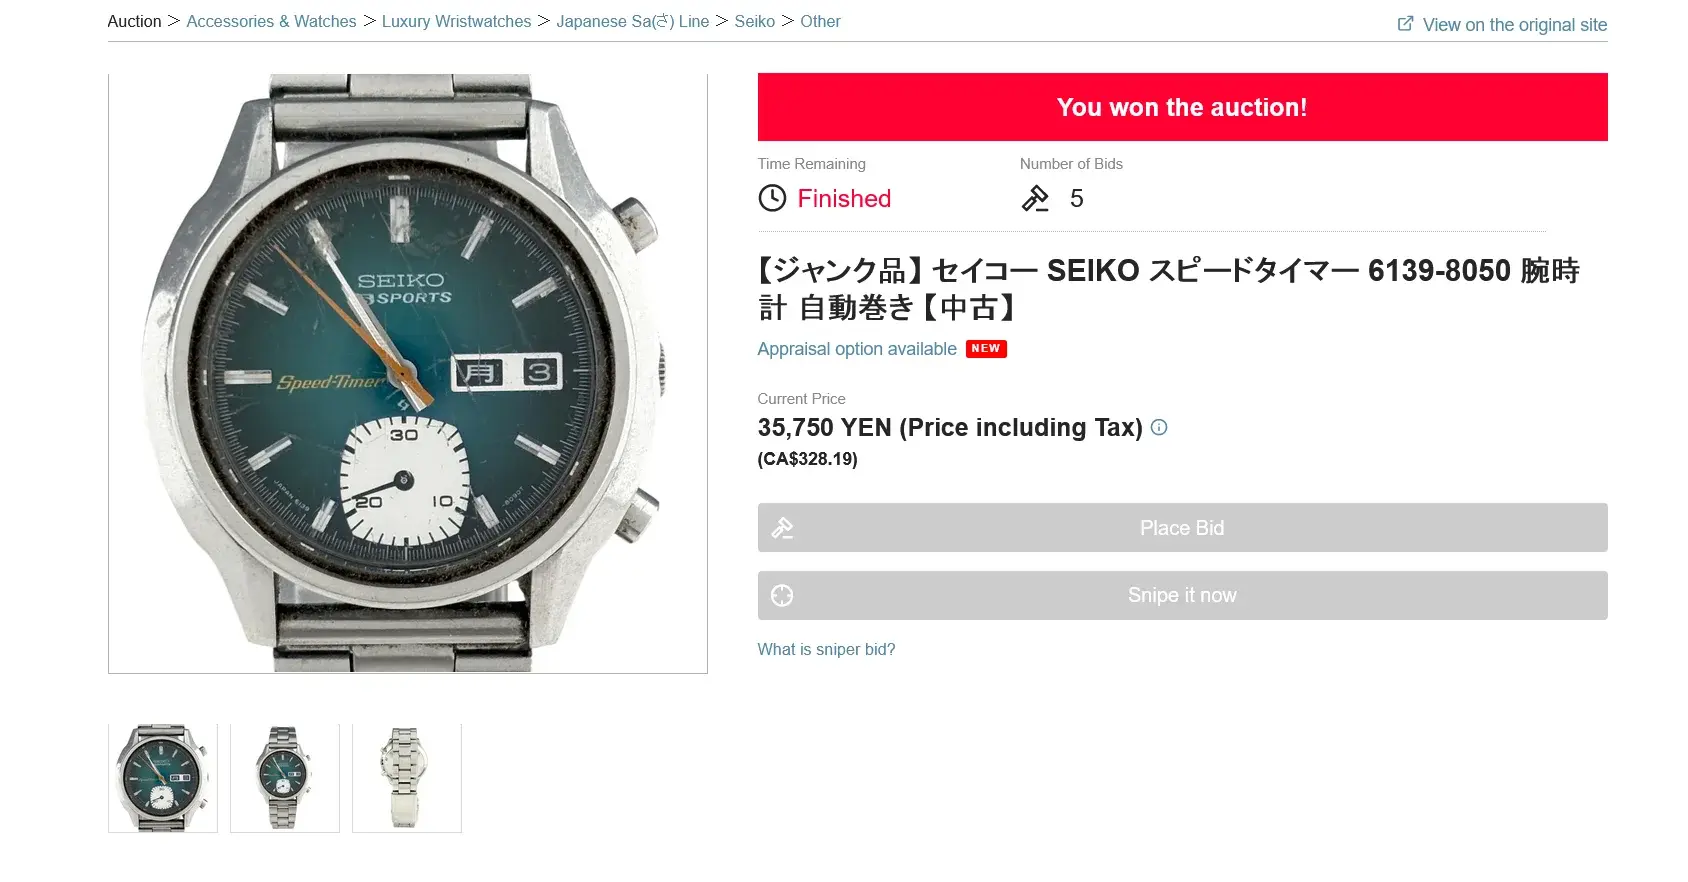
So, armed with a 30 day window and the search term ジャンク時計 (Junk Watch), I went looking and this turned up in an auction at a decent price. Three photos, no context, dirty, Hardlex crystal shot, wrong bracelet. But the 70s funk + chronograph + beautiful (I was hoping) green/teal dial:
Waited a few weeks and it showed up, along with my other buyee-facilitated purchases:
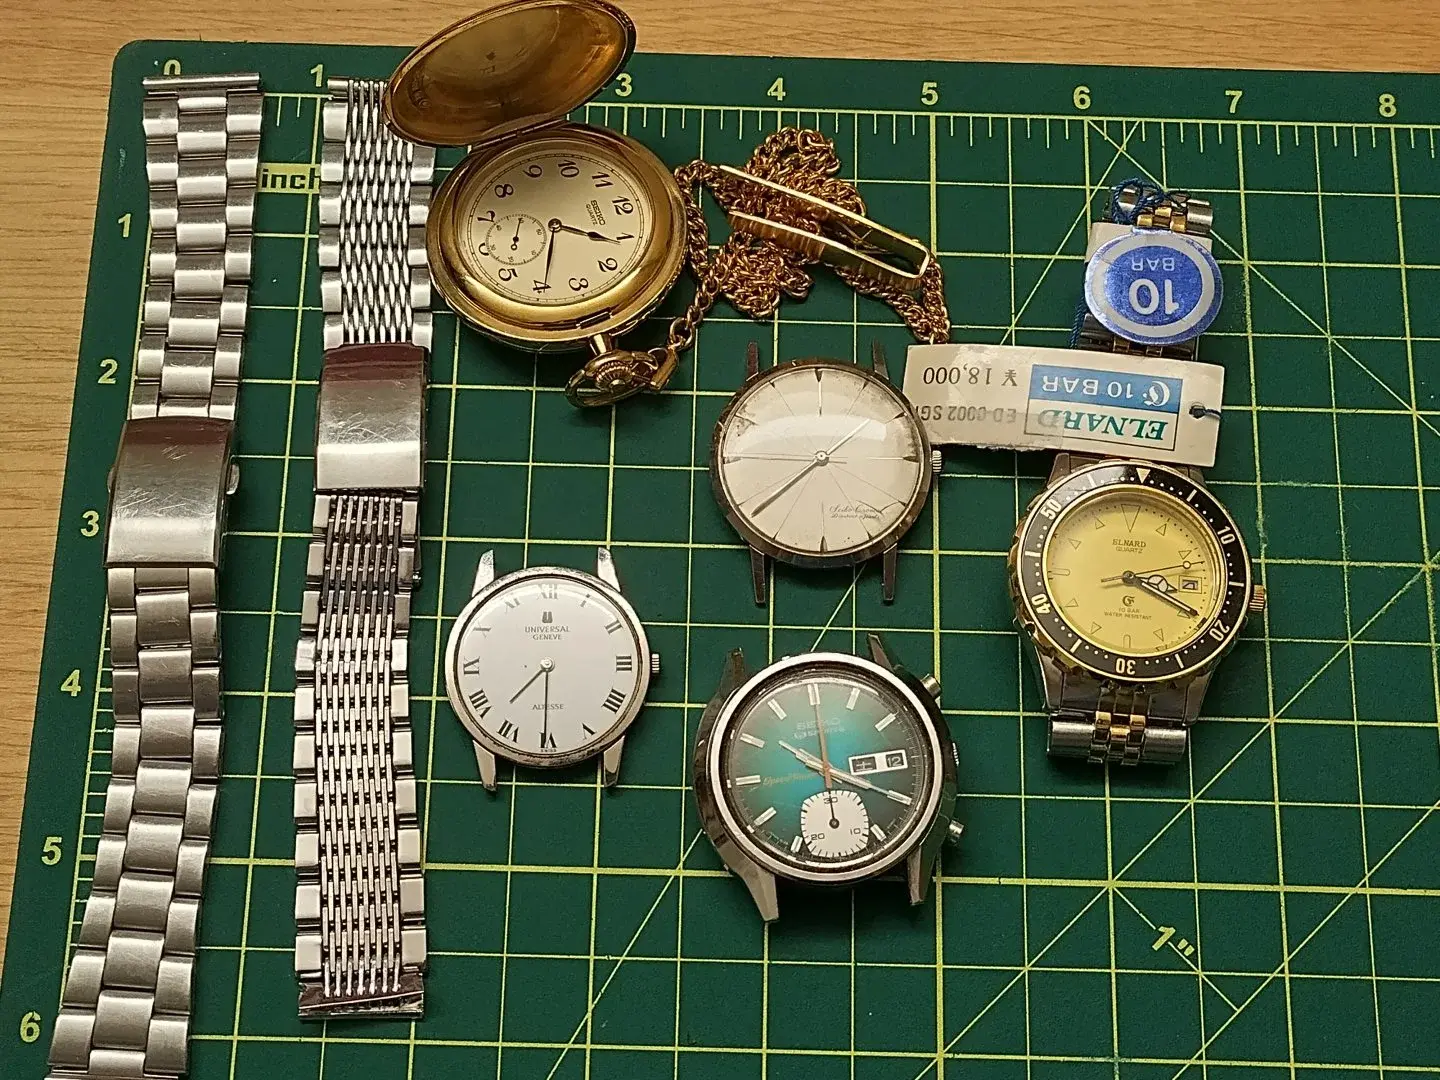
I had to pick up a bulk lot to get a 60s Seiko Chronos, for short money. Came with a Seiko quartz PW and an new with tag ELNARD (by Seiko). Both of which have since gone on.
Step 1 - Condition Assessment
Not the filthiest watch I've encountered, by a long shot, but still gross and gooey. The case needed 3x trips in the ultrasonic (water + Simple Green) before I could get the bezel off (metal work required to bezel and case):
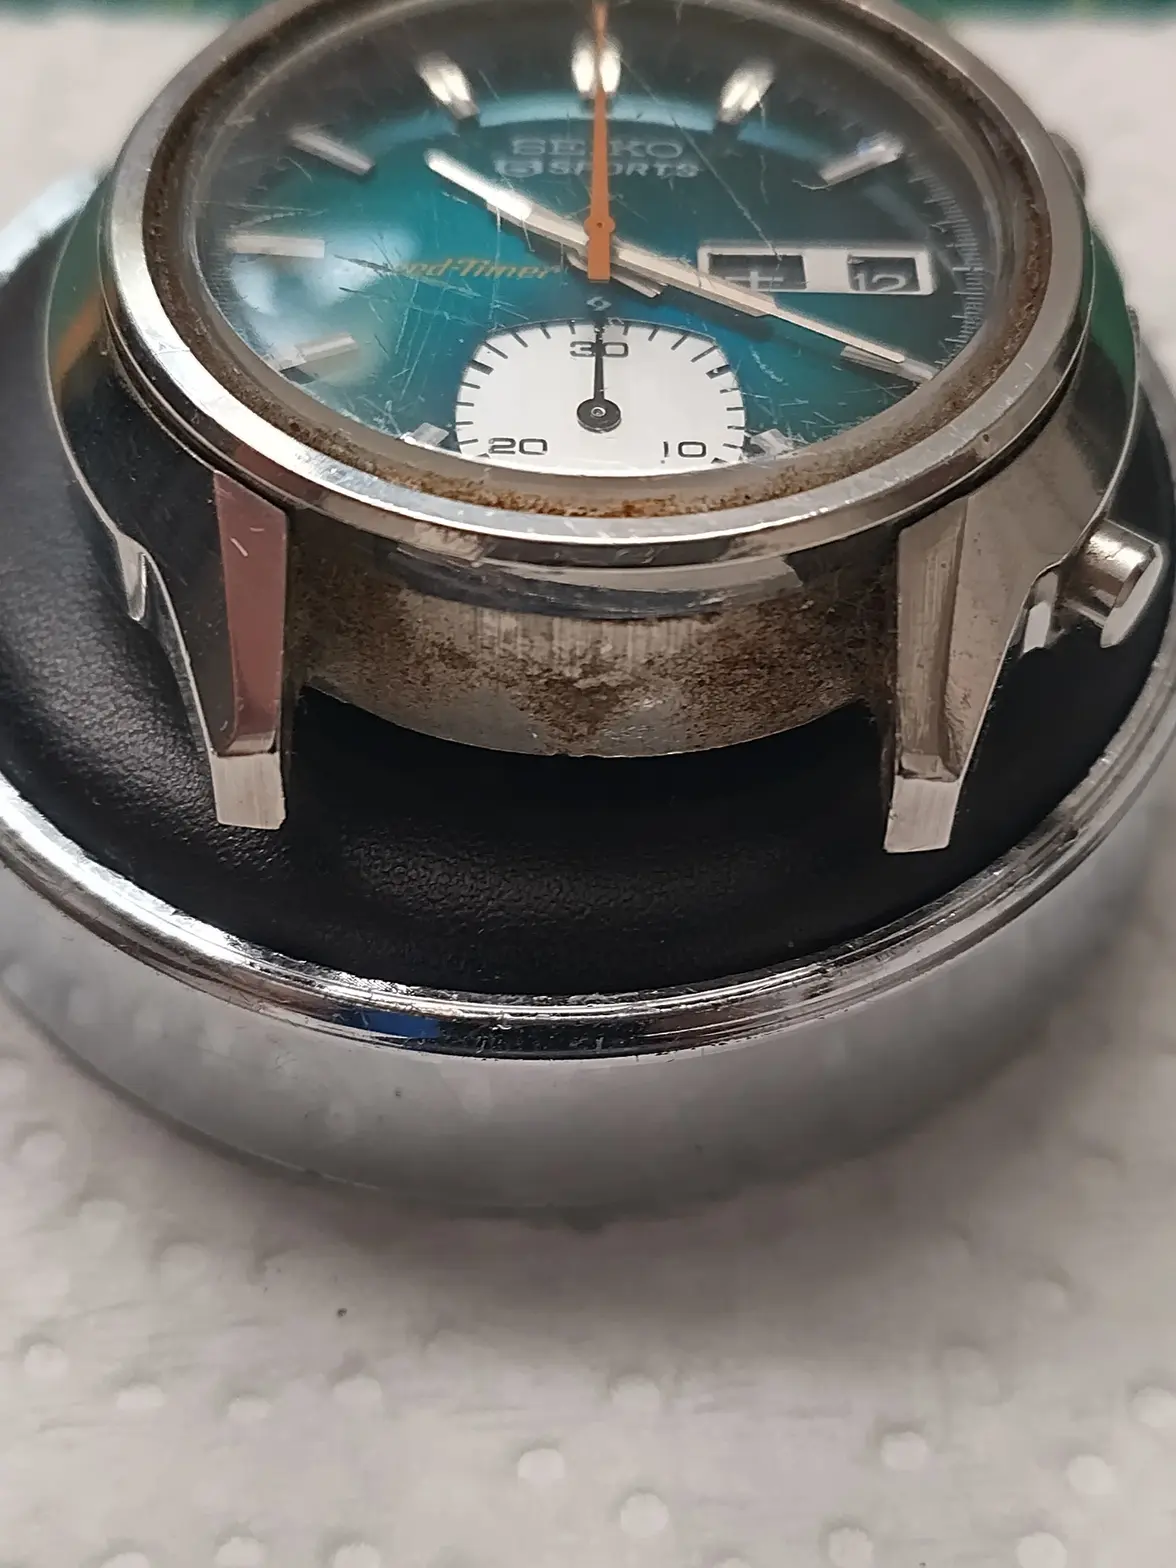
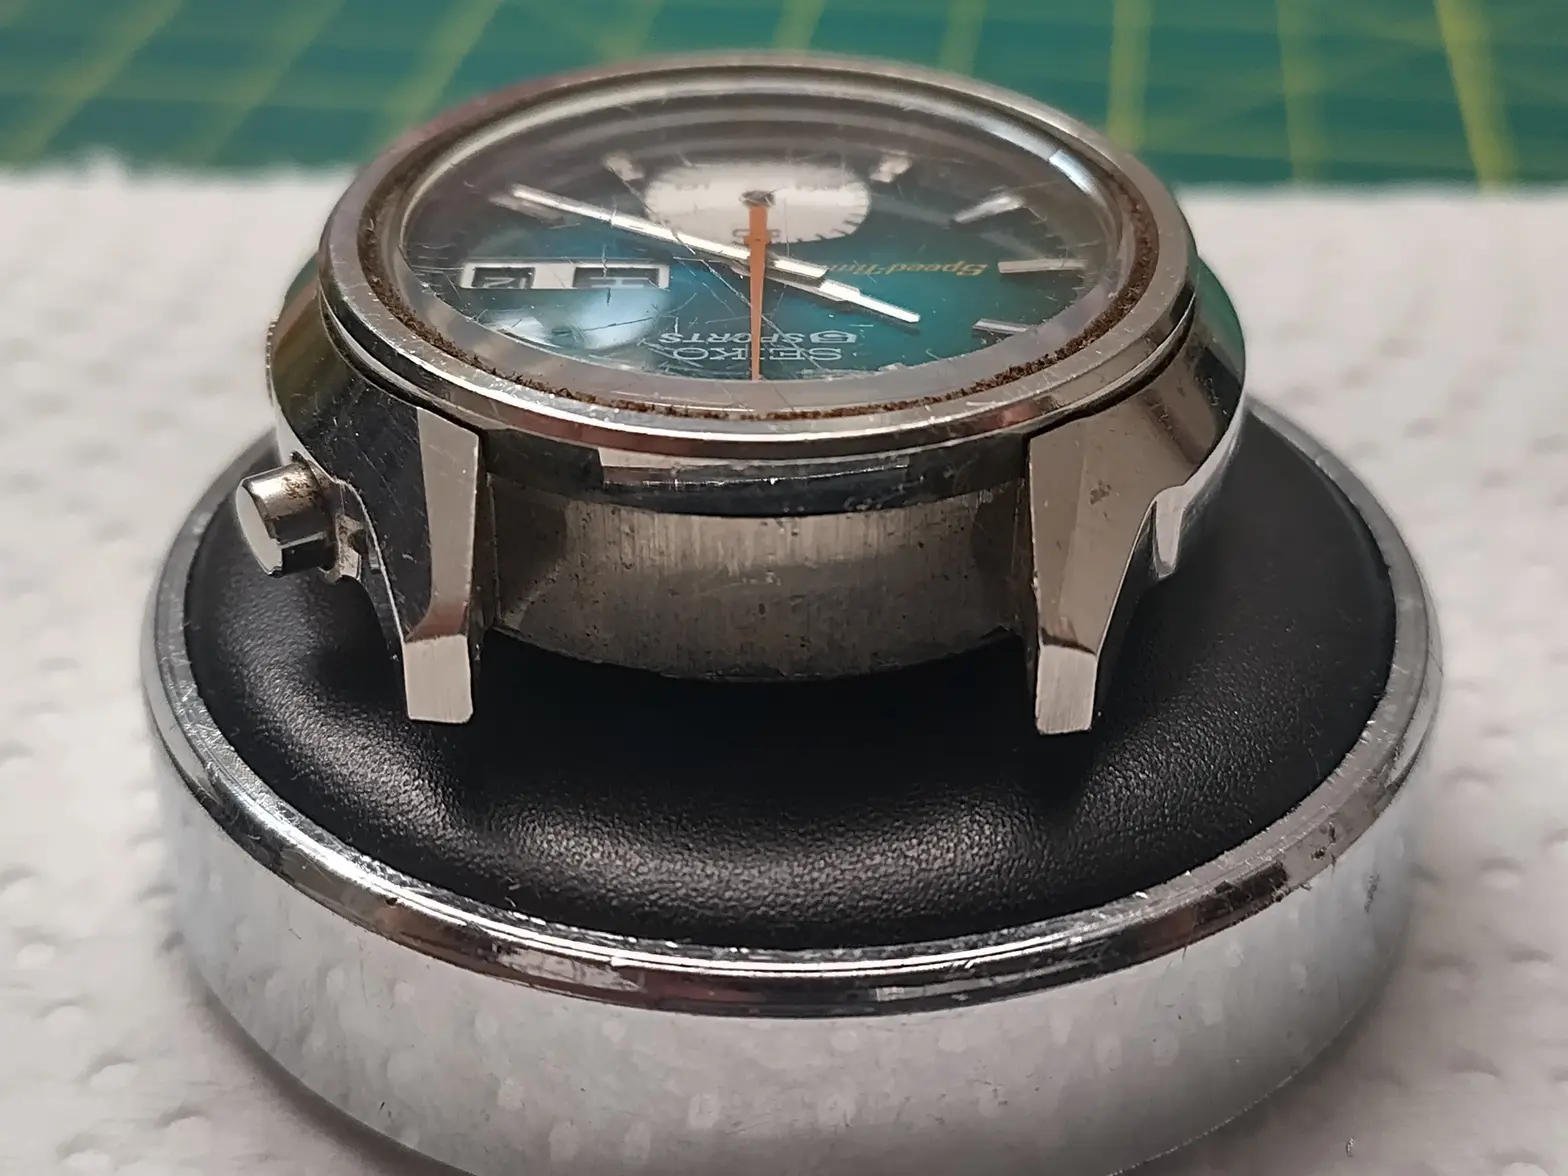
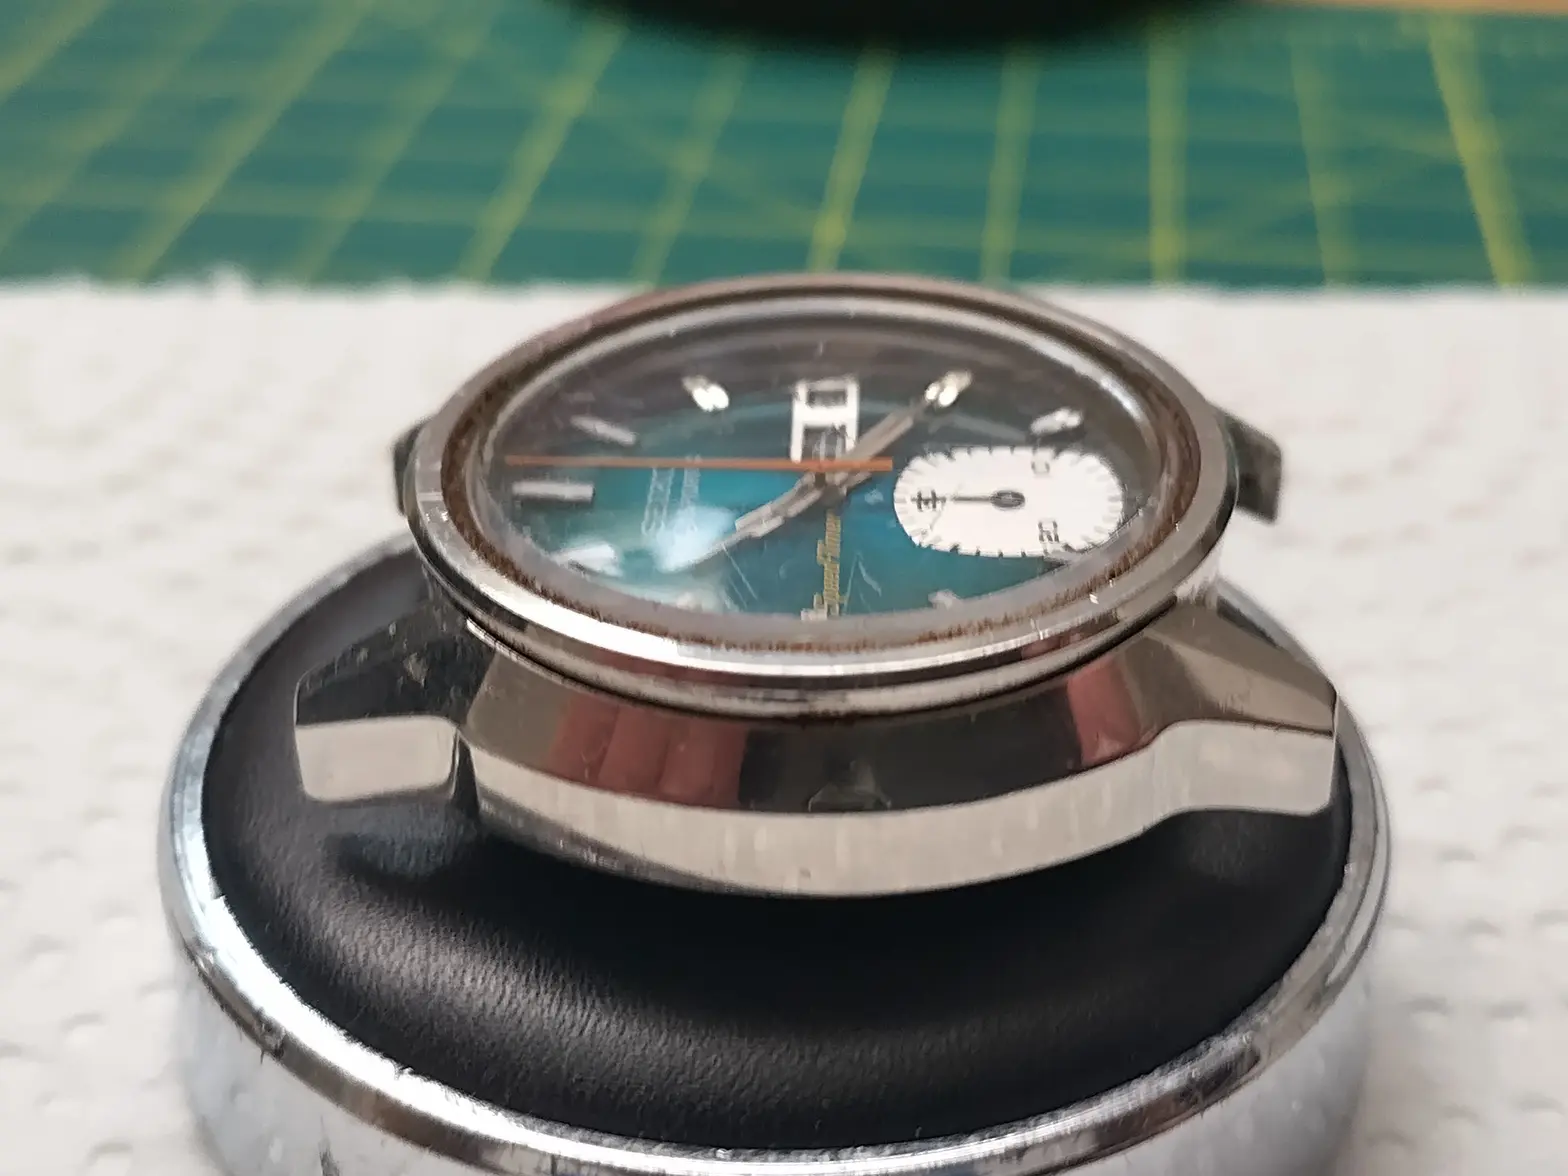
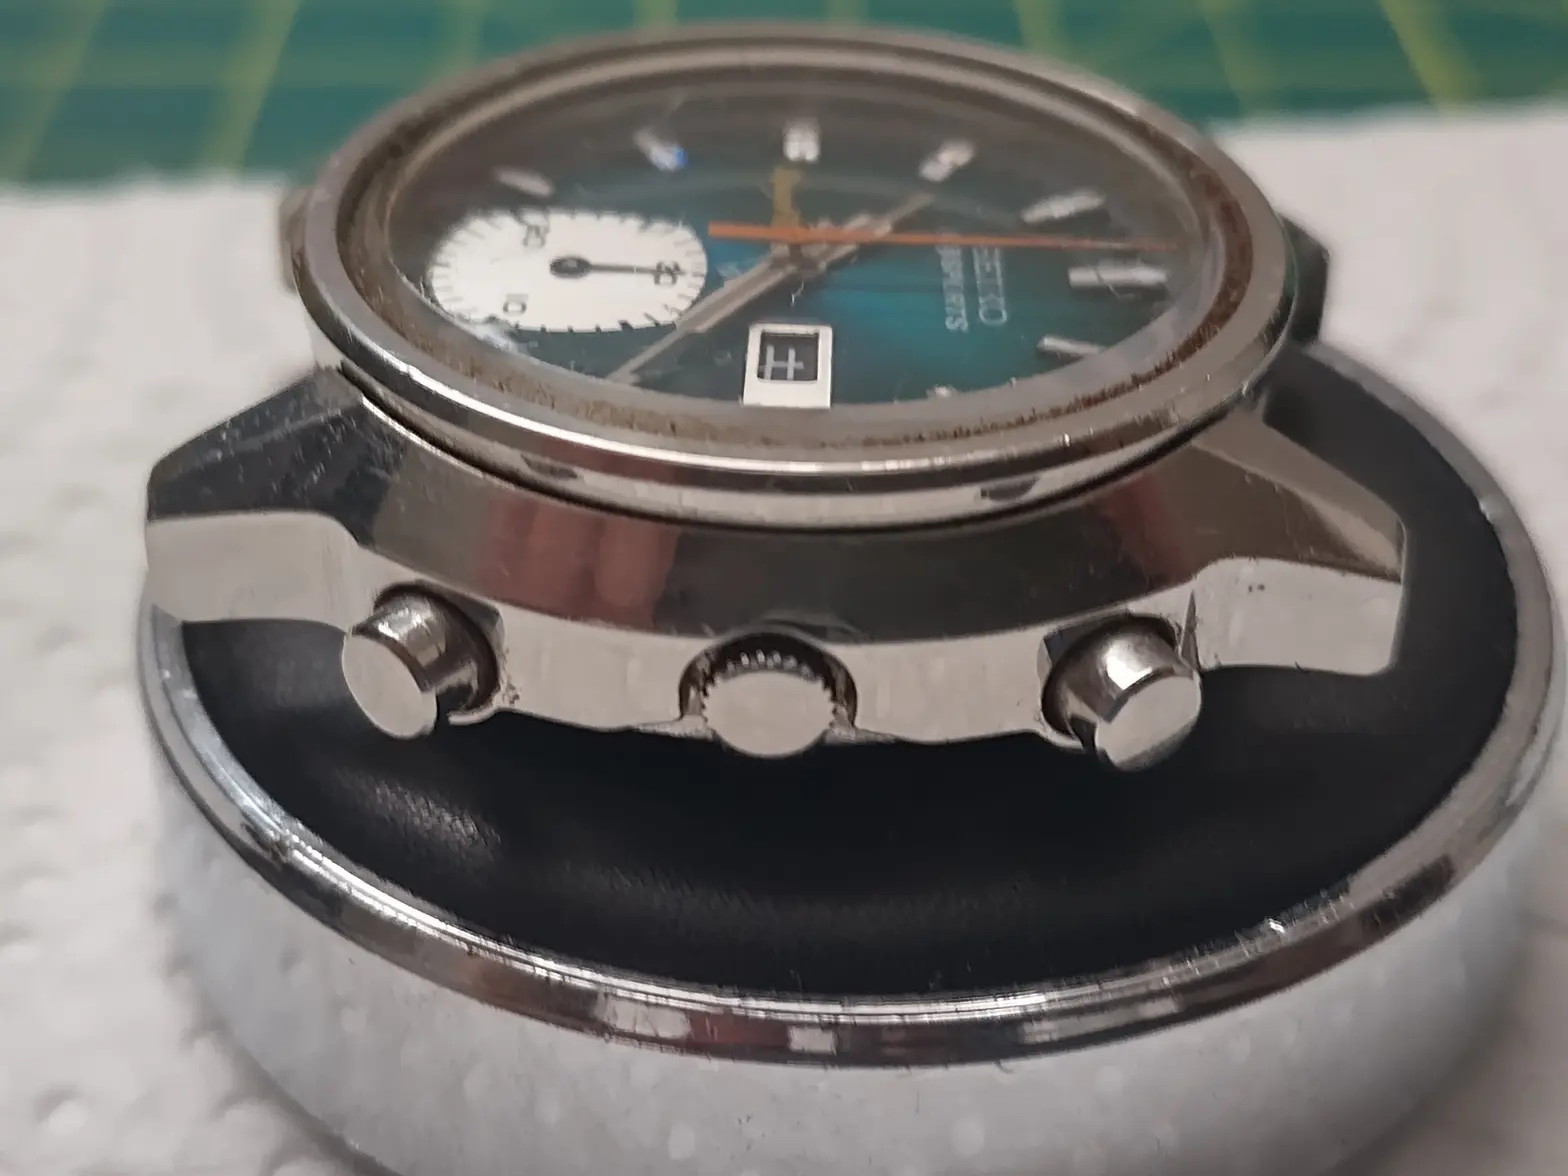
Step 2 - Disassembly and Cleaning
Not photographed here, the movement comes out easily. Bless Seiko's industrial philosophy of making watches easy to assemble and service. The movement retaining ring also retains the chrono pushers (none of the screw in fiddles or the bs of c-clips or other pushers). Not shown, the pusher disassembly and the guck that is always in the pusher springs of any chrono. Clean your chrono springs people!
The bezel was welded to the case by the slazz that had made its way between them over the years. Look at the slazz that was welding it together - and that's after 3x through the ultrasonic with the bezel in place. Metal work to the case, post cleaning, was required due to the bezel removal....
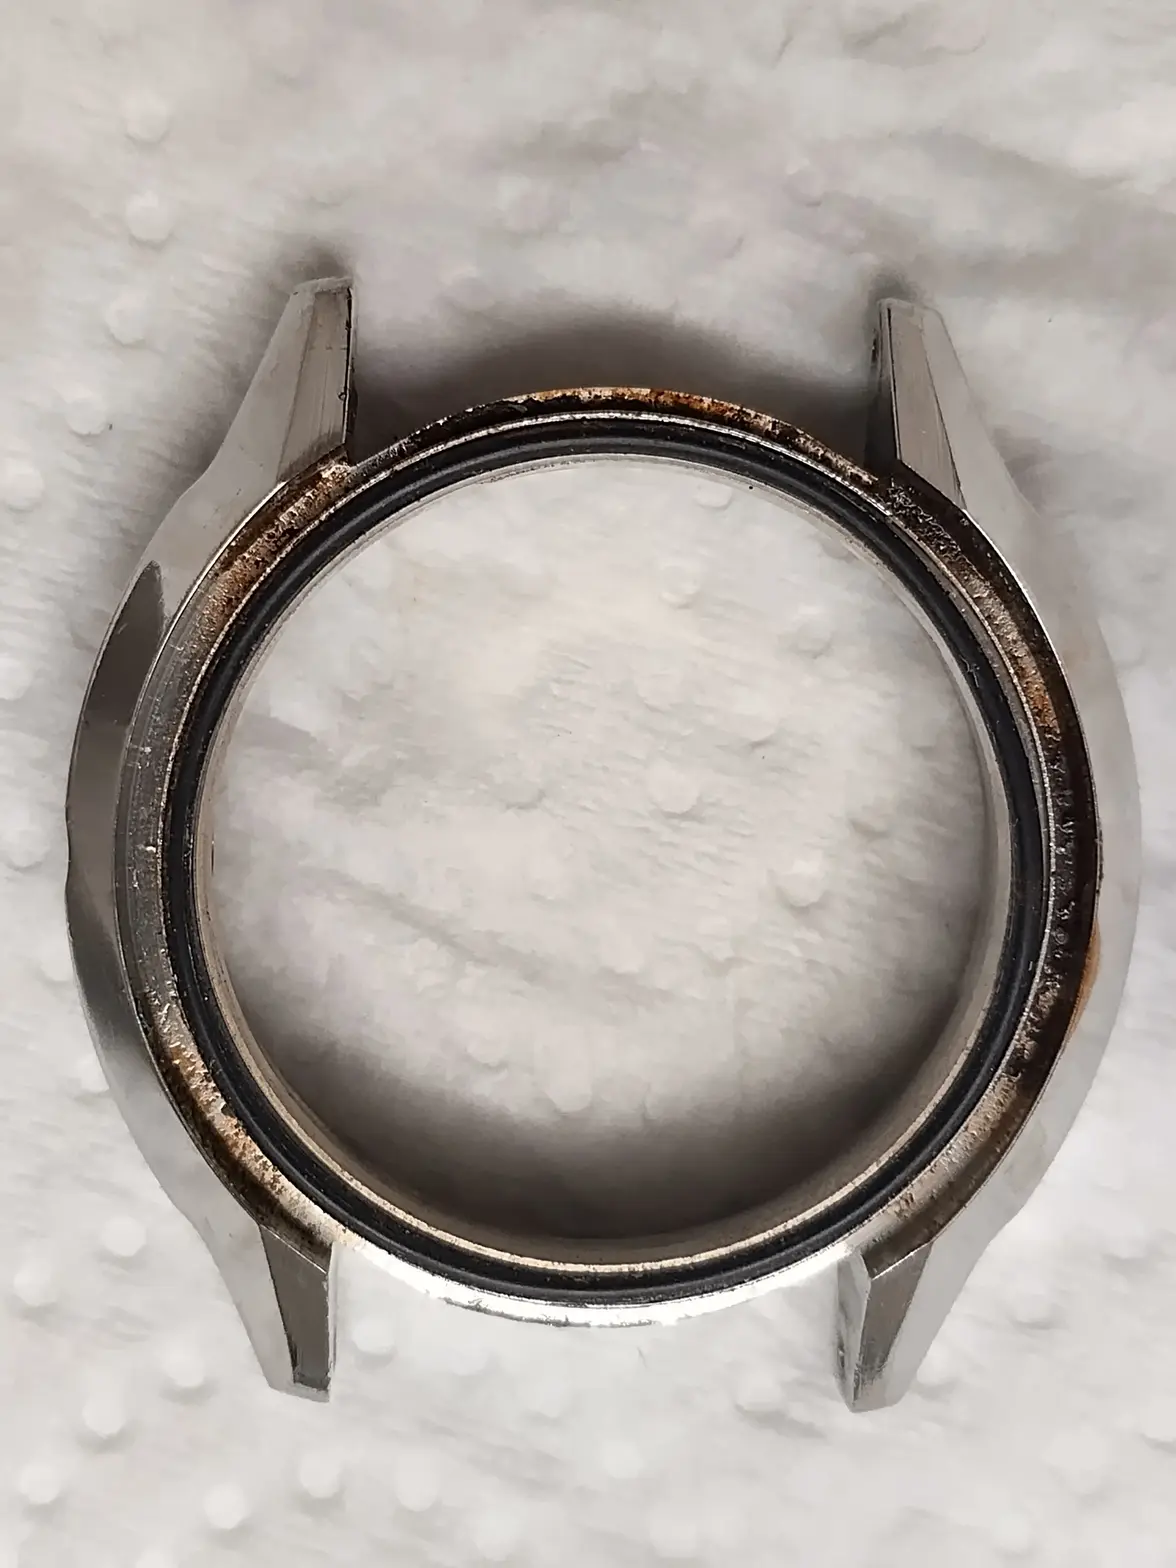
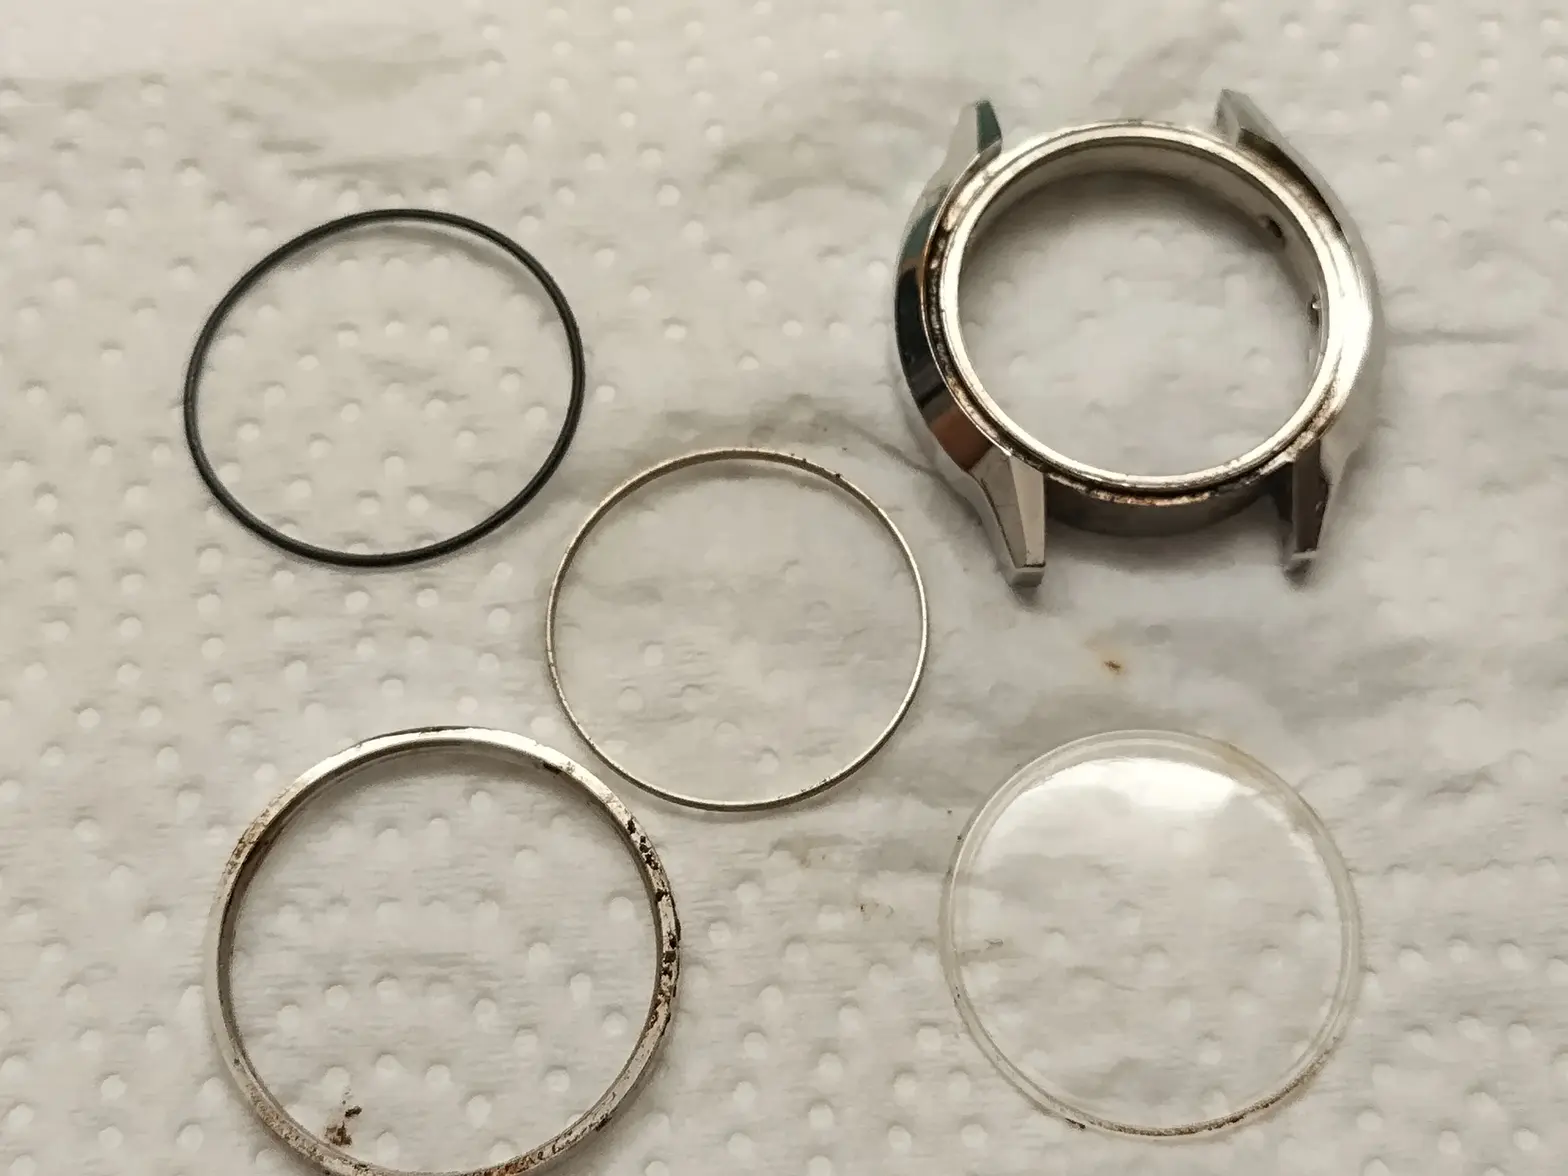
Peg wood? I can't afford frigging peg wood. Here's a bamboo skewer and a broken amazon junk screw driver
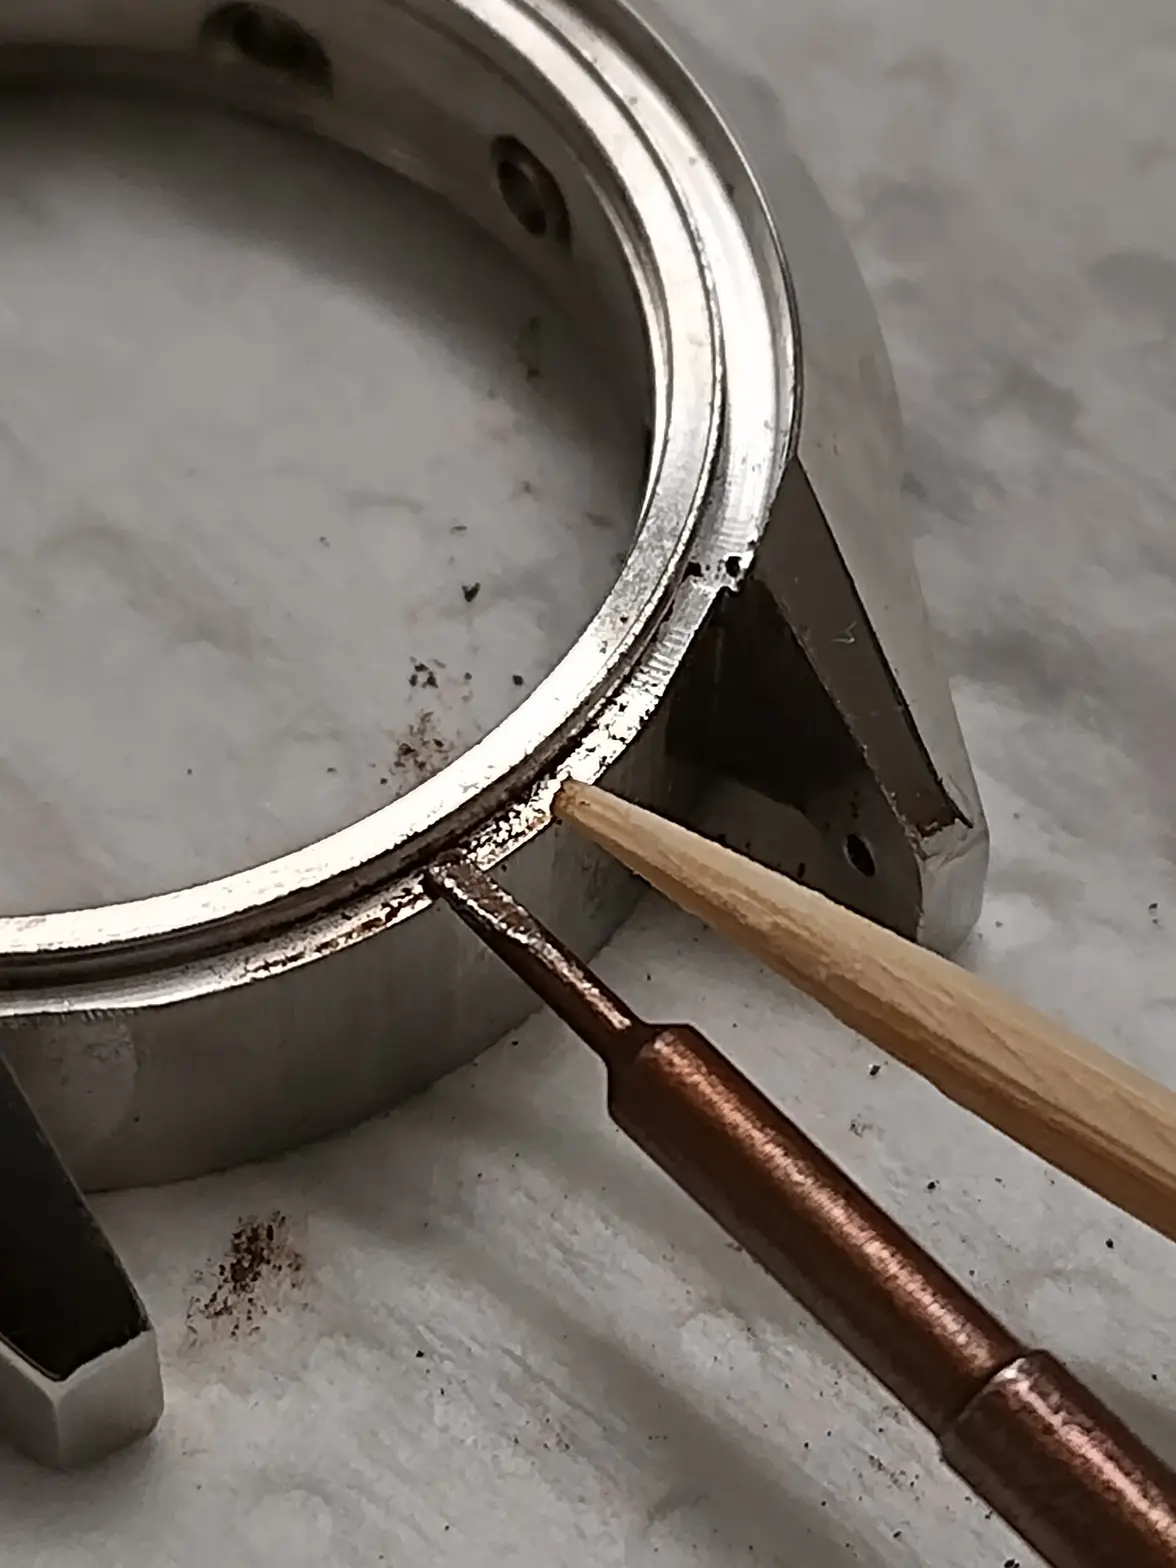
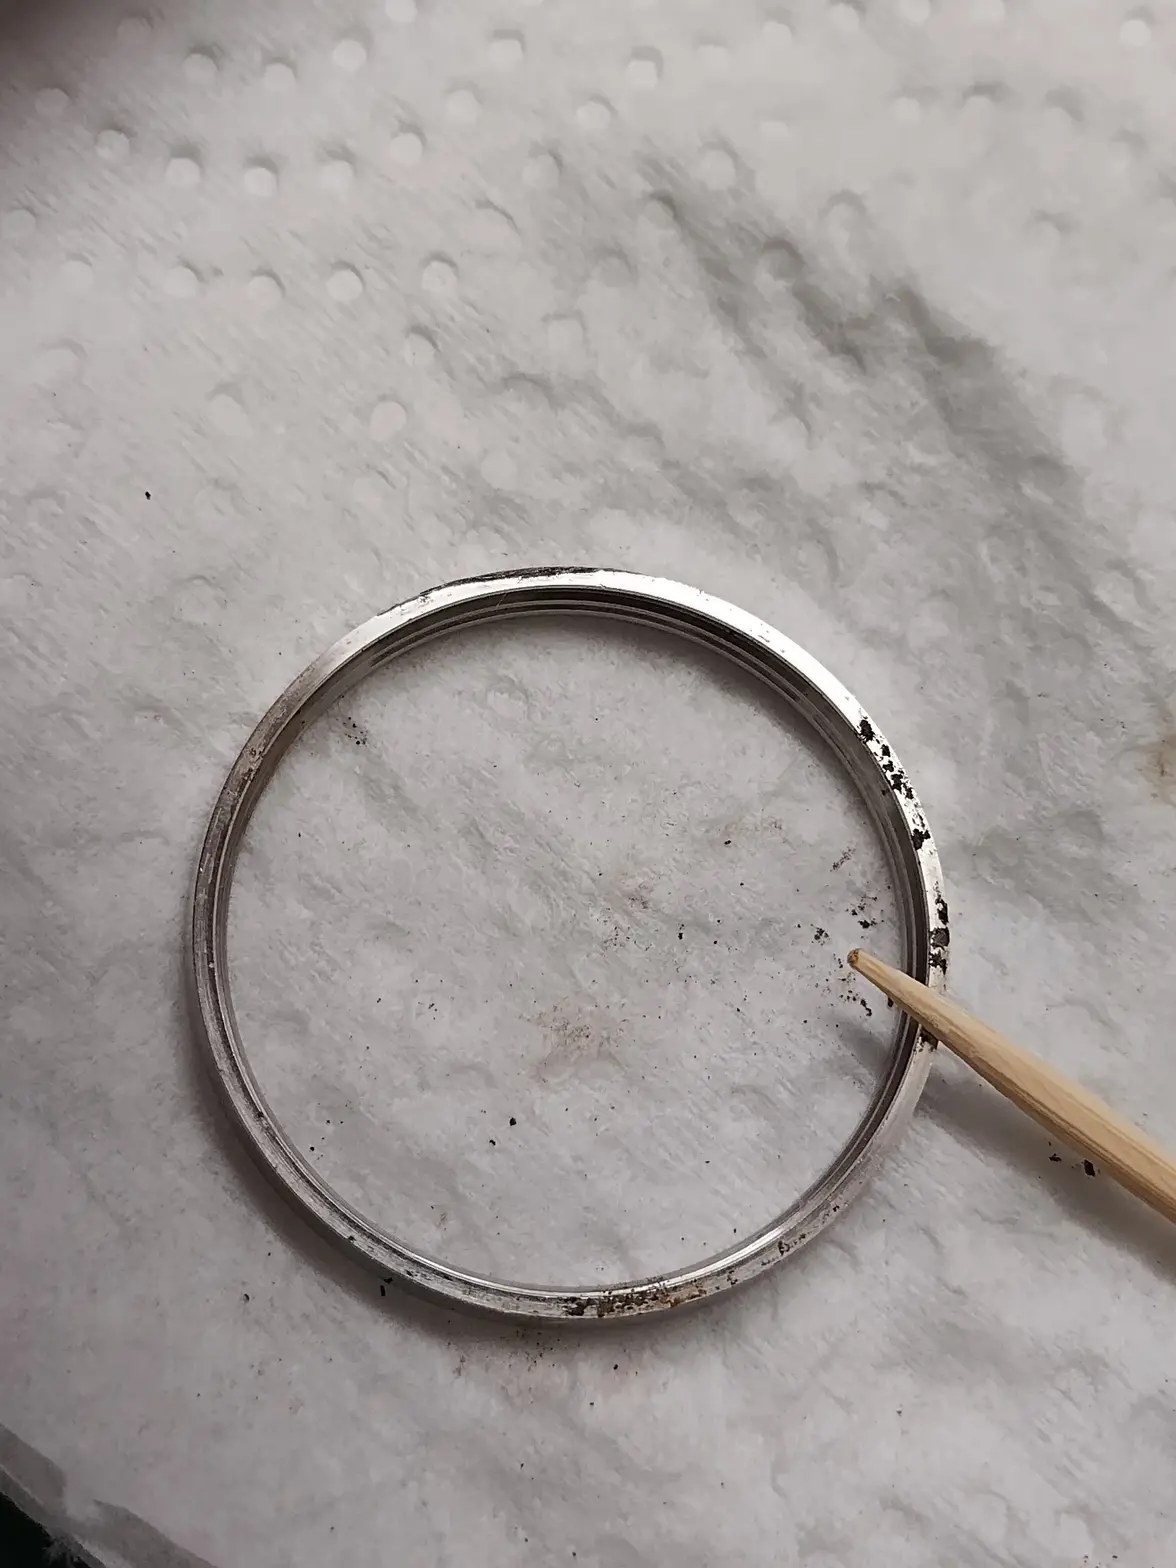
Cleaning the case, bezel and case back took a LOT of scraping and passes through the ultrasonic. The bezel (backside), case (under bezel and under case back) and case back all have a bit of corrision on them that "is what it is". Wabi-sabi.
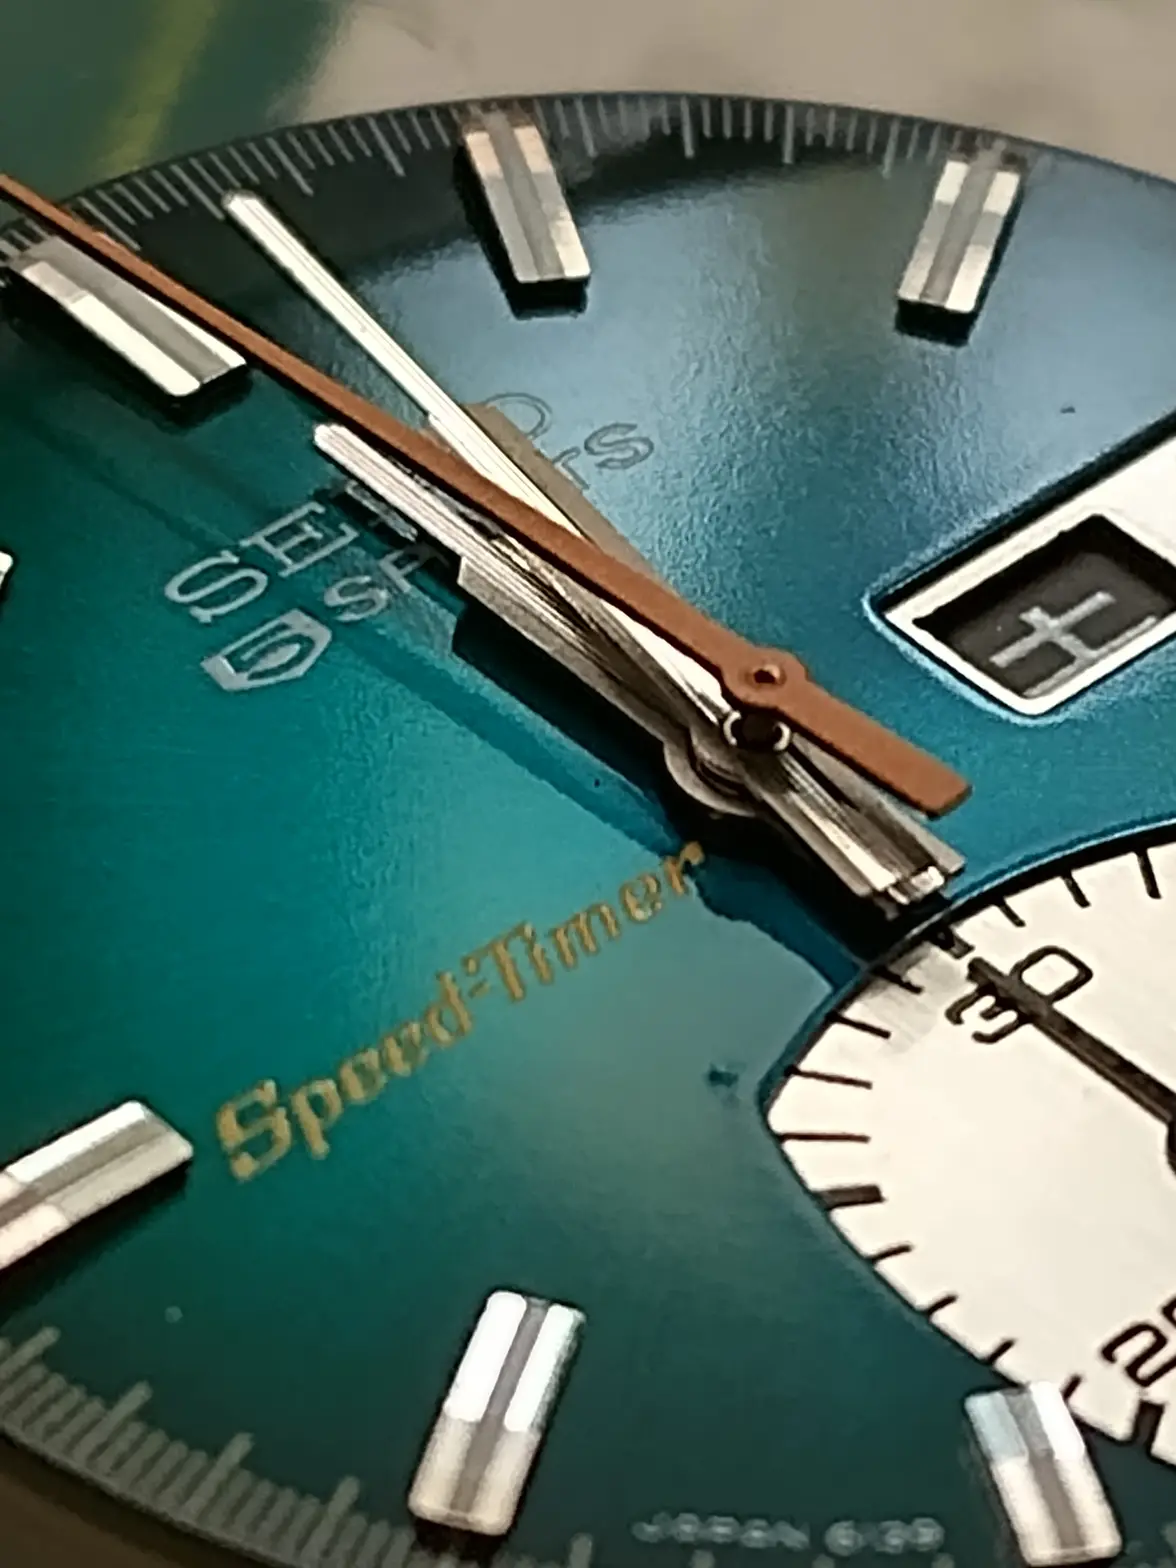
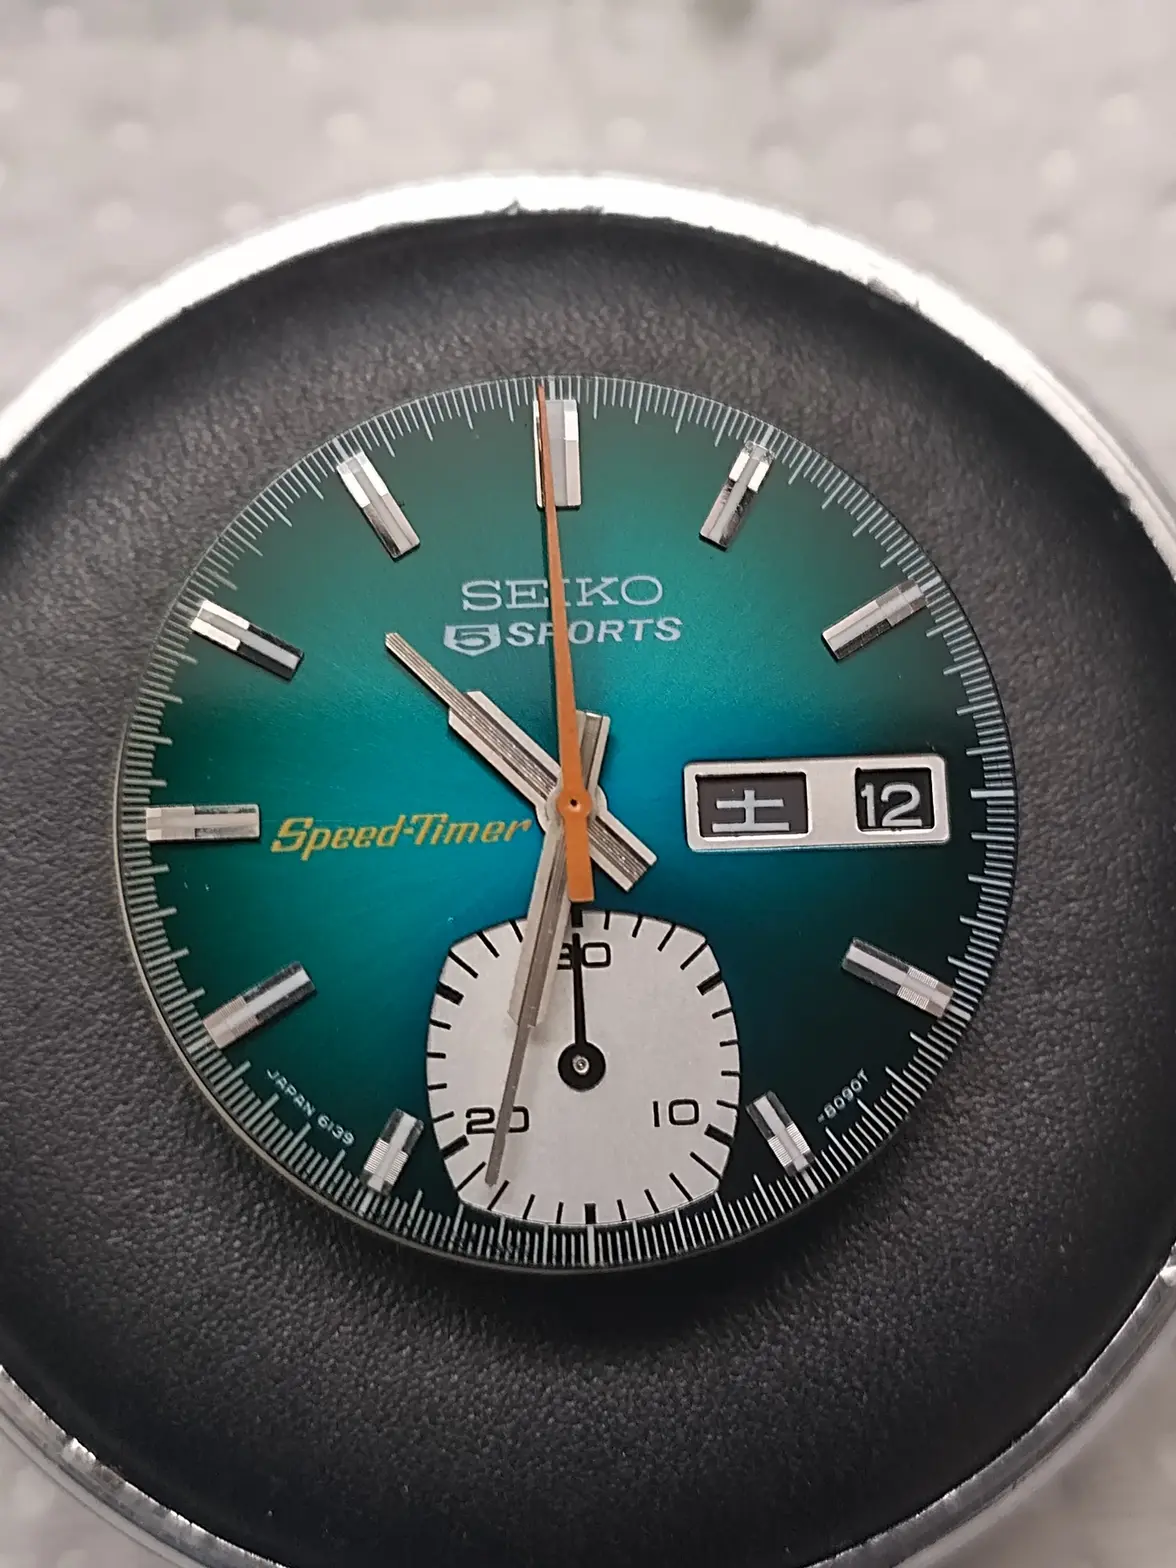
Step 3 - Dial Glamour Shots for Inspo
AND THE WATCH RUNS. Did I mention this thing runs?? Of course it runs, its a Seiko! Will get it a full service by a specialist in due course, likely!
Next Steps:
1 - Parts ordering. Guess what, the 8050 is the weird one and no one re-pops the crystals or the crystal gaskets!
2 - Metal work and polishing.
3 - Reassembly
4 - Strap or bracelet (hint, it sure as hell won't be the stock bracelet).
Thanks for reading!
"What does this have to do with a Speed-Timer?", you ask. Well, dear reader, I was slumming around buyee.jp's junk watch auctions having bought buying a cheap enough UG ジャンク時計 (Junk Watch) and I decided to get some value from the Japan to Canada shipping. For those who don't know buyee is one of the proxy services that non-Japanese residents can use to buy from yahoo.co.jp auctions et al. and you have 30 days from the first purchase hitting buyee's warehouse to add other purchases to the shipment. Challenge Accepted.
So, armed with a 30 day window and the search term ジャンク時計 (Junk Watch), I went looking and this turned up in an auction at a decent price. Three photos, no context, dirty, Hardlex crystal shot, wrong bracelet. But the 70s funk + chronograph + beautiful (I was hoping) green/teal dial:
Waited a few weeks and it showed up, along with my other buyee-facilitated purchases:
I had to pick up a bulk lot to get a 60s Seiko Chronos, for short money. Came with a Seiko quartz PW and an new with tag ELNARD (by Seiko). Both of which have since gone on.
Step 1 - Condition Assessment
Not the filthiest watch I've encountered, by a long shot, but still gross and gooey. The case needed 3x trips in the ultrasonic (water + Simple Green) before I could get the bezel off (metal work required to bezel and case):
Step 2 - Disassembly and Cleaning
Not photographed here, the movement comes out easily. Bless Seiko's industrial philosophy of making watches easy to assemble and service. The movement retaining ring also retains the chrono pushers (none of the screw in fiddles or the bs of c-clips or other pushers). Not shown, the pusher disassembly and the guck that is always in the pusher springs of any chrono. Clean your chrono springs people!
The bezel was welded to the case by the slazz that had made its way between them over the years. Look at the slazz that was welding it together - and that's after 3x through the ultrasonic with the bezel in place. Metal work to the case, post cleaning, was required due to the bezel removal....
Peg wood? I can't afford frigging peg wood. Here's a bamboo skewer and a broken amazon junk screw driver
Cleaning the case, bezel and case back took a LOT of scraping and passes through the ultrasonic. The bezel (backside), case (under bezel and under case back) and case back all have a bit of corrision on them that "is what it is". Wabi-sabi.
Step 3 - Dial Glamour Shots for Inspo
AND THE WATCH RUNS. Did I mention this thing runs?? Of course it runs, its a Seiko! Will get it a full service by a specialist in due course, likely!
Next Steps:
1 - Parts ordering. Guess what, the 8050 is the weird one and no one re-pops the crystals or the crystal gaskets!
2 - Metal work and polishing.
3 - Reassembly
4 - Strap or bracelet (hint, it sure as hell won't be the stock bracelet).
Thanks for reading!