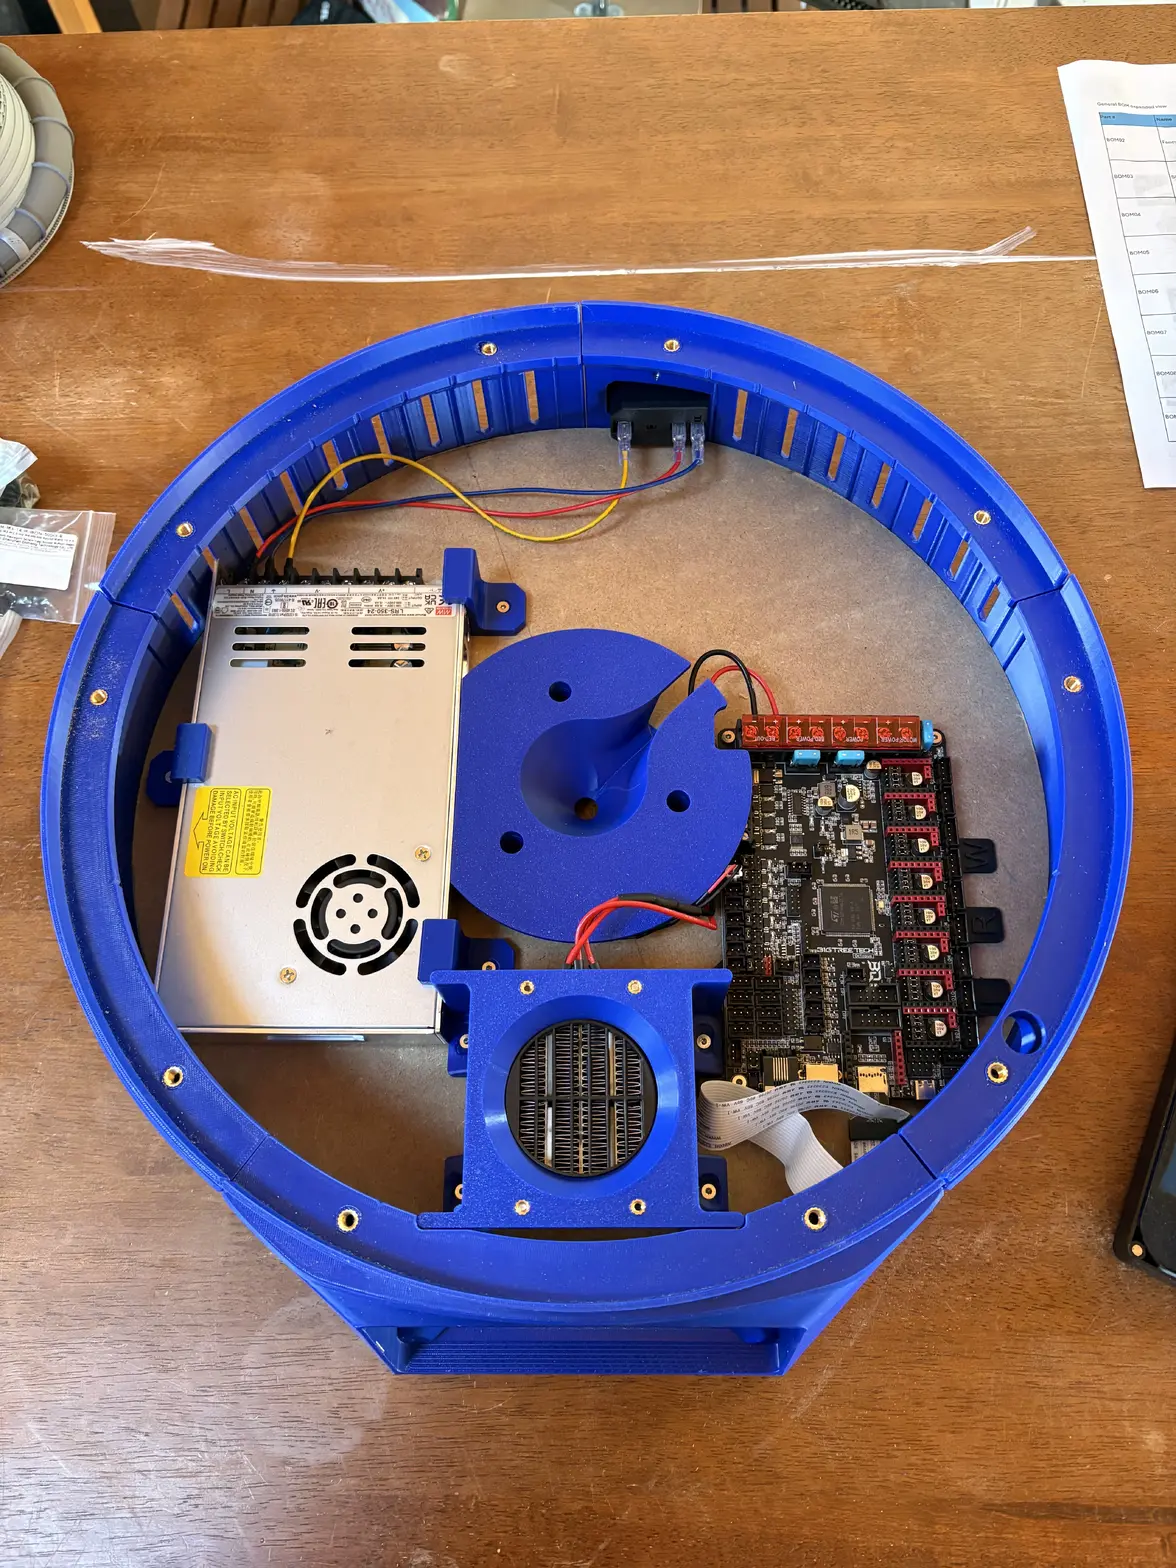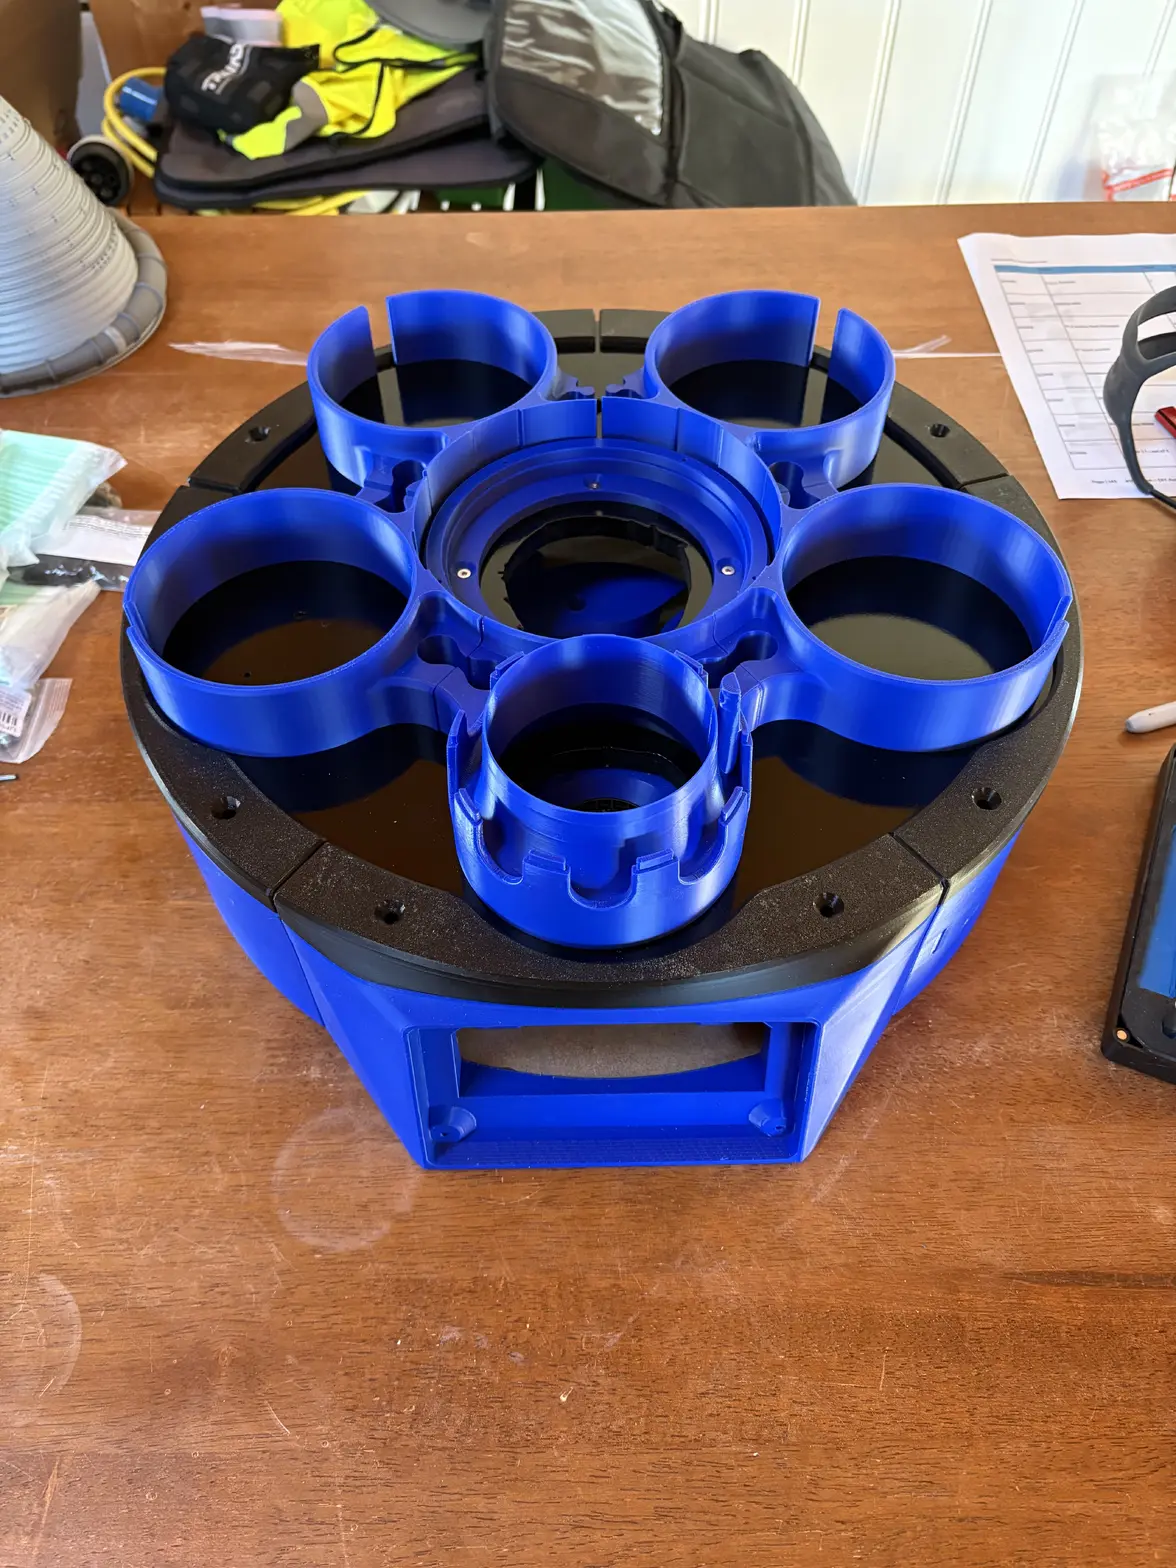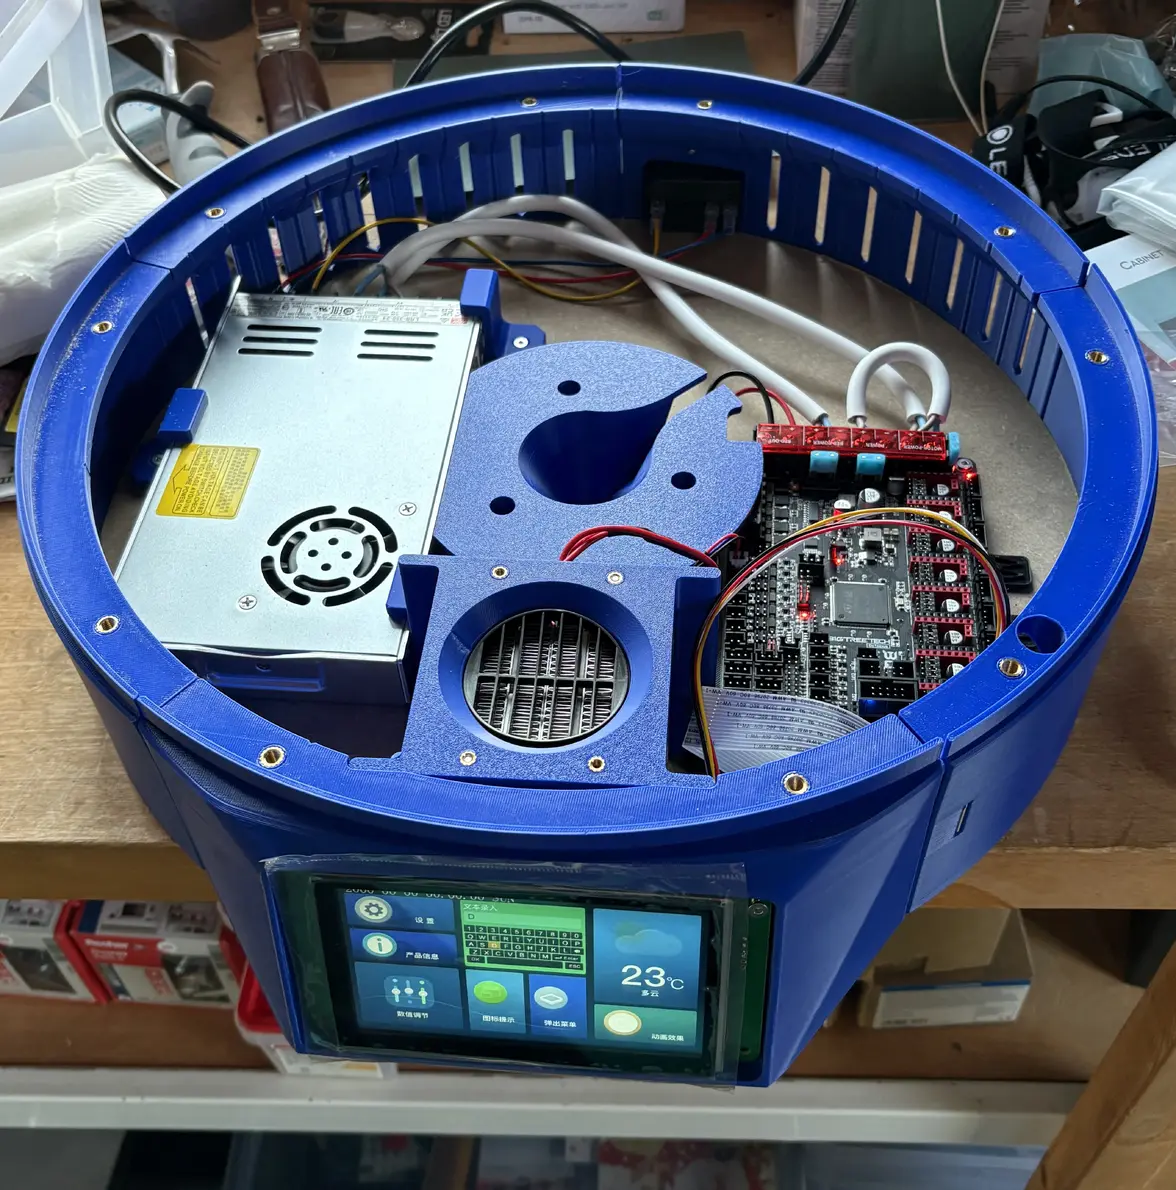
KiwiCleaner UberKiwi Build Thread: 3D Printed Watch Cleaner

Posts
147
Likes
123
Hi all,

I have recently taking the plunge and started the process of building a KiwiCleaner UberKiwi. It will definitely be overkill for my needs, but I am viewing it as an interesting project to gain experience in 3D printing and electronics; neither of which I have done before. And I thought that it might be interesting to document progress here for those of you who might be considering this or a similar project.

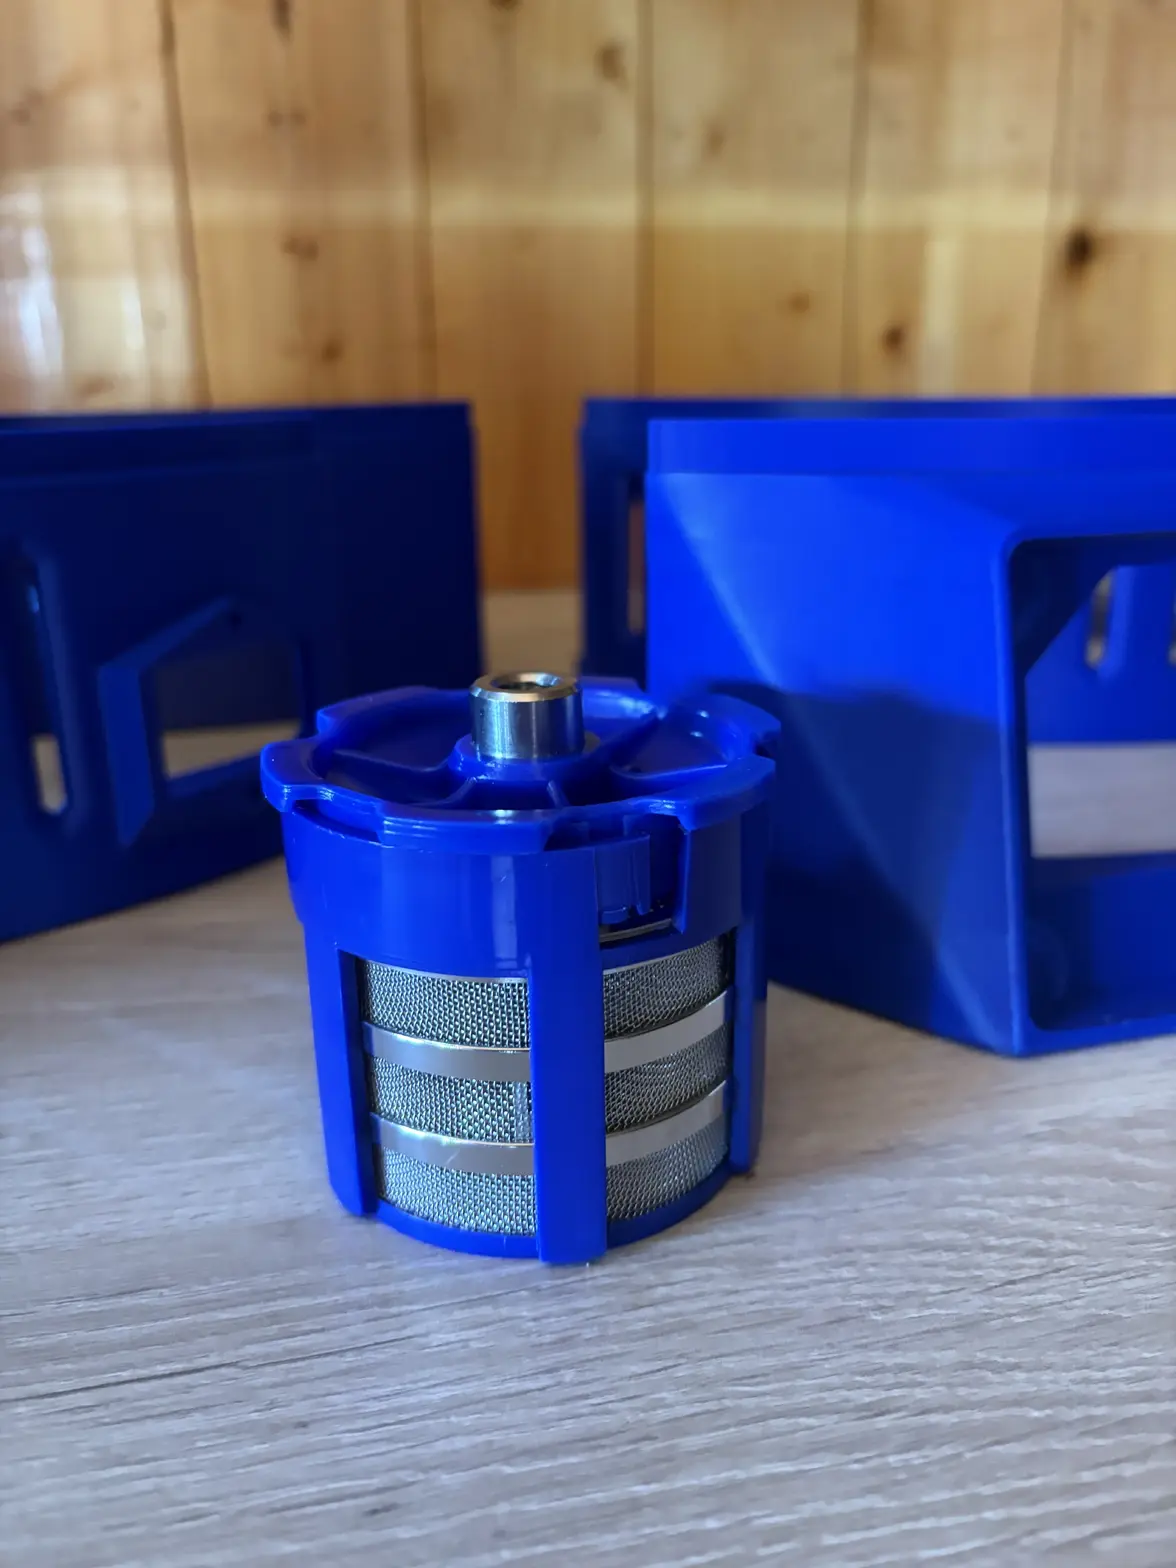
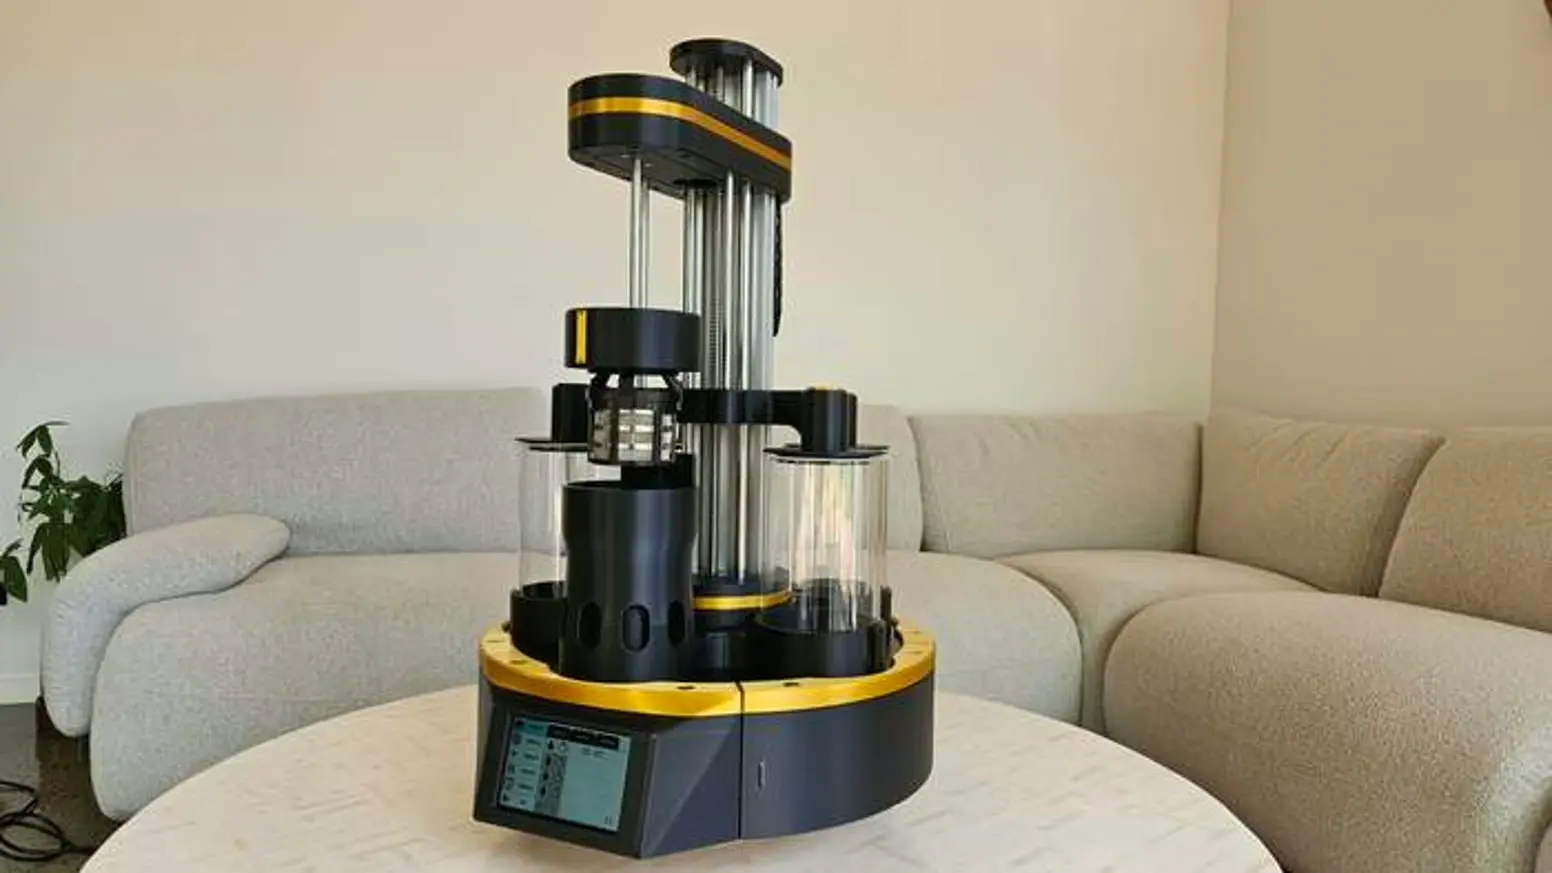
Photo for inspiration!

Progress so far is that I have ordered virtually all the required components from AliExpress, which was quite easy due to the very clear bill of materials. The rough cost was $700, plus around $100 for a few components I couldn’t get on AliExpress. Then I also had to buy soldering equipment and a multimeter, but hopefully I can use them in future projects.

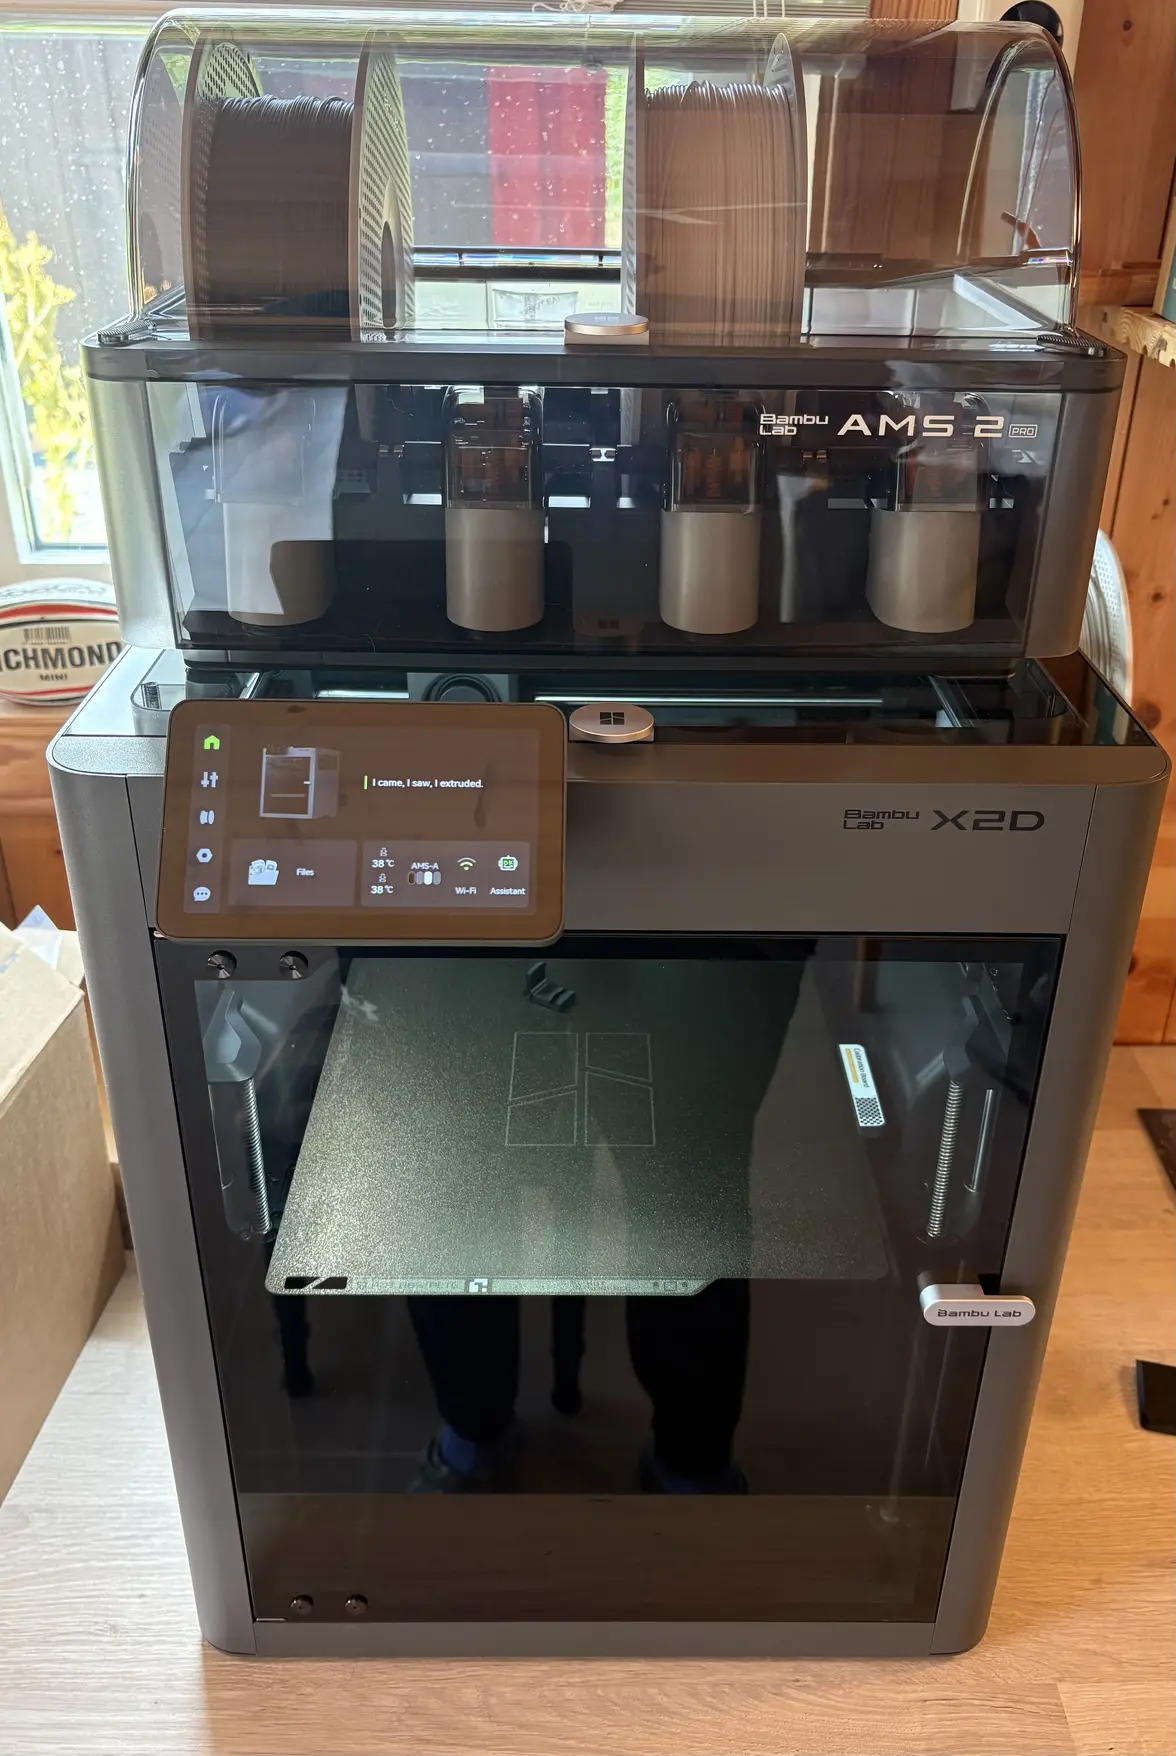
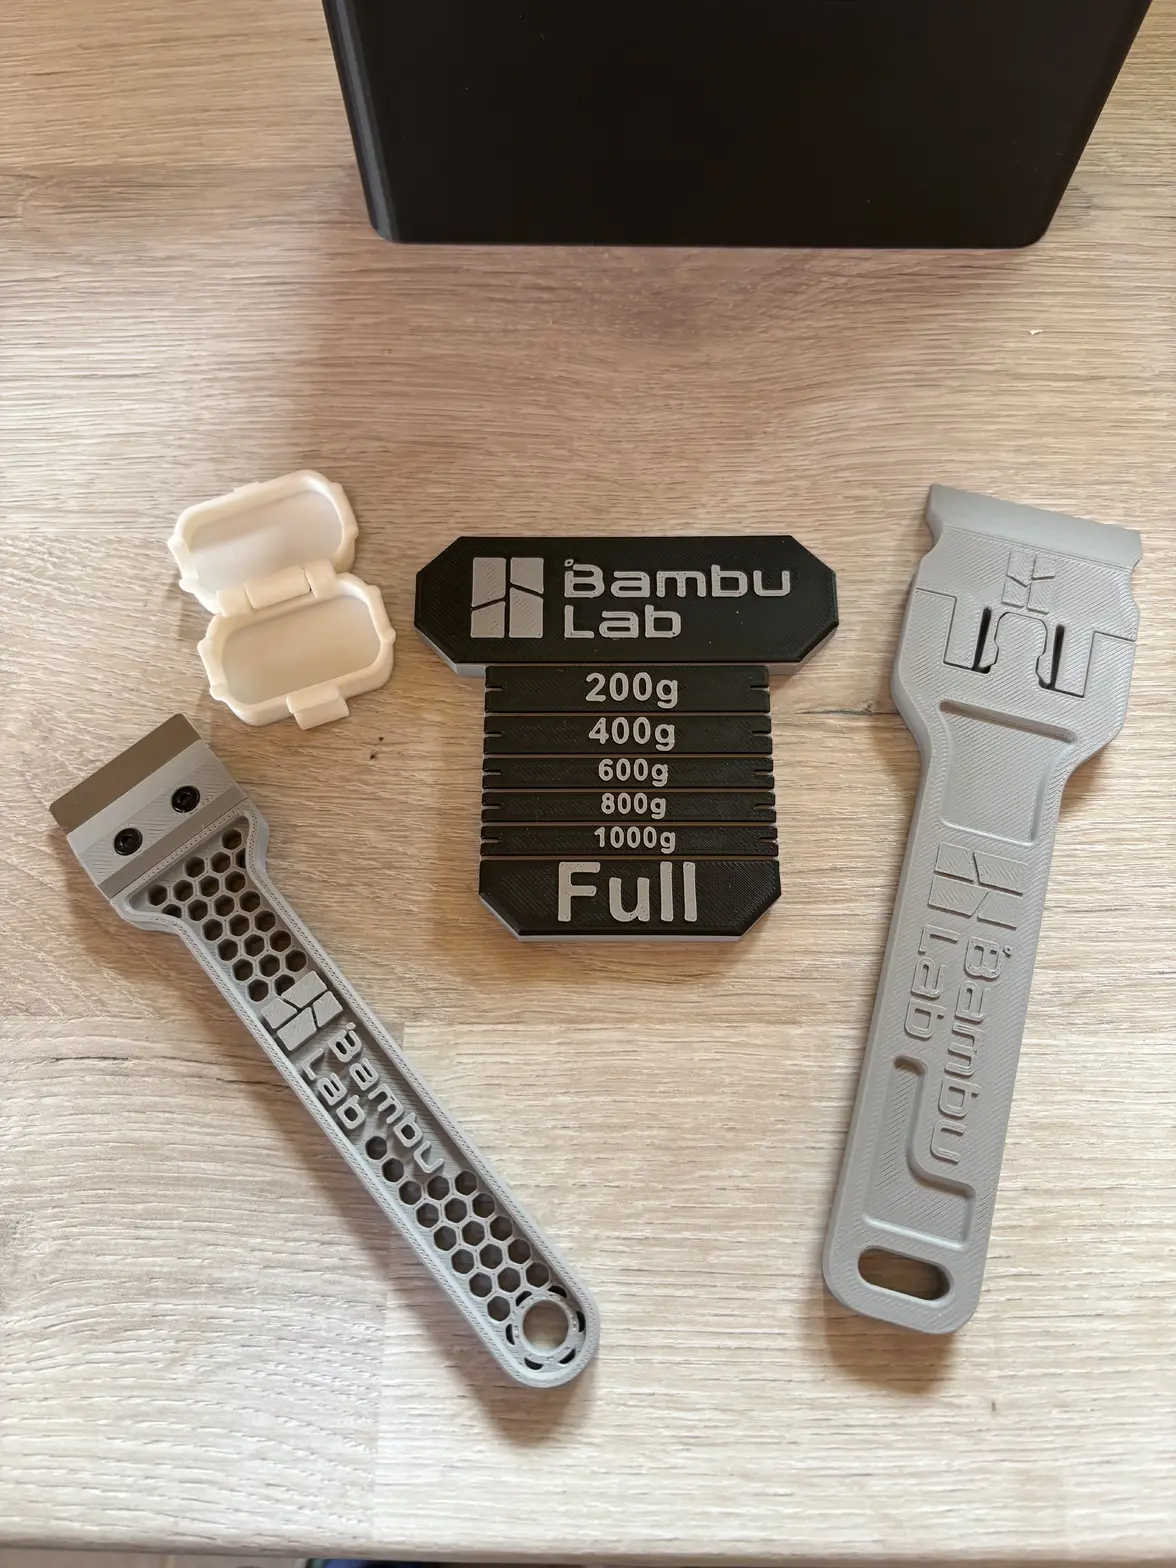
I have also played around with a few prints on my new Bambu Lab X2D to build my understanding of the printer and it has gone well. I have printed a mixture of accessories for the printer and toys for my children.

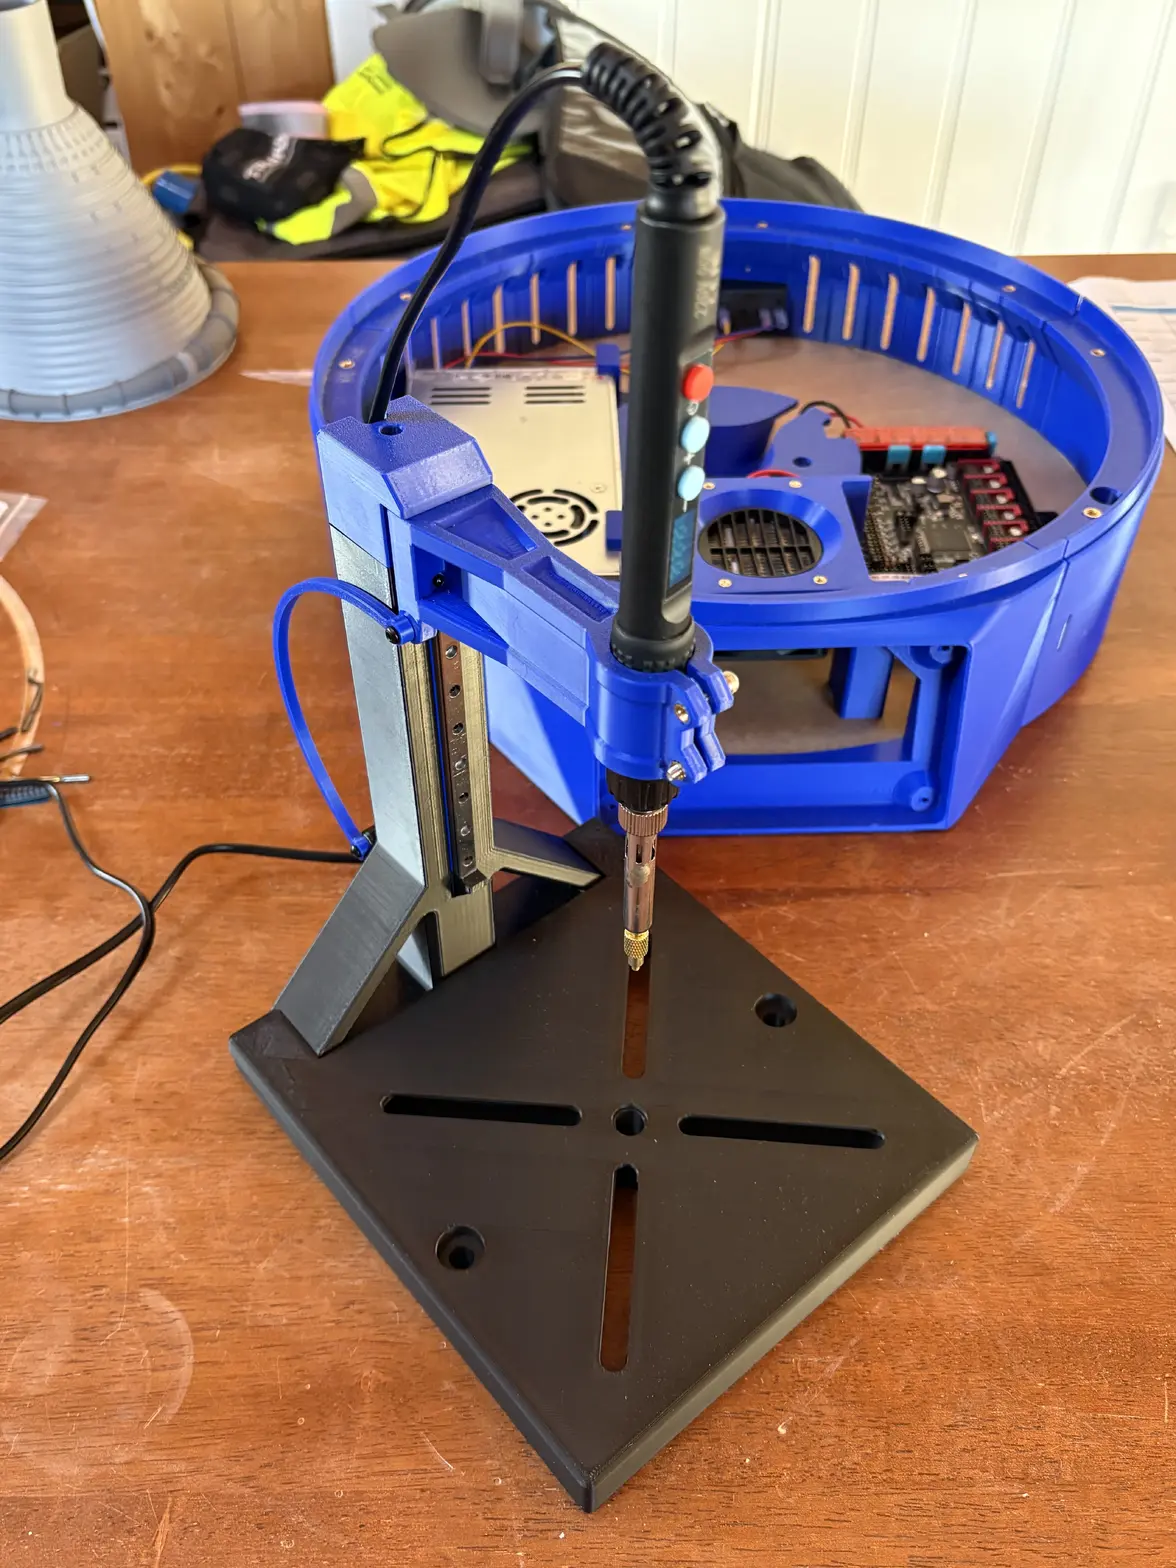
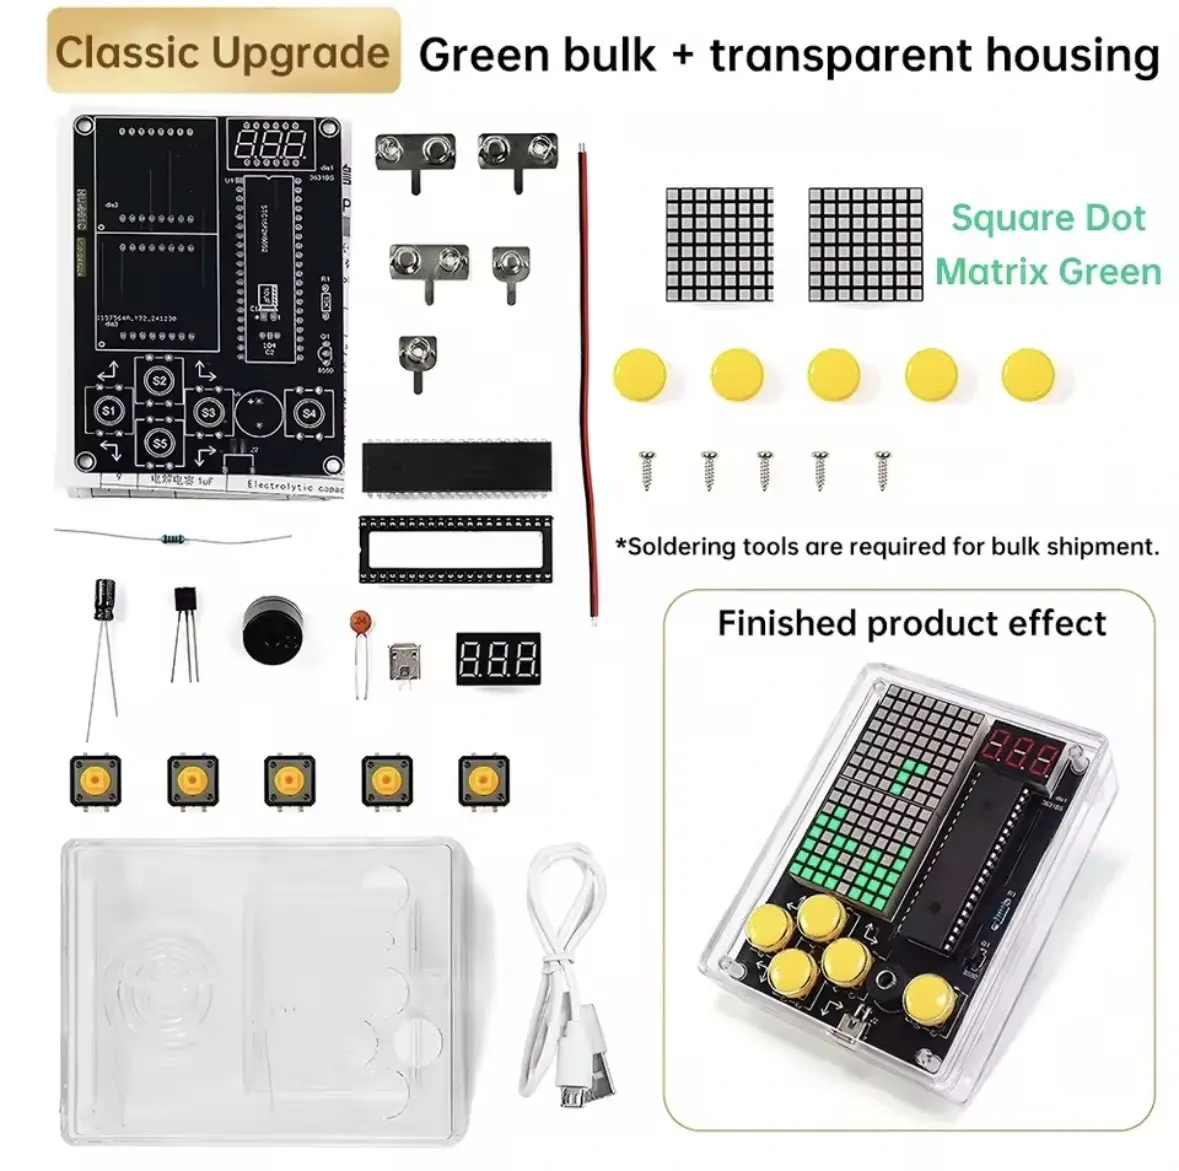
I will also start to practice soldering before moving onto anything important. I ordered this fun practice kit, again from AliExpress.

Once my stash of filament arrives I will start the process of printing all the various parts. Then once I am satisfied with those and my soldering skills I will move onto the assembly.

The project will probably be a bit stop-start but I will try and keep up with regularish updates!

 
Posts
710
Likes
2,074
Doesn't the UberKiwi use an Octopus board? I would imagine you just slot the tmc2209 stepsticks, connect a bunch of wires, and you're done. But I haven't seen any docs on it, so I'm just extrapolating.

Good luck on the project.
 
Posts
147
Likes
123
Doesn't the UberKiwi use an Octopus board? I would imagine you just slot the tmc2209 stepsticks, connect a bunch of wires, and you're done. But I haven't seen any docs on it, so I'm just extrapolating.

Good luck on the project.
Thank you!

That is correct so I think most of the wiring is quite simple. I haven’t read the instructions in detail yet, but I think it is only the motor/drivers that need some wires to be soldered. Nothing complex. It is more that I have never tried soldering before and don’t want to make a mess of it!
Edited:
 
Posts
147
Likes
123
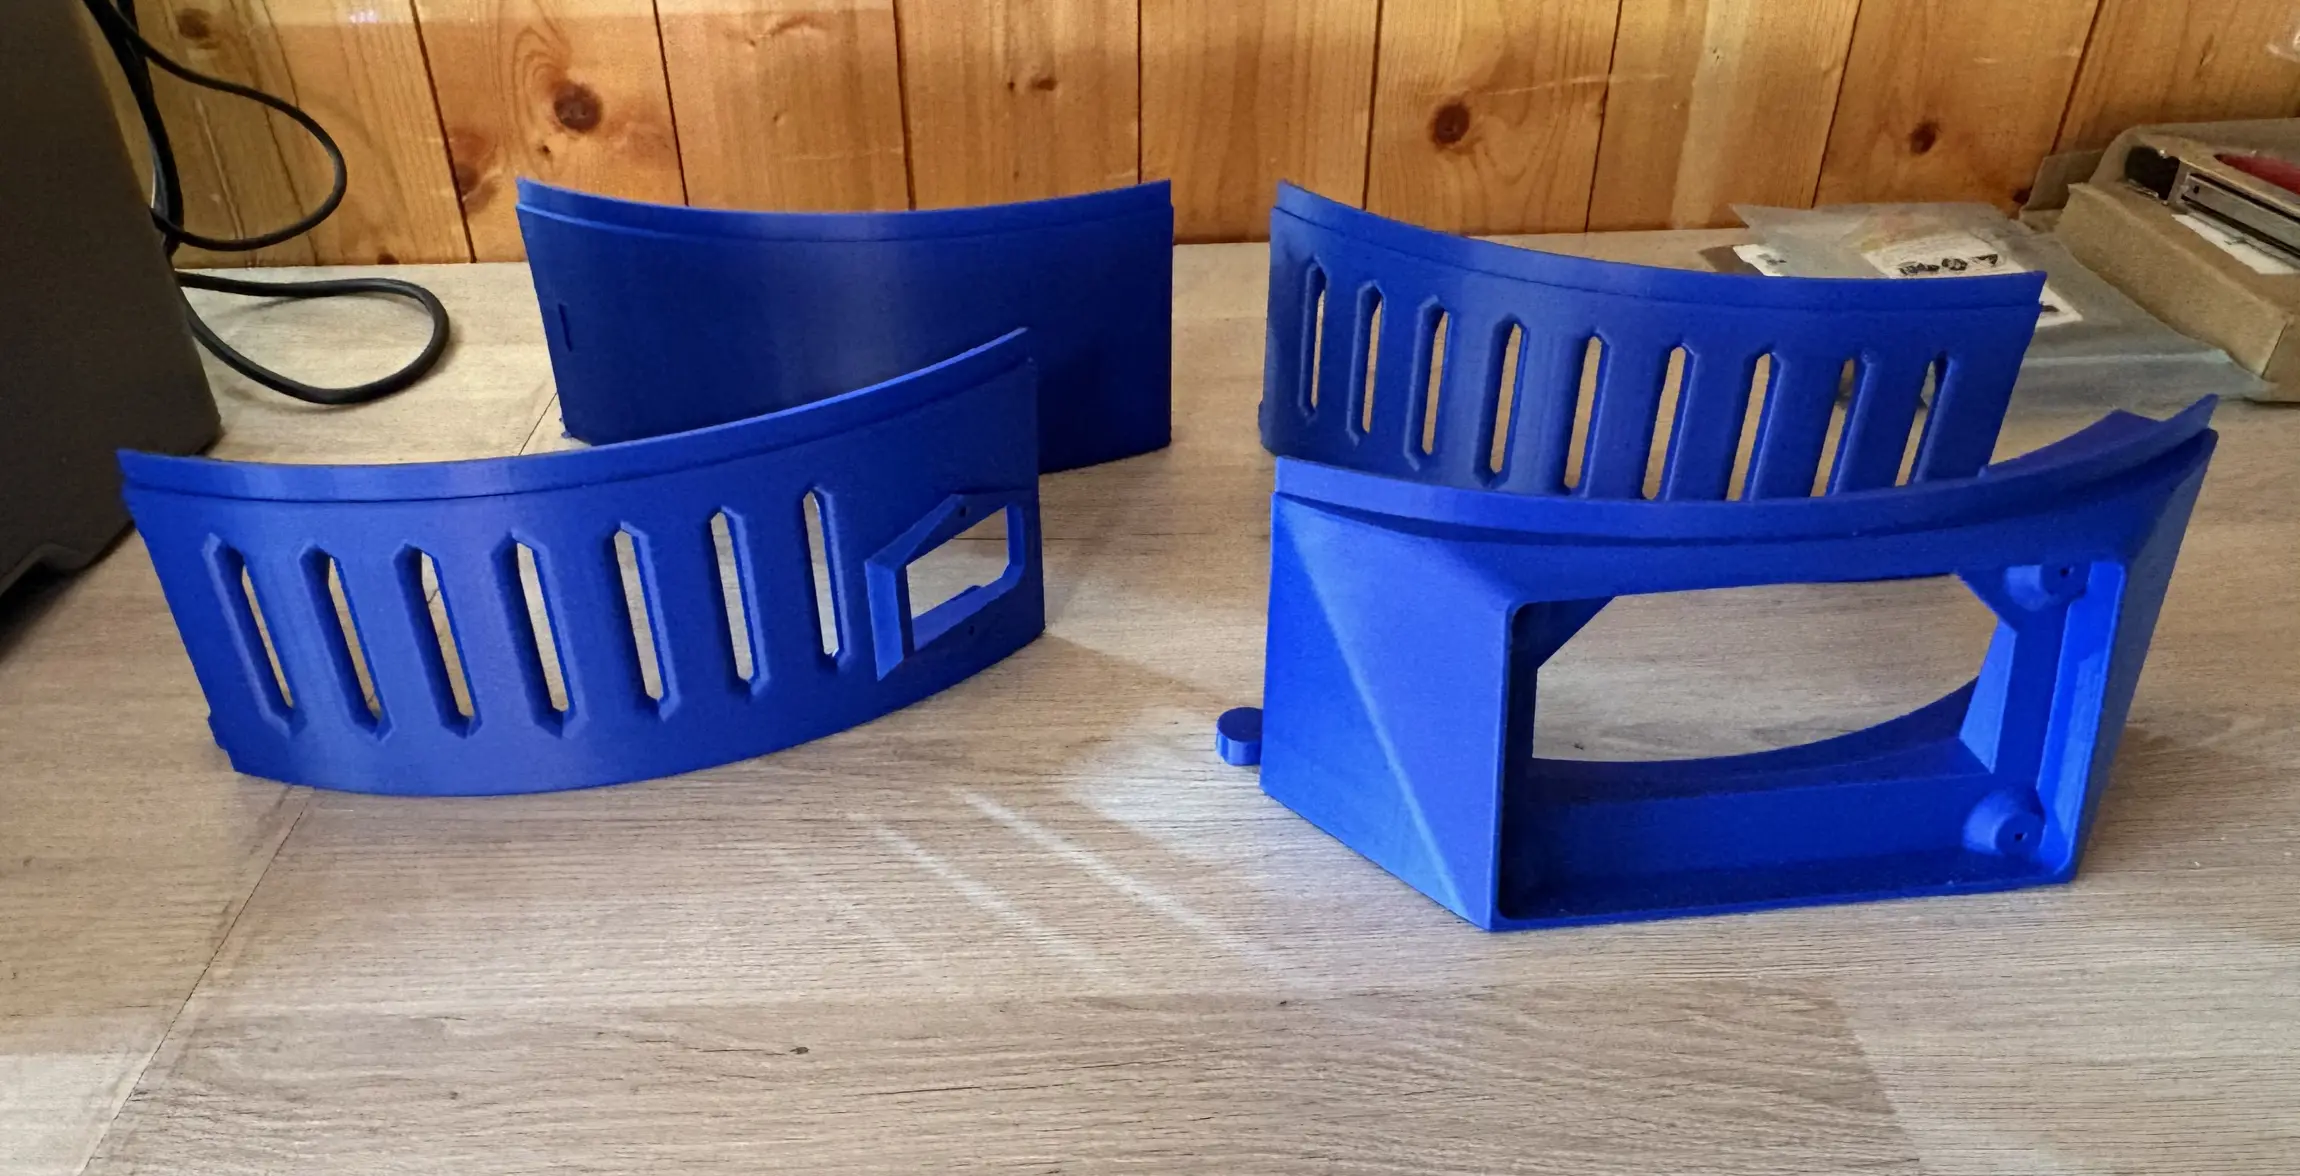
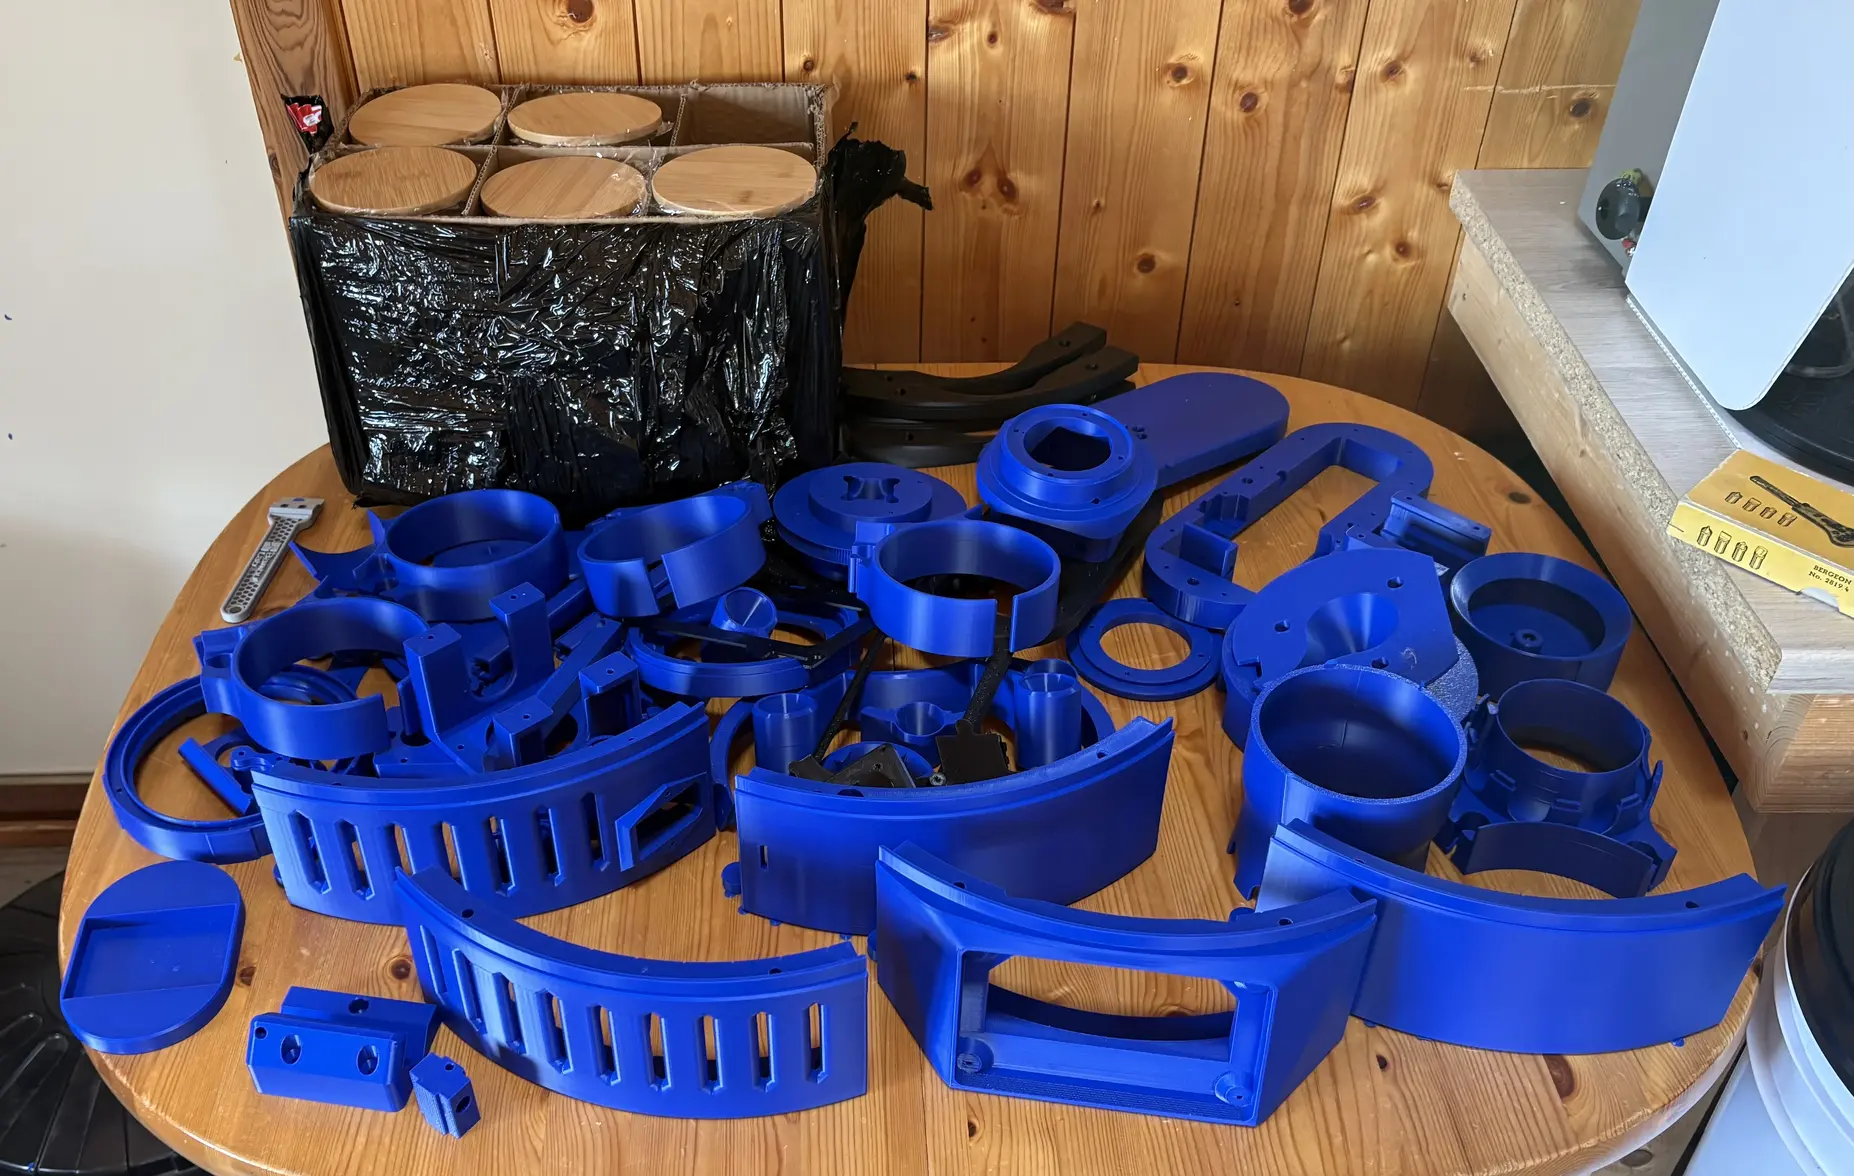
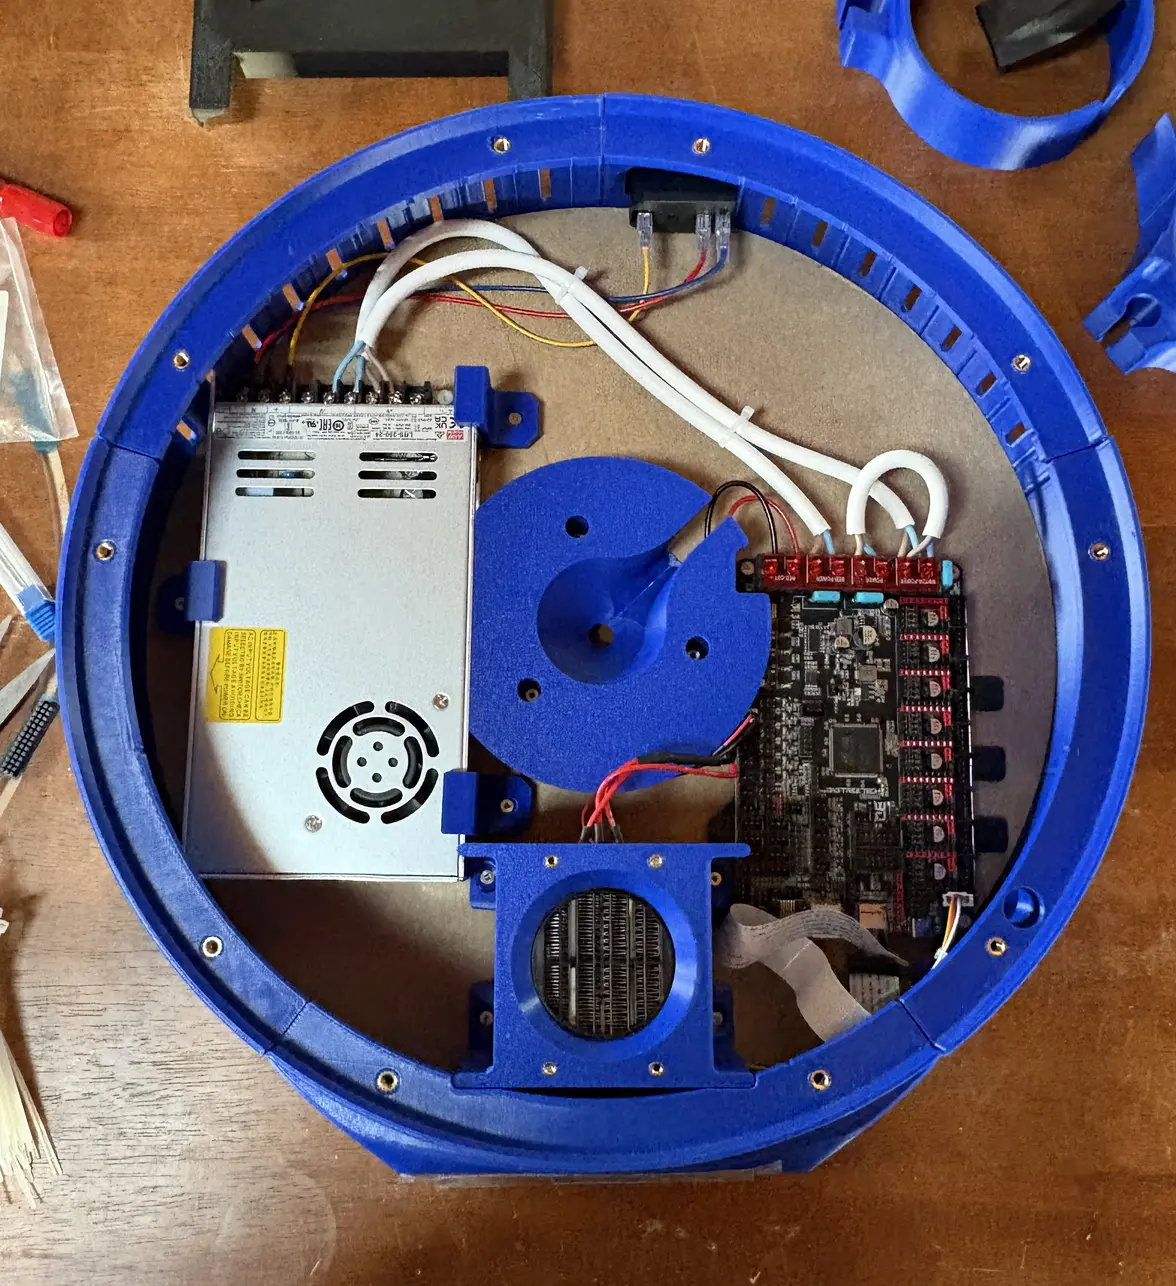
As a quick update I have made some good progress so far and learnt a lot along the way.

Firstly I had to get the hang of Bambu Studio to organise the prints. This was easy and took maybe three hours from start to finish (bearing in mind I had never used it before).

I then had three failed prints to start due to my inexperience.

The first part I tried was quite large in PETG, but I trusted that Bambu Studio filament profiles would be good enough. This was incorrect. This lead to quite bad warping in one corner of the print as the bed temperature was too low which I think prevented good adhesion.

I raised the bed temp and tried again and the warping was much reduced, but still not perfect. Since this I manually put a lot of brim ears to help with adhesion, particularly on corners, and so far that has helped to the point that warping is extremely minimal (and probably not there if you are not a perfectionist!).

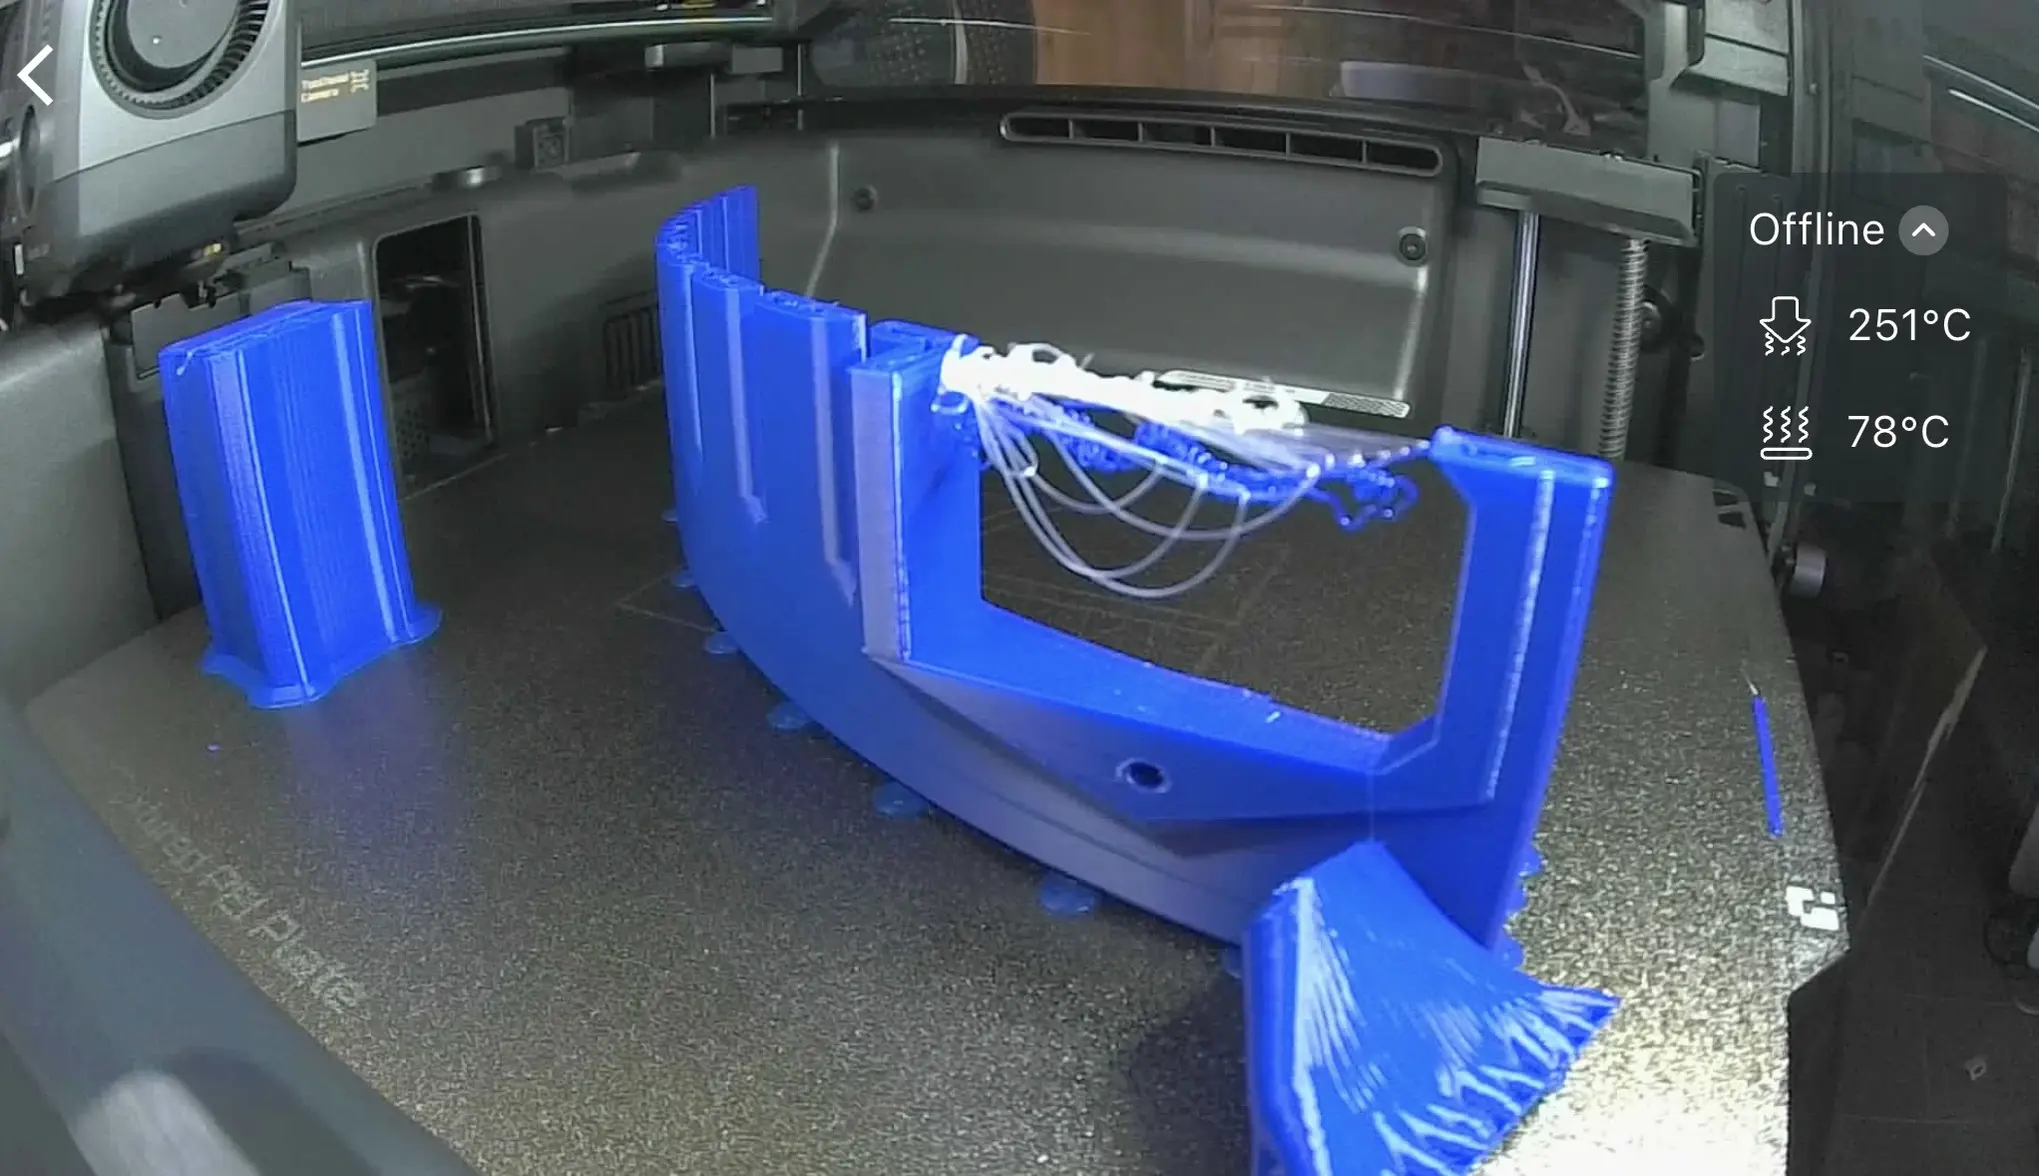
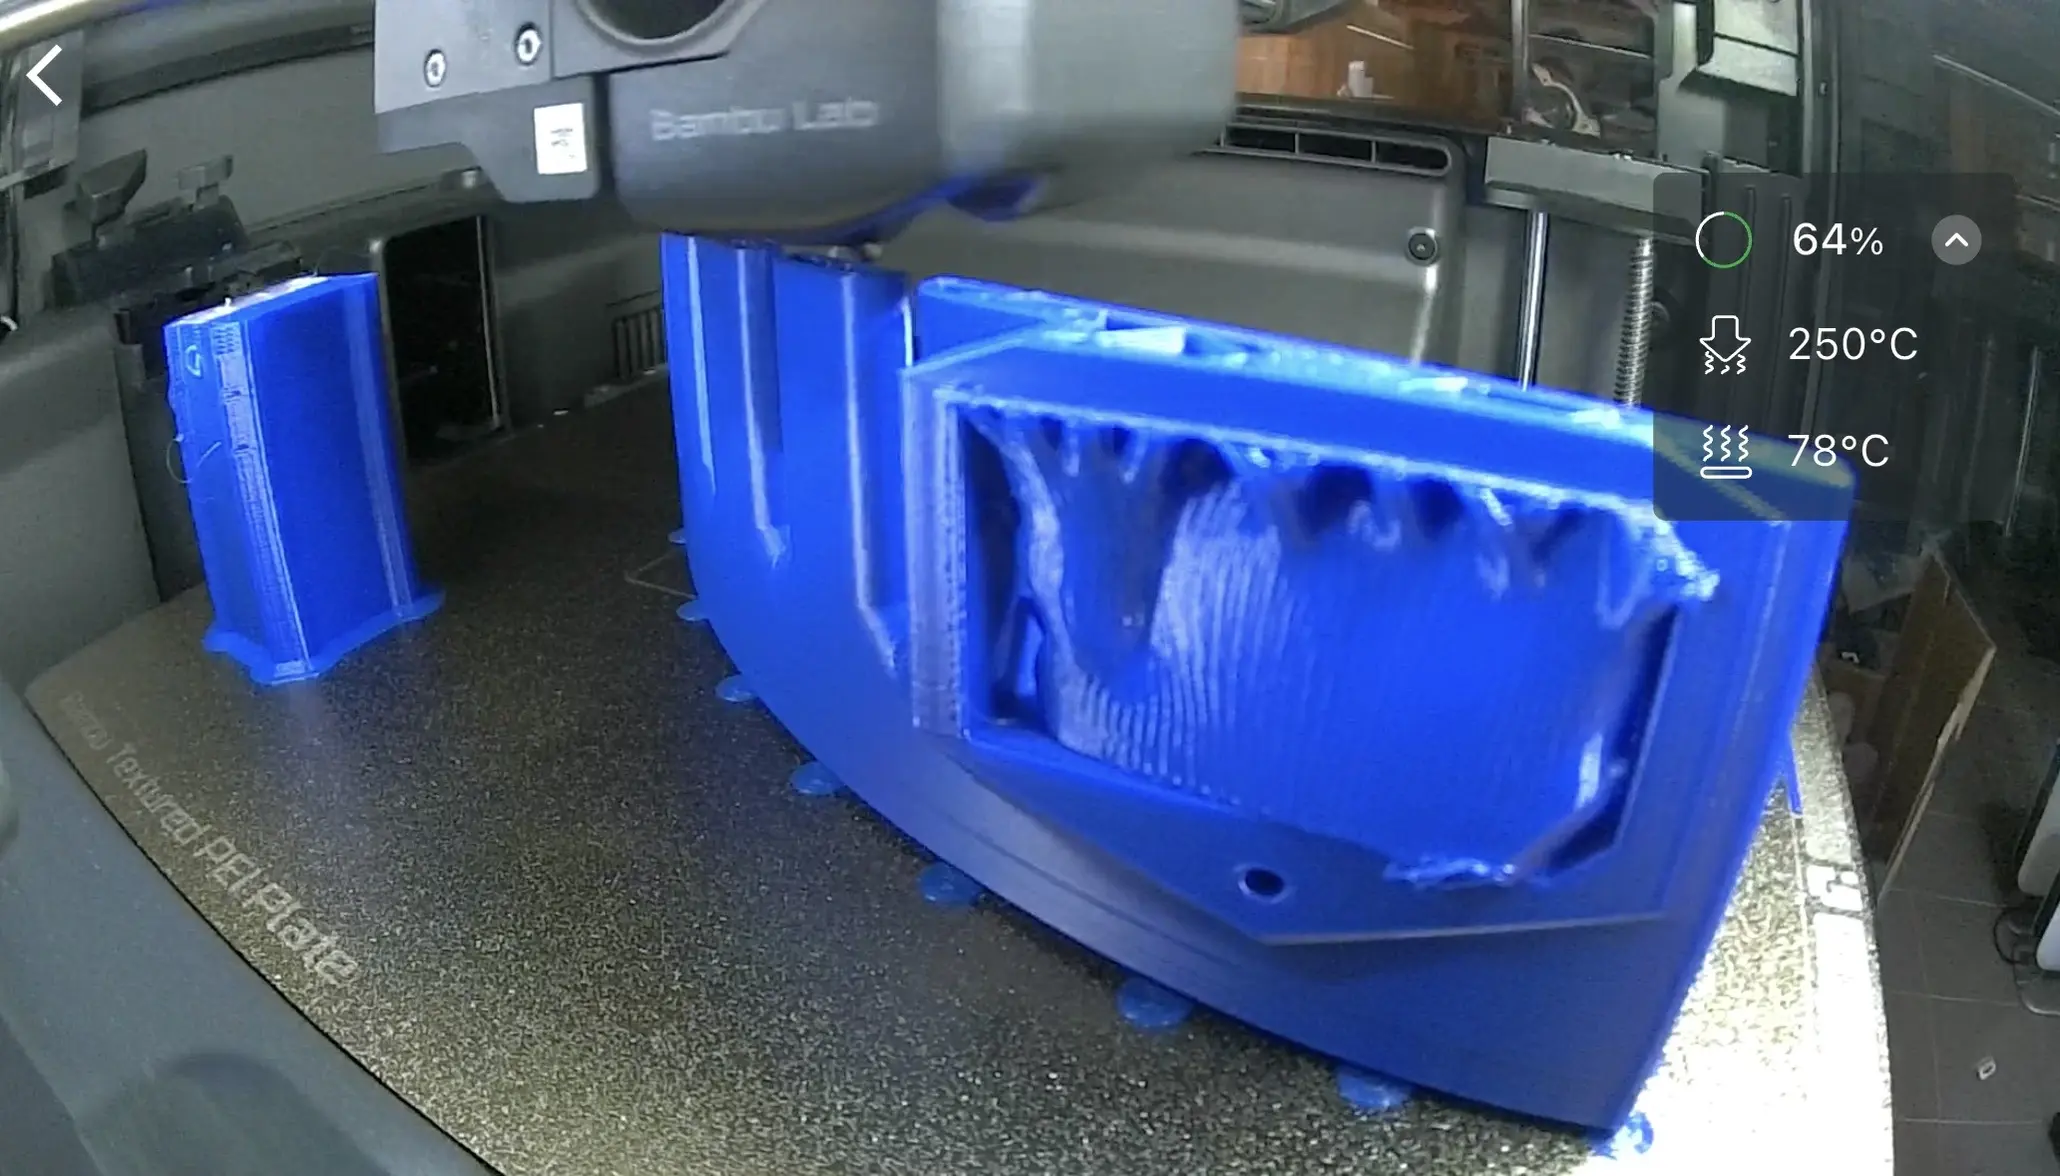
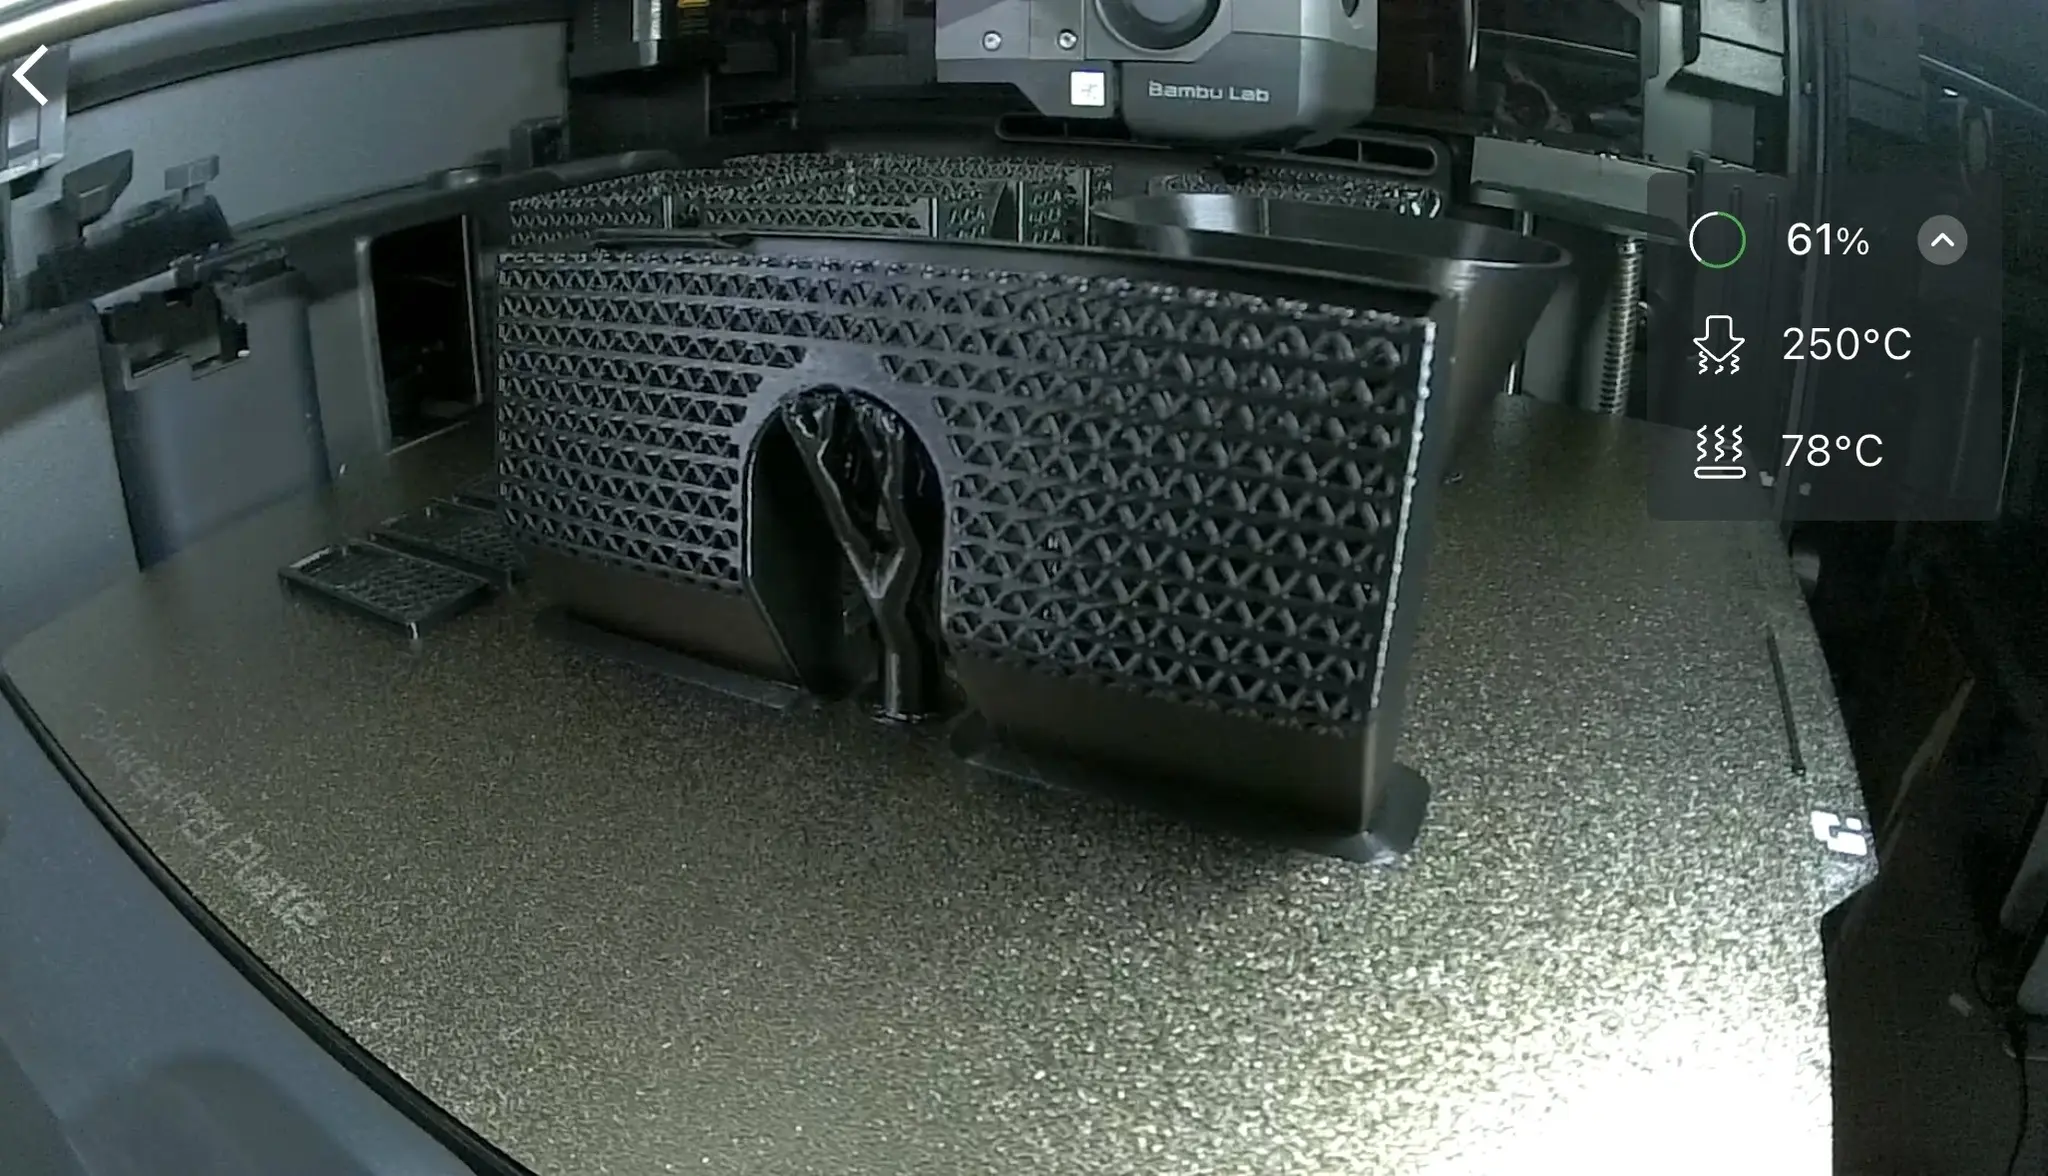
The third part I used Bambu Studio automatic supports, but the support actually failed mid print when the tree collapsed. With hindsight the bottom of support tree was very narrow for such a wide opening at the top.


This was easily fixed by drawing more substantial supports in Bambu Studio and the print turned out very nicely.


So overall I would say that as a complete beginner it is going very well and I have already learnt a lot about 3D printing. I am now able to process the models quickly and they print well without any hiccups! Touch wood.

 
Posts
710
Likes
2,074
Well done. The parts look good.

PETG does shrink, and even if you take the measures to minimize warping, it still may blow out tolerances. PLA is much more forgiving.

Next time, try also turning off the fan for the first 5 layers, and leave at 30% for the rest. First layers will have proper adhesion so less chance to warp.
 
Posts
18,453
Likes
38,389
I really like the colour, it looks very close to "Elma blue" on screen.
 
Posts
147
Likes
123
Well done. The parts look good.

PETG does shrink, and even if you take the measures to minimize warping, it still may blow out tolerances. PLA is much more forgiving.

Next time, try also turning off the fan for the first 5 layers, and leave at 30% for the rest. First layers will have proper adhesion so less chance to warp.
Thanks! I actually tried that after the first issue, but the first layer just became extremely stringy and textured so I stopped the print. I assumed it was too much heat? It seems like every filament responds a little differently.
 
Posts
147
Likes
123
I really like the colour, it looks very close to "Elma blue" on screen.
Thanks! That was my exact thought. I have an AliExpress Elma style basket and wanted the colour to be a close match. In person the basket is a bit more purple, but I think it will look good.

 
Posts
710
Likes
2,074
Thanks! I actually tried that after the first issue, but the first layer just became extremely stringy and textured so I stopped the print. I assumed it was too much heat? It seems like every filament responds a little differently.
Turned off the fan completely or just for the first few layers? As the former would explain it. This is a matter of experimenting really. Maybe the bed has been too hot and lowering it a bit helps.

Also it's a good idea to dry PETG before larger projects. They come "wet" from the factory. I keep 5 3D printed containers of silica gel in my AMS, which when fresh keep humidity at ~18%. I use the AMS to dry filament, typically at 12 hour runs. Just don't mix PETG with PLA since the former needs a higher temperature. When the silica gel is spent, I put it in an aluminum foil bowl (as wide as the bed) and leave it for a few hours in the printer with the bed at 90C, fans running for circulation.
 
Posts
147
Likes
123
@GuiltyGear I turned the fan off completely, but I didn’t make it past the first layer. I had also put the bed up to 85 degrees so maybe the combination of the two was too much heat.

I have actually bought an additional power connector so that I can run the AMS drier nonstop even during prints so the humidity is normally around 12% or lower. And the print I have running as we speak is desiccant holders for the AMS!


What is your opinion about the safety of ABS? I had perhaps naively assumed that the X2D filters would be effective against the VOCs and particles, but I read a bit more online whilst attempting my first ABS print and many people seemed to think that you need an additional full enclosure and ventilation system to safely use it. So I am not sure it is worth the risk now. Particularly as I am a bit sensitive to VOCs.
 
Posts
147
Likes
123
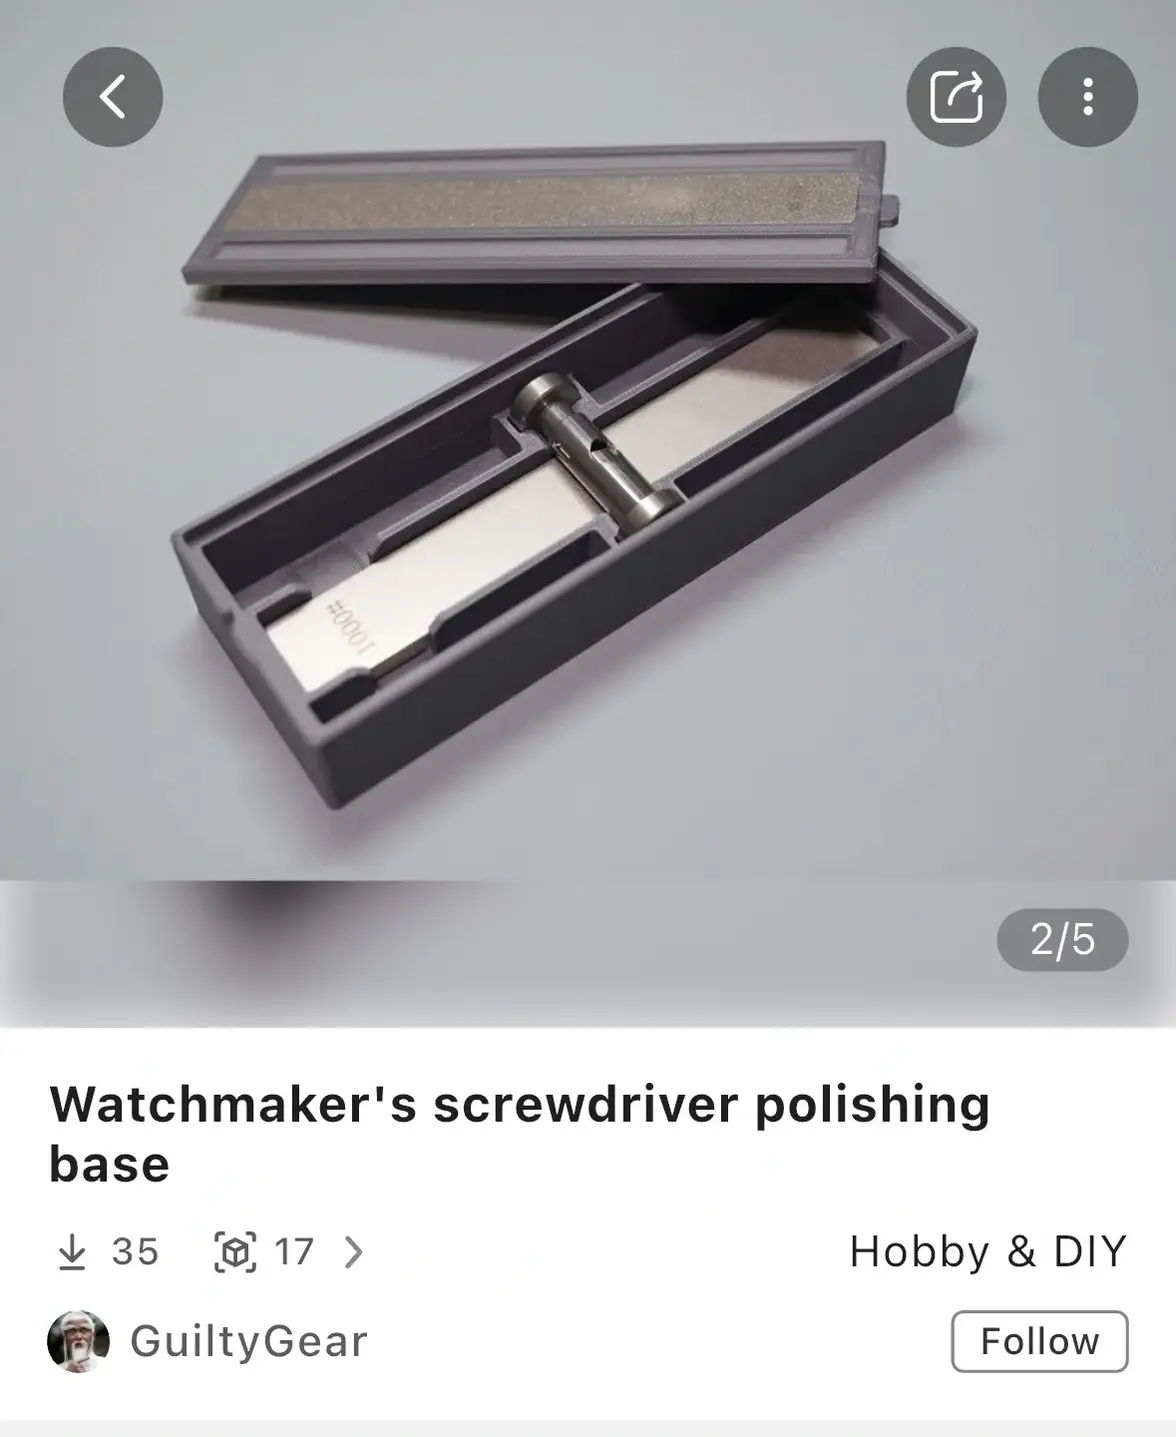
I also have this very nice design on the extremely long to print list!

 
Posts
710
Likes
2,074
@GuiltyGear What is your opinion about the safety of ABS?
I wouldn't even bother without an enclosure and external ventilation in a closed environment. Not worth it for the little benefits you'll get from ABS.
 
Posts
147
Likes
123
I wouldn't even bother without an enclosure and external ventilation in a closed environment. Not worth it for the little benefits you'll get from ABS.
That is what I concluded. Luckily I probably only was in the same large room, with the windows open, for about an hour when it was running so hopefully no harm done!

From what I read it seems to be more occupational exposure levels that are a concern, but like you say not worth the risk.
 
Posts
710
Likes
2,074
From what I read it seems to be more occupational exposure levels that are a concern, but like you say not worth the risk.
Styrene is a possible carcinogen, and yeah, the studies are from workers with occupational exposure levels. But do you trust your printer's enclosure and maybe your carbon filter enough to play with that? I have a P2S, which is enclosed and has a hepa + carbon filter in the back. I would never trust it with ABS.

But apart from health risks, ABS warps like a banana. It's easy to fall in the trap of "exotic" filaments when starting out, as it feels like those will produce more commercial-looking prints. You end up fighting your filament over getting properties you most probably don't even need. Prints will still have layers lines and imperfections, probably even more than basic filaments, since they're harder to print.

Most of the stuff I print are PLA. With enough outer walls it's as "strong as concrete". There are prints around my house that have served for years and they look great. I only fallback to PETG when I need that extra heat resistance, or for transparent filament, since it tends to print better. If I ever need a part that needs to look somewhat factory made, I'll order it printed in SLS.

What I'm trying to say with the whole wall of text, is relax. PLA and PETG are your friends 🙂