ChrisN
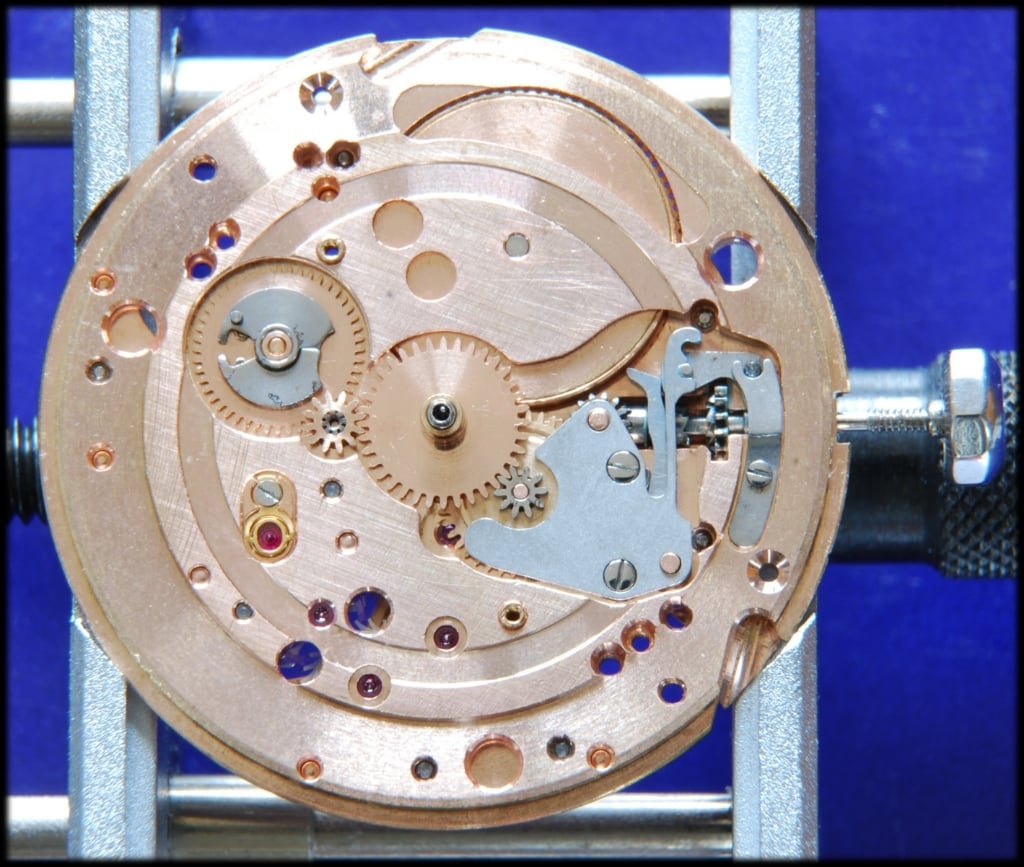
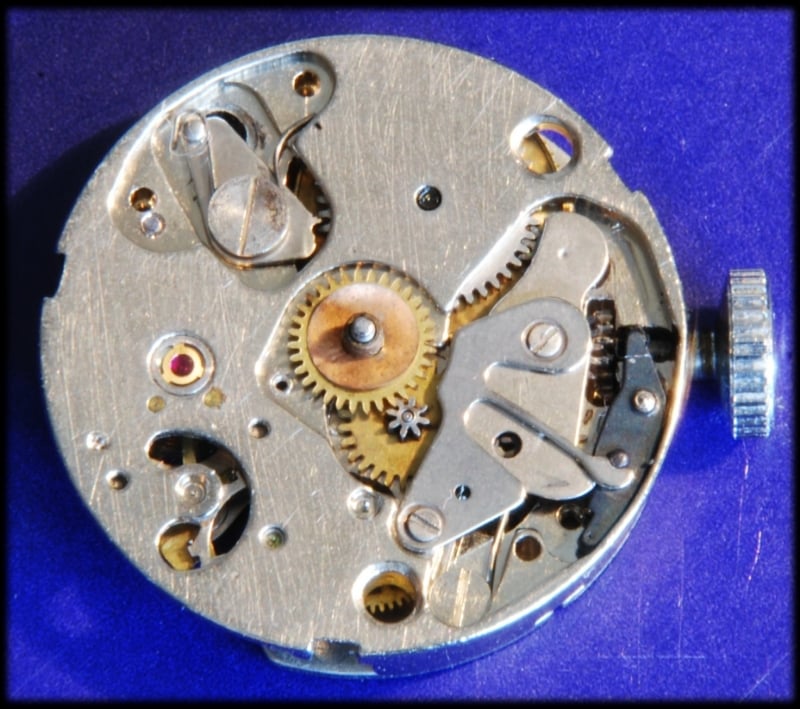
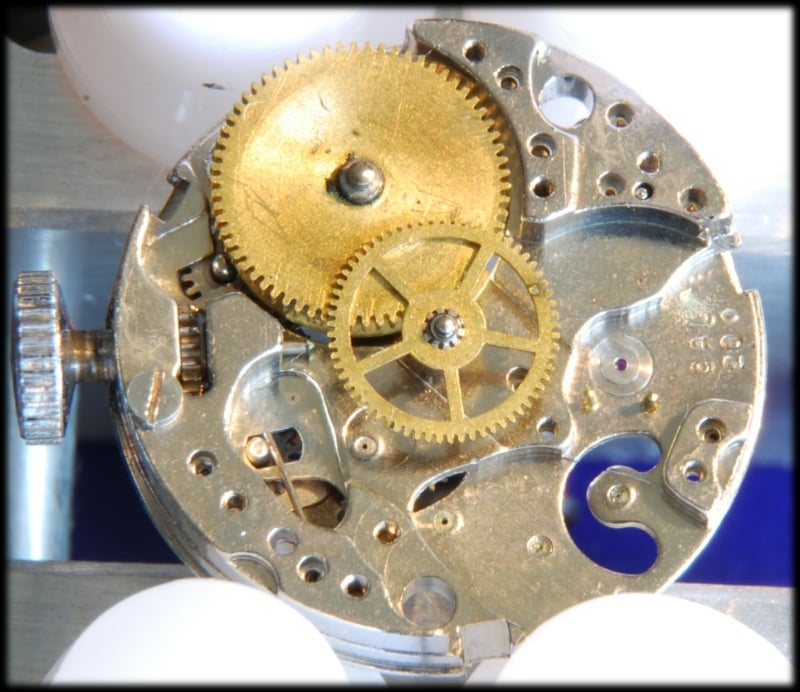
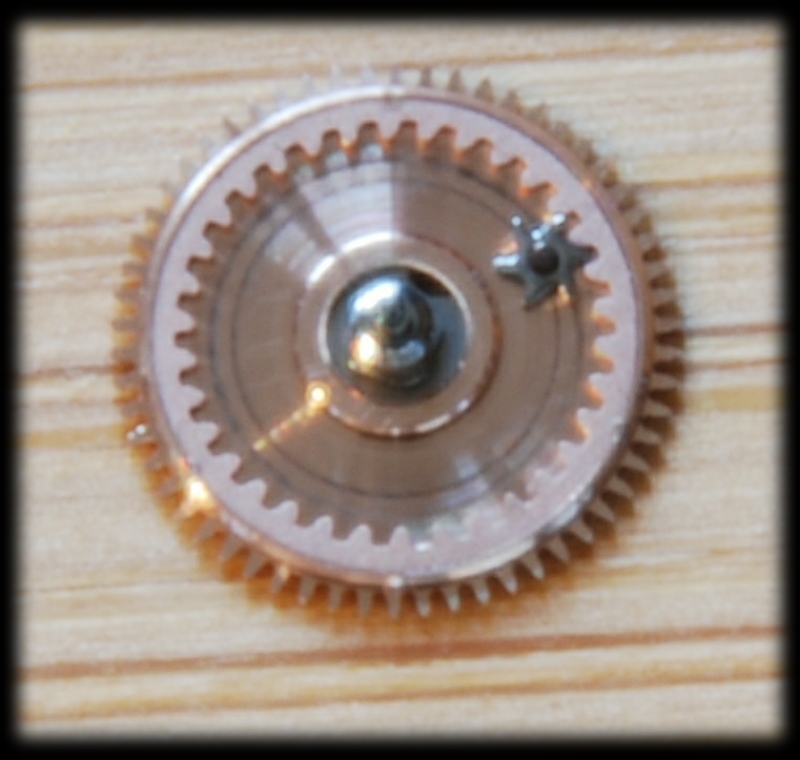
·Fig 37: Back to the dial side. Comparing to Fig 26, two wheels have been added. The small one directly meshed with the centre gear that takes the hour hand has a hidden gear meshing with the date indicator wheel (the large one at about 10 O'clock). That will turn once a day and the small peg sticking up will drive the date ring. That wheel looks overly complicated but the peg is sprung so that if the hands are turned back from midnight to 9pm it will move past the date ring. It can only move the ring when it turns clockwise.
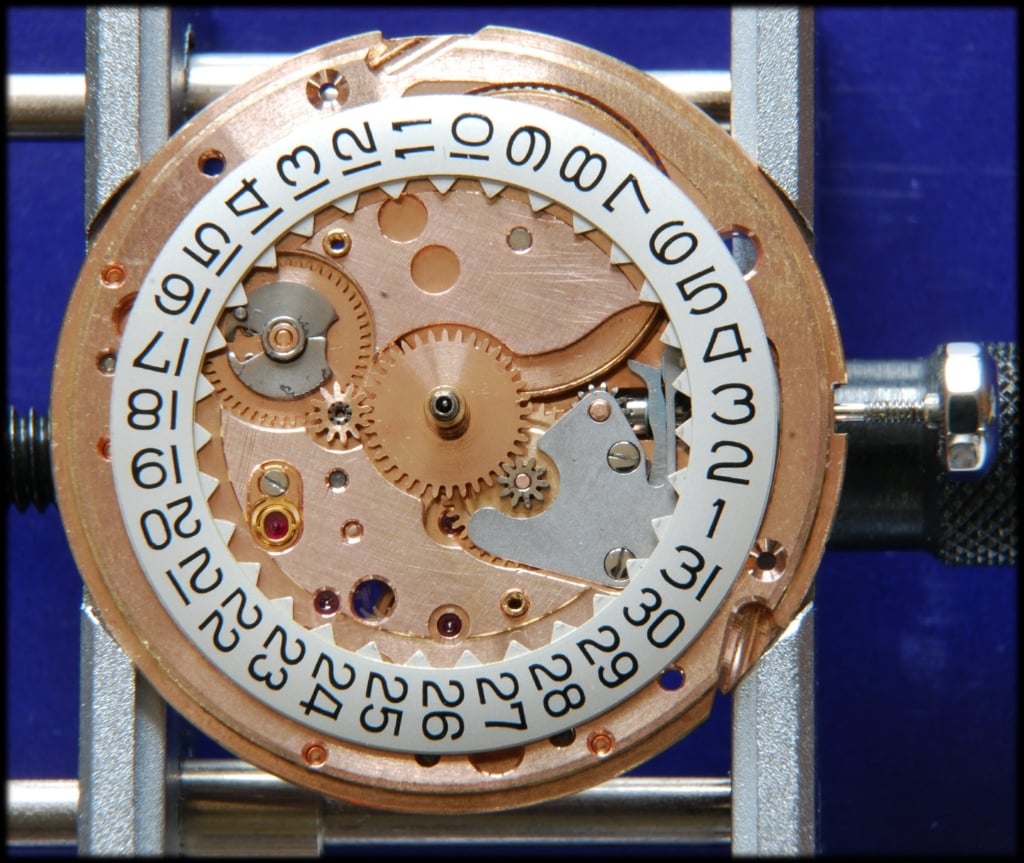
Fig 38: The date ring added and shown touching that peg. This would be about 10pm on the 3rd.
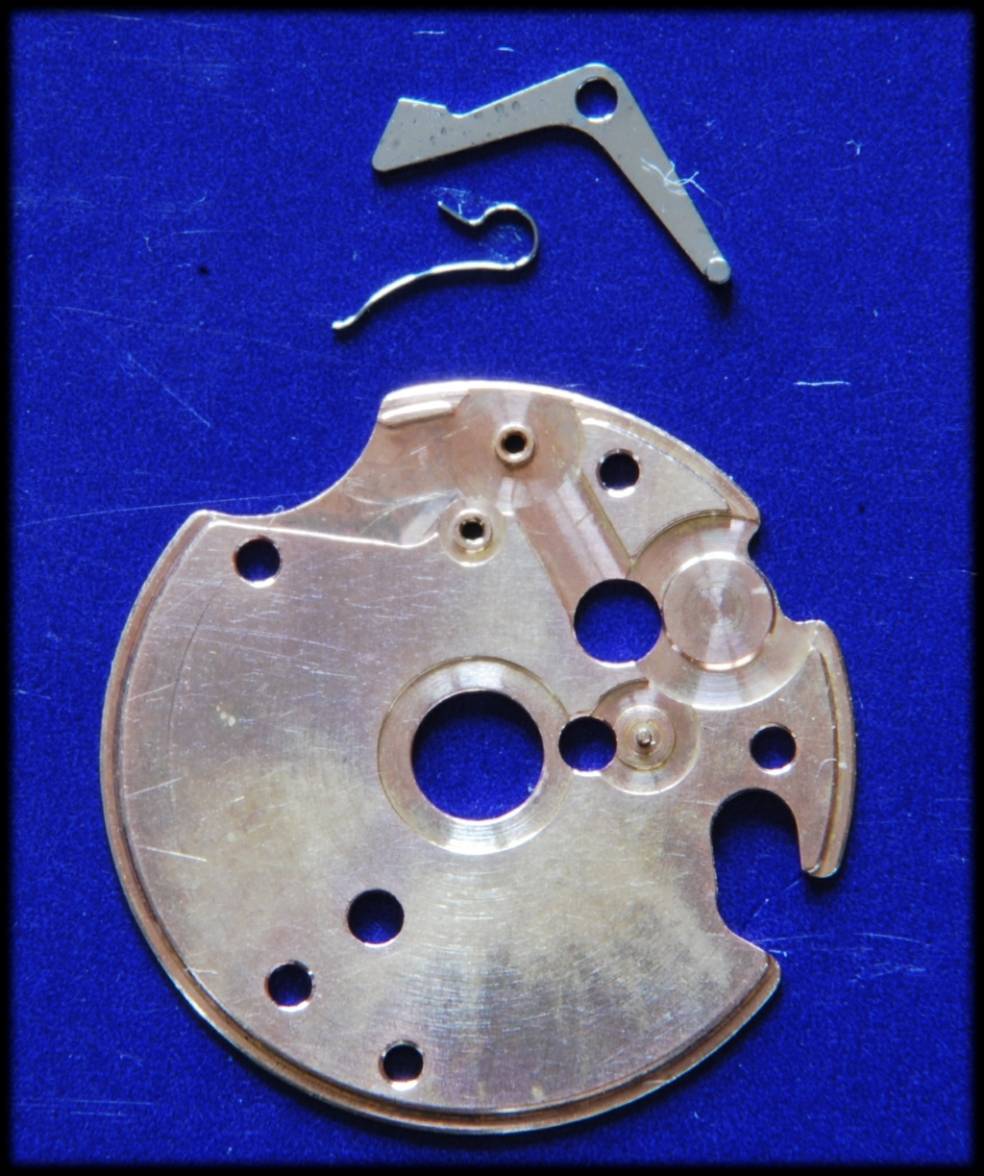
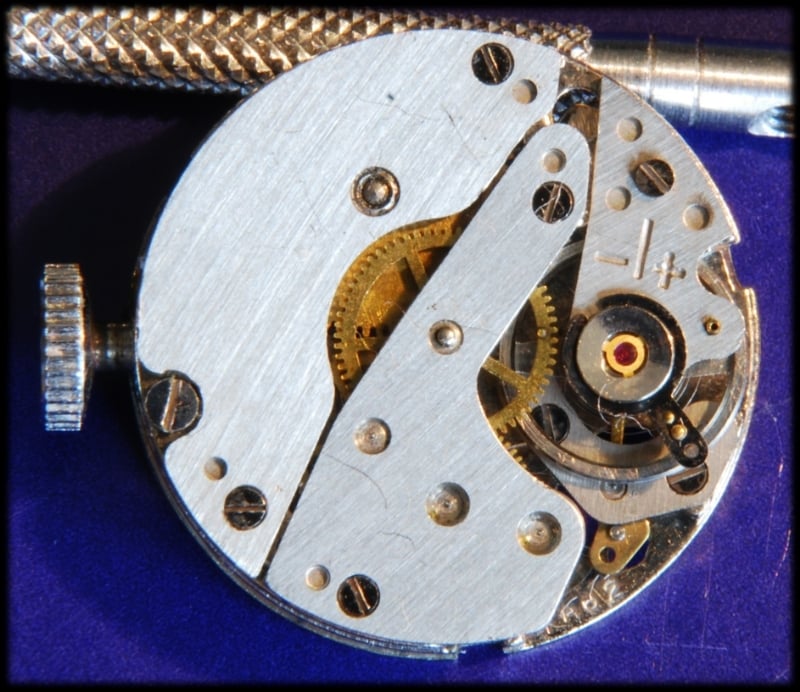
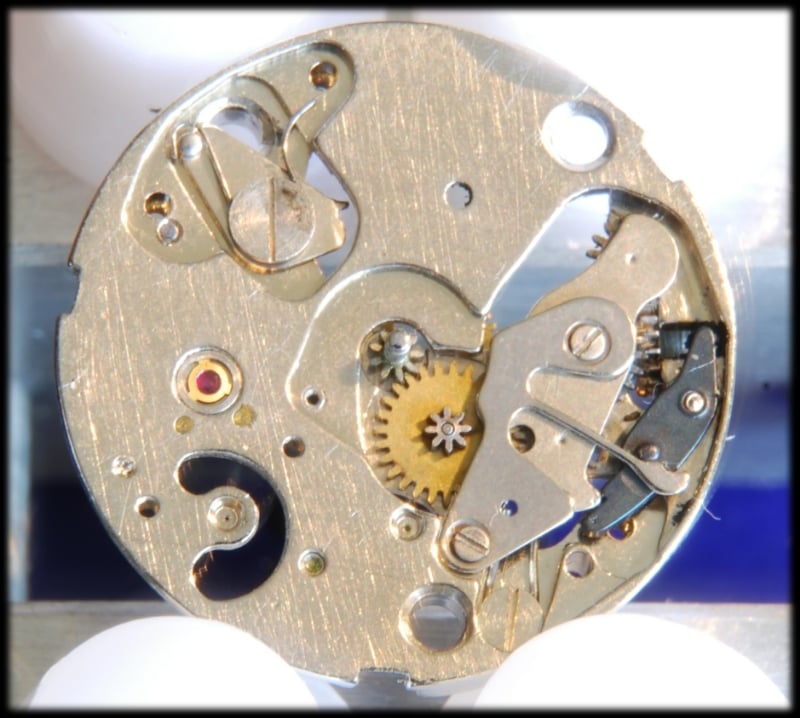
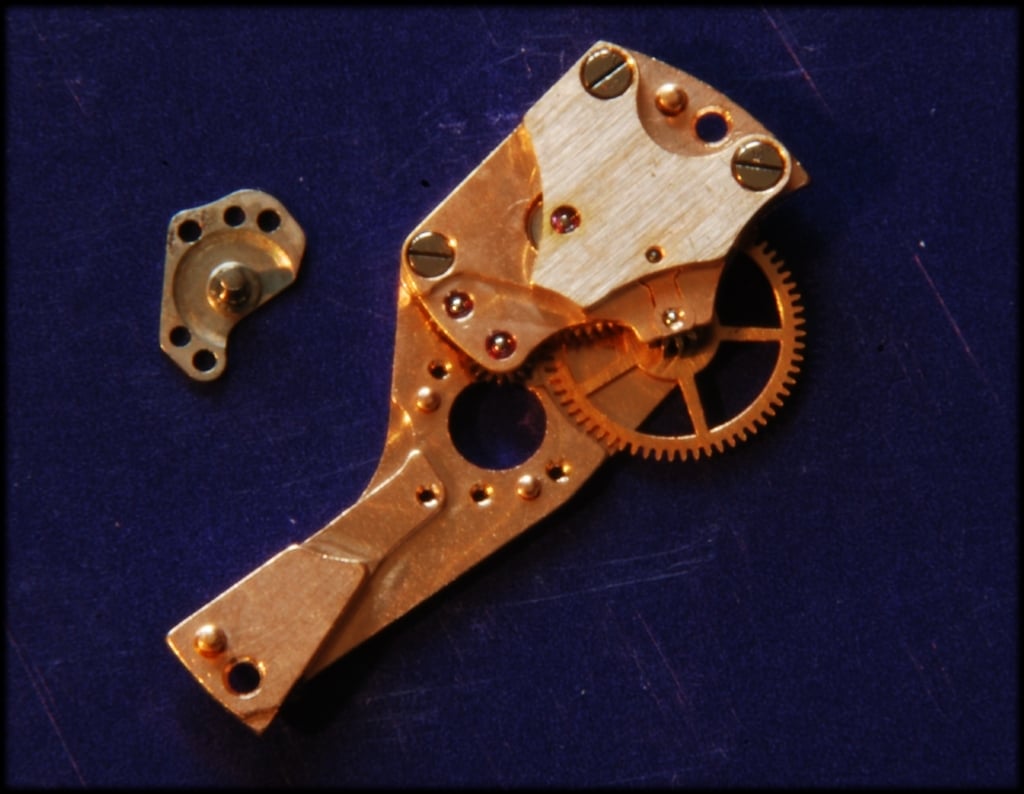
Fig 39: The date ring and all these dial face gears need something to hold them in place and this plate performs this. Viewed from the rear with 3 O'clock on the left, it also takes the date jumper and spring shown.
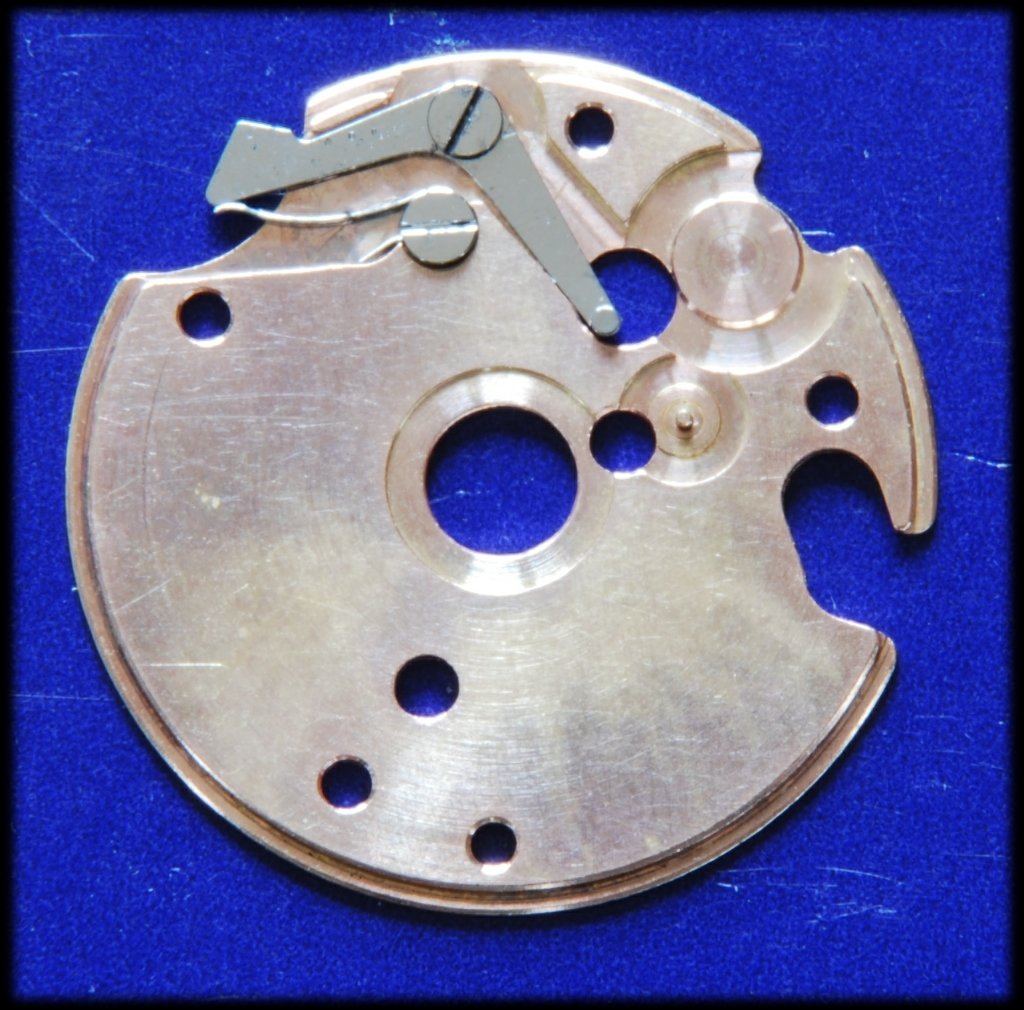
Fig 40: The date jumper and spring assembled. The spring pushes the date jumper outwards radially.
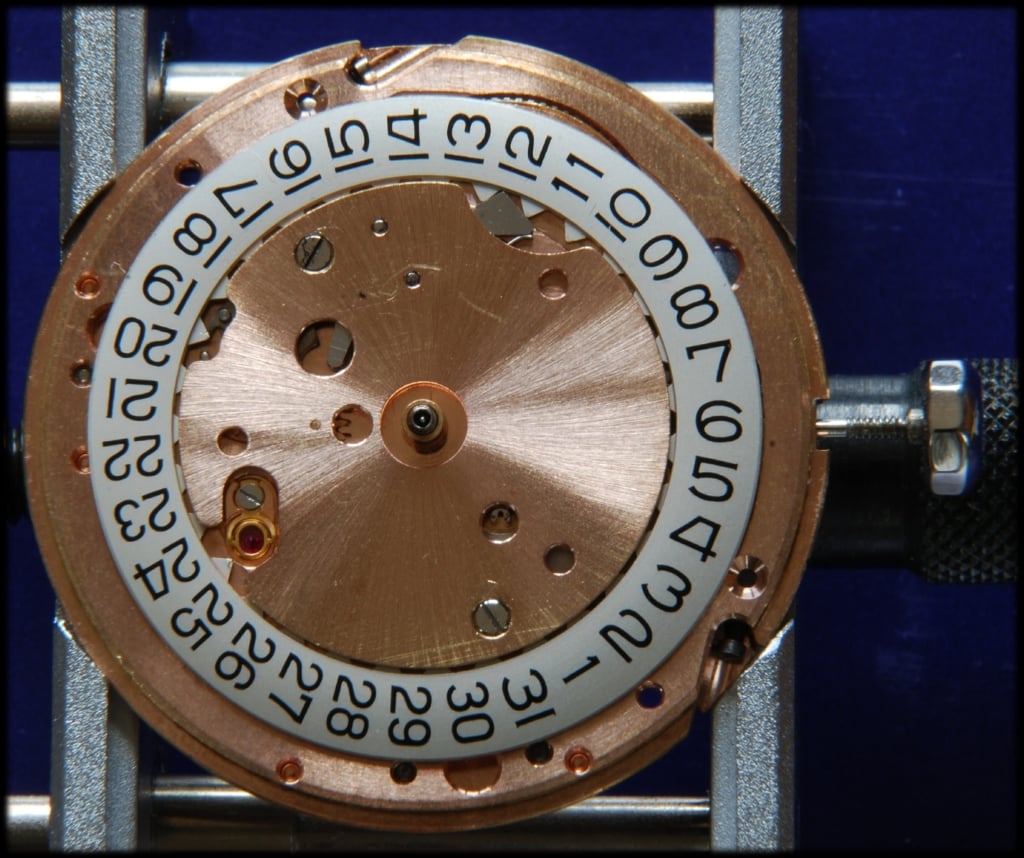
Fig 41: This plate flipped over and mounted by it's two screws close to the 16 and 30 on the date ring. The ring is shown about to change from 5th to 6th as the peg on the date indicator wheel and the date jumper are at the top of the corresponding parts of the date wheel.
Fig 42: And now shown late afternoon on the 6th where the peg is coming around again and the date jumper is fully engaged in the date wheel, which it has been since midnight on the 5th. The dial mounts with two feet that pass through the holes in the mainplate at 4 and 15.5 on the date ring. Two small screws can be seen accessed from the outside of the plate and when they are tightened, they will clamp onto the dial feet.
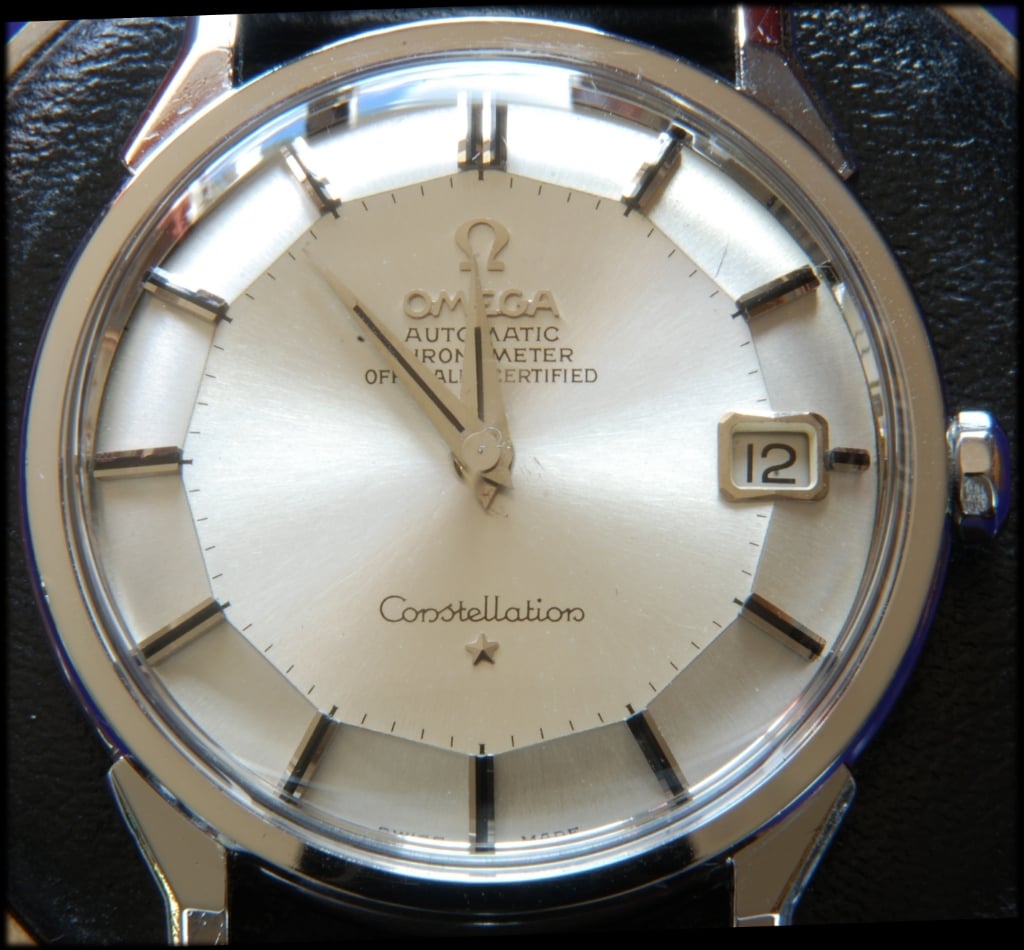
Fig 43: Dial and hands mounted and the watch is running. I've cased the movement at this point working on the logic that the safest place for a movement is not under a glass but, in it's case. With a ten second plus exposure, you can't see the second hand. You can see, however, some light scratches on the dial around the centre spindle. When I bought this watch, it would not charge so, I had it looked at. When it came back, it still didn't charge correctly and there were marks here where the hands had been removed. At that point, I decided if my watches were to get scratched, I would do it myself...
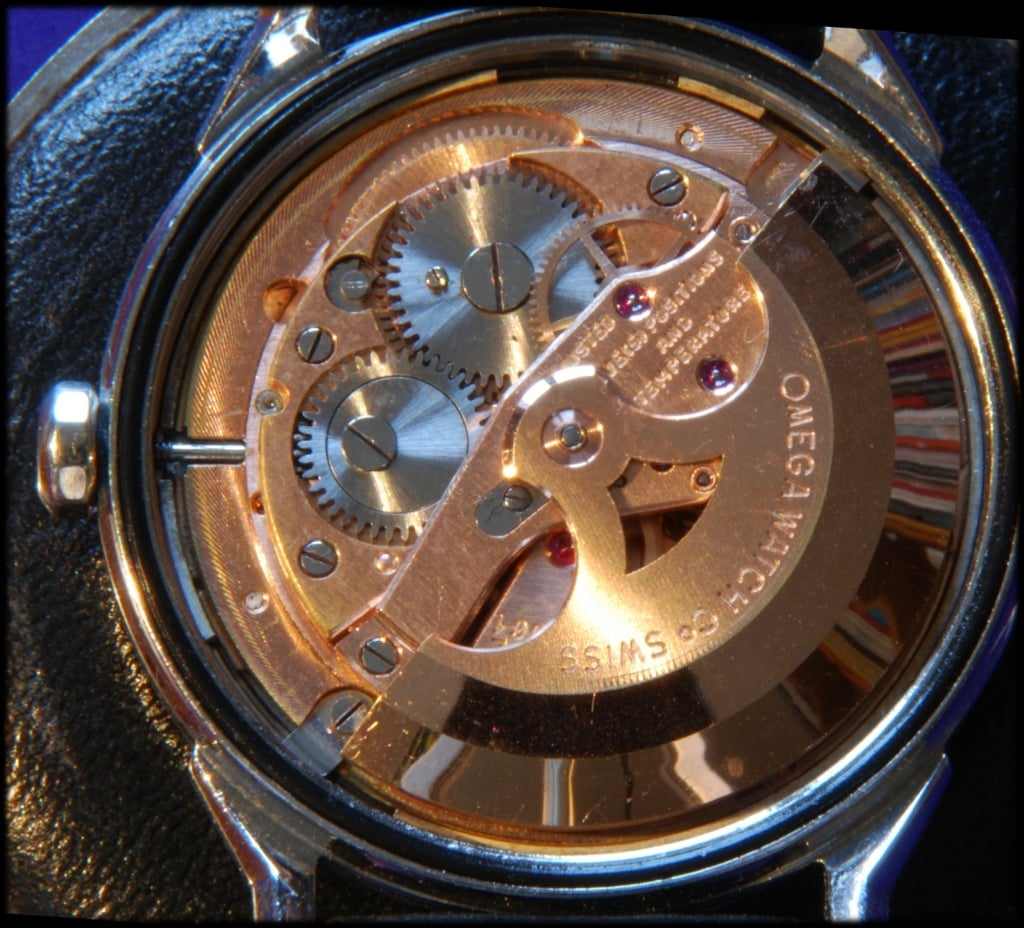
Fig 44: The cased movement held in place by the two case clamps and screws at upper right and lower left. Looks much nicer with these crown and ratchet wheels.
