- Posts
- 1,522
- Likes
- 4,783
michael e
·Not really a serious thread but hopefully some help to anyone who needs to do this, I also found it quite fun to do.
If you have patience and a couple of hours to spare, you cannot really go wrong if you have a bezel like this so don’t be afraid to have a go, everything is reversible.
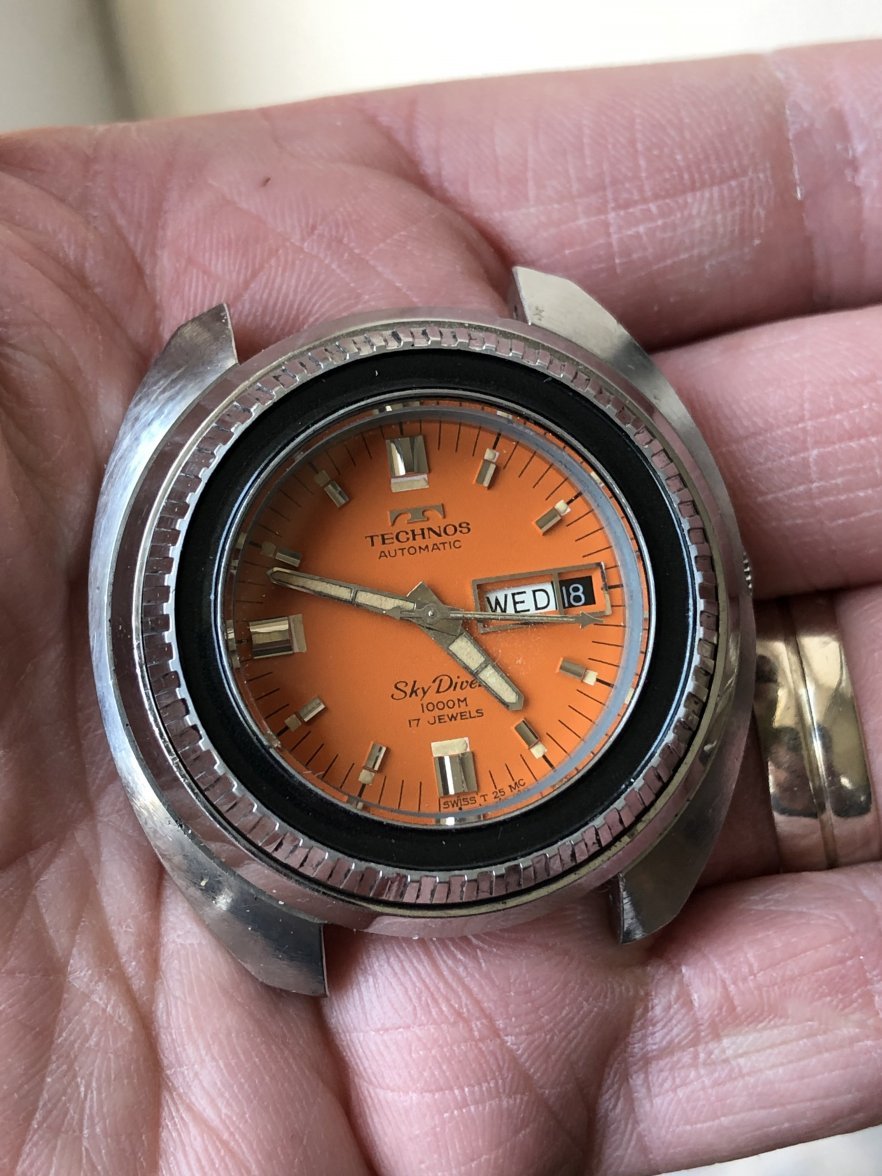
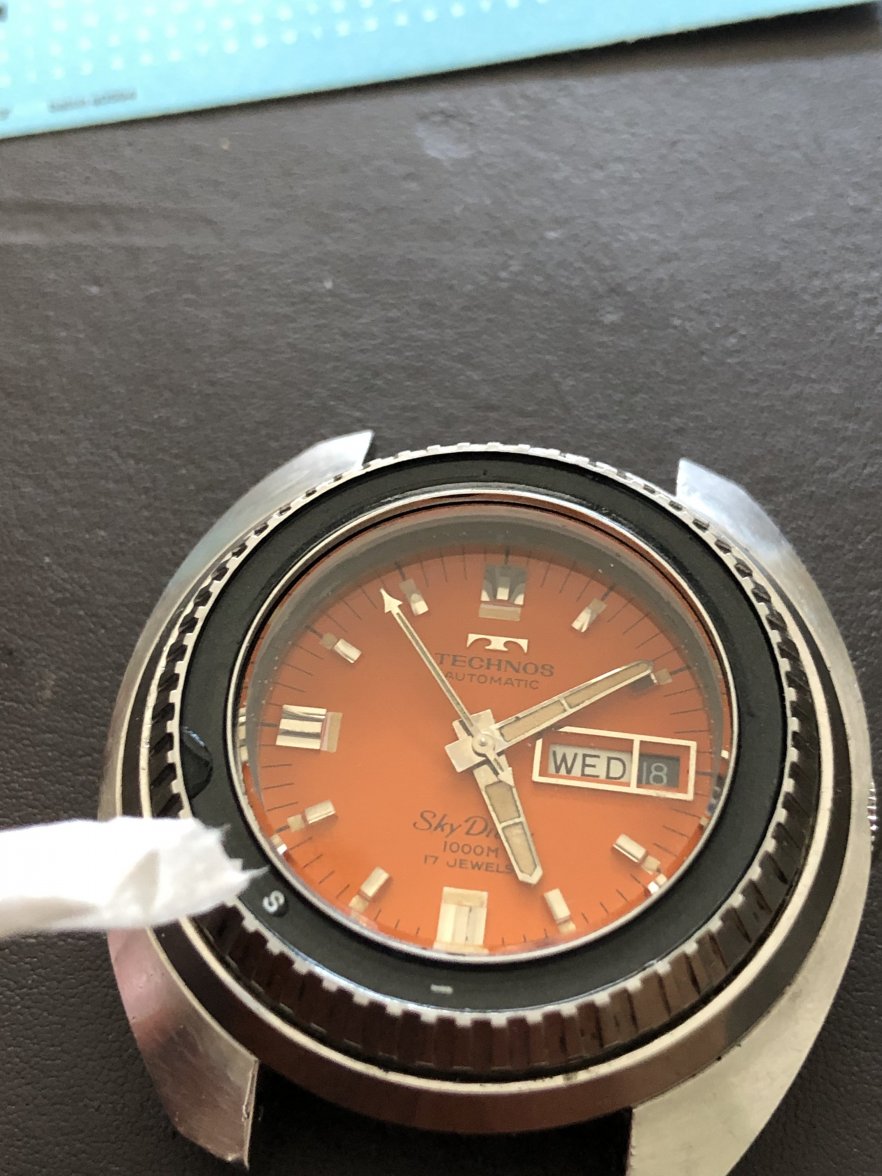
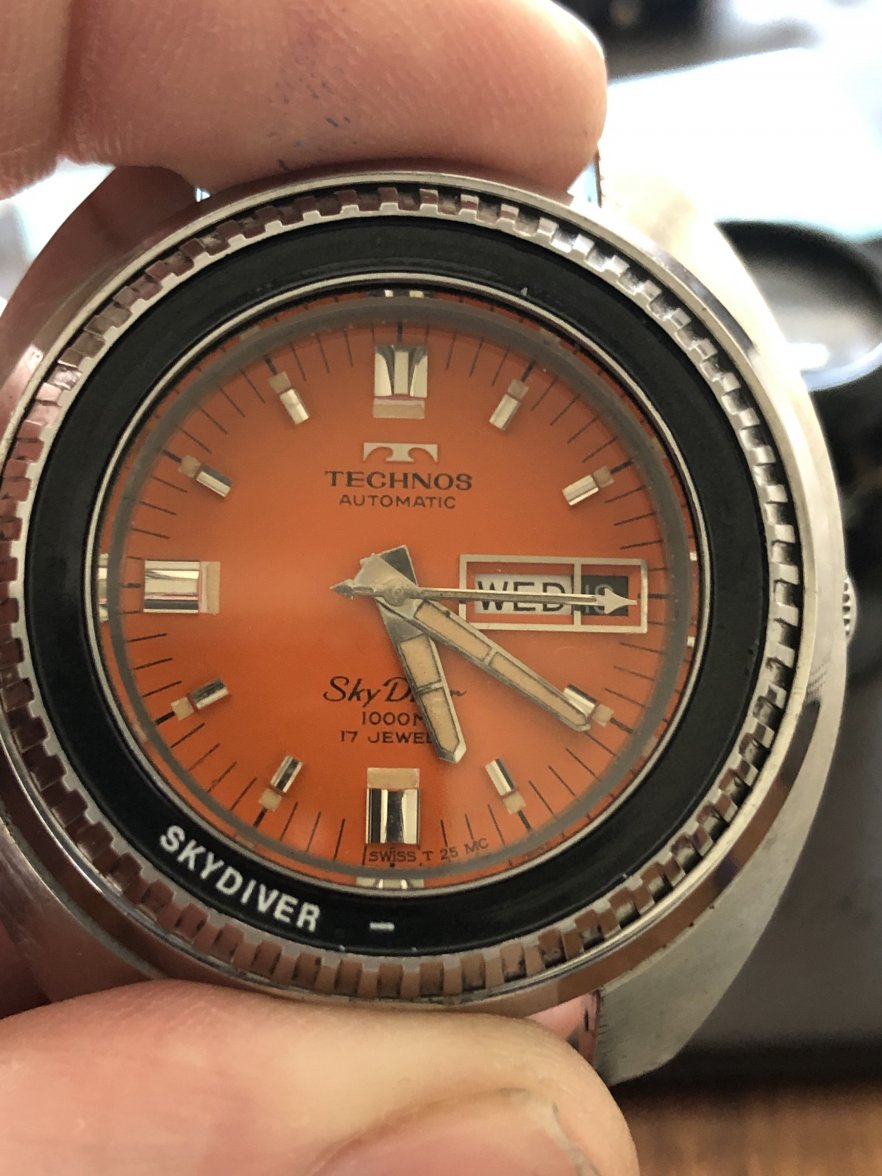
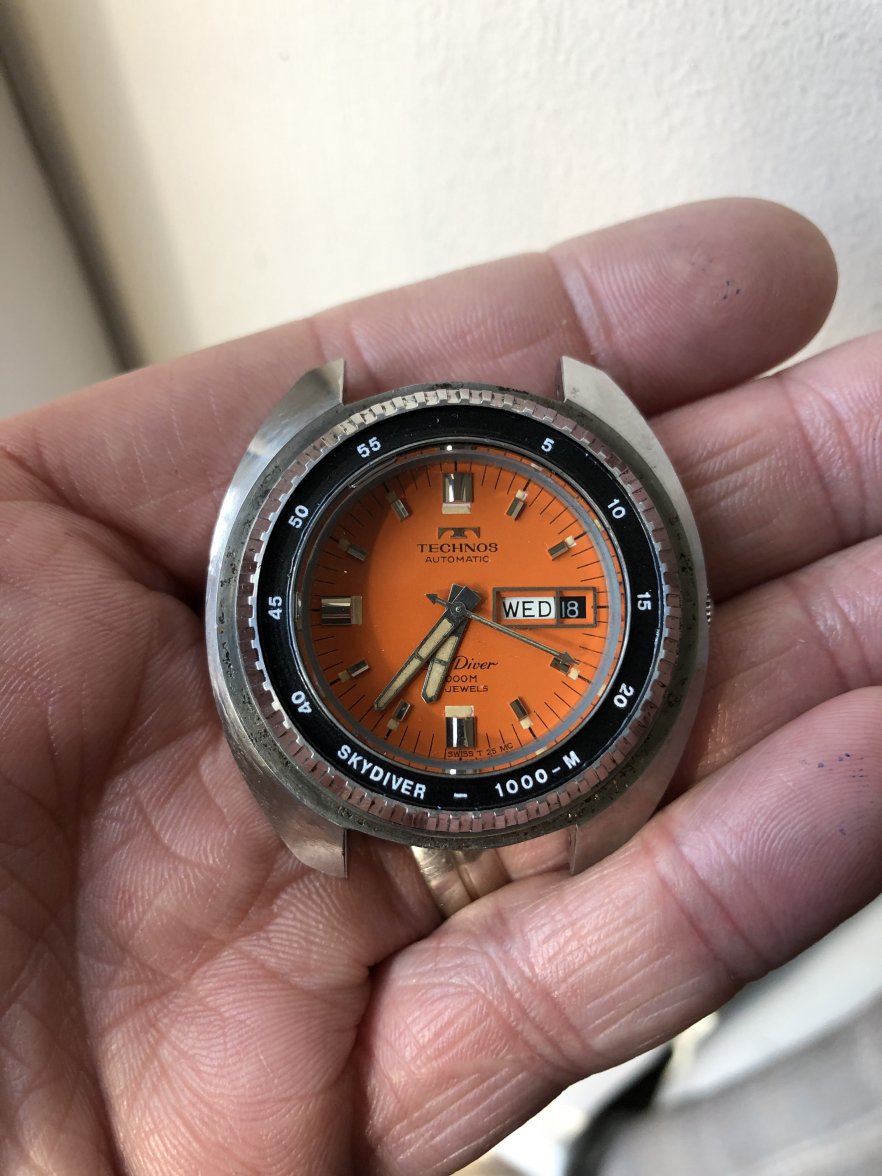
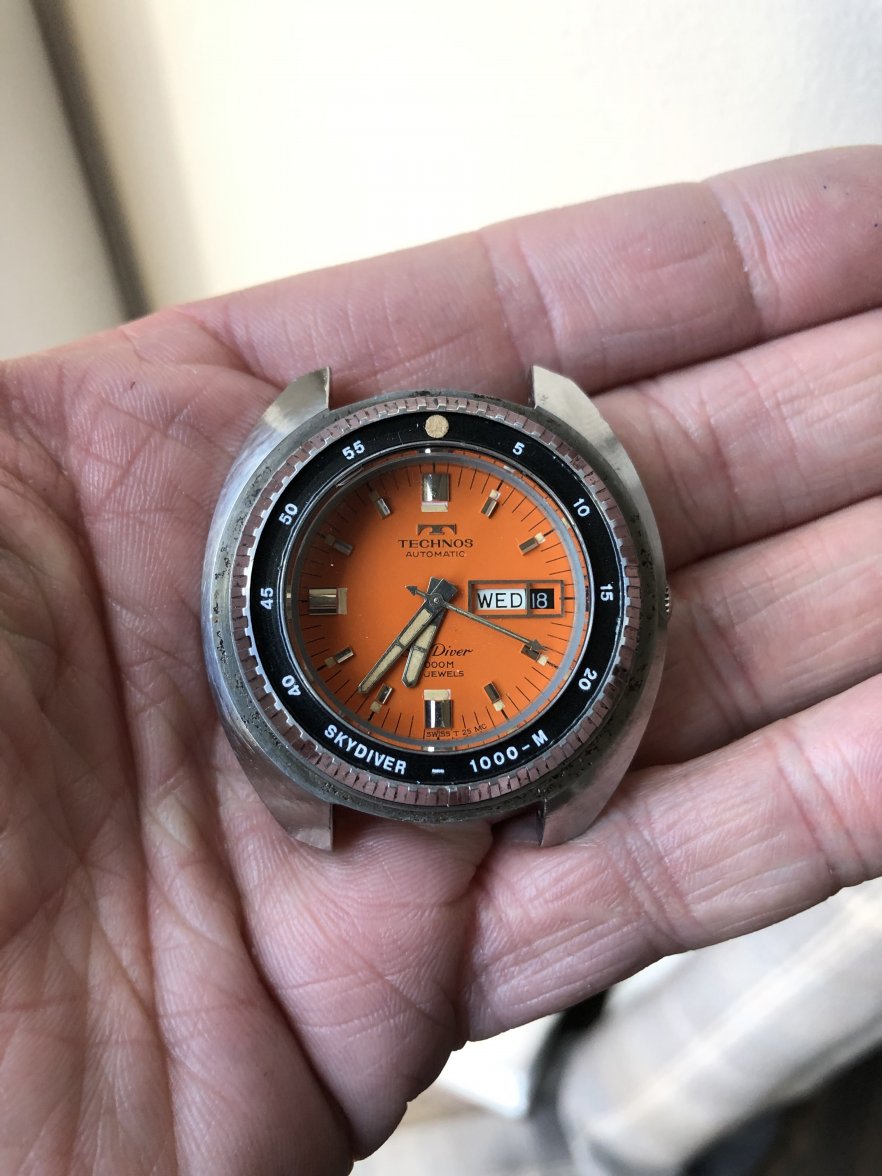
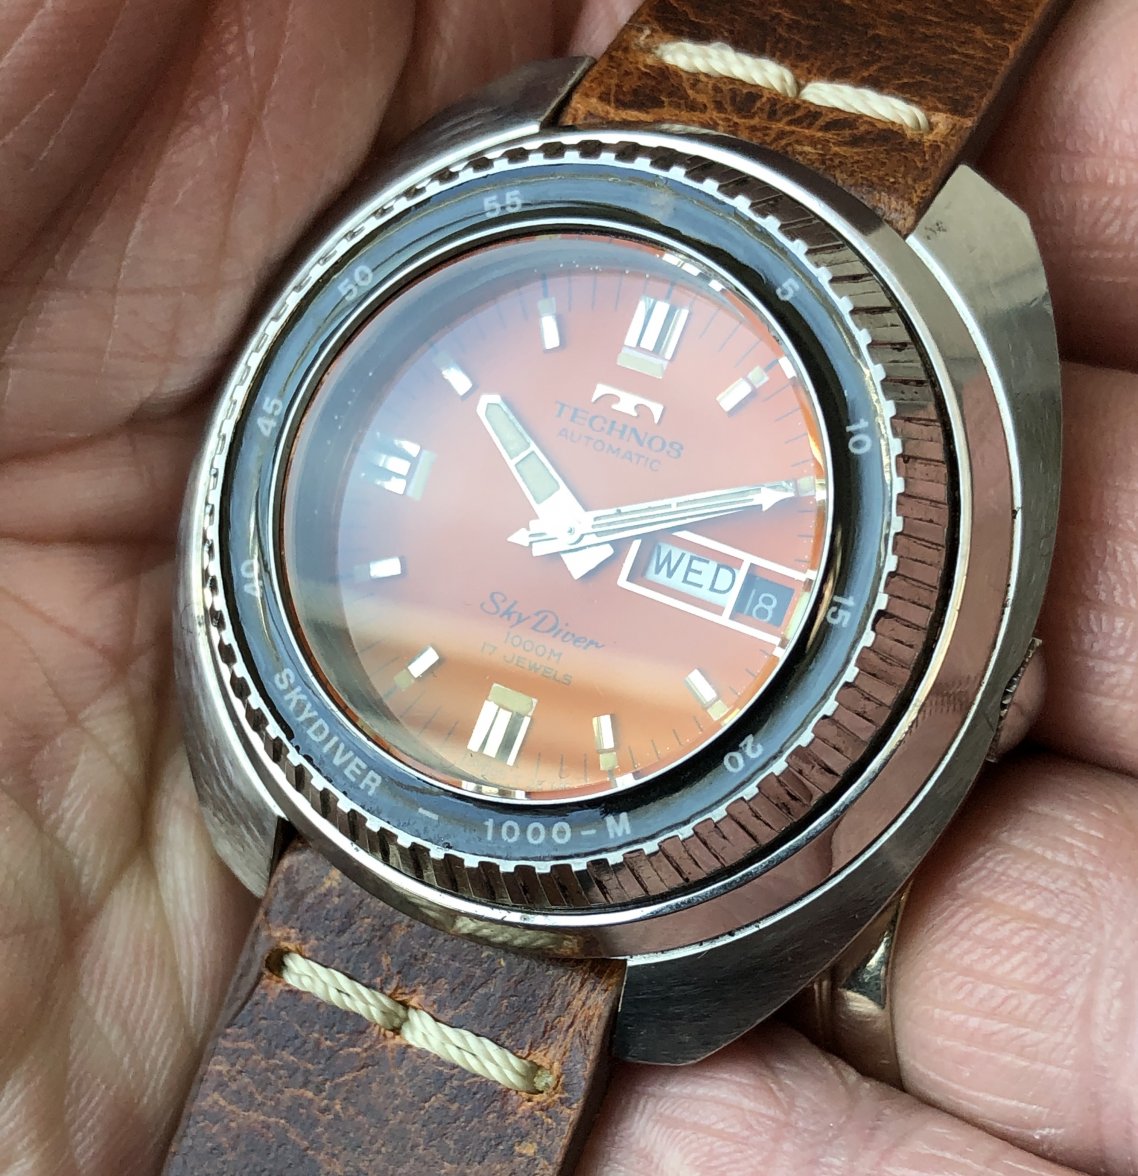
This lovely Techno’s 1000m came to me with a Seiko bezel insert crammed into the bezel aperture which I did not like. Looking around the original bezel is very, very hard to acquire so I decided to make a one off custom Bakelite style bezel for it.
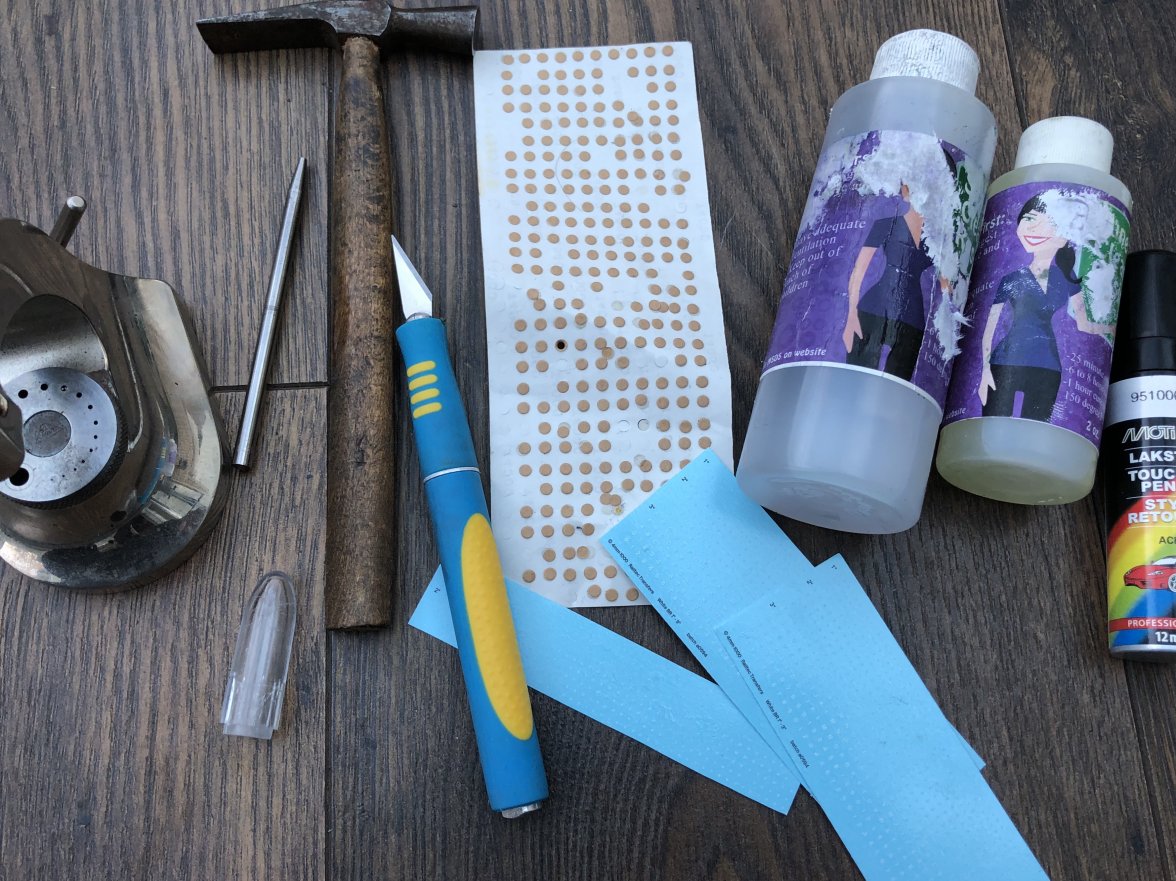
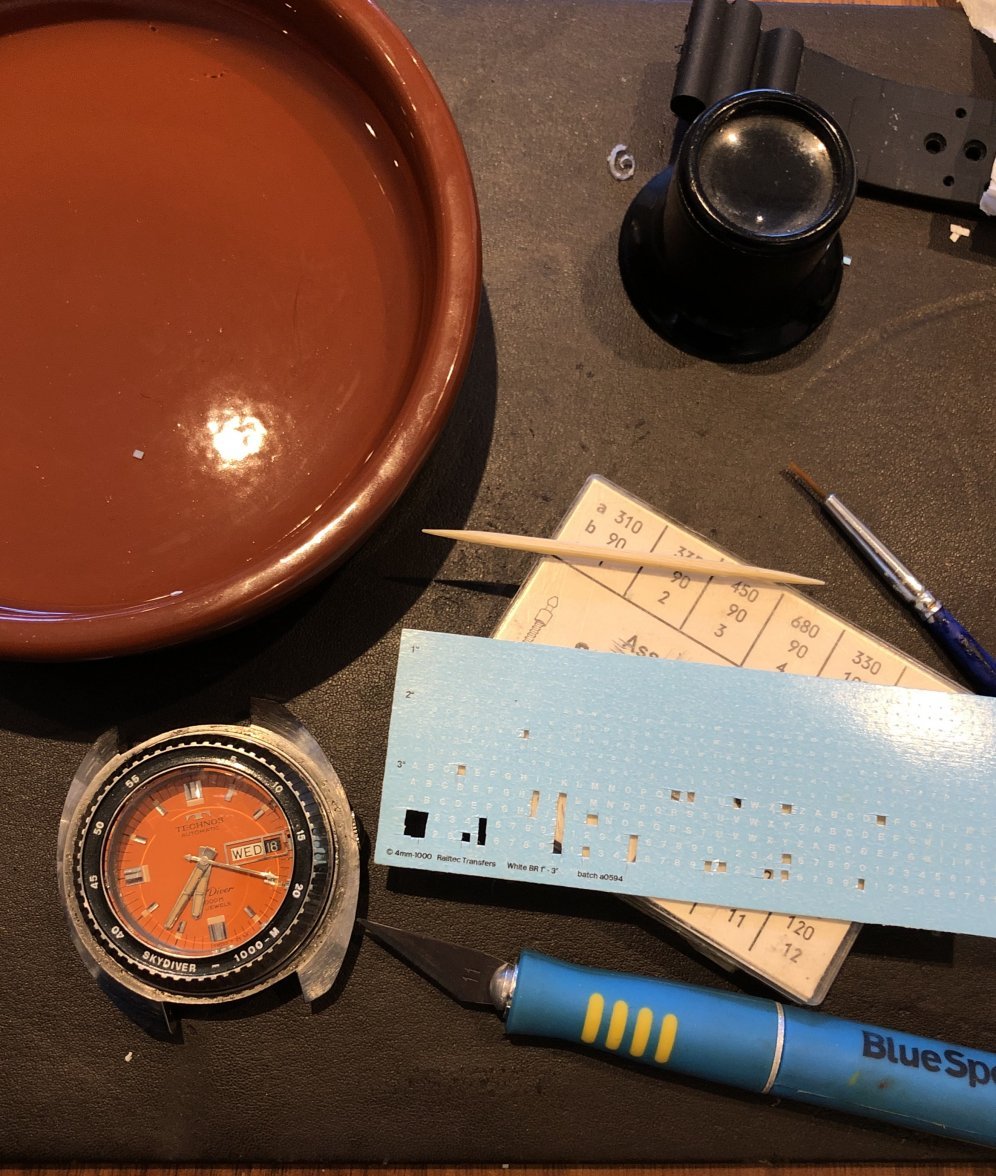
You will need a few things which are cheap and easy to find.
1. Clear resin
2. Paint (I use car touch up paint)
3. Water slide transfers
4. Paint brush
5. Tooth pick
6. A loupe
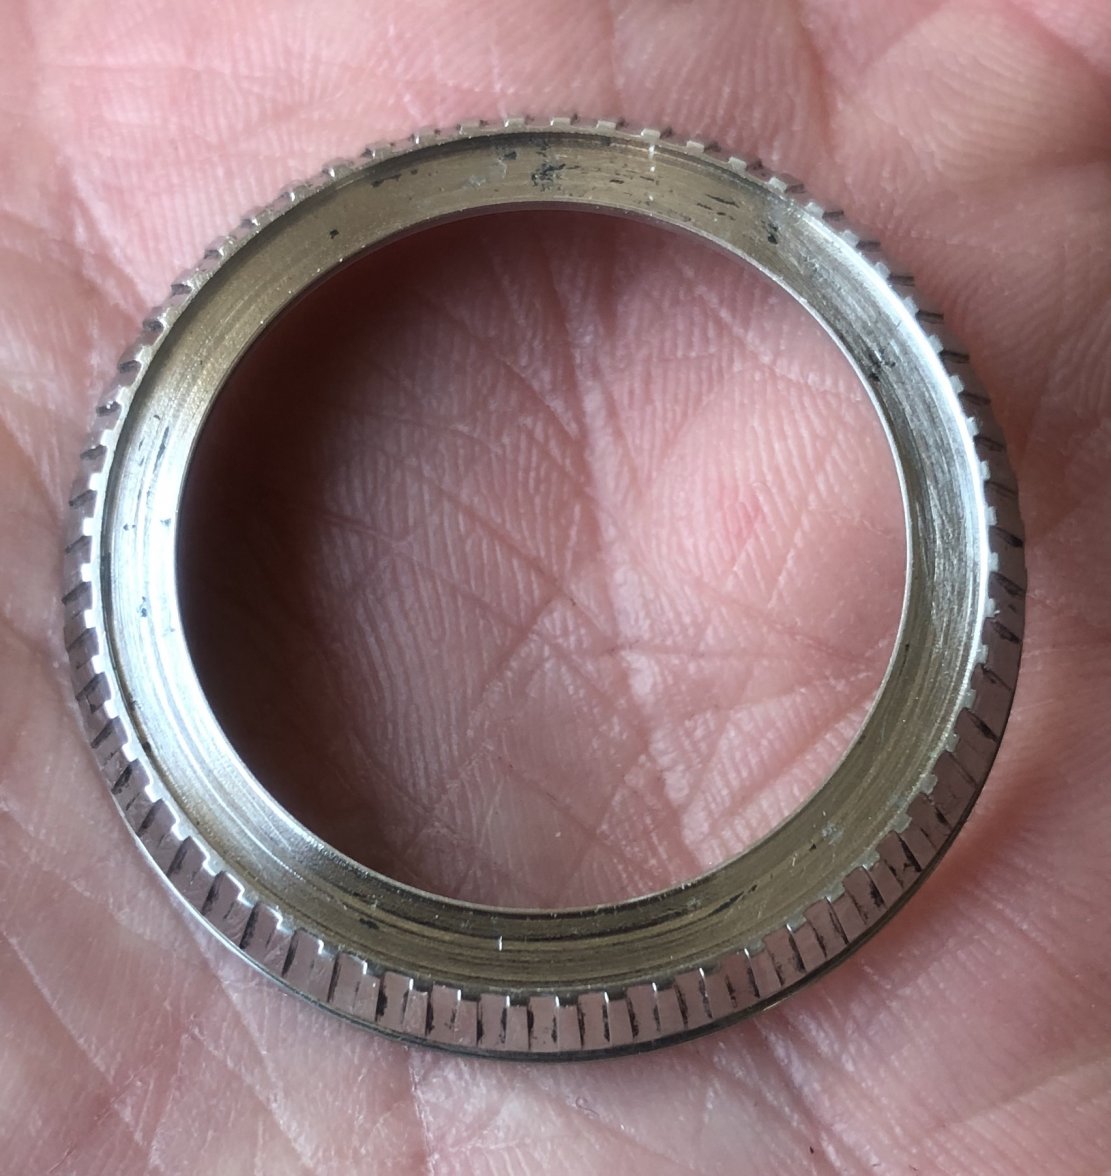
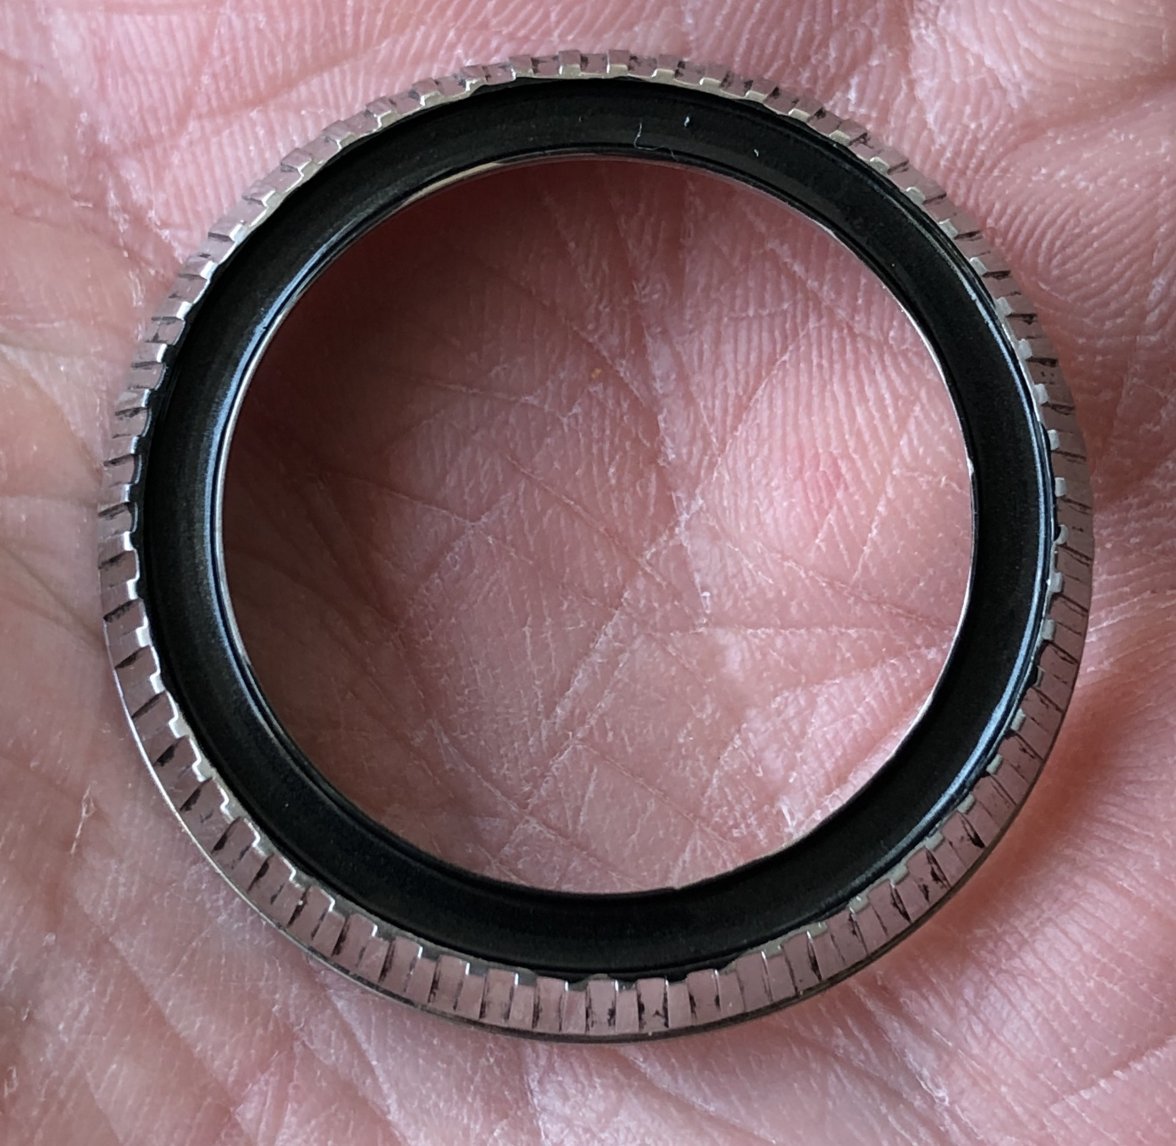
First paint the bezel inside, I drip the paint off the end of the brush making sure it goes up the side of the insert aperture.
Leave the paint to cure (only takes 5 mins) check all the paint is ok and not showing metal through the first coat, if it is add another coat using the same method.
Once the paint is cured remove any paint on/around the edge. I lay the bezel on 2000 wet and dry sand paper on a very flat surface and then with a light circular motion take the excess paint off to leave a neat edge. Then blow or use a clean brush to remove any debris from the aperture.
Next is the fun part.
Think of the design you want to go for, then get started. If you can find the correct font you can try make an exact replica of the original bezel, I think people with the early Omega 300s would get great results using this method if you can find a close font.
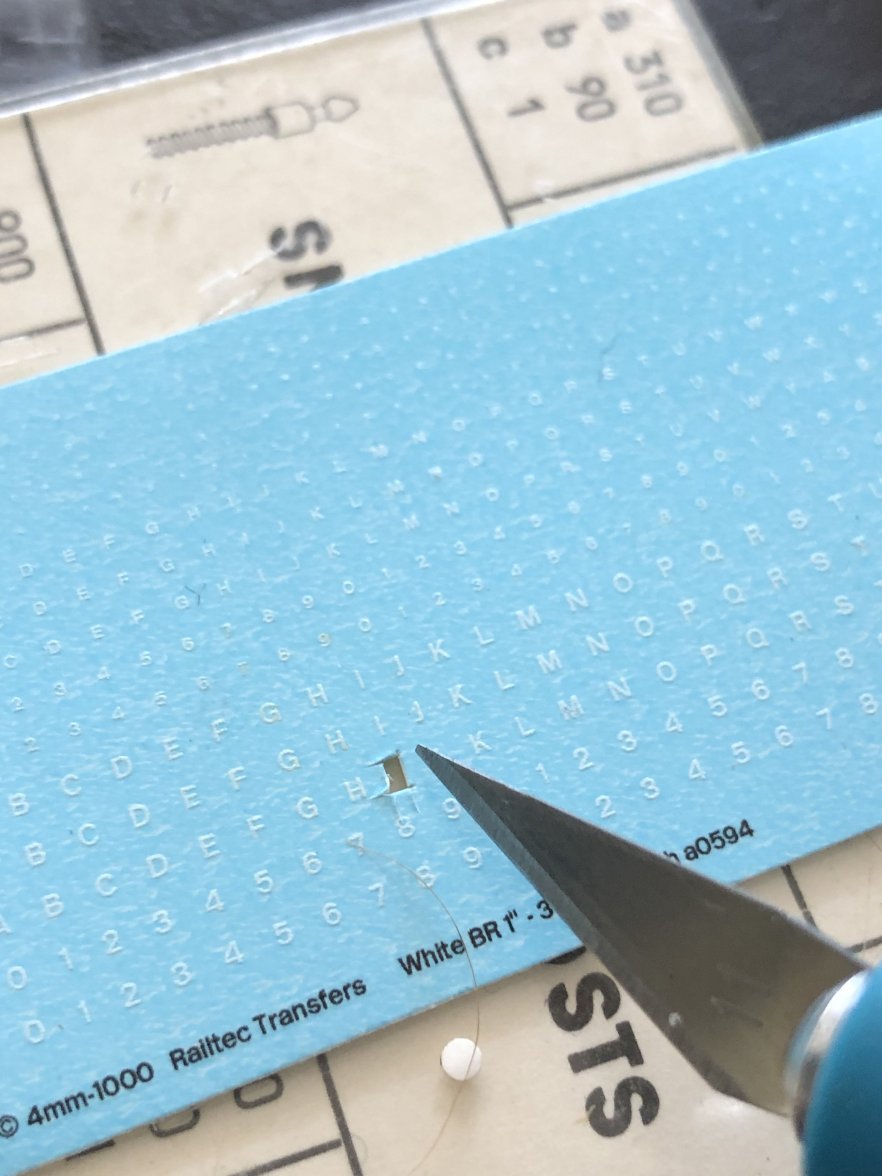
Cut your letters/numbers out using a craft knife, the closer you get the cut to the letters and numbers the better. Place the cut out letters/numbers in water, in no time the letters/numbers will start coming away from the paper backing, use a clean paint brush to help push the transfer you need off the paper backing if you are eager to get started, it is easy to pick up the transfer out of the water by putting your paint brush underneath it while it is floating around, the brush will suck the transfer right on to the bristles. With the transfer on the end of your brush go to the bezel and place your first letter/number on, you don’t have to get it spot on at first as the excess water will make the transfer too easy to move around, take the excess water off around the transfer using a paper tissue, this will make the transfer easier to position, once this is done use a wooden toothpick to get the transfer where you need it to be,then soak up any moisture left with the paper tissue, then you can go onto the next letter/number.
As you go along keep checking the alignment, it is best that the bezel is in situ, if you have a click bezel make sure it is centered correctly, you don’t want to finish the bezel only to realise it is off center.
Once You have everything in place make sure you are happy, if you need to adjust anything it is not a problem, go to the letter or number you wish to adjust and then give it a good soaking with water and then leave for two minutes. Using the toothpick gently prod the transfer and it will start to move again, use the tissue again to soak up the excess water and adjust the transfer.
The next part can be done in a few ways.
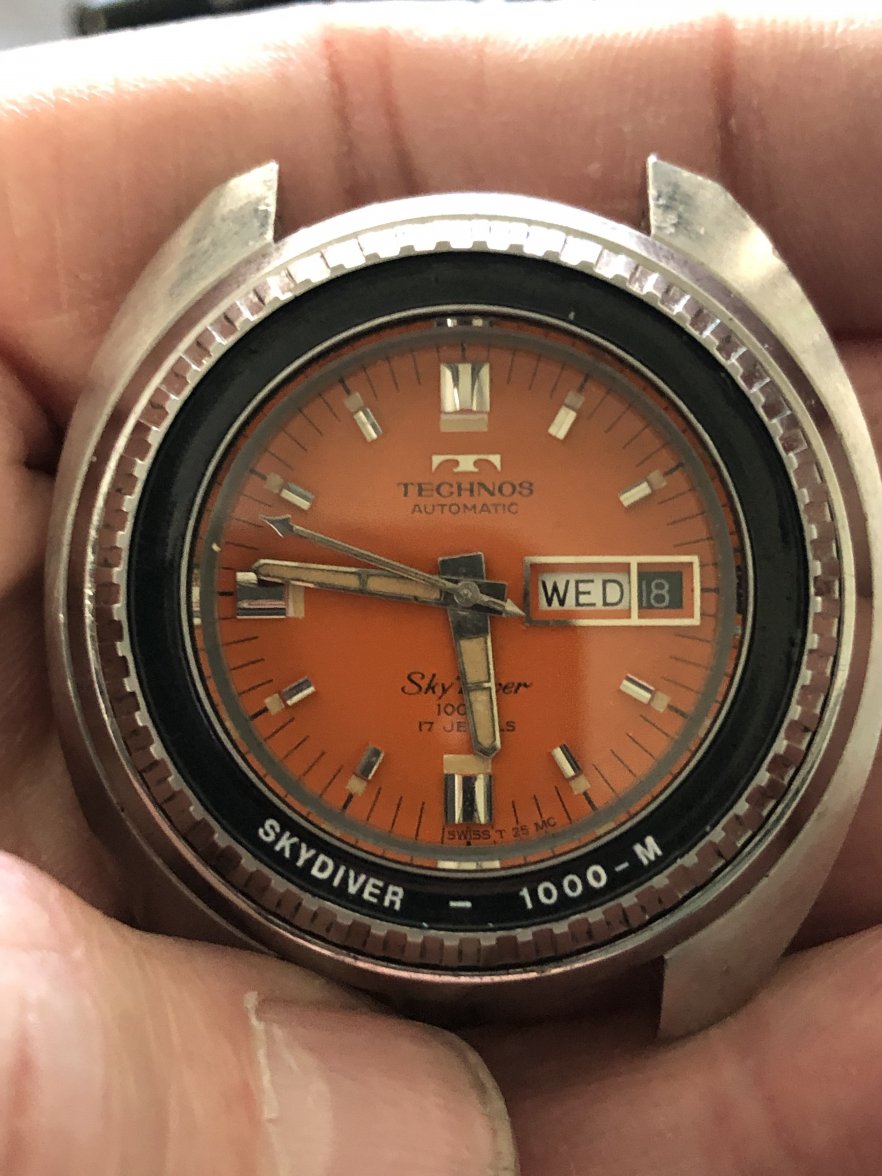
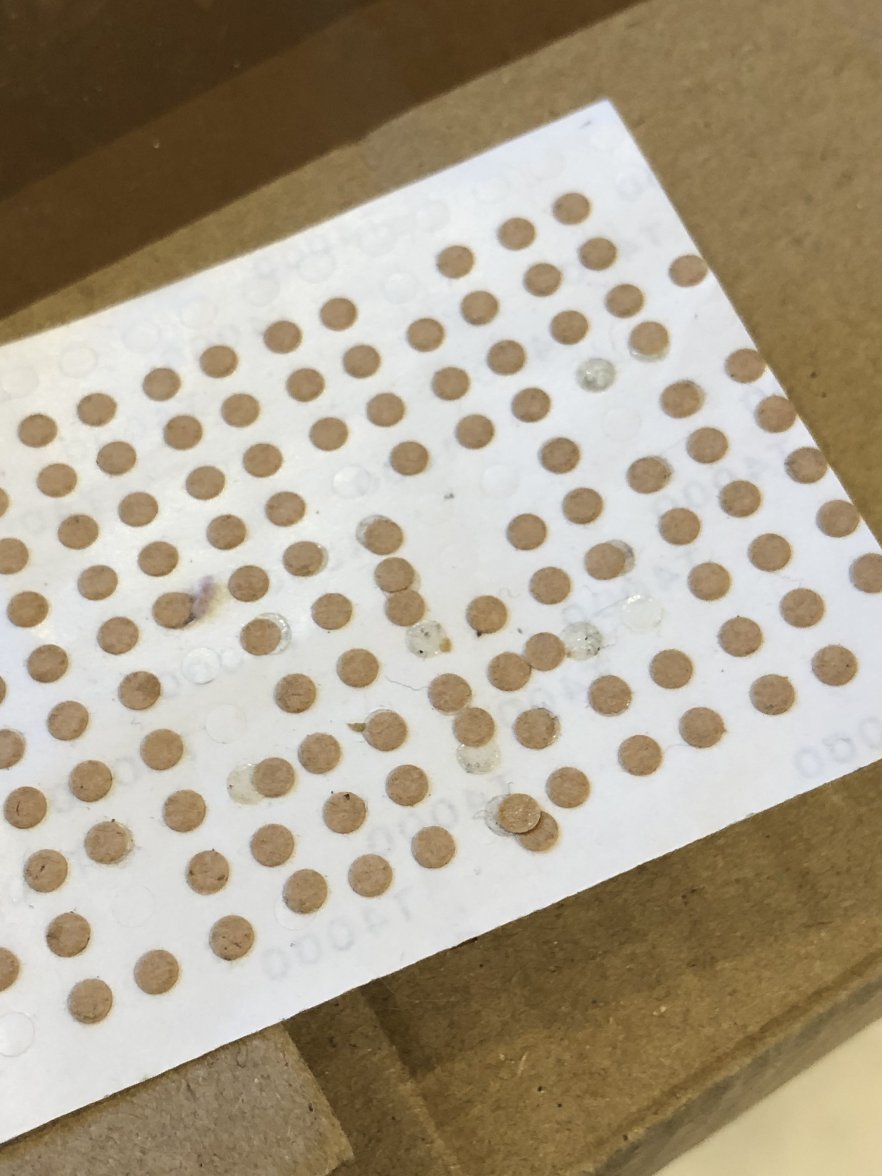
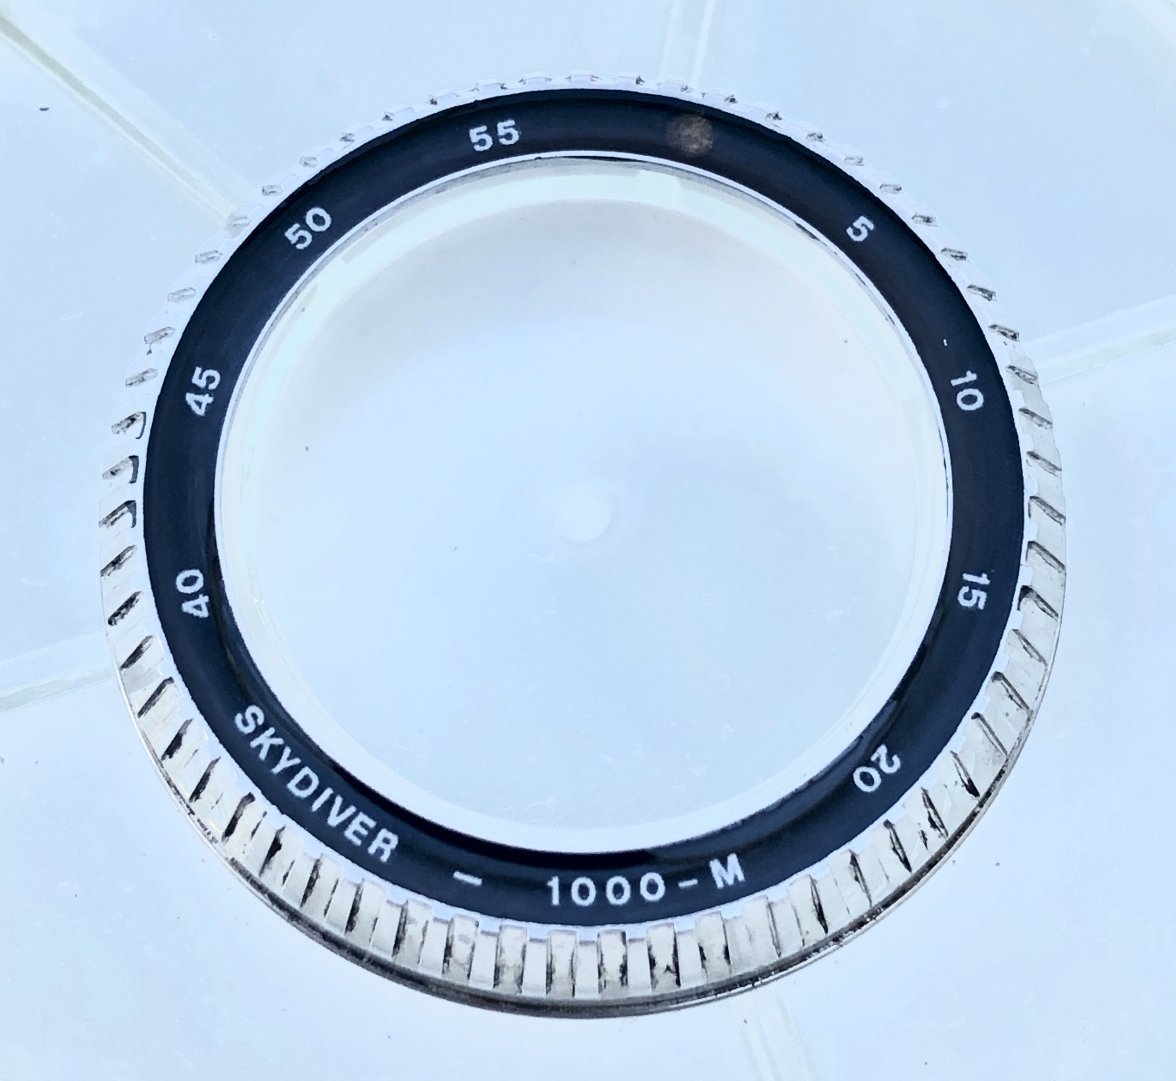
I wanted a round lume dot at 12, so I punched out a piece of paper from a sticky dial pad to the right size, I liked the colour and left it as-is, I just used a tiny dab of clue to hold it in place.
If you want a different lume dot you can cut out any shape on paper and either dye it with tea to look aged or paint it with luminous paint. (Or both)
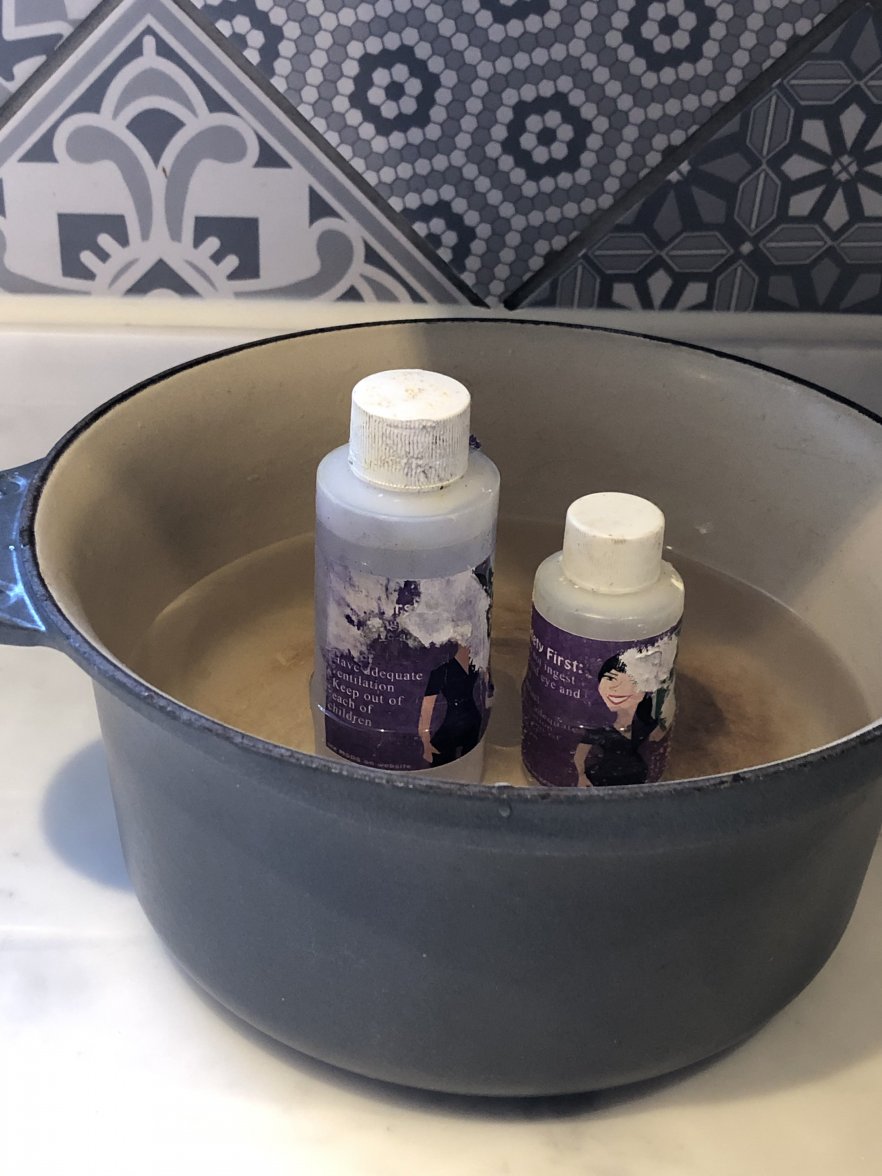
Last thing is the clear resin.
I warm it up beforehand in warm water to prevent bubbles.
Mix it as directed and again use a paint brush like you did to paint the bezel, let the mixed resin drip off the end of the brush making sure you fill the bezel aperture to the very top.
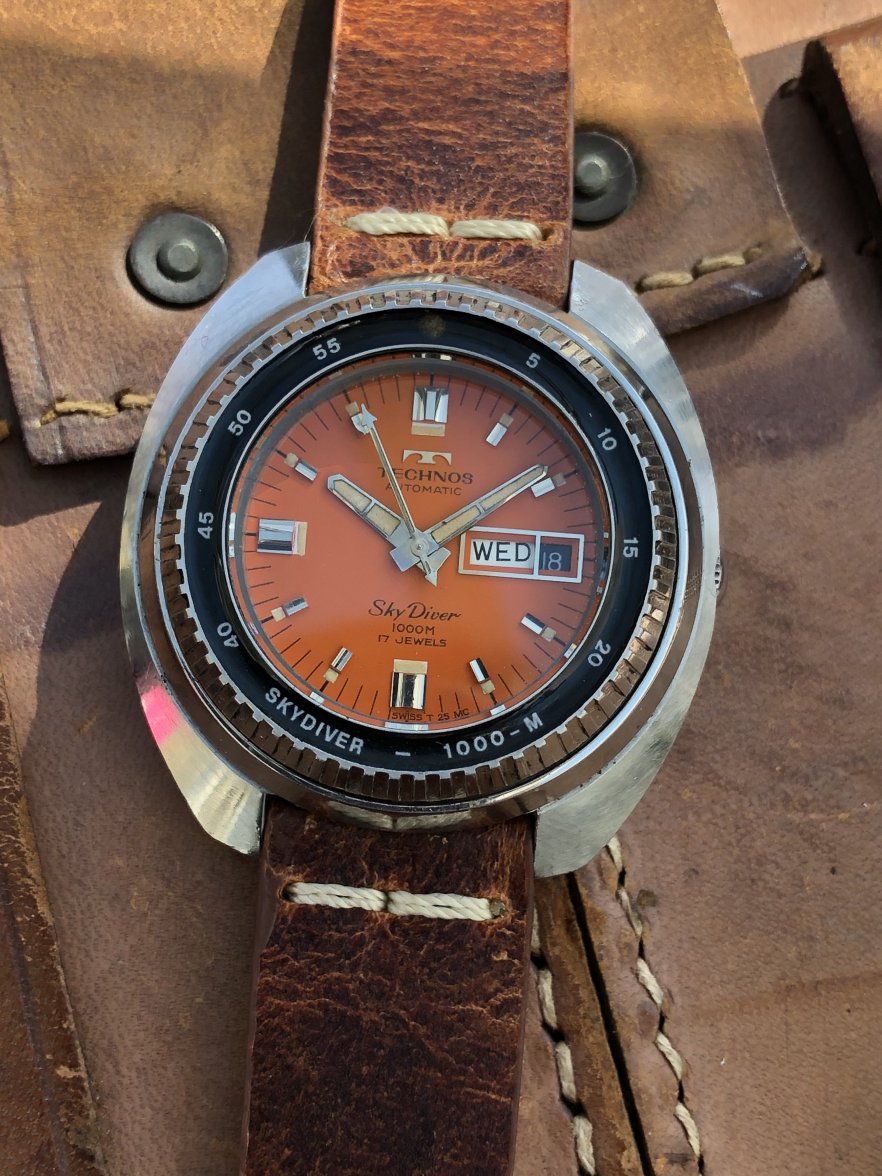
Then put the finished bezel under some kind of cover to prevent dust getting onto the uncured resin, then just leave it to cure, I leave it for two days. Make sure it has cured by checking the container you mixed the resin in not the bezel itself, try not to touch the bezel because if it hasn’t cured you will leave finger prints.
Have fun and don’t beat yourself up if it goes wrong first time.
If you have patience and a couple of hours to spare, you cannot really go wrong if you have a bezel like this so don’t be afraid to have a go, everything is reversible.
This lovely Techno’s 1000m came to me with a Seiko bezel insert crammed into the bezel aperture which I did not like. Looking around the original bezel is very, very hard to acquire so I decided to make a one off custom Bakelite style bezel for it.
You will need a few things which are cheap and easy to find.
1. Clear resin
2. Paint (I use car touch up paint)
3. Water slide transfers
4. Paint brush
5. Tooth pick
6. A loupe
First paint the bezel inside, I drip the paint off the end of the brush making sure it goes up the side of the insert aperture.
Leave the paint to cure (only takes 5 mins) check all the paint is ok and not showing metal through the first coat, if it is add another coat using the same method.
Once the paint is cured remove any paint on/around the edge. I lay the bezel on 2000 wet and dry sand paper on a very flat surface and then with a light circular motion take the excess paint off to leave a neat edge. Then blow or use a clean brush to remove any debris from the aperture.
Next is the fun part.
Think of the design you want to go for, then get started. If you can find the correct font you can try make an exact replica of the original bezel, I think people with the early Omega 300s would get great results using this method if you can find a close font.
Cut your letters/numbers out using a craft knife, the closer you get the cut to the letters and numbers the better. Place the cut out letters/numbers in water, in no time the letters/numbers will start coming away from the paper backing, use a clean paint brush to help push the transfer you need off the paper backing if you are eager to get started, it is easy to pick up the transfer out of the water by putting your paint brush underneath it while it is floating around, the brush will suck the transfer right on to the bristles. With the transfer on the end of your brush go to the bezel and place your first letter/number on, you don’t have to get it spot on at first as the excess water will make the transfer too easy to move around, take the excess water off around the transfer using a paper tissue, this will make the transfer easier to position, once this is done use a wooden toothpick to get the transfer where you need it to be,then soak up any moisture left with the paper tissue, then you can go onto the next letter/number.
As you go along keep checking the alignment, it is best that the bezel is in situ, if you have a click bezel make sure it is centered correctly, you don’t want to finish the bezel only to realise it is off center.
Once You have everything in place make sure you are happy, if you need to adjust anything it is not a problem, go to the letter or number you wish to adjust and then give it a good soaking with water and then leave for two minutes. Using the toothpick gently prod the transfer and it will start to move again, use the tissue again to soak up the excess water and adjust the transfer.
The next part can be done in a few ways.
I wanted a round lume dot at 12, so I punched out a piece of paper from a sticky dial pad to the right size, I liked the colour and left it as-is, I just used a tiny dab of clue to hold it in place.
If you want a different lume dot you can cut out any shape on paper and either dye it with tea to look aged or paint it with luminous paint. (Or both)
Last thing is the clear resin.
I warm it up beforehand in warm water to prevent bubbles.
Mix it as directed and again use a paint brush like you did to paint the bezel, let the mixed resin drip off the end of the brush making sure you fill the bezel aperture to the very top.
Then put the finished bezel under some kind of cover to prevent dust getting onto the uncured resin, then just leave it to cure, I leave it for two days. Make sure it has cured by checking the container you mixed the resin in not the bezel itself, try not to touch the bezel because if it hasn’t cured you will leave finger prints.
Have fun and don’t beat yourself up if it goes wrong first time.