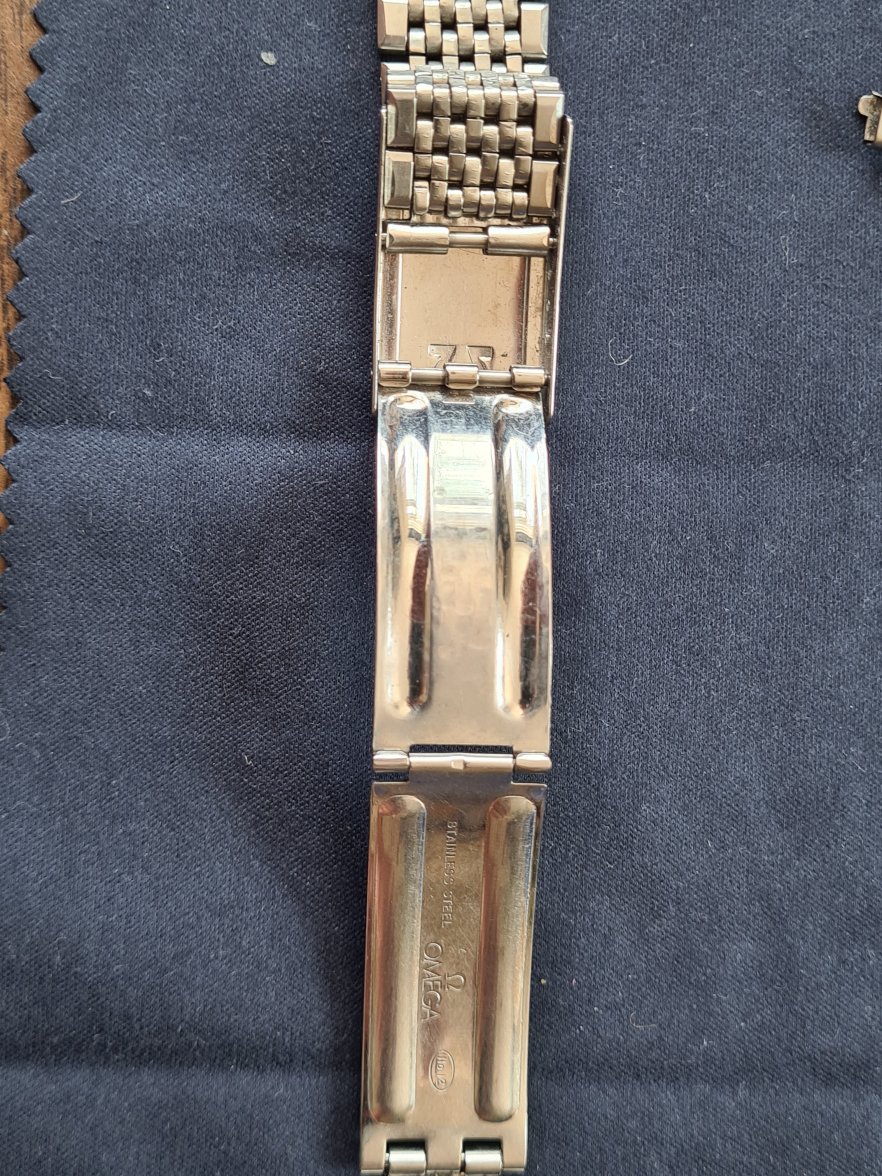
Just finished wrestling with this. These are indeed more like conventional spring bars, but they are devilishly hard to work with b/c the space between the large outer beads and smaller inner beads is so small. They also have no "ribs" for gripping. So, step by step:
1.) Set up on an open space and a large table--these little bars can go flying and are tough to replace.
2.) Use the "pokey end" of a spring bar tool, or just something small and thin like a paper clip or the tool that you use to get a SIM card holder out of a phone, to poke in the spring bar in from the hole on the outside side of the large bead in the link. Don't try using a one-sided link removal tool as you would with a standard metal band. Like the holes in lugs, the bars themselves are wider, and will never come out the other side. Or, rather, if you apply enough pressure, they will force the opposite large bead far enough away so the bar can be free, but they'll go zooming across the room, accompanied by small, gross chunks of what I can only assume to be hand cheese well older then I am (this happened to me).
3.) optional:
gently apply a little torque to keep it from going back in from the inside (the two large outer lugs are actually linked, and if you move one up, the other goes with it, so this is tough)
4.) Then do the same on the other side.
5.) After you've done this twice and removed the required links, you have to get it back together again, which is even trickier.
6.) Best method I found is to lay the whole band flat, secure the band to your surface with padded weights or clips, then lift the linked large Bead ends, slide the pin through both sets of small beads, connecting the band loosely.
7.)
Make sure all the small beads are right side up (i.e. the seams are on the inside of the band, or you have to do it all over again . . . like I did).
8.) Then use a
very small spring bar tool (wrench end) to push in one side of the pin into the inner large Bead hole, then repeat on the other side.
9.) As always, whenever you do anything to a band, give it a little tug and wear it over a soft surface for the first few minutes, in case you goofed and the band comes apart (please, learn from my mistakes).
10.) Pour yourself a beer, you've earned it!
Museum-grade hand cheese.